
Your Shoplazza admin dashboard is more than a control panel. It provides the foundation for building, managing, and growing your ecommerce business. From tracking daily performance to managing online store orders, customizing product listings, launching marketing campaigns, and connecting with customers, each section plays a specific role in your success. This guide provides a closer look at the tools available so you can confidently navigate the platform and prepare for a successful Shoplazza store launch.
Home
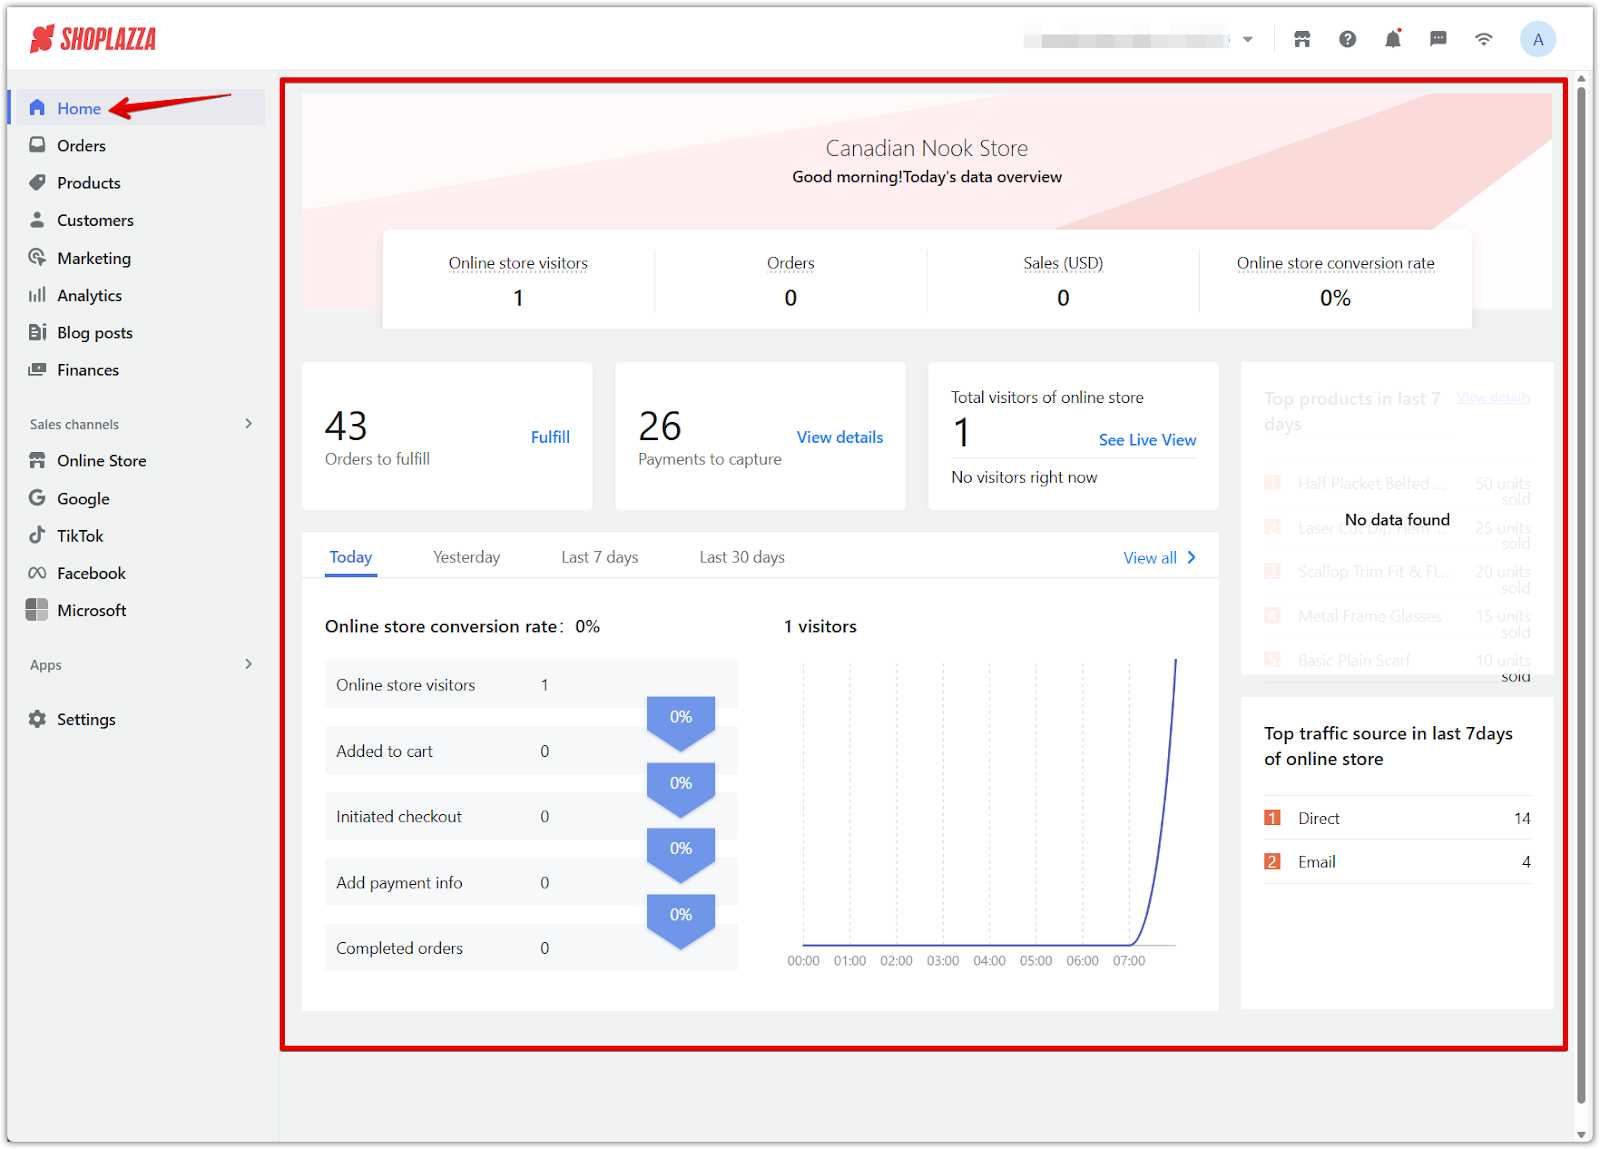
The Home page is the first thing you see after logging in. It provides a high-level, real-time summary of your store’s performance and outstanding actions that may require your attention.
- Data overview: Track your online store visitors, total orders, sales revenue, and conversion rate at a glance.
- Fulfillment summary: See how many orders are waiting to be fulfilled and how many payments are pending. Use quick links like Fulfill and View details to take action right away.
- Conversion funnel: Monitor daily performance through a visual breakdown of the purchase funnel, from visitors to completed checkouts.
- Trend analysis: Use tabs like Today, Yesterday, Last 7 days, and Last 30 days to compare store performance over time.
- Live View access: Click See Live View to access the real-time traffic monitoring tool and observe visitor behavior as it happens.
- Top products and traffic sources: View a list of best-selling items and the main sources of store traffic, such as direct visits or email links.
Orders
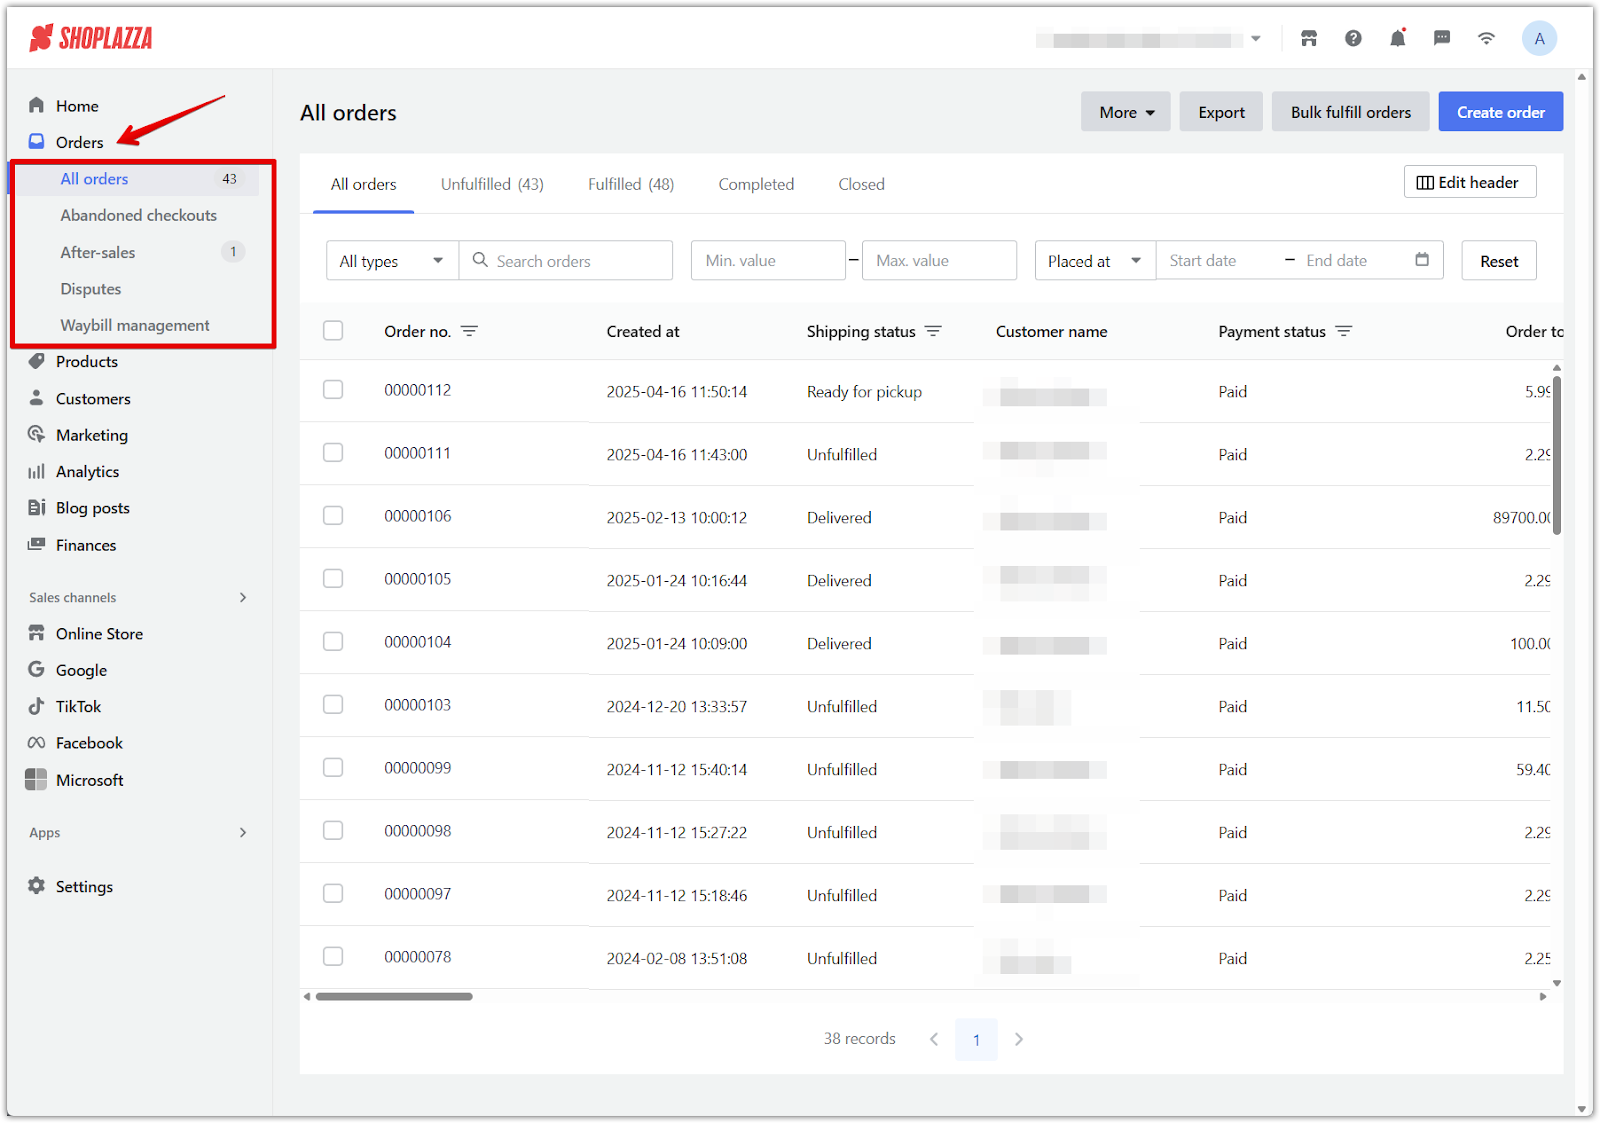
The Orders section is where all purchase activity is tracked and managed. Whether the order is submitted through your storefront or created manually, everything appears here for review and action. This section helps streamline fulfillment, resolve issues, and maintain accurate transaction records.
- All orders: View every order placed through your store, including order number, date, customer name, fulfillment status, and payment method by following Viewing and Editing order details.
- Abandoned checkouts: Track shoppers who left before completing payment and follow up to recover lost revenue using Viewing the details of Abandoned Checkouts.
- After-sales: Process and monitor returns, refunds, and exchanges through Viewing and Searching After-Sales orders.
- Disputes: Respond to chargebacks or payment-related issues by reviewing Order disputes.
- Waybill management: Upload and assign waybills when using Shoplazza Shipping to streamline fulfillment, as outlined in Simplifying logistics with Shoplazza Shipping.
Products
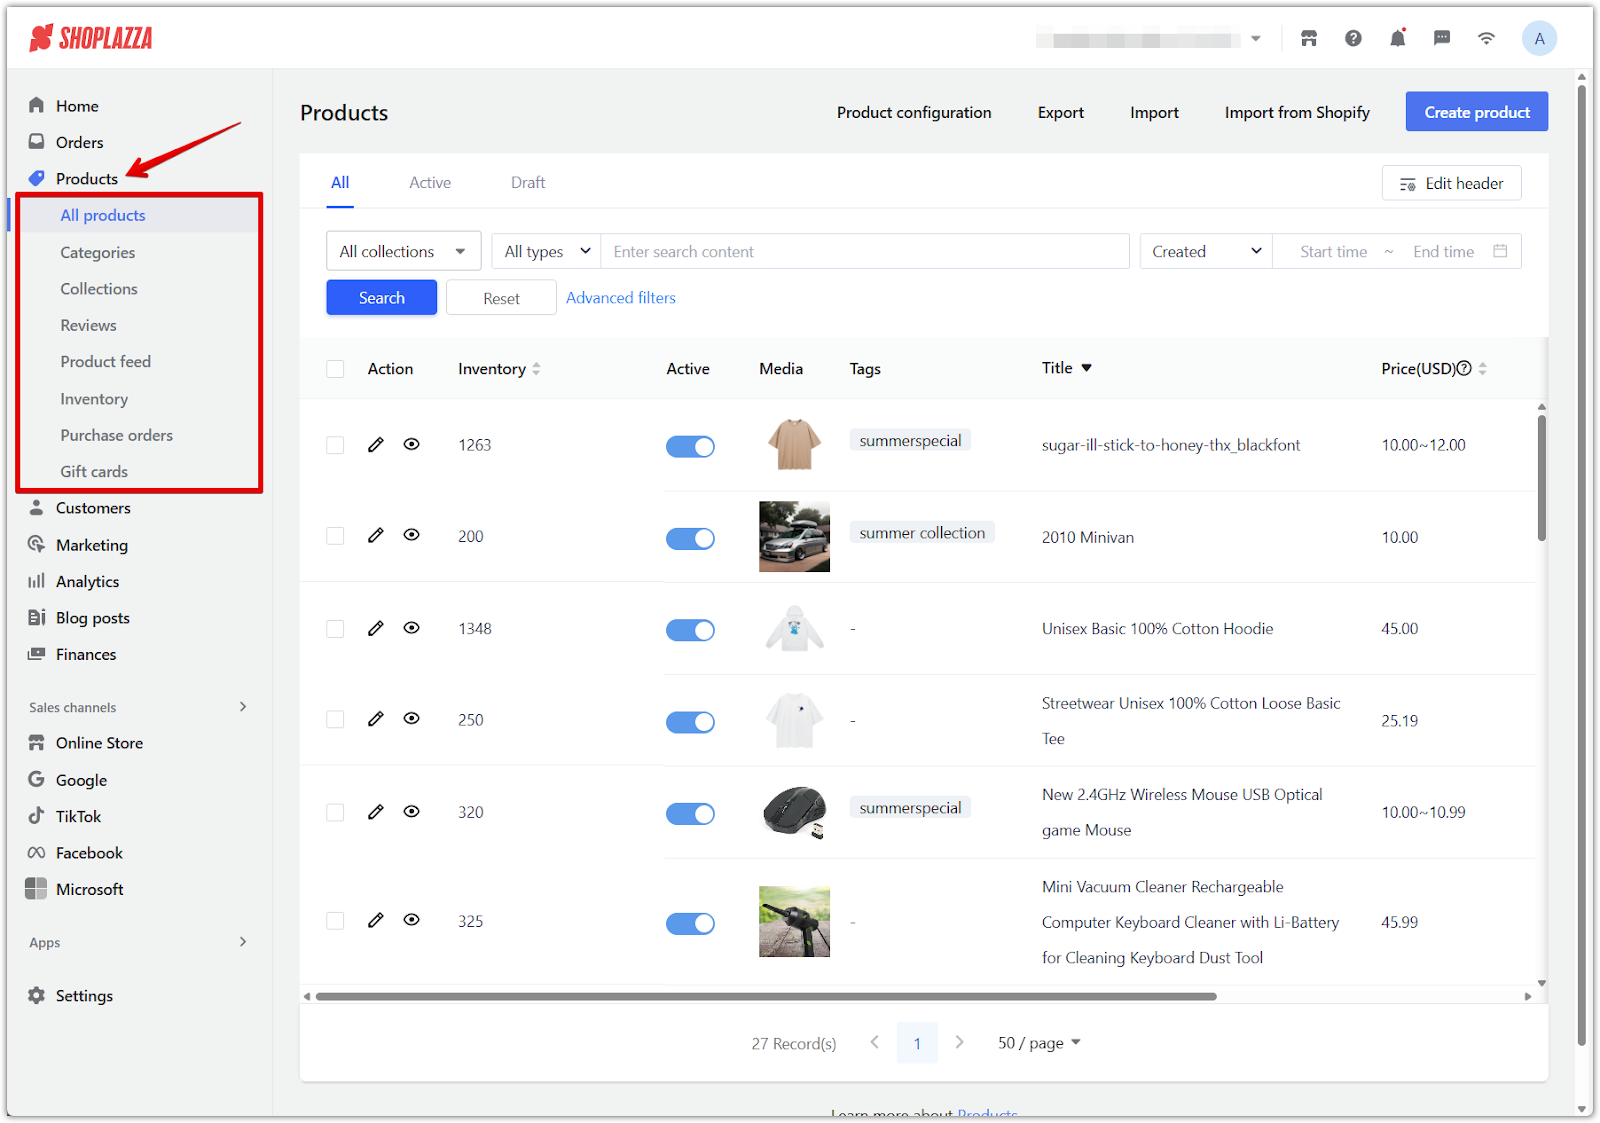
The Products section is where you manage your entire product catalog, whether you're selling physical goods, digital items, or both. This section supports everything from adding new listings to organizing inventory, grouping products into collections, and managing supplier restocks. It also includes tools for customer reviews and data feeds, making it a core part of your store’s merchandising and operations.
- All products: Add, edit, publish, or unpublish products with images, SKUs, variants, and pricing using Adding and Updating products.
- Categories: Group products for easier browsing by type or use case with Creating product categories.
- Collections: Curate product groupings for promotions or storefront display following Creating product collections.
- Reviews: Enable and manage product ratings and feedback using Enabling Shoplazza's native product reviews.
- Product feed: Generate a structured data file for syndicating listings with platforms like Google using Generating a Product Feed.
- Inventory: Track stock levels, update quantities, and configure inventory policies by following Editing product inventory.
- Purchase orders: Record and manage supplier restocks using Managing your purchase orders.
- Gift cards: Add and manage digital gift card products using Gift cards | Add and manage gift cards.
Customers
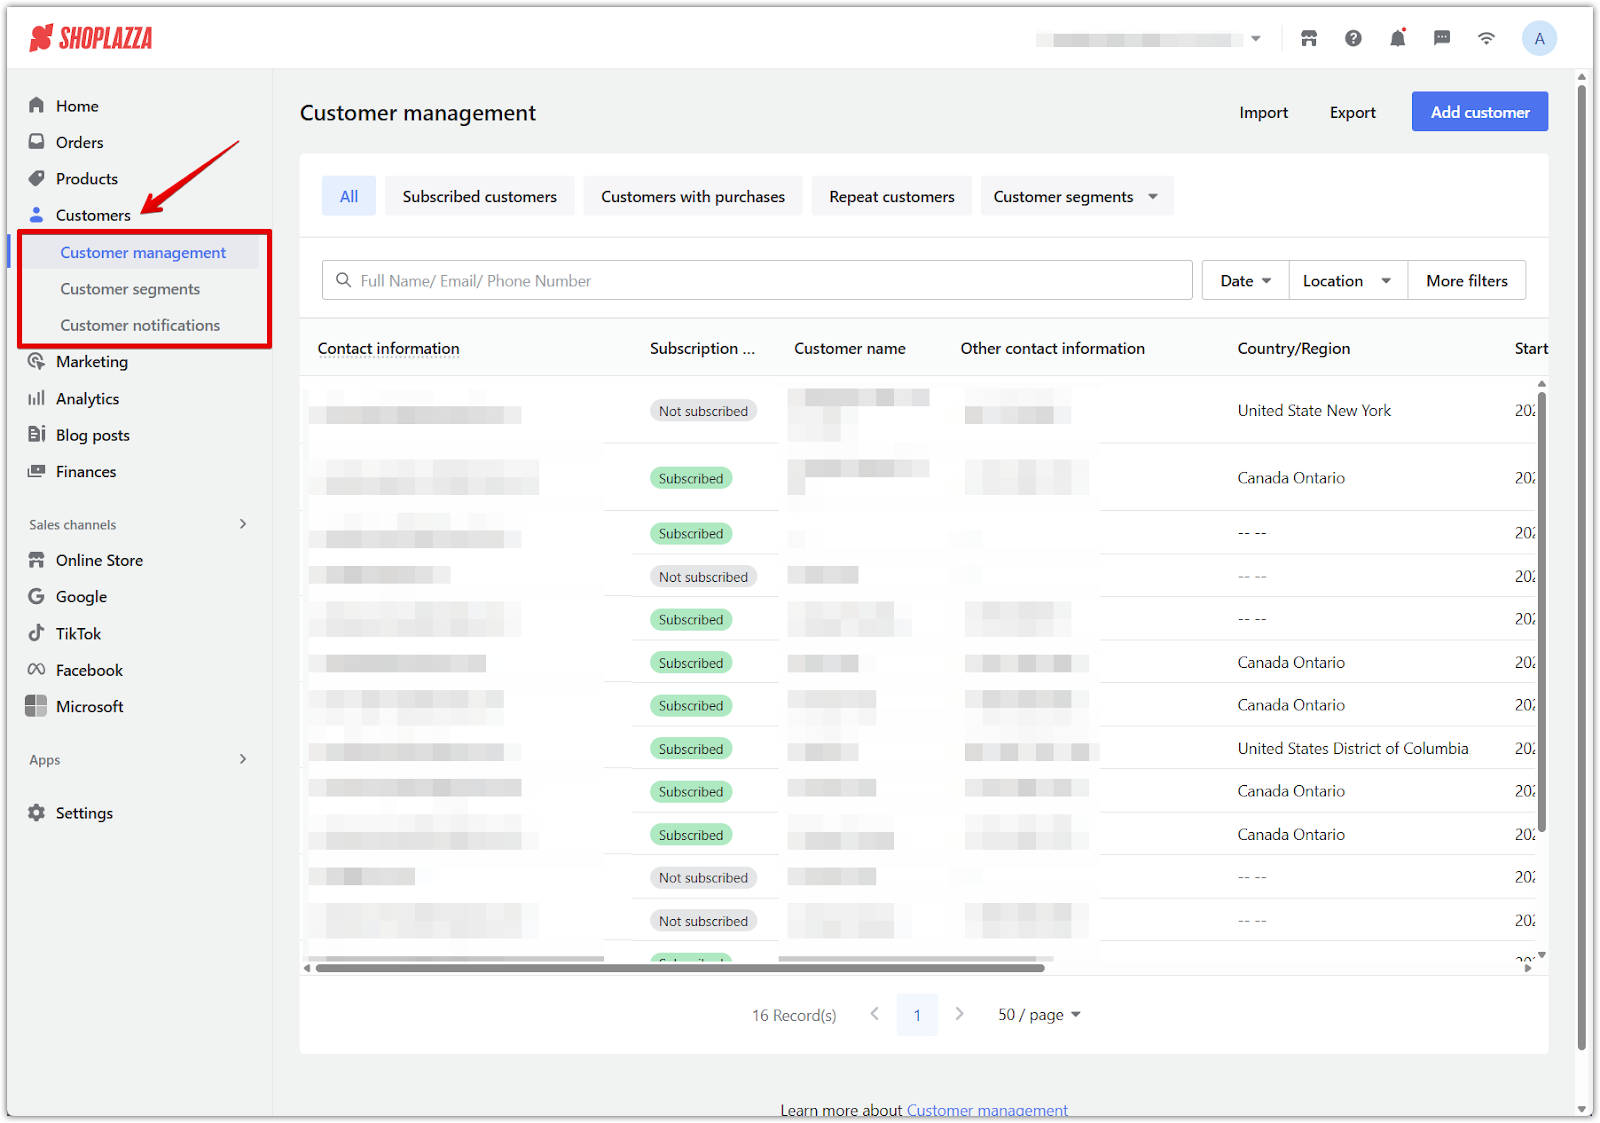
The Customers section gives you the tools to view, organize, and engage your customer base. Whether you're building loyalty programs, managing customer profiles, or segmenting by behavior, this section helps you track engagement and provide better service. A well-managed customer list is essential for retention, personalized marketing, and long-term growth.
- Customer management: Access customer profiles, contact details, tags, and order history by following Customer management | Managing customer information.
- Customer grouping: Create targeted segments based on filters or tags using Setting up Customer Grouping.
- Customer notifications: Set up automated alerts for orders and account updates by reviewing Customer Notifications Settings.
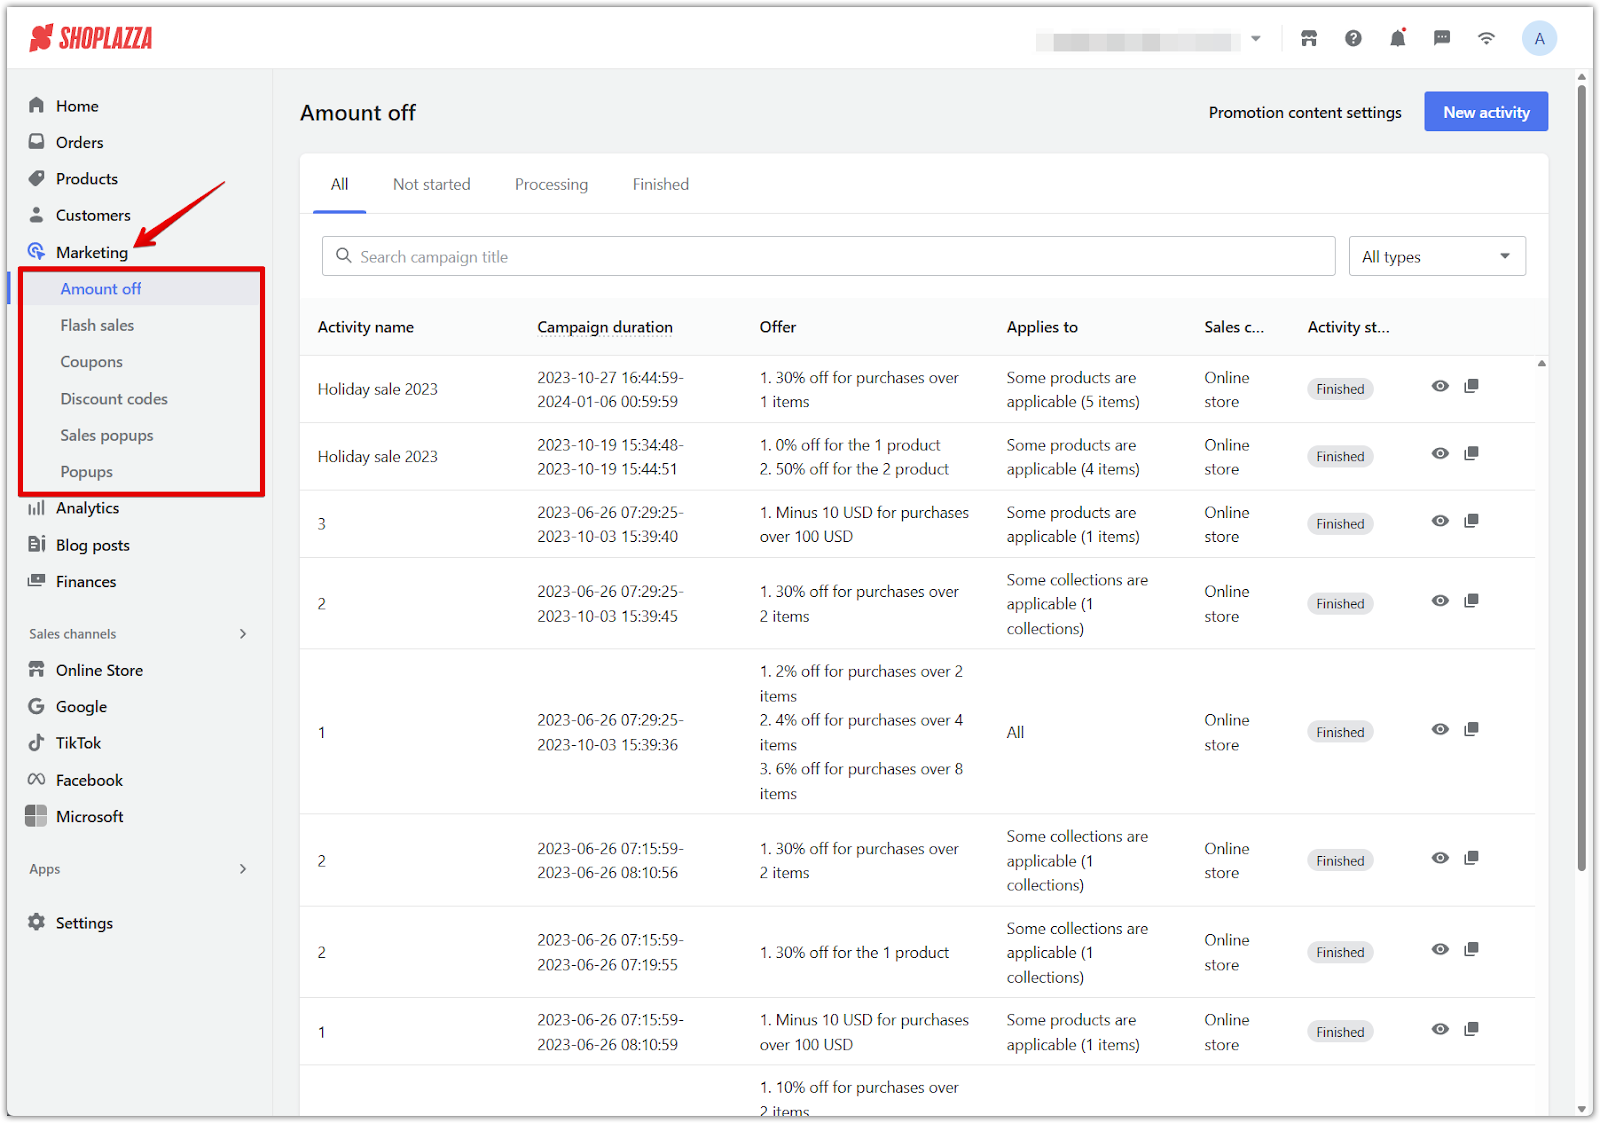
Marketing
The Marketing section includes a suite of built-in promotional tools that help attract customers, increase conversions, and encourage repeat purchases. These tools allow you to create, manage, and automate storewide or targeted campaigns without needing third-party apps.
- Amount off: Set up fixed or percentage-based discounts tied to order value or quantity using Amount off.
- Flash sales: Create countdown-based promotions for limited-time deals by following Creating flash sales campaigns.
- Coupons: Offer discount codes for targeted promotions or email outreach using Creating a coupon activity.
- Discount codes: Set up automatic or manual campaigns triggered by conditions like cart value or product selection through Creating discount code campaigns.
- Sales popups: Add real-time purchase notifications to your storefront using Setting up Sales pop.
- Popups: Display banners for announcements or promotions with timing controls using Setting up a Banner.
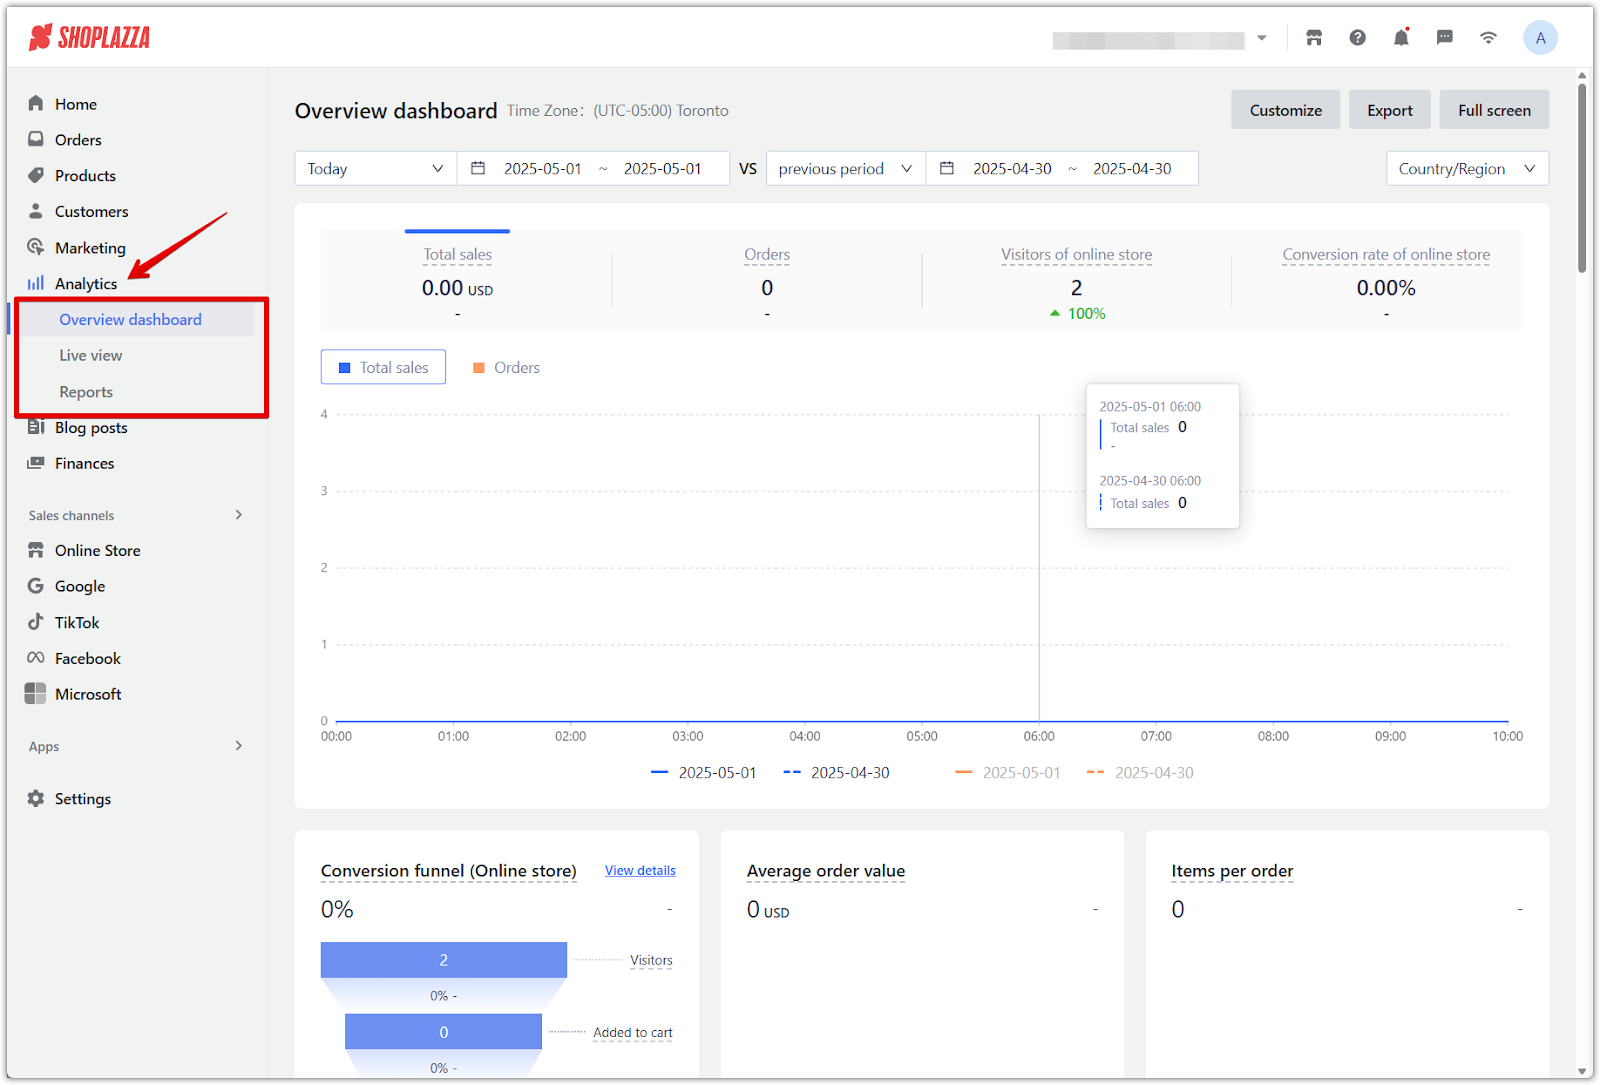
Analytics
The Analytics section helps you monitor store performance using real-time data and historical reporting tools. From visitor behavior to sales conversion tracking, this section gives you a clear picture of how your business is performing and where improvements can be made.
- Overview dashboard: Visualize sales, traffic, and conversion data over time using Overview dashboard | Effectively analyzing your store.
- Live view: Monitor real-time activity on your storefront, including current visitors, cart actions, and checkout progress in Live View | Monitoring your real-time pageviews and orders.
- Reports: Dive deeper into product and traffic performance using Viewing your reports to analyze key metrics across sales, devices, and customer types.
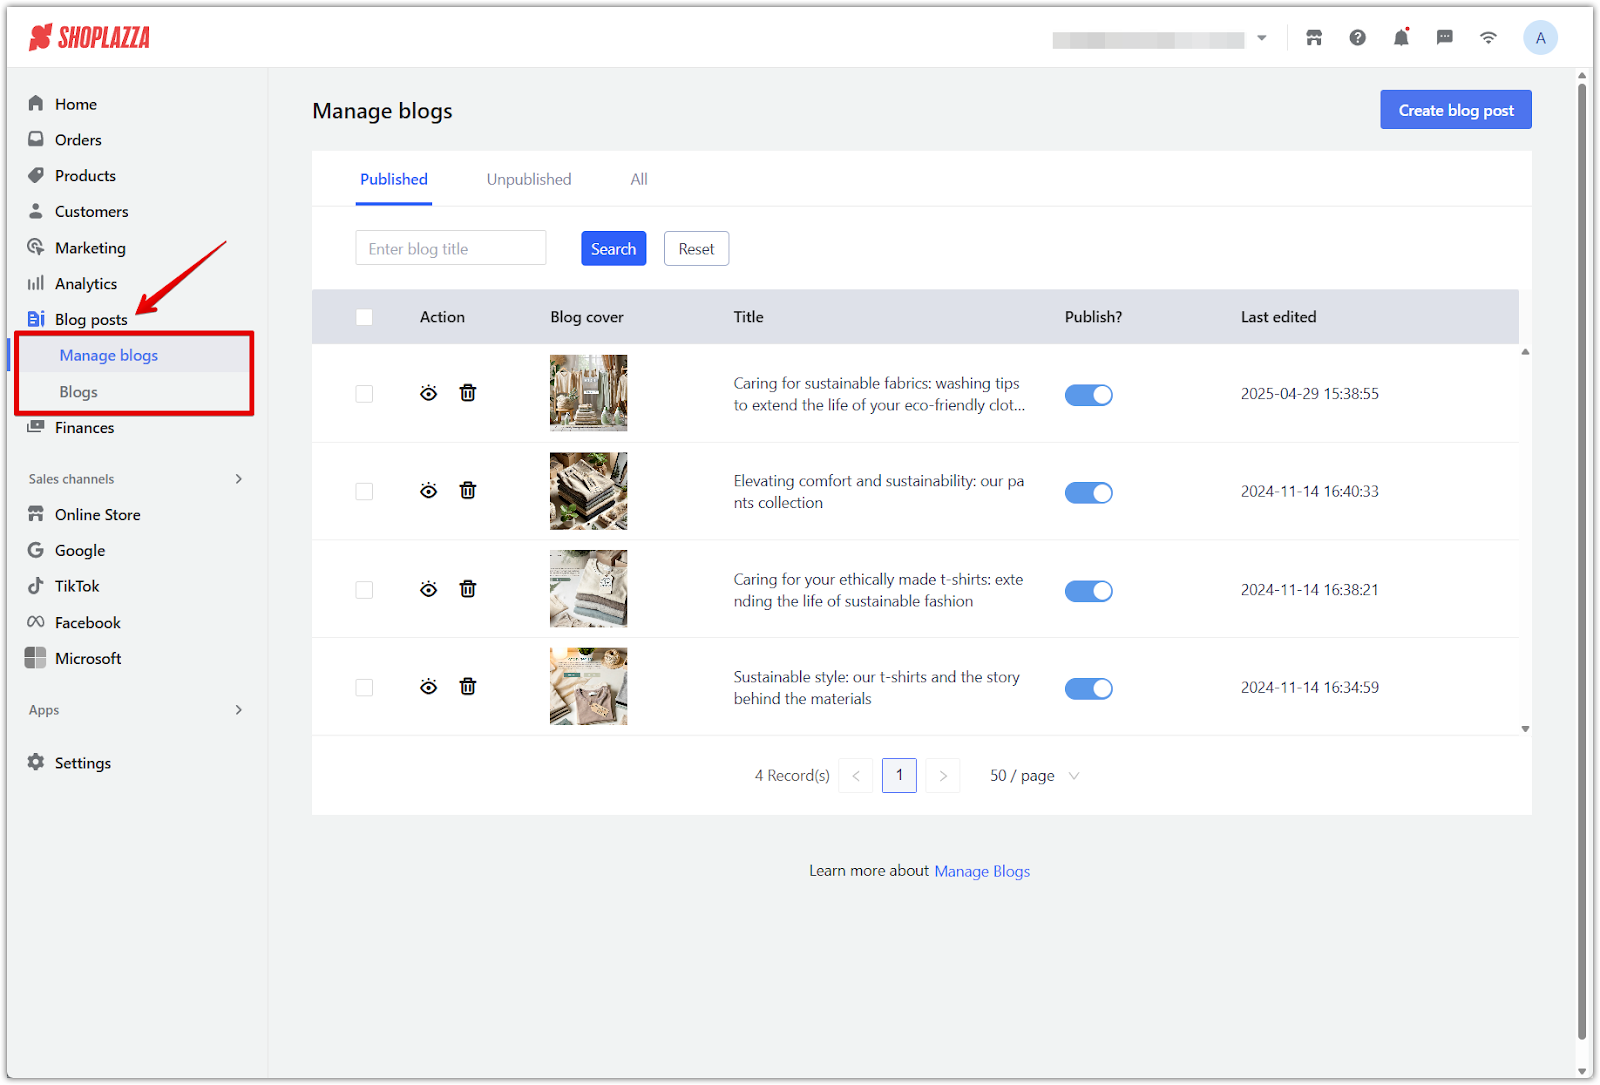
Blog posts
The Blog posts section gives you tools to publish original content that supports SEO, showcases your brand voice, and builds long-term engagement with your audience. You can structure blog content using categories, write new articles, and manage published posts directly within your admin. For a complete walkthrough, see Creating and Managing Blogs.
- Manage blogs: Create blog categories to organize content into themes such as announcements, tutorials, or seasonal promotions.
- Blogs: Write, edit, and publish blog articles with images, links, SEO titles, and formatting for rich, engaging content.
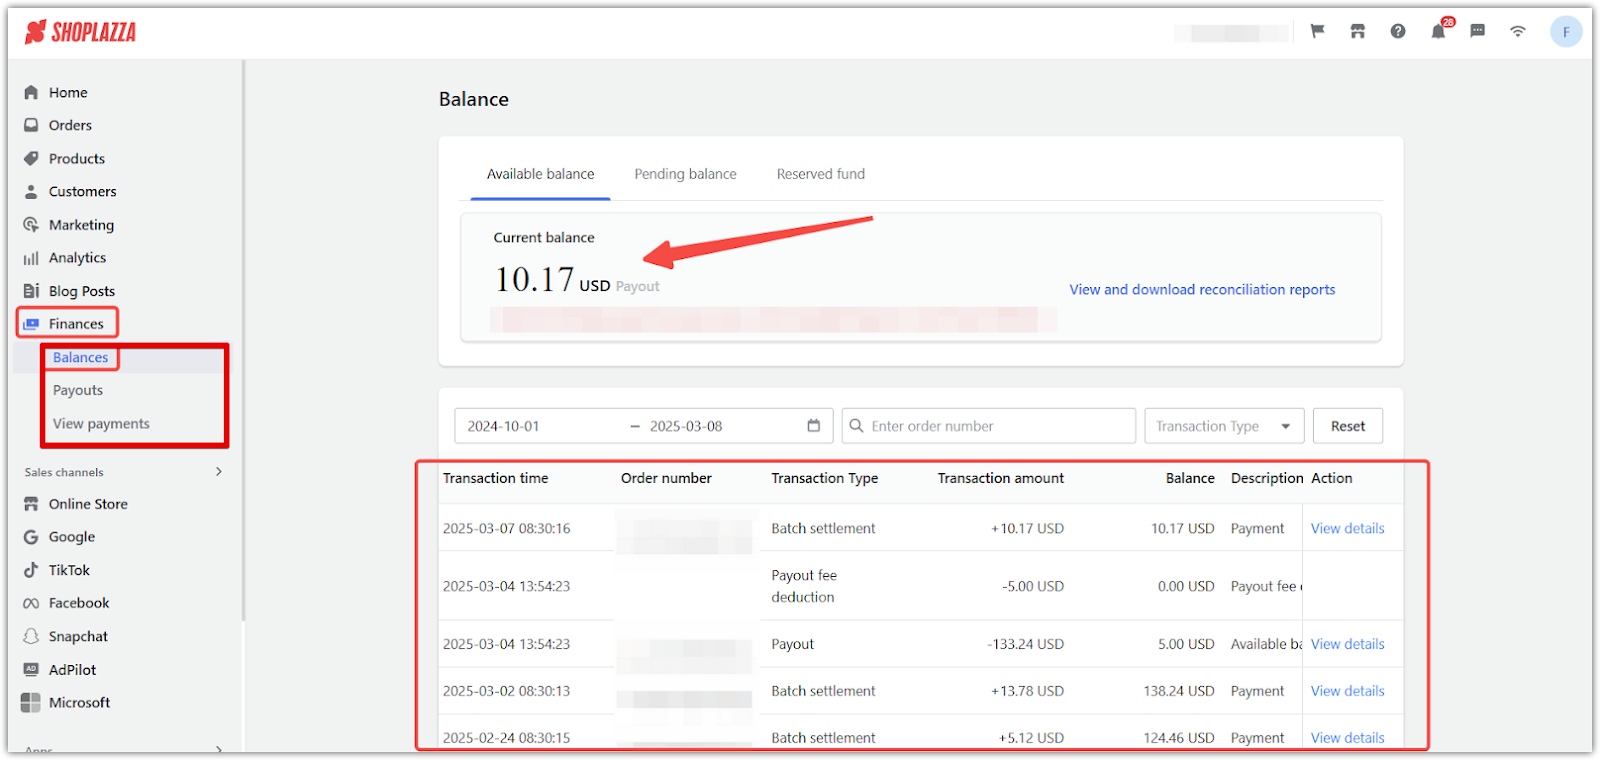
Finances
The Finances section is labeled Balances in your admin. It provides access to Shoplazza Payments once enabled. This section offers a central place to track payout status, review settlement information, and manage payment-related settings for your store.
- Shoplazza Payments overview: Monitor your balance, view expected payouts, and access transaction summaries after activating Shoplazza Payments; see Shoplazza Payments | Tracking available balance and Payouts.
- Activation prompt: If your store has not activated Shoplazza Payments, the page displays a summary of its benefits, including zero-commission setup, certified protection, and compatibility with popular payment methods like Apple Pay, Google Pay, and Klarna.
- Learn more and activate: Review the full feature list and onboarding resources in the Shoplazza Payments article collection before enabling the service from your dashboard.
Sales channels
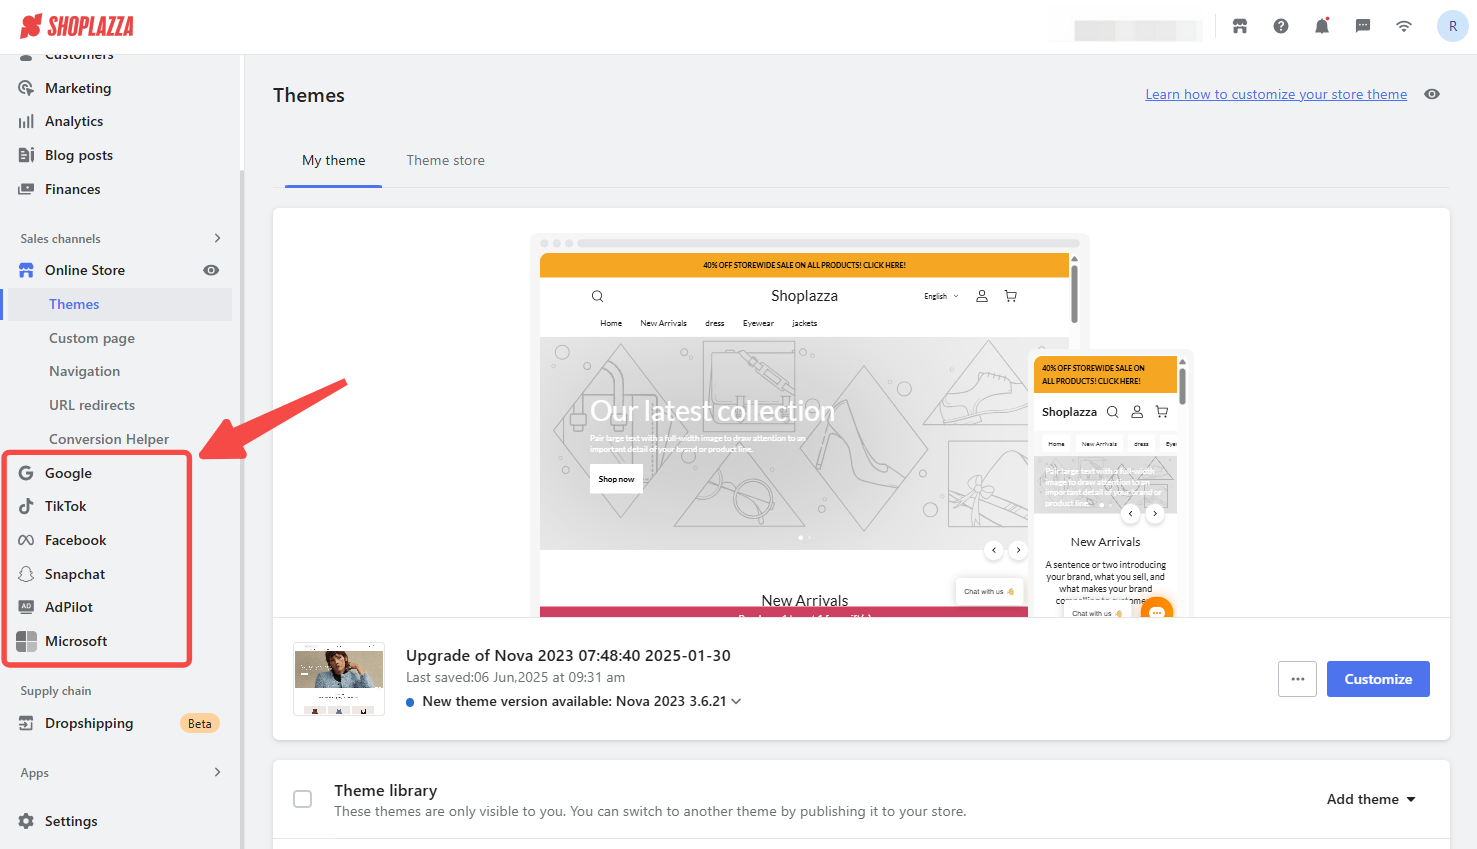
The Sales channels section helps you manage where and how your products are sold. This includes your Online Store and integrations with third-party platforms like Google, TikTok, and Facebook. These tools help expand your store’s visibility, connect with new audiences, and centralize multi-channel selling inside your Shoplazza admin.
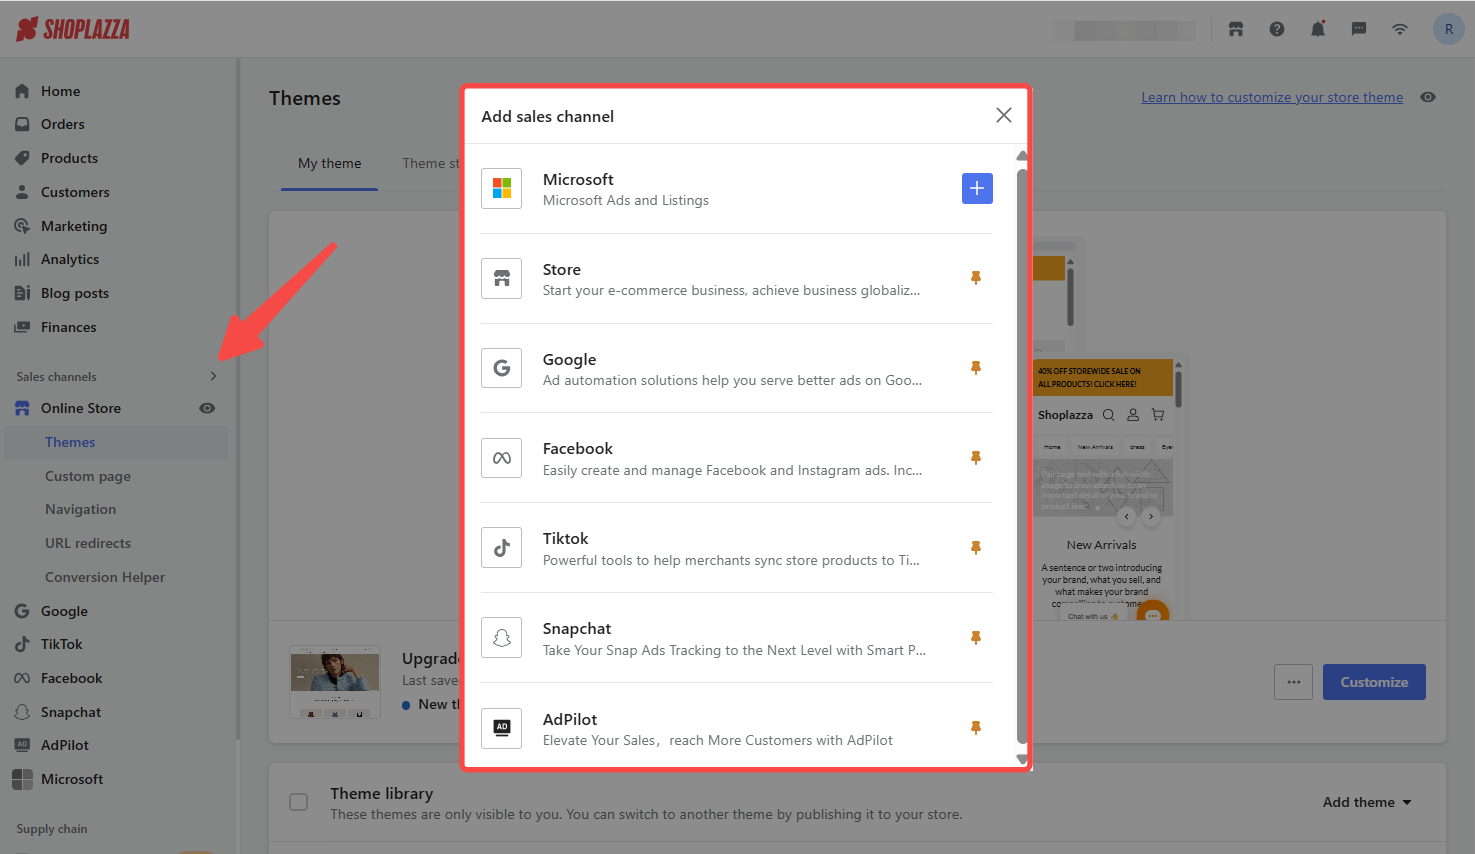
Click Add sales channel to open a window showing available options such as Microsoft, Google, TikTok, Facebook, Snapchat, and AdPilot. From here, you can select which channels to activate for your store.
-
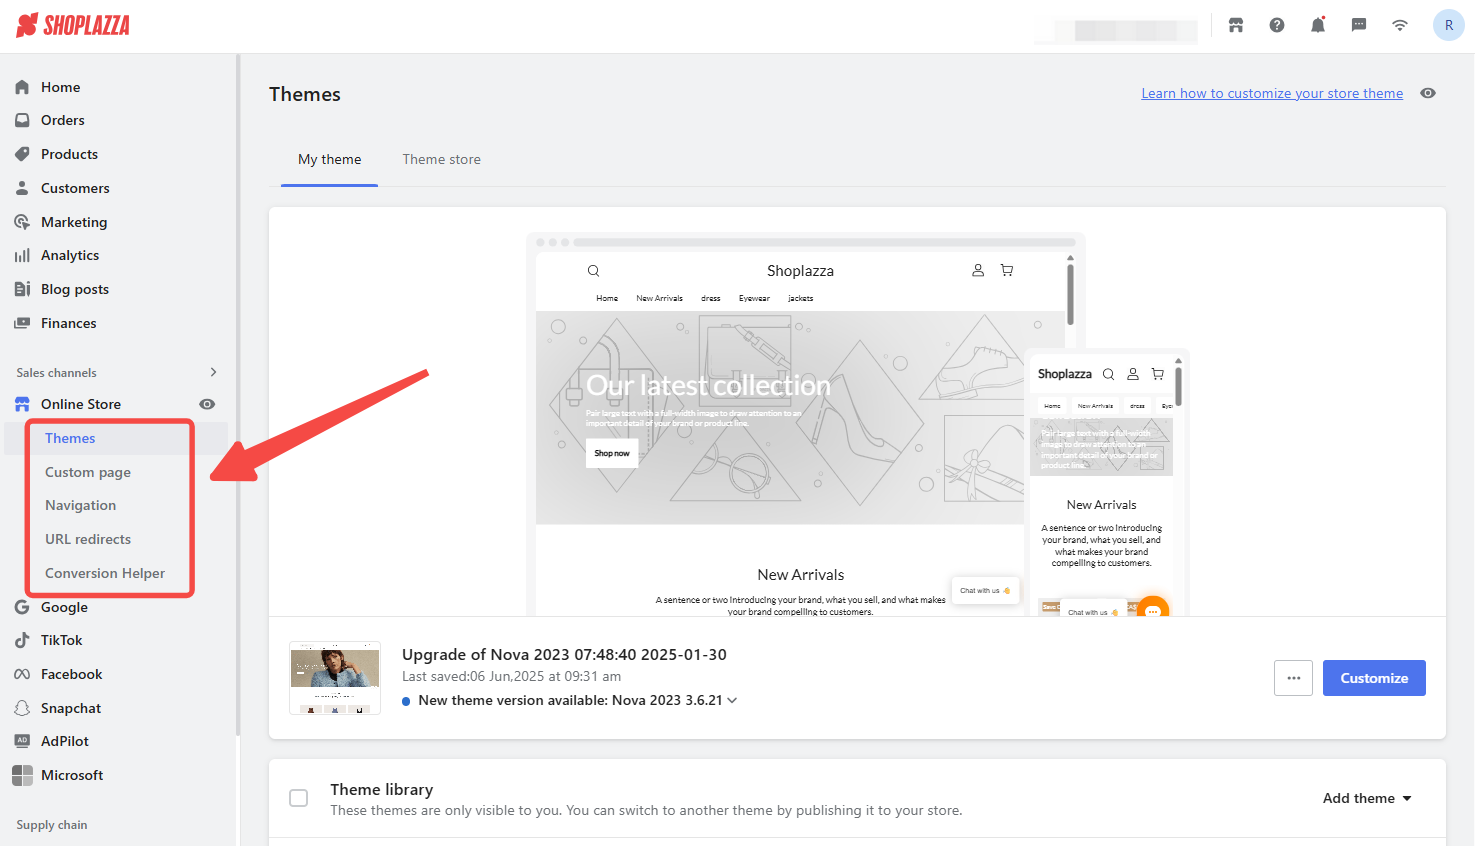
Online Store: Customize your storefront and manage its structure, layout, and performance with access to flexible content and design tools.
- Themes: Choose, apply, and personalize your storefront appearance using Choosing and adding new themes to reflect your brand.
- Custom page: Build informational or promotional pages using Custom pages | Creating and managing store content, with support for banners, sections, and custom layouts.
- Navigation: Improve customer experience with clear menus and dropdowns by following Creating first, second, and third-level navigation menus.
- URL redirects: Maintain link consistency and prevent broken pages using Managing URL Redirects to reroute traffic between updated or removed URLs.
- Conversion Helper: Analyze customer behavior and improve performance using Conversion rate | Identify and fix funnel issues across people, products, and pages to optimize your storefront journey.
- Google: Sync your product catalog with Google Merchant Center and launch shopping ads through the Google Help Center collection to increase visibility in search results.
- TikTok: Promote your products to a younger, video-first audience using the TikTok Help Center collection to connect your catalog and run dynamic ads.
- Facebook: Set up Meta integrations for Facebook and Instagram to manage product feeds and ads via the Facebook Help Center collection.
- Microsoft: Extend reach through Microsoft Ads and Bing product listings using the Microsoft Help Center collection for setup and sync instructions.
- Snapchat: Advertise through Snapchat’s visual platform by linking your catalog and campaigns using the Snapchat Help Center collection.
- AdPilot: Automate campaign creation and optimization with AI-powered tools outlined in the AdPilot Help Center collection for smarter advertising.
Apps
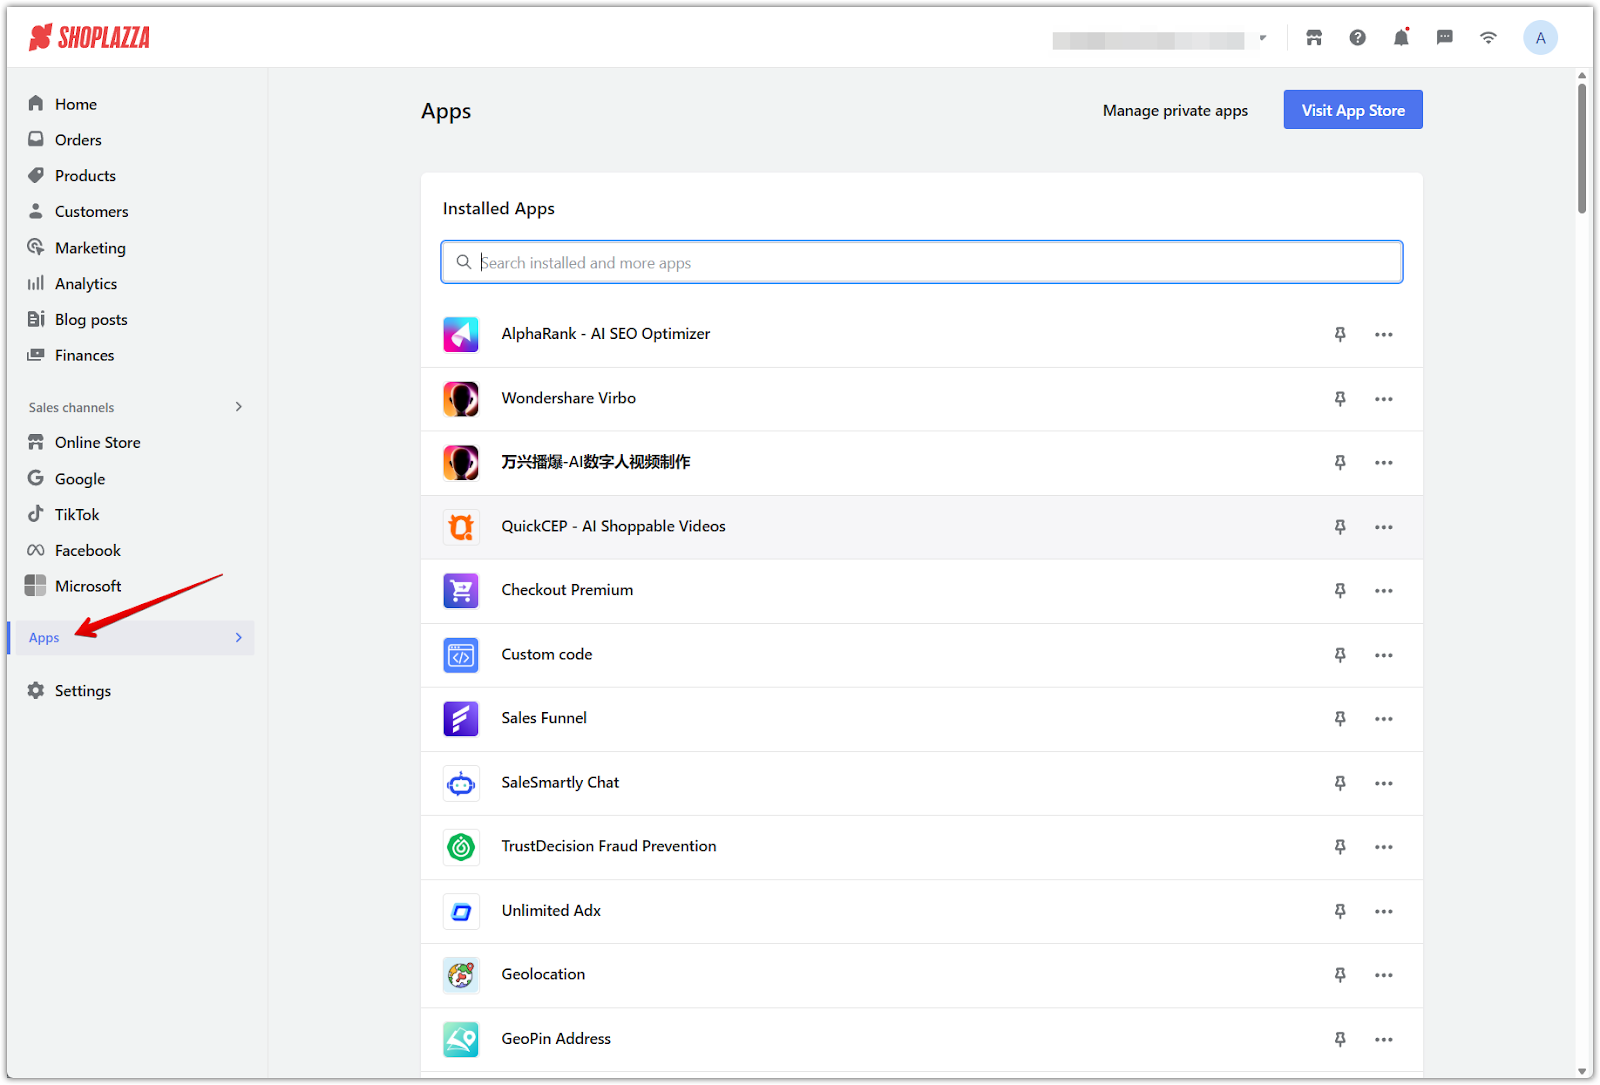
The Apps section allows you to manage third-party tools that extend your store’s functionality. Whether you're integrating SEO tools, custom marketing features, AI solutions, or private apps, this section provides centralized access to everything installed and available through the Shoplazza App Store.
- Installed apps: View all apps connected to your store and manage their settings, usage permissions, or uninstall options.
- Search bar: Quickly locate specific apps by name from your installed list.
- Visit App Store: Browse and install new tools from categories like sales, marketing, customer support, and automation in the Shoplazza App Store .
- App settings menu: Access options such as Get support, About the app, or Delete options by clicking the three-dot menu beside each app.
- Manage private apps: Create and configure internal or third-party custom integrations that are not listed in the public app store. You can assign access tokens and define permission scopes for specific resources, such as orders and products.
Settings
The Settings section allows you to configure and control the core operations of your store. From team access and payment options to taxes, legal policies, and advanced features like metafields, these tools define how your store behaves, displays content, and processes transactions.
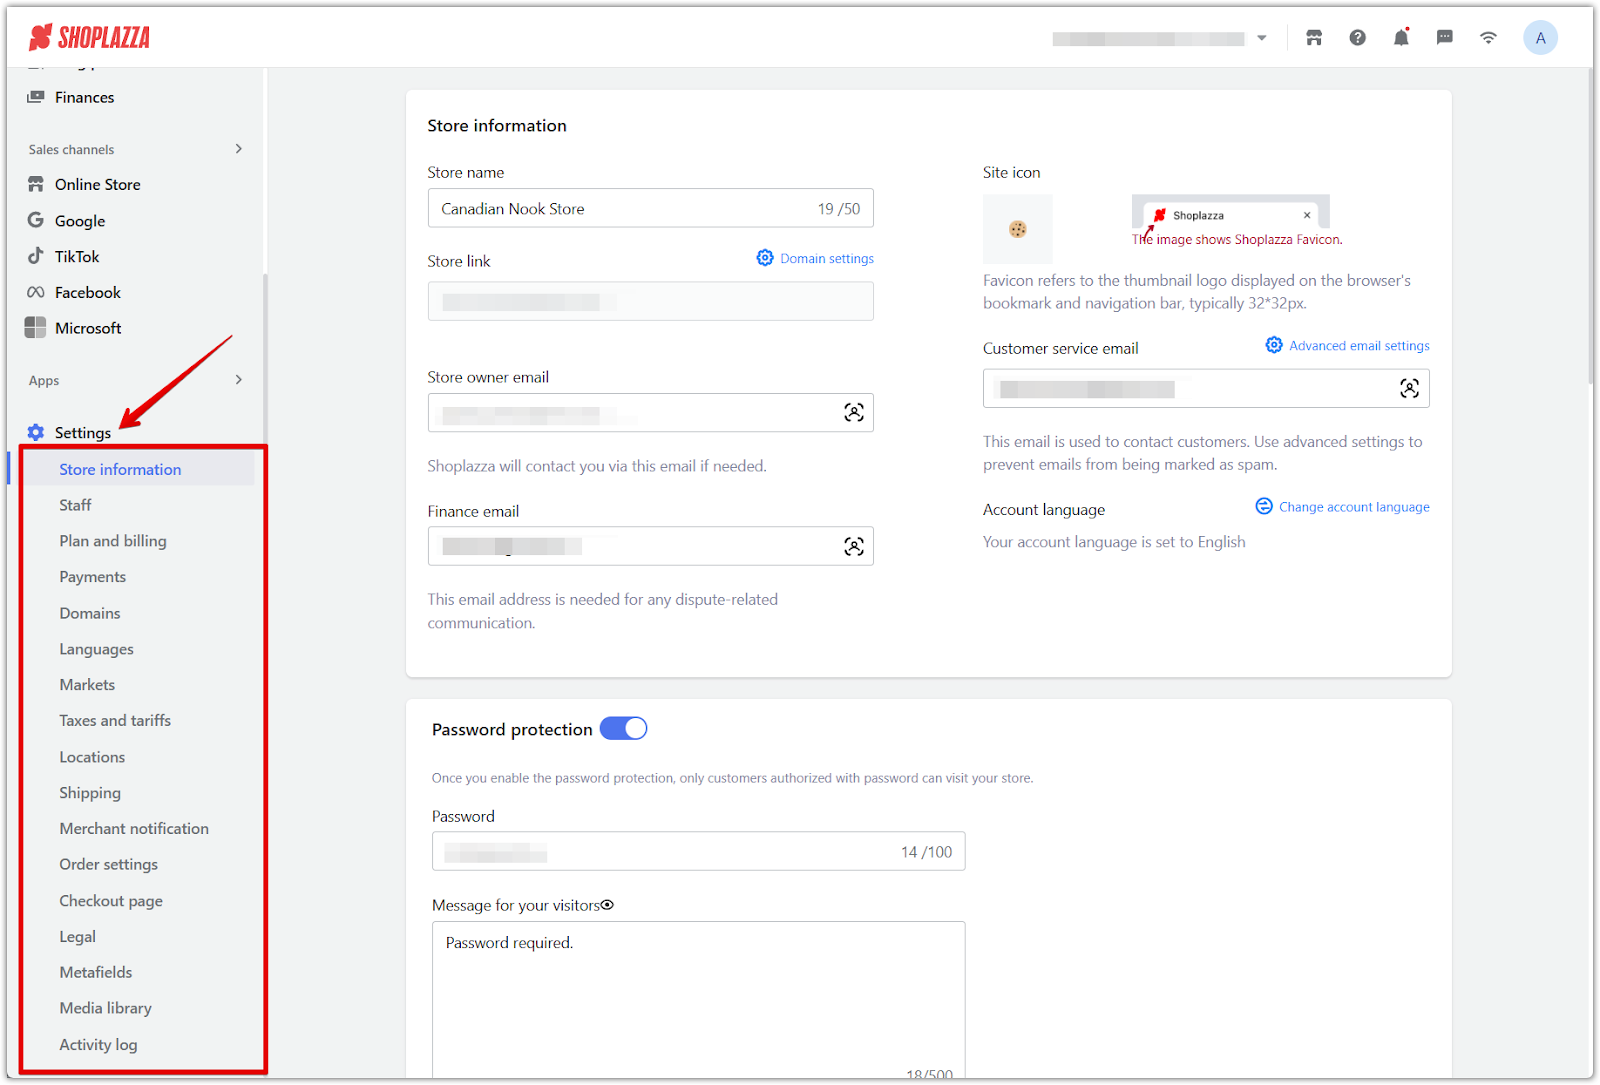
- Store information: Set your store name, link, contact emails, favicon, language, and storefront password protection by following Managing your Store information.
- Staff: Add or remove team members, assign specific access roles, and control admin permissions using Managing your staff to safeguard your workspace.
- Plan and billing: Review your current subscription plan, manage billing cycles, and download payment receipts through Subscription Plans & Payment.
- Payments: Set up Shoplazza Payments or third-party gateways like PayPal and Stripe by following Adding payment methods to your online store.
- Domains: Connect your custom domain, set a default domain, or purchase a new one from within your admin using Managing your domains.
- Languages: Enable multi-language support, manage storefront translations, and improve global accessibility with the Guide to multi-language settings.
- Markets: Create region-based storefronts, assign currencies or languages, and define regional display logic using Market Management.
- Taxes and tariffs: Define tax rates by location, enable automatic tax calculation, or manually assign rules using Setting up taxes for your store.
- Locations: Add and manage fulfillment locations to support inventory tracking, local shipping, and multi-location management via Setting up multiple store locations.
- Shipping: Create shipping profiles with zones, rates, and methods to calculate delivery options accurately by reviewing the Introduction to shipping.
- Merchant notifications: Enable and customize system-generated emails for orders, fulfillment, refunds, and customer alerts using Merchant notifications.
- Order settings: Control order visibility, enable invoice logic, and adjust fulfillment automation using the tools in Trading Rules.
- Checkout page: Customize your checkout page appearance, configure input fields, and adjust express checkout behavior with Checkout page | Change your checkout style.
- Legal: Create, manage, and assign policy pages like Terms of Service, Privacy Policy, and Refund Policy using Creating and implementing Terms of Service for your online store.
- Metafields: Extend product, collection, and order data by adding custom fields through Setting up Metafields to support advanced display logic or integrations.
- Media library: Upload, rename, and organize image and video assets across themes and pages by reviewing Material Center | File formats and size details.
- Activity log: Track platform events, admin actions, and permission changes over time using Activity Logs | Understanding data retention to maintain audit trails.


Comments
Please sign in to leave a comment.