
Managing your domains is an important aspect of crafting your online presence. If you've ventured beyond the default domain of your store and purchased custom domains from third-party providers, managing these settings is straightforward in your Shoplazza admin.
Navigate to Shoplazza Admin > Settings > Domains to access these settings.
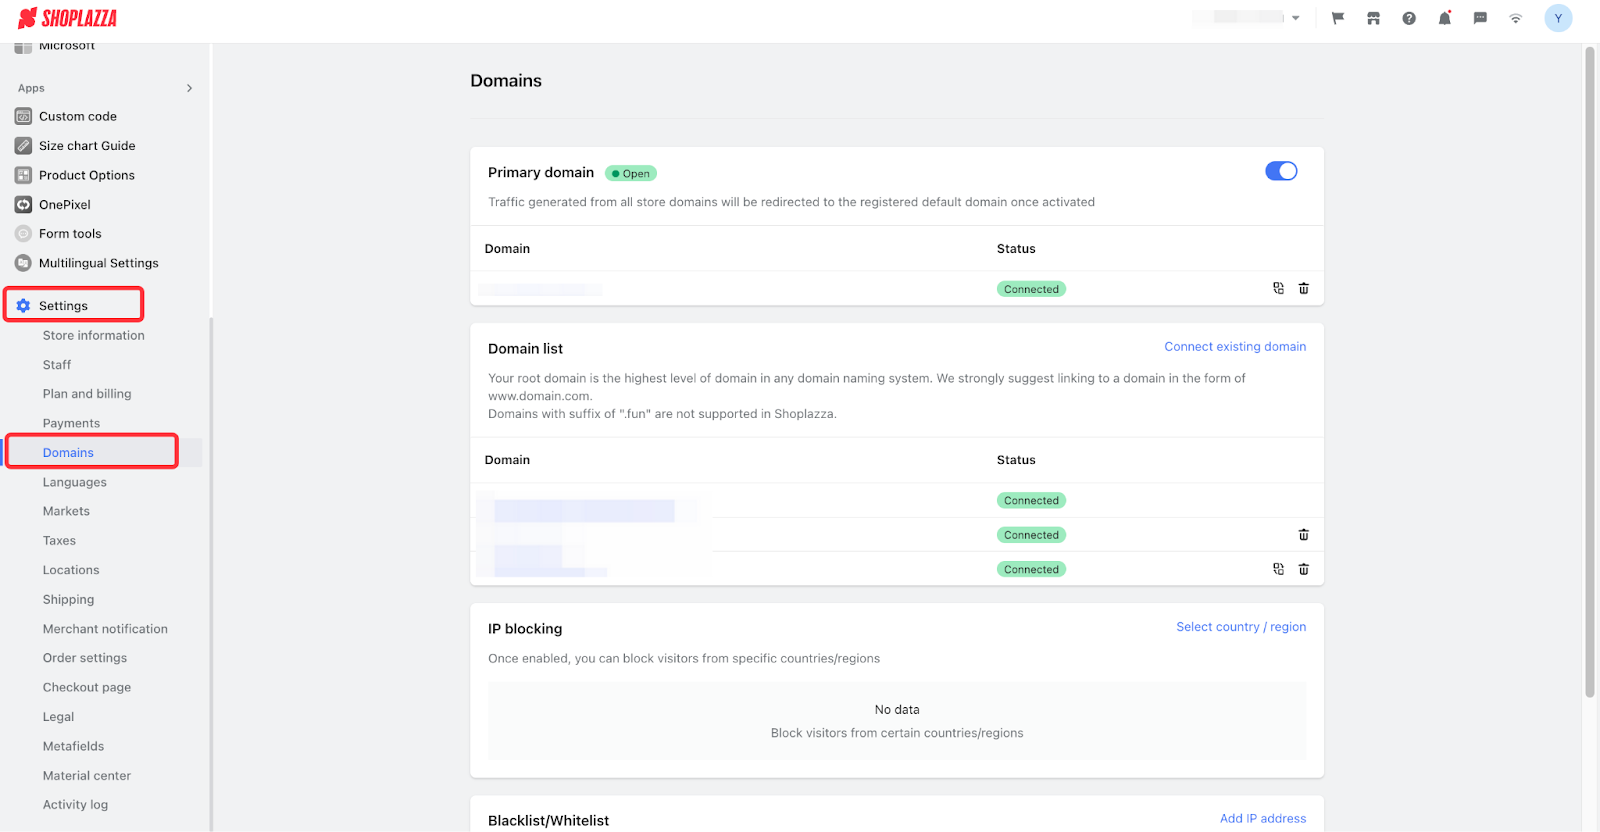
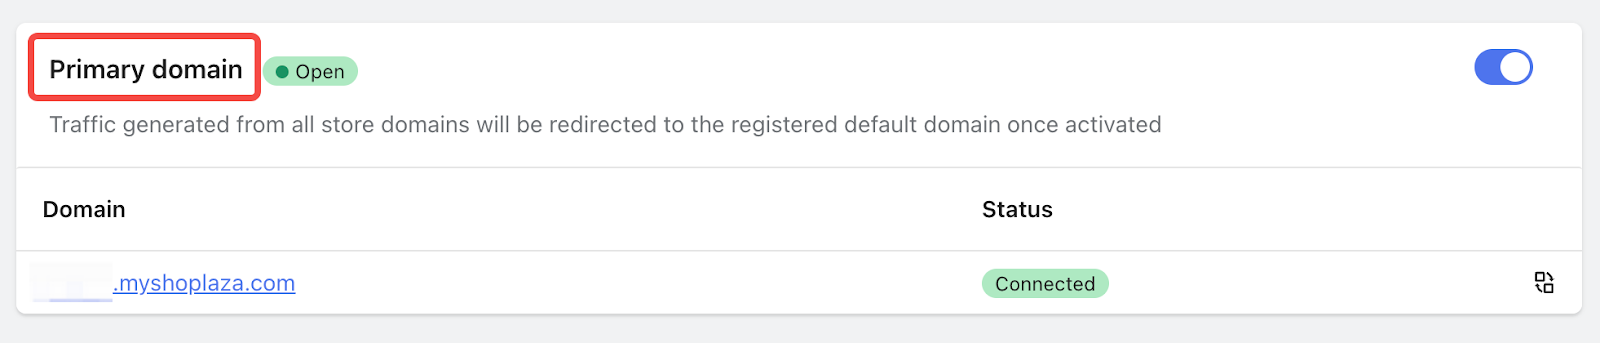
Primary domain
Your primary domain is the URL address that will be displayed to customers. You can toggle the on/off button to redirect traffic from other domains to this primary domain whenever a customer visits your store.
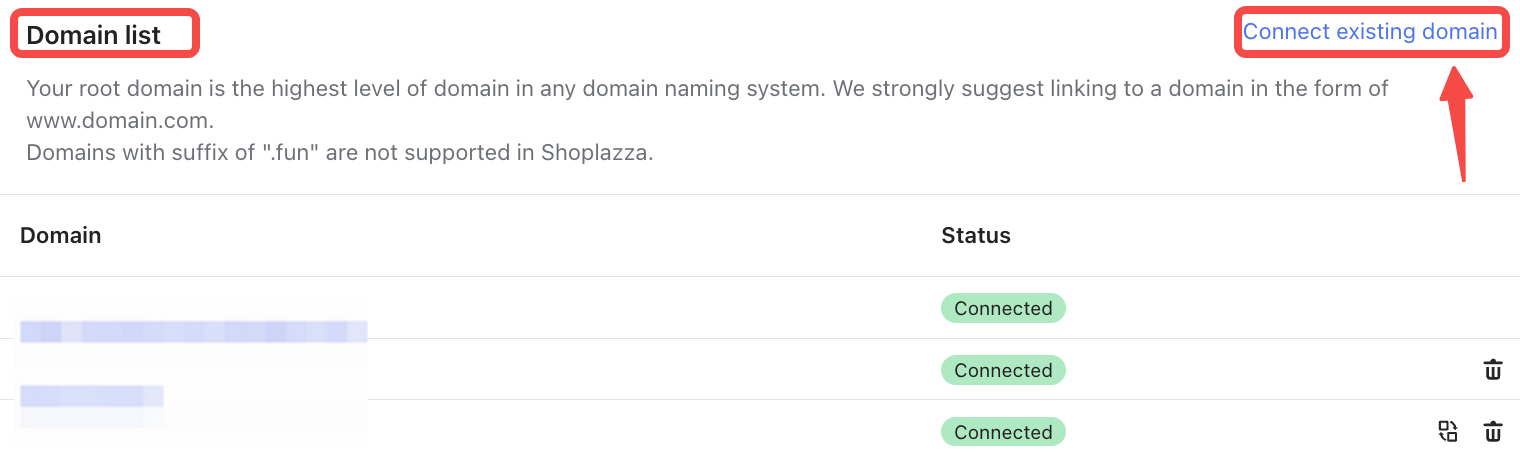
Domain list
Your domain list is a comprehensive record of all domains you've added previously. Click Connect existing domains to add a new one.
Note
The maximum number of domains you can add to your store is 20.
Adding a new domain
1. Enter your purchased domain at the search bar and click Next to proceed.
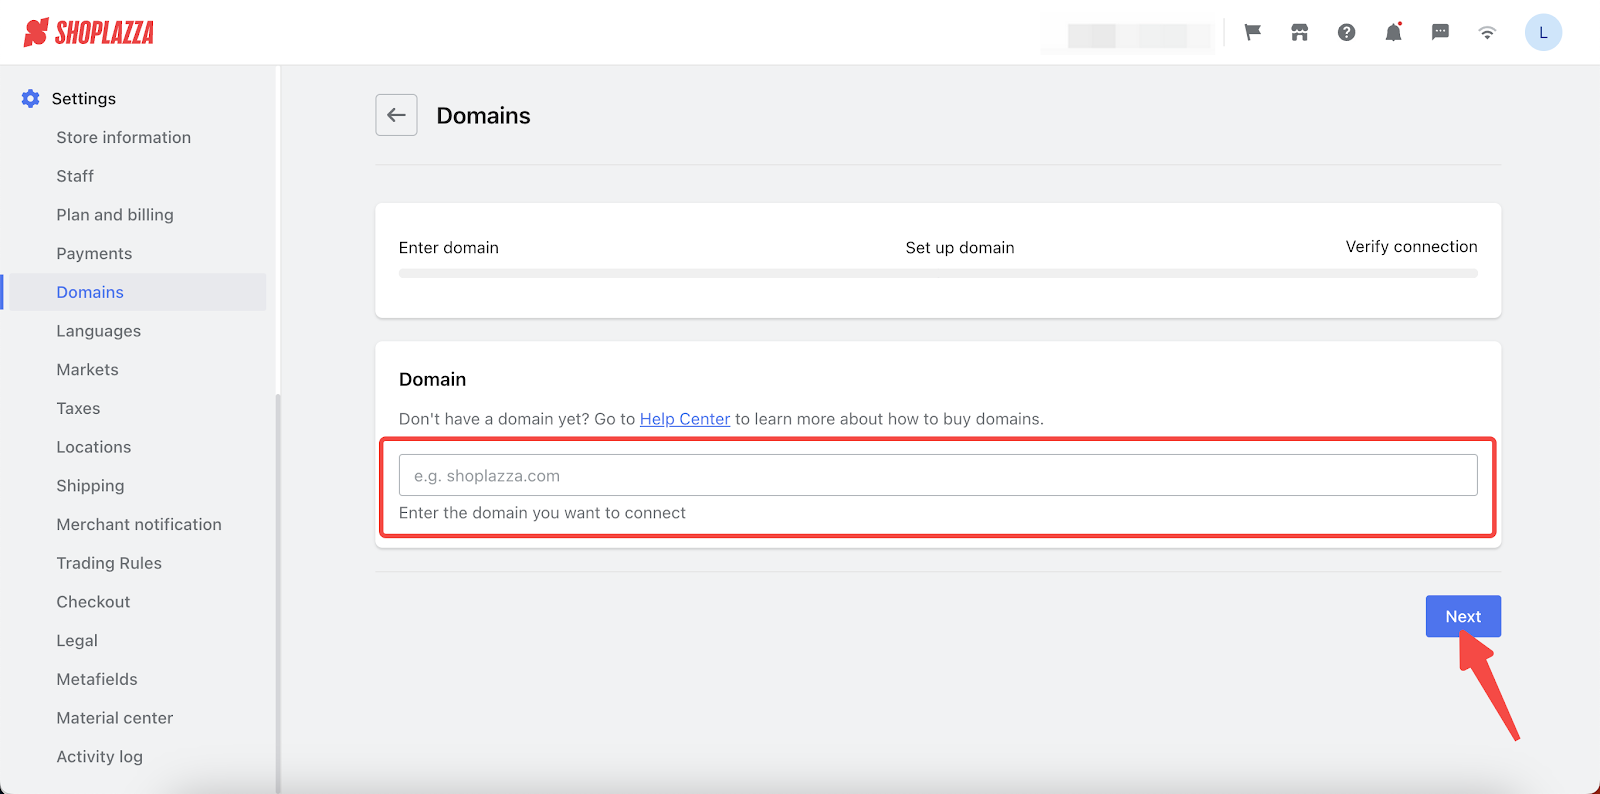
2. The following page will display the required A record and CNAME settings. Ensure these are correctly configured in your third-party domain settings before moving forward. After adjusting these records, click Verify connection to complete the setup.
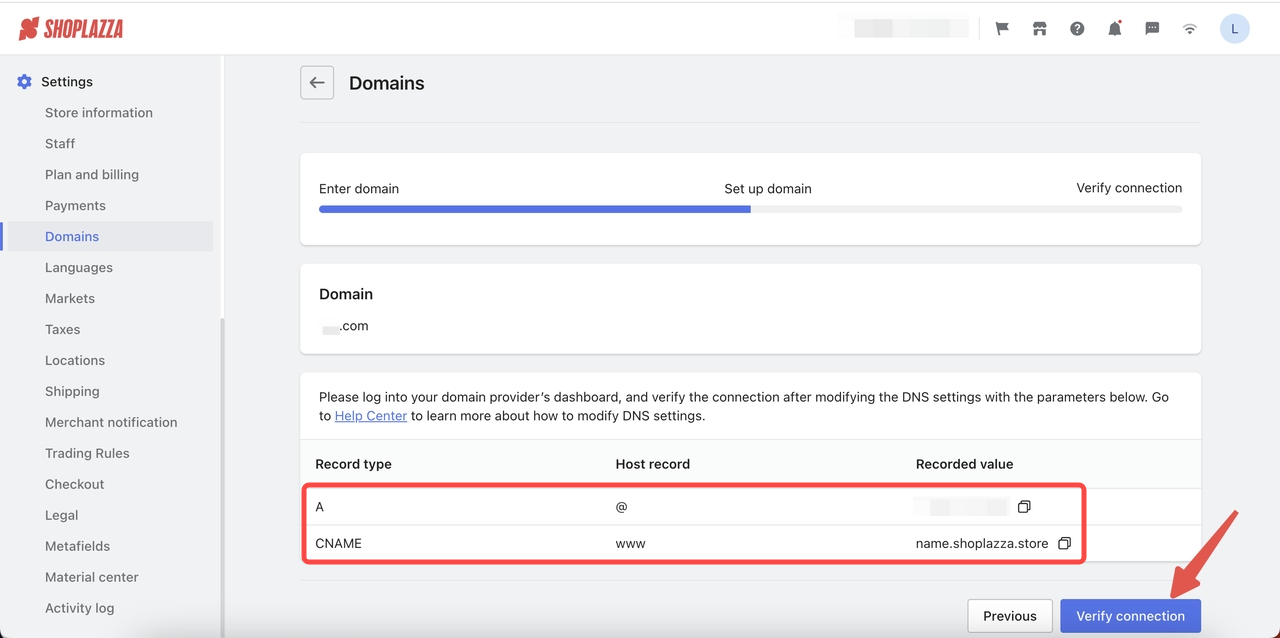
Note
In most cases, you will need your CNAME and A record assigned to your Shoplazza store to be able to connect your own domain.
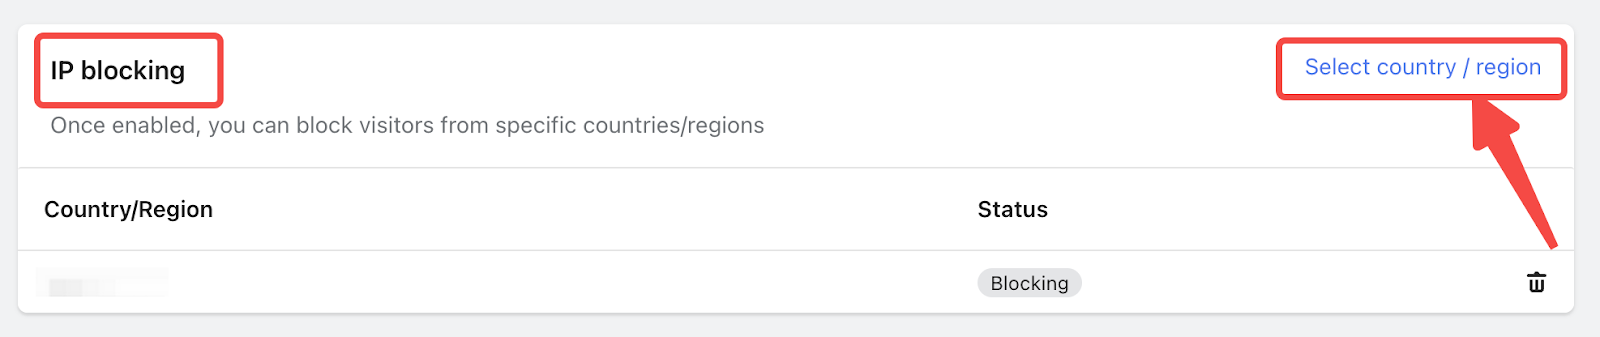
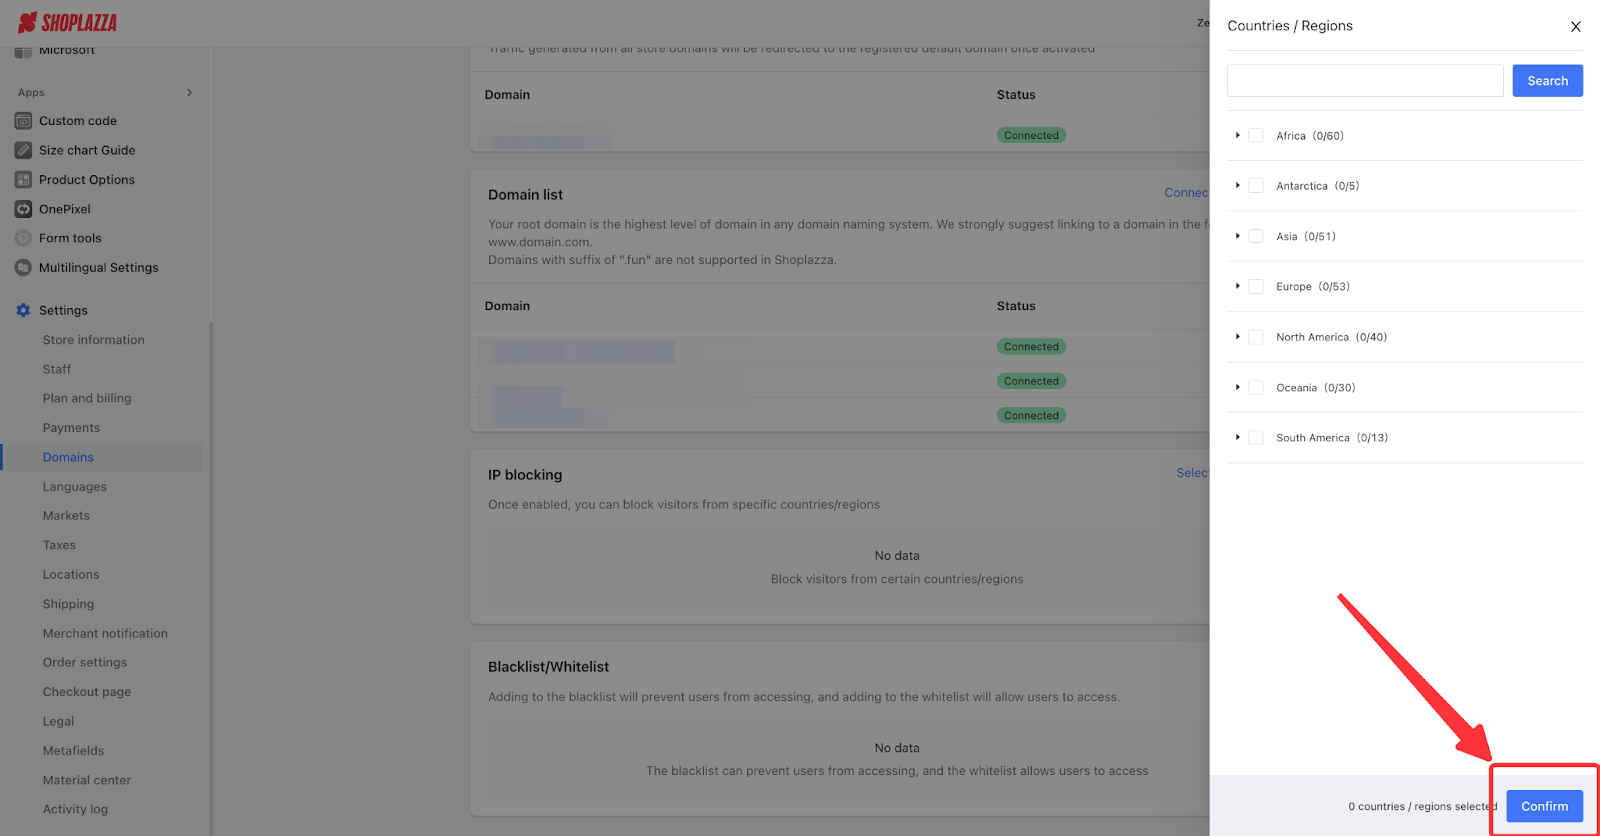
IP Blocking
IP blocking is a security measure to prevent connections to your web pages in certain countries and regions. Click Select country/region to block certain countries or regions, and click Confirm when you complete.
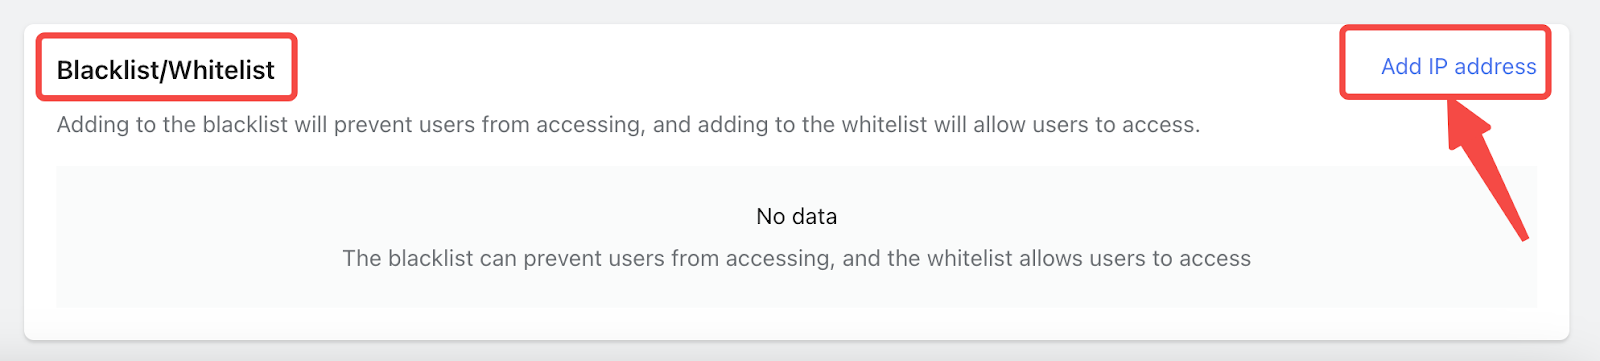
Blacklist/Whitelist
Blacklisting and whitelisting are two more advanced methods to deny/approve access from individual IP addresses rather than limiting them to countries/regions.
- Blacklisting: Often used for filtering out unauthorized/unwanted access requests from IPs by denying them.
- Whitelisting: Often used in a scenario where you are generally restricting IPs from certain Countries/Regions, but you would like to make an exception.
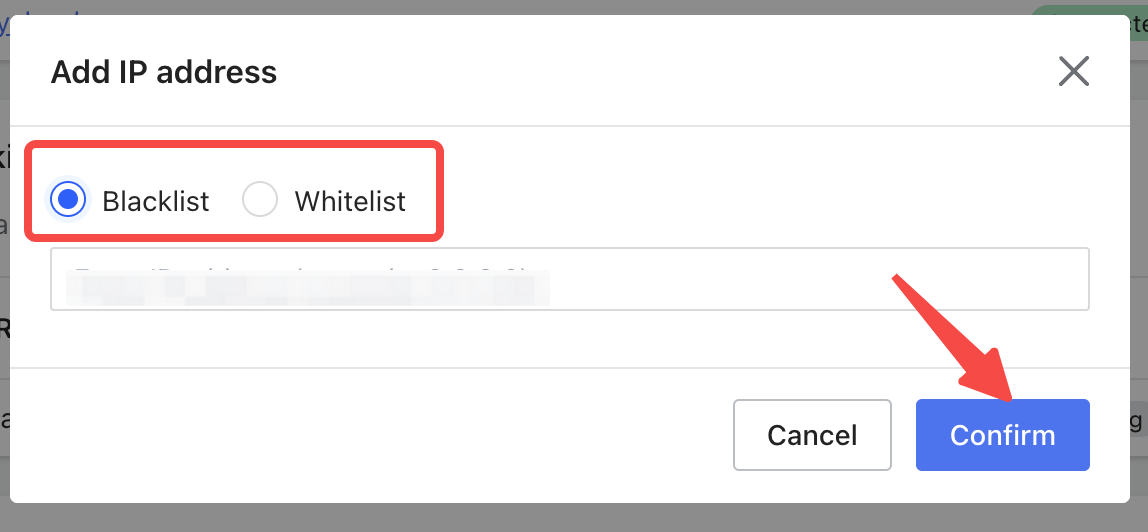
Click Add IP address and select to Blacklist or Whitelist an IP. Enter the IP address in the text box and then click Confirm to complete your settings.


Comments
Please sign in to leave a comment.