
Managing blogs in your Shoplazza store helps strengthen customer engagement and boost SEO performance. A blog enables you to share brand stories, showcase product knowledge, engage your audience, and build a loyal customer base. Investing in strong Shoplazza blog optimization can help you increase organic traffic, improve search visibility, and drive long-term store growth.
This guide walks you through how to create a blog, add blog posts, and effectively display blog content on your Shoplazza storefront.
Adding blog posts
Adding blog posts is the first step to developing a content strategy that fuels your SEO and customer engagement efforts. Each post is an opportunity to share valuable insights, highlight products, and contribute to boosting your store’s organic visibility.
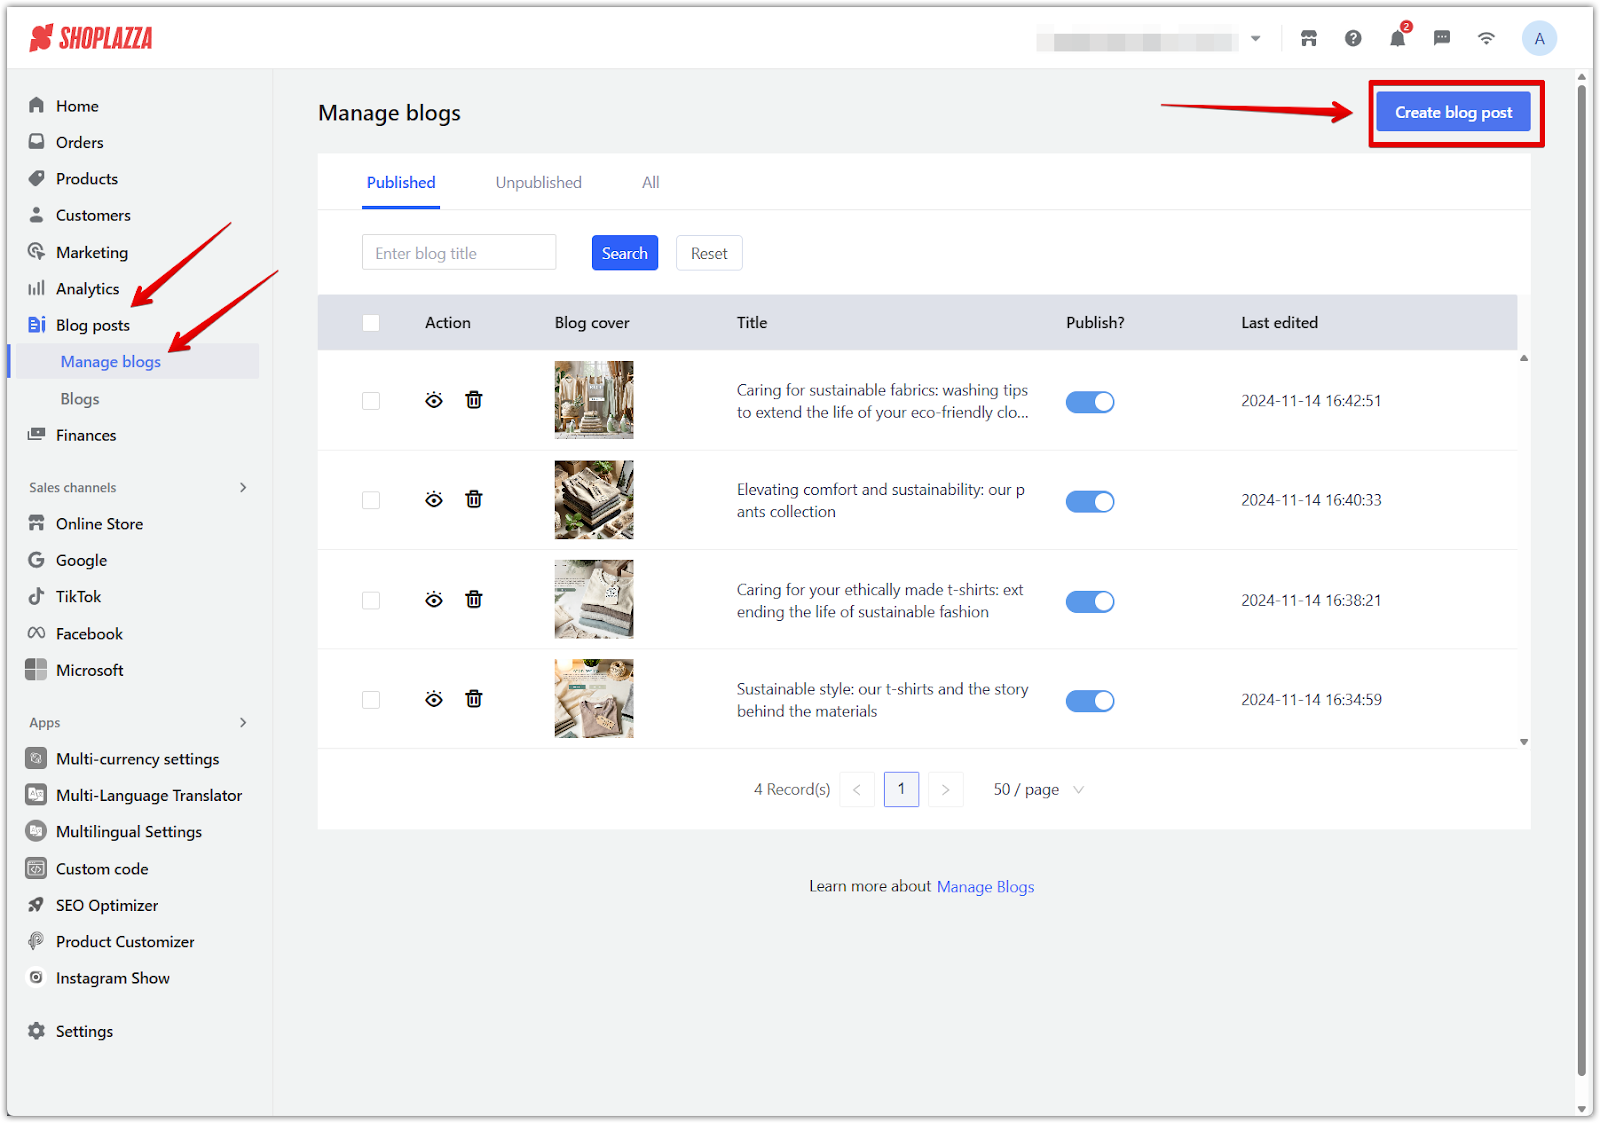
1. Access the blog manager: Navigate to your Shoplazza admin and go to Blog Posts > Manage blogs. Click Create blog post to start creating a new entry. This will open the blog post editor, where you can draft and manage individual posts.
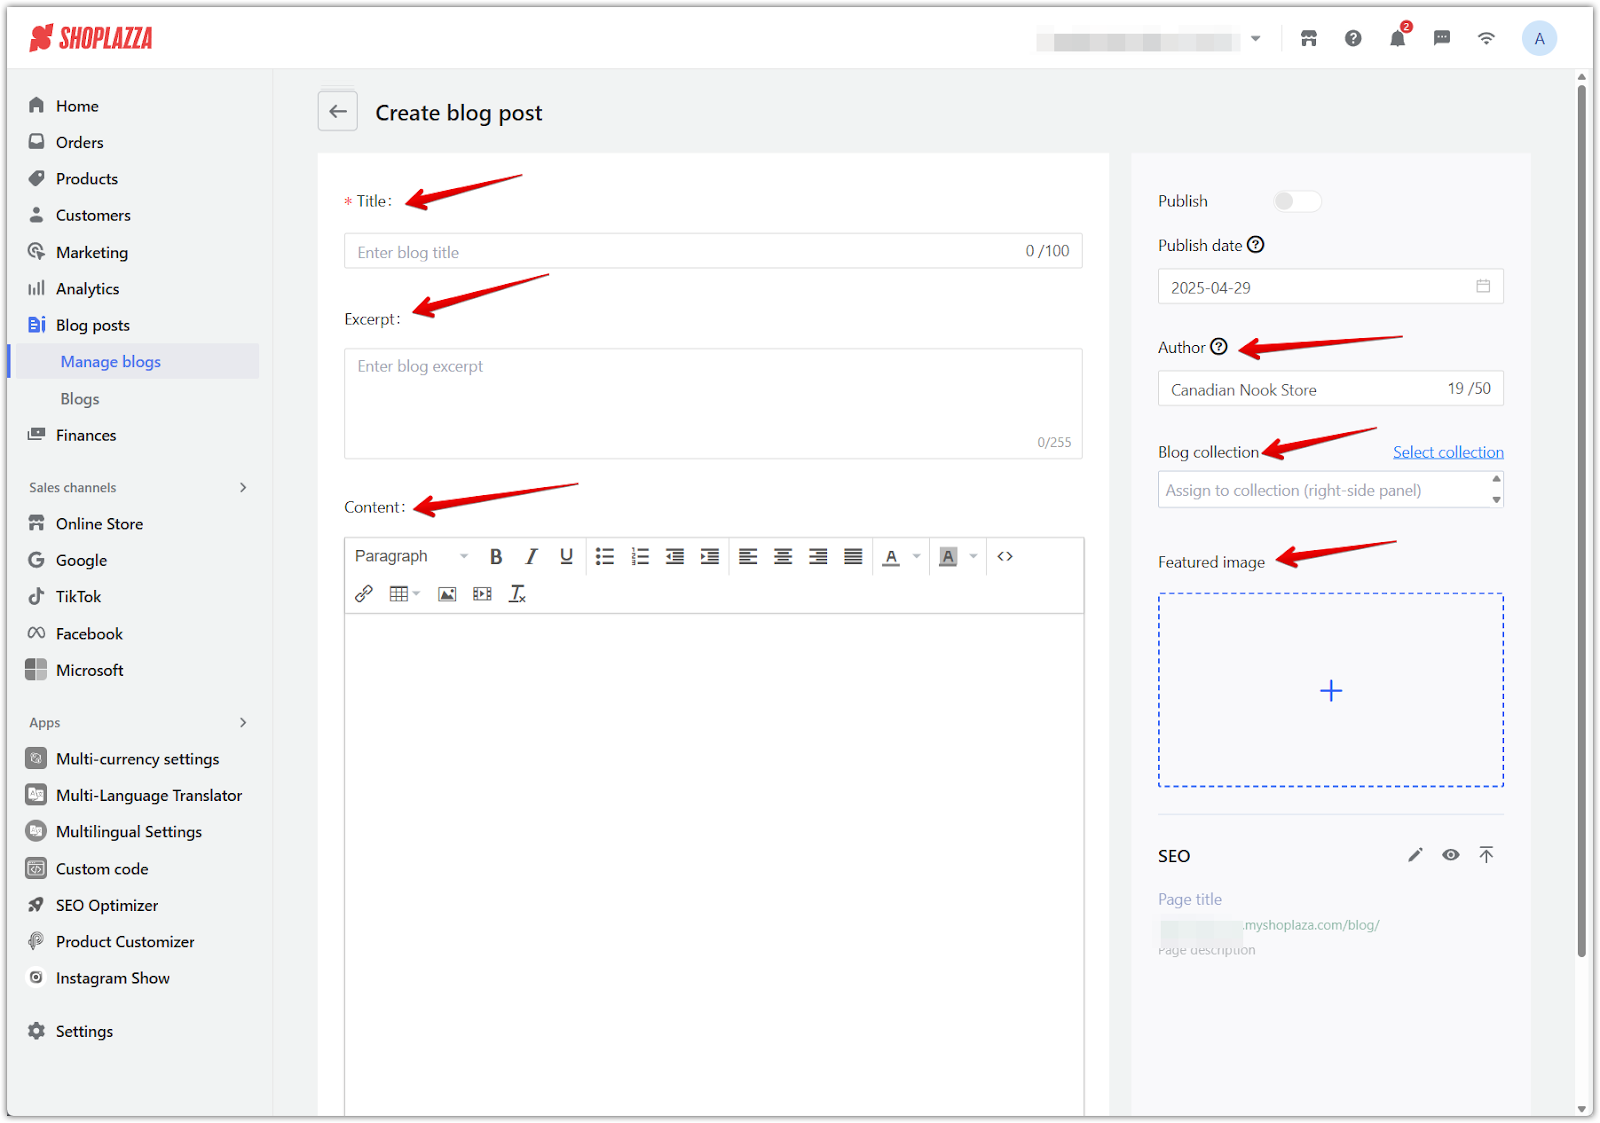
2. Fill in blog details: Complete each section in the Create blog post panel to build a rich, SEO-optimized entry:
- Title: Enter a clear and keyword-rich title (up to 100 characters). This appears as the main headline of your post.
- Excerpt: Add a short summary (up to 255 characters) to display on blog listing pages.
- Content: Write the main body of your article using the formatting toolbar to structure headings, paragraphs, links, and media.
- Author: This field auto-fills with your store name by default. You may adjust the name if needed (up to 50 characters).
- Blog collection: Click Select collection to assign this post to an existing blog group.
- Featured image: Upload a cover image that will appear alongside your post on your storefront and blog listing page.
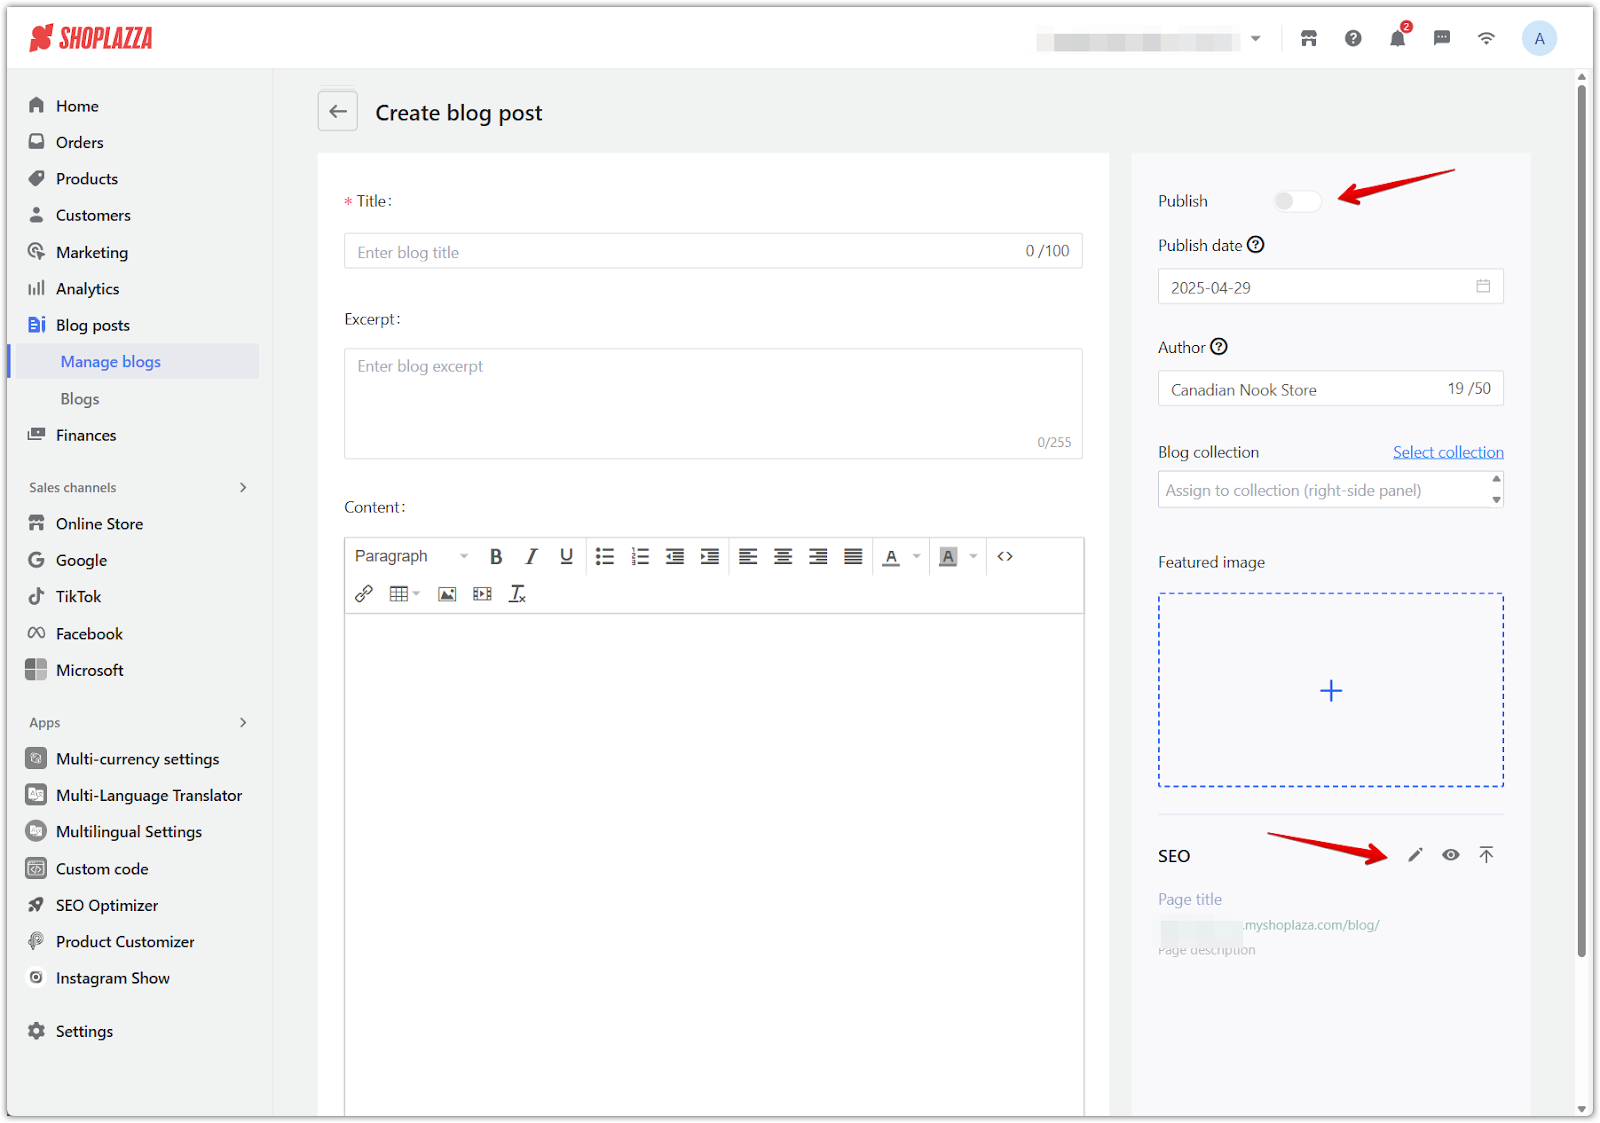
3. Set publish and SEO options: Use the right-hand panel to schedule your post and configure its SEO details:
- Publish date: Choose when the post should go live. Toggle the Publish switch once you're ready.
- SEO: Scroll to the SEO section to review and customize the Page title and Page description. These affect how your blog appears in search engine results.
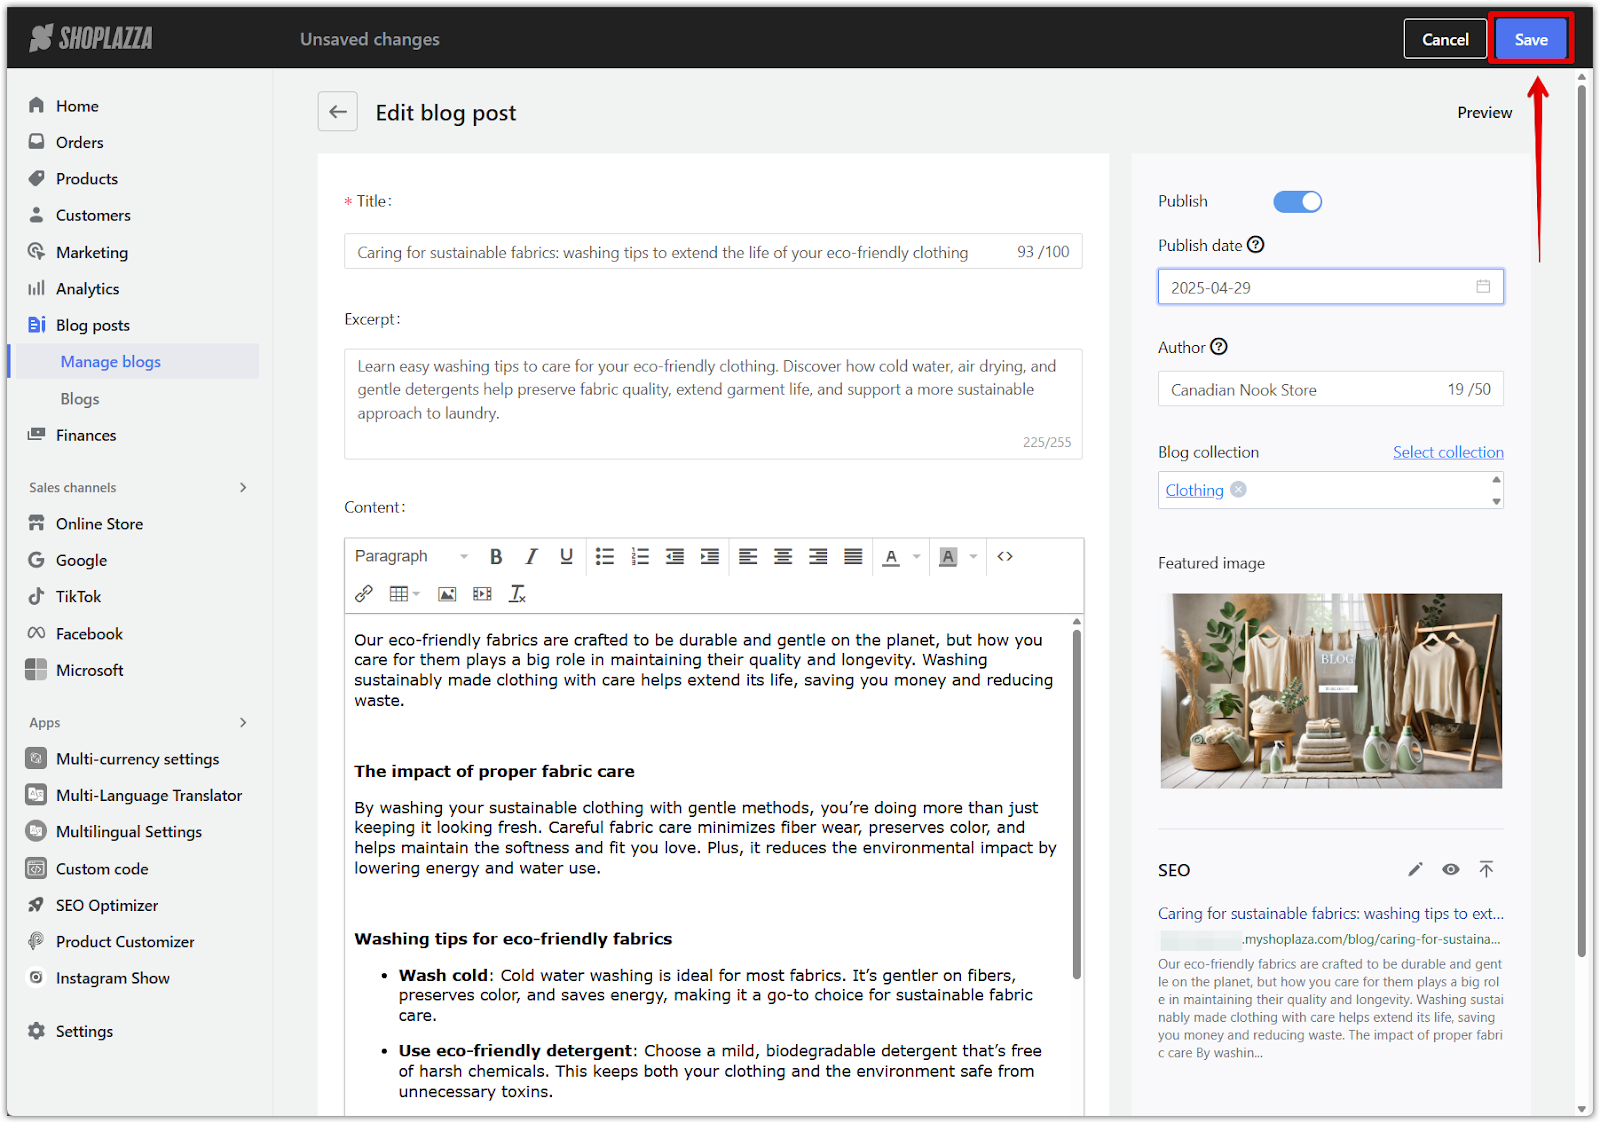
4. Save your blog post: Once everything looks good, click Save to store your new blog post. You can return and edit it anytime if needed.
Creating blogs
Creating a blog category allows you to organize your posts around specific themes, helping customers find the information they need while supporting your overall Shoplazza blog optimization strategy.
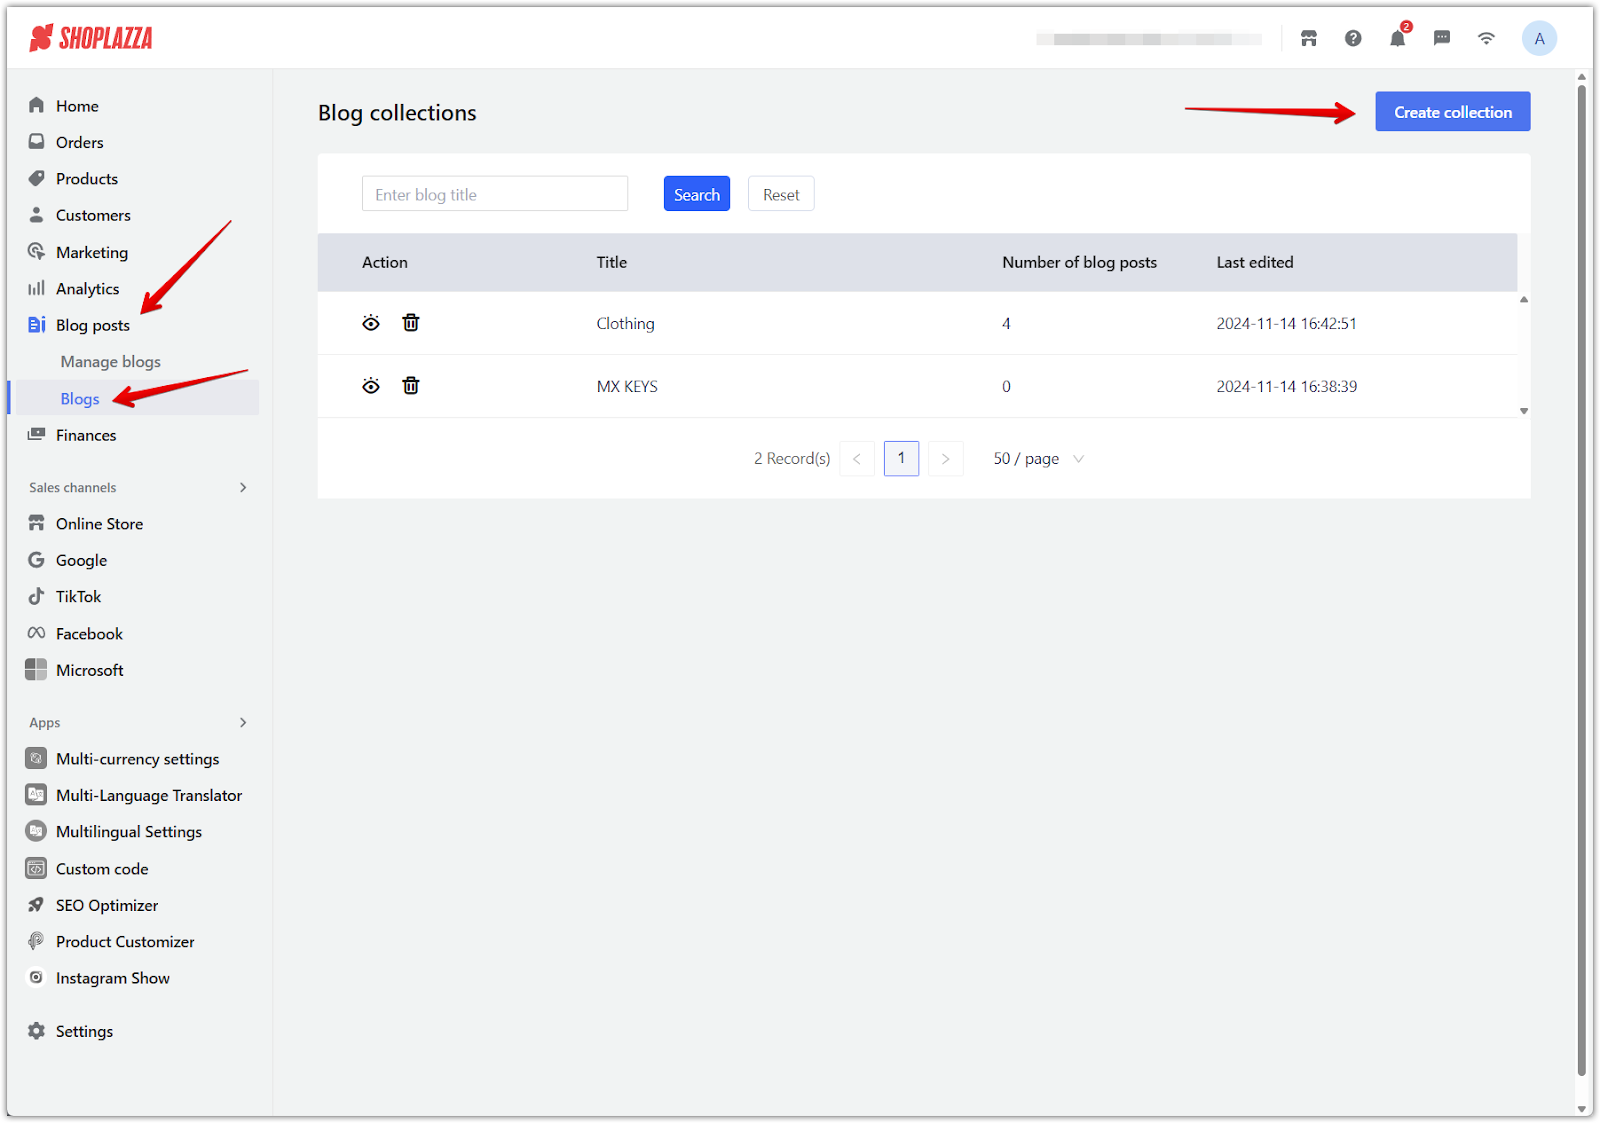
1. Create a new blog: From your Shoplazza admin, go to Blog posts > Blogs, then click Create collection in the upper right. This will create a blog collection, which serves as a category where you can group related posts together for easier browsing and organization on your storefront.
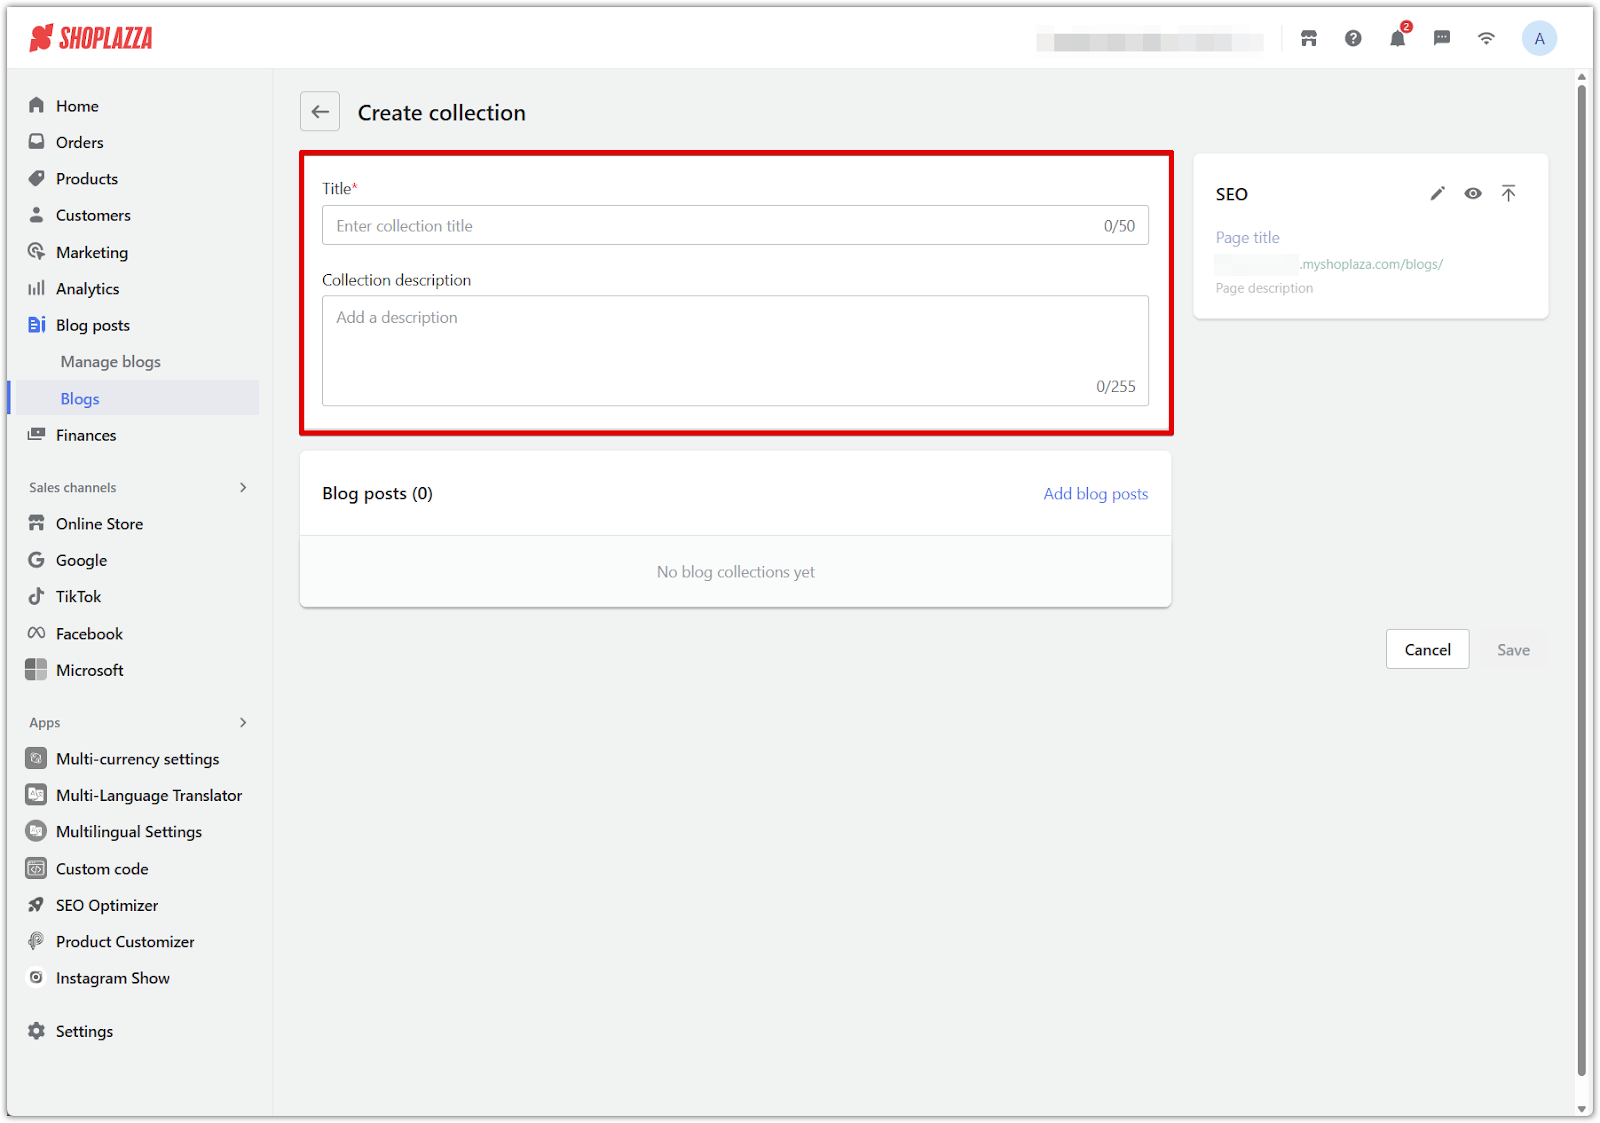
2. Add blog collection details: Fill out the required fields to define your blog collection and help customers understand what type of content to expect:
- Title: Enter a name that describes the theme of the collection (e.g., "Style Tips" or "News and Updates"). This title can be up to 50 characters.
- Collection description: Provide a short description (up to 255 characters) to introduce the blog collection's focus and tone.
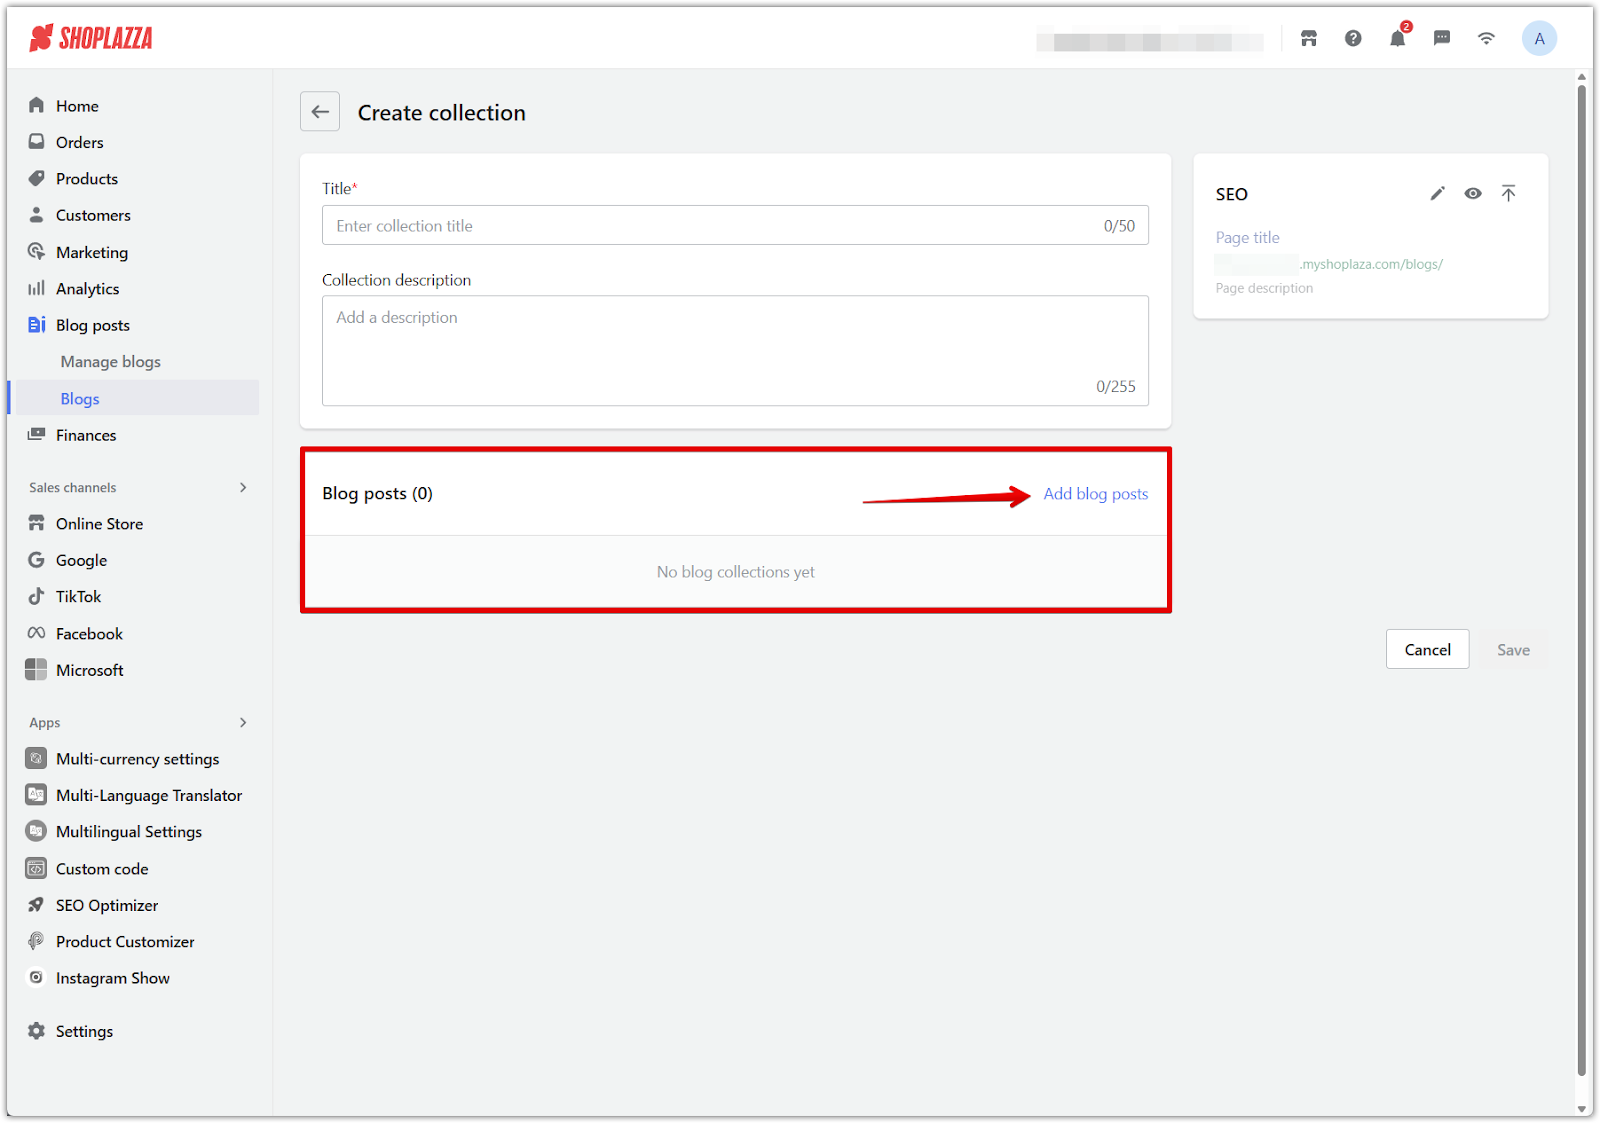
3. Add blog posts to the collection: Click Add blog posts to attach existing blog posts to this collection. This allows you to group related articles together, helping customers navigate your content more easily.
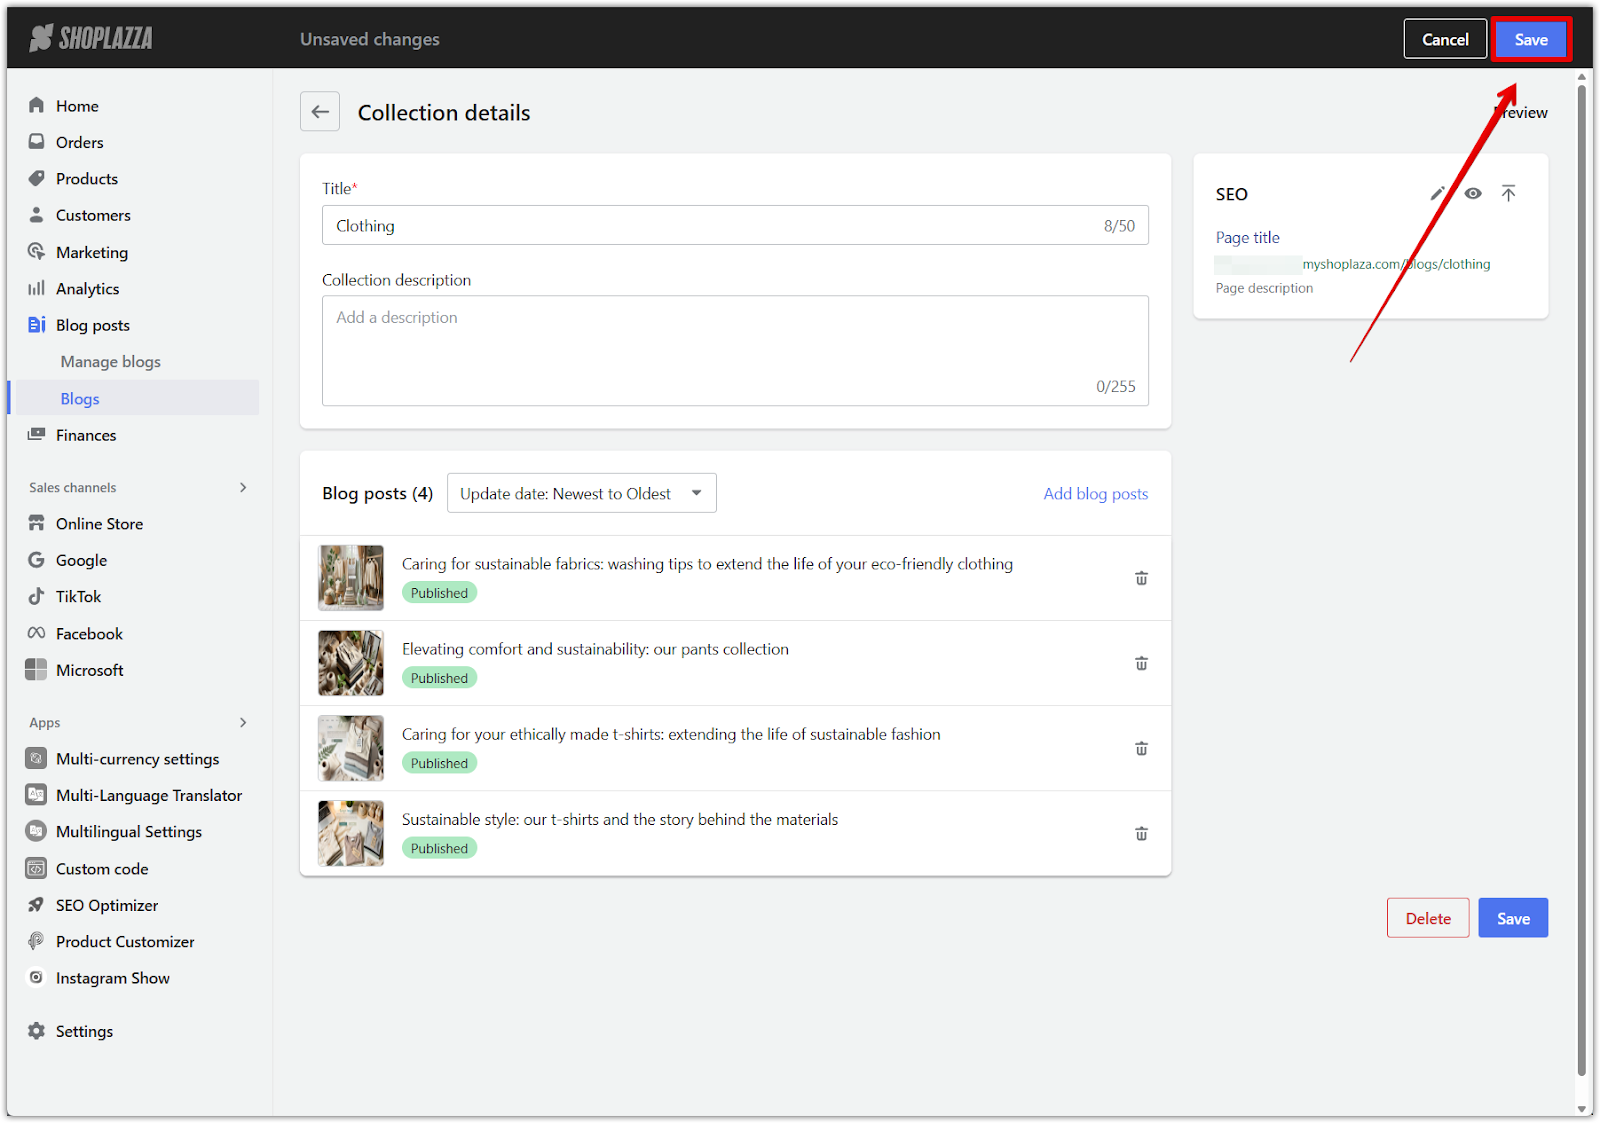
4. Save your blog: After entering all the necessary information, click Save to complete the blog setup. You can always return to add more posts or edit the details.
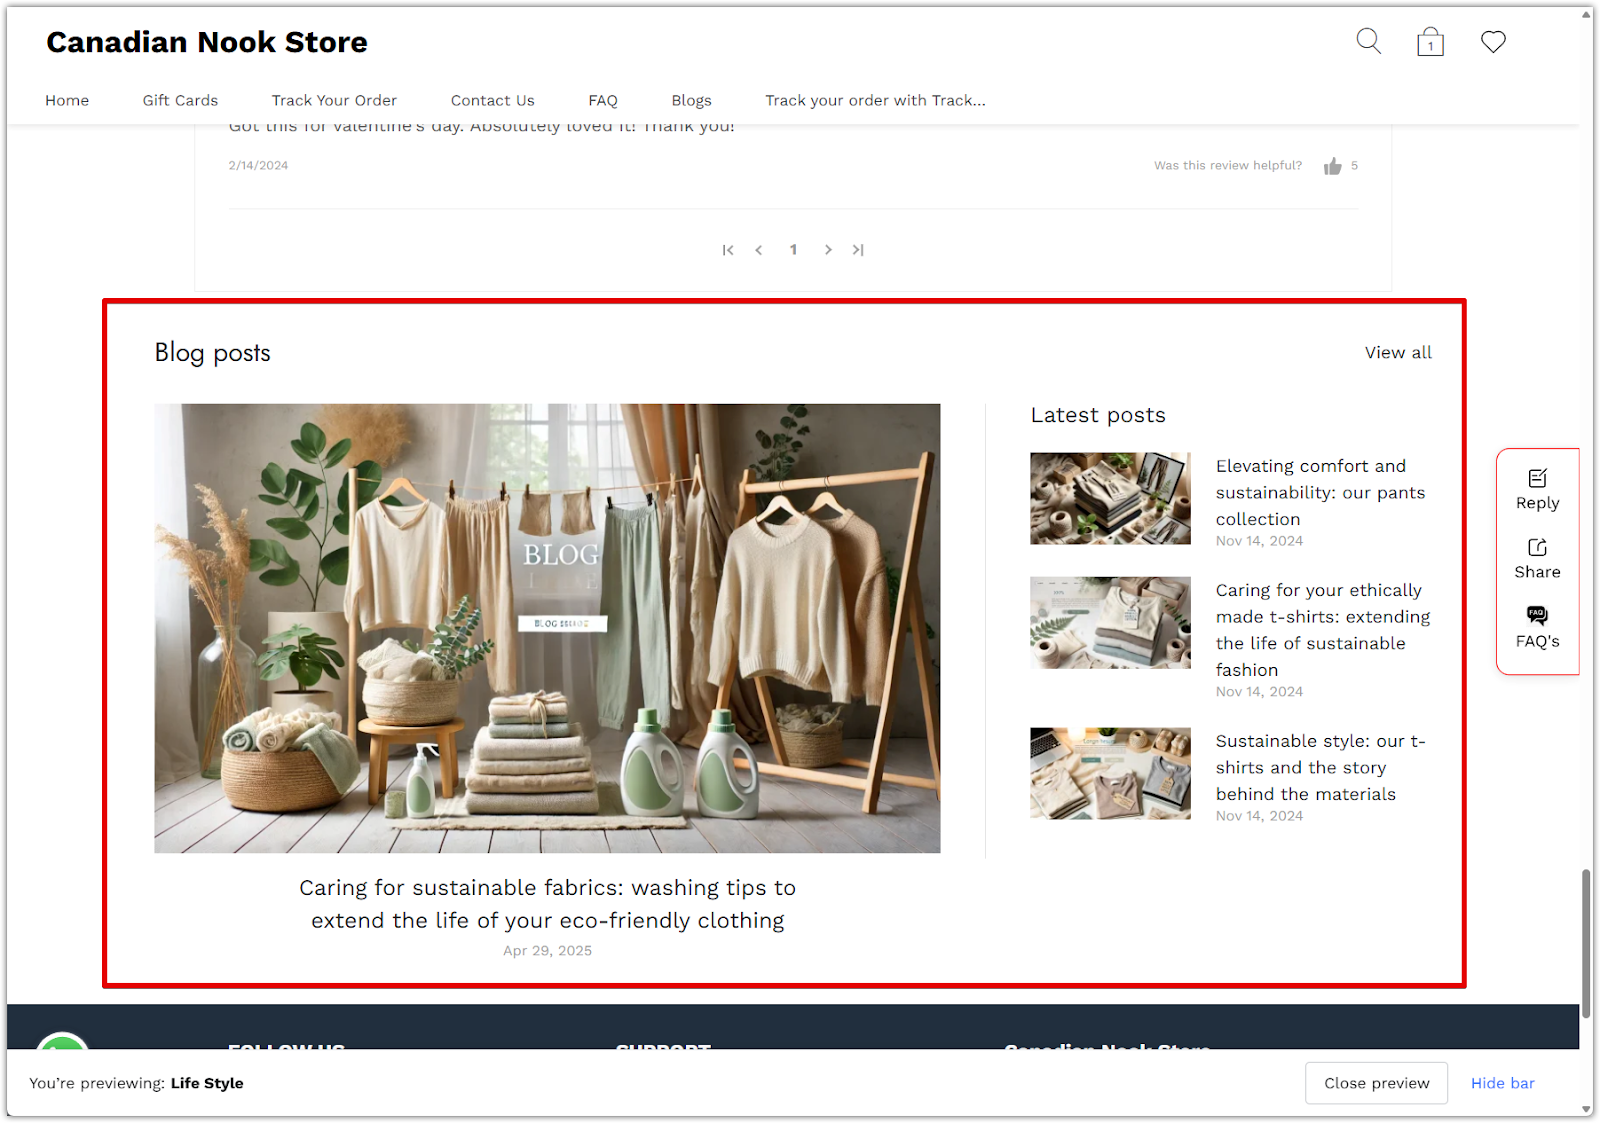
Configuring blogs in your theme
After creating your blogs and posts, the next step is configuring their appearance on your storefront. A well-designed blog section makes your store feel dynamic and helps you boost SEO rankings by keeping the site regularly updated.
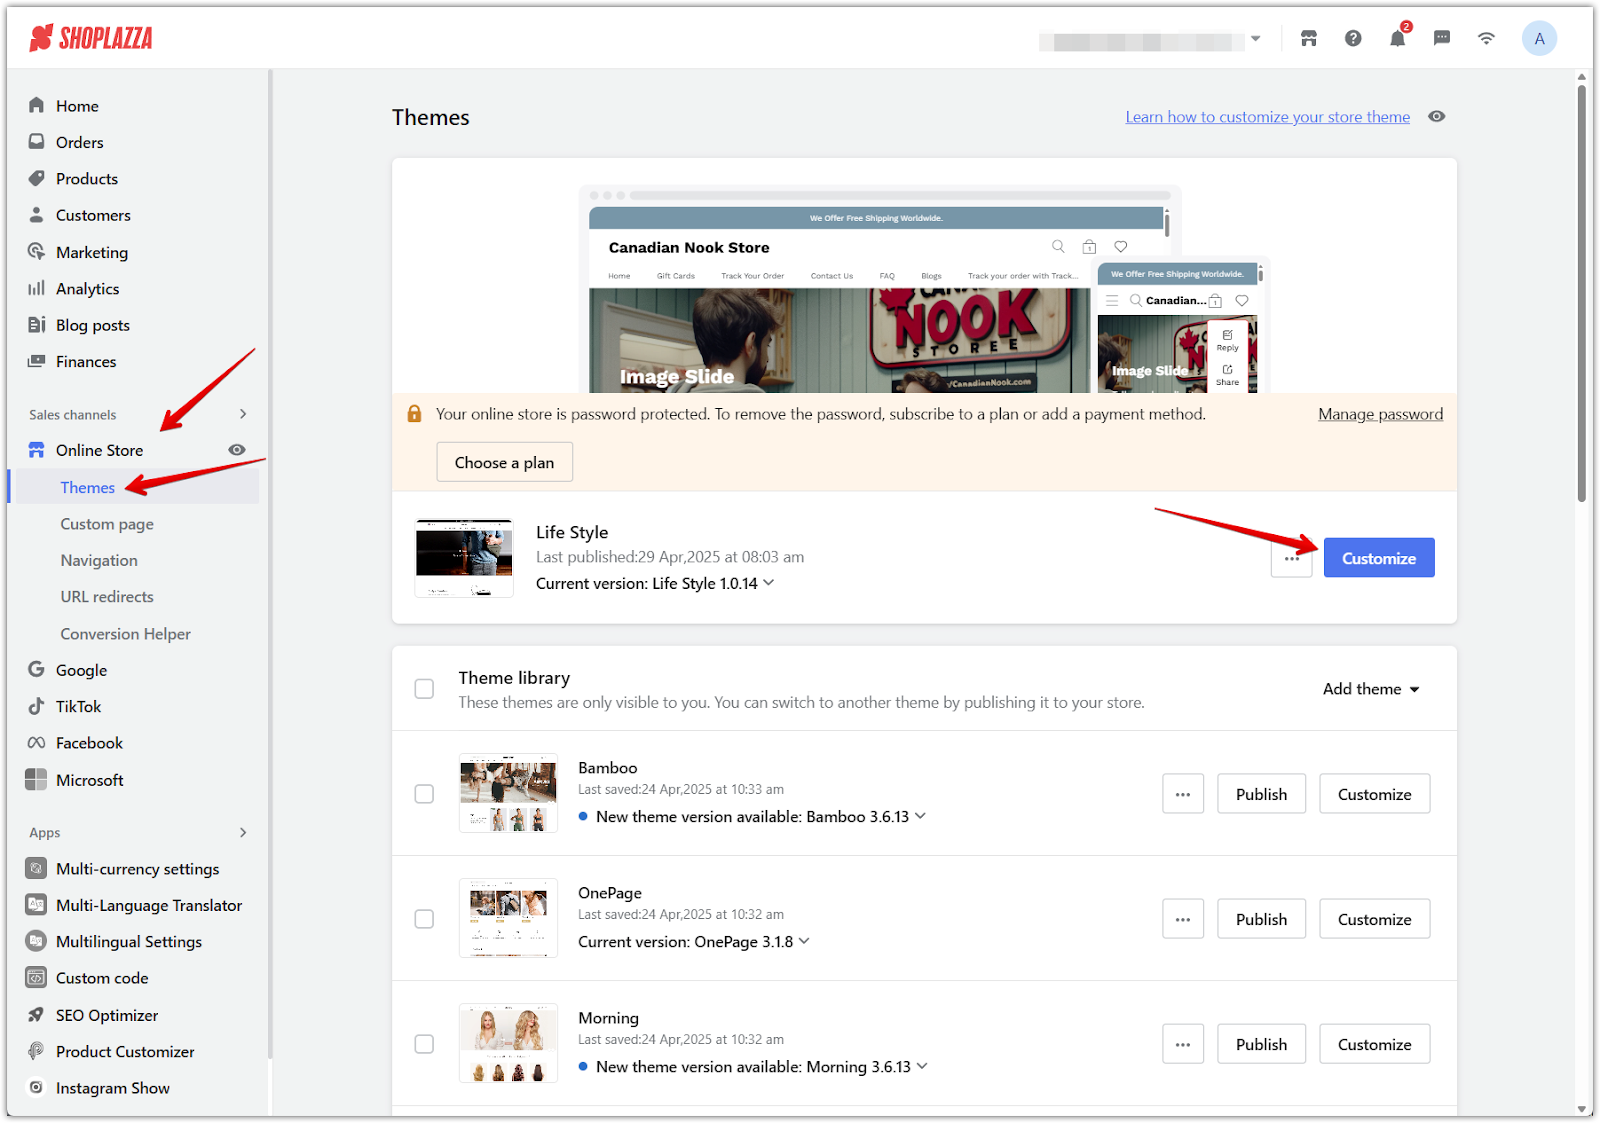
1. Access the Theme Editor: Go to your Shoplazza admin, navigate to Online Store > Themes. Select your theme and click Customize. This opens your storefront editor, where you can control how blog content appears.
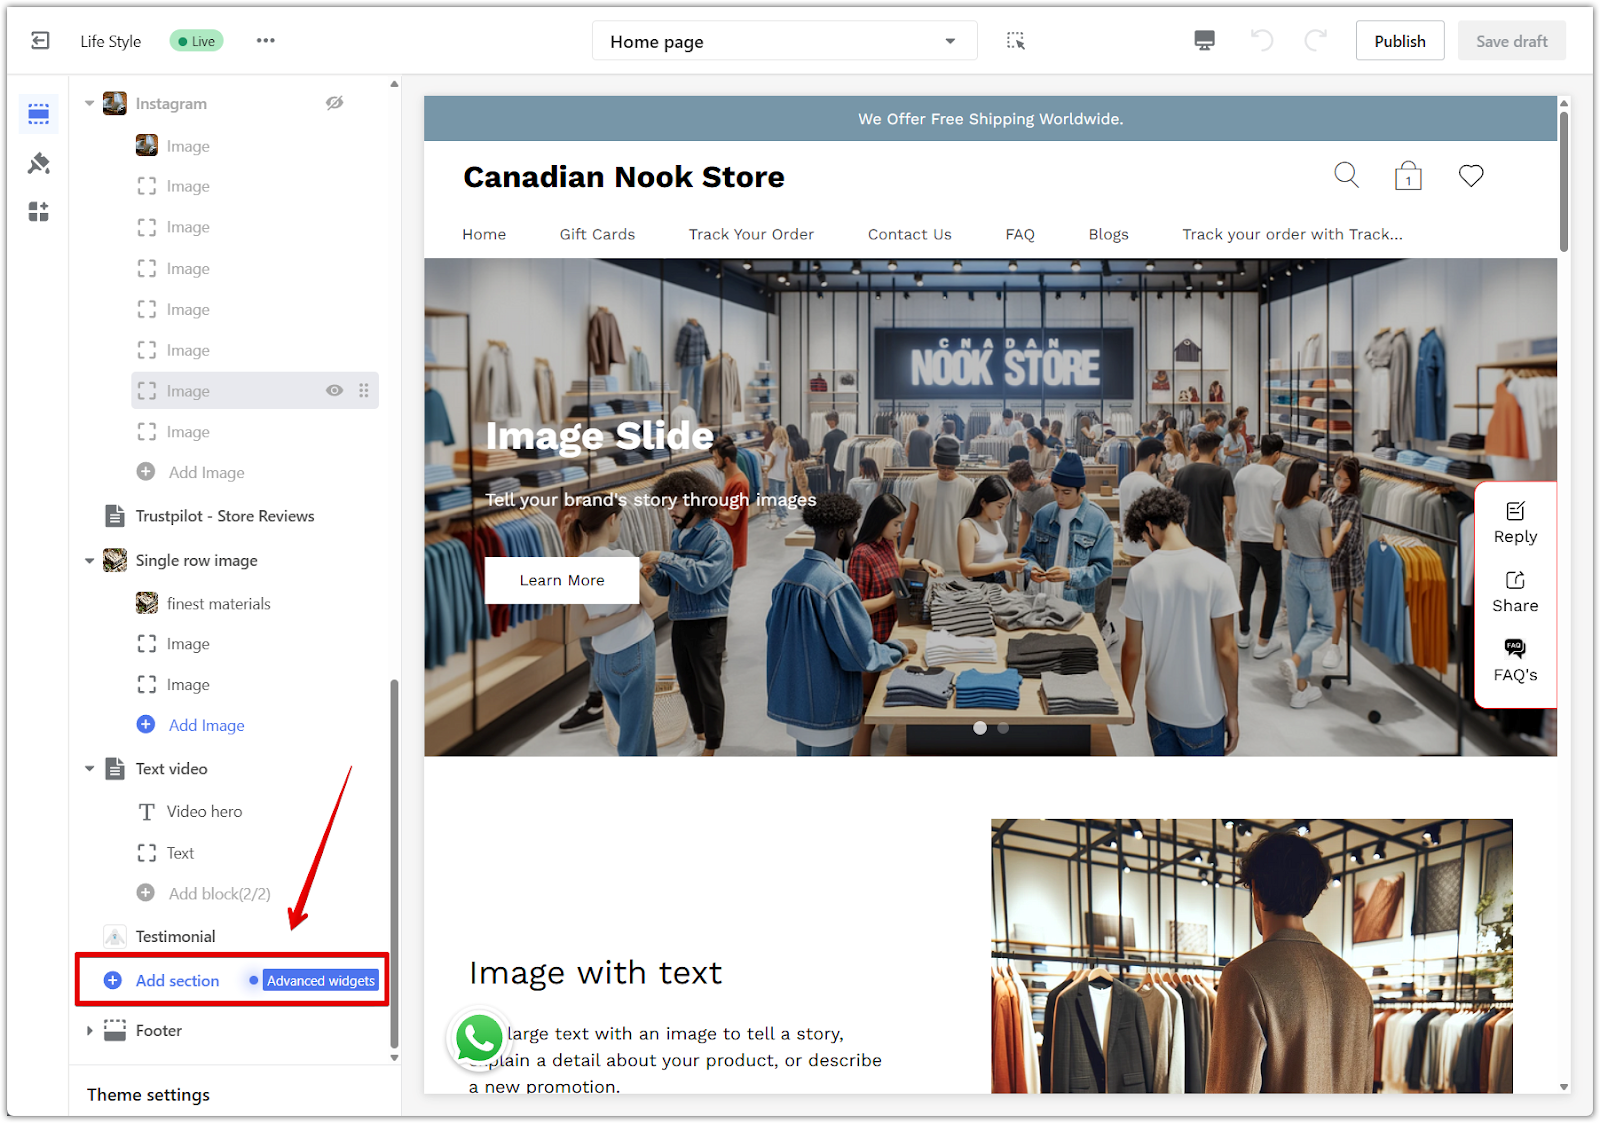
2. Add a blog section: Set up a dedicated section to display your blogs:
- Click Add section in the Theme Editor.
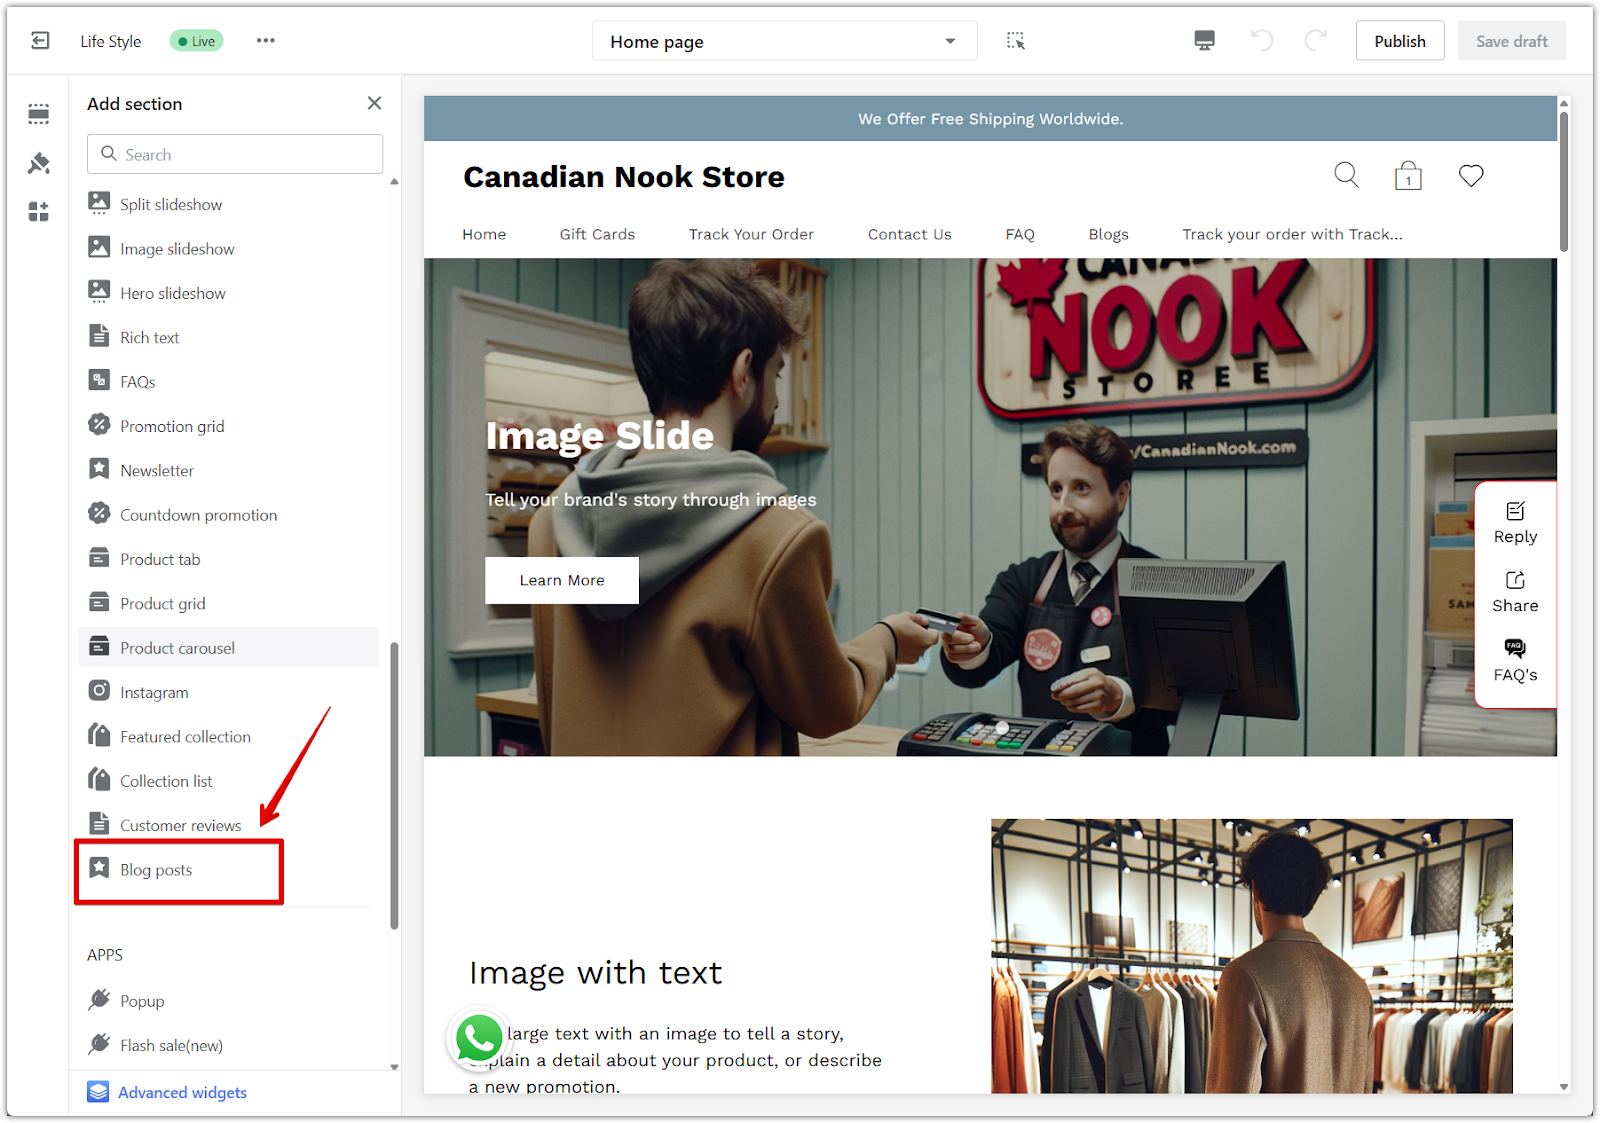
- Select Blog posts from the list of available sections.
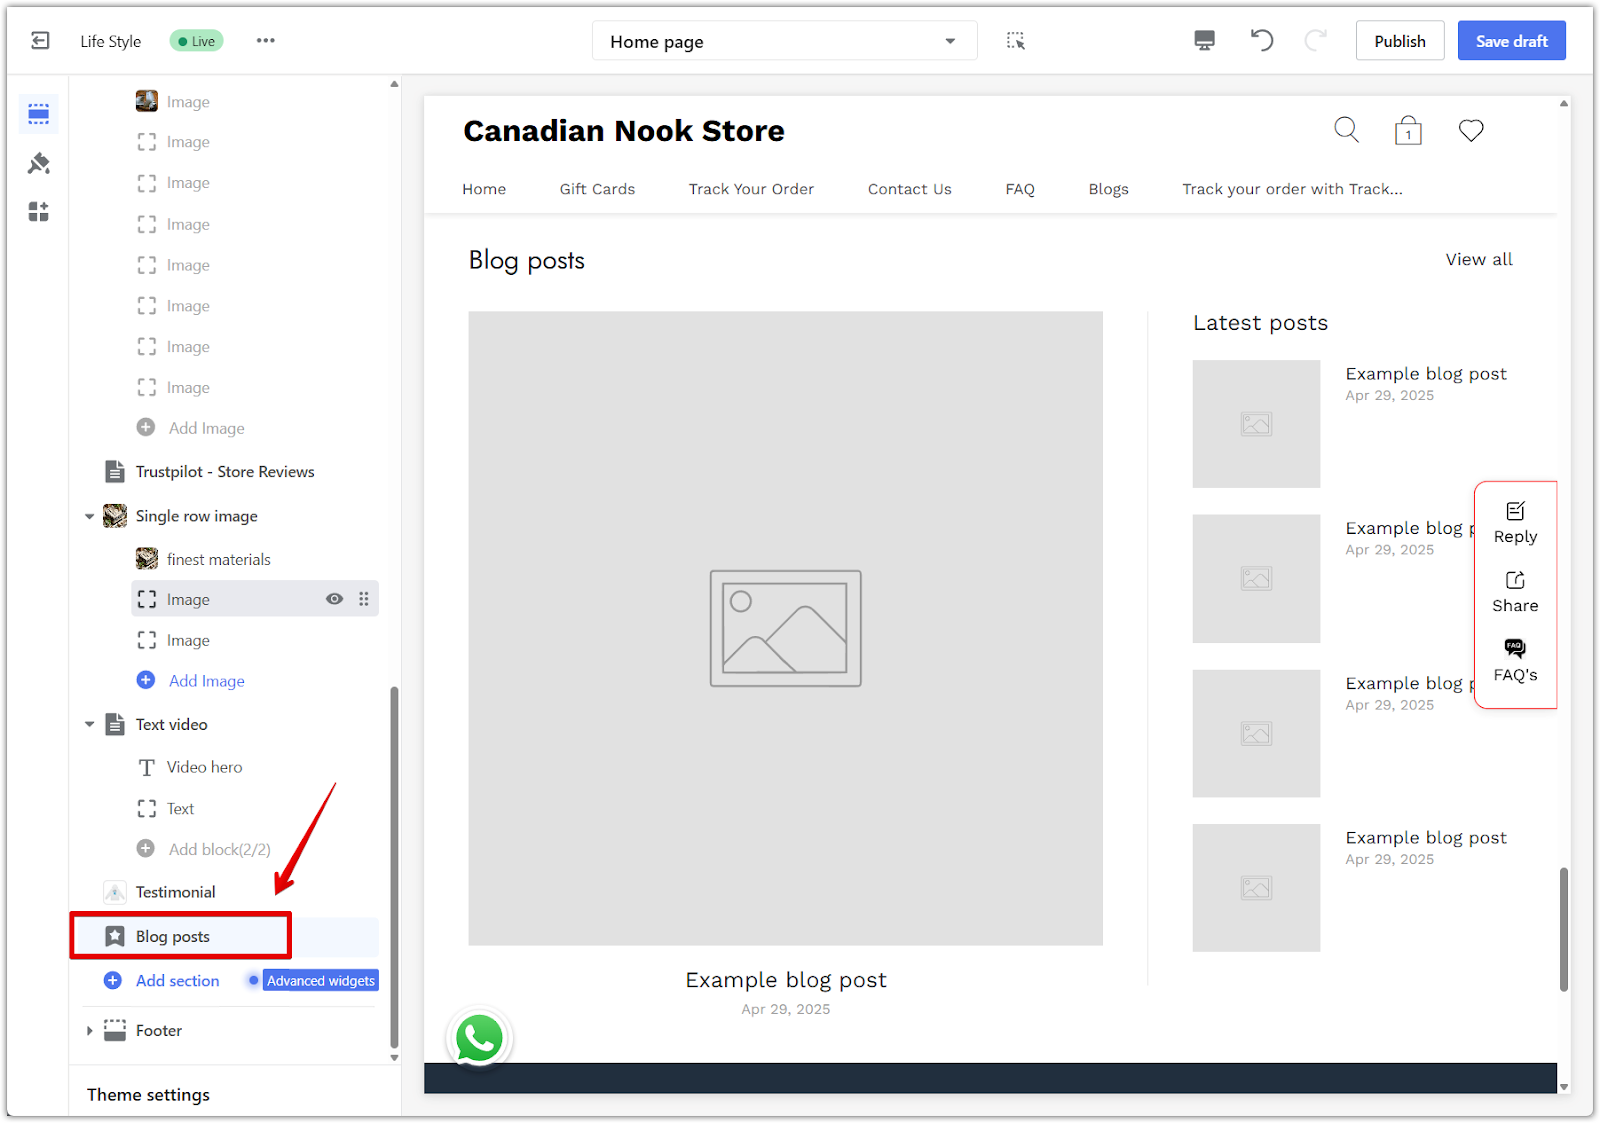
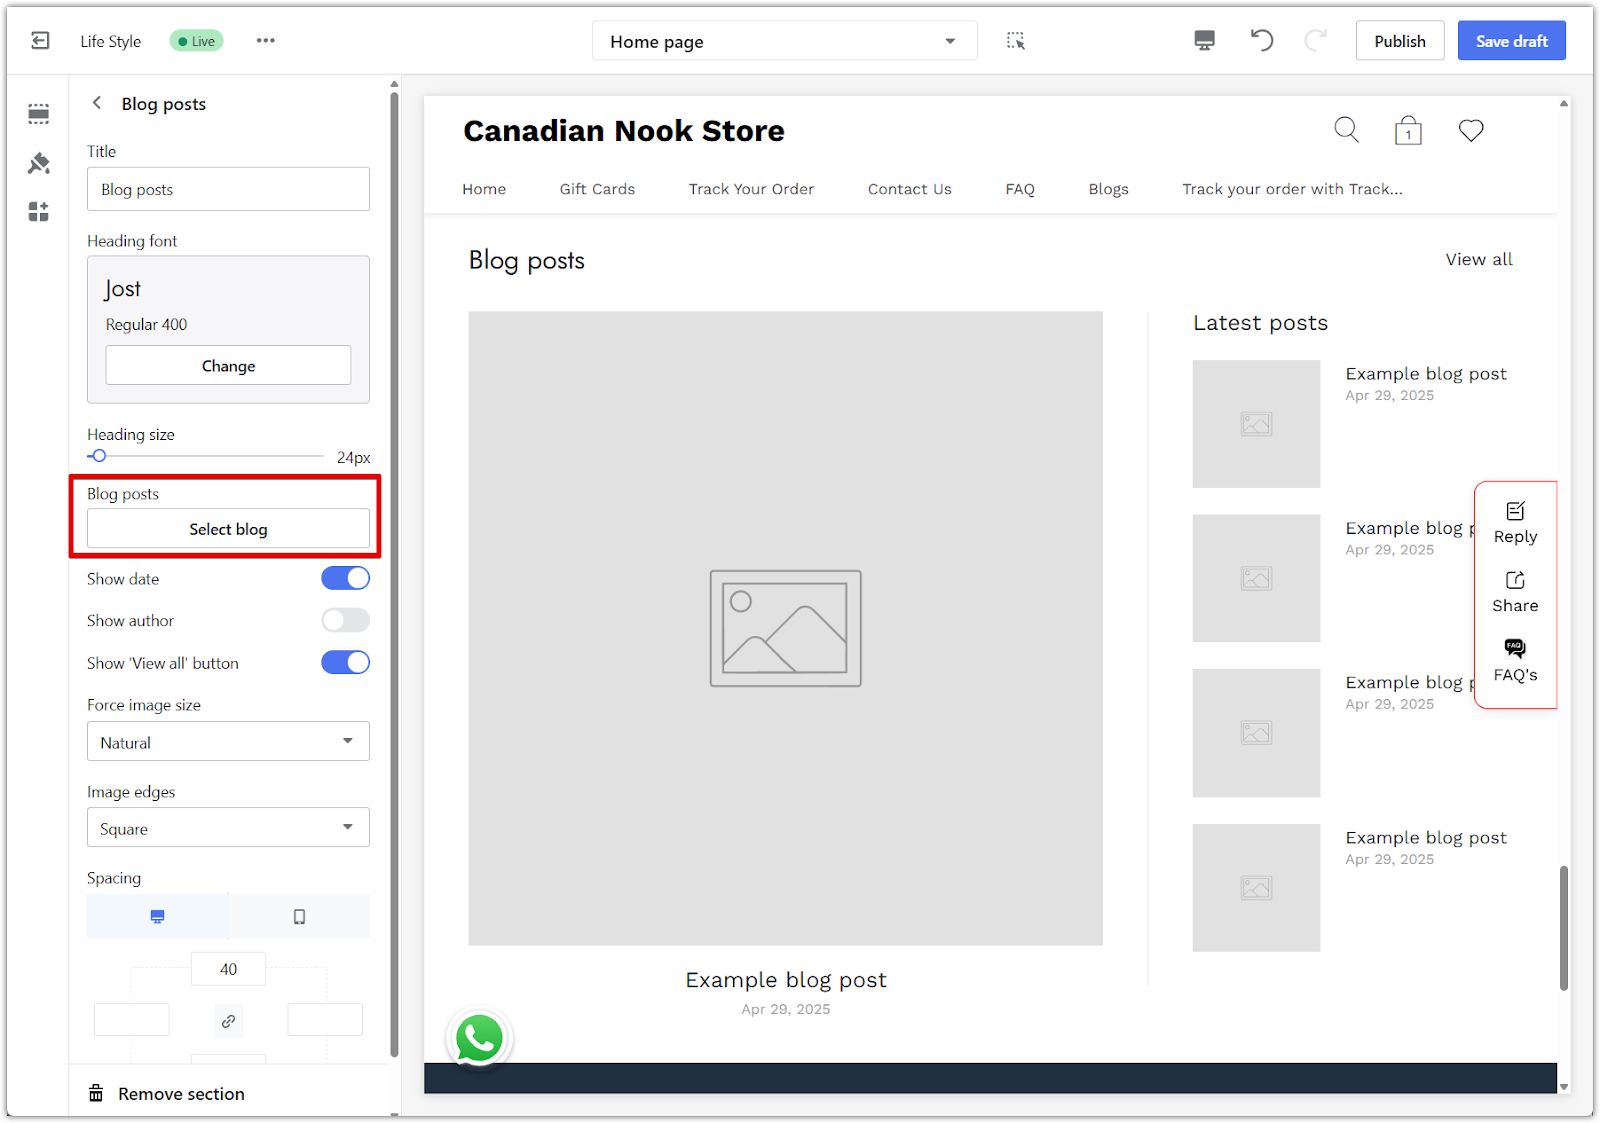
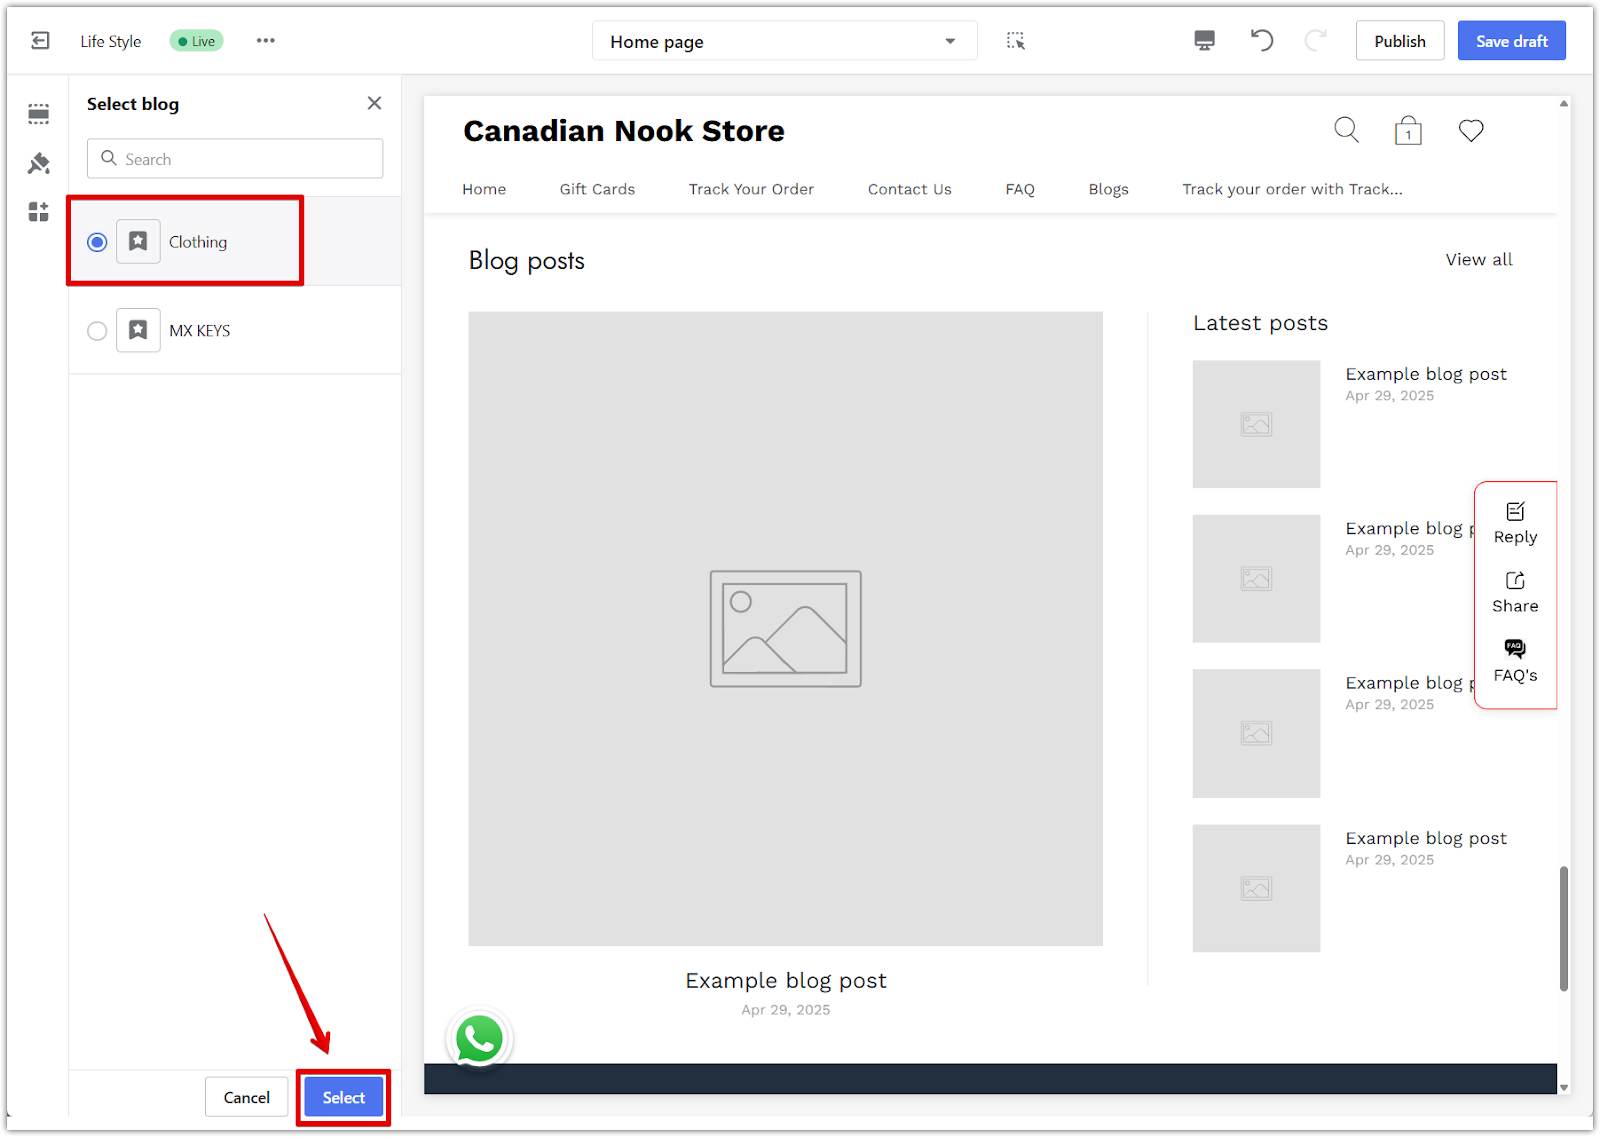
3. Select your blog: Choose the blog you want to feature within the newly added blog posts section:
- Click on Blog posts to open the configuration options.
- Select the specific blog you want to display from the dropdown menu.
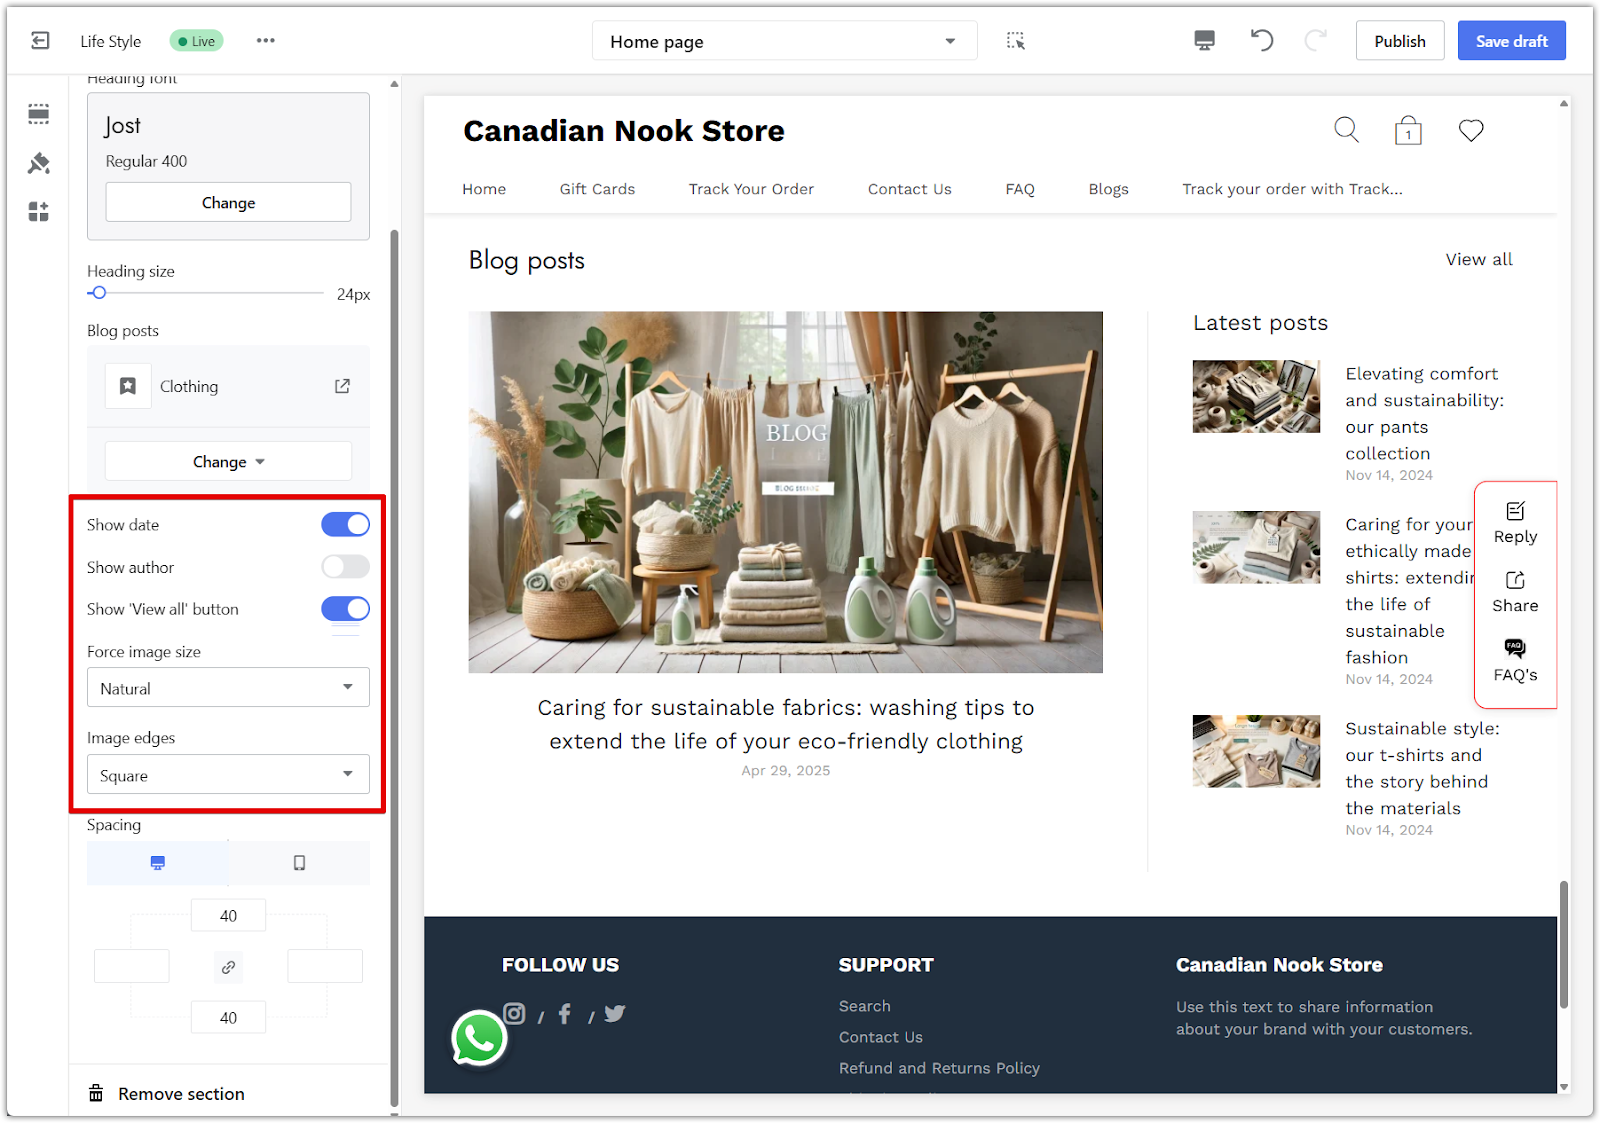
4. Customize display settings: Fine-tune how your blog posts appear to match your store’s design and branding:
- Force image size: Standardize the size of blog images for a cleaner visual presentation.
- Show date: Display the publish date for each post.
- Show author: Include the author’s name to build trust and authority.
- View all button: Add a button that directs visitors to the full blog page for easy access to more content.
5. Publish changes: After finalizing your settings, click Publish to make the blog section live on your storefront.
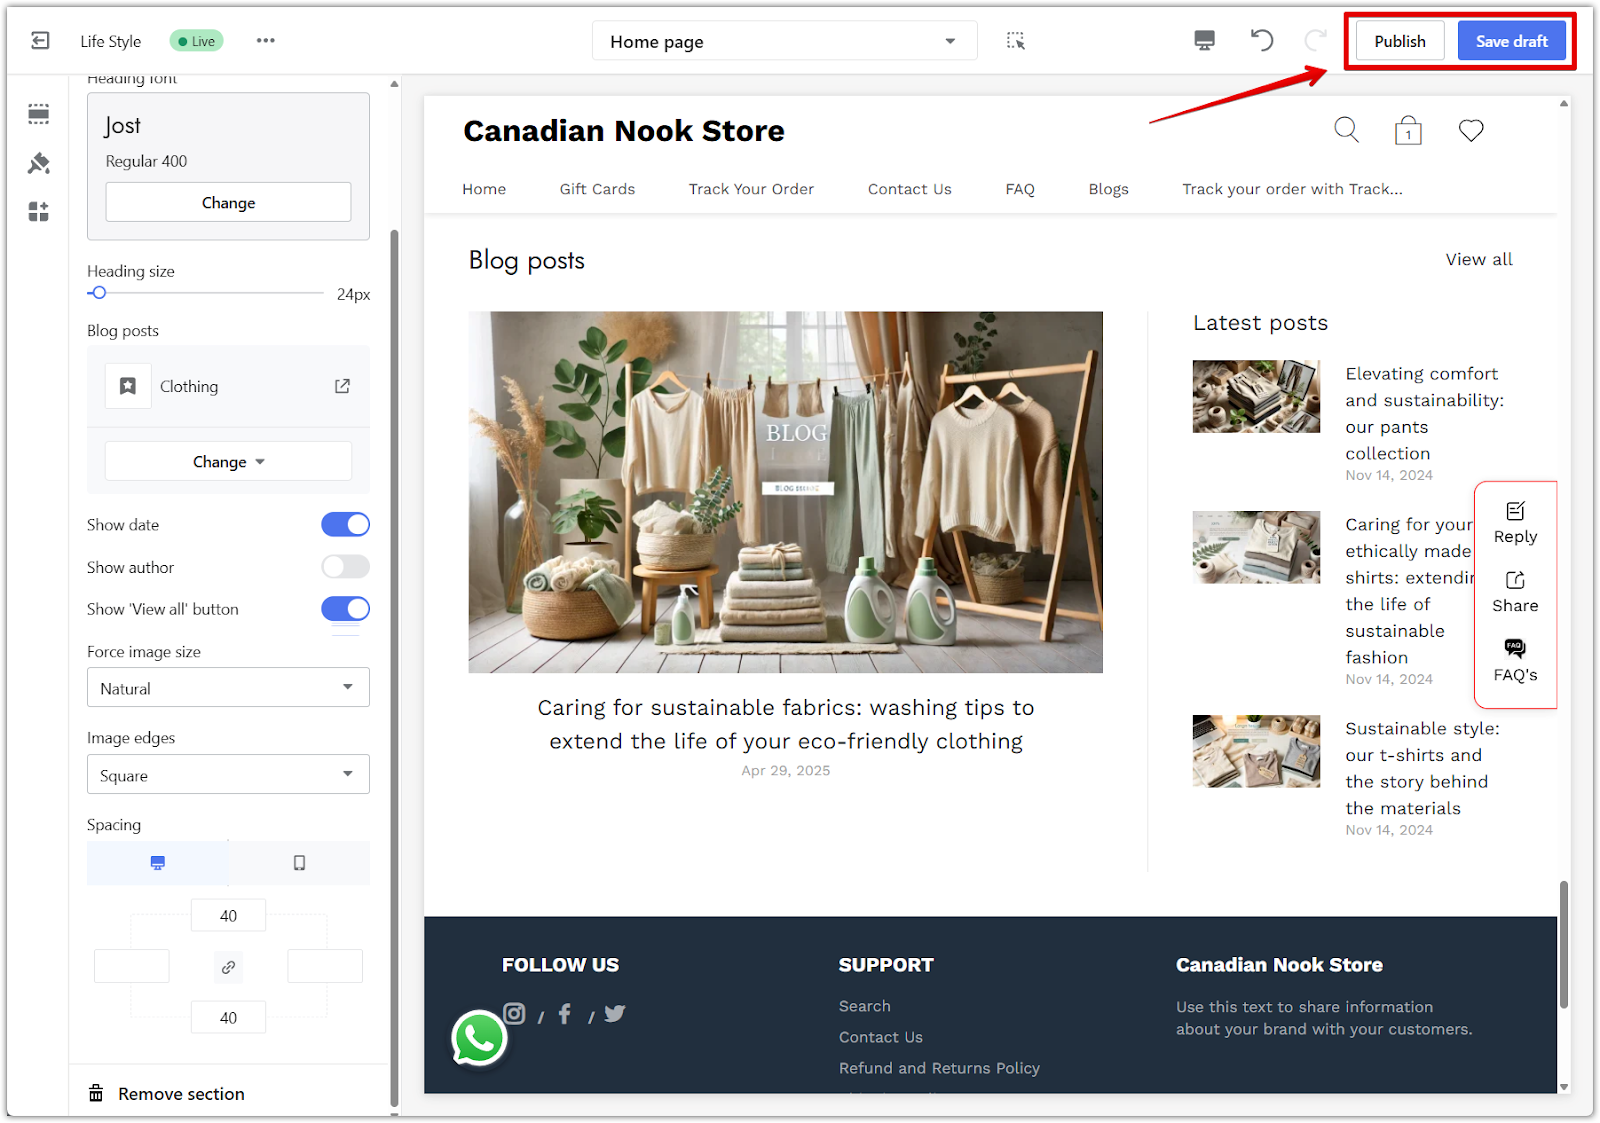
6. View your blog live: Your selected blog will now be visible to customers, helping you engage visitors with fresh and informative content.
A well-maintained blog is more than a storytelling tool. It is a key part of an effective Shoplazza blog optimization strategy. Consistently publishing articles enhances your store SEO, builds trust with new and returning customers, and gives visitors reasons to stay longer on your site. High-quality blogs not only attract organic traffic but also increase customer loyalty, resulting in better brand visibility and stronger sales performance over time.


Comments
Please sign in to leave a comment.