
Shoplazza collections help you group products into curated categories, making it easier for customers to browse, discover, and purchase. Whether you're launching a new campaign or showcasing seasonal items, creating collections improves storefront organization and boosts engagement.
Creating a new collection
Start by opening the collection setup page and entering basic display information.
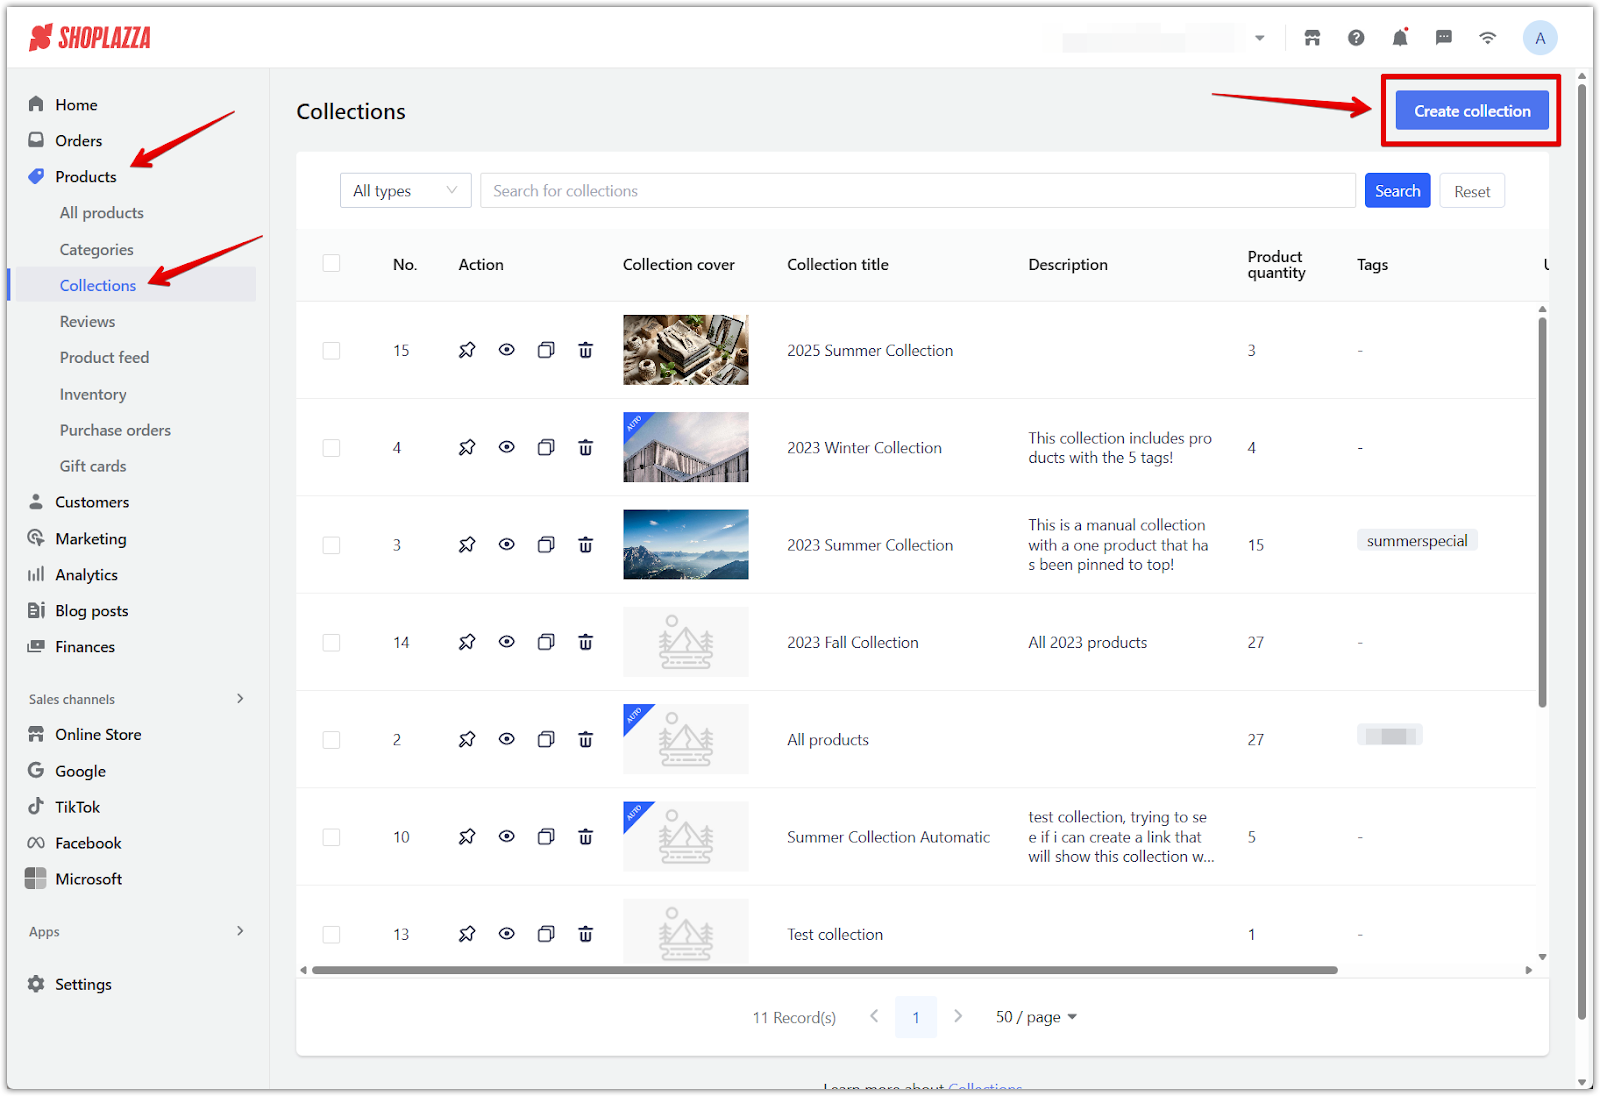
1. Go to your Shoplazza Admin: In your Shoplazza Admin, go to Products > Collections. Then click Create collection to open the setup page and define how the collection appears on your storefront.
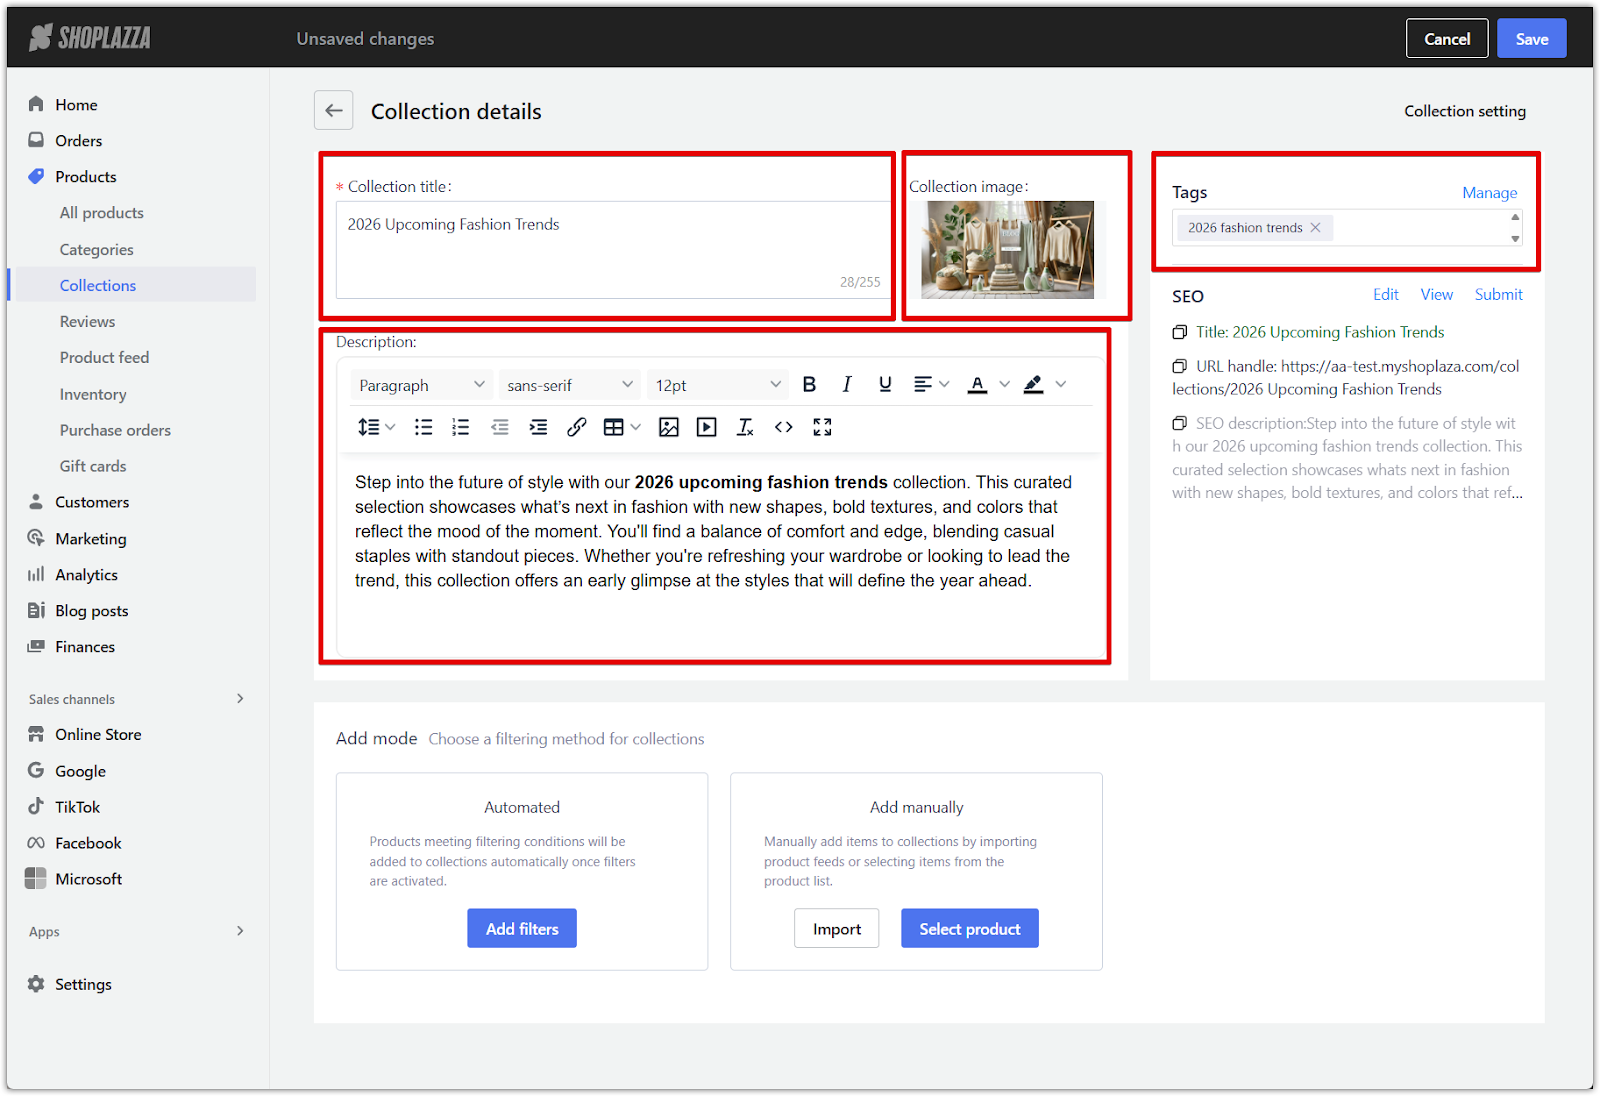
2. Customize your collection display: Fill in the following fields to shape how the collection appears to customers:
- Title: Enter a clear and specific name that reflects the theme of the collection, such as "New Arrivals" or "Summer Essentials." This name appears on your storefront and helps customers understand the content at a glance.
- Collection image: Upload a banner image (1080 × 600 px) that visually represents the collection and keeps your storefront consistent.
- Description: Write a brief paragraph to introduce the collection. This text provides helpful context for customers and supports SEO by including relevant terms or phrases.
- Tags: Add up to 50 tags to help organize your collection. These tags assist with internal management, filtering, and dynamic collection creation when using automated filters.
Editing collection SEO settings
Improve your search visibility by customizing your collection’s SEO settings.
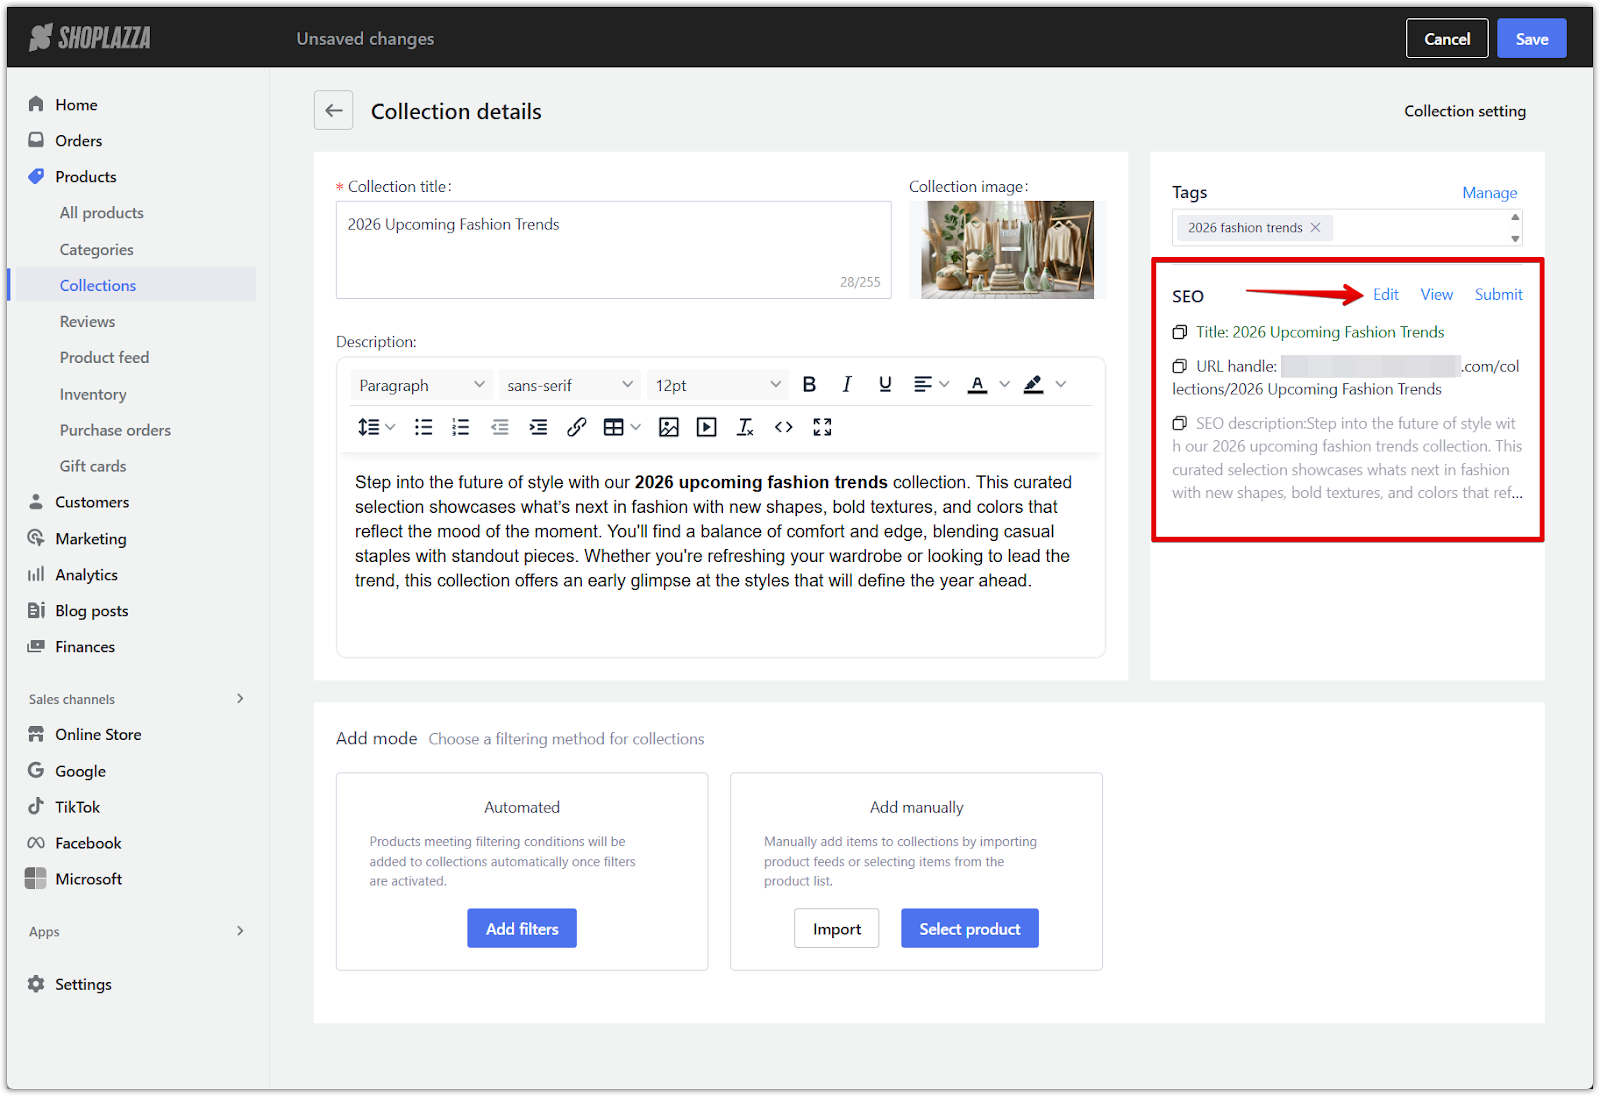
1. Click Edit in the SEO section: Open the SEO panel by selecting Edit next to the SEO field. This allows you to manually optimize metadata for search engines.
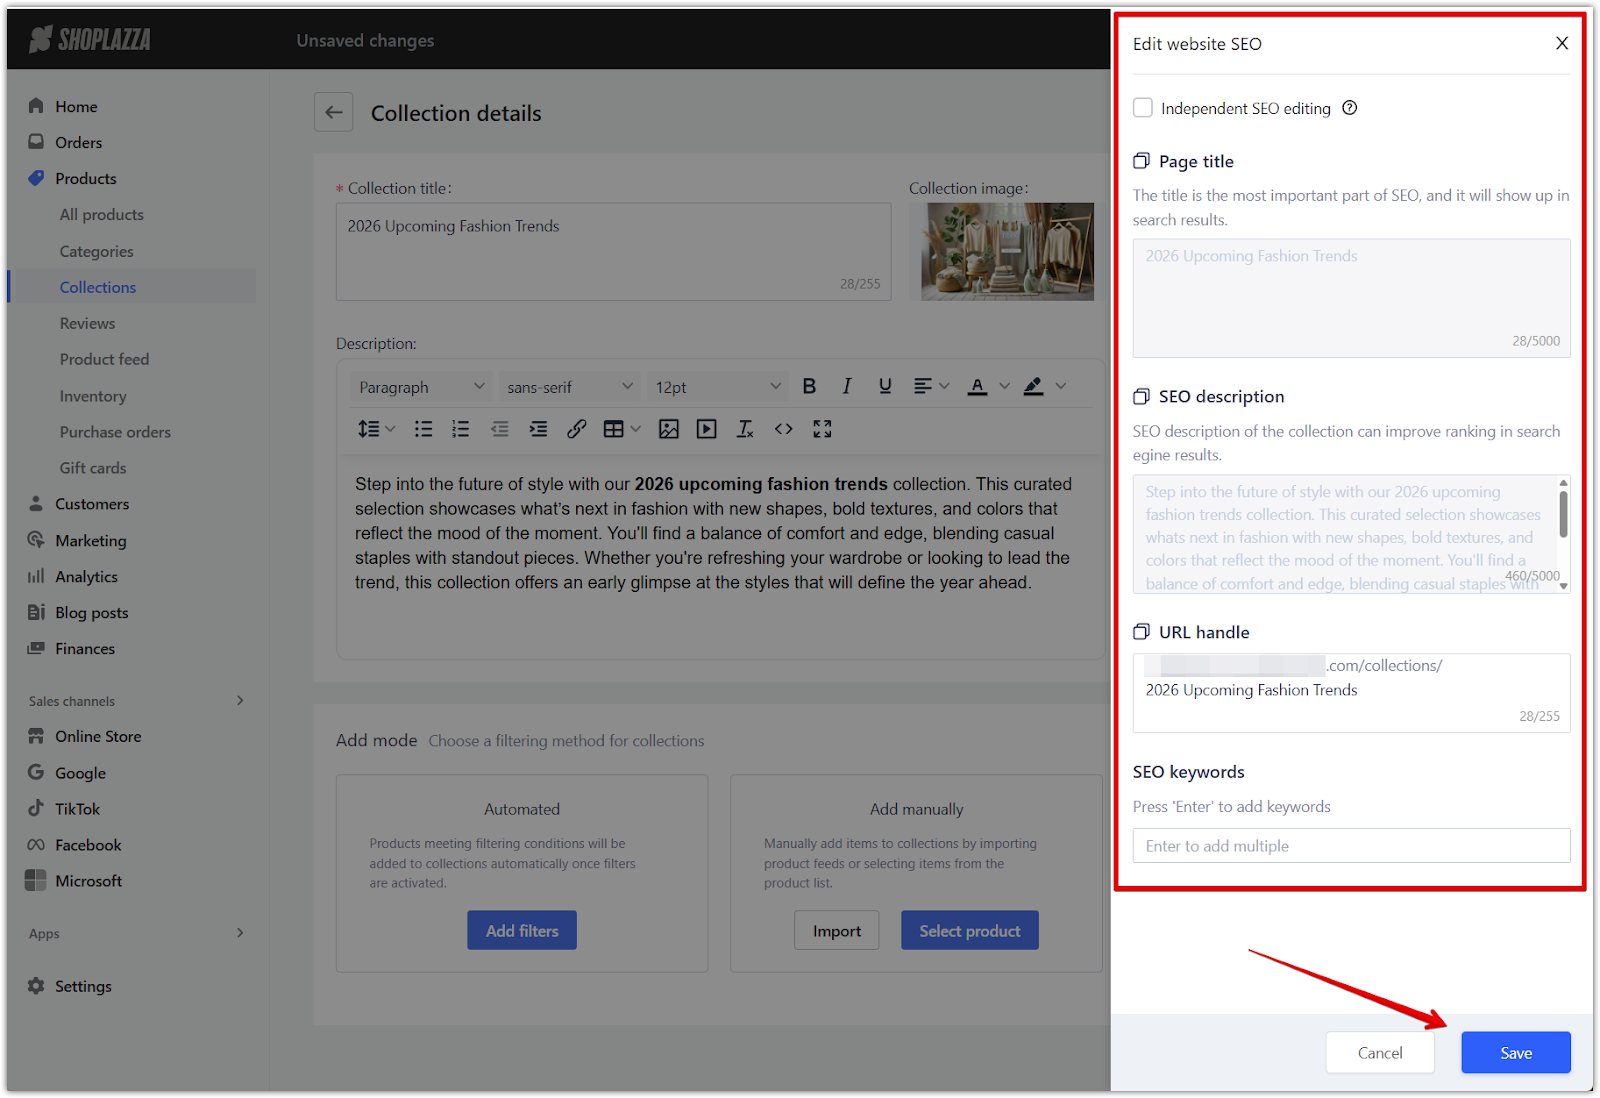
2. Fill in the following SEO fields: Complete these fields to control how your collection appears in search results:
- Page title: Create a headline with relevant keywords, such as “Sustainable Home Essentials” or “Winter Jackets for Men.”
- SEO description: Write a 150 to 160 character summary that highlights what the collection includes and encourages clicks.
- URL and handle: Customize the URL slug for the collection (e.g., summer-sale-items). Use lowercase letters and hyphens for readability and search engine compatibility.
- SEO keywords: Input relevant terms or phrases that shoppers may search for. This enhances discoverability through both on-site search and external search engines.
Note
Enable independent editing mode to keep SEO content fixed when you later update the title or description. Use linked editing mode if you prefer to keep SEO fields synced with collection updates.
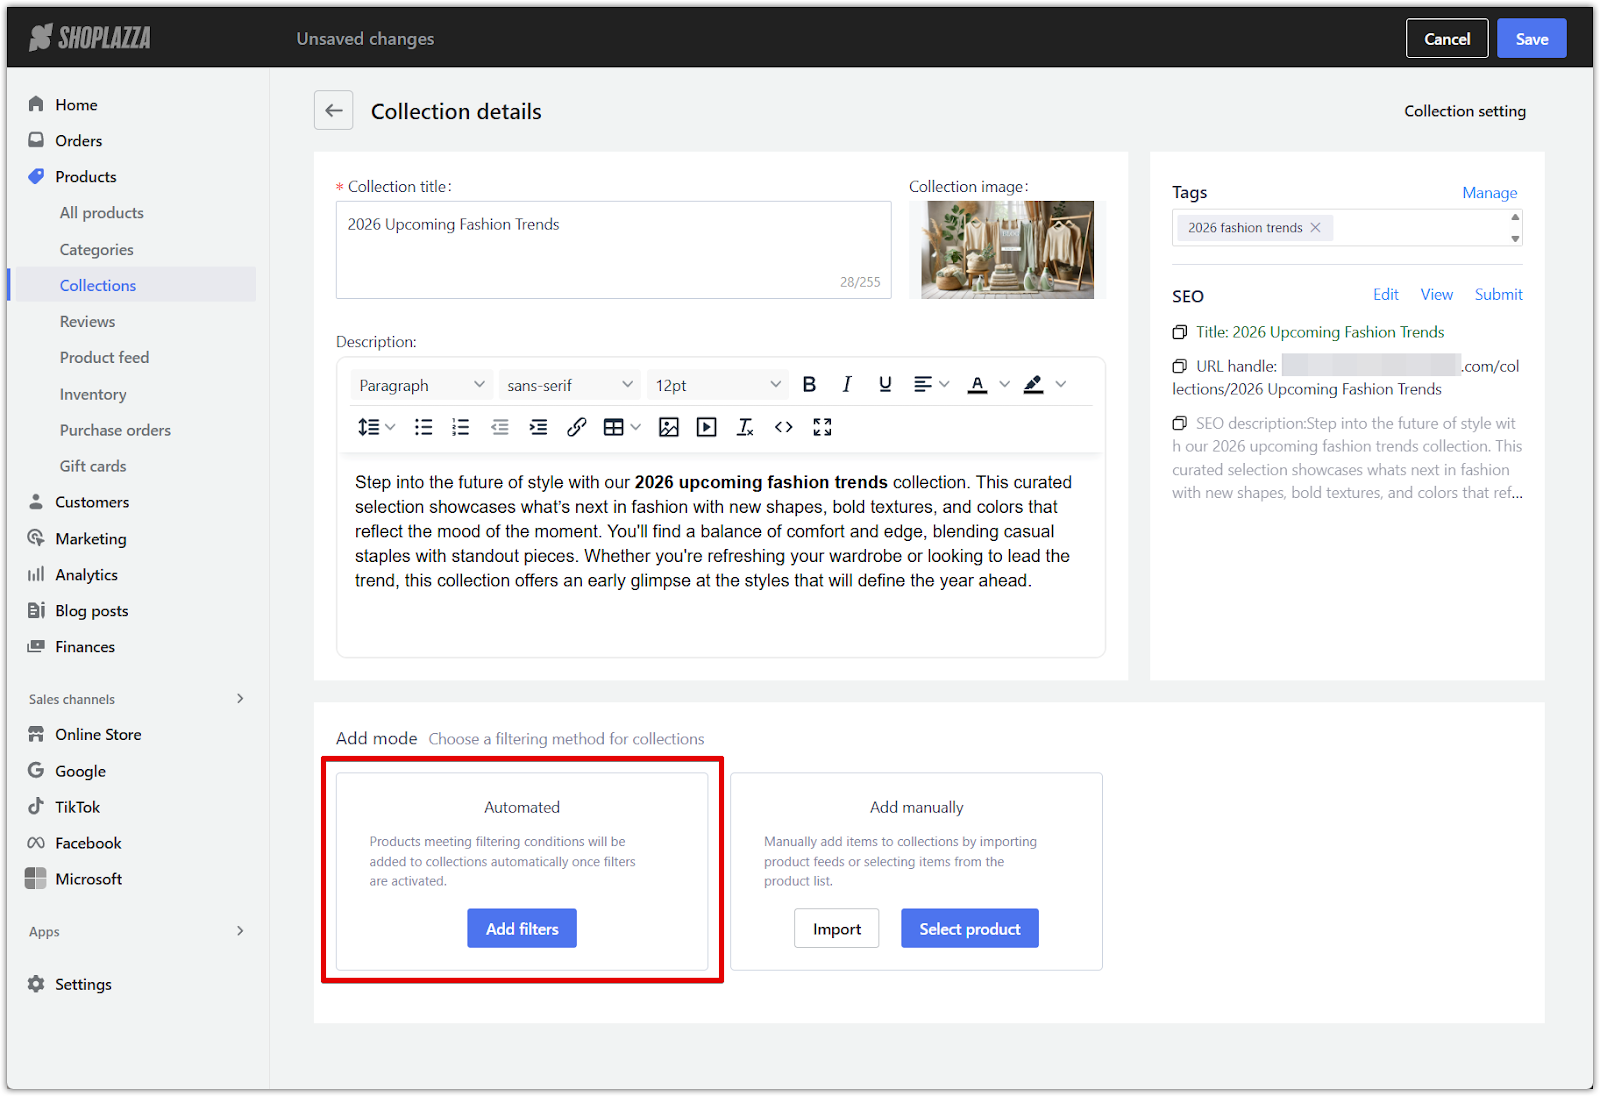
Choosing a collection type
Automated collection
This option is suitable for stores with a large number of SKUs or frequently updated catalogs. When you enable filters, products that match the selected conditions such as tags, inventory status, or product type will be automatically added to the collection. This helps you manage products efficiently without manual updates.
Note
Once an automated collection is created, it cannot be changed to manual.
Learn more: Creating automated collections
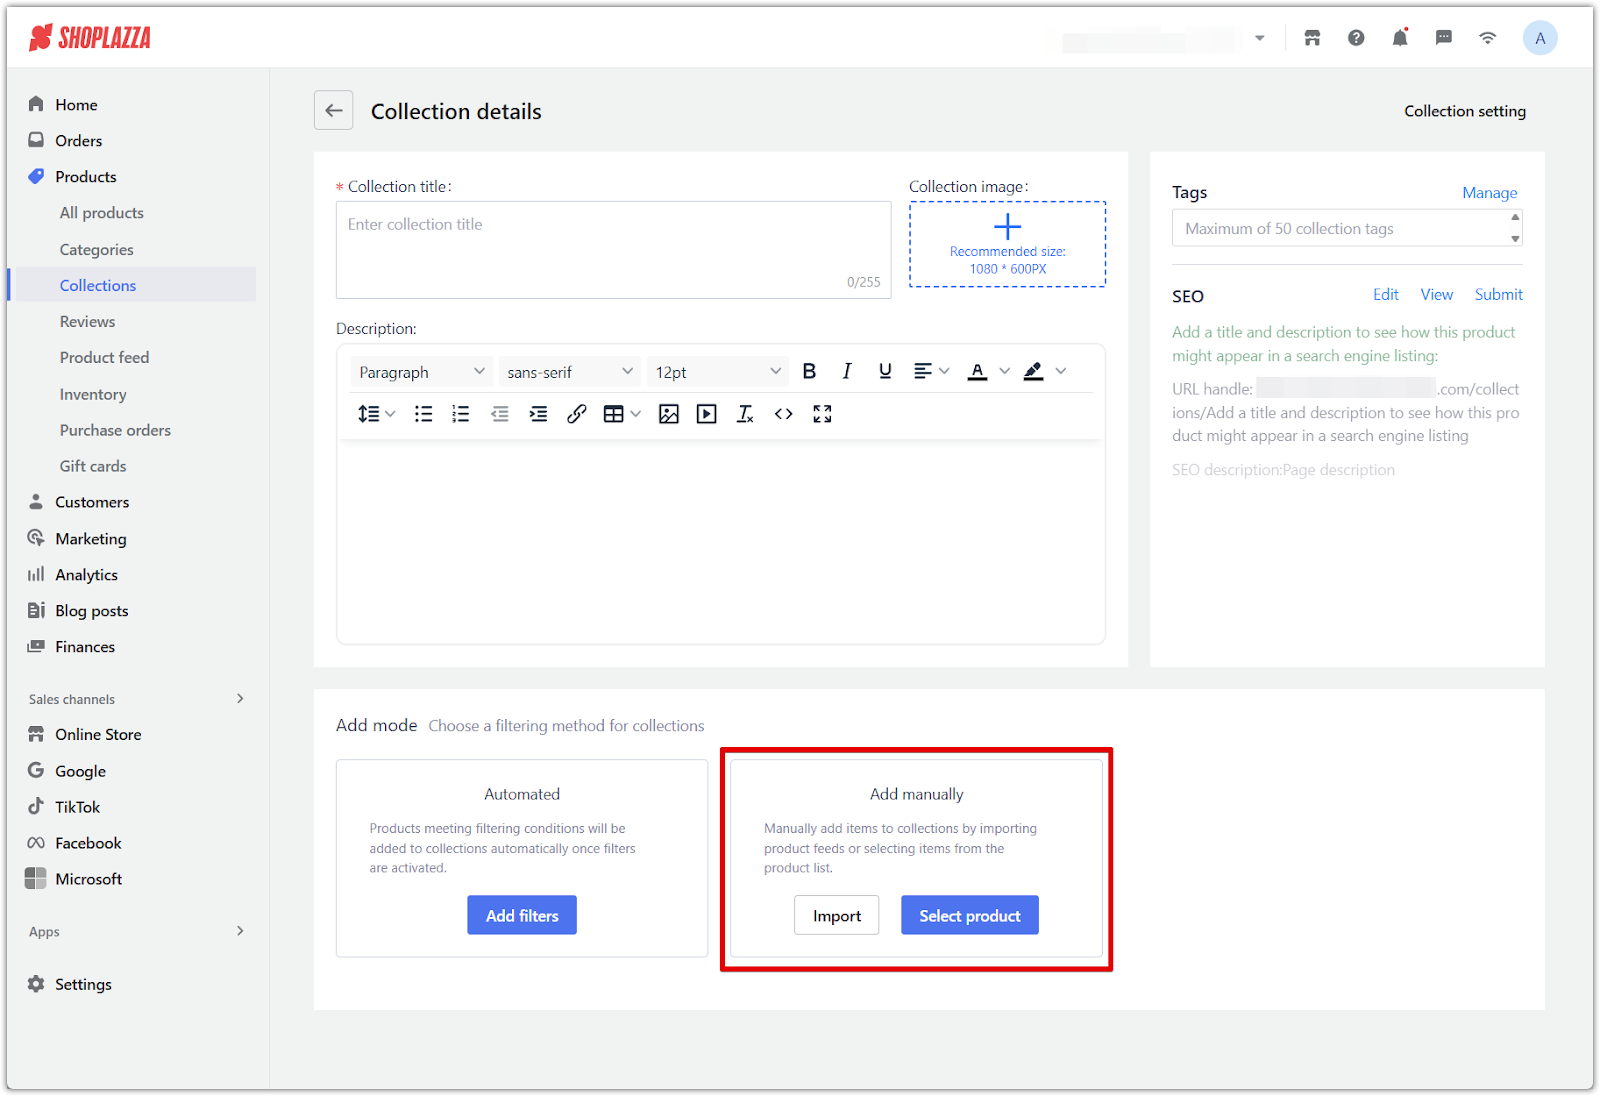
Manual collection
This method is recommended for stores with fewer SKUs or when you need full control over product selection and display order. Manual collections allow you to add each product individually, making them ideal for small curated groups, special campaigns, or seasonal highlights.
Learn more: Creating a manual collection
Creating collections is a powerful way to improve store organization, streamline product discovery, and highlight specific product groups. Whether you're automating large-scale updates or hand-picking featured items, collections help deliver a smoother shopping experience and drive stronger sales performance.


Comments
Article is closed for comments.