
This article serves as a comprehensive guide for configuring the button entry method for forms within the Form Tools app on your Shoplazza store. Incorporating custom forms on your product default page can significantly enhance customer interaction and streamline data collection. Follow the steps below to correctly set up a button entry for your forms on the product default page.
Accessing the Form tools app
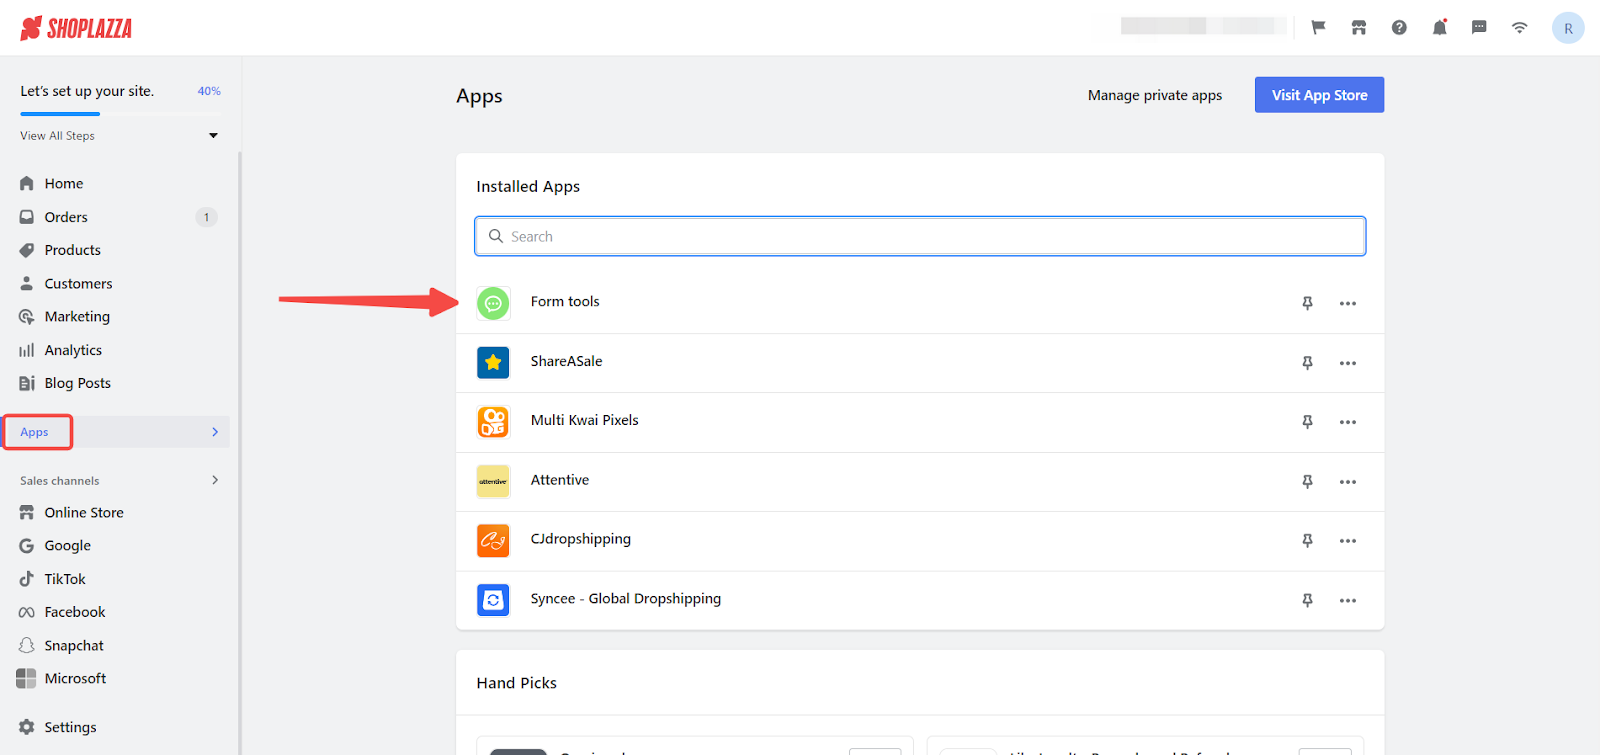
1. Access the app: From your Shoplazza admin, click on Apps. Search for the Form tools app among your installed apps and click to open it.
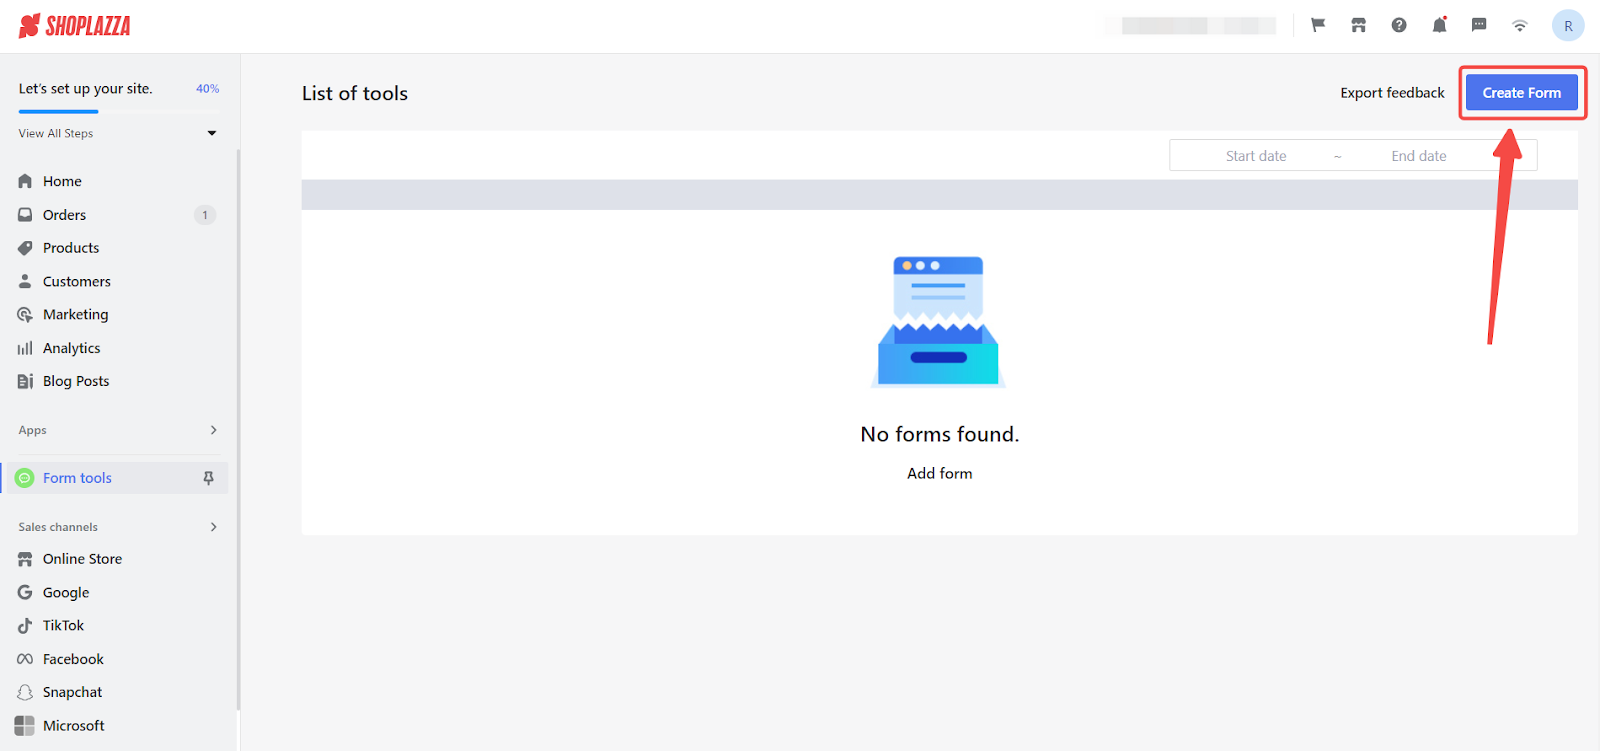
2. Create new form: Once in the app, begin by clicking the Create form button to initiate form setup.
Configuring the Form
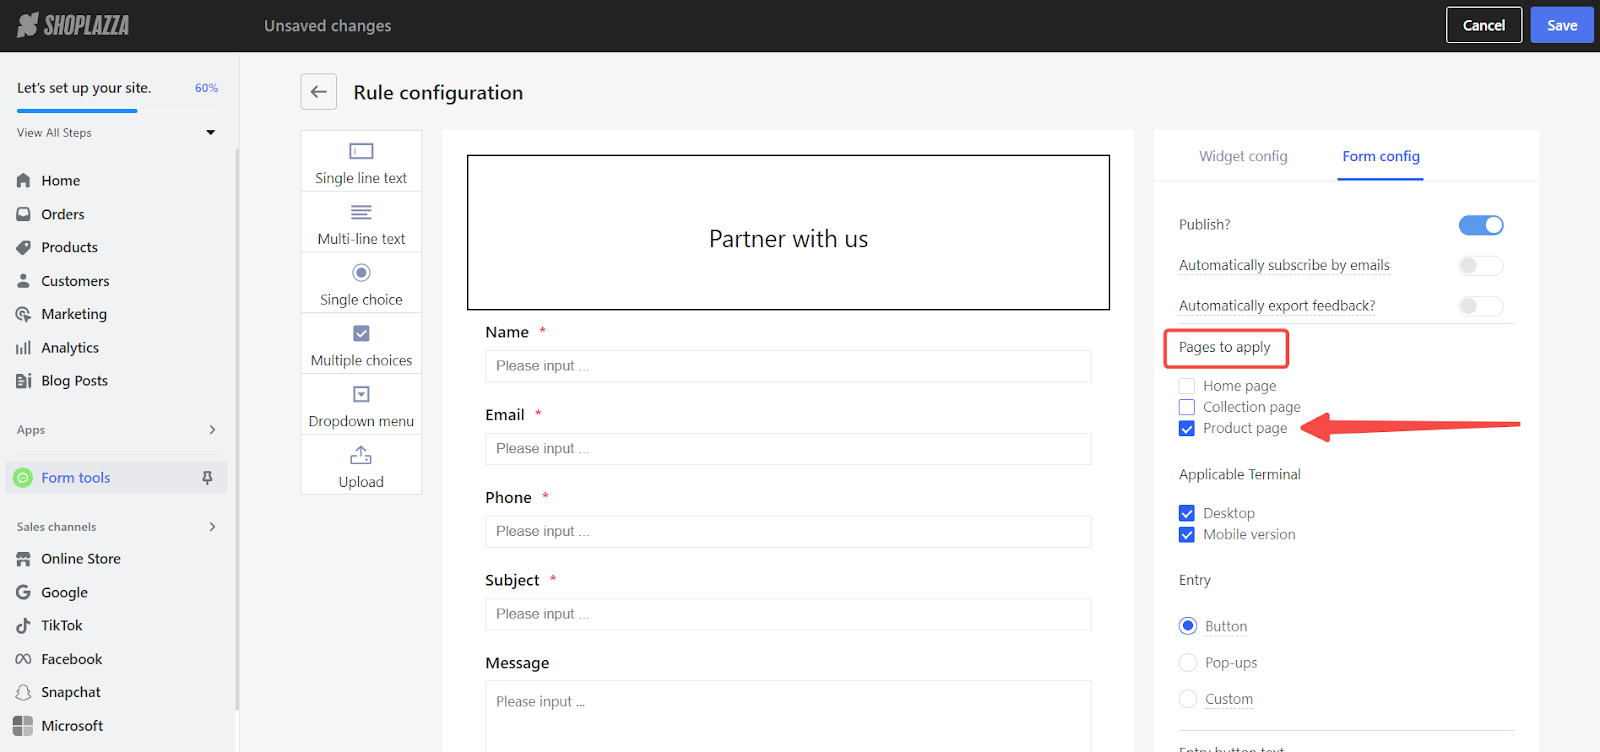
1. Form configuration: On the Rule configuration page, navigate to and click on Form Config on the right side. Set the entry method to Button, customizing the button text, background, and text color as needed.

2. Entry button text: Type in the text that will be displayed on the product page button. This text should prompt the user to take action, such as "Inquire" or "Contact Us".


3. Button background color: Select the color picker to choose a background color that stands out on your page but still fits within your brand palette.

4. Button text color: Use the color picker again to choose a text color that ensures readability against the button's background color.

5. Apply settings to product page: To provide a consistent and smooth user experience, ensure to apply these customizations specifically to your product default page.
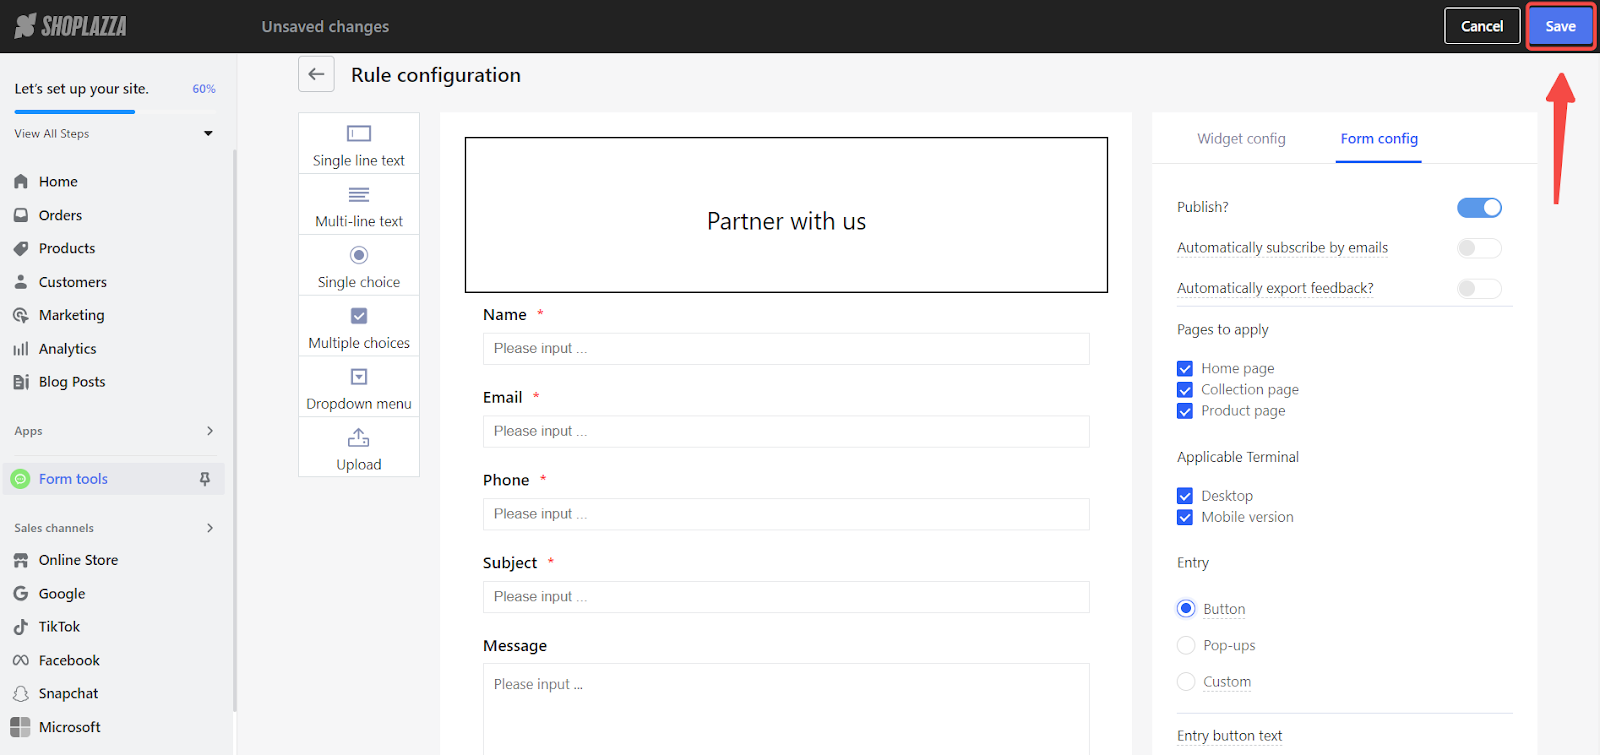
6. Save the Configuration: After personalizing the settings, click on Save in the top right corner to confirm and apply your changes to the form.
Adding Form Tools to your product page
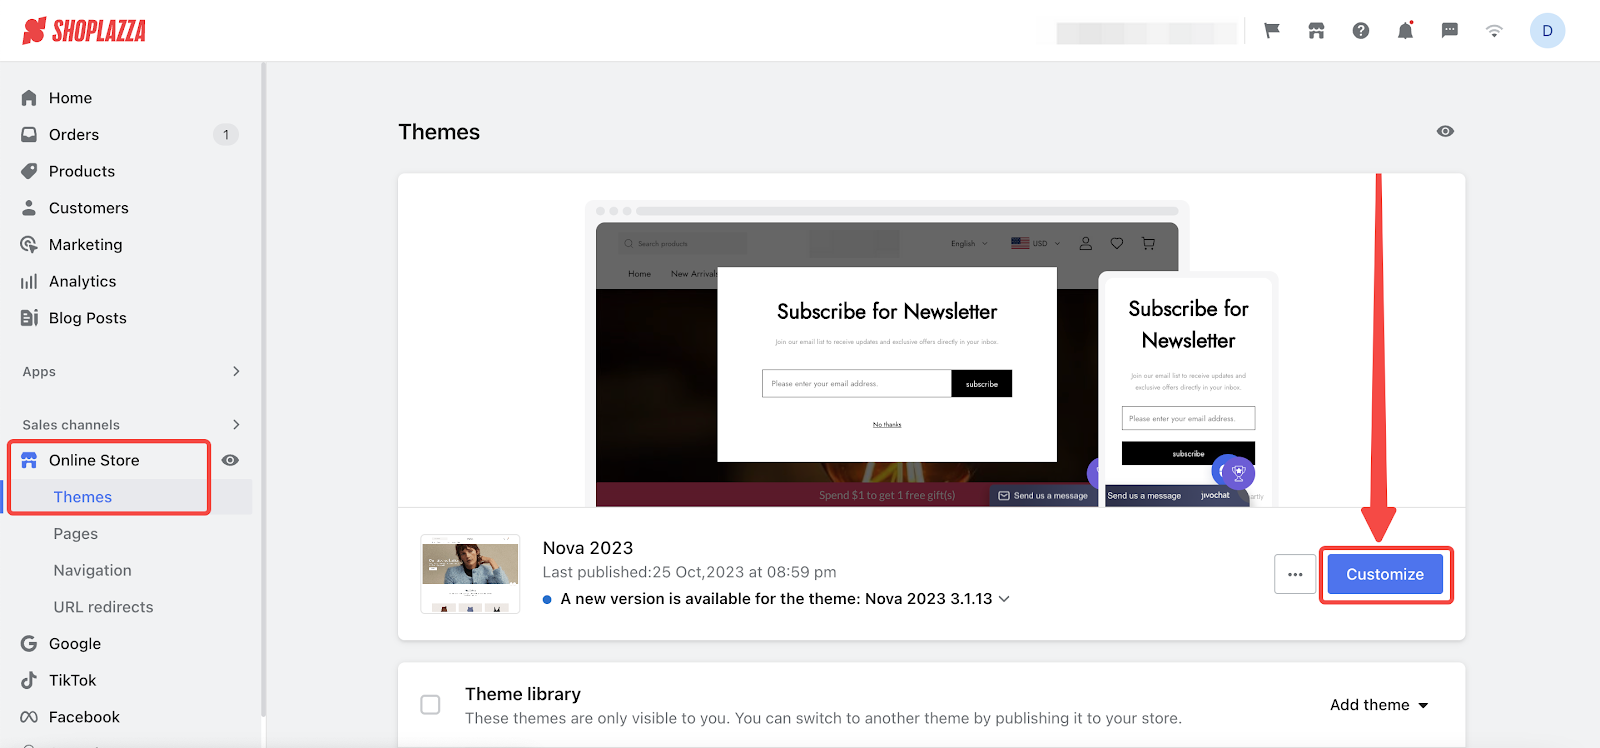
1. Navigate to your theme editor: Access your theme settings by going to your Shoplazza Admin > Online Store > Themes, and click on Customize for the theme you wish to edit.
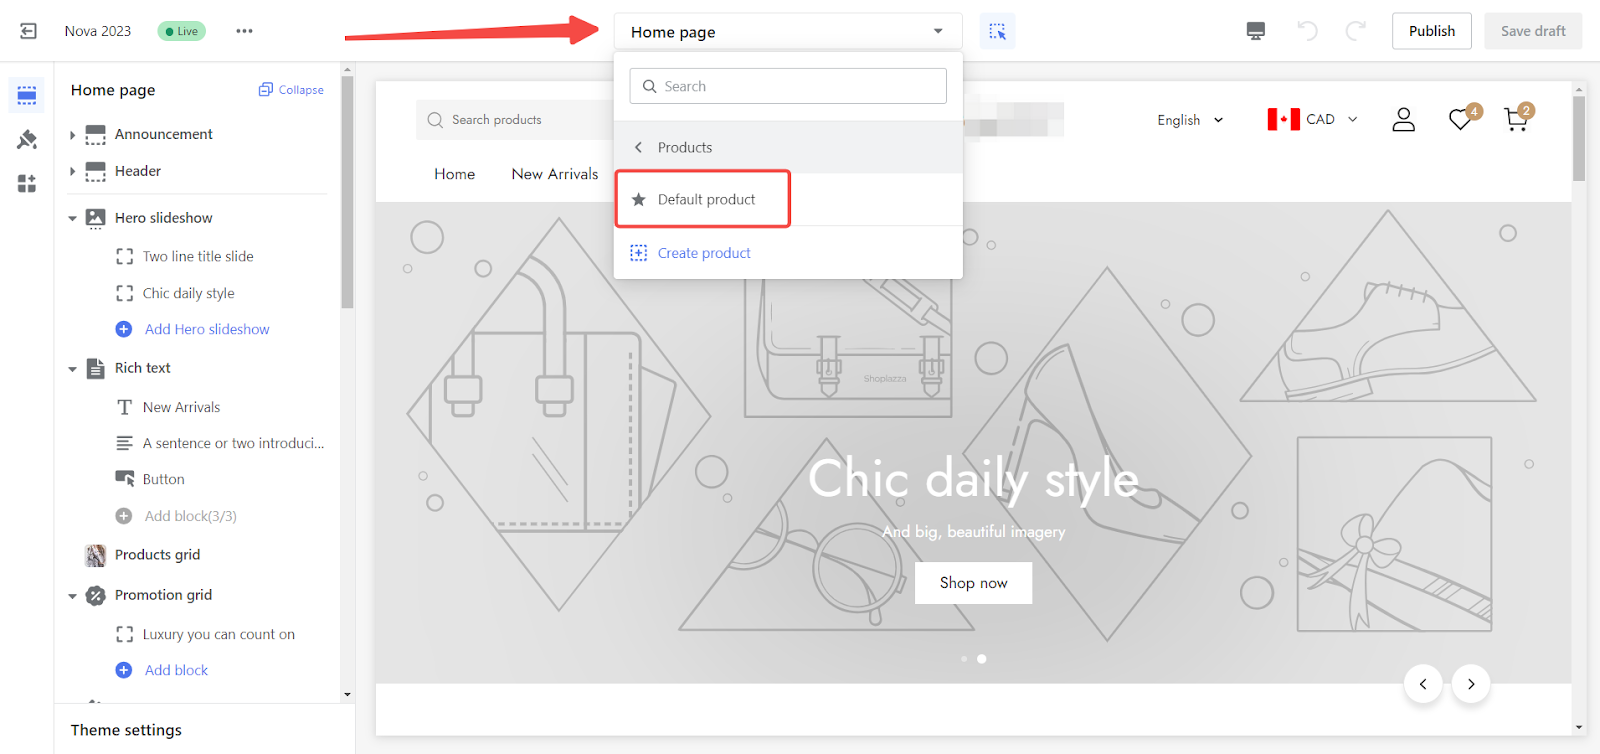
2. Access Default product page: In the theme editor, go to the dropdown menu, then navigate to Products followed by the Default Product page.
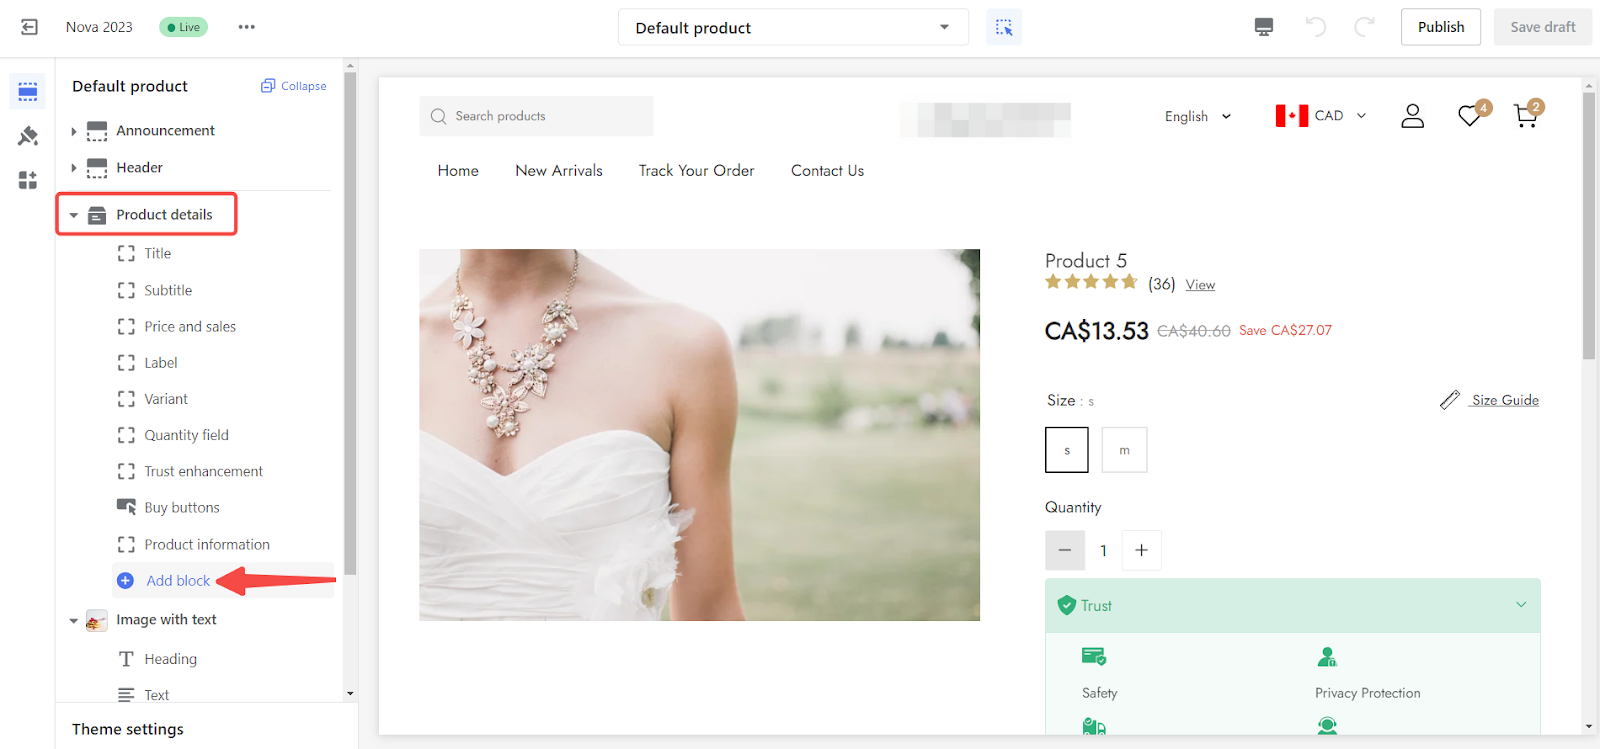
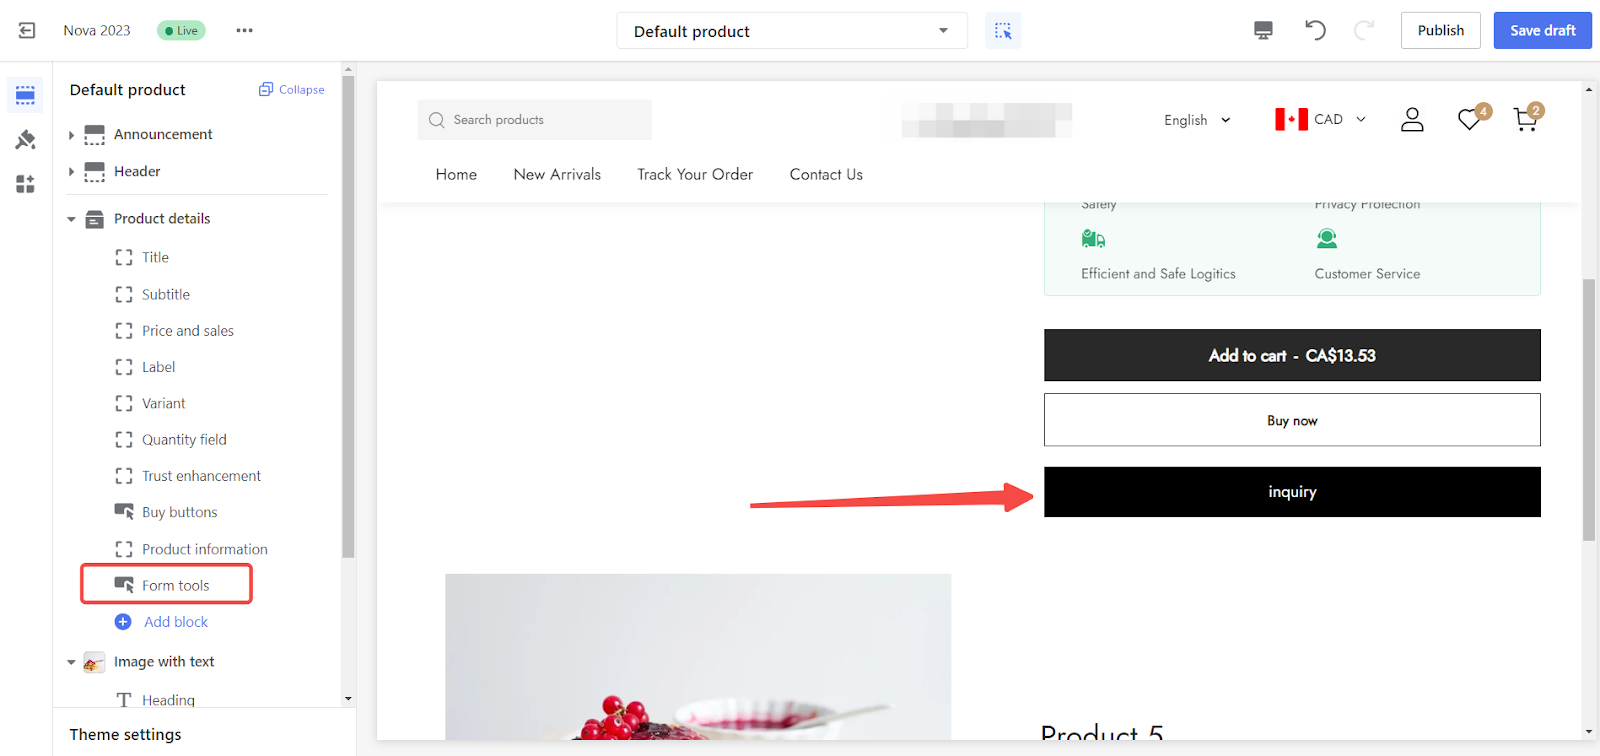
3. Select add block: Look for the option to Add block within the product details area.
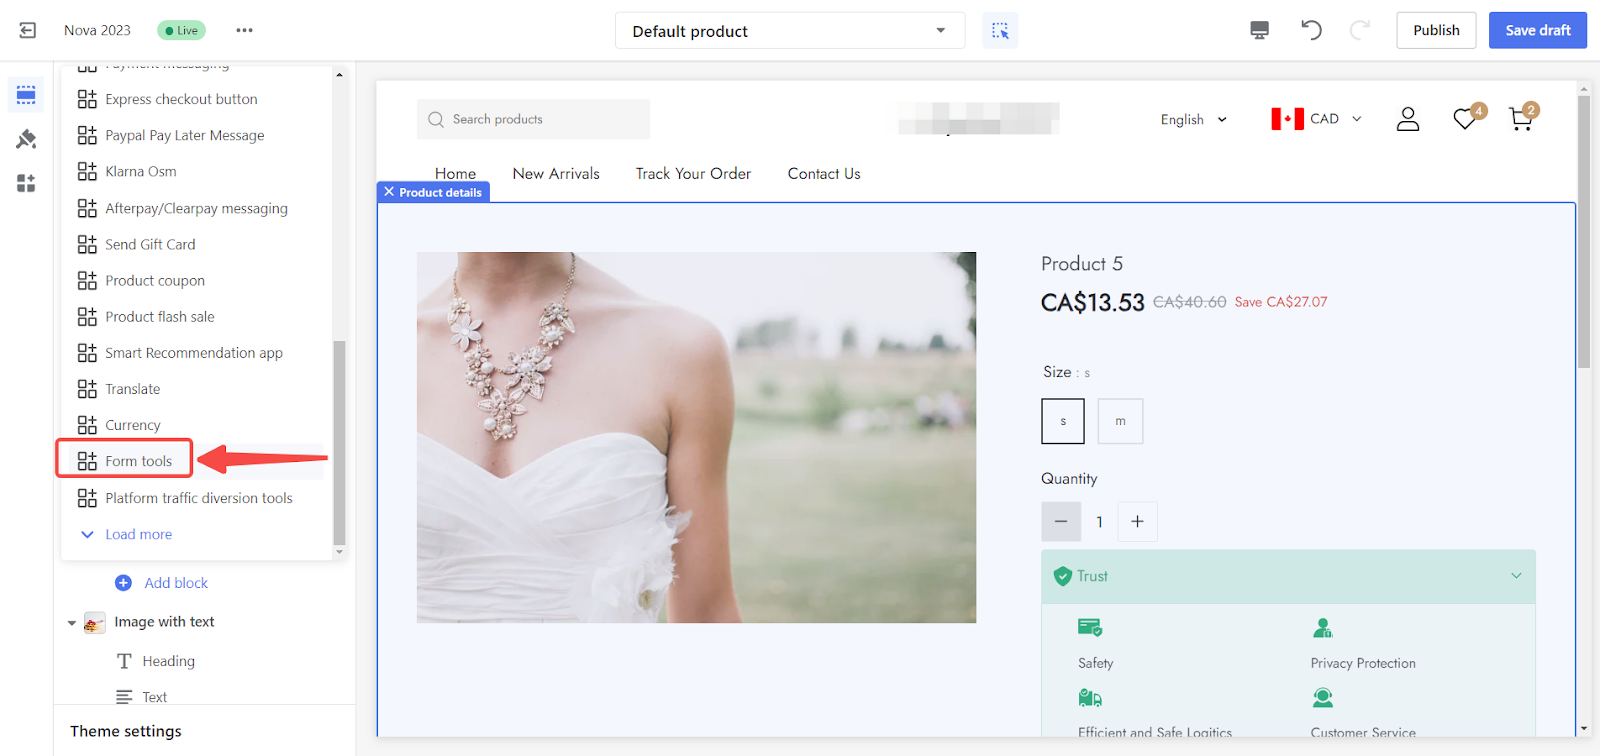
4. Add Form Tools: Scroll to the Apps section and select Form Tools.
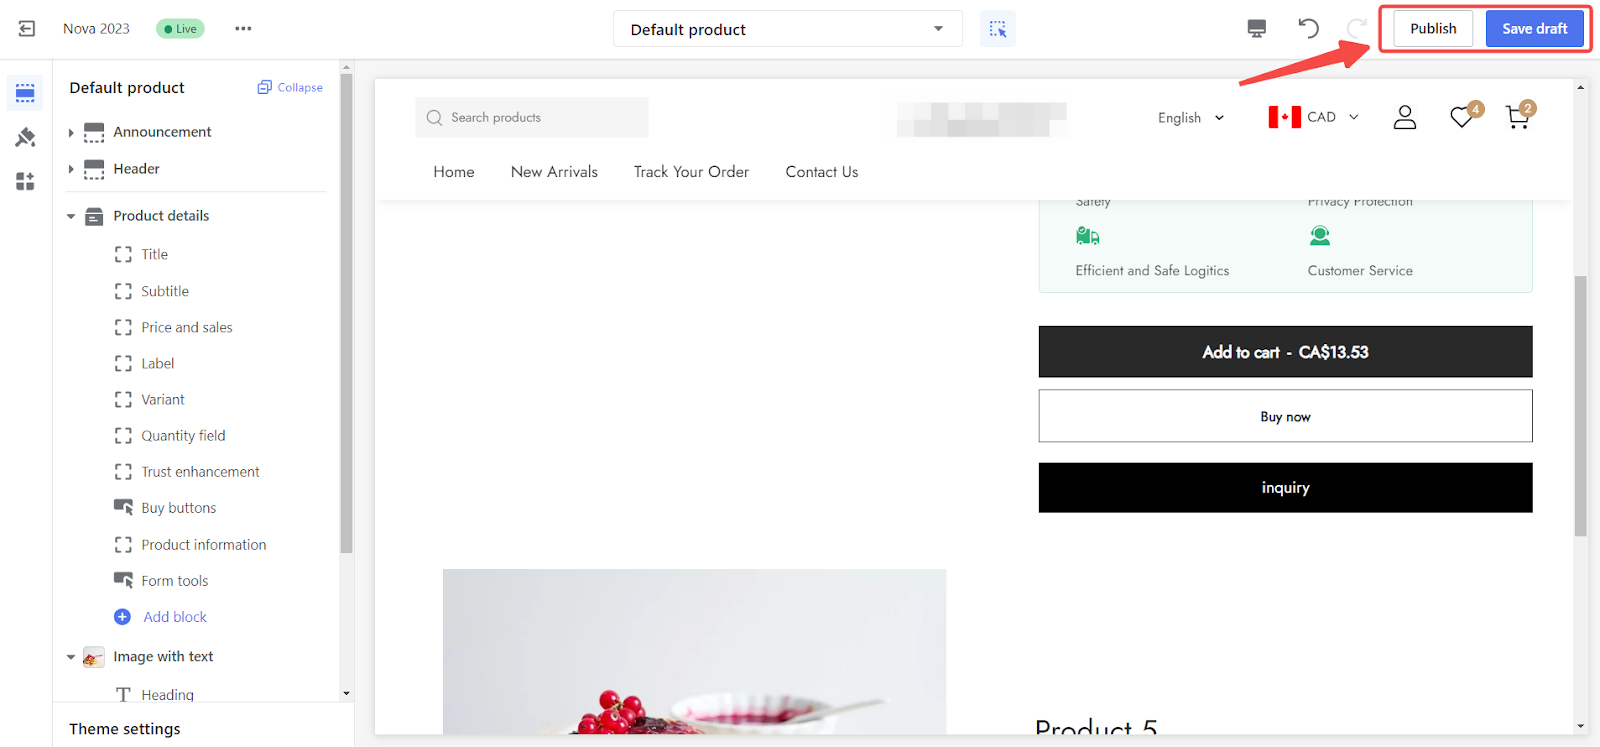
5. Preview the Form tools button: Once you've added Form Tools, preview the button to ensure it's displayed correctly on the product page.
6. Publish your changes: Click Publish or Save Draft to complete the setup.
Customer Interaction
- User-friendly button: Your customers will now see a clearly marked button on each product page, inviting them to fill in the form for inquiries. This encourages active engagement and helps you collect valuable customer information.

By configuring the form correctly and placing it strategically on your product pages, you're all set to foster better communication and interaction with your customers, directly contributing to an enhanced shopping experience on your Shoplazza store.


Comments
Please sign in to leave a comment.