
Utilizing the Booster & Store Conversion app to add product labels to your product images can significantly enhance their visibility, attracting more customers and encouraging clicks. This strategy can lead to higher conversion rates and increased purchase rates. Follow the detailed steps below to achieve this enhancement.
Accessing the Booster & Store Conversion App
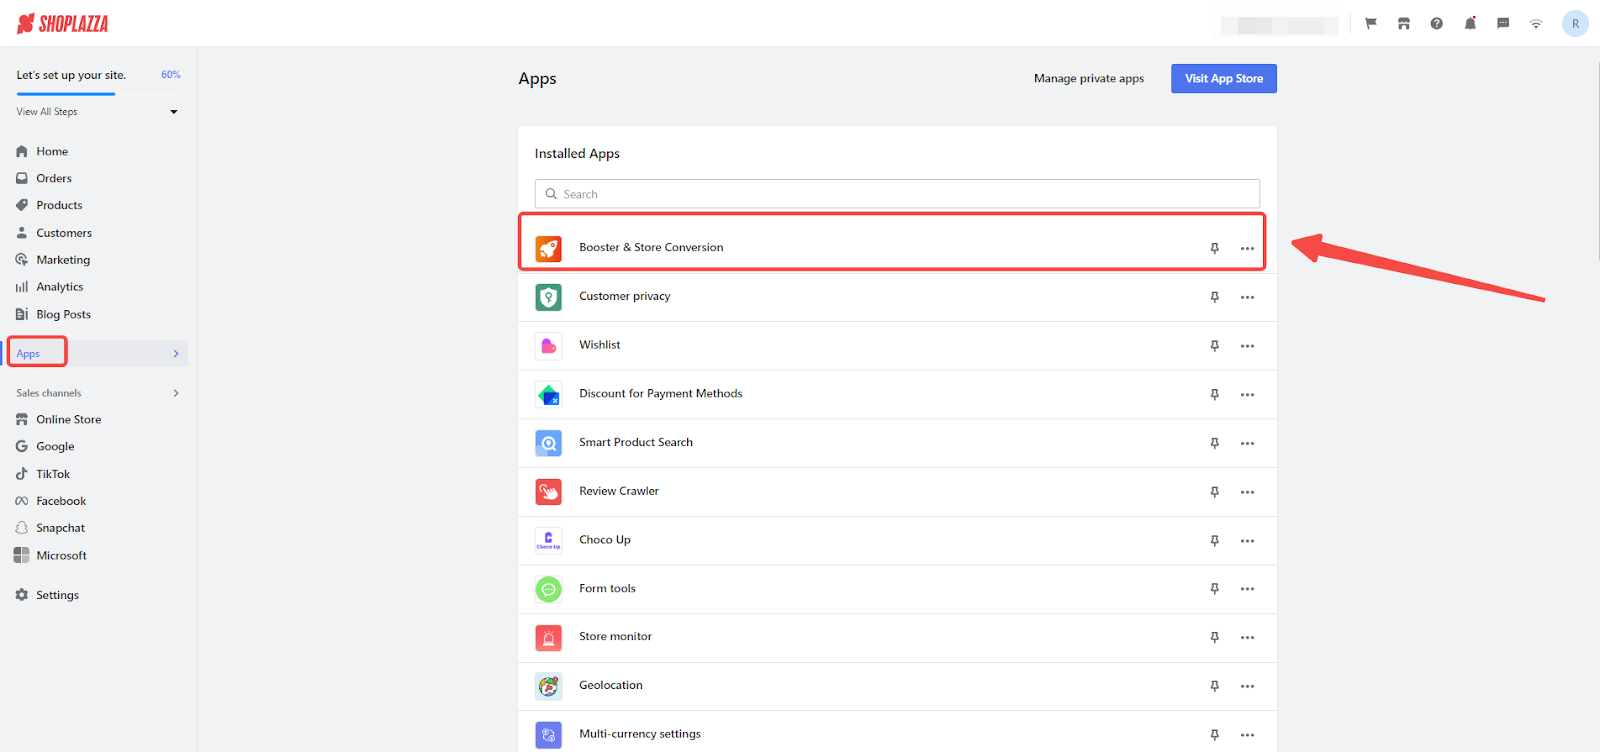
Access the app: From your Shoplazza admin, click on Apps. Search for the Booster & Store Conversion app among your installed apps and click to open it.
Configuring Product Labels
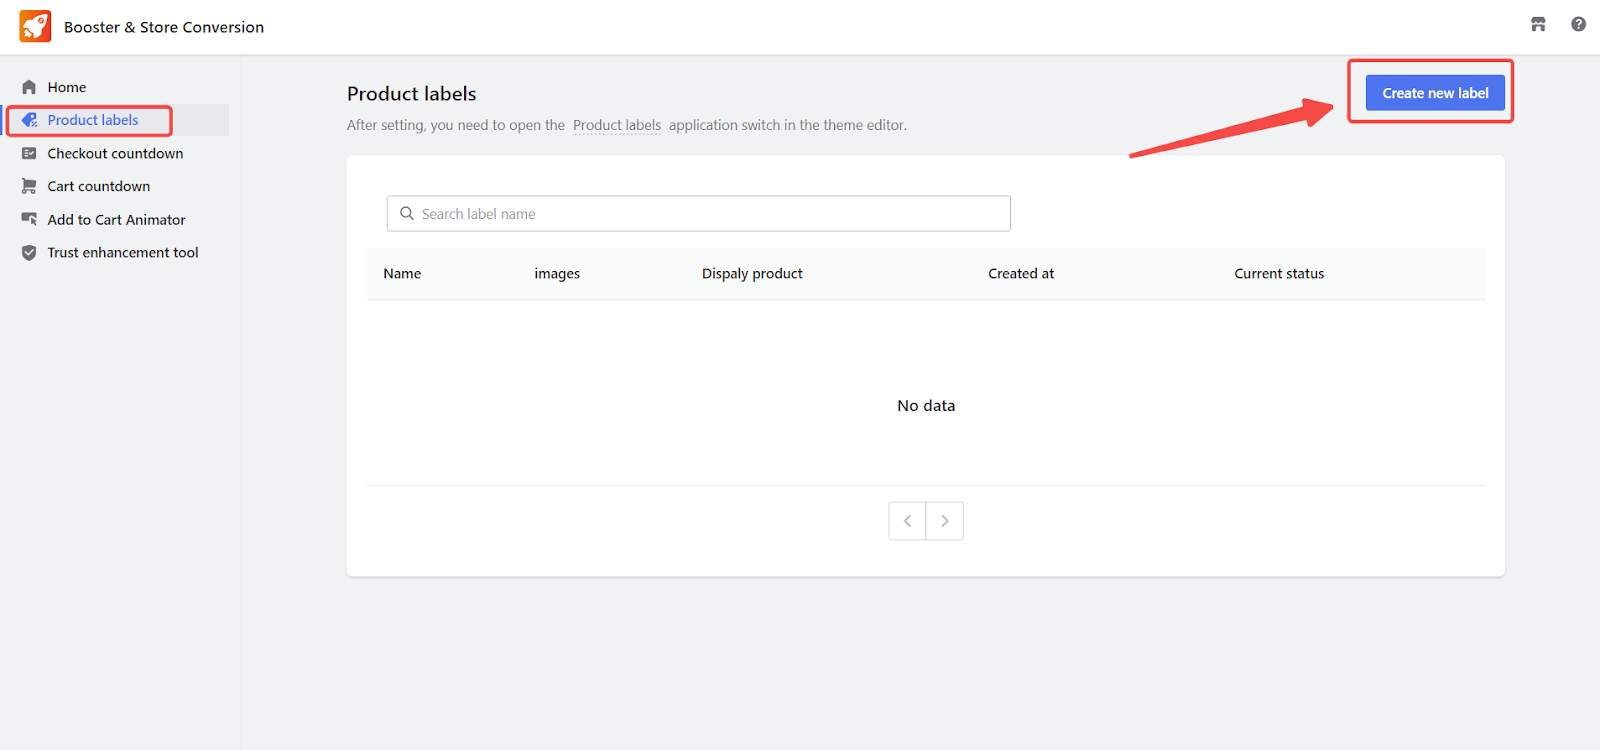
1. Navigate to product labels: Click on Product Labels and select Create new label.
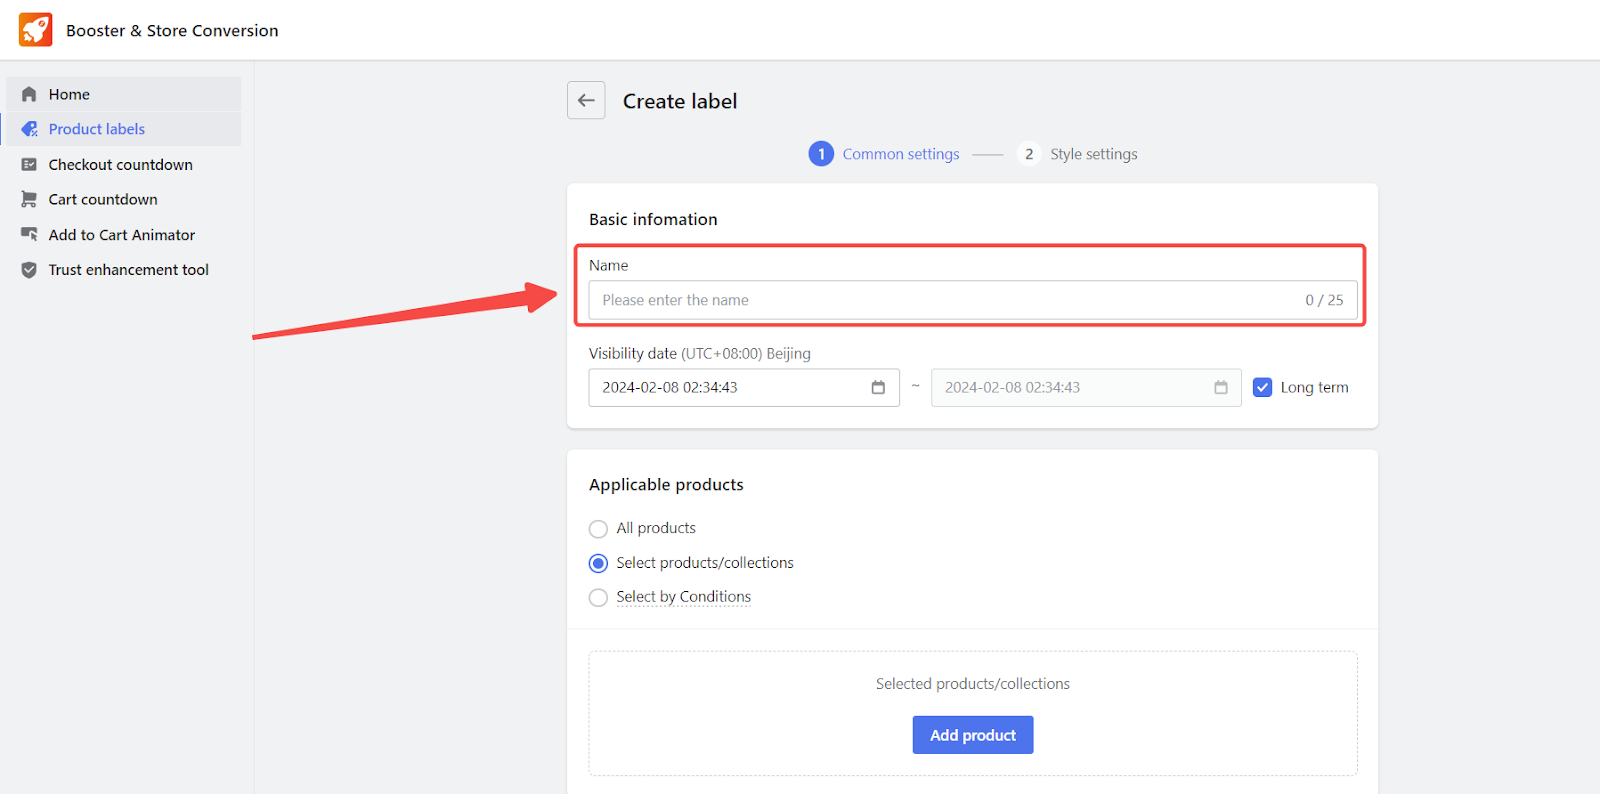
2. Fill in label details: Enter a suitable label name.
Note
This label name will not display on the storefront.
3. Set activation time: Set the label's active duration.


- Opting for Long-term removes the need for an end time.

4. Choose applicable products: Decide whether the label applies to All products, Specific products, or Collections. You can also filter products based on specific conditions.

- For specific products or collections: Add the desired product and confirm your selection.


- For filtering products based on conditions: Specify your conditions and search. Products meeting these conditions will be automatically added to your selection.


Note
When filtering products based on conditions, those that fulfill the specified criteria are automatically included in the list. The particular products targeted may change based on the attributes of the conditions set.
5. Select applicable pages: Choose whether the label should apply to All pages or Some pages, then click Next.


6. Set label type (Image/Text): Choose between an Image or text for your label type.

- Image type: Choose to either upload a custom label or select from available discount labels.

- Preview effect: Observe the label's appearance on the right-hand side for a real-time preview.


- Customization: Adjust the label's position as needed, then click Complete to finalize.

- Text type: Complete the required fields and view the preview on the right side.

- Dynamic data fields: You can choose one out of two dynamic fields by clicking Add variable, which will automatically display the discount as either a percentage or an amount.
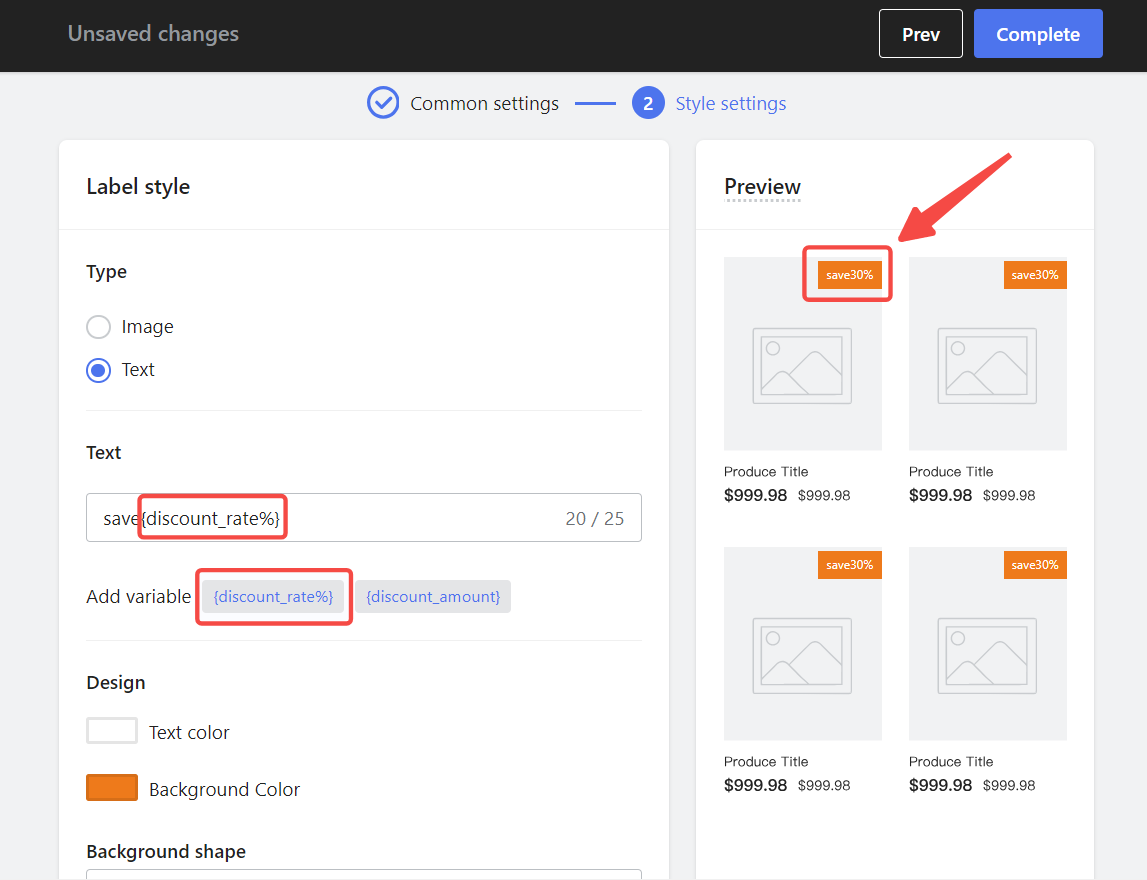

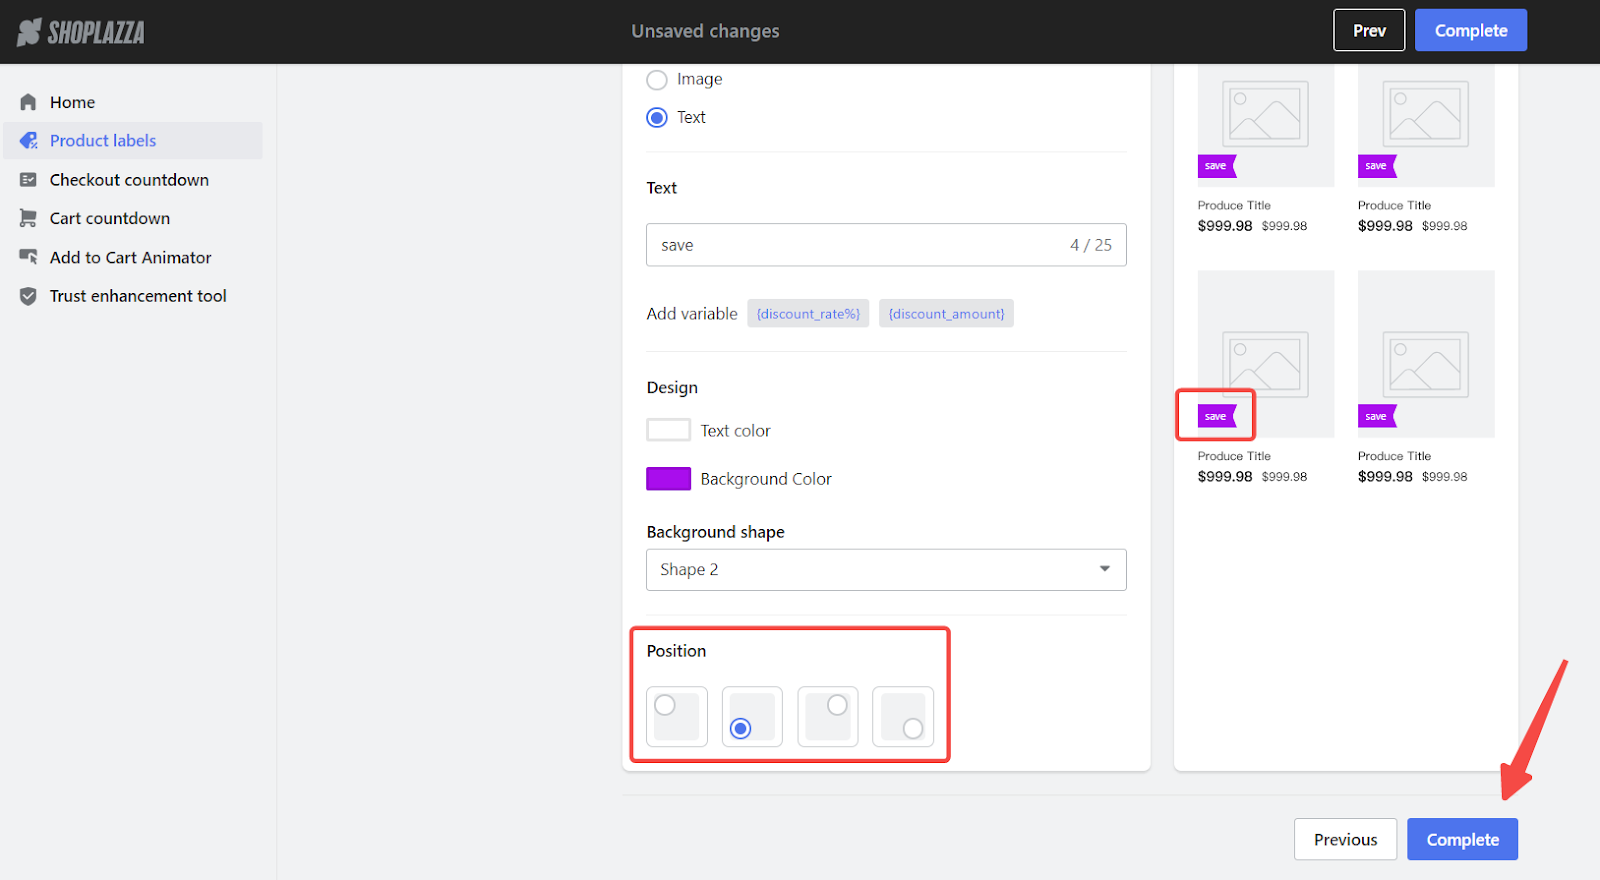
- Style customization: Adjust the text style, including color and background color, as well as the background shape.
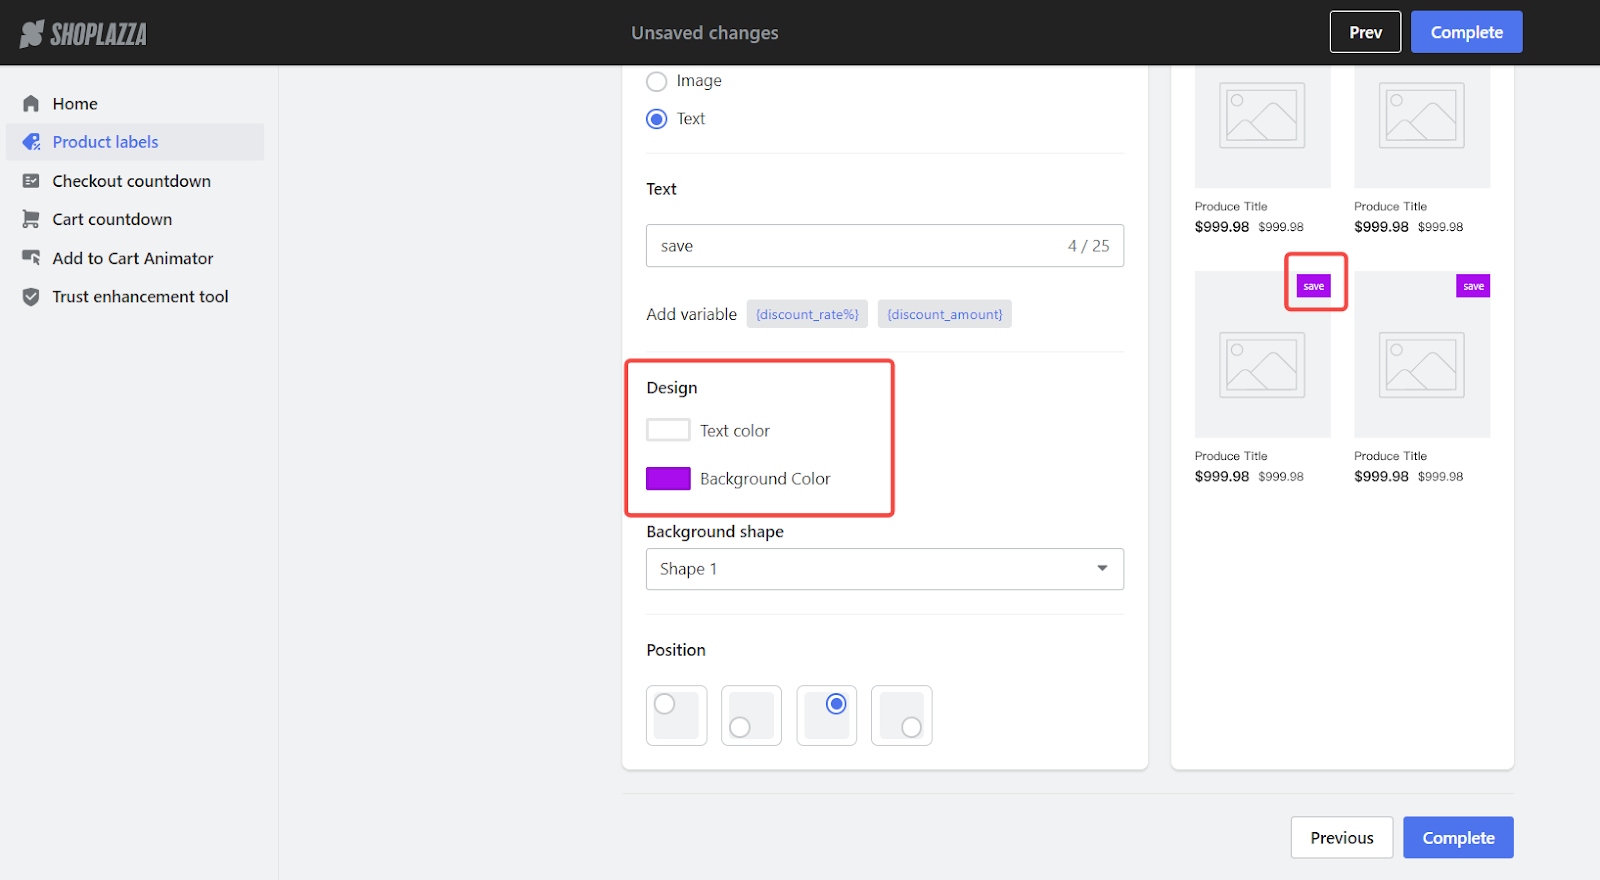

- Positioning: Select the desired position for the label and click Complete to finish.
Enabling product labels in the theme editor
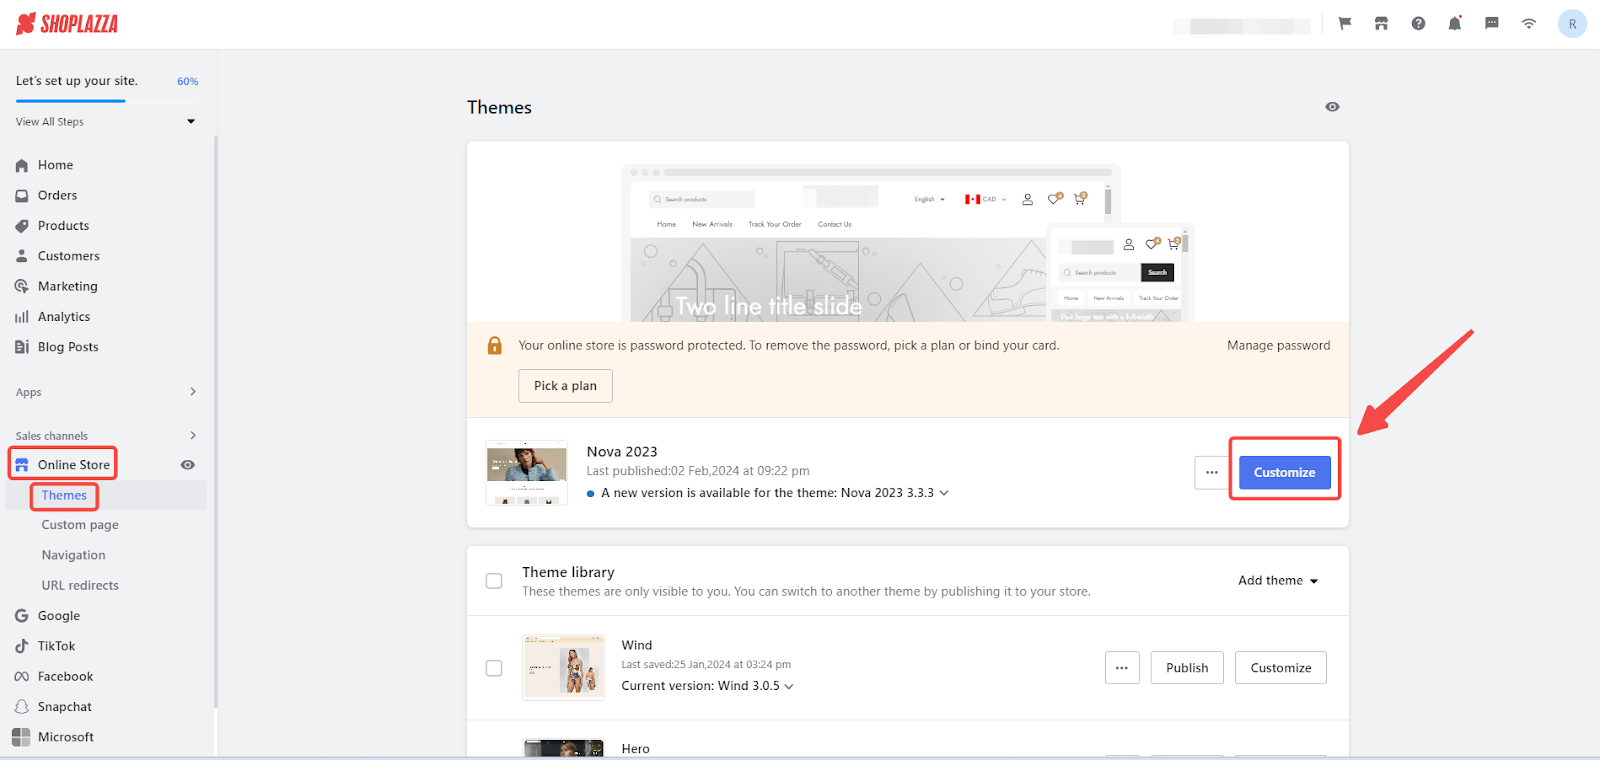
1. Access theme editor: Return to the Shoplazza admin, select Online Store, go to Theme, and click Customize.
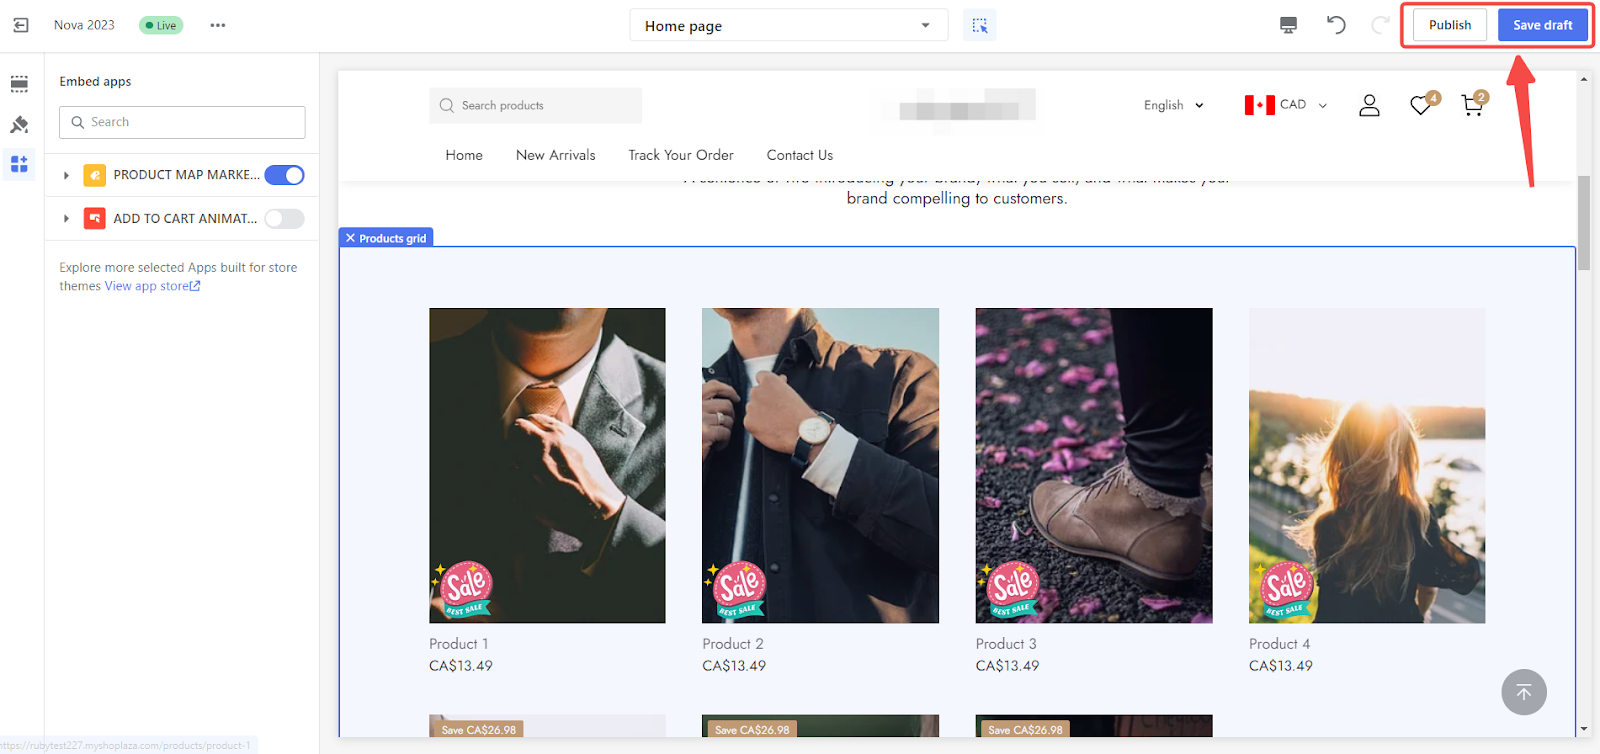
2. Activate product labels: In the theme editor, navigate to the App icon on the left sidebar and enable Product Map Marketing Labels.
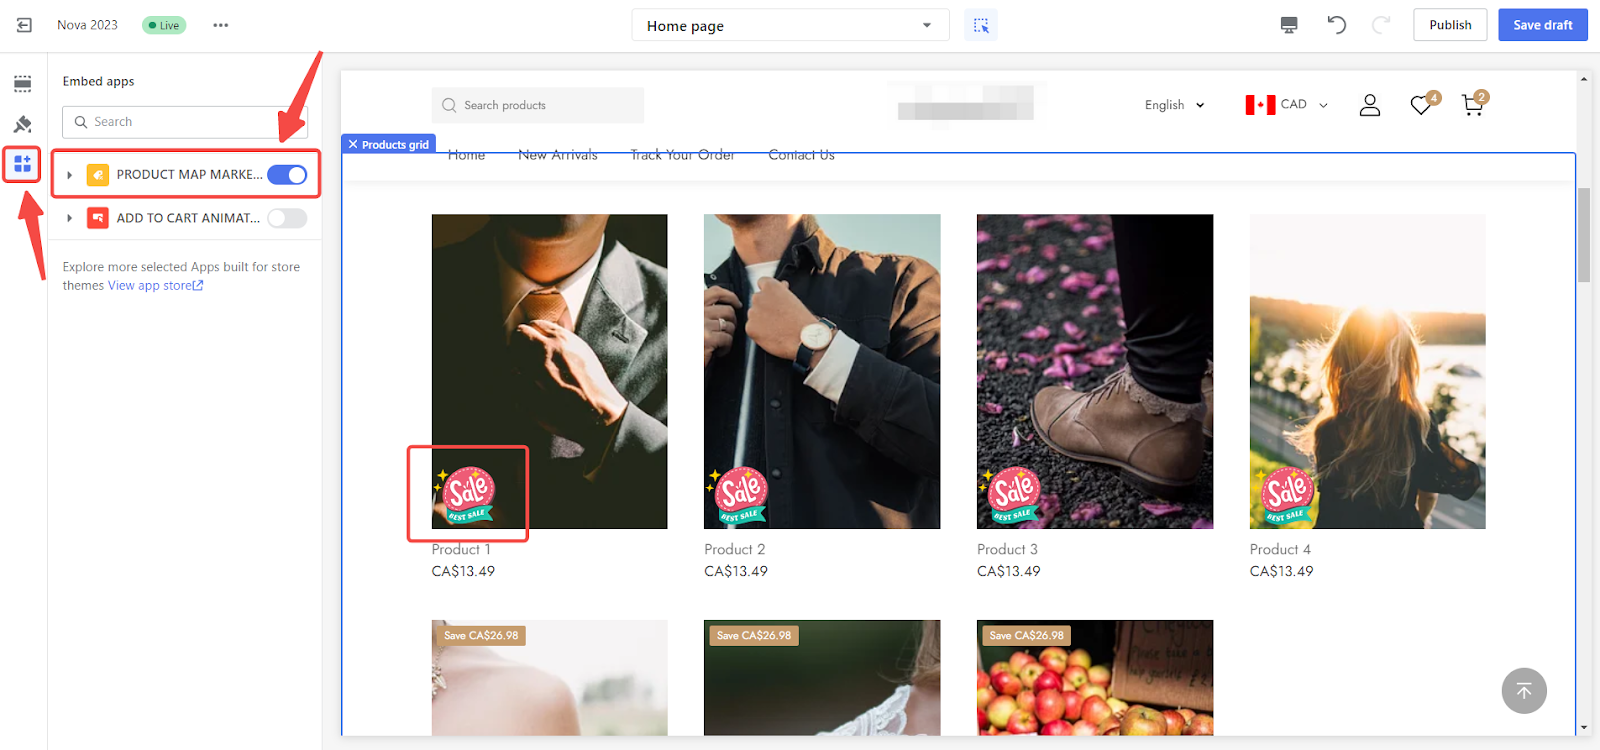
3. Save and publish: Finalize your changes by clicking Save draft or Publish.
Note
With product labels, your offerings gain enhanced visibility across various pages, which can directly influence customer engagement and purchasing decisions. Keep in mind that these labels won't show on product detail pages or in the add-to-cart list.
Following the detailed instructions above, you can create a more inviting and visually appealing shopping environment for your customers. This not only encourages more clicks but also boosts sales. Paying attention to how you customize your product labels can have a significant impact on your store's conversion rates, making your products stand out to potential customers.


Comments
Please sign in to leave a comment.