
By using the one-click migration plugin, you’ll enjoy a simpler, faster, and more accurate store migration experience. Whether it’s products, customers, or blog data, everything can be seamlessly transferred, making your cross-border e-commerce journey easy and hassle-free. Please follow the steps below to begin your convenient migration process.
Step 1 : Installing the Store Migration App
1. Access the app: From your Shoplazza Admin > Apps, click Visit App Store.
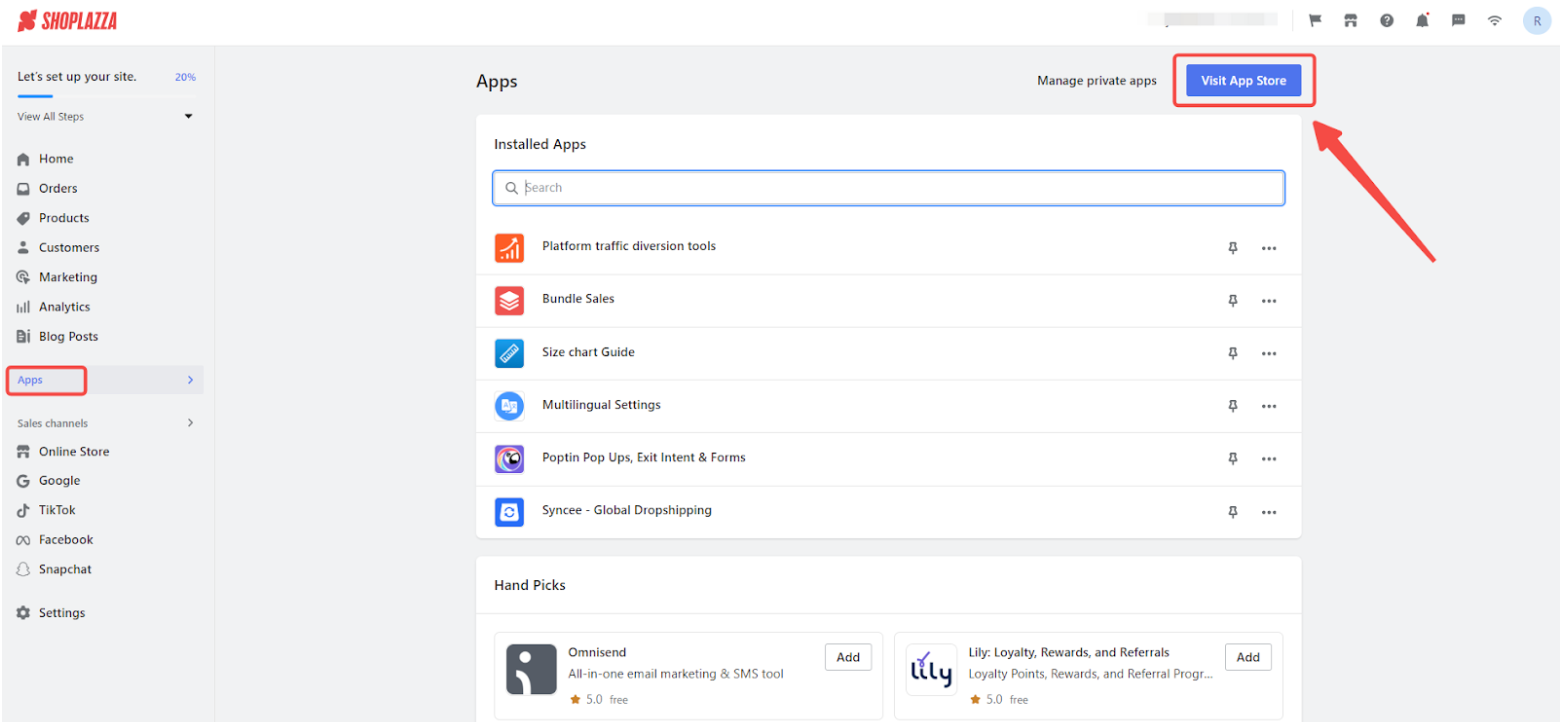
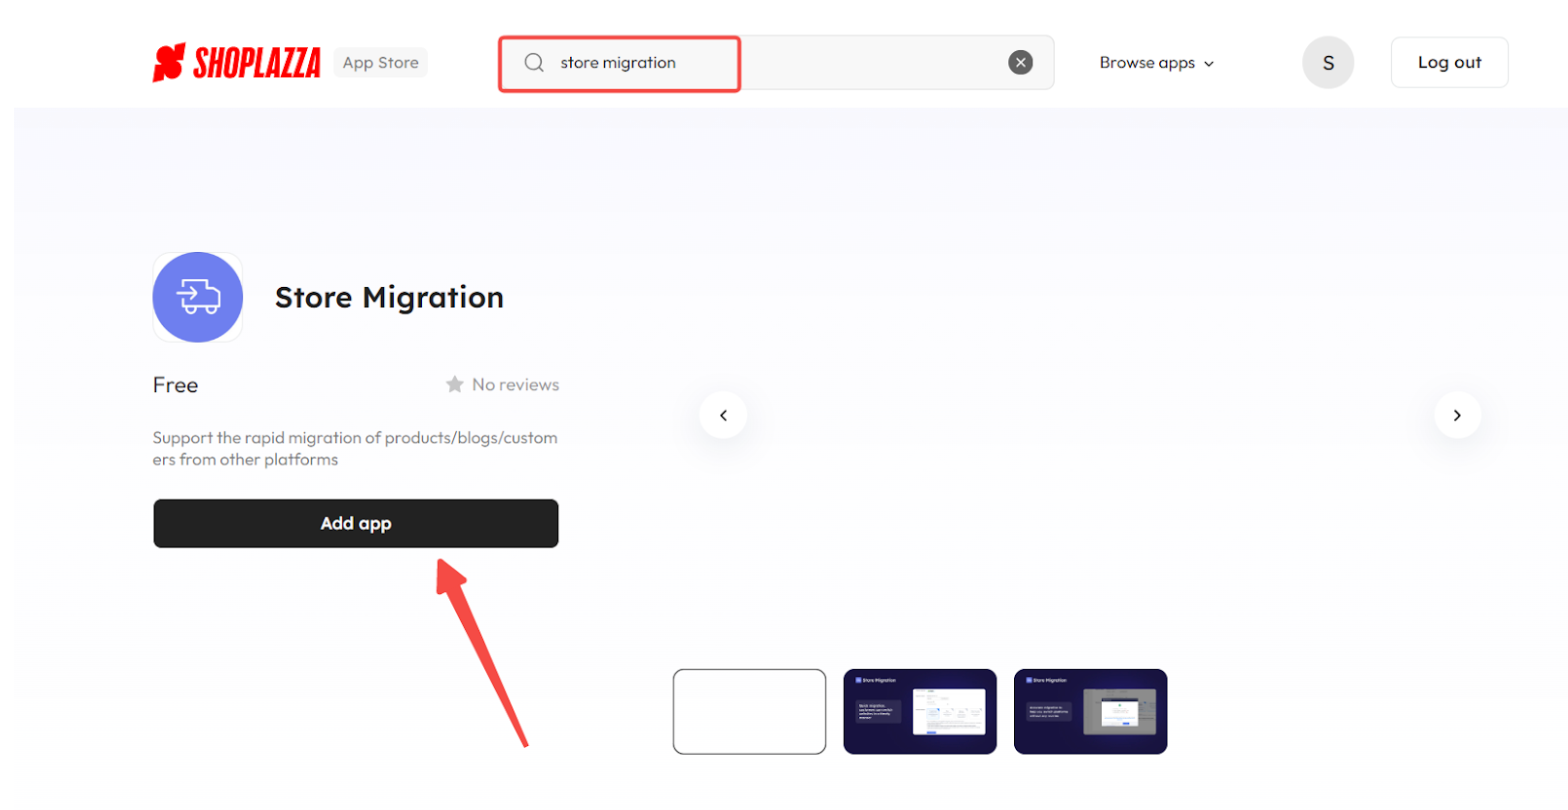
2. Find the app: Search for Store Migration in the search box and click Add app to add it to your store.
Step 2: Obtain the migration account information
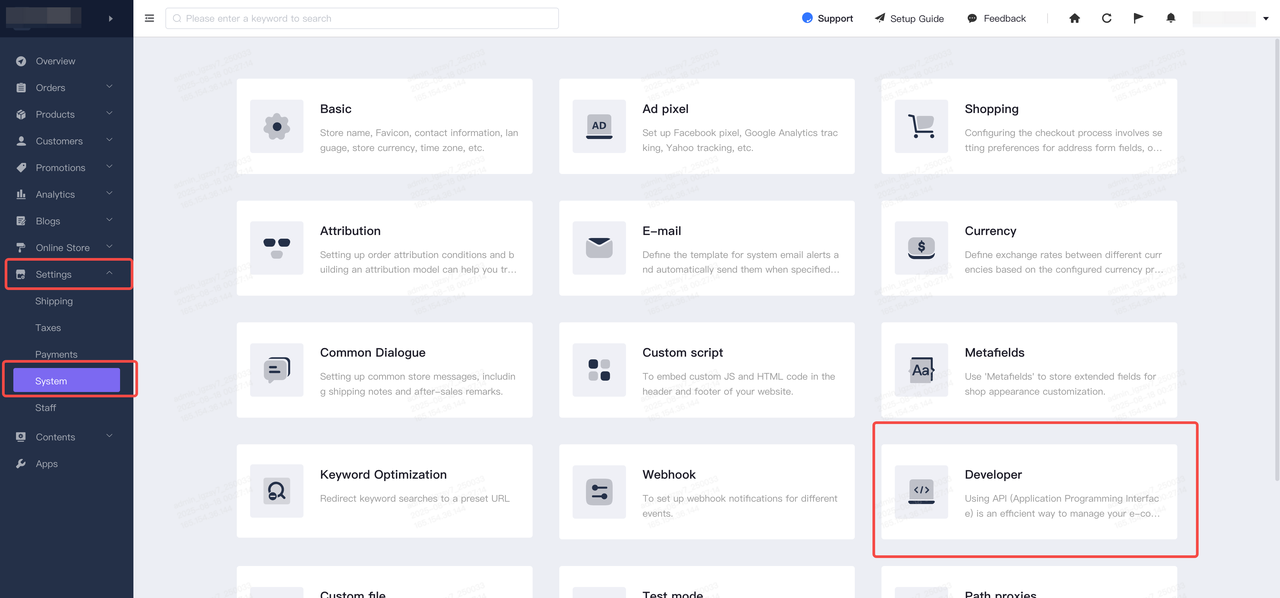
1. Log in to your Shopyy admin, click Settings > System > Developer to enter the Developer page.
2. Prepare the store credentials:
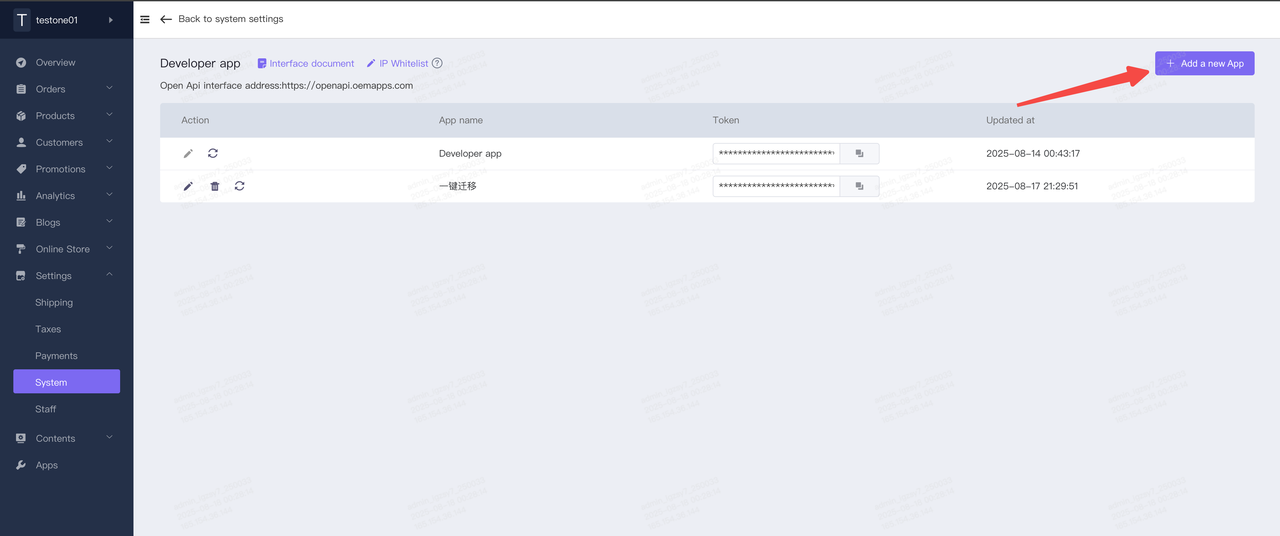
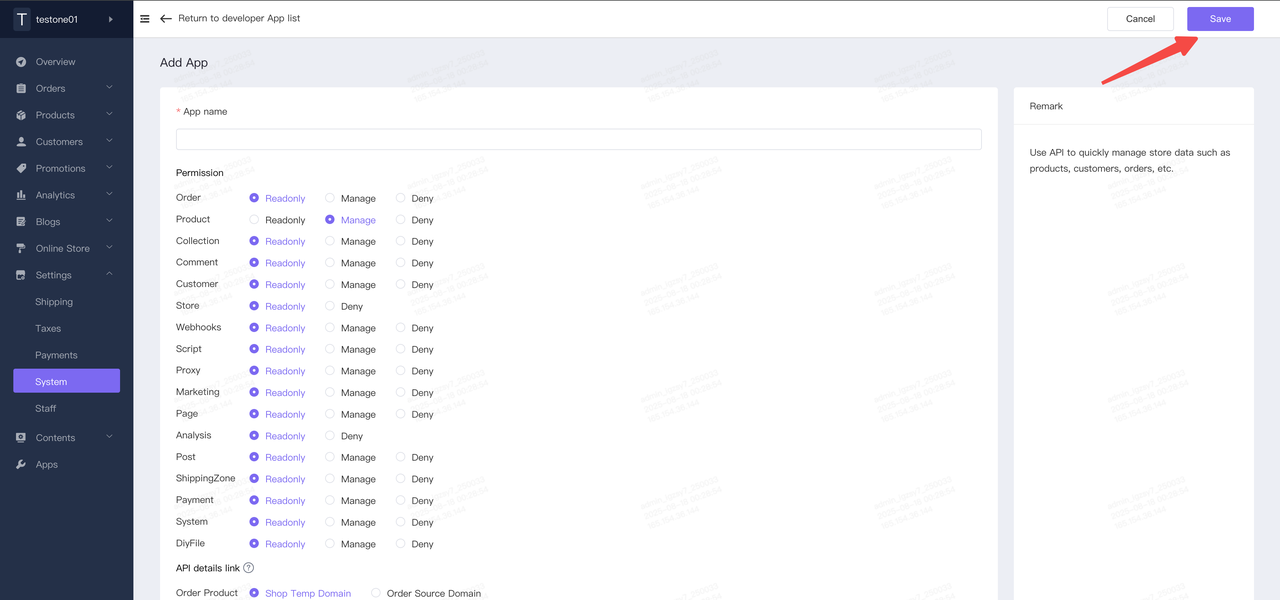
Create a dedicated app for migration to Shopyy. Once the app is successfully created, you will receive an Access Token.
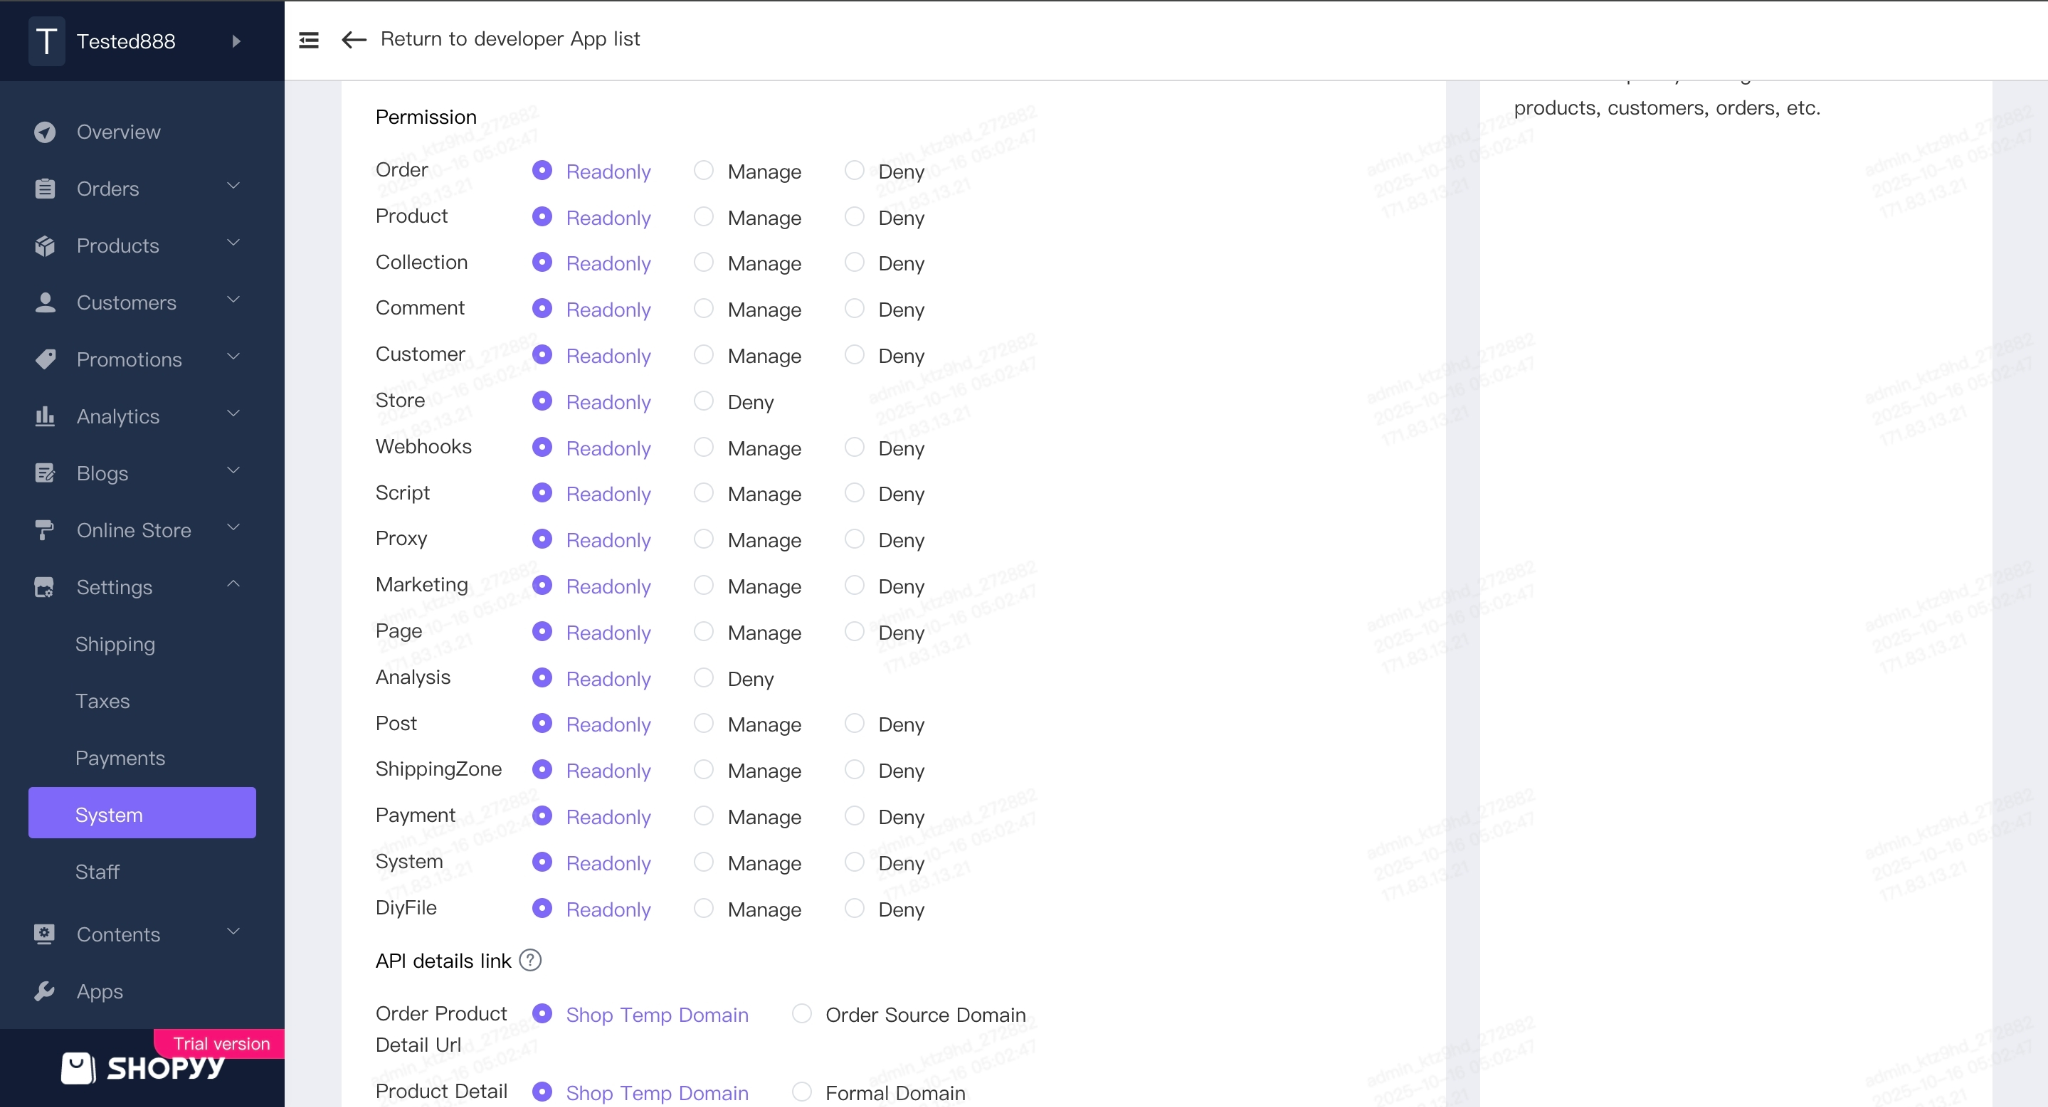
3. After creating the app, go to the App Permissions page and check the permissions for the modules you need to migrate, After completing the configuration, check the Save button.
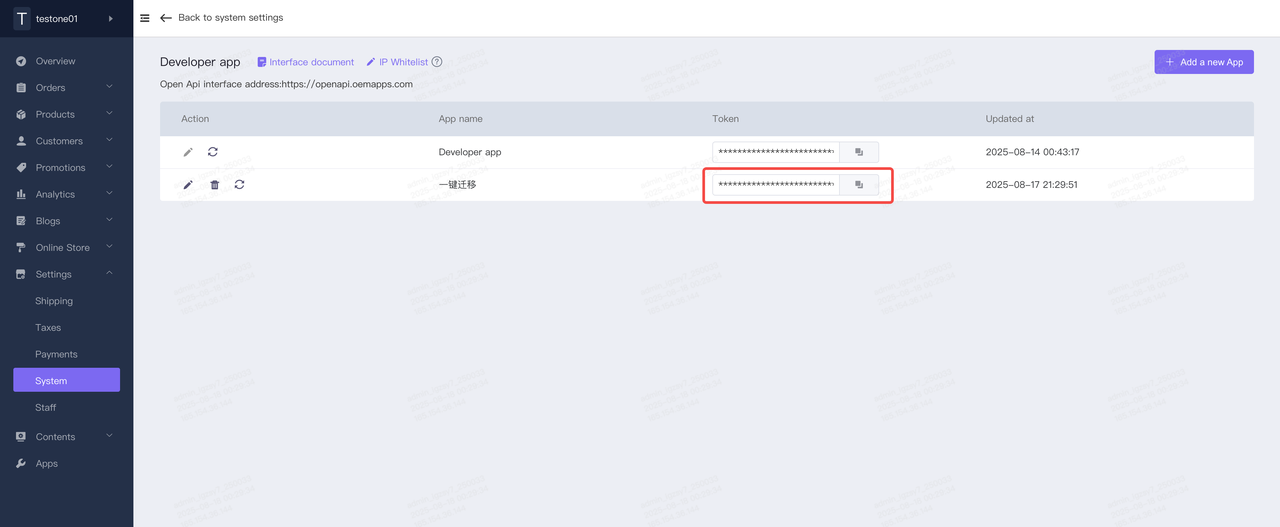
4. After saving, return to the Developer Apps page and copy the Token of the application you just created.
Step 3: Start the Migration
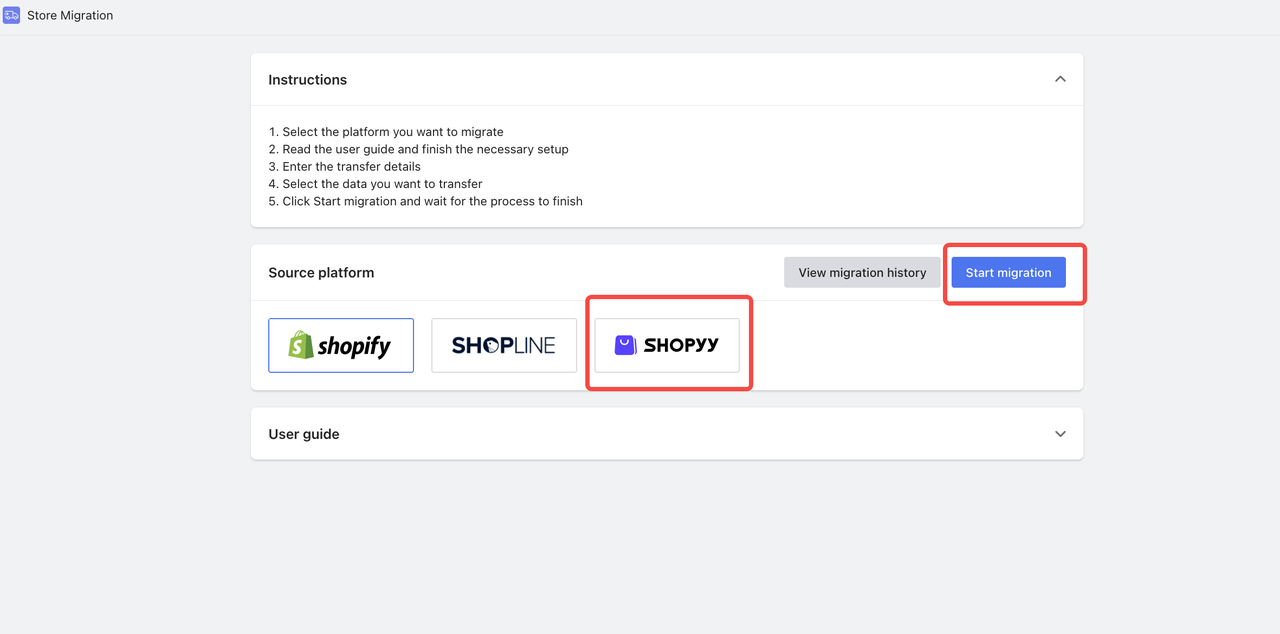
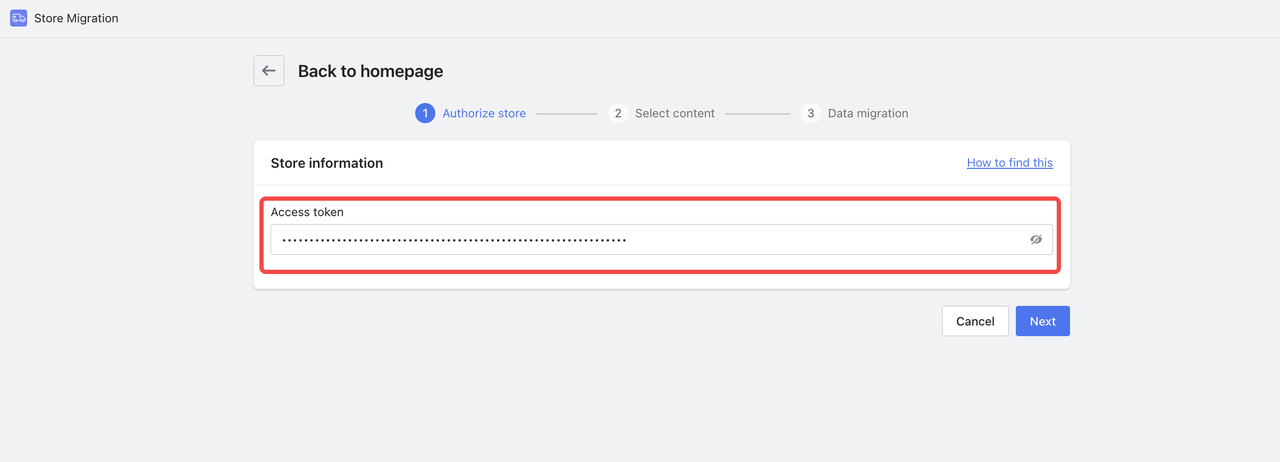
1. Go back to the Store Migration App, select the Shopyy migration platform, click Start Migration, then proceed to the store authorization step. Fill in the authorization details and complete the authorization verification.
Paste the Token you just copied into the Access Token input field, then click Next to complete the authorization verification.
2. Go to the migration module selection, check the modules you need to migrate, and click Start Migration.
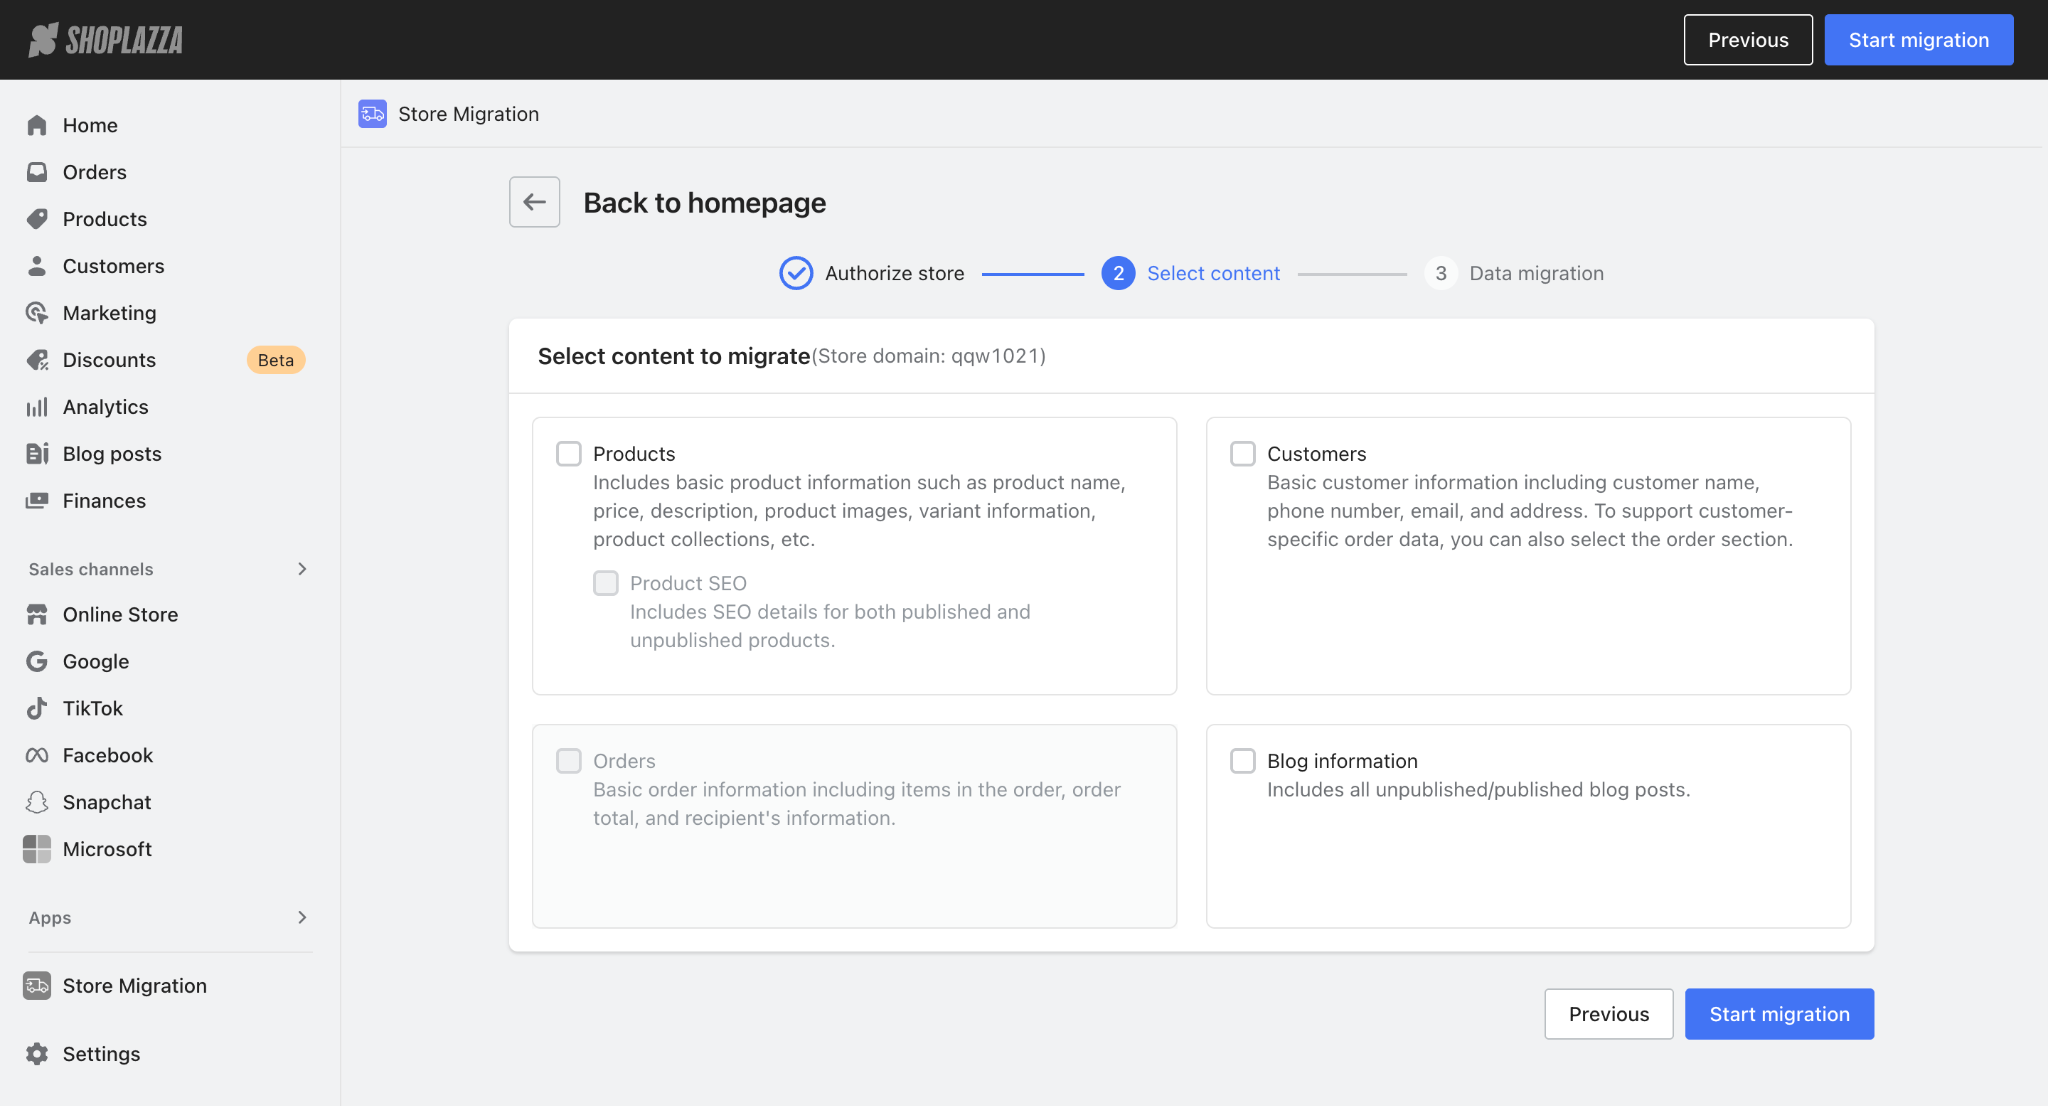
Tips
The order section is gray by default. You need to select the product and customer information before you can select the order.
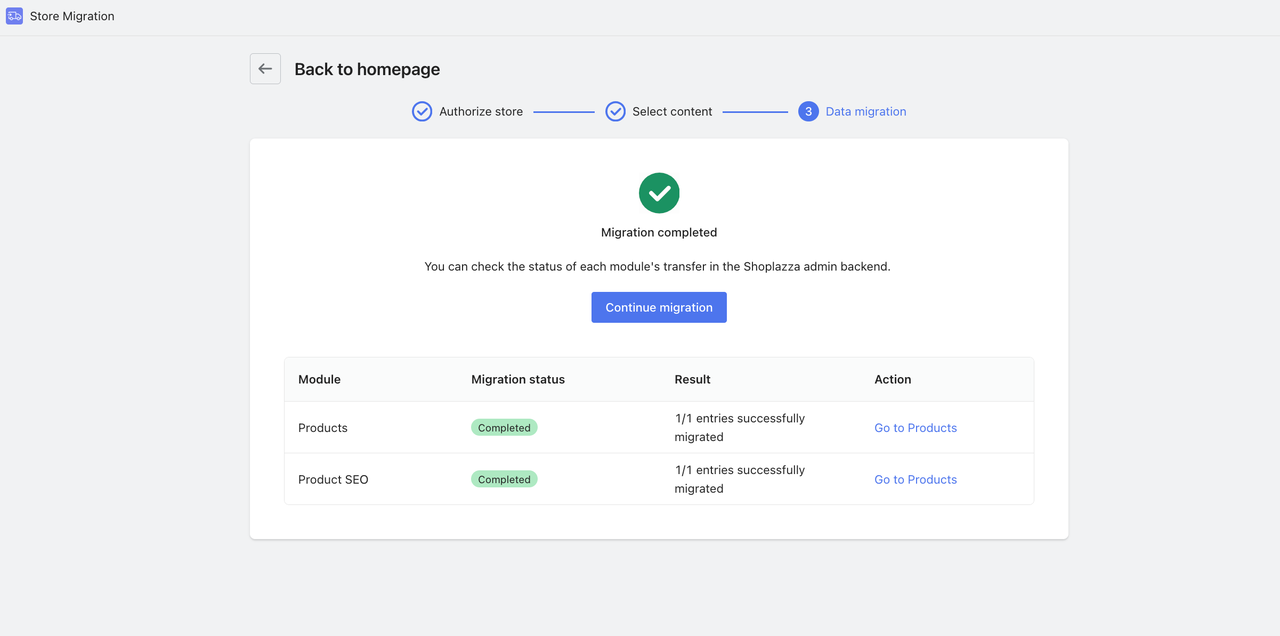
3. Simply wait for the migration results.


Comments
Please sign in to leave a comment.