
Once Klaviyo is installed in your store, you can set up Flows to send automated emails based on customer actions. This feature can boost sales with minimal advertising costs. This guide will show you how to activate and optimize Klaviyo's automated email flows for your store's unique content and design.
Editing emails in your Flow
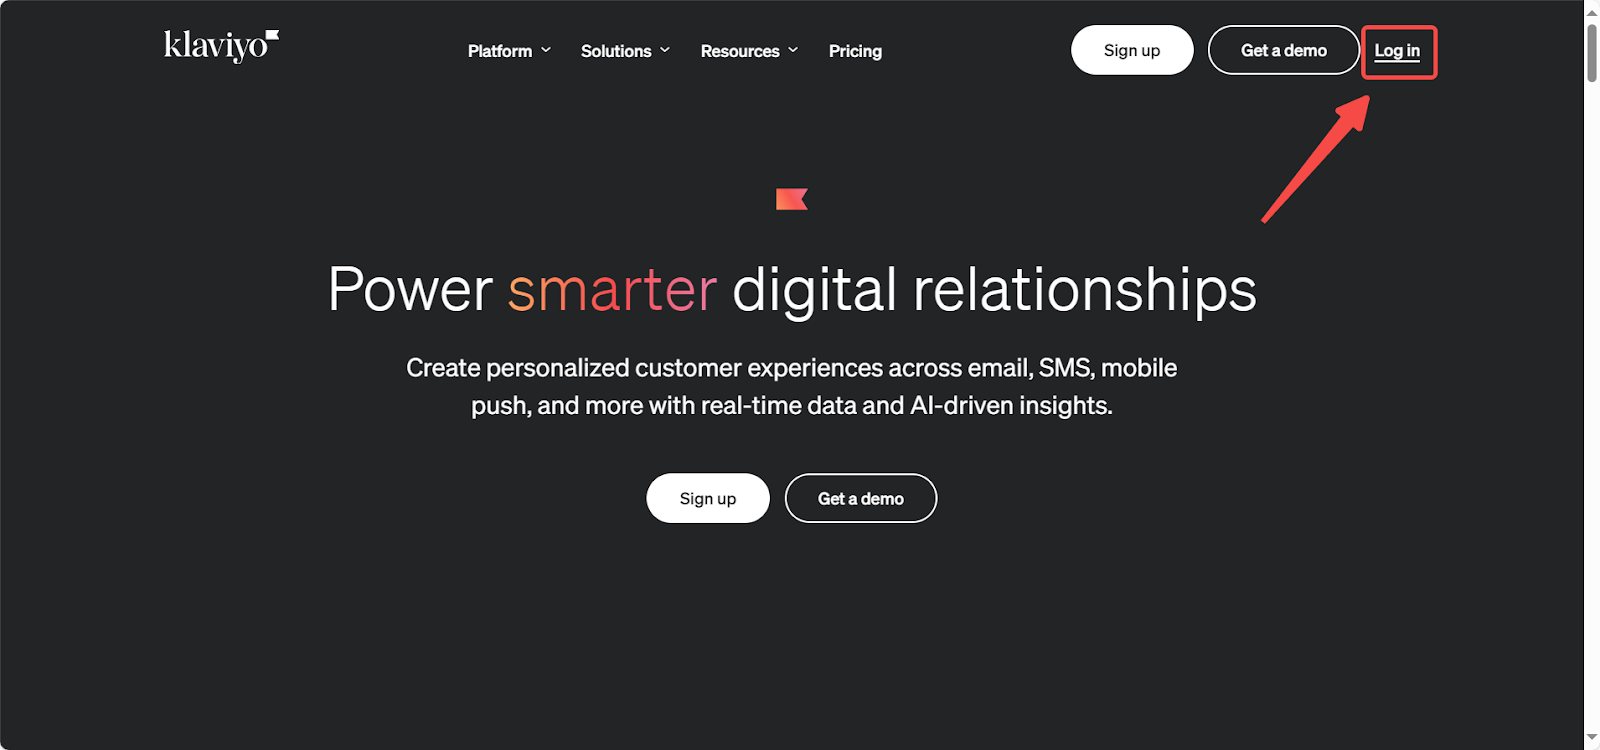
1. Start at the homepage: Head over to the Klaviyo website and log in to your account.
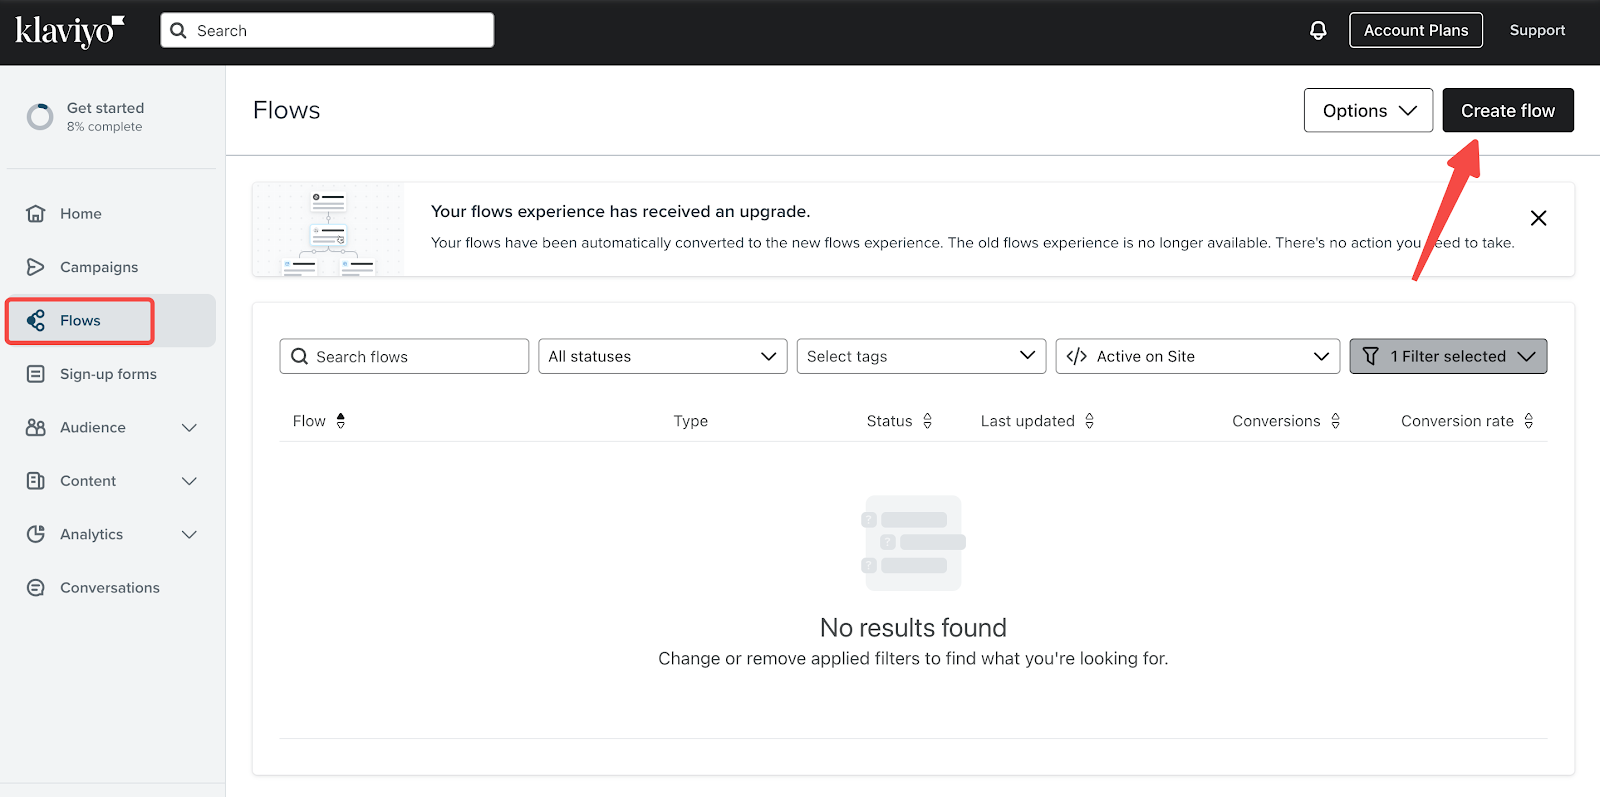
2. Access the Flows page: Click Create flow and choose one of the flow templates to enable.
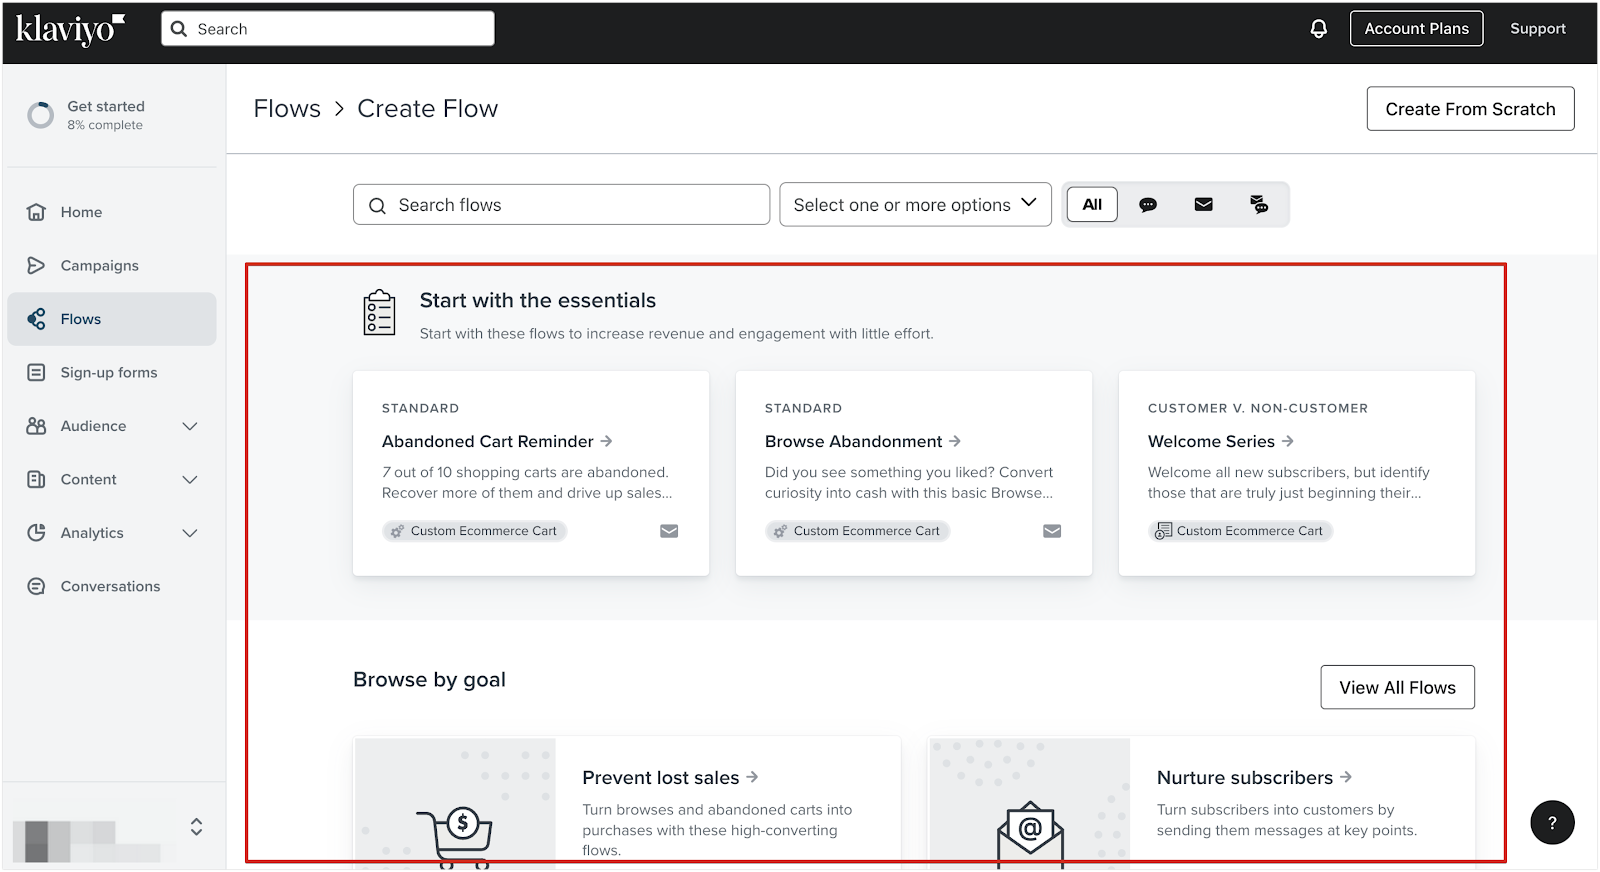
3. Example setup: For setting up an Abandoned Cart Reminder, choose this option and click Create Flow in the pop-up window.
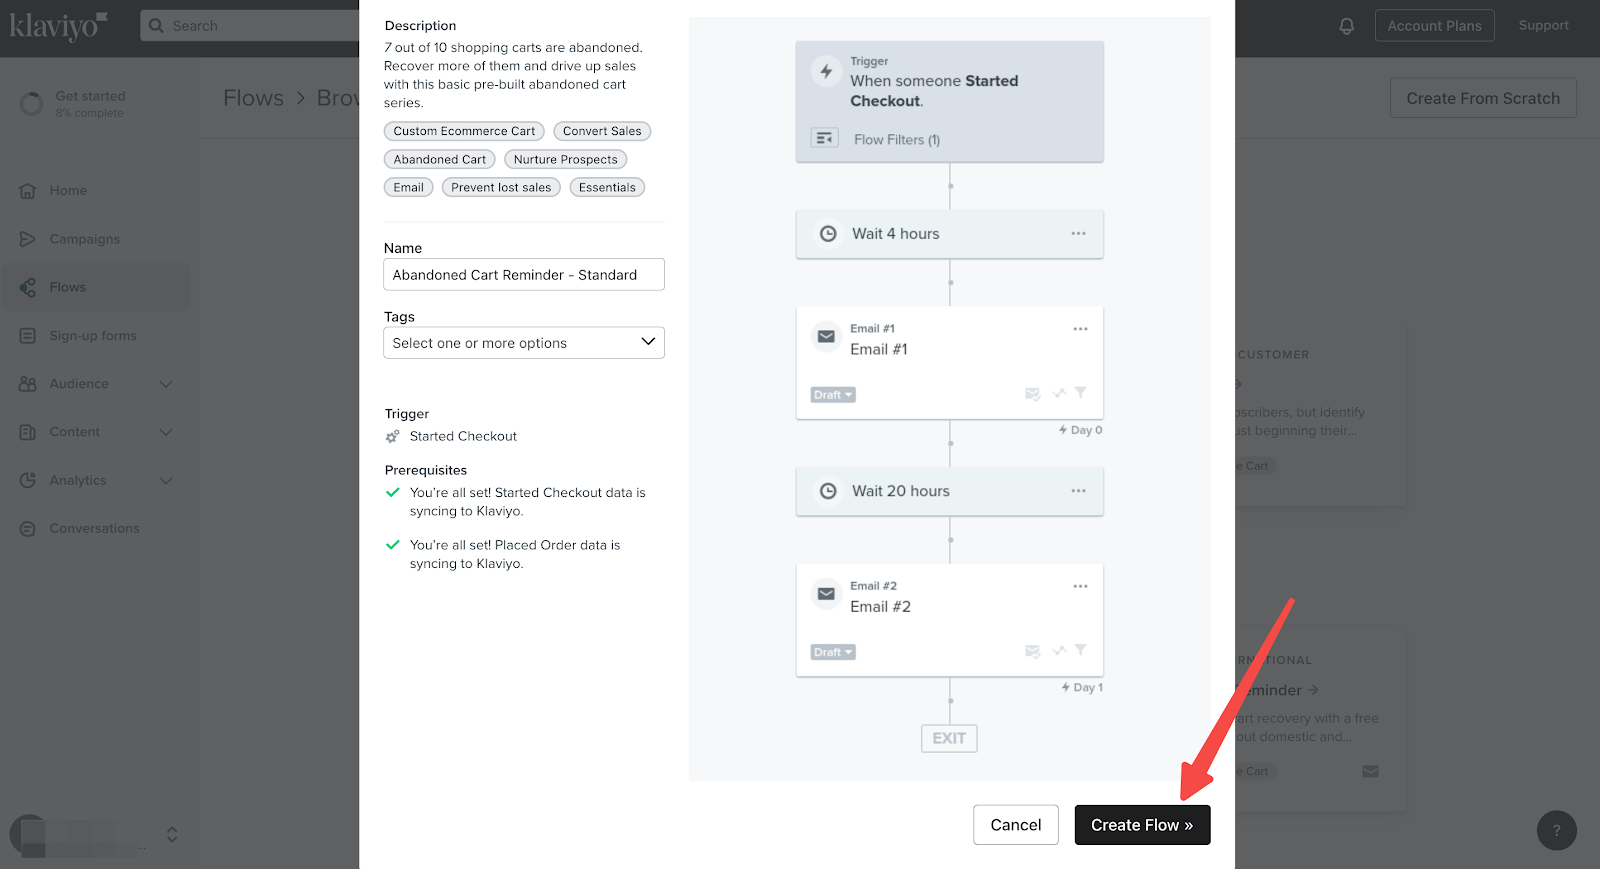
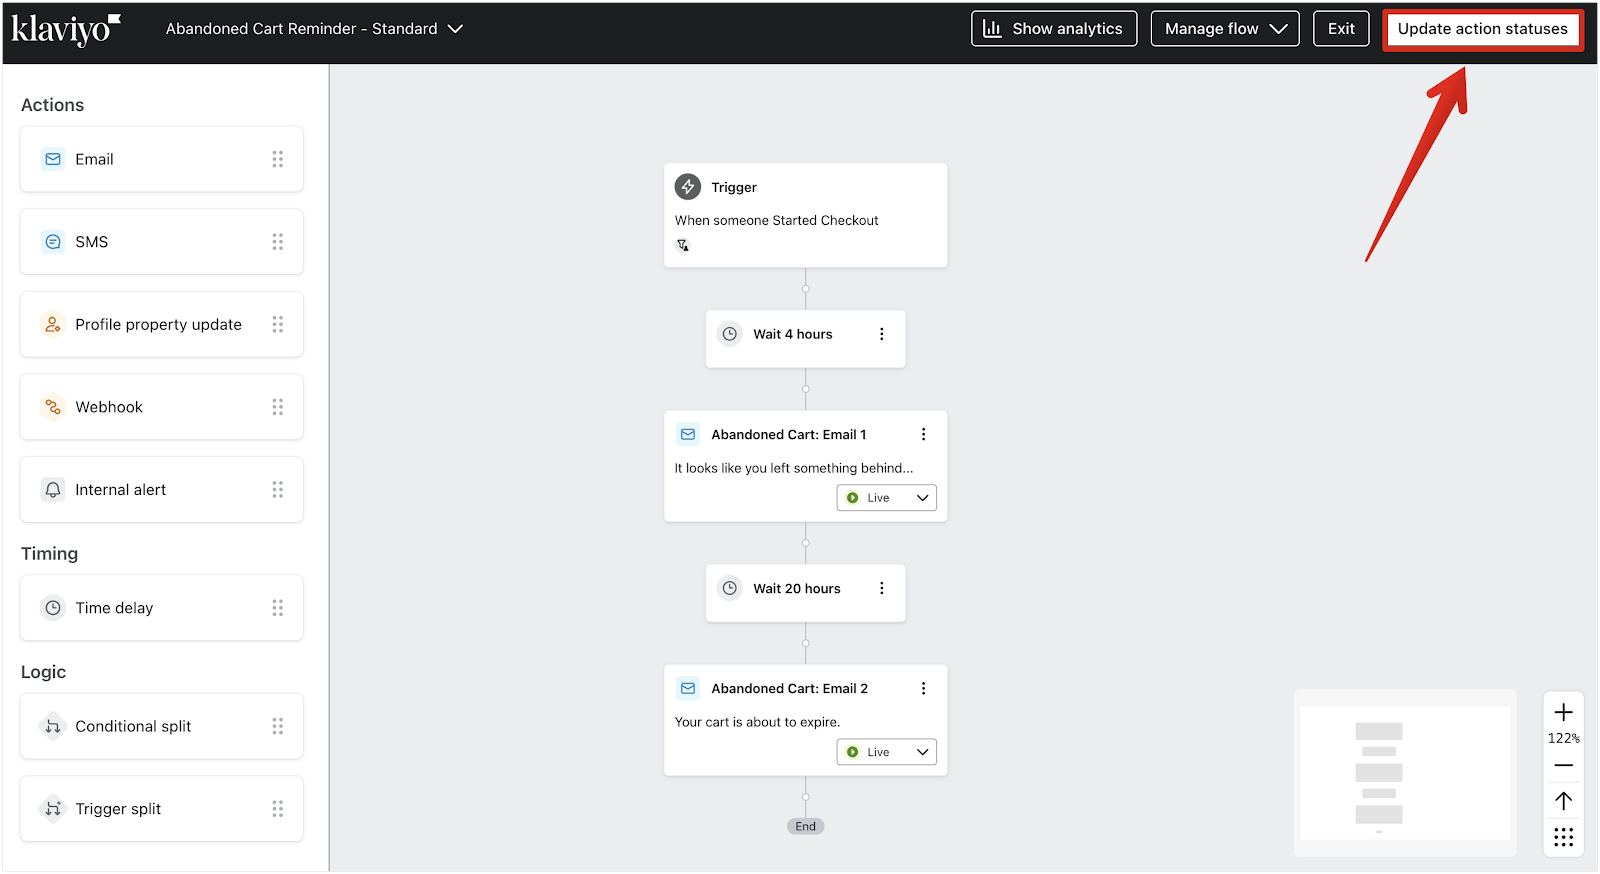
4. Configure triggers: In the Flows editor, set triggers based on customer interactions.
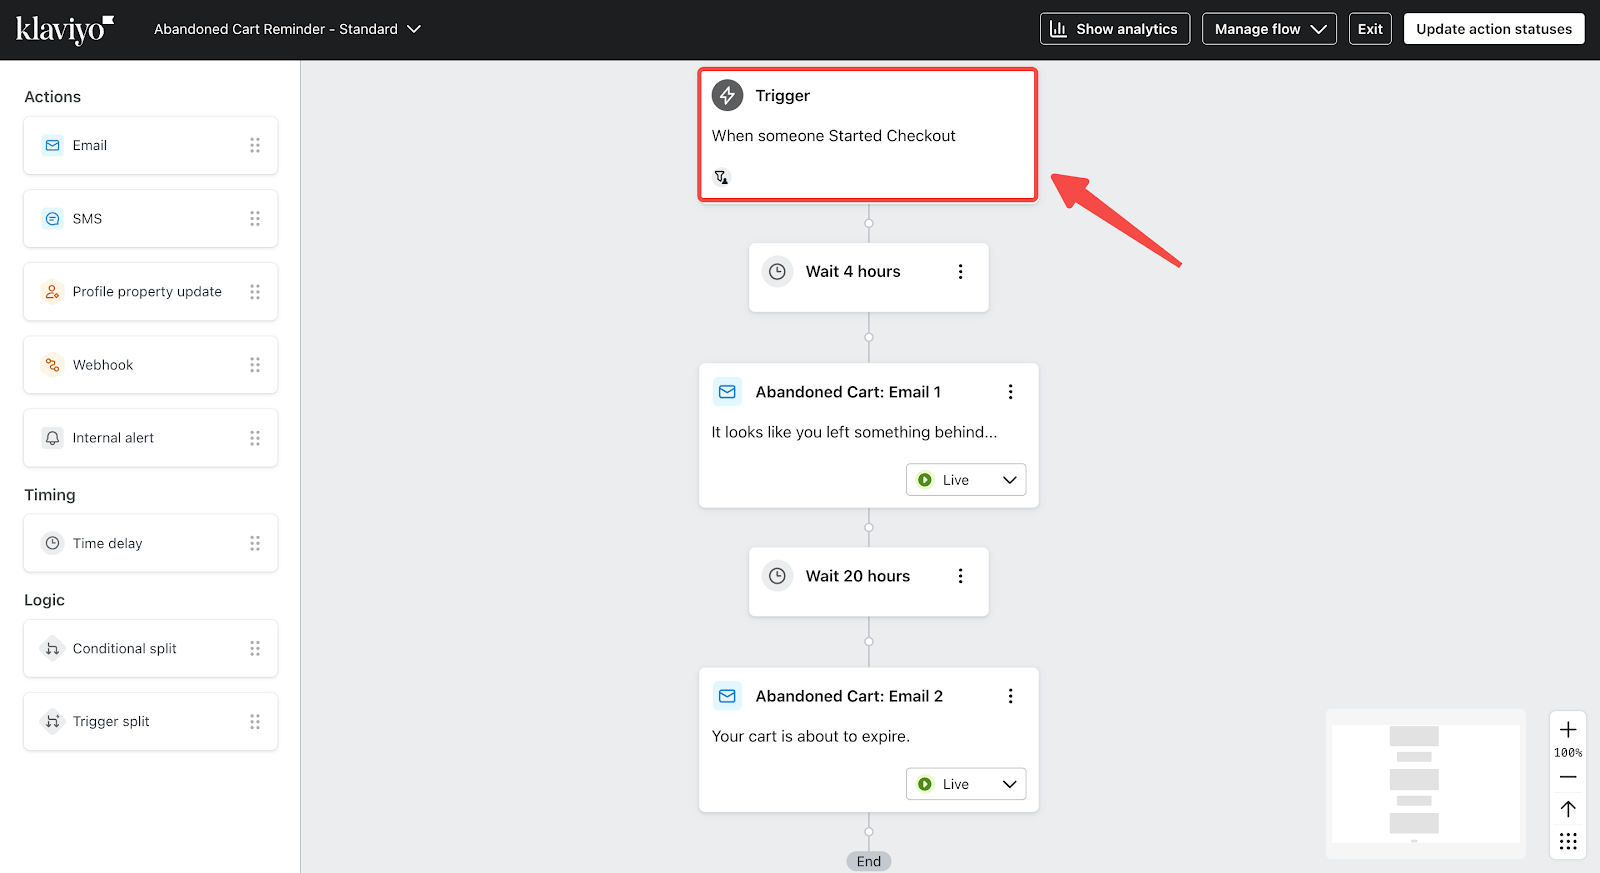
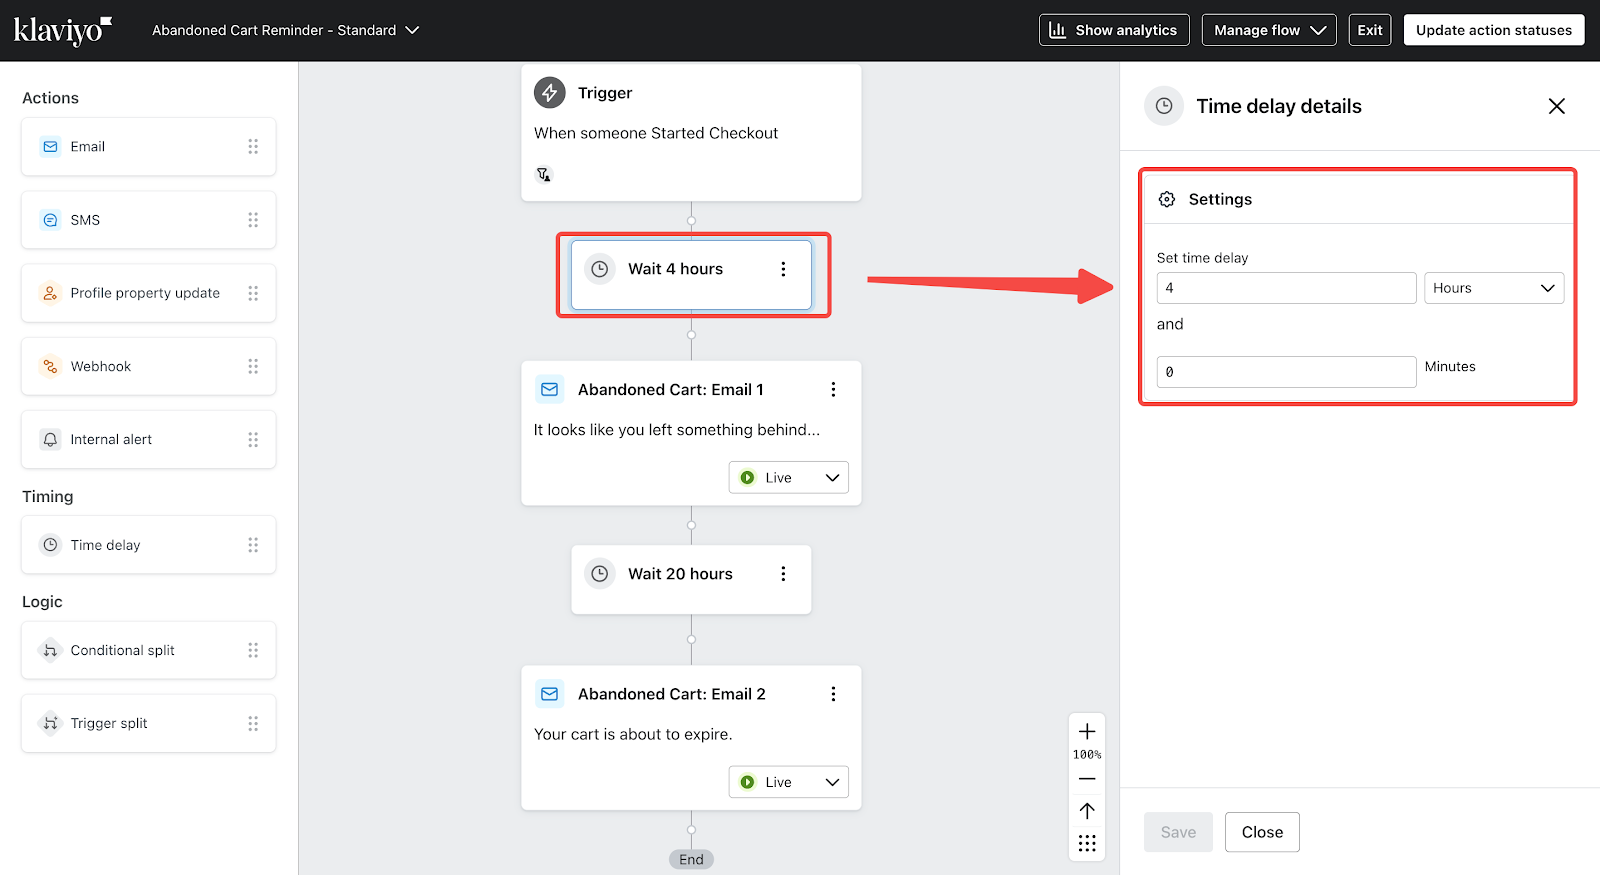
5. Delay settings: Use the Time delay feature to schedule email delivery. For example, as shown in the figure below, when a customer triggers the start checkout but does not complete the payment, Klaviyo will send the first email 4 hours later based on the delay time you set; if the customer does not click return to checkout page to complete the order payment from the first prompt email, Klaviyo will wait 20 hours to send the second email; if the customer has completed the order payment in the first email, the second email process will not be started.
Note
Each flow represents a targeted customer experience. For a better User Experience, consider the schedule of the flow. To learn more, click here to learn more about the flow schedule.
6. Customize triggers and content: Click Edit to modify and update email details.

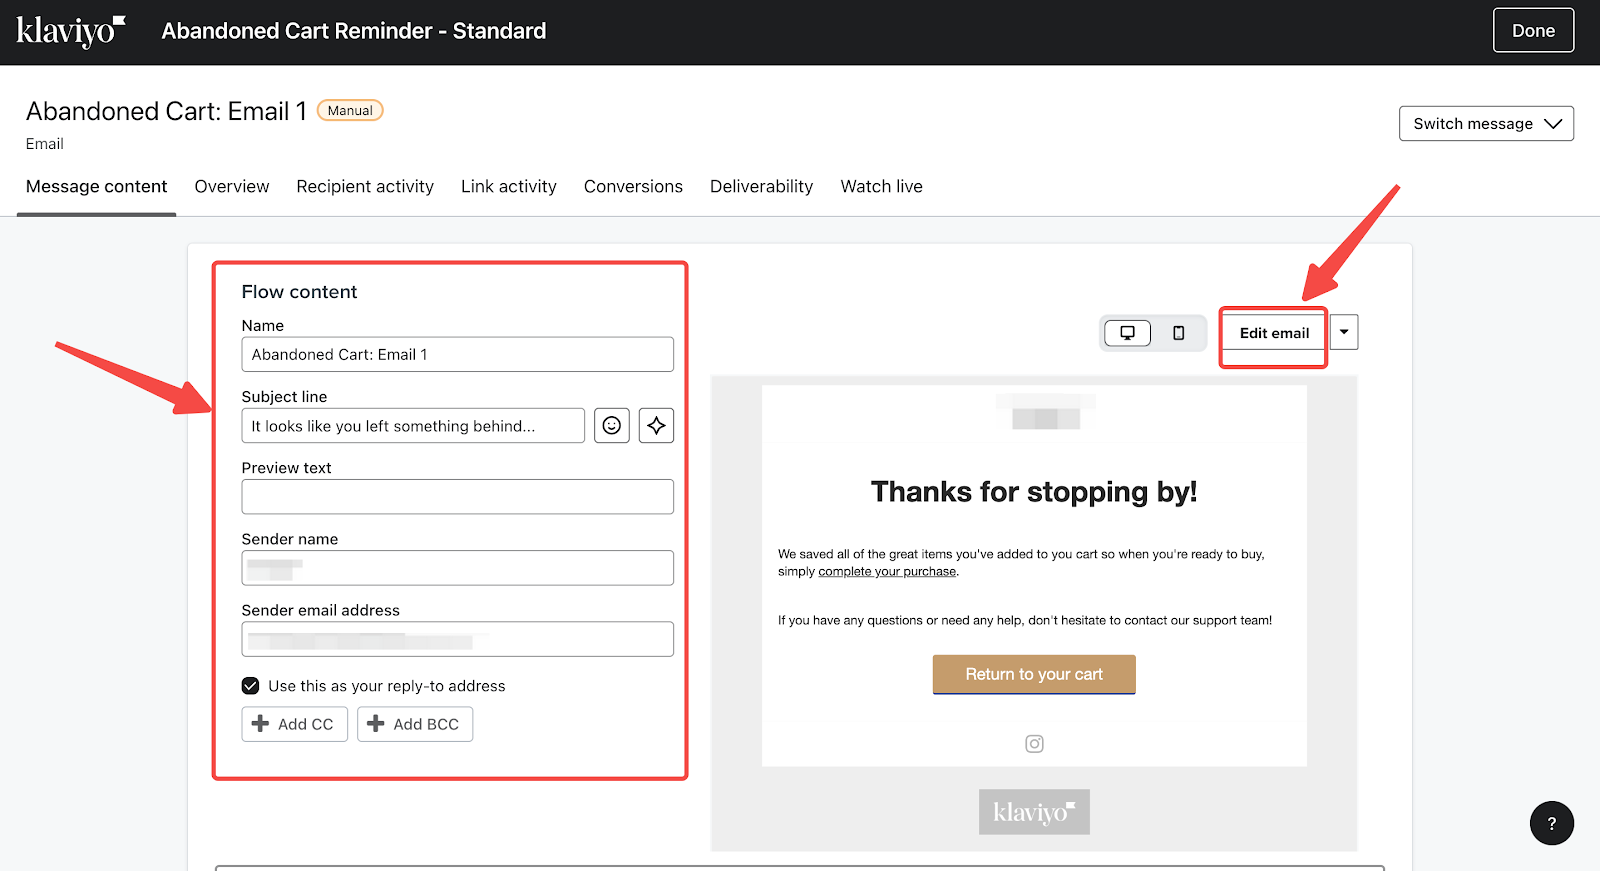
7. Add elements to the flow: Drag necessary elements into your flow structure.

Activating automated email Flows
1. Activate the flow: Once your emails are set up and ready, change the flow status to Live. Click Manual in the flow settings, then select Live to activate the automated sequence, ensuring that emails will be sent automatically according to the defined triggers.
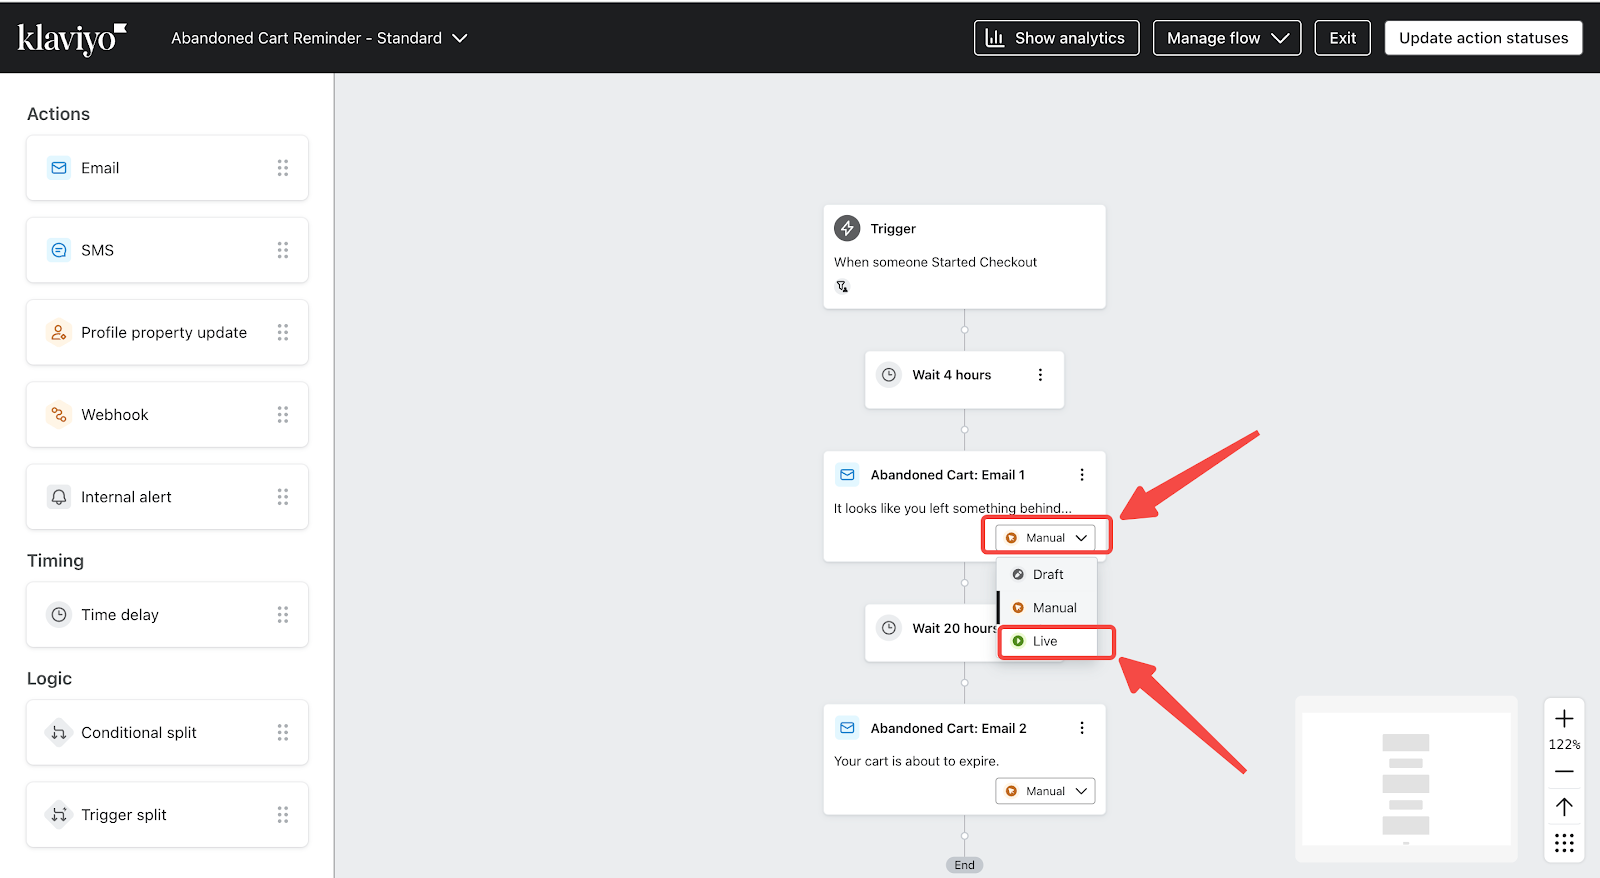
2. Save and activate: Ensure all emails are 'Live', then click Update action statuses to save changes. Emails will now be sent automatically based on defined triggers.
Tracking customer activities
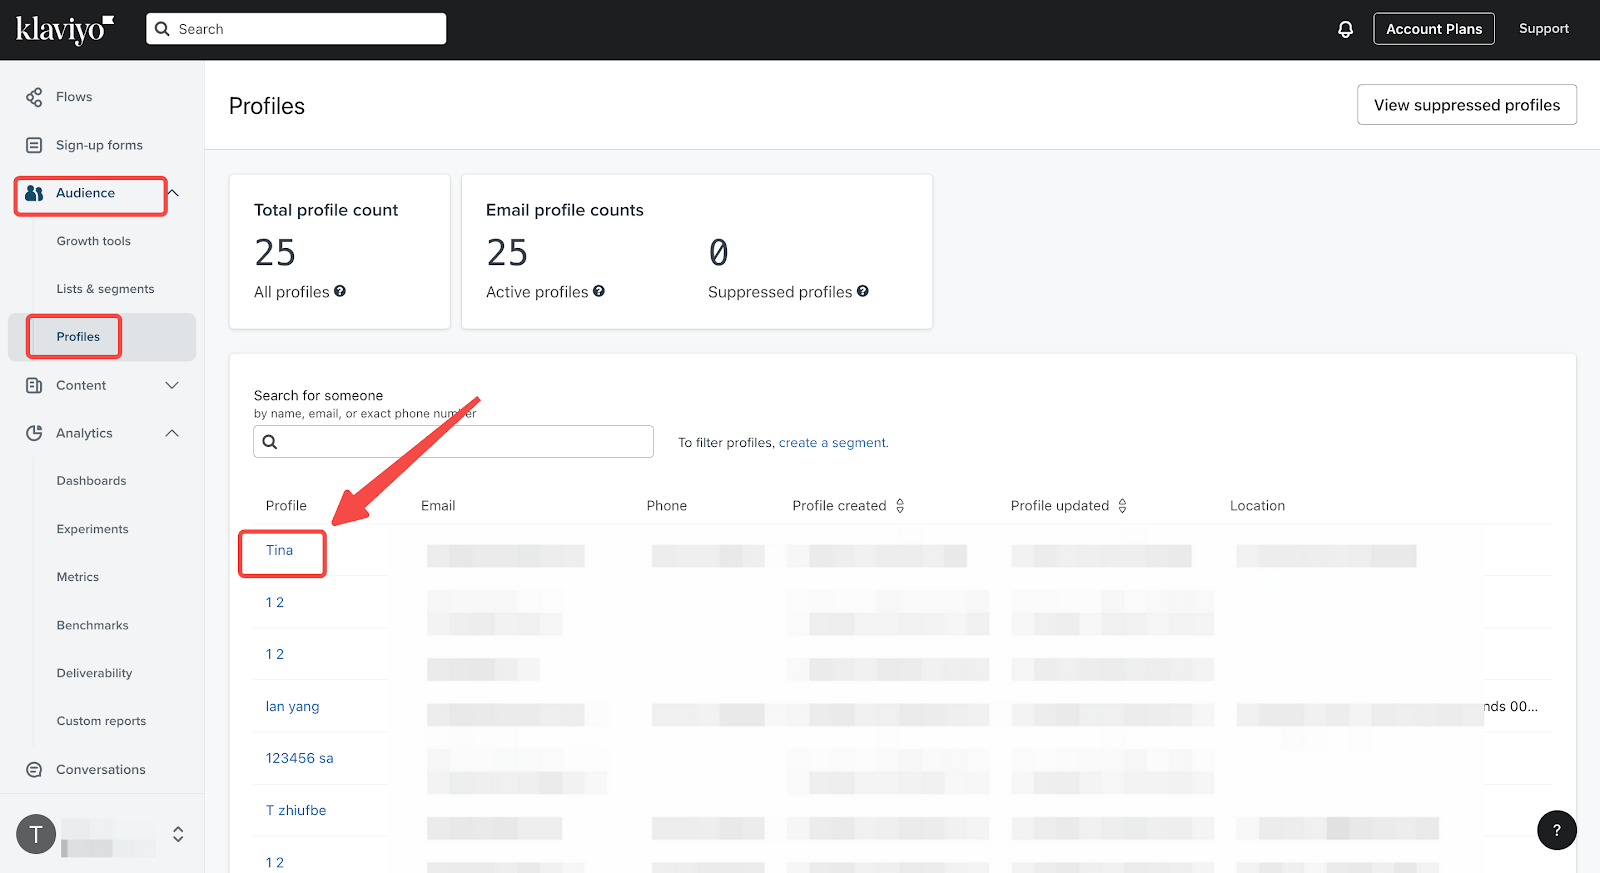
1. View profiles: Navigate to Audience > Profiles, select a customer, and review their activity timeline.
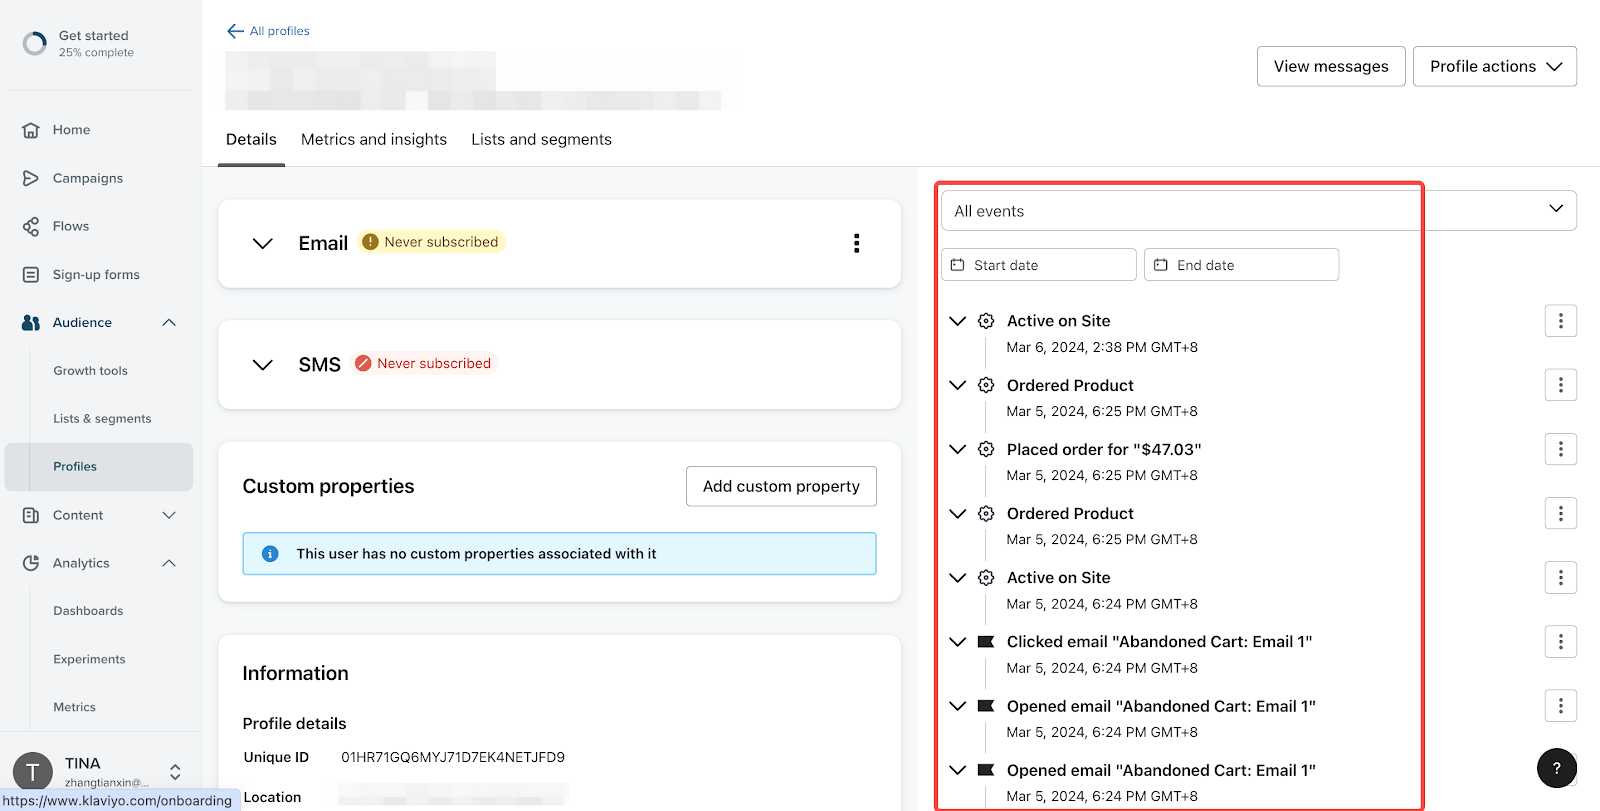
2. Detailed activity insights: Expand activities for more information using the dropdown arrow.

Note
For further details, please visit the Klaviyo Help Center or Klaviyo's support team .
This guide outlines how to set up Flows to send automated emails based on customer actions. Mastering it will greatly improve your store management efficiency and increase conversion rate.


Comments
Please sign in to leave a comment.