
The Poptin Pop Ups, Exit Intent & Forms app allows you to effortlessly create engaging popups, widgets, and contact forms that boost your website’s functionality and enhance conversion rates. This guide explains how to set up an age verification popup to ensure compliance with regulations from advertisers, payment platforms, or local laws. For initial installation instructions, refer to the Poptin | Installation & Features guide.
Accessing Poptin
To start customizing your popup, open the Poptin app by navigating to your Shoplazza Admin > Apps > Poptin Pop Ups, Exit Intent & Forms.

If you haven't installed Poptin yet:
1. Access the App Store: Log in to your Shoplazza admin, click Apps > Visit the App Store.

2. Find the app: Enter Poptin in the search bar and click on Add App.

3. Install the app: Click on the Install App button.

Template selection and customization
Select and customize a suitable template for your age verification popup.
1. Create a new popup: In your Poptin dashboard, click on Popups from the left sidebar, then select New Popup at the top-right corner.

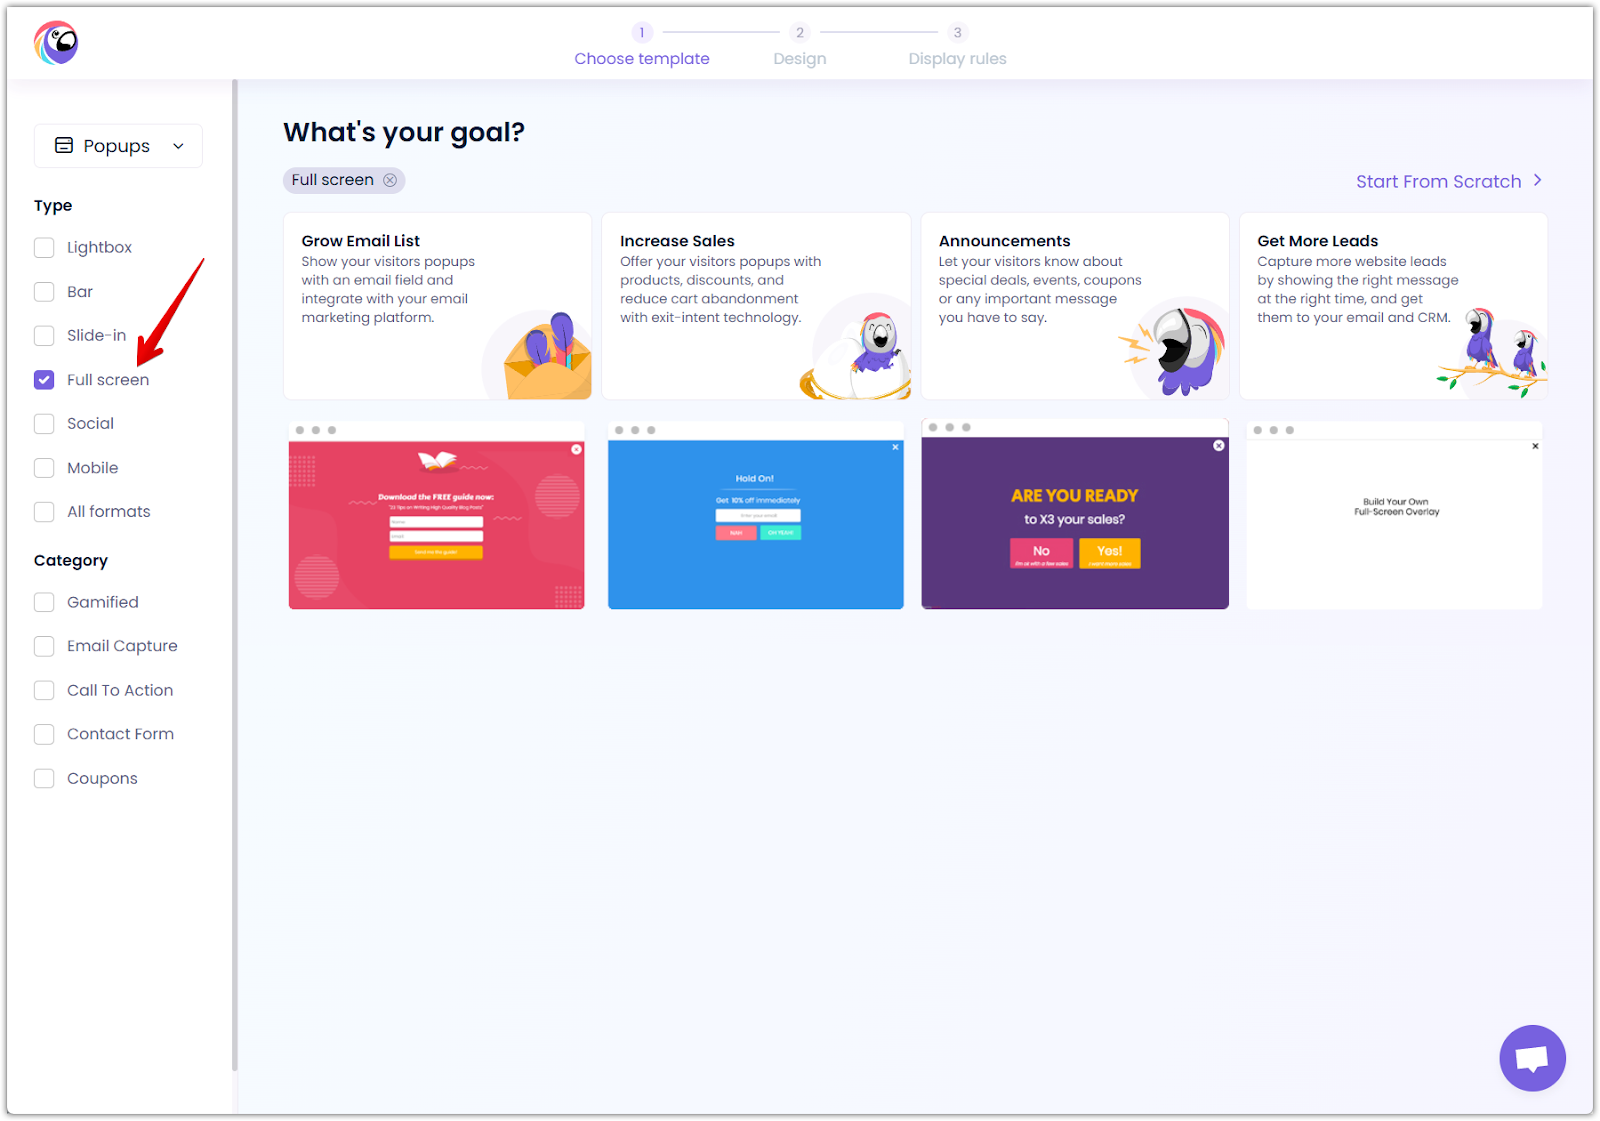
2. Select popup type: On the template selection page, use the left sidebar to choose the Full screen option under Type. This will display templates designed to cover the entire screen.
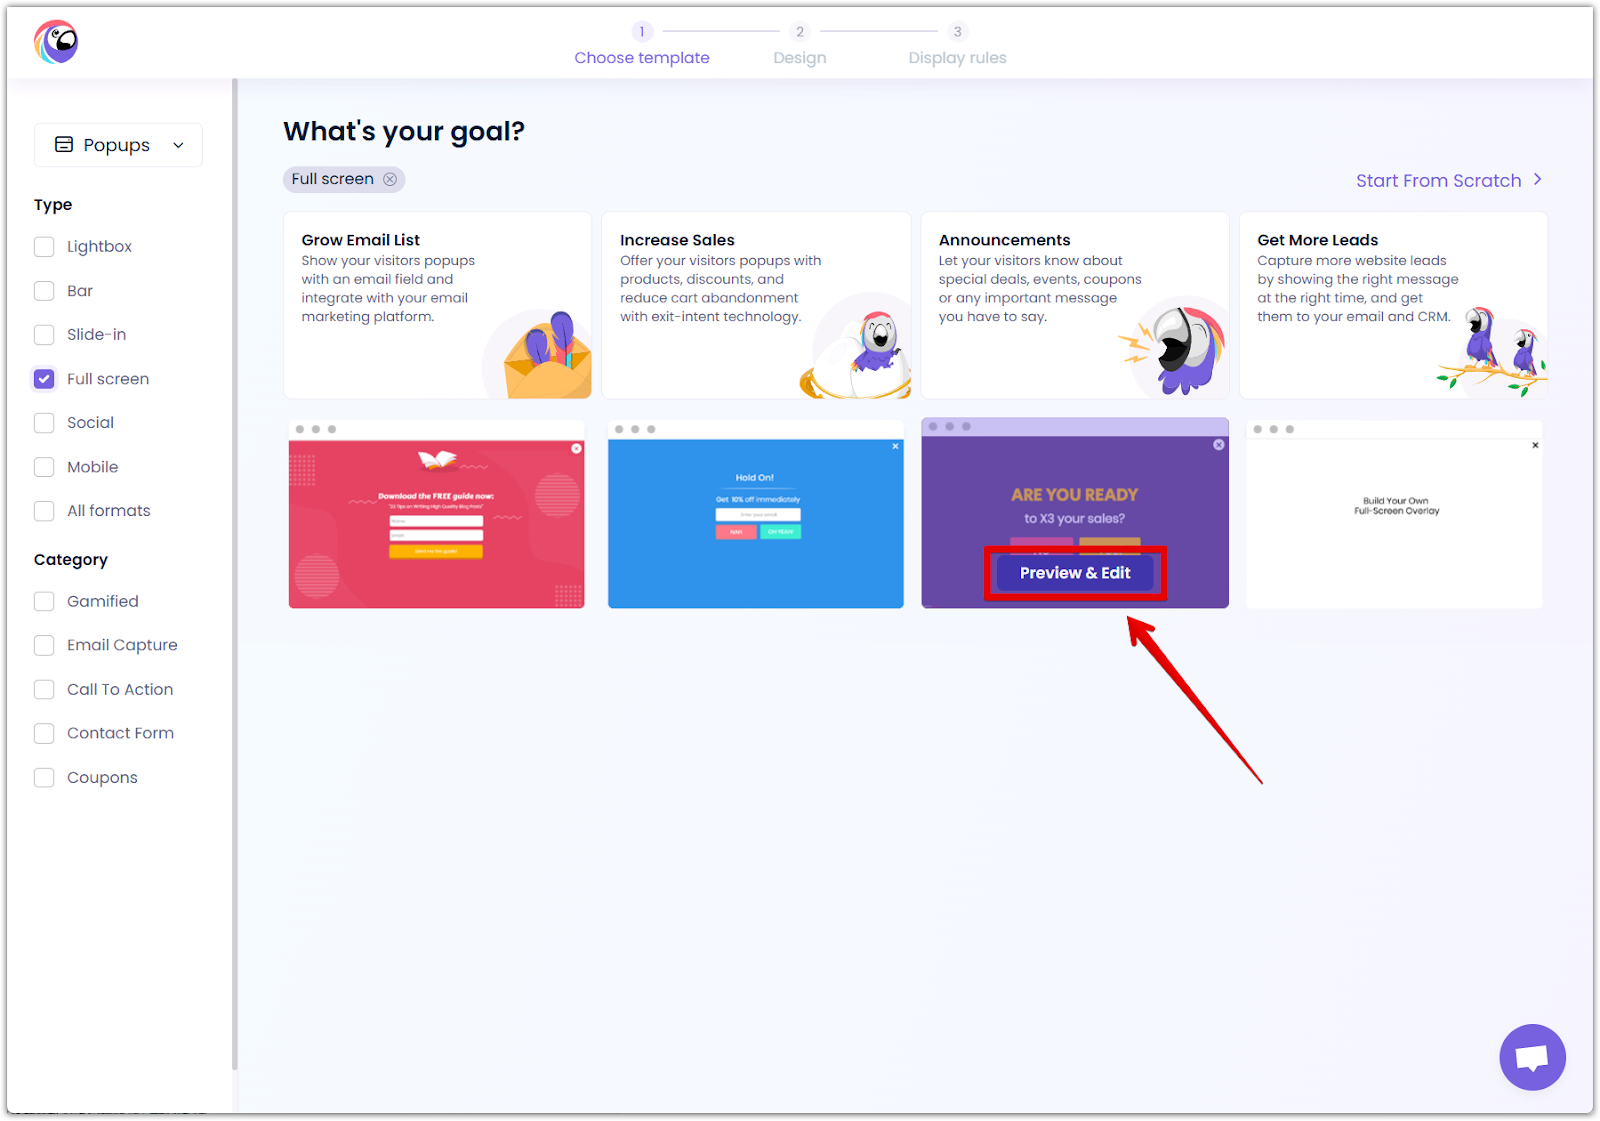
3. Choose your template: Browse through the available full-screen templates and select the one suitable for an age verification popup recommended below. Click Preview & Edit to proceed with customizing the template.
Text and button configuration
Personalize your popup by customizing text and button settings to clearly communicate your verification requirements.
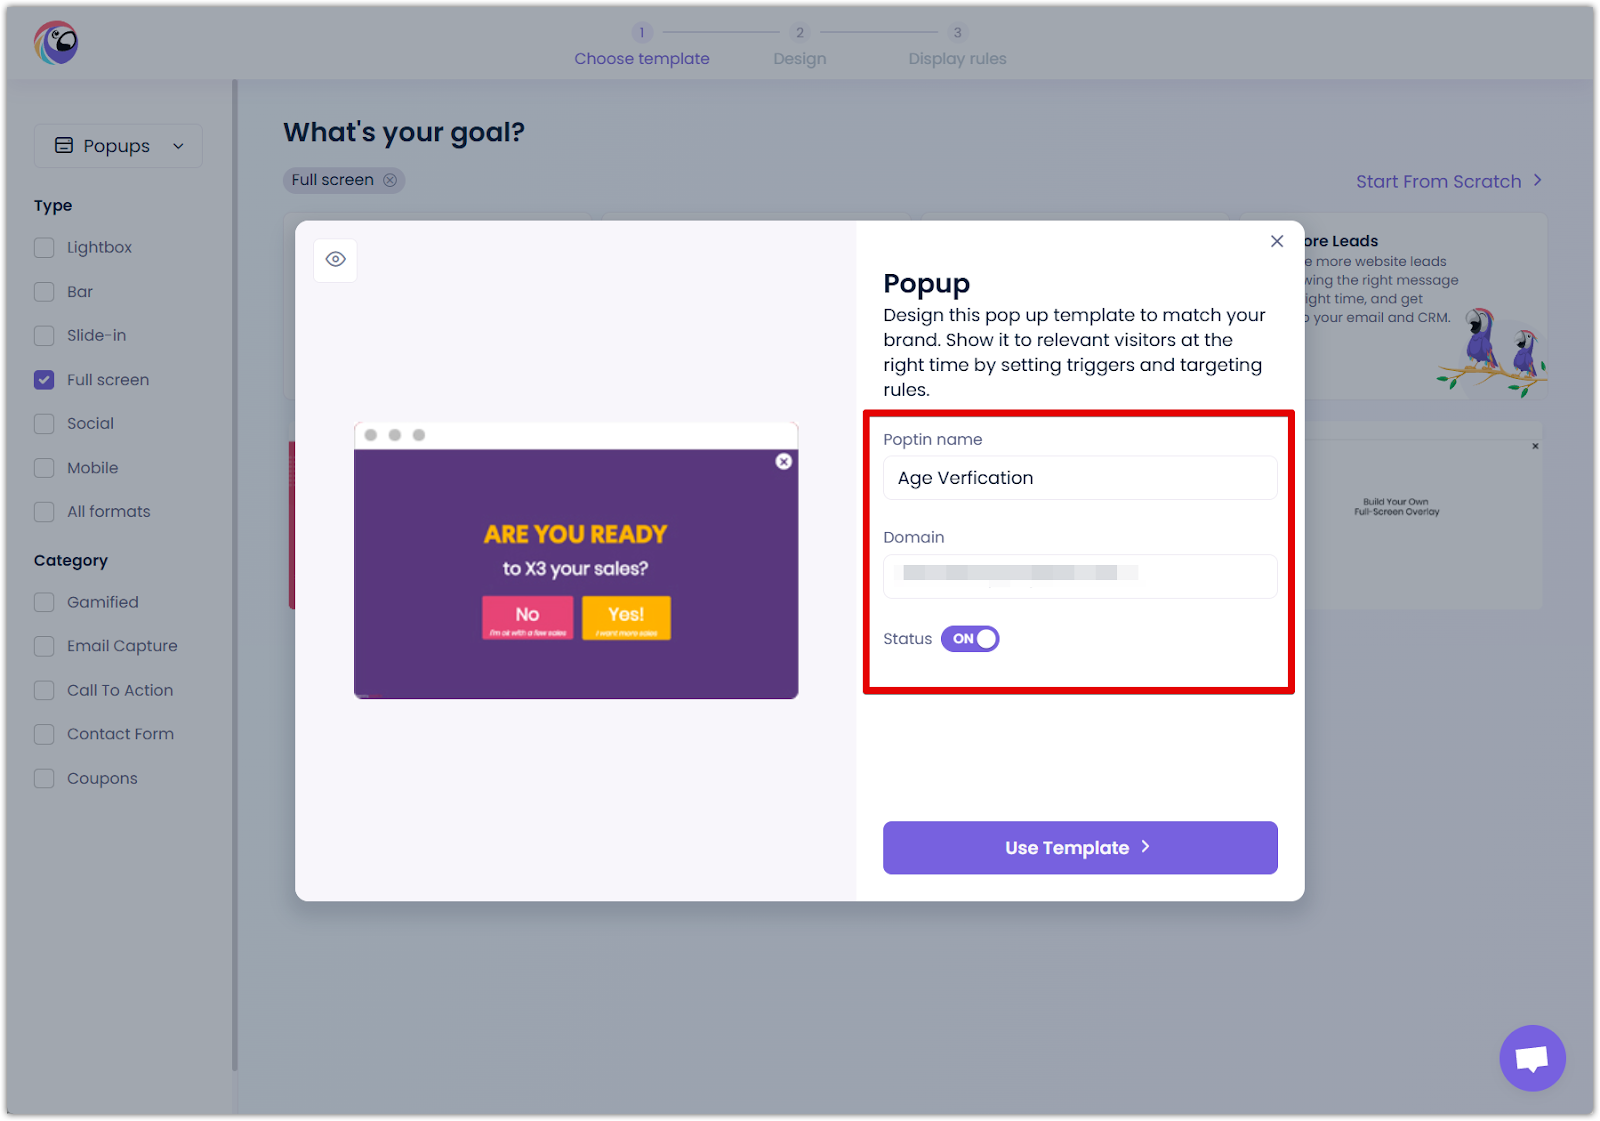
1. Enter basic information: Fill in the popup name and domain details, then click Use Template.
2. Adjust your popup design: In the General settings panel, modify the popup elements to align with your branding. Use the Preview feature to ensure the design is appealing on both desktop and mobile devices.

3. Update the title: Click the title section and enter Age Verification or any suitable title.

4. Edit popup description: Select the description area and input your desired message, such as "You must be at least 18 years old to visit this site. Please confirm your age to continue." Be mindful of layout adjustments if the text length changes significantly.


Button configuration and actions
Customize buttons to clearly guide users through the verification process.
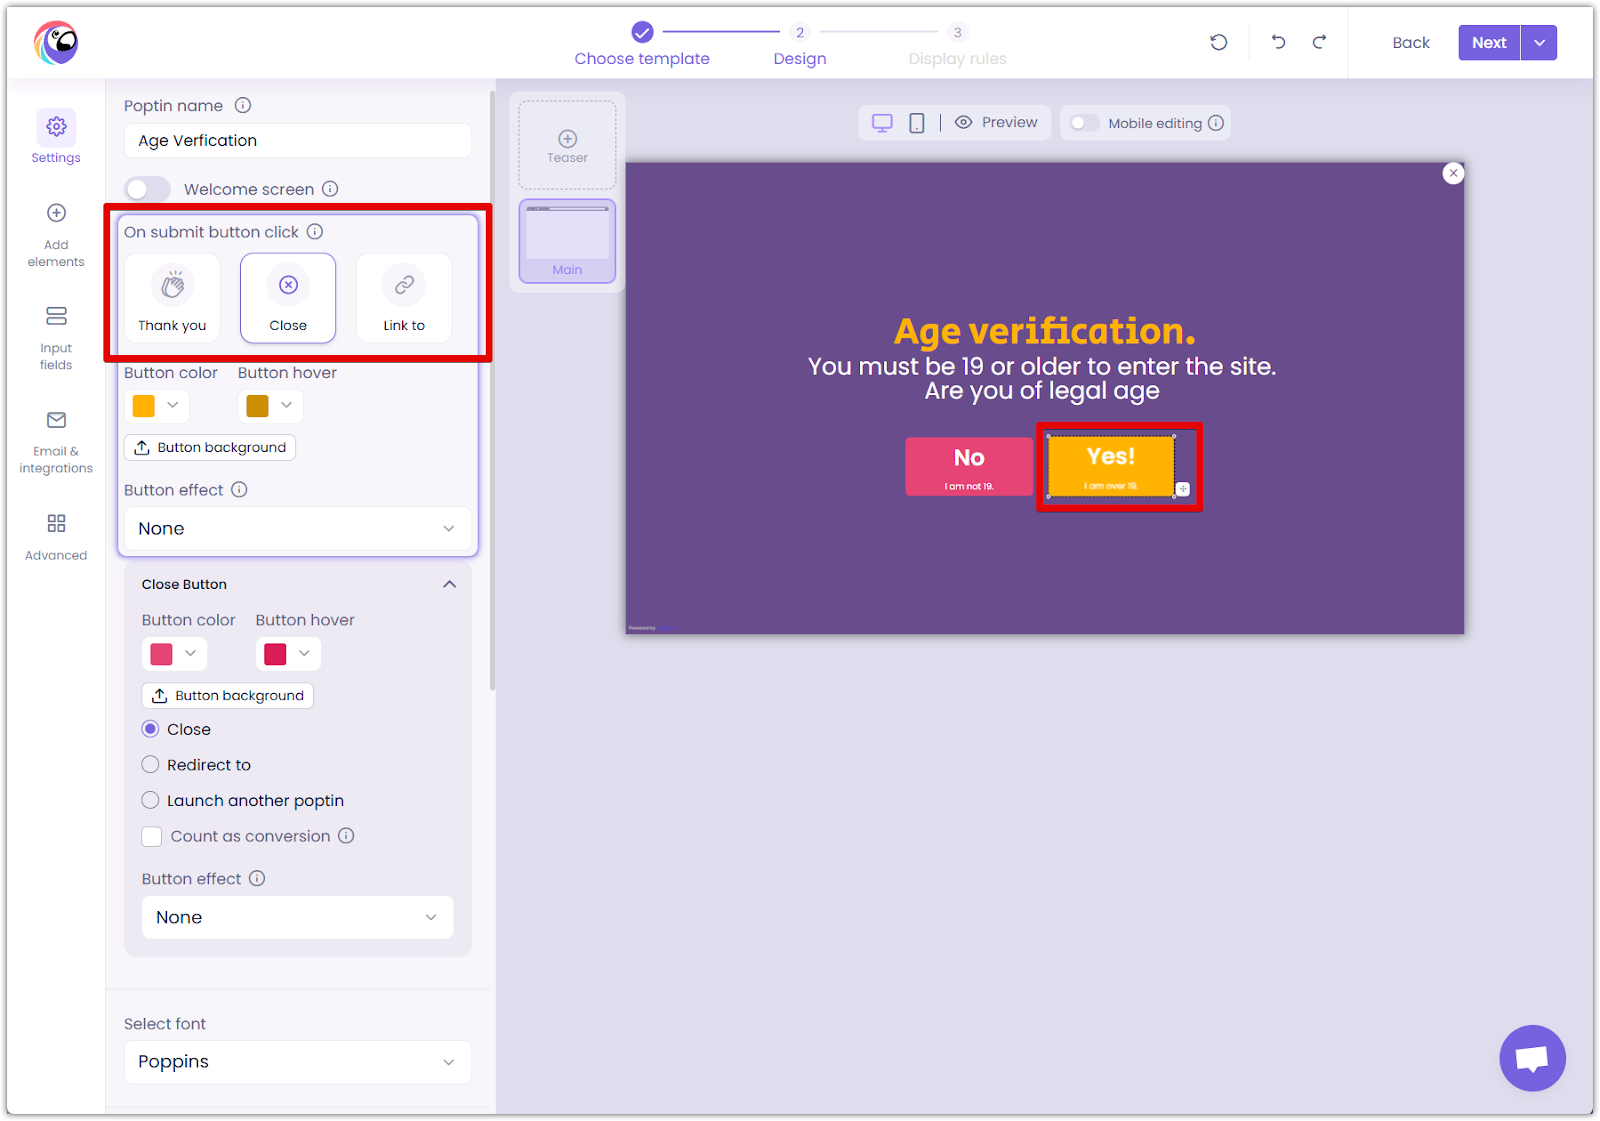
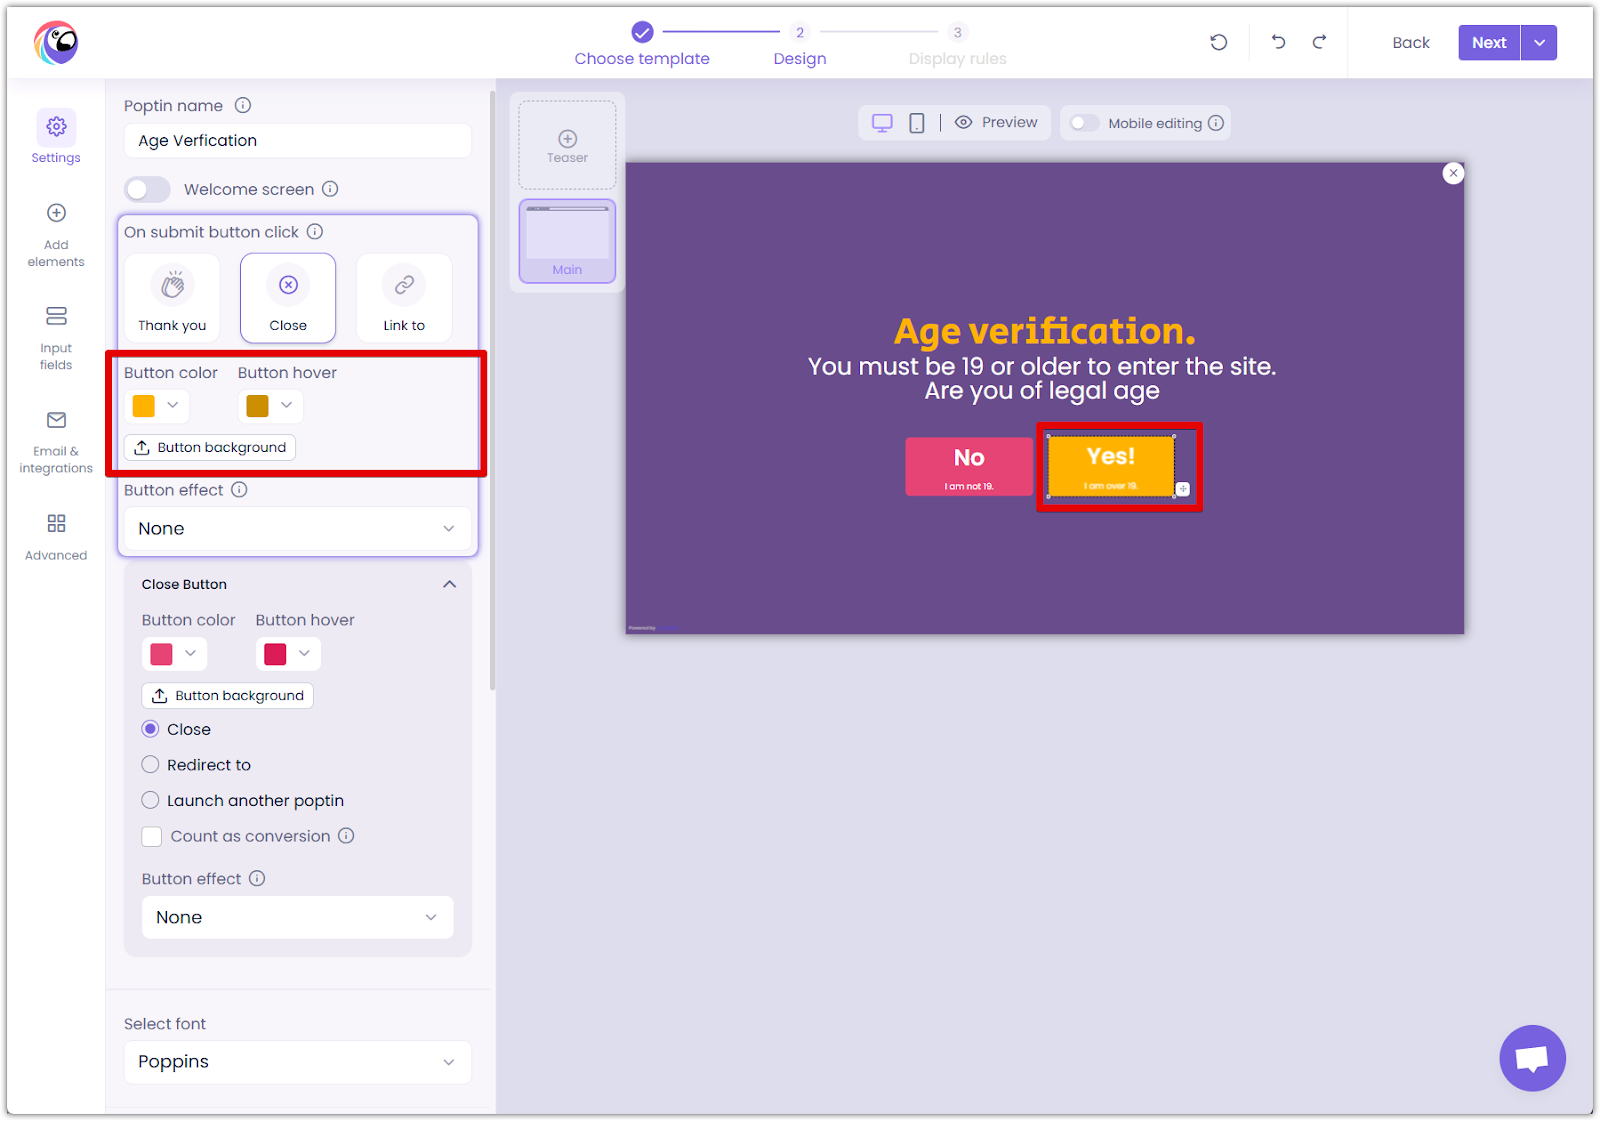
1. Configure the "Yes" button: Click the Yes button, and its configuration options appear in the sidebar. Under the On Submit Button Click section, choose the appropriate action upon submission.
2. Customize "Yes" button appearance: Edit the button’s background color, hover effects, and upload an optional background image.
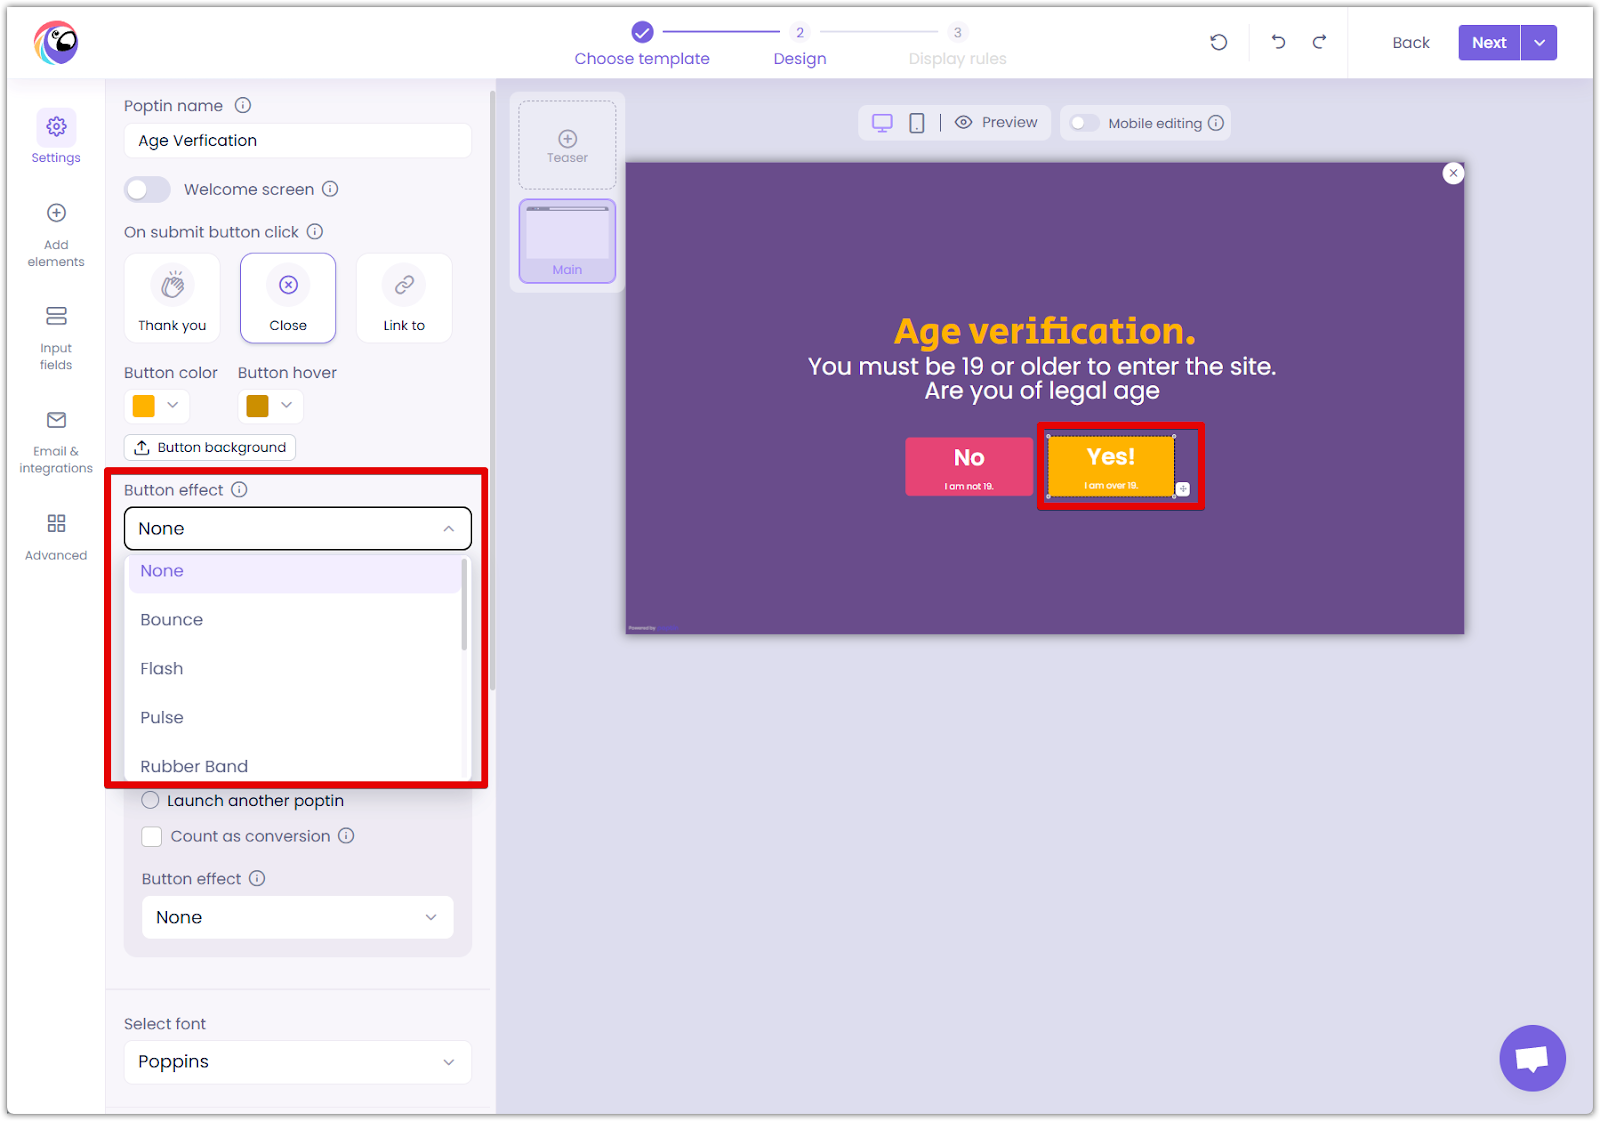
3. Add button effects: Select a suitable animation from the Button Effect dropdown.
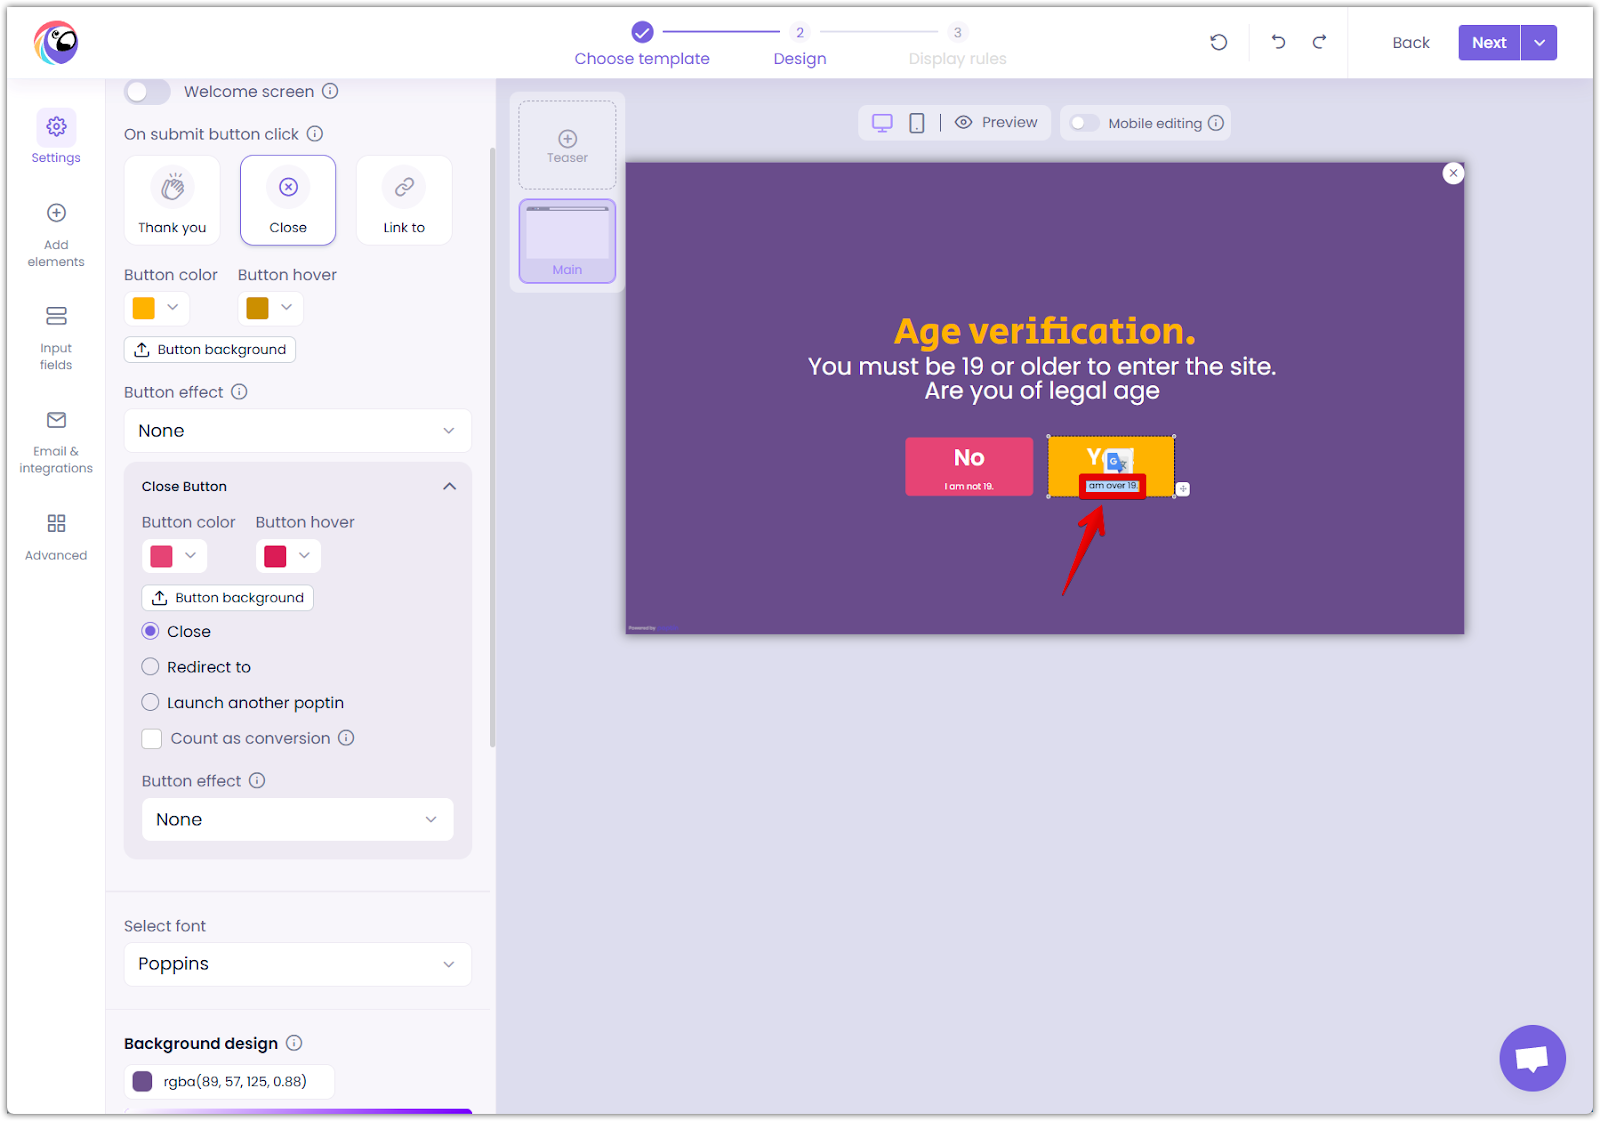
4. Update button text: Replace the default text with I'm over 19 or another clear message by clicking on the text.
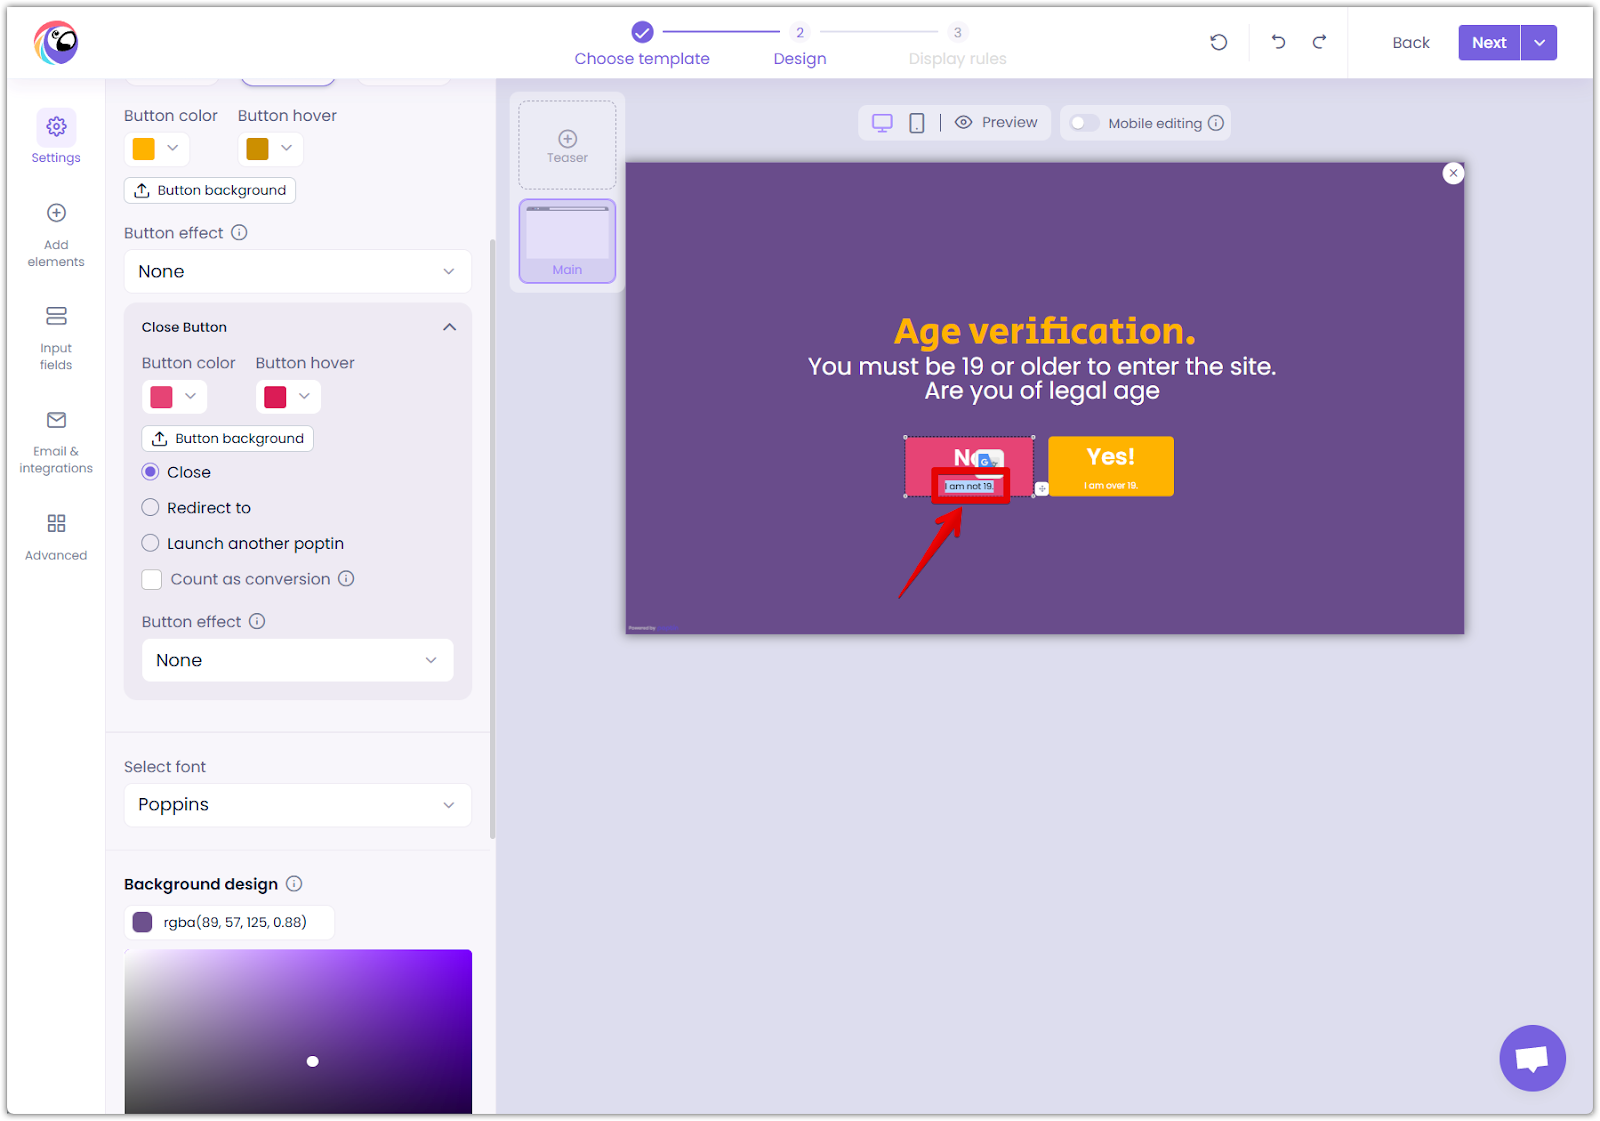
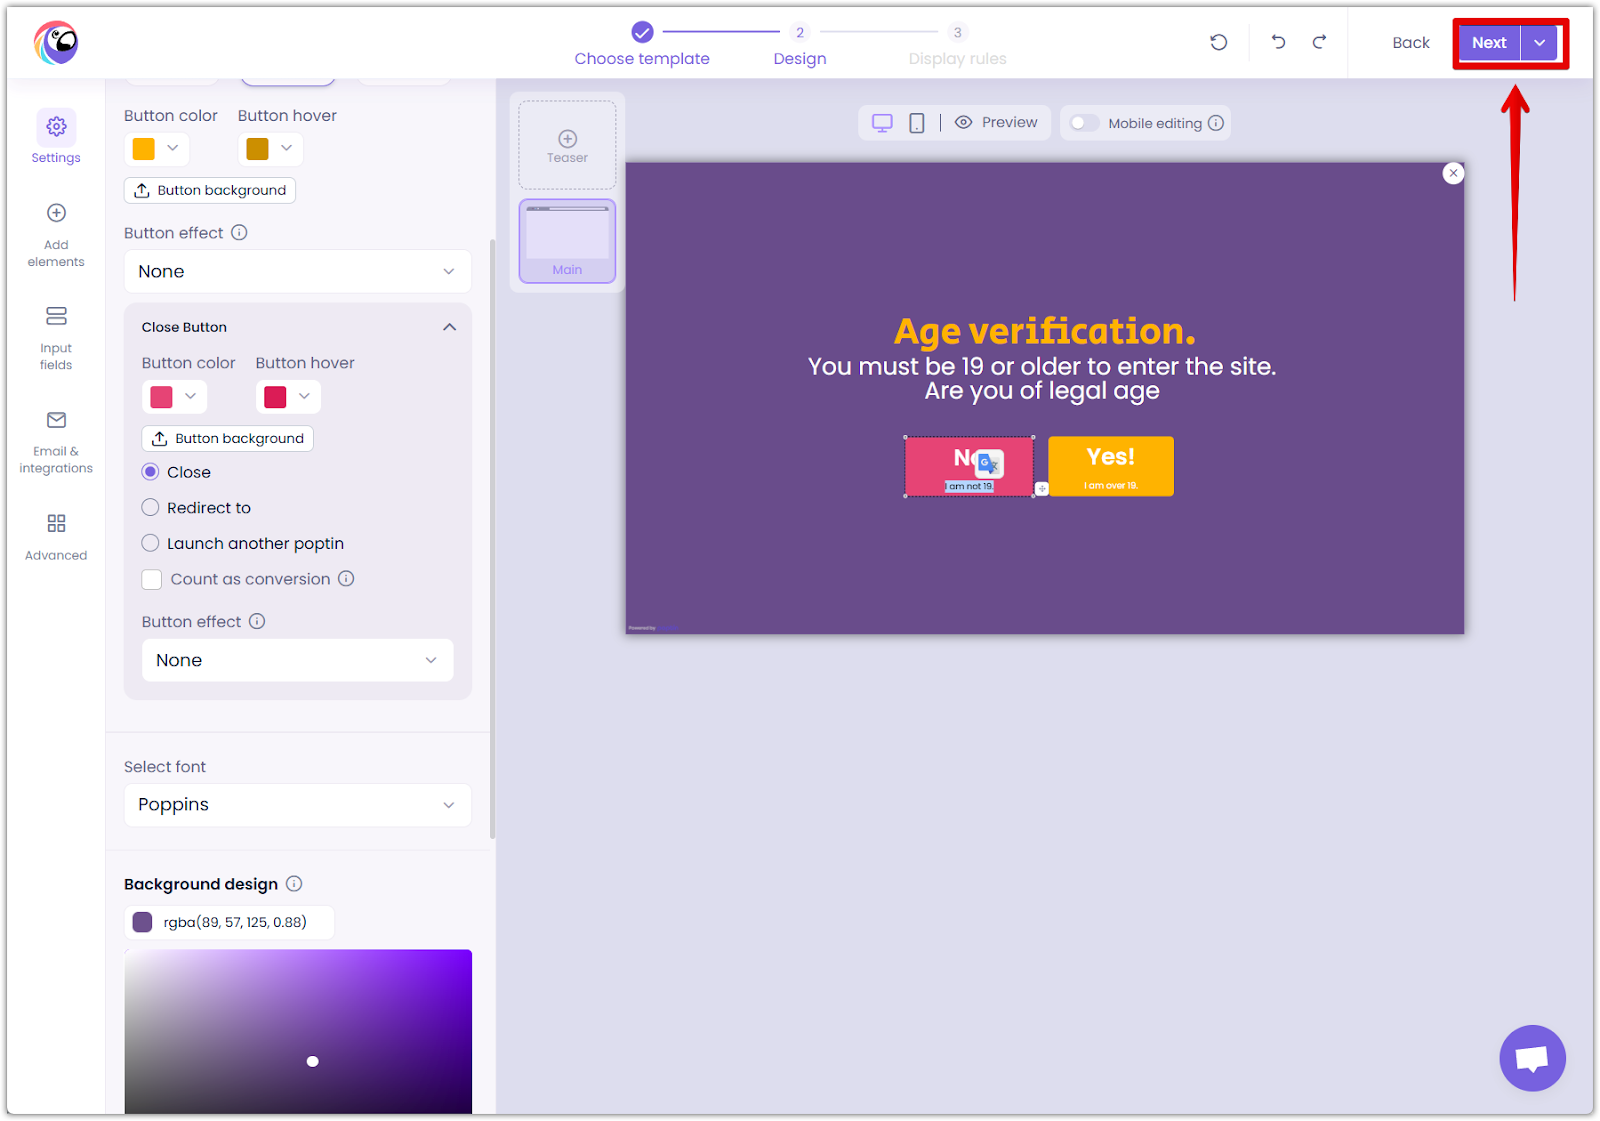
5. Adjust the "No" button appearance: Modify the button background and hover colors to align with your design.

6. Define button actions: Choose an appropriate action—such as Close, Redirect To, or Launch Another Poptin—for when users select this option.

7. Add button effects: Select a suitable animation from the Button Effect dropdown.

8. Update "No" button text: Enter clear and concise text, such as "I'm under 18 years old."
9. Proceed with setup: Click Next to go to the next step.
Background design
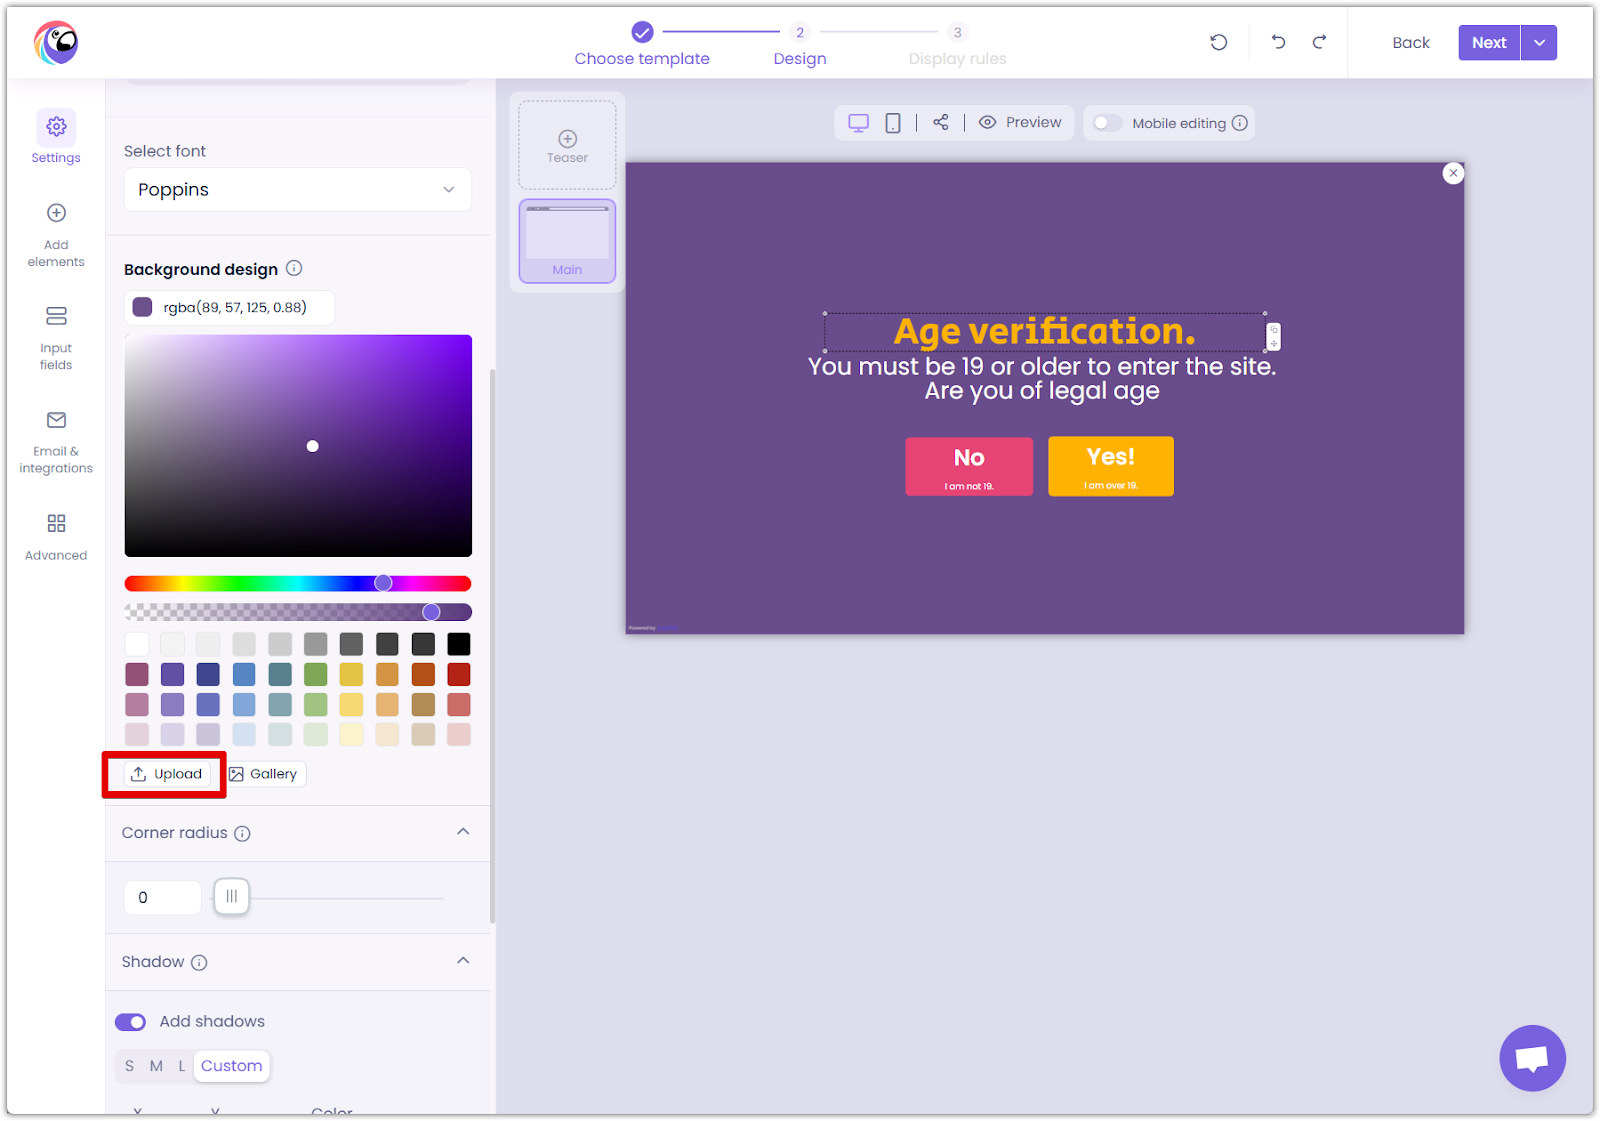
Customize the popup background to enhance visual appeal.
1. Choose a color: Use the color picker under Background design to select a suitable background color.

2. Upload an image: Click Upload to use your custom image as the popup background.
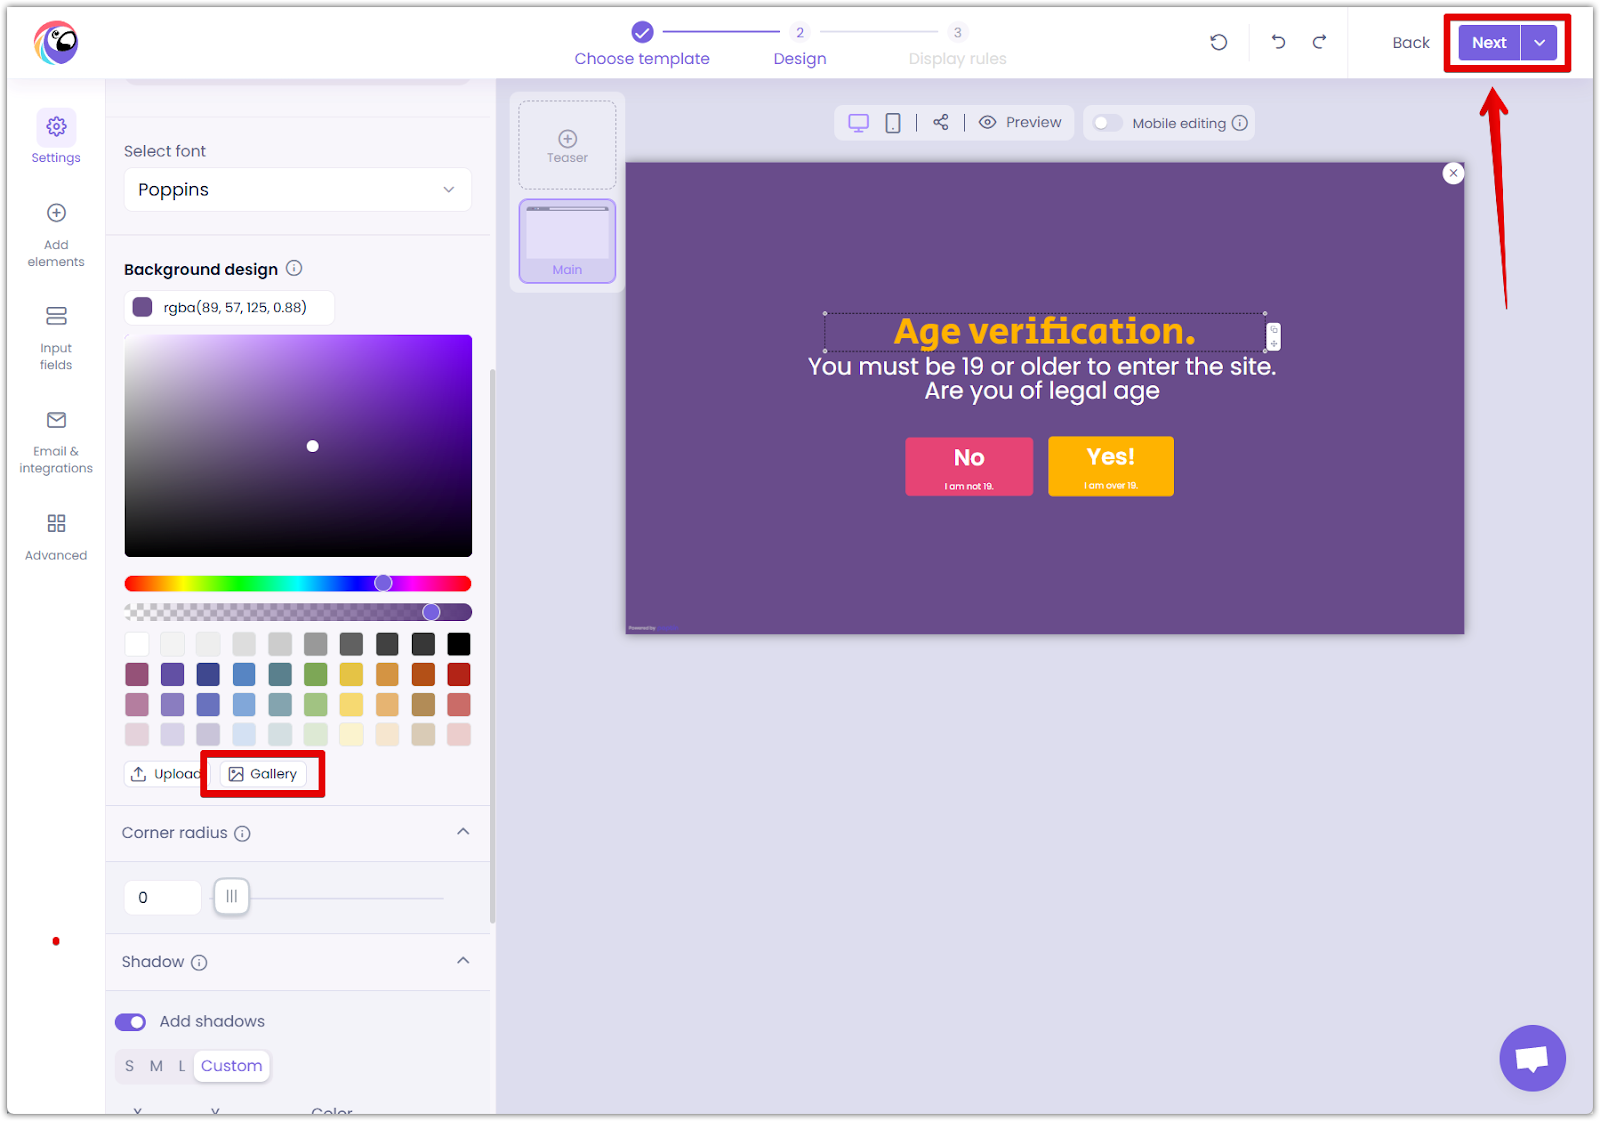
3. Gallery image: Alternatively, select an existing preset image from the Gallery. Once satisfied, click Next to proceed to the display rules settings.
Display rules
Define specific rules and triggers for when and how your popup appears.
1. Establish triggers: In the Triggers section, set manual trigger conditions such as Exit intent, Time Delay, Page Scroll, or others that prompt your popup to display.

2. Target your audience: Within the Targeting section, choose the devices (Desktop, Mobile), specific pages, and frequency with which your popup should be shown.
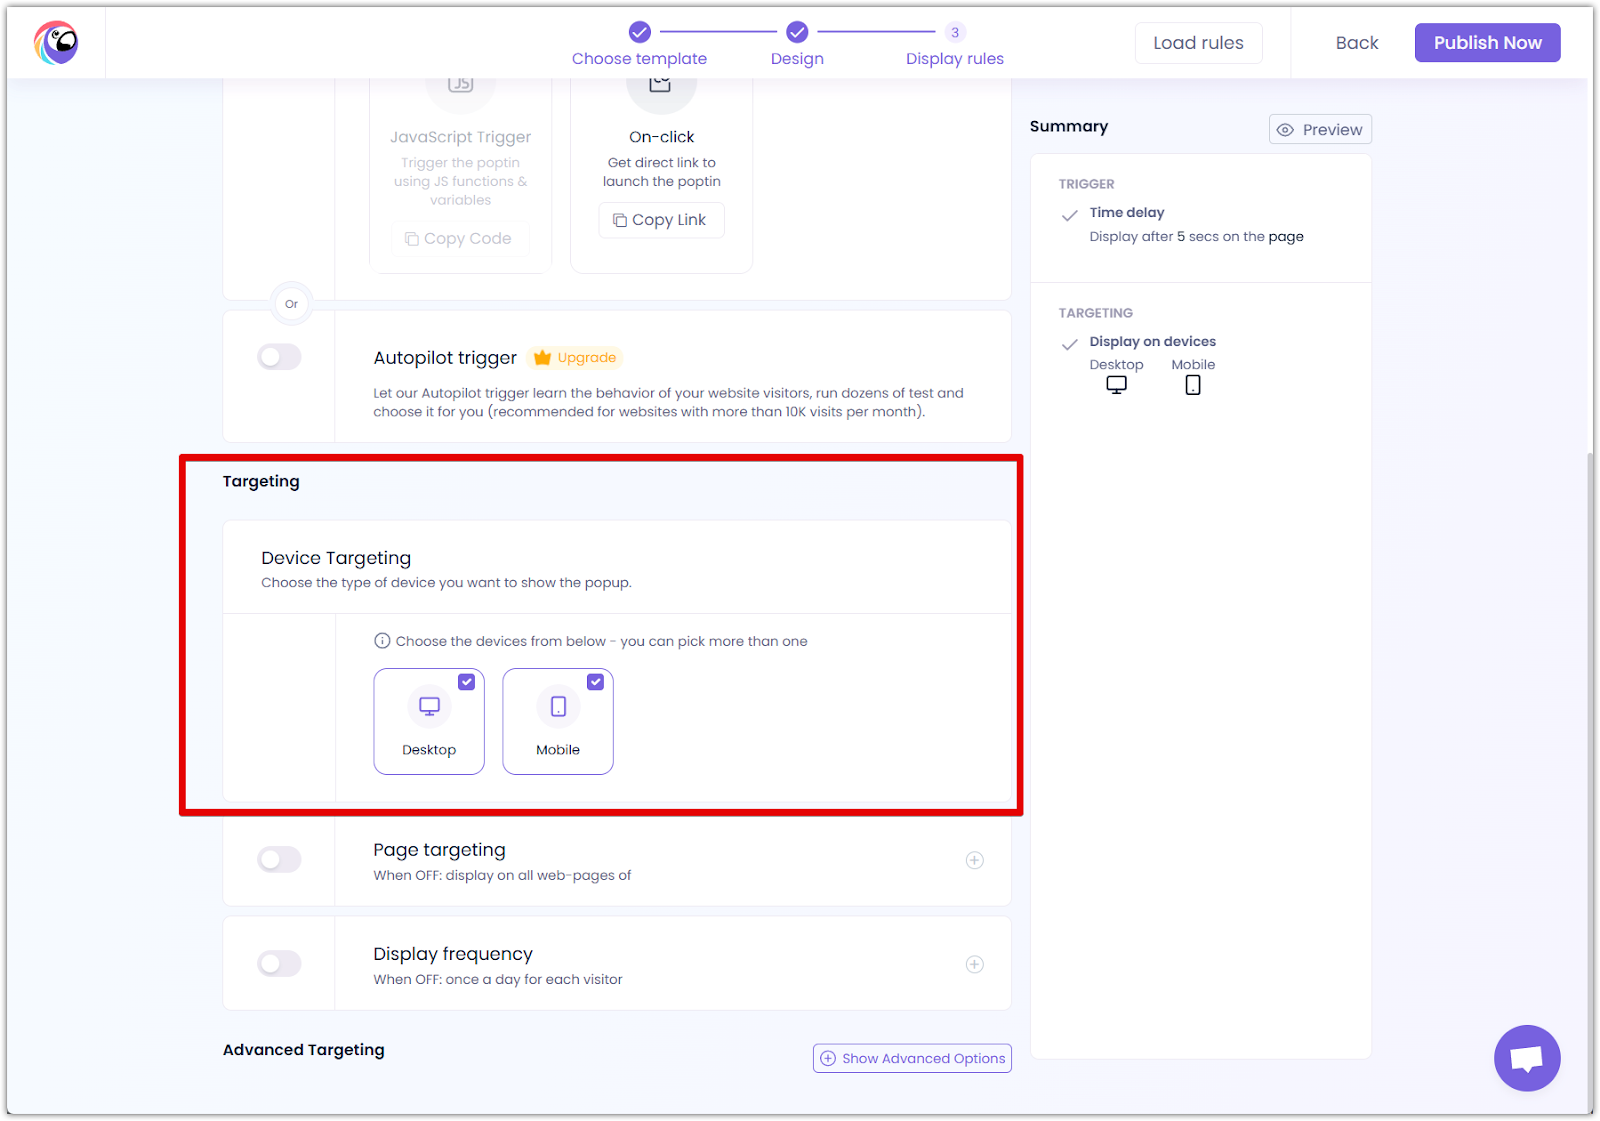
3. Publish your popup: Click Publish Now to activate the popup on your website.

Regularly assess your popup's performance and adjust as necessary to optimize user engagement.
1. Monitor popup effectiveness: Check the Popups section frequently to track interactions and conversion rates.
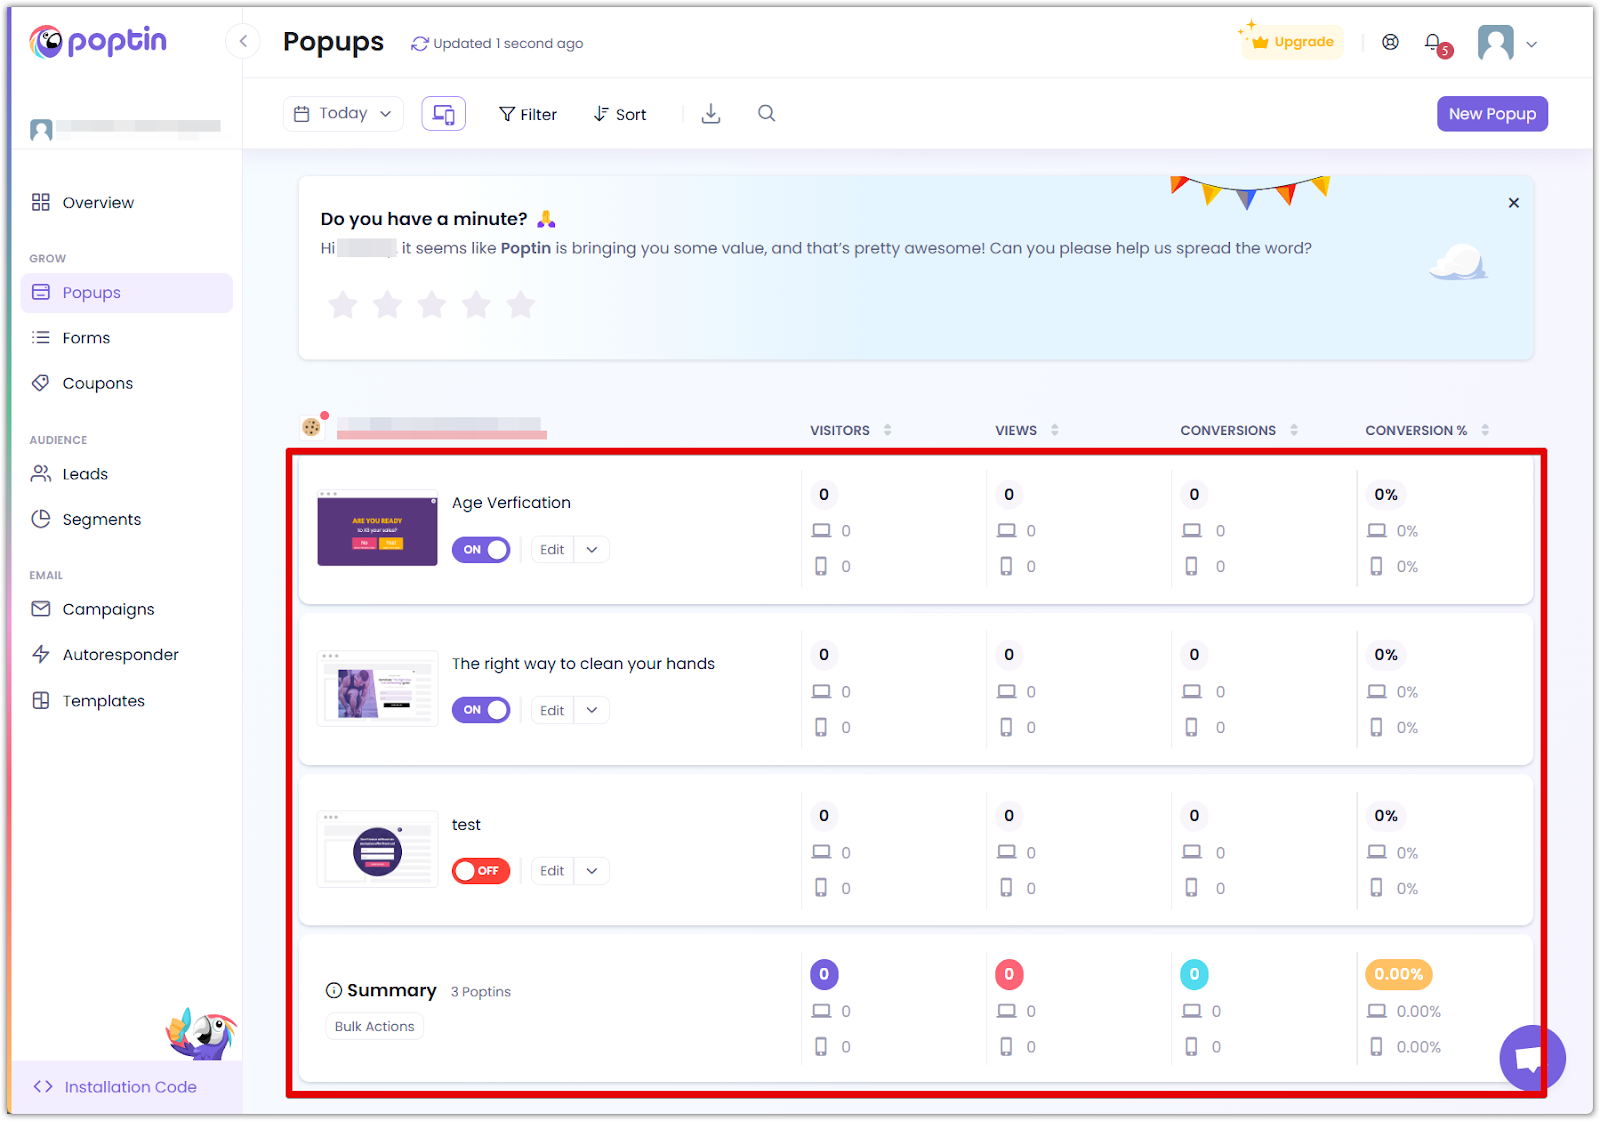
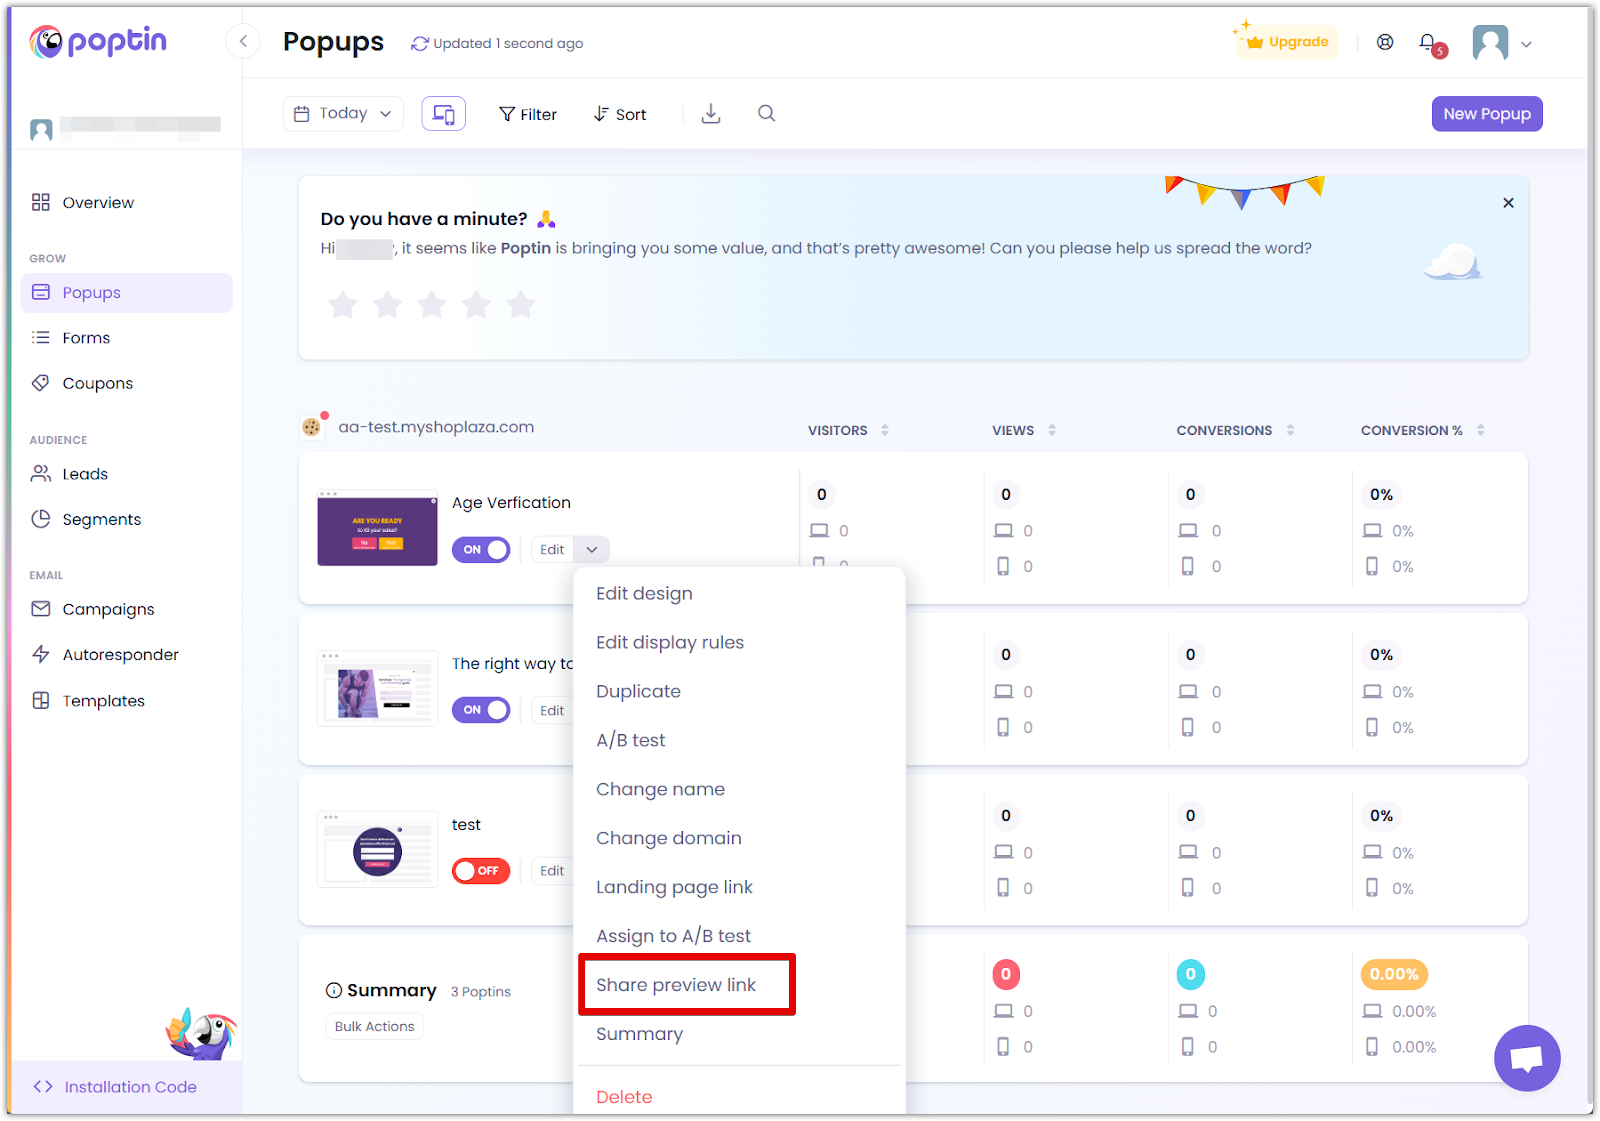
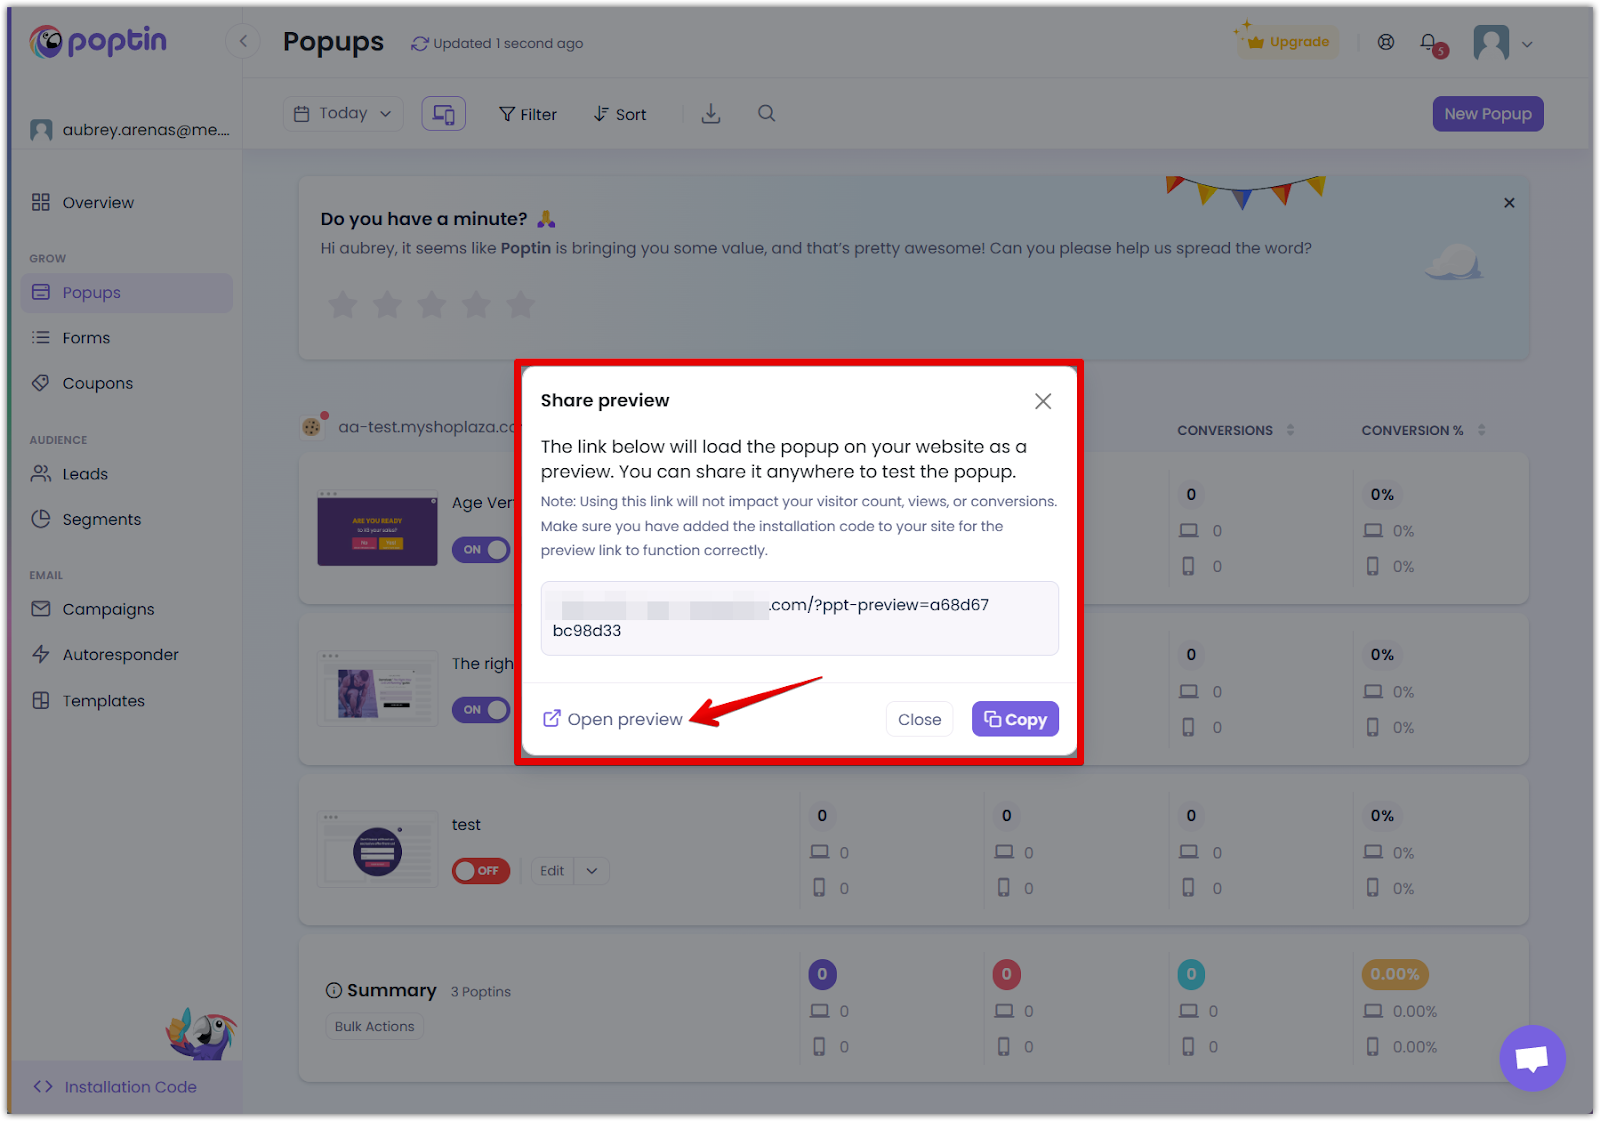
2. Preview final popup appearance: Confirm the popup aligns with your expectations and branding standards.

Using an age verification popup with Poptin ensures compliance with essential regulations from advertisers, payment platforms, and local laws and fosters a trustworthy environment for your visitors. A professionally designed and well-configured popup helps create an engaging first impression, signaling transparency and responsibility to your audience. By leveraging Poptin’s intuitive customization tools, you can tailor your verification popup to seamlessly align with your brand's aesthetics while effectively communicating important messages to visitors. Regularly reviewing popup performance and refining your approach based on visitor interactions will maximize conversions and enhance user experience, making Poptin an essential tool for optimizing your website’s engagement and effectiveness.


Comments
Please sign in to leave a comment.