
This article helps you organize your collections in the App design section. Organizing your collections helps your customers easily locate the products they're looking for.
Steps
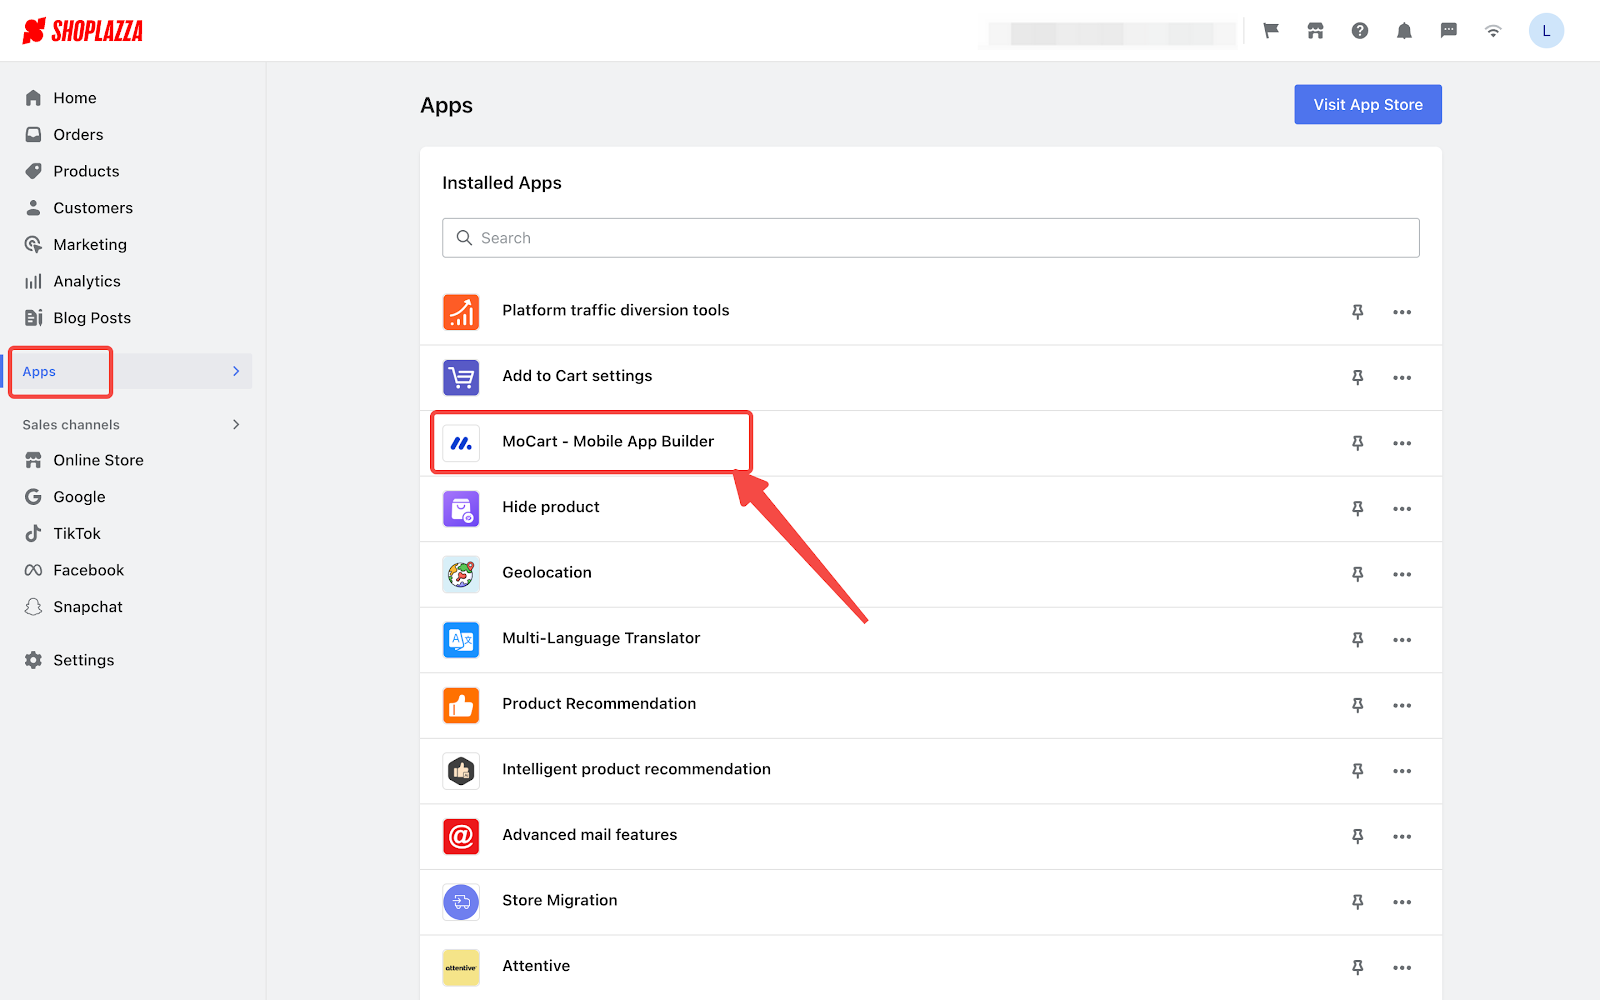
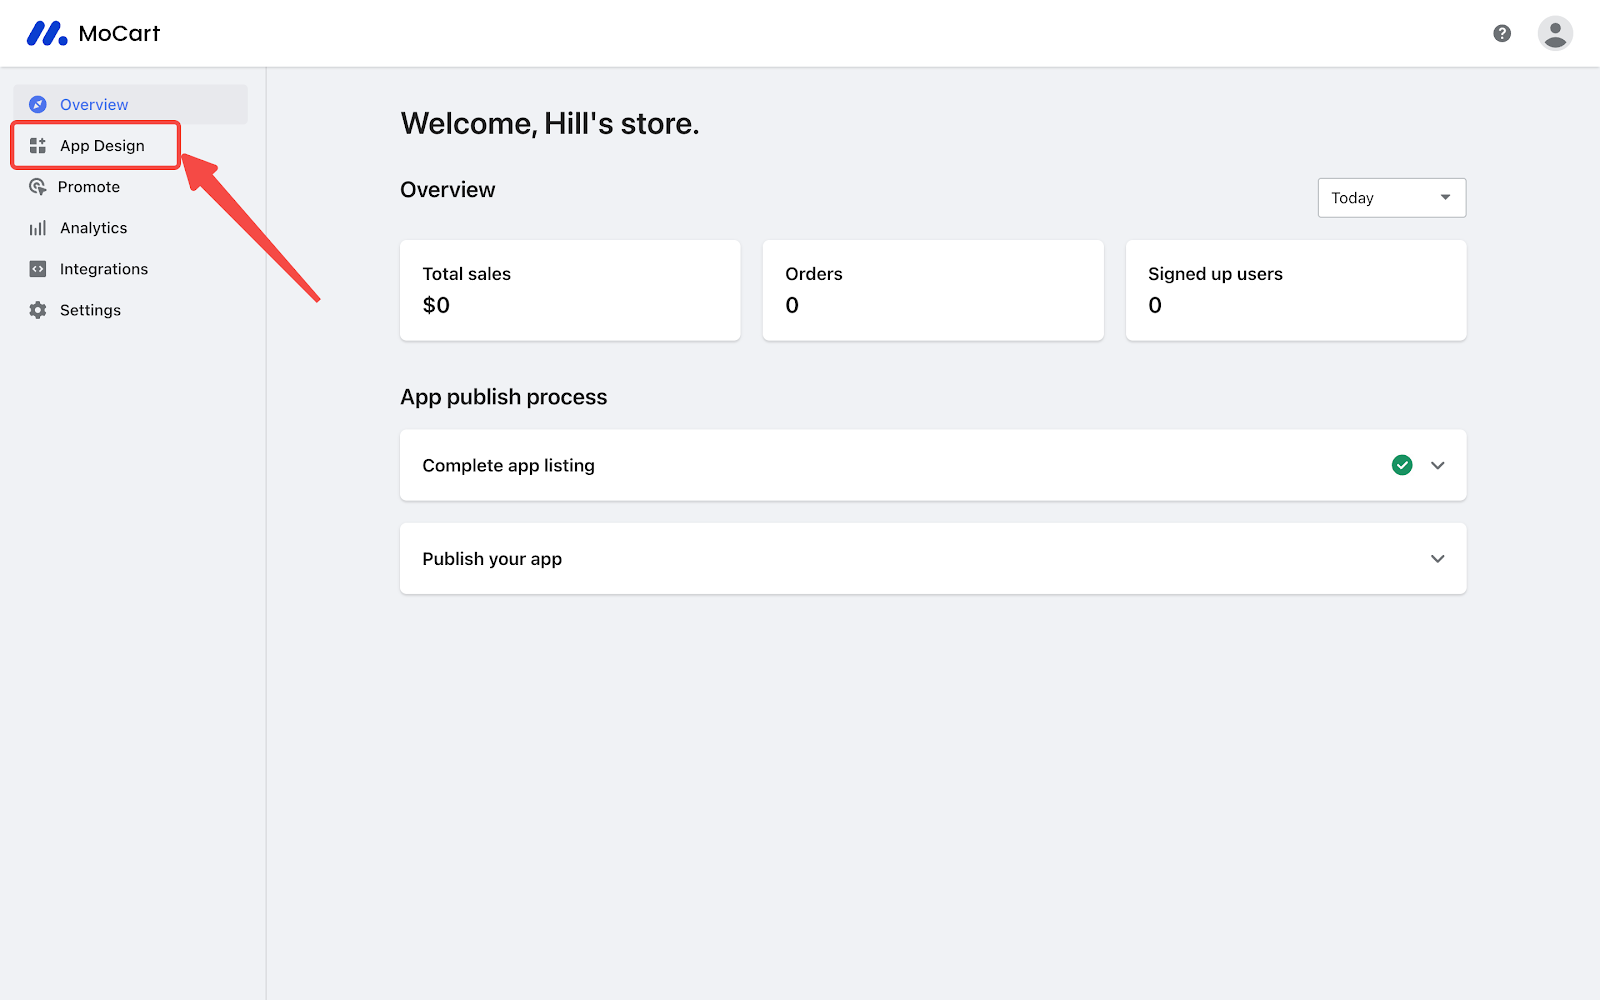
1. From your Shoplazza Admin > Apps > MoCart, click on App Design.
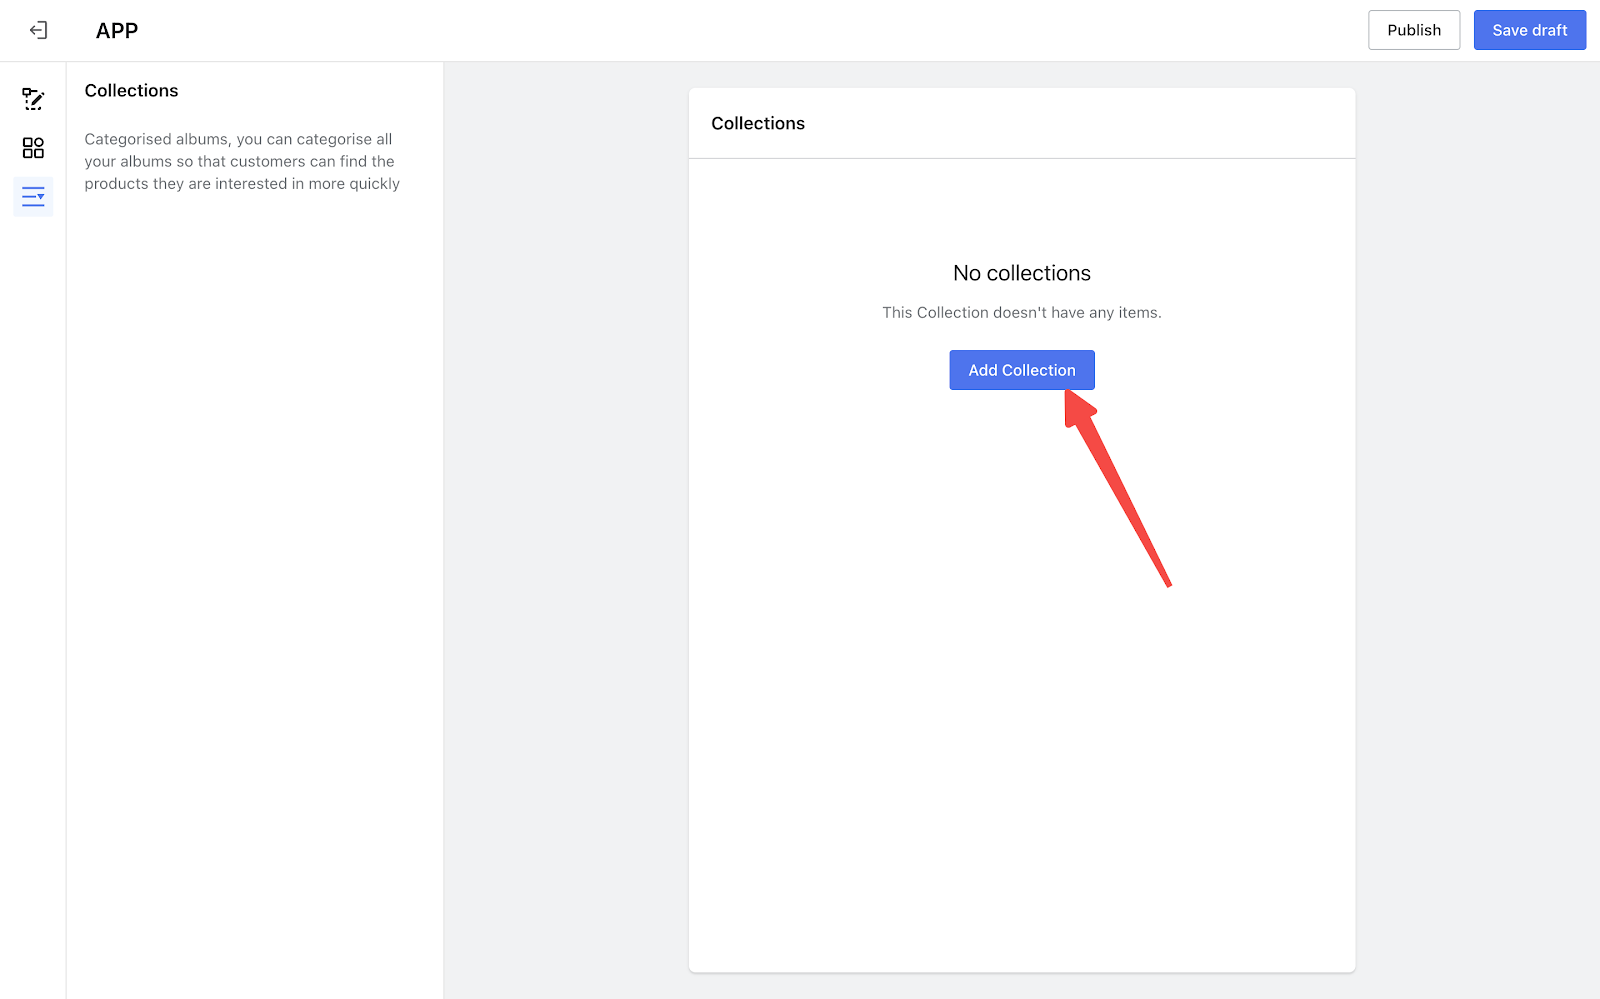
2. Click the line icon to start with your editing.

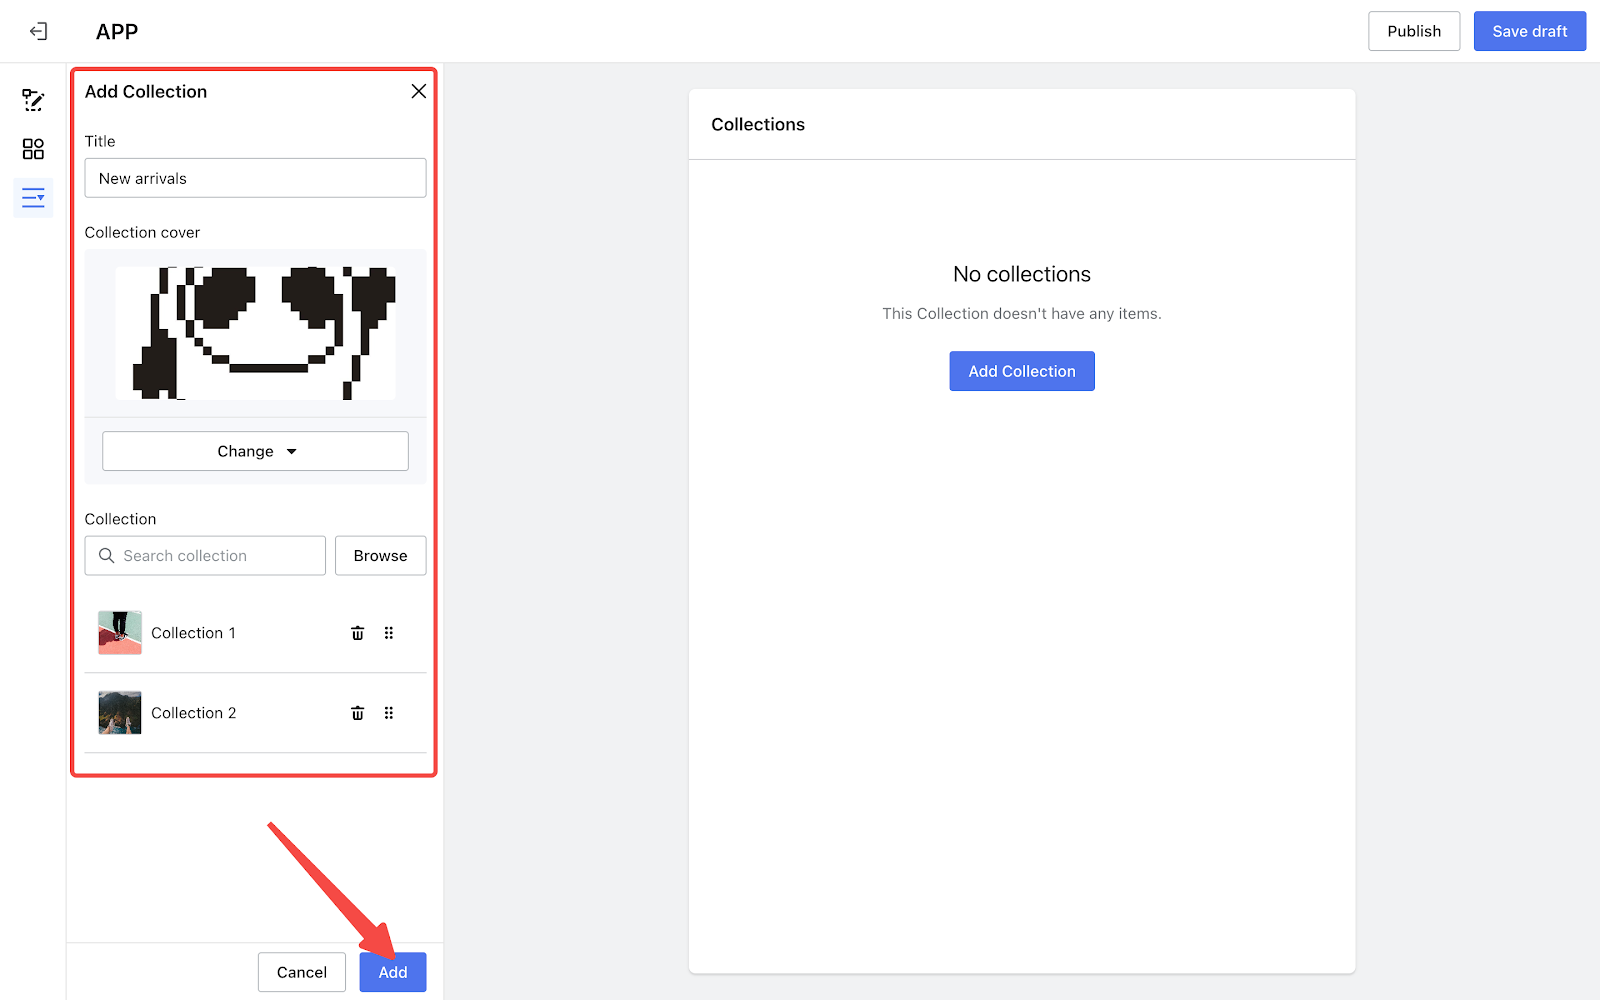
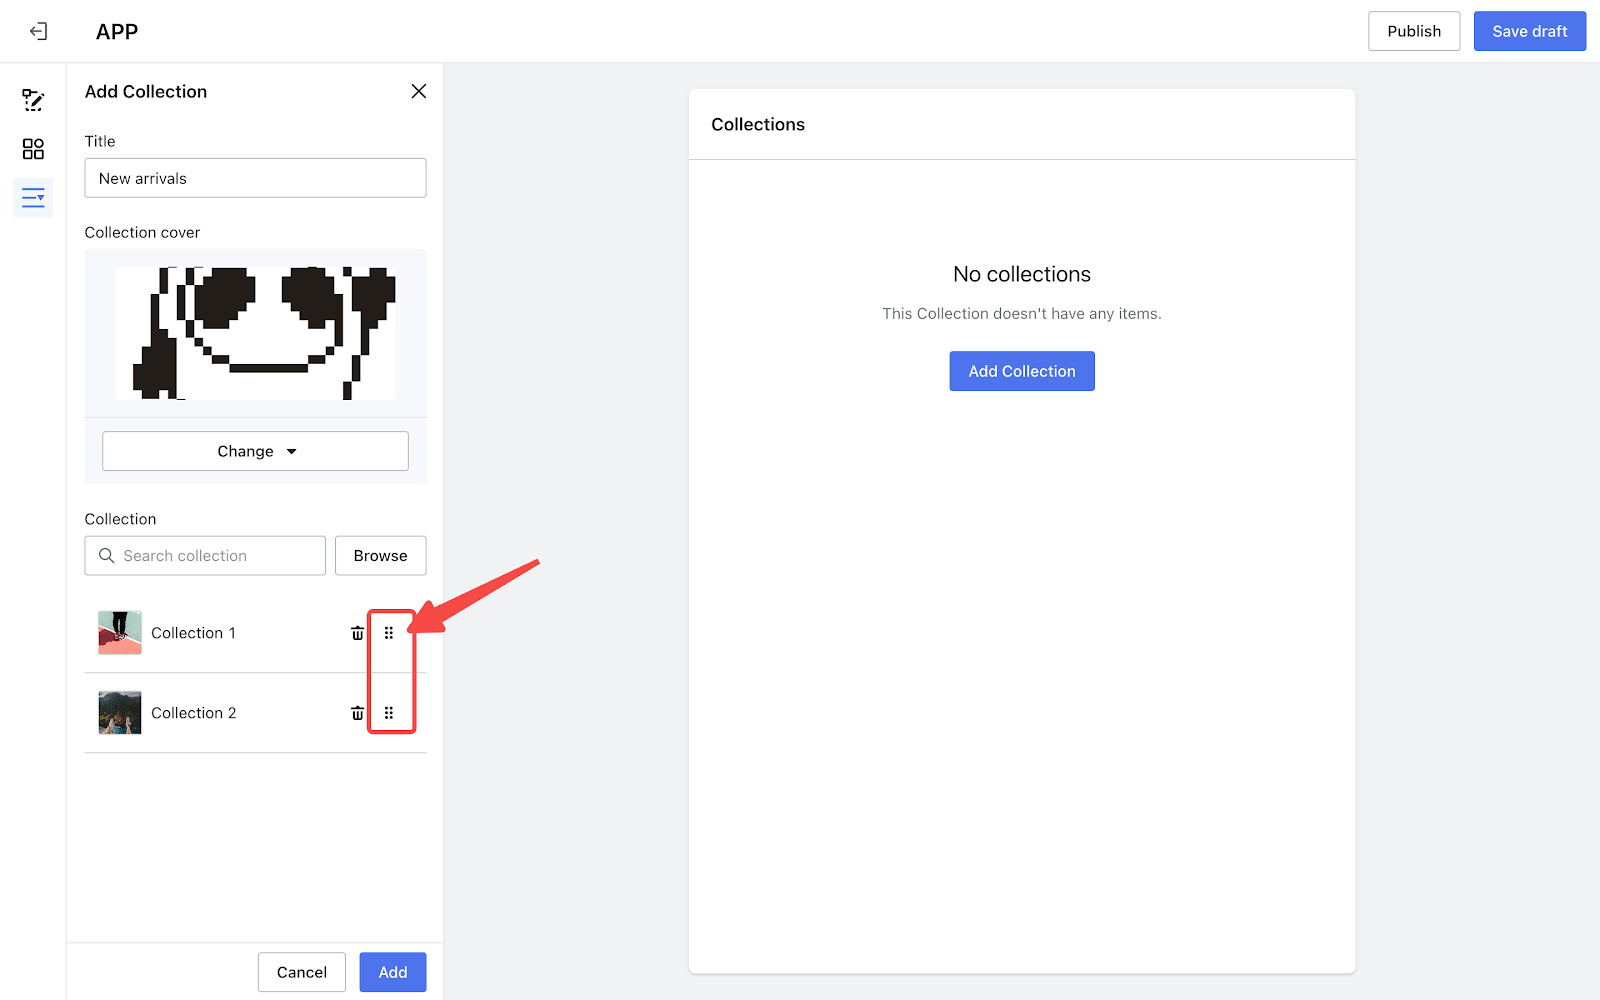
3. Click Add Collection. Name the collection, upload the cover of the collection and select the collections to be added.
4. Click Add to complete your settings.
5. To rearrange the items in a collection, click and drag the drop icon.
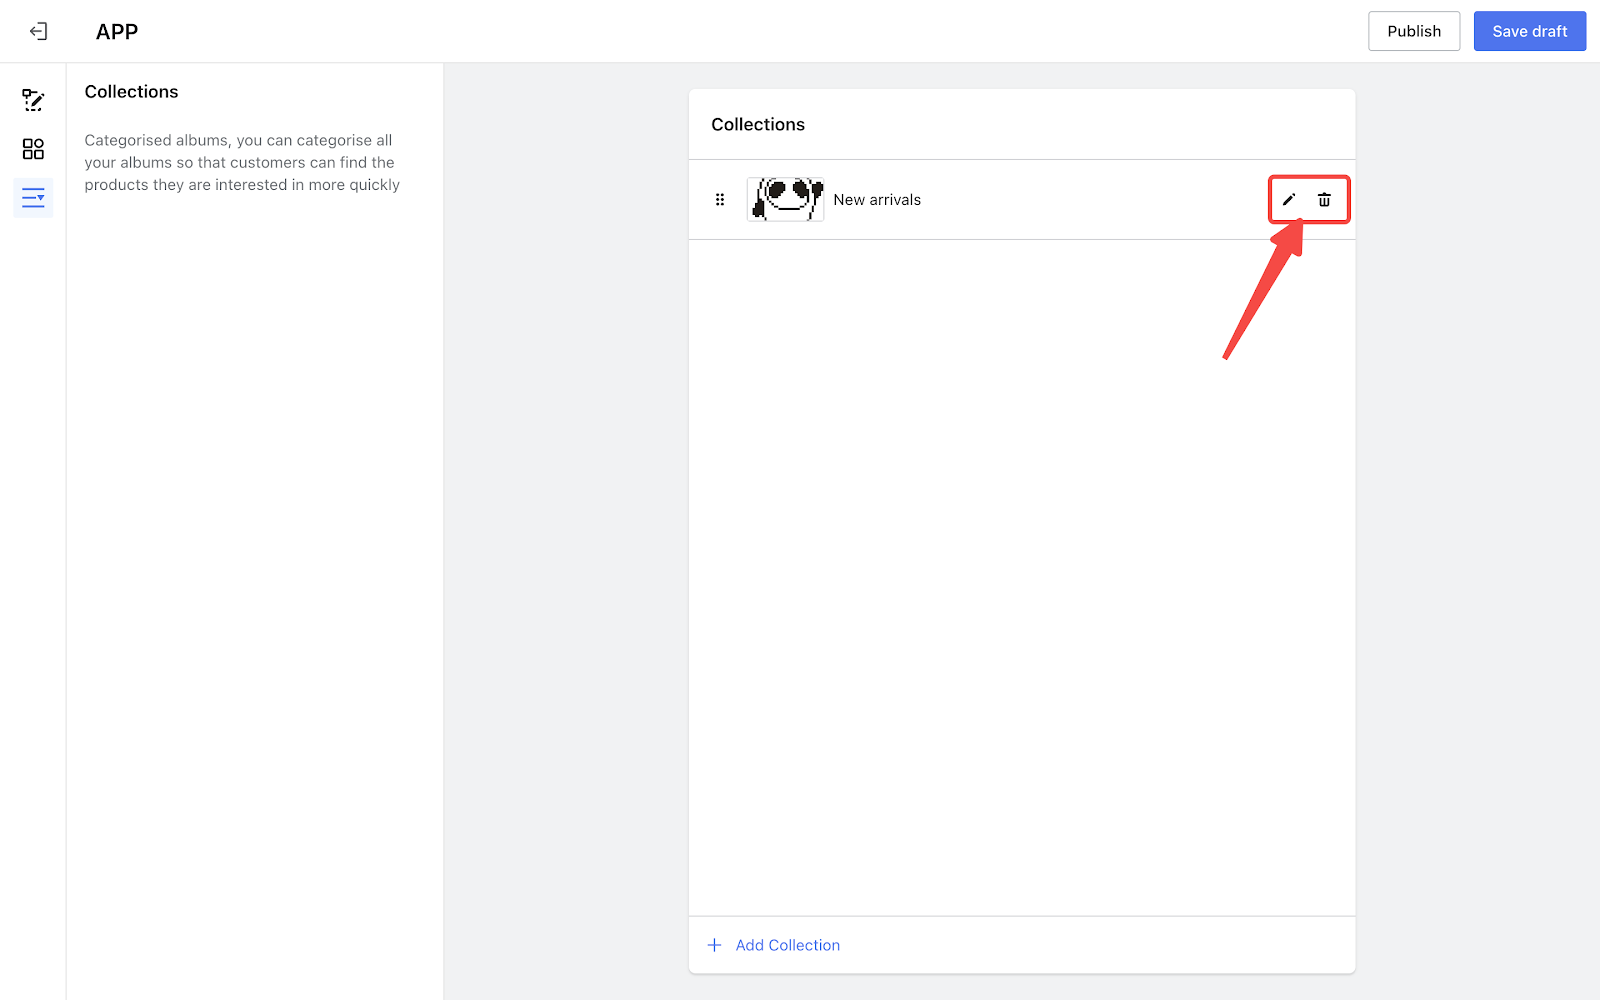
6. To make changes to a collection, click the Pencil icon. To remove a collection, click the Trash bin icon.
Note
If you want customers to be taken directly to a specific collection page when they click on a collection, make sure that collection includes only the items related to that specific theme or category.
For example: Let's say you have a collection called "Summer Outfits." If you want customers to go straight to this specific product collection when they click on it, don't mix it with other collections like "Winter Coats" or "Spring Dresses."


Comments
Please sign in to leave a comment.