
This guide helps you customize the following two types of menu bars:
- Main menu: Also known as the "Hamburger menu", helps your customers browse your app and find the content they want to access.
- Footer menu: Helps your customers quickly switch between pages.
Steps
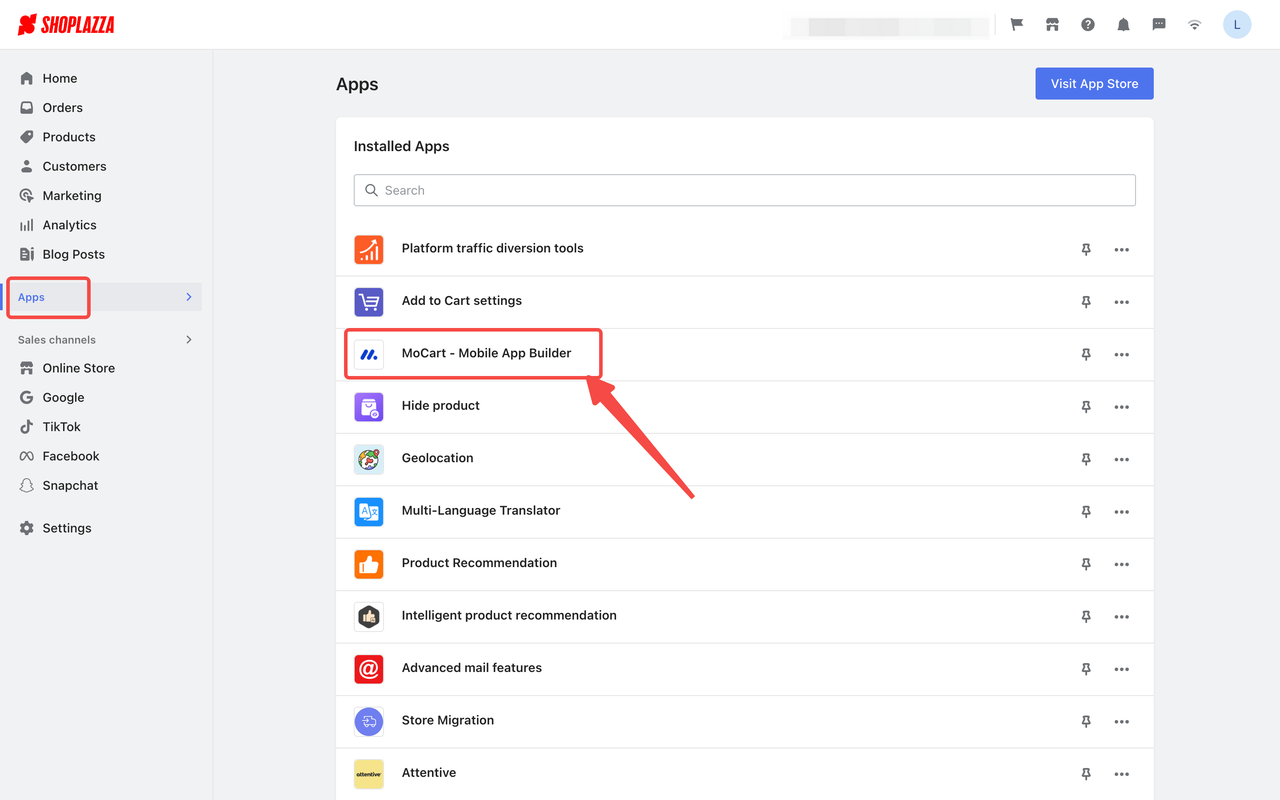
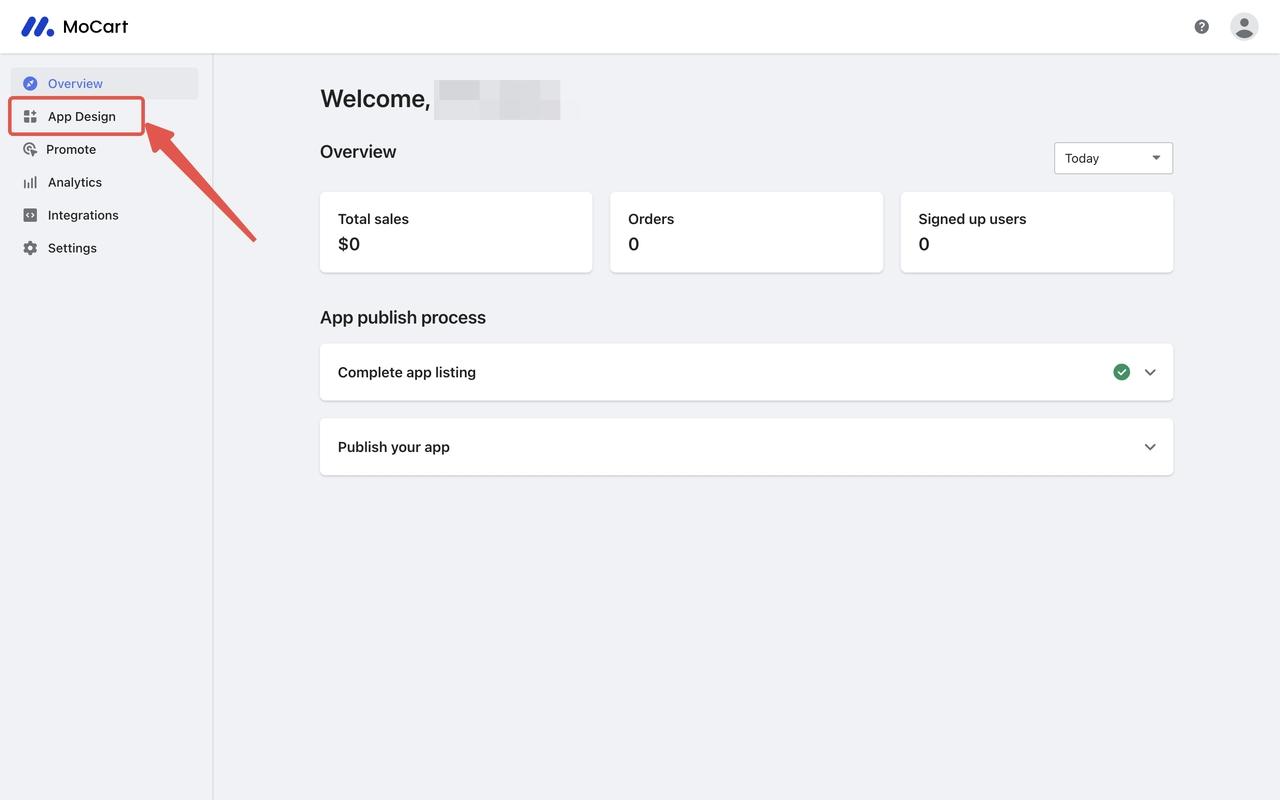
1. From your Shoplazza admin > Apps > MoCart, click on App design.
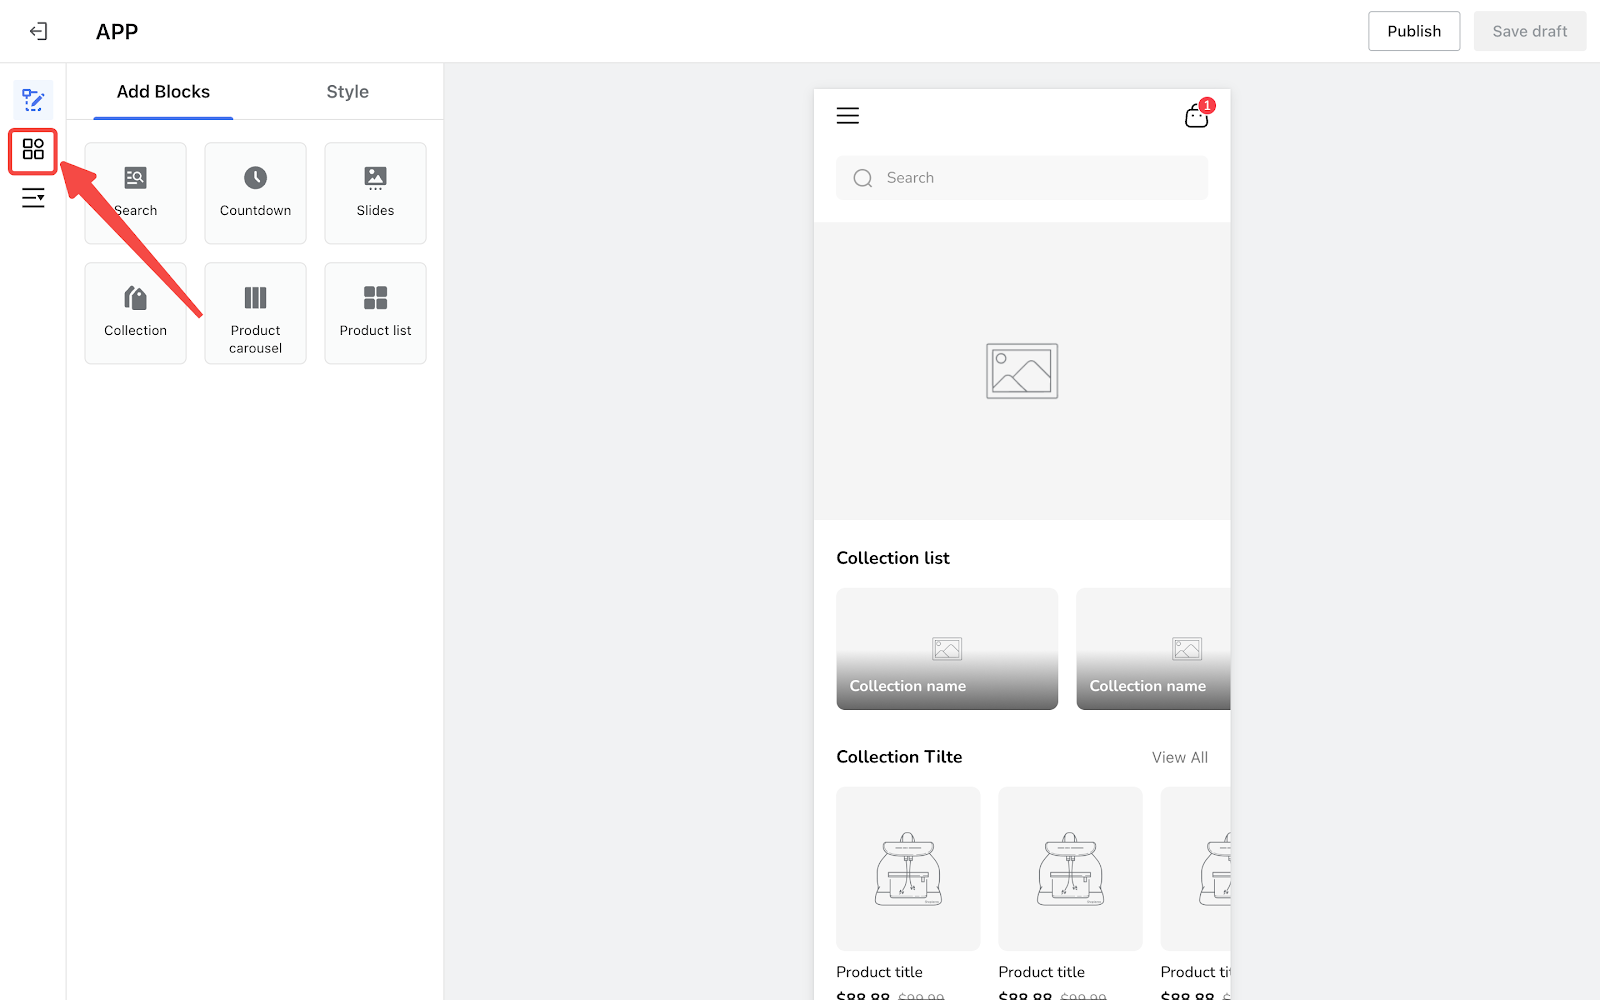
2. Click the menu icon to start with your editing.
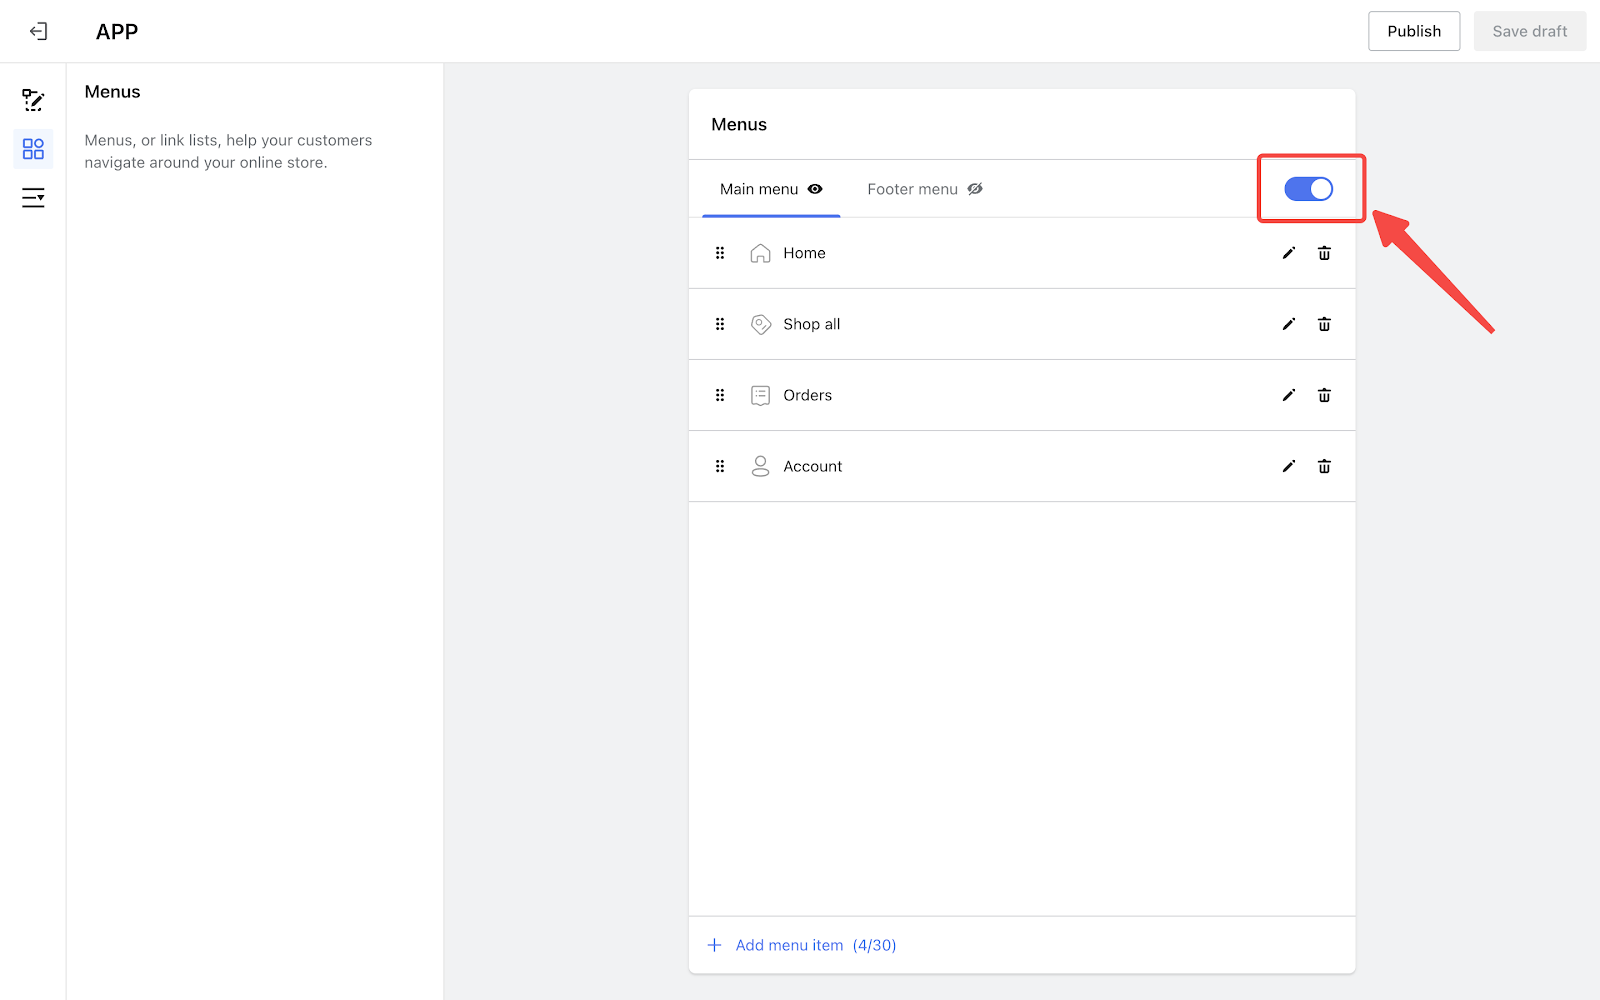
- Here, you can customize the Main menu or the Footer menu by clicking on the corresponding section.
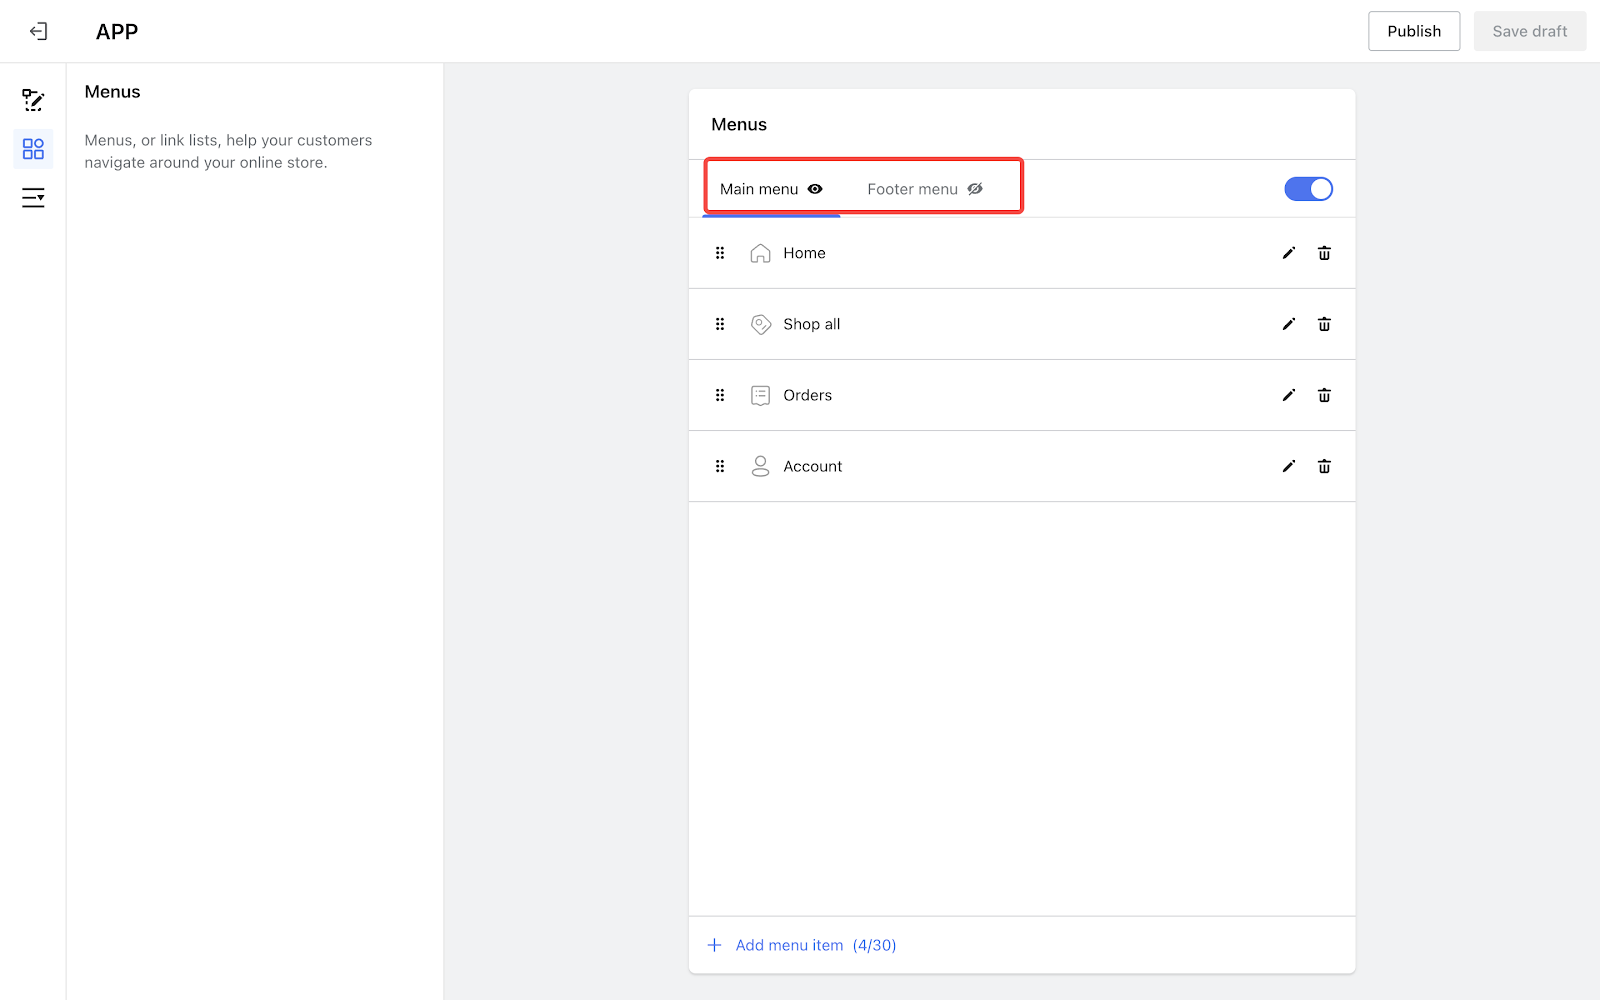
- Use the switch to turn a menu on or off. Note that at least one menu must be active and visible to customers.
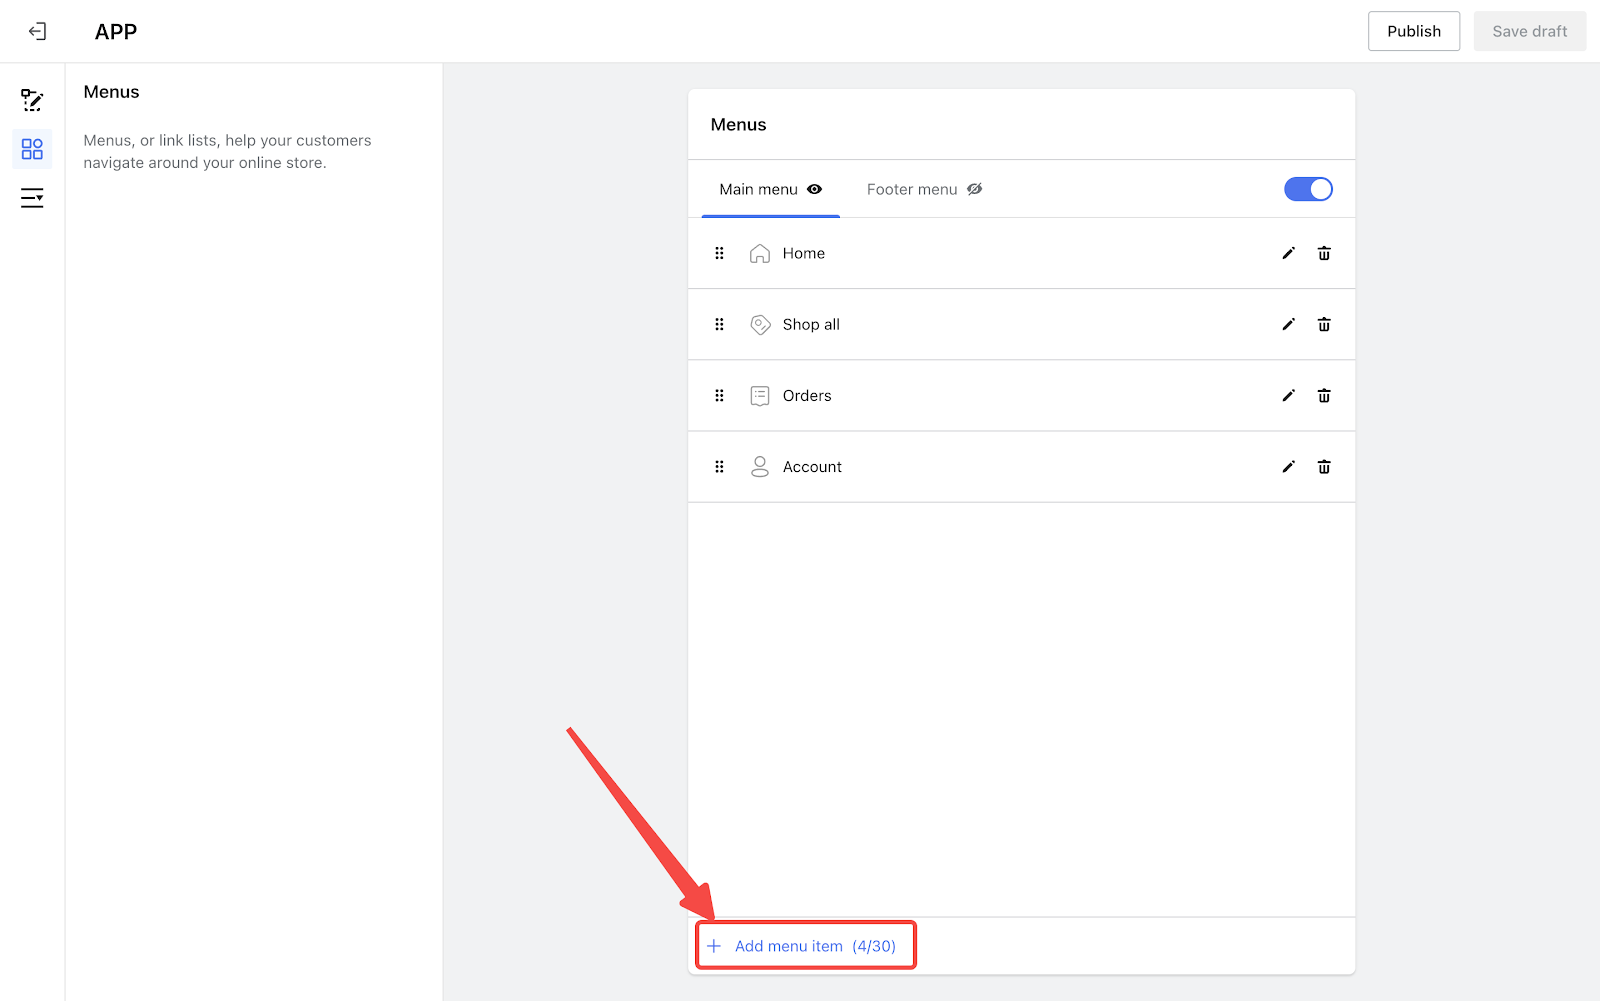
- If you want to add more menu items, click Add menu item at the bottom of the page.
Note
- You can add 0 to 30 menu items to the Main menu.
- You can add 3 or 4 menu items to the Footer menu.
- To edit the pre-set menu items shown in the screenshot below and the newly added menu items, click the pencil icon.
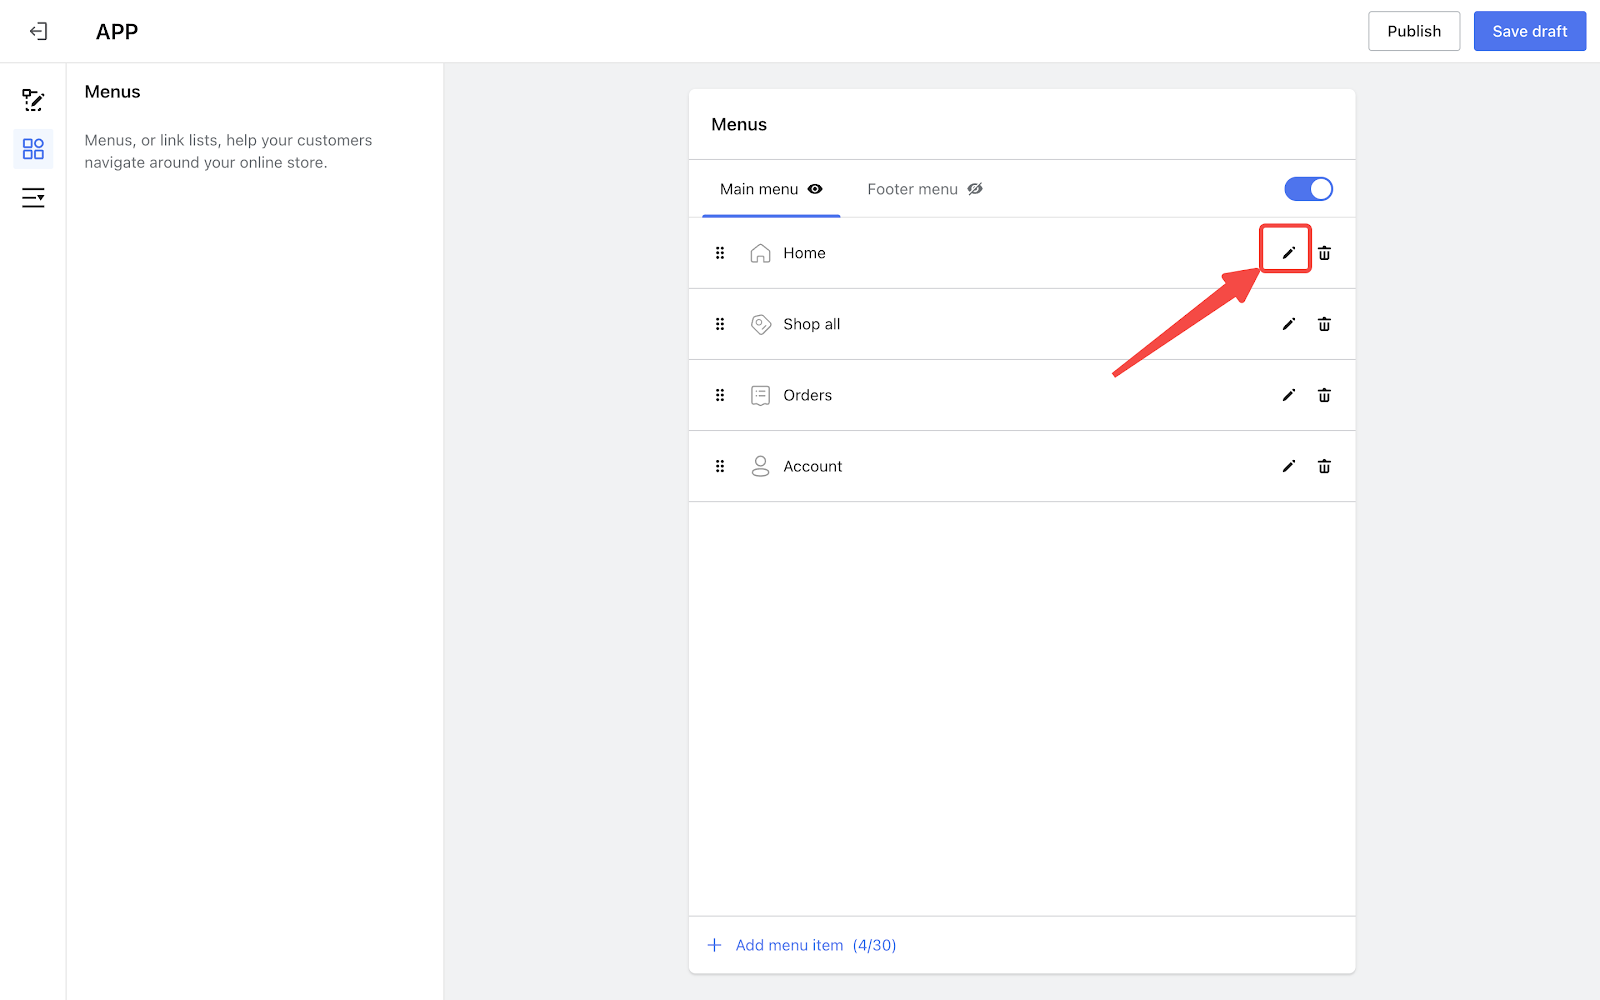
- You can name the menu and link it to a certain URL.
- Homepage: Navigating customers to the homepage of the app.
- Collections: Navigating customers to corresponding collections.
- Collection views: Navigating customers to the Categories. (For details on setting up Categories for Collections, see Creating Collections in your MoCart app.)
- Orders: Navigating customers to the order list.
- Account views: Navigating customers to their accounts.
- Custom URL: Navigating customers to the linking page, including blogs, social media and size charts.
- Notifications: Navigating customers to the message list.

- To delete them, click the trash bin icon.
Note
After your app has been successfully released on the app stores, you can click the "Publish" button on the top right corner of the APP design section to sync the updates to the APP in real-time.


Comments
Please sign in to leave a comment.