
Developing a size chart for your online store plays a significant role in enhancing the shopping experience for your customers. The Size Chart Guide app offers a straightforward interface for you to craft and manage size charts that are perfectly aligned with your products. This guide provides step-by-step instructions on how to create, customize, and publish a size chart using the Size Chart Guide app.
Accessing the Size chart guide app
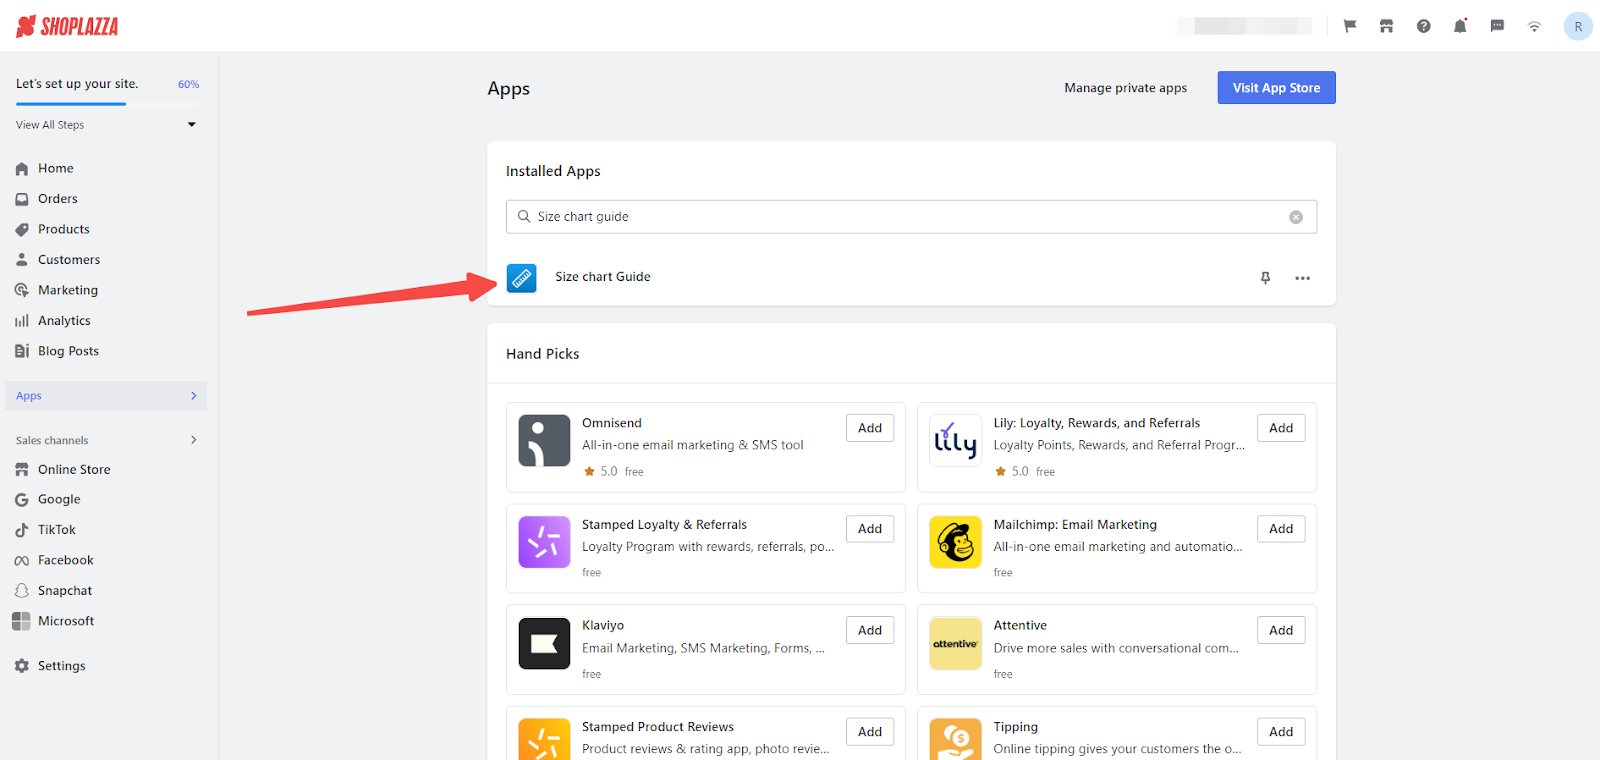
1. Start the process: From your Shoplazza admin, click on Apps. Search for the Size chart guide app among your installed apps and click to open it. If you haven't installed it yet, refer to the article: Size Chart Guide.
Editing or creating a New Size Chart
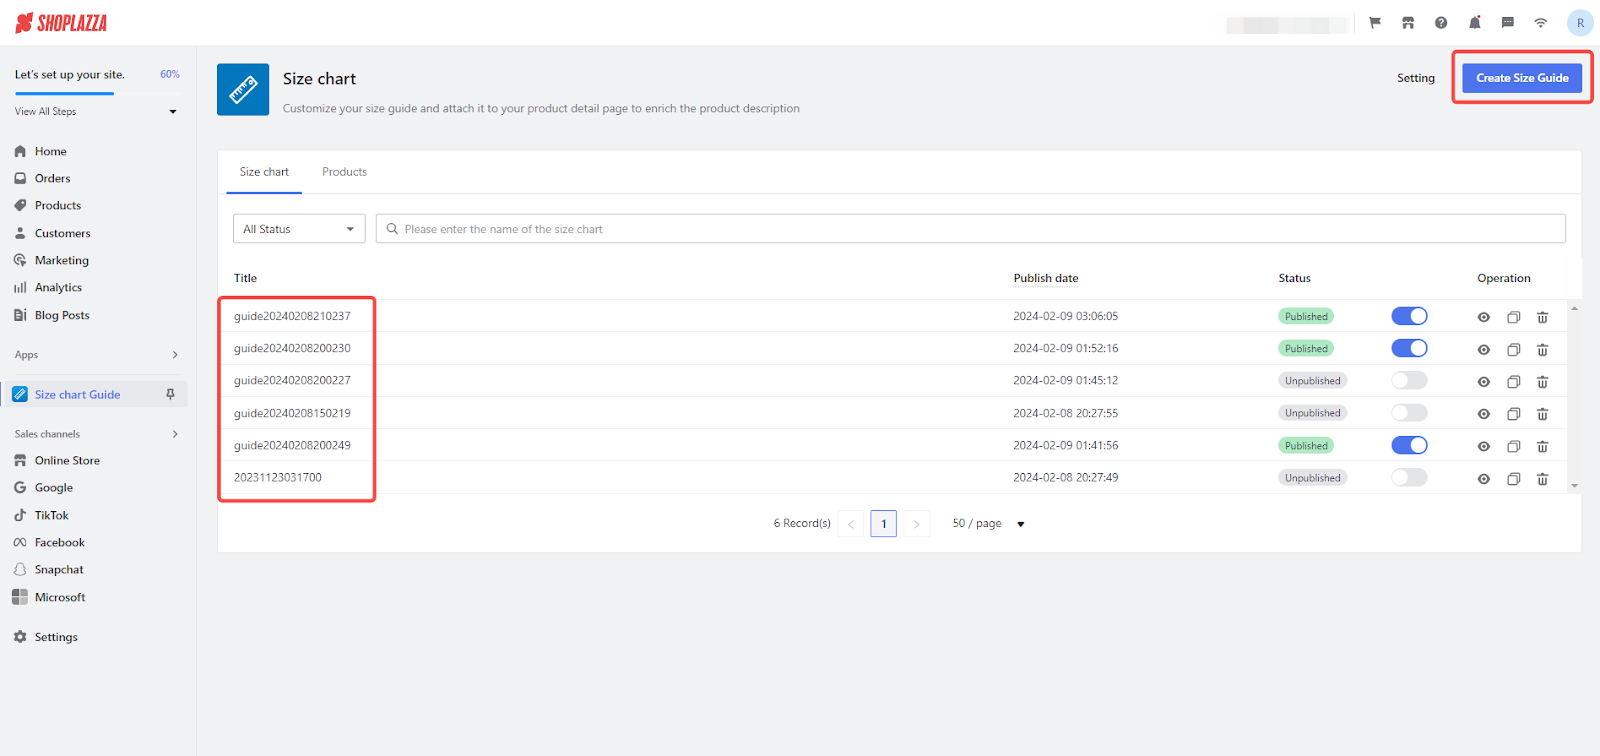
1. Edit or create a Size Chart: Within the app, you have the flexibility to edit an existing size chart or start a new one by selecting Create Size Guide.
Adding content to the Size Chart
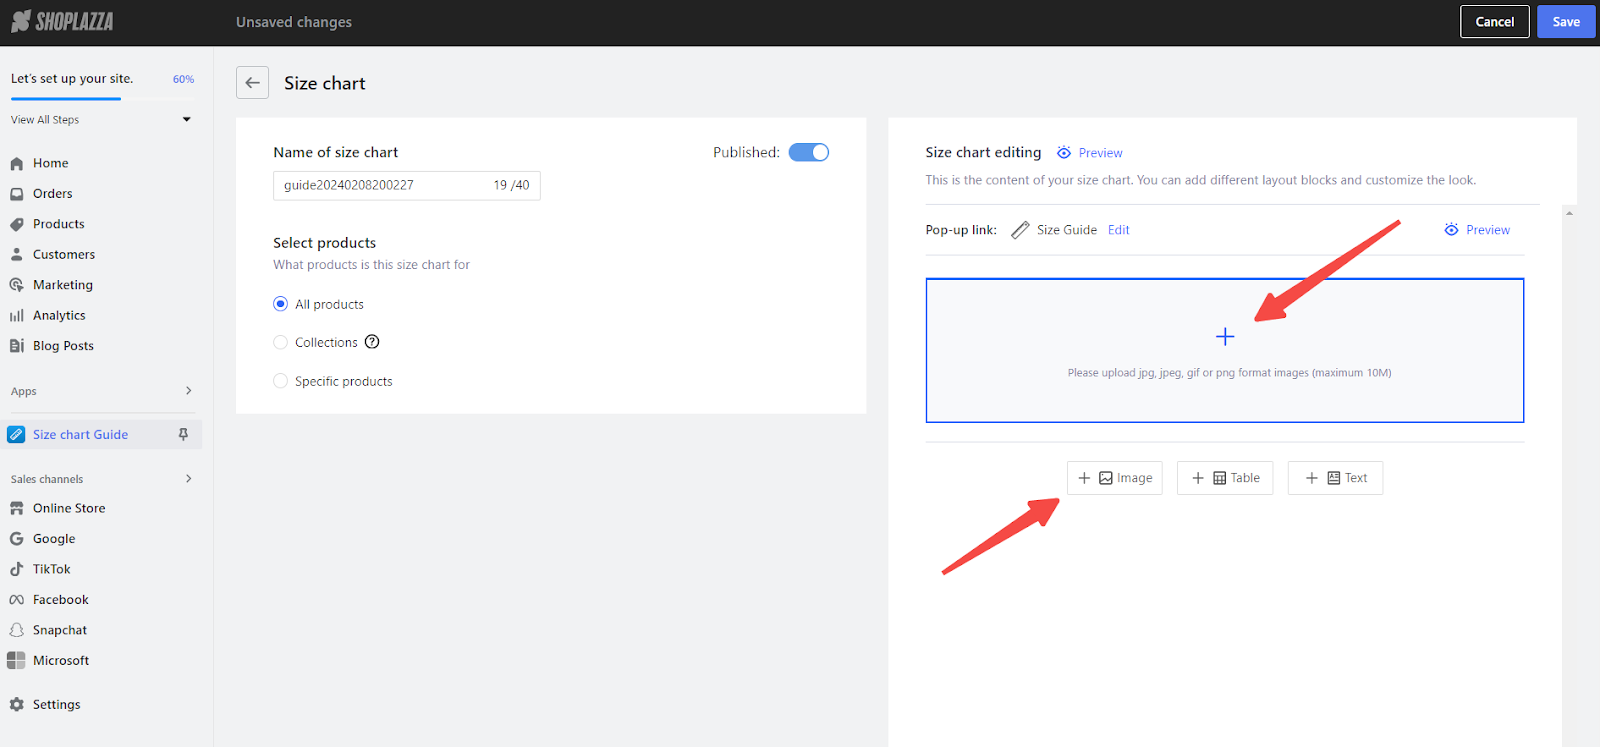
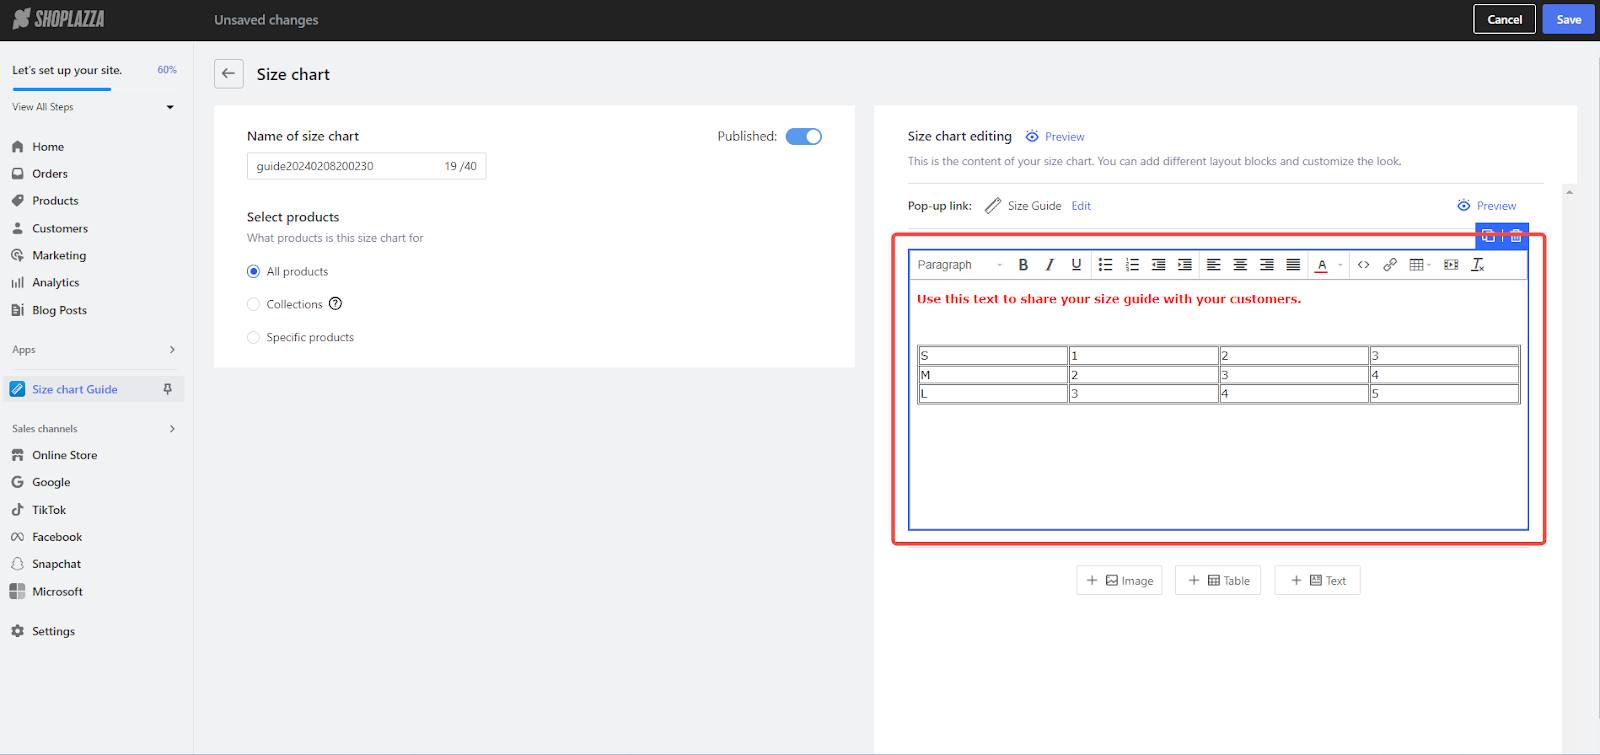
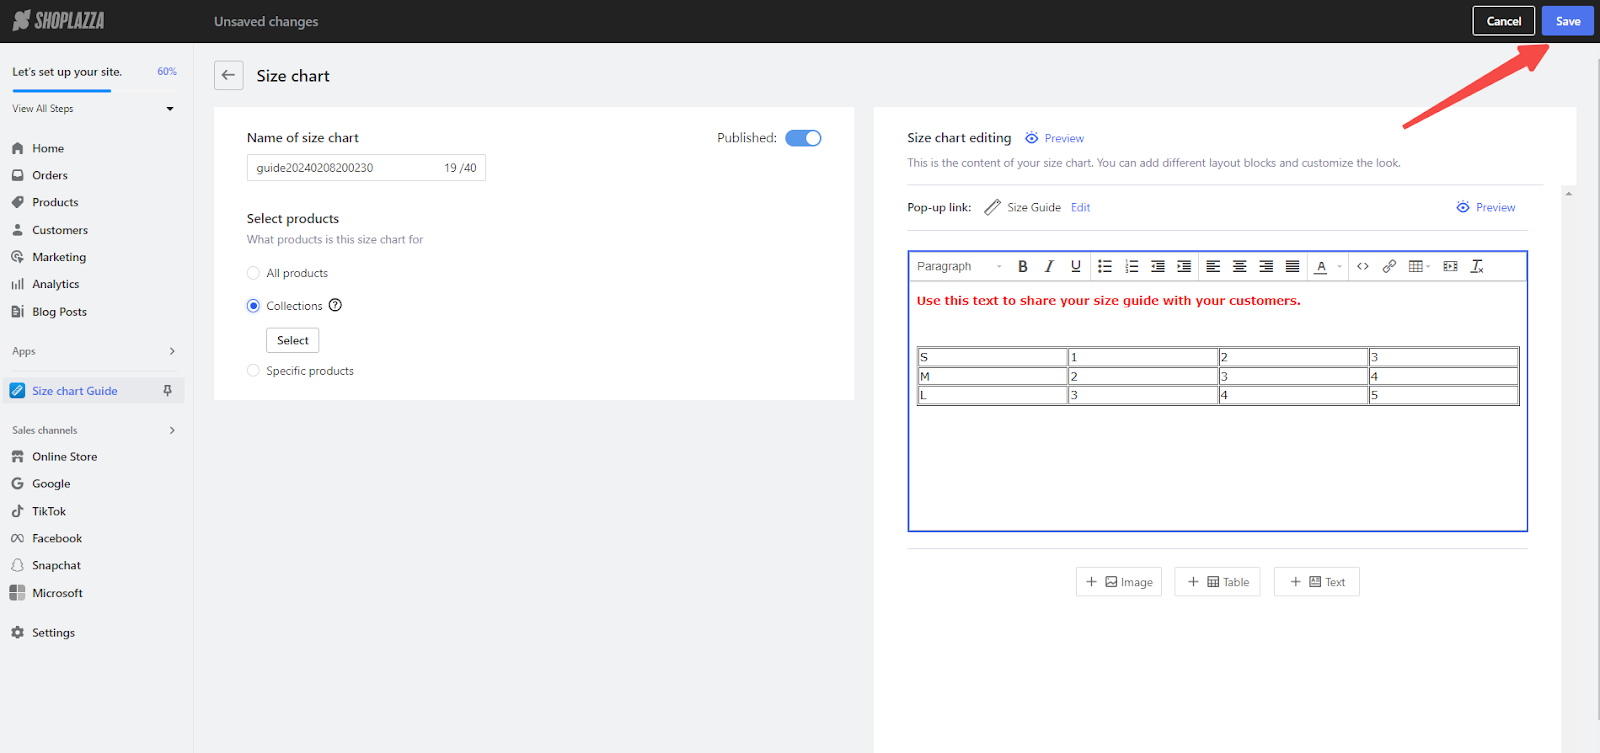
1. Detailed Setup View: In this view, you can name your size chart and decide its visibility by toggling the publish switch. You also have the option to specify which products the size chart applies to, whether all products, collections, or specific products.

Editing Your Size Chart
1. Customization tools: Utilize the editing tools to preview your size chart and add images, tables, and text, customizing the size guide to fit your brand. This includes uploading measurement diagrams or adding new tables or text blocks to provide detailed instructions and visual aids.

Adding Images
1. Upload images: Select Image to access the image upload interface. Click within the image addition box to upload a size chart image. Ensure that images are in JPG, JPEG, GIF, or PNG formats and do not exceed 10 MB.
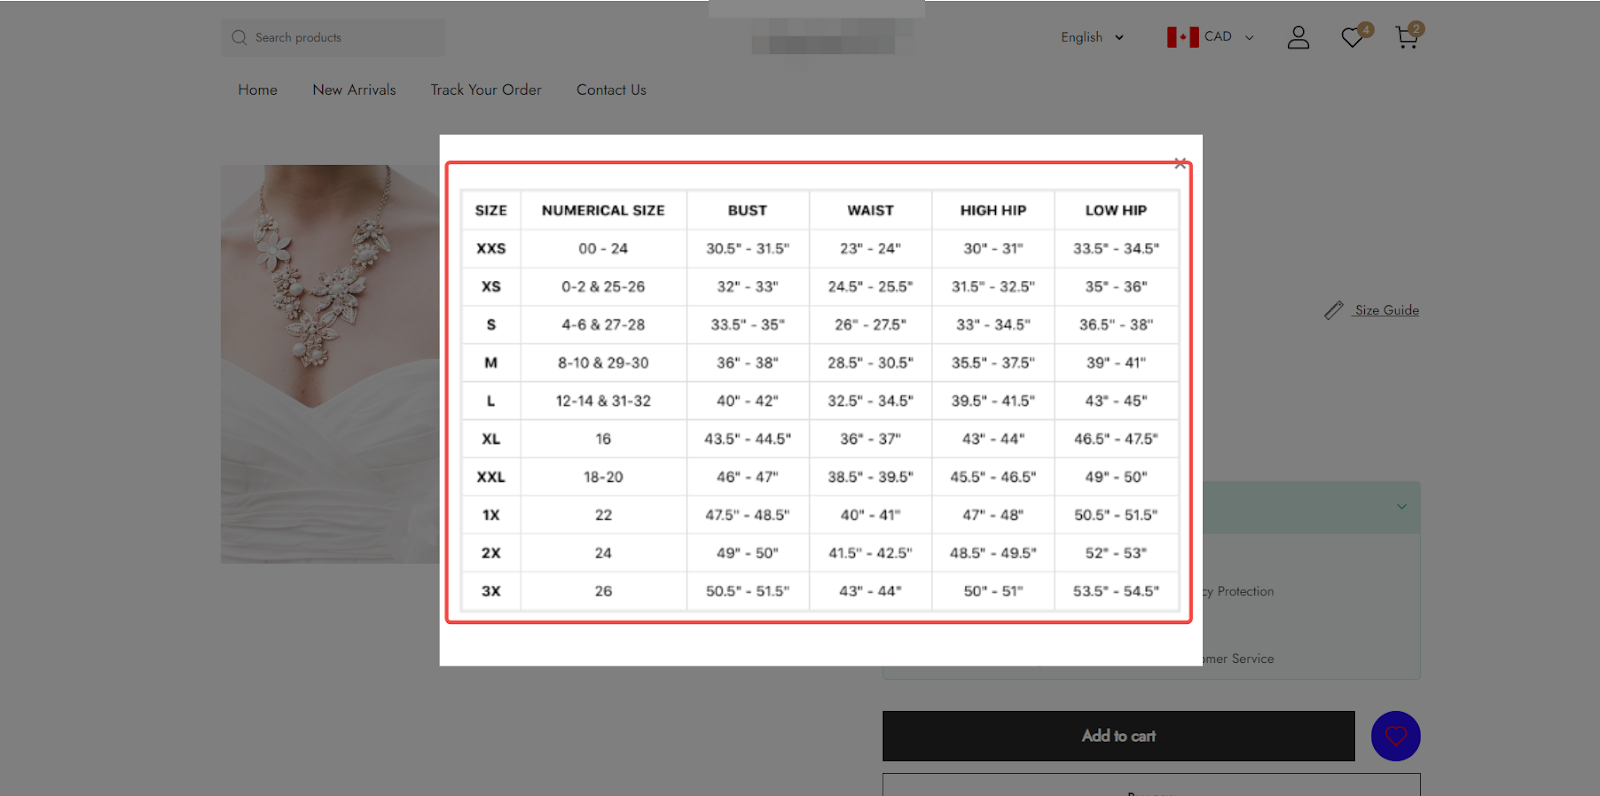
2. Visual confirmation: Once uploaded, review the size chart to ensure it meets your standards before it becomes visible to customers.
3. Storefront visibility: Customers will see the uploaded size chart by clicking the size chart link on your storefront, offering clear sizing information.
Adding Tables
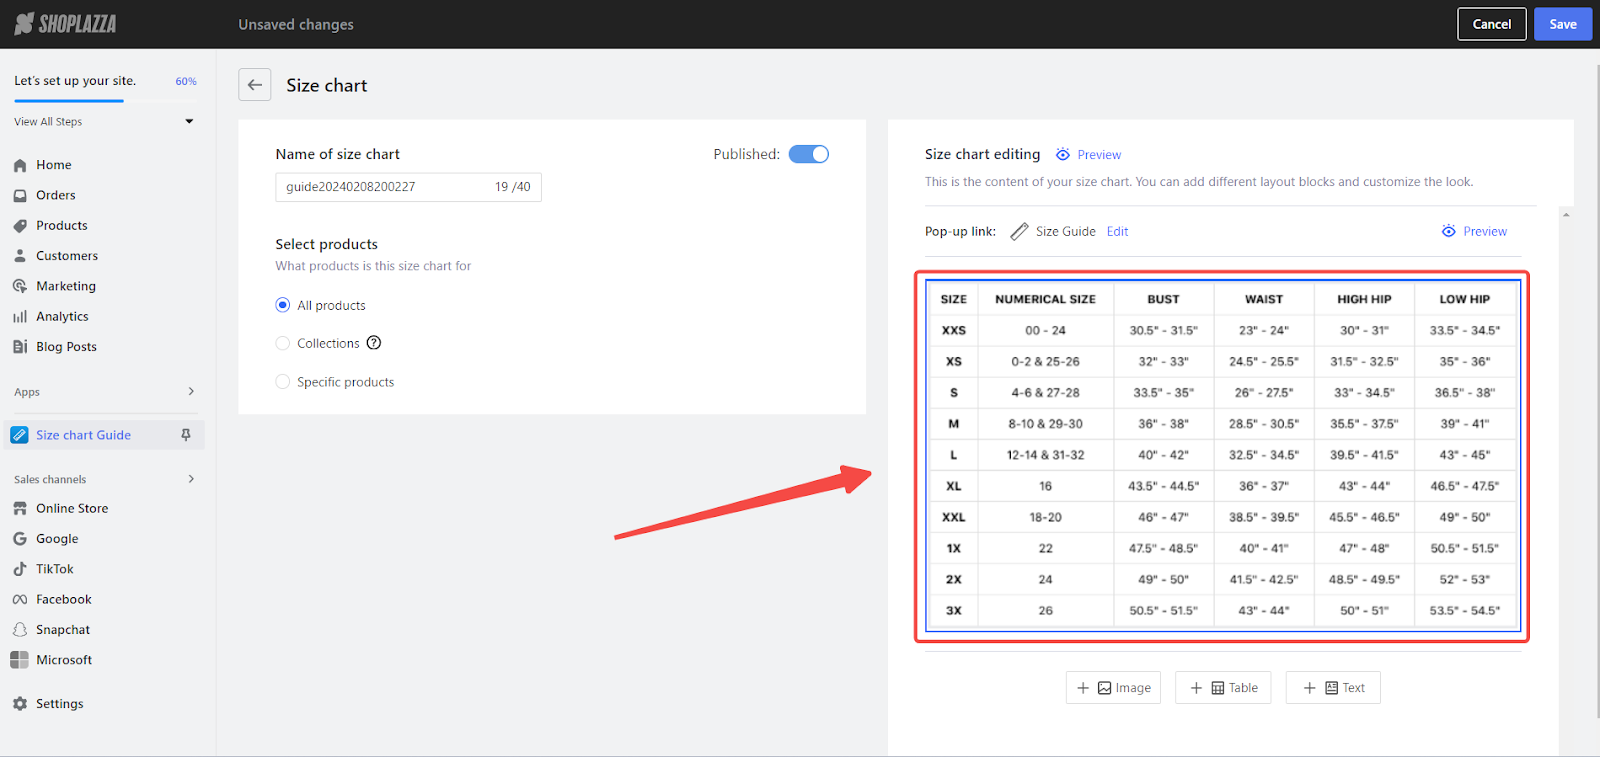
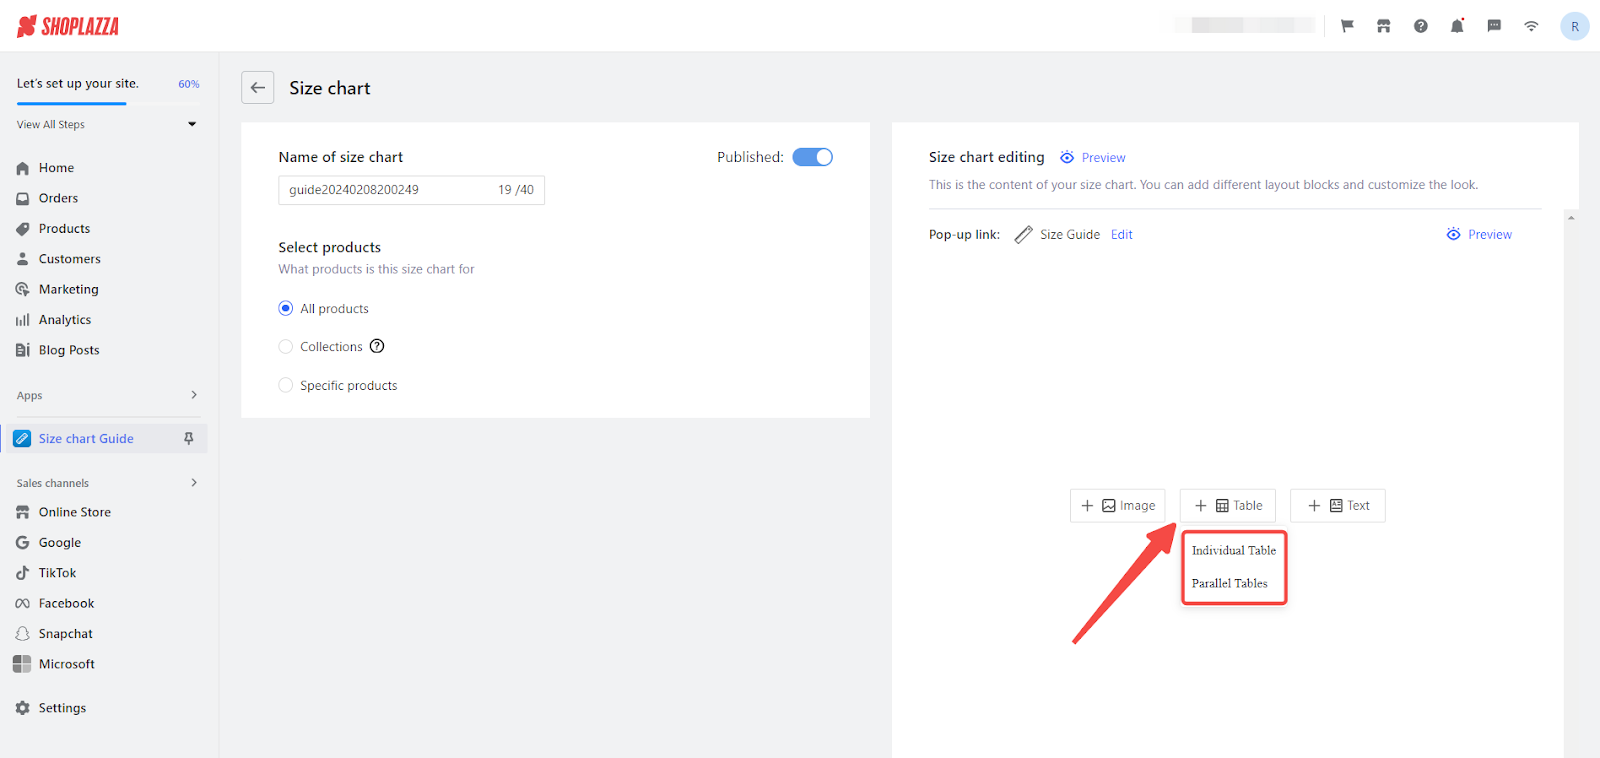
1. Create tables: Select Table to add tables to your size chart. Choose between individual or parallel tables for comprehensive size comparisons.
Note
For size conversion charts across different units or countries, see Size Chart Guide | Multi-Unit Conversion and Multi-Country Size Conversion
2. Preview and verification: After configuring a table, it will display as shown in the example below, confirming correct formatting.
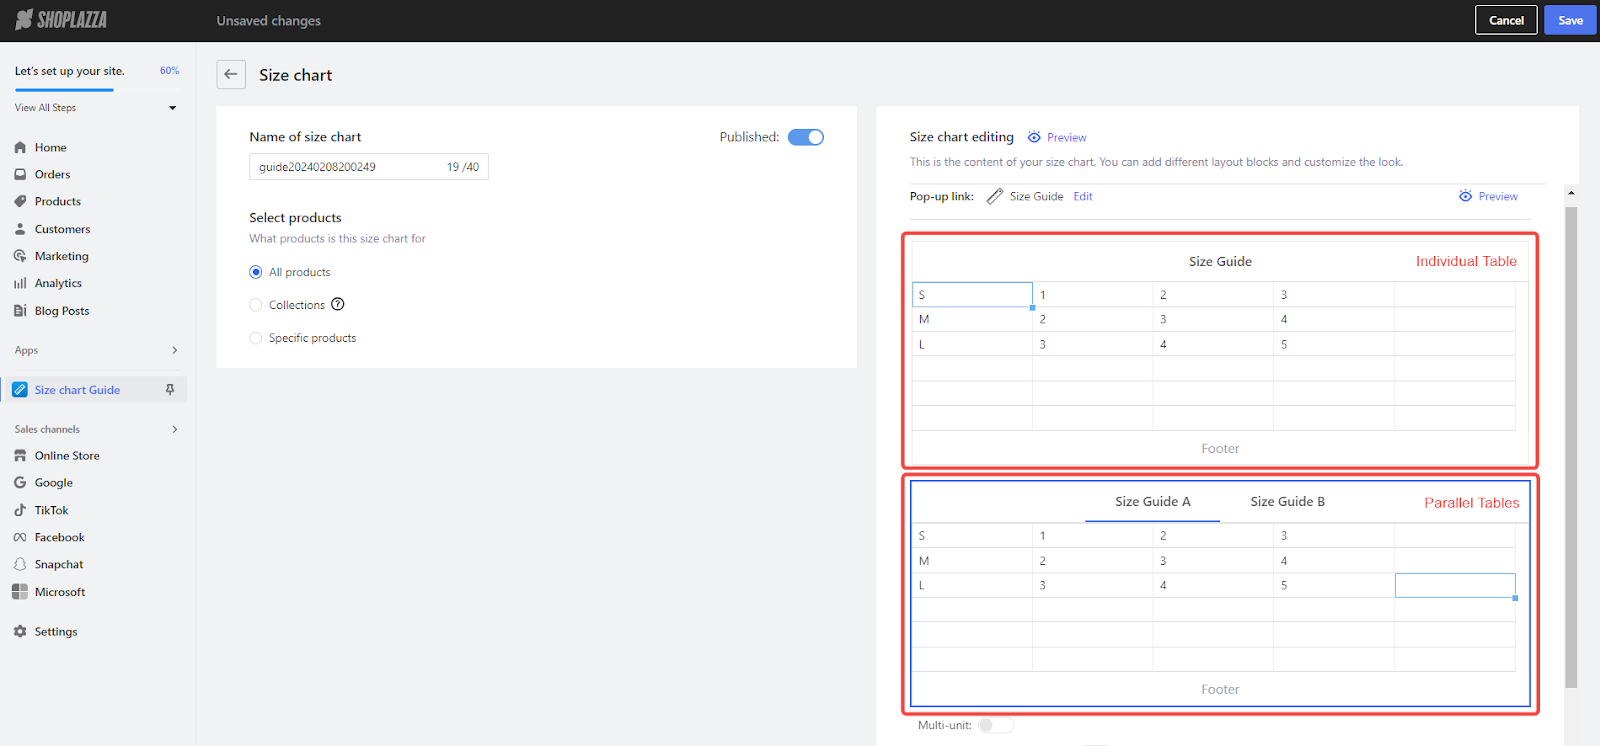
3. Customer understanding: These tables enhance customer comprehension by providing a clear view of available size options and conversions through the size chart link on your storefront.

Adding Rich Text
1. Text enhancement: Choose Text to enter editing mode, allowing you to enrich your size chart with detailed descriptions or instructions.
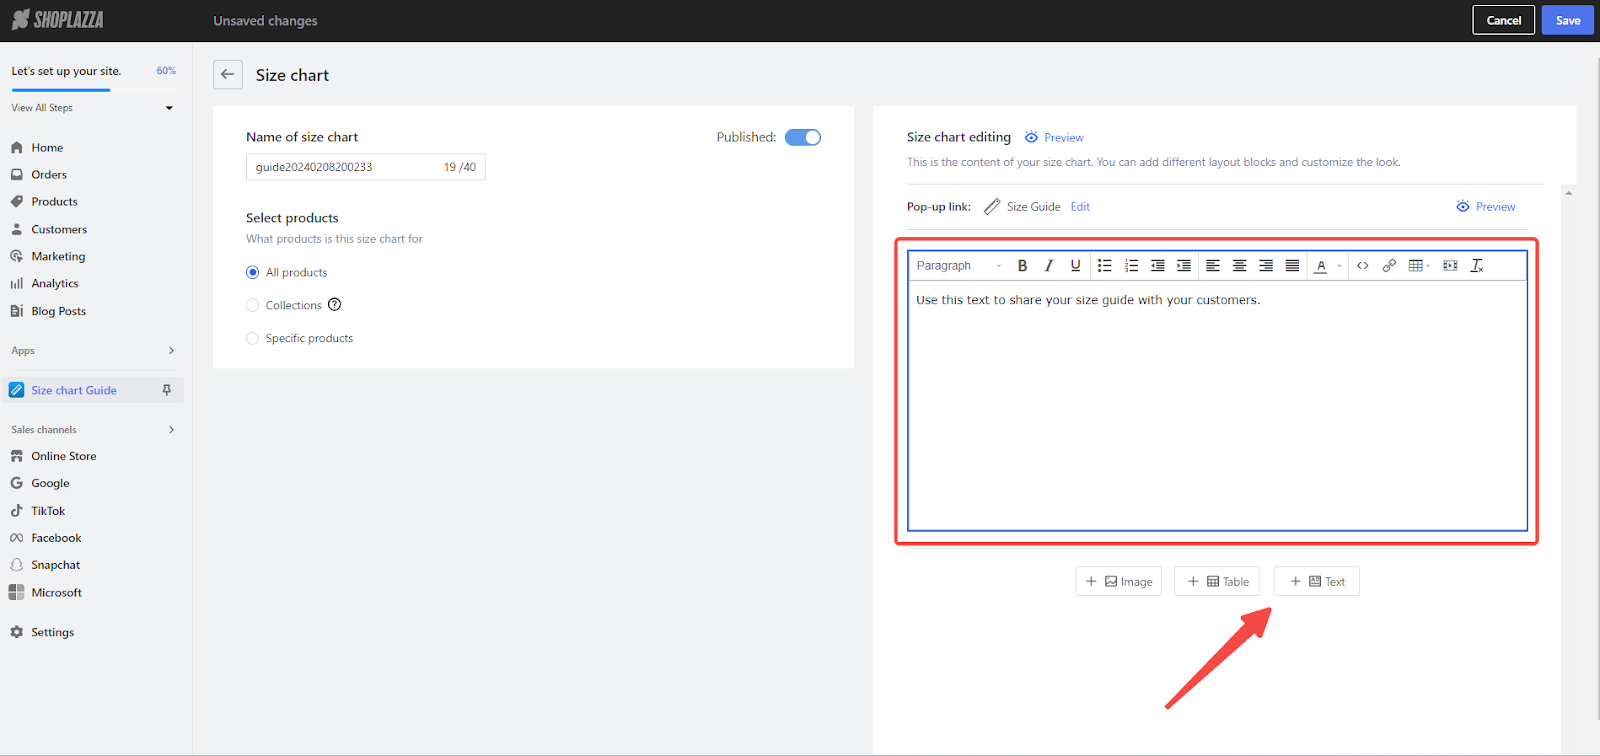
2. Content review: After adding text, it will be displayed as shown below, ensuring the appearance and legibility are up to standards.
3. Improving customer experience: This text will be accessible to customers via the size chart link, improving their understanding of sizing information and supporting informed decisions.

Finalizing Your Size Chart
1. Saving Changes: After customizing your size chart, click Save.
Note
If the size chart does not appear on the product detail page post-setup, adjust "wake-up words" for enhanced visibility. For additional support, refer to the Size Chart Guide.
A well-crafted size chart is essential for online retail success, reducing customer inquiries and returns by providing clear sizing information. By following the steps outlined in this guide, you can easily create and customize a size chart for your store using the Size Chart guide app. Remember to save your configuration and check that the size chart displays correctly on the product detail page.


Comments
Article is closed for comments.