
Providing accurate sizing information helps decrease returns, increase customer satisfaction, and build brand trust. A size guide is not just a tool but a bridge connecting your products to your customers' needs. With the Size Chart Guide app, detailed size charts ensure consumers shop with confidence and potentially increasing sales for your store.
The Size Chart Guide app is user-friendly and efficient, featuring automatic size conversion and enabling the addition of limitless size charts to your product pages. This assists customers in making accurate size selections. Key advantages of incorporating a size chart include:
- Boosting sales and decreasing return rates through precise size guidance.
- Creating multiple size charts tailored to the specific needs of your store.
- Configuring unique size charts for different products, enhancing product-specific guidance.
- Displaying size charts in a pop-up window, streamlining the shopping experience by eliminating additional navigation.
- Ensuring compatibility across desktop and mobile platforms, making size guidance accessible to all users.
Getting Started with the App
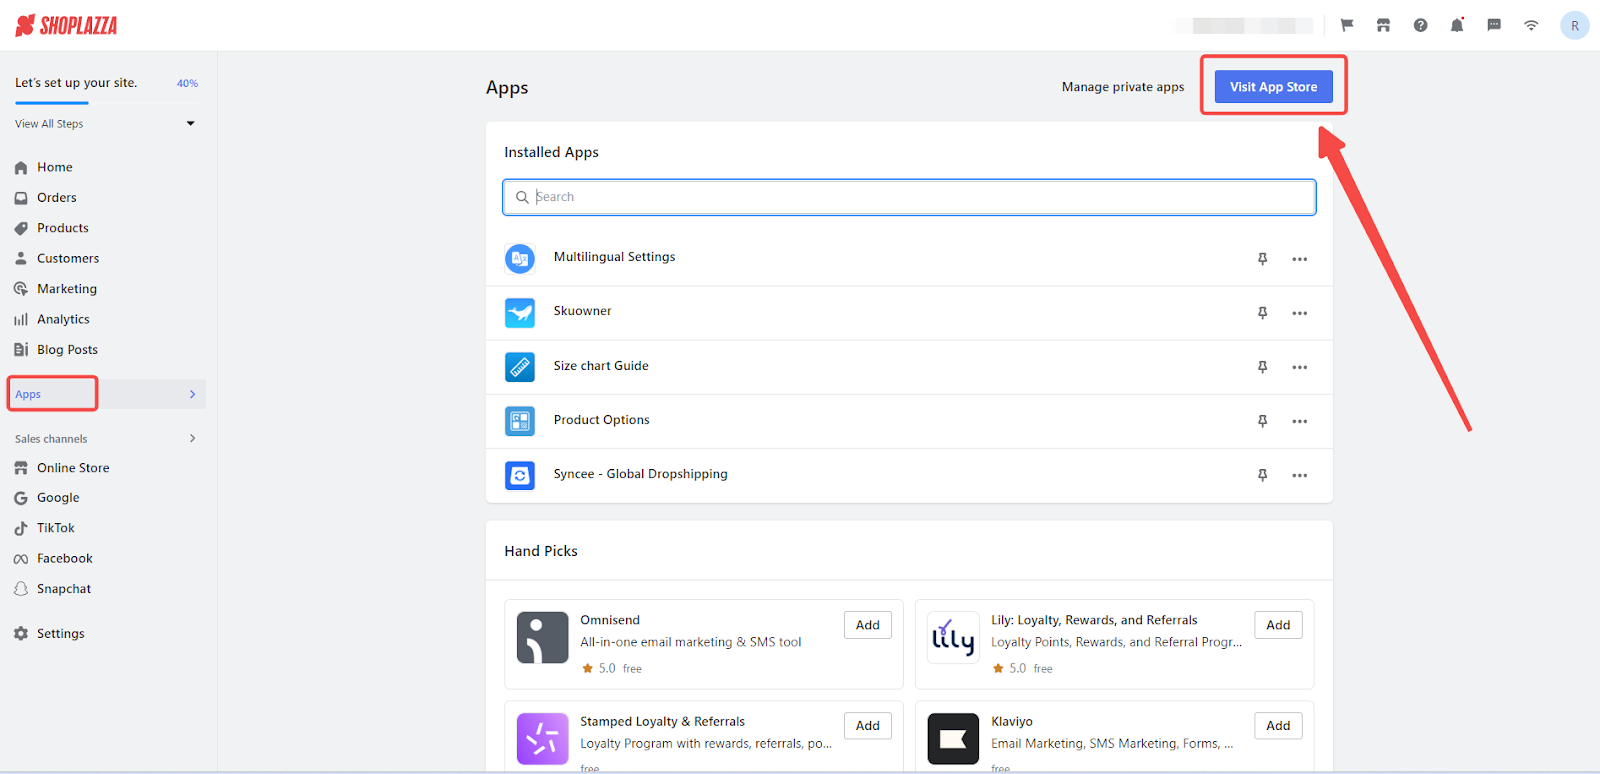
1. Access the App Store: From your Shoplazza Admin > Apps, click Visit App Store.
2. Find the app: Search for Size chart Guide in the search box and click Add app to add it to your store.

3. Install the app: Click Install app to finalize the app installation.

Navigating the App
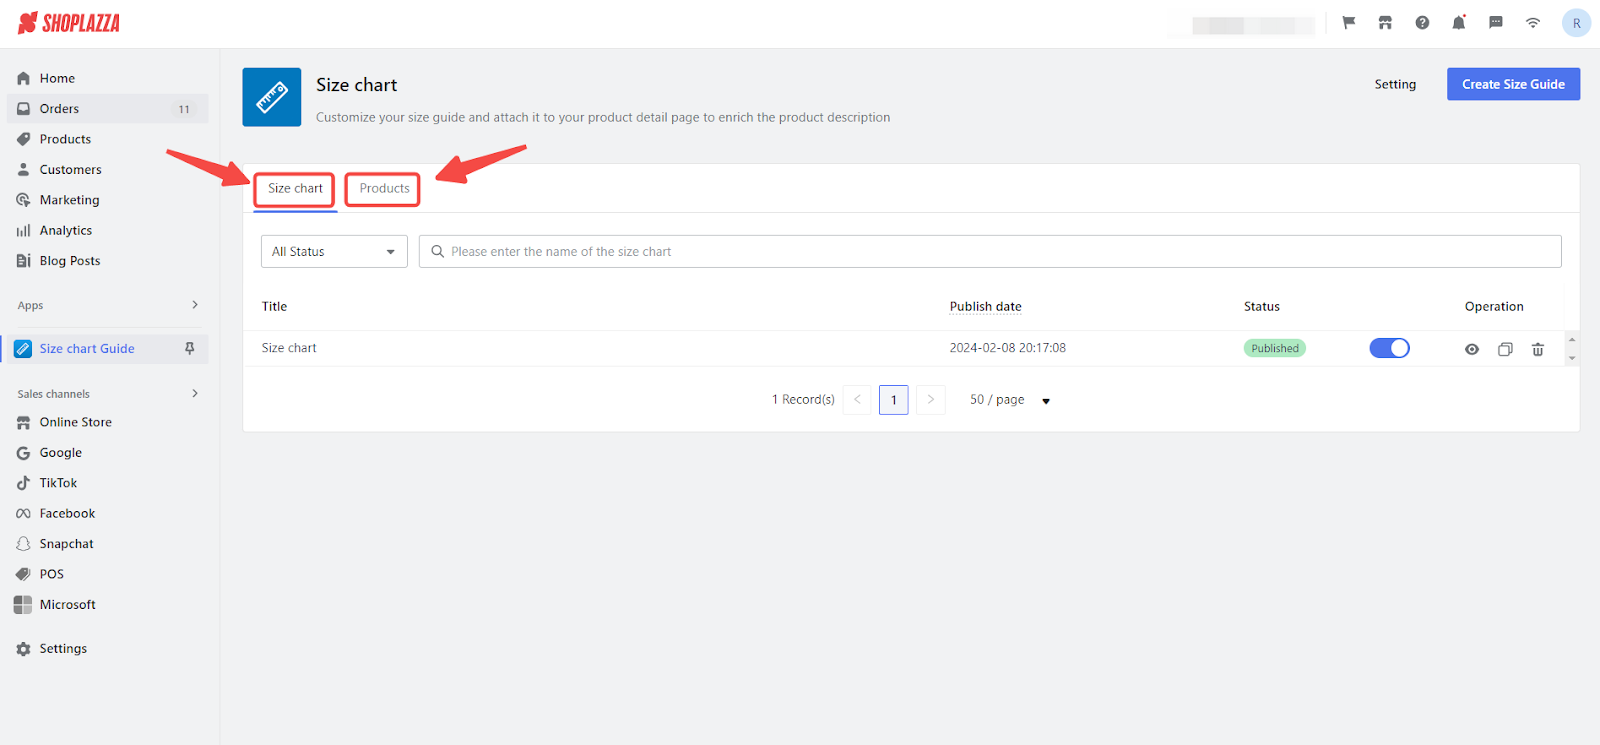
1. Switching views: Transition between the size chart list and product management page by selecting the Size Chart or Products tab.
Mastering the Size Chart List
1. Starting from scratch: If you haven't created any size charts yet, the size chart list will appear empty. Once you successfully create size charts, they will be listed for you to view and manage. Click on Size Chart Guide|Creating Size chart for further instructions.

2. Filtering and searching: Locate specific size charts effortlessly by filtering through statuses or searching by name.

Managing entries
1. Configure settings: Start by clicking on the name of the size chart. This action opens the door to a detailed settings area where you can fine-tune your chart's specifications, ensuring it meets your store and customer needs perfectly.

2. Publish changes: Select the toggle to publish or unpublish your size chart. This flexibility allows you to control the visibility of your size charts, making them available to your customers at the right moment.
 3. Preview content: Opt for a quick glimpse of your size chart by pressing the preview (eye icon) button. This immediate visual feedback ensures your charts are customer-ready before they go live.
Duplicate charts: Embrace efficiency by clicking the copy button to replicate a size chart. During this process, you'll decide whether to carry over the product configuration to the new chart. A successful copy means the new chart inherits the product associations of its original, streamlining your setup process.
Delete redundancies: Conclude with a clean-up by clicking the delete button to remove any size charts no longer needed. This action guarantees your product pages remain clutter-free, as any products linked to the deleted chart will automatically switch to the most recently published size chart.

Product Management
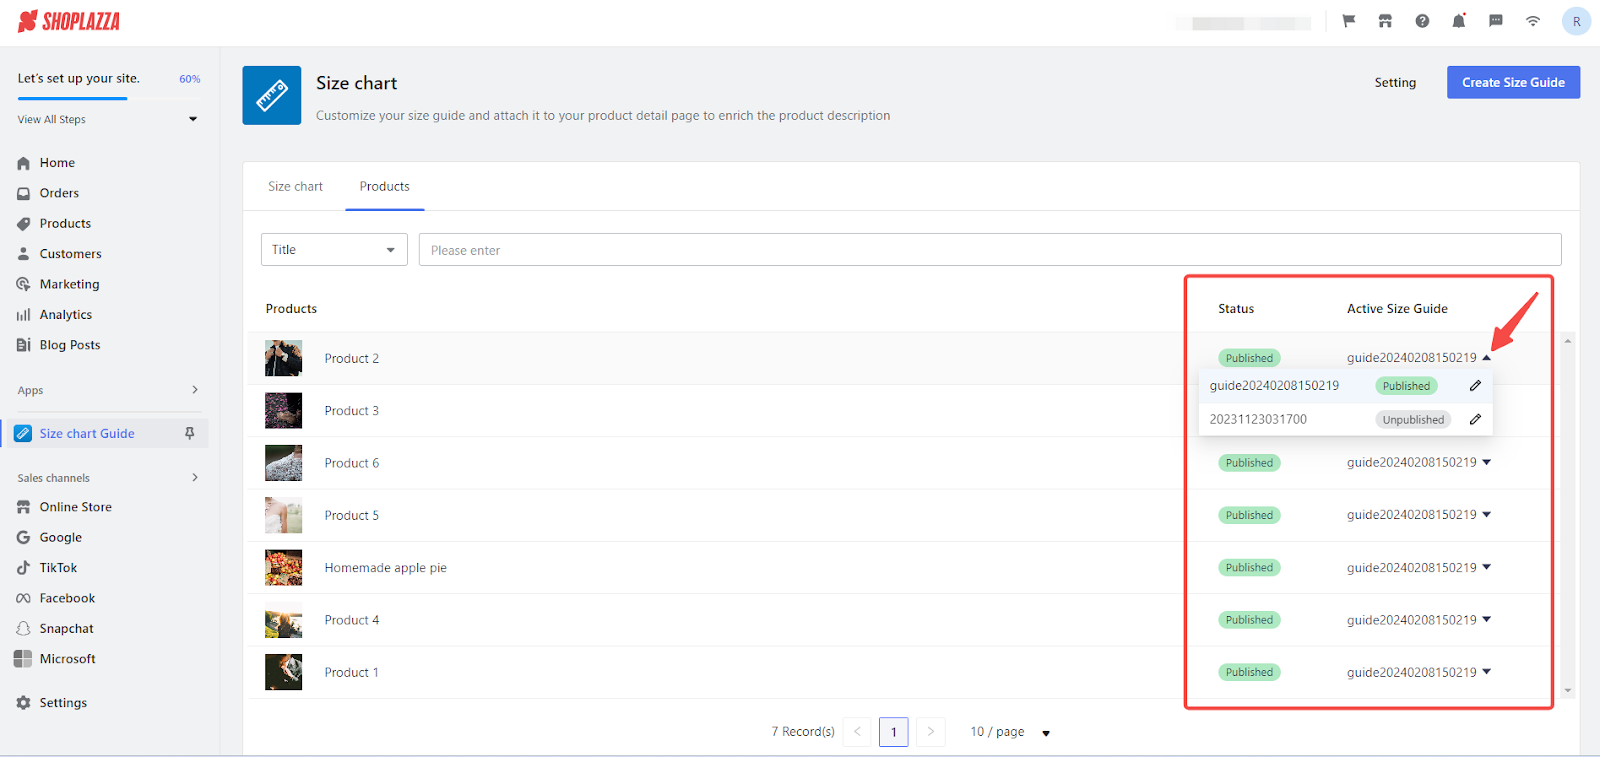
1. Access products: Switch to the product management page via the Products tab.

2. Sort and filter: Navigate your product list by filtering through Title, Label, Collection, and SPU.

3. Link size charts: Assign or adjust the size chart linked to specific products to provide precise sizing guidance.

4. Linking size charts: Assign or adjust the size chart linked to specific products to provide sizing guidance.
Configuring size chart Wake-Up words
1. Set triggers: In the settings menu, add wake-up words that cue the size chart display when included in a product variant title, ensuring the size chart appears only when relevant.

2. Maintain default settings: Wake-up words are pre-configured to detect "size" in various languages, an important feature for triggering the size chart display automatically. It's important to note that this should not be deleted as the system uses it as a reference point when your store is in a different language.

3. Add custom triggers: Expand your list of wake-up words by typing and pressing "Enter" after each word to ensure they are correctly registered, tailoring the experience to your store's unique needs.

- Example: Utilizing "test" as a wake-up word demonstrates how to personalize the trigger. After adding your custom wake-up words, click Save to apply the changes.

Note
A size chart linked to a product will not be displayed unless the wake-up word is included in the product variant title. This ensures that size charts are shown only when necessary, maintaining a streamlined and relevant user experience.
- Implementing the wake-up word "test" in your product is straightforward. Proceed to Products > All products and select the product you wish to edit. Scroll down and click on the Edit options button.

- Insert the wake-up word into the variant title. For instance, adding "test" as the wake-up word and incorporating it into the variant title effectively triggers the size chart display. Click Confirm to complete the setup.

- Following these steps will modify your product listing to include the wake-up word in the variant title, ensuring the size chart is accessible when needed.

Implementing wake-up words is a key step in optimizing your Size Chart Guide app, ensuring your customers have the exact information they need, exactly when they need it. As you explore more about the app's features through the articles listed below, you'll find even more ways to enhance your Shoplazza store's user experience and efficiency. Each guide is designed to help you maximize the potential of your store, ensuring your customers enjoy a seamless and satisfying shopping journey.


Comments
Please sign in to leave a comment.