
The Smart Product Search app enhances your store’s on-site search functionality by enabling customers to filter products, apply advanced sorting, and easily discover items that match their interests.
By setting up product filters and custom sorting options, you improve search usability, highlight high-performing products, and drive higher conversions.
This guide covers how to install the app and configure filtering and sorting tools tailored to your catalog and store layout.
Note
The filtering and sorting features of the Smart Product Search app are only supported on the following Nova2023 themes series —Nova 2023, Night, Sweet, Morning, Bamboo, and Moon — with theme version 3.3.0 or above.
Installing the app
If the Smart Product Search app isn’t installed yet, follow these steps to add it to your store:
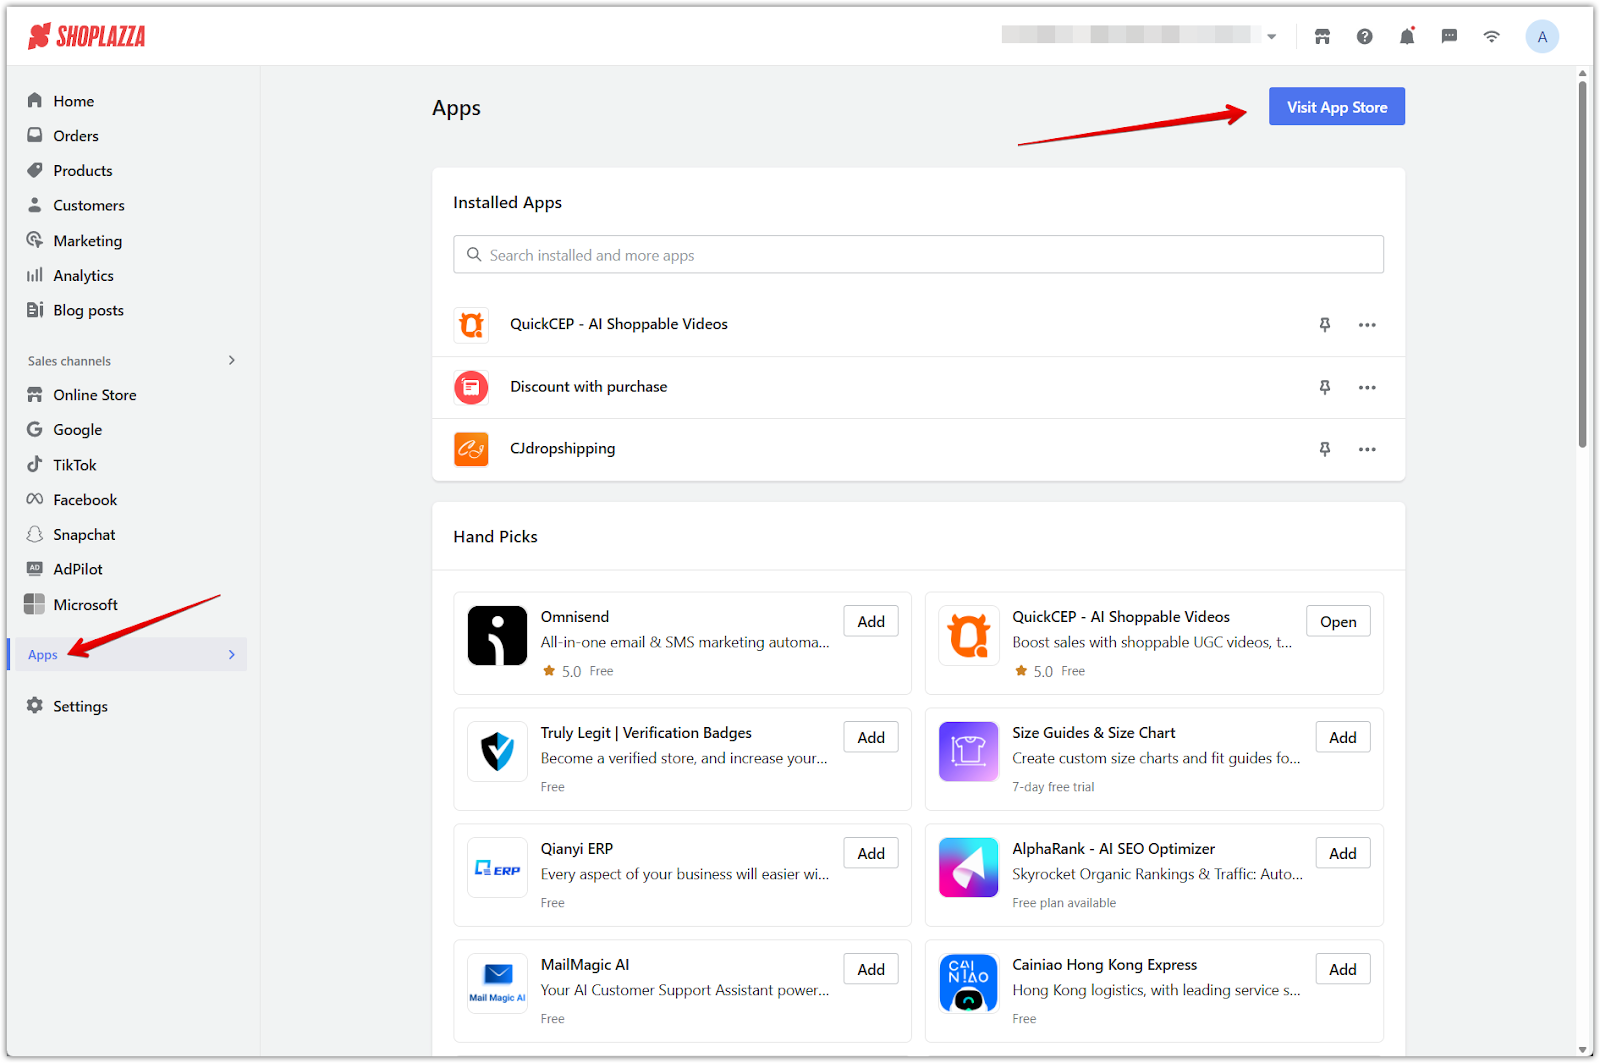
1. Go to the App Store: From your Shoplazza admin > Apps, click Visit App Store.
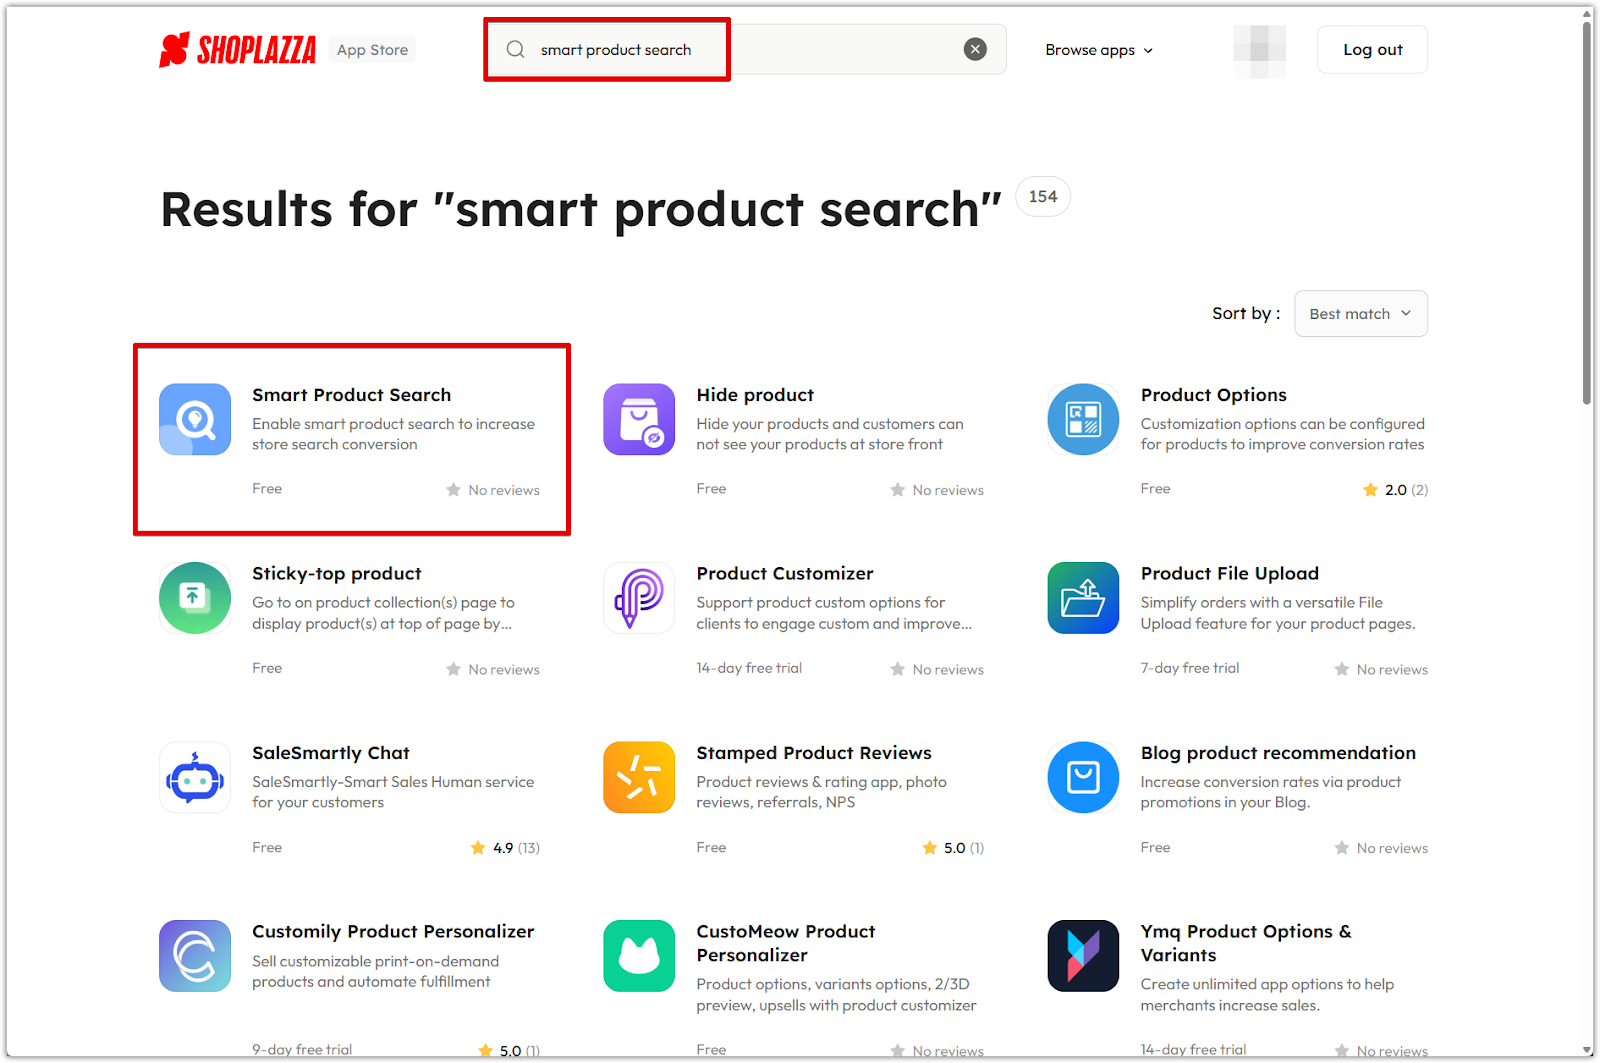
2. Search for the app: Type Smart Product Search into the search bar.
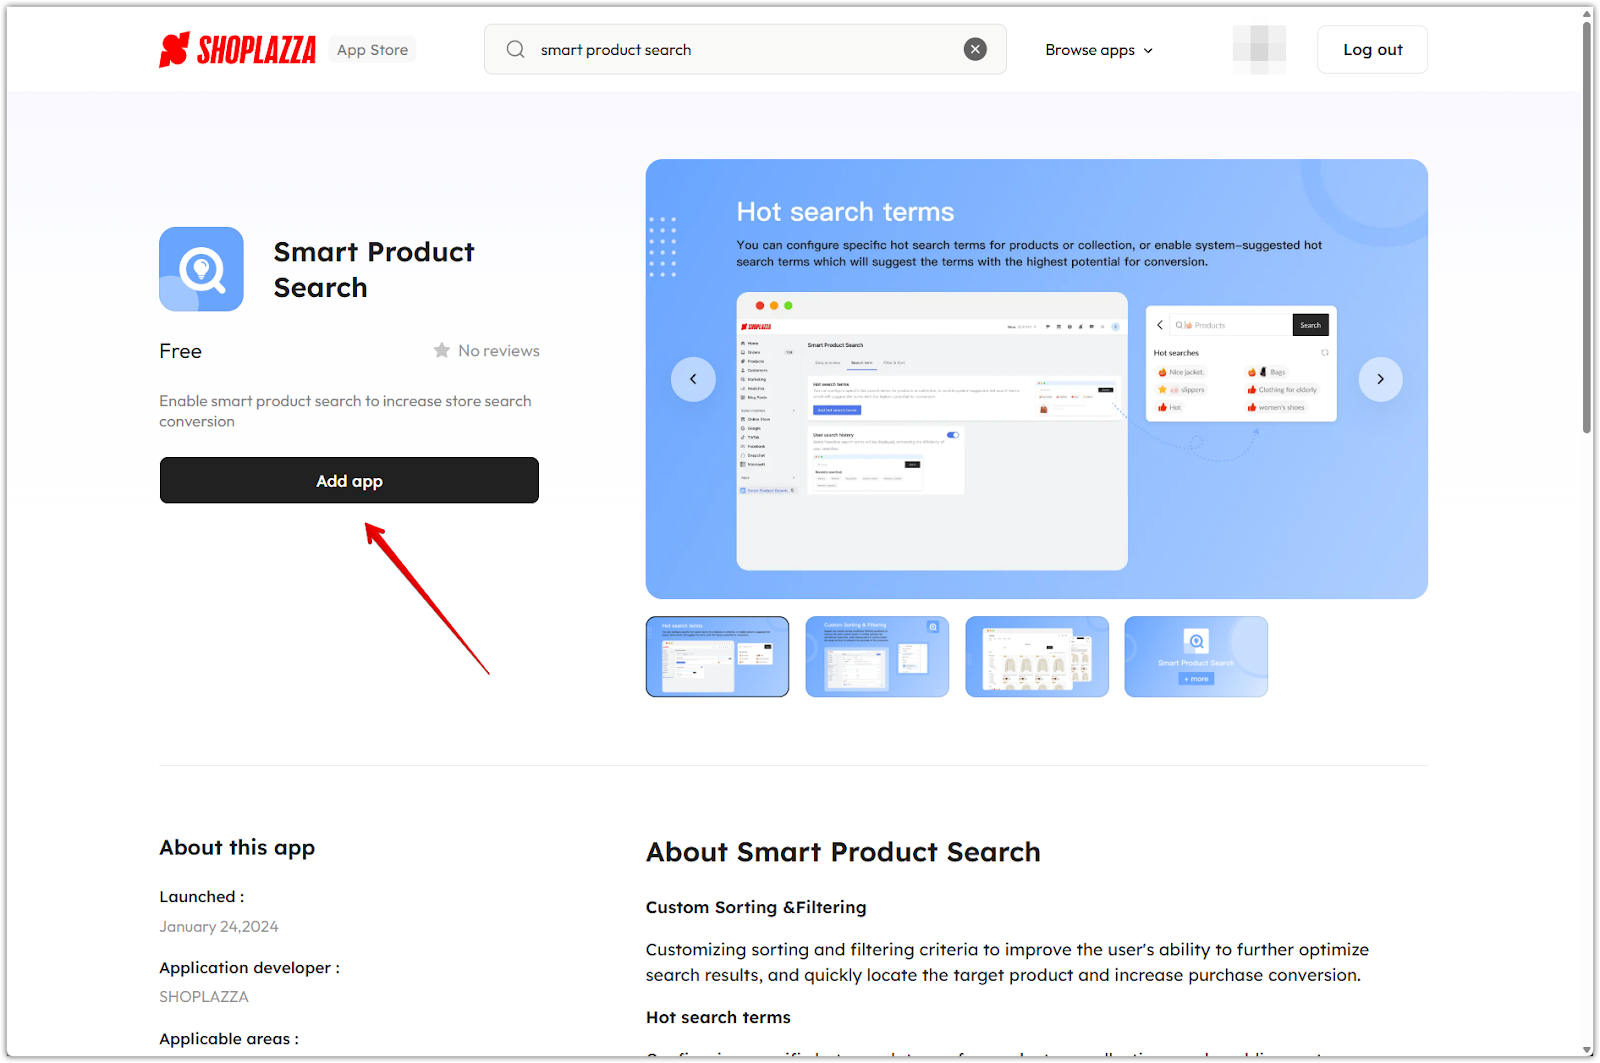
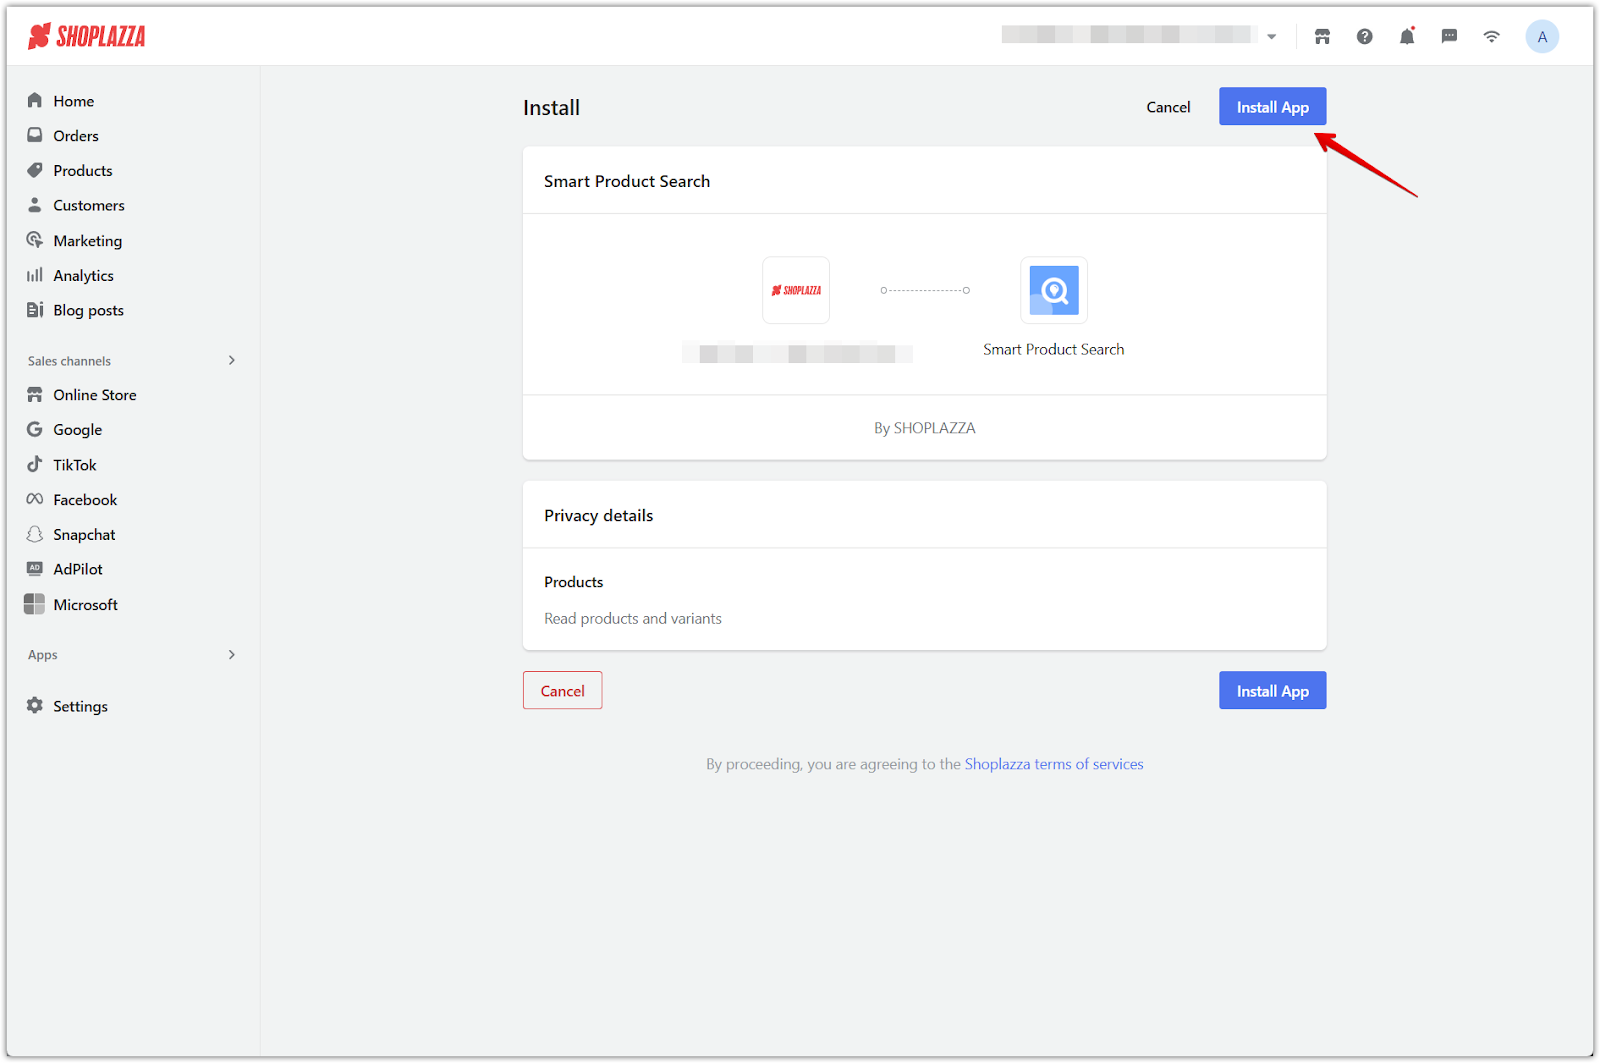
3. Add and install: Click Add app and complete the installation process.
Configuring filters
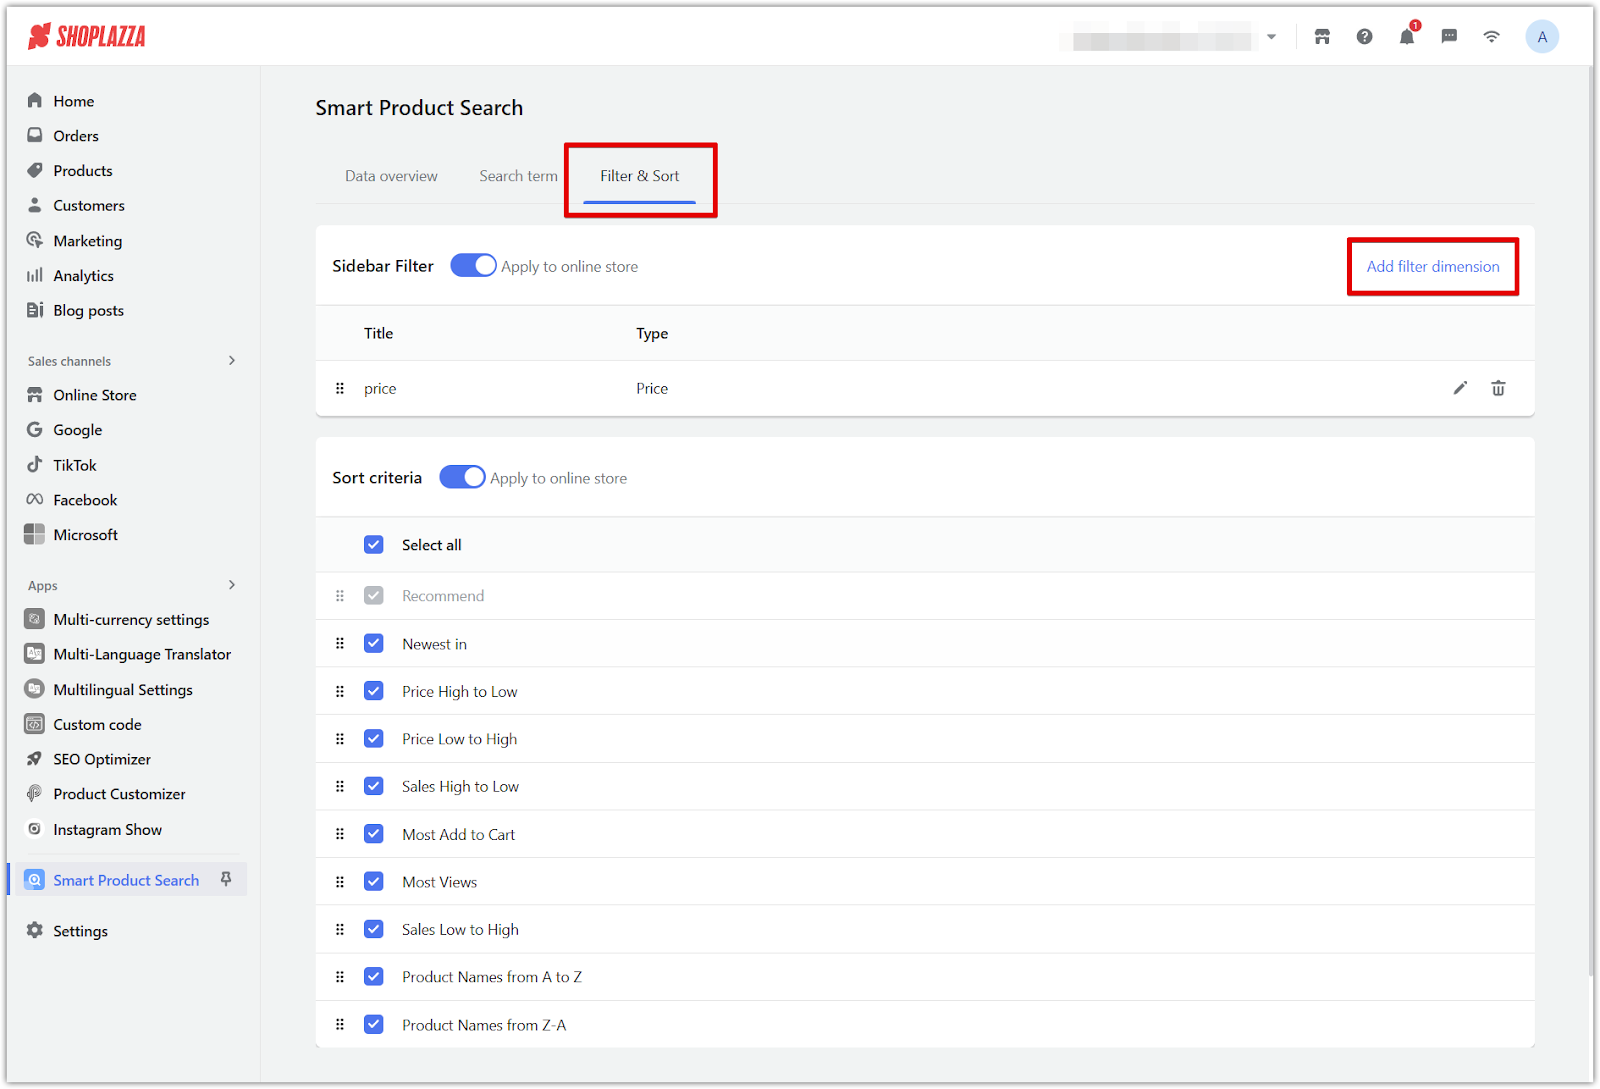
After installing the app, configure your search filters from the Filter & Sort tab in the app:
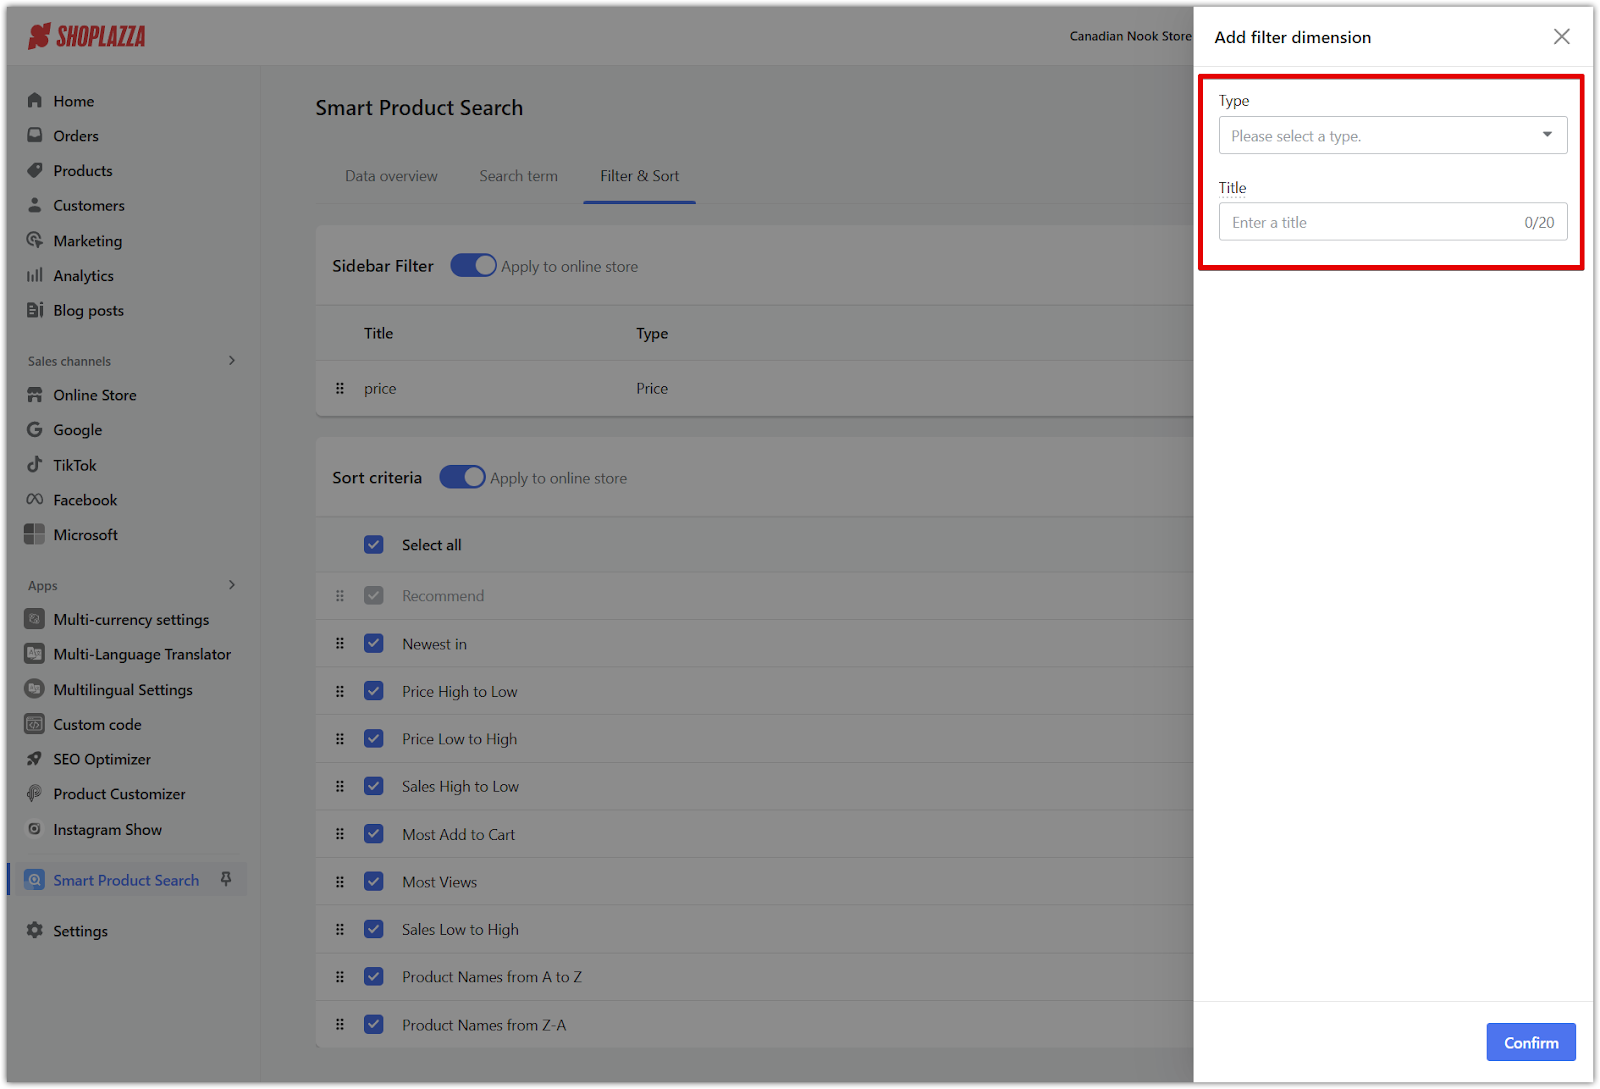
1. Add filter dimensions: From the Filter & Sort tab in the app, click Add Filter Dimension in the Sidebar Filter section. In the panel that opens, select a filter Type and enter a Title—this is what customers will see in your storefront.
- Price: This is generated automatically based on your product data.
- Vendor, Variant, Tag, and Meta field: These require manual setup. Simply select the values you want to display as filter options on the storefront.
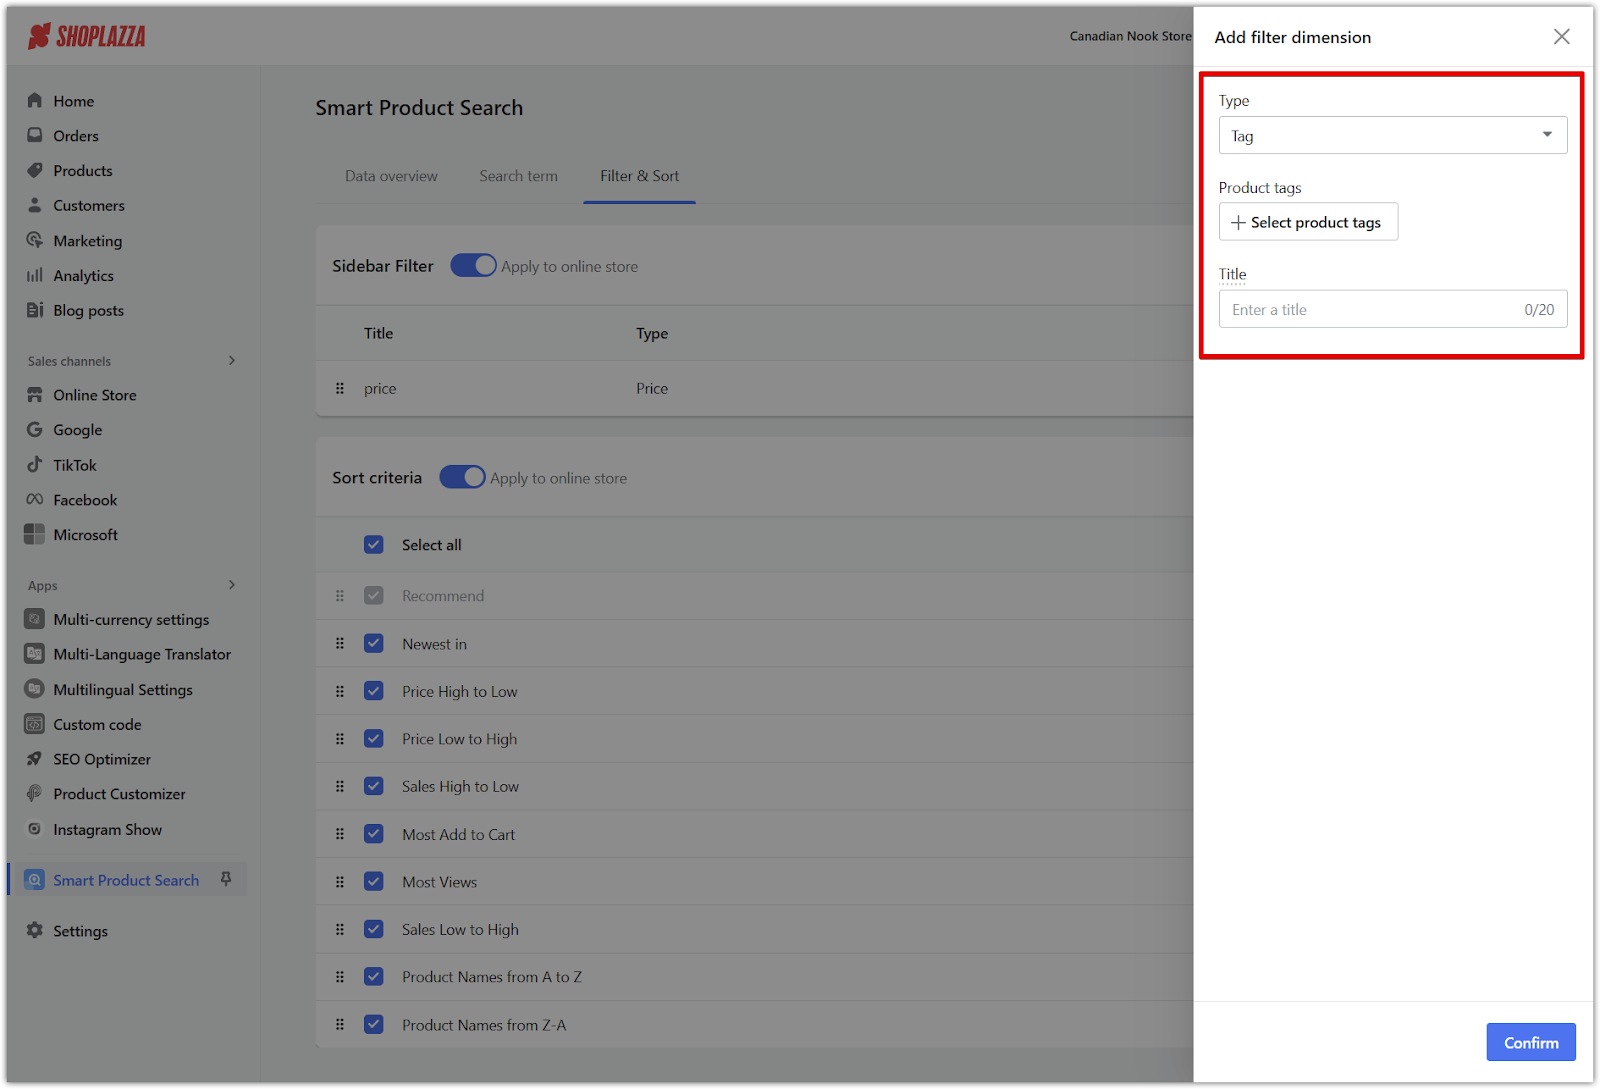
2. Set up tag filters: Choose Tag as the filter type, then click Select product tags to search and add product tags to be used as filter options. After that, enter a title to label the filter in your storefront.
3. Set up variant filters: Click the variant dropdown and select a product variant. All values of the selected variant will be shown as filter options. After that, enter a title. The associated variant values will appear as filter options.
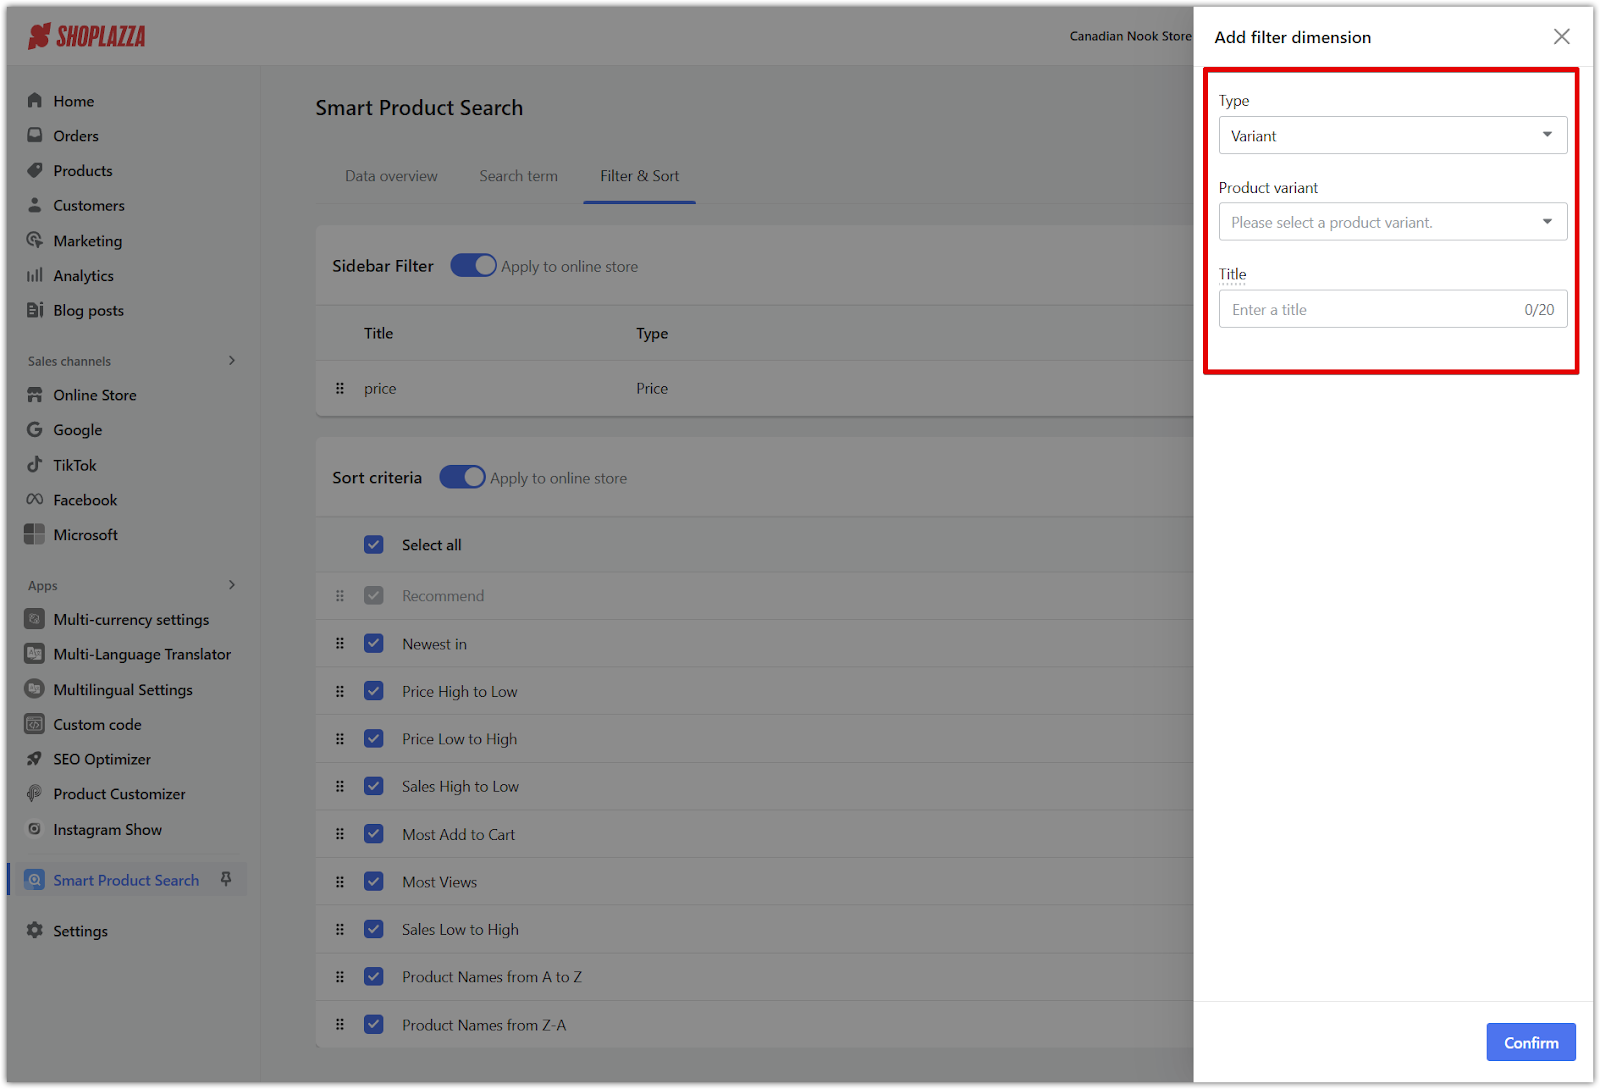
Note
Each filter can only include one variant, and the same variant cannot be reused in other filters.
4. Set up meta field filters: Choose Meta field as the filter type, then select the appropriate field from the dropdown. After that, enter a title.
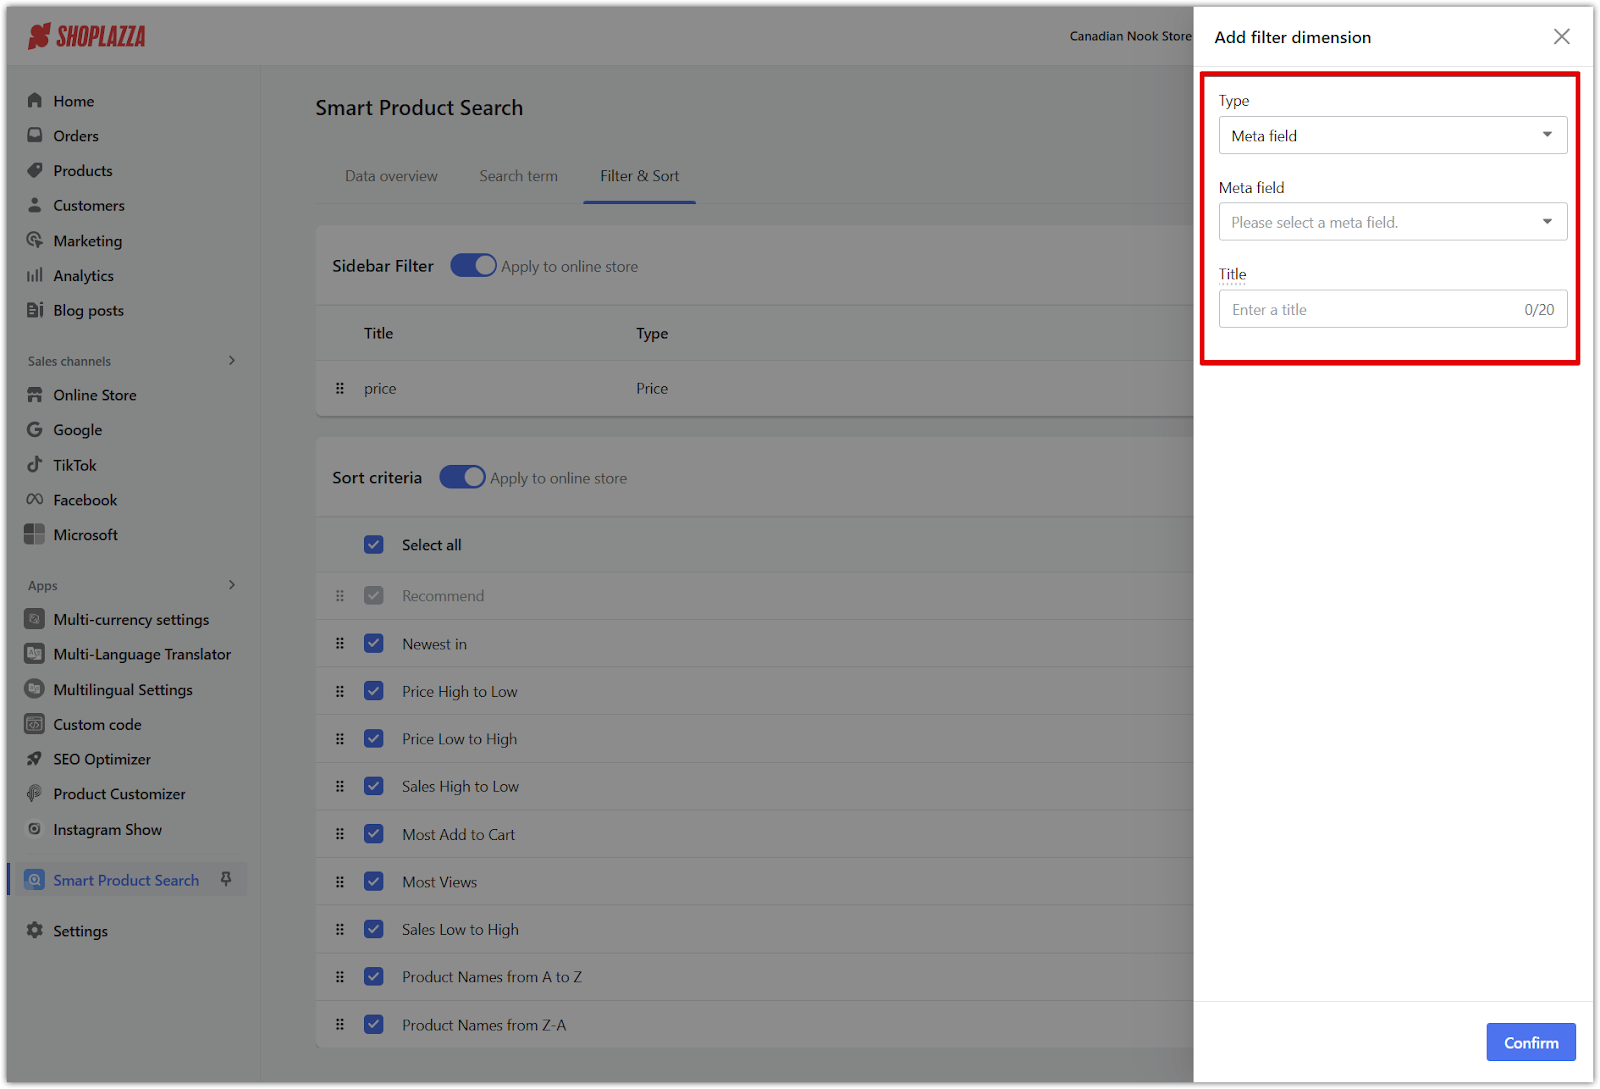
Note
Only specific types are supported: Appearance, Size, Volume, Weight, and Single-line Text. One meta field is allowed per filter, and each can only be used once. For more details on creating and managing meta fields, see Setting up metafields.
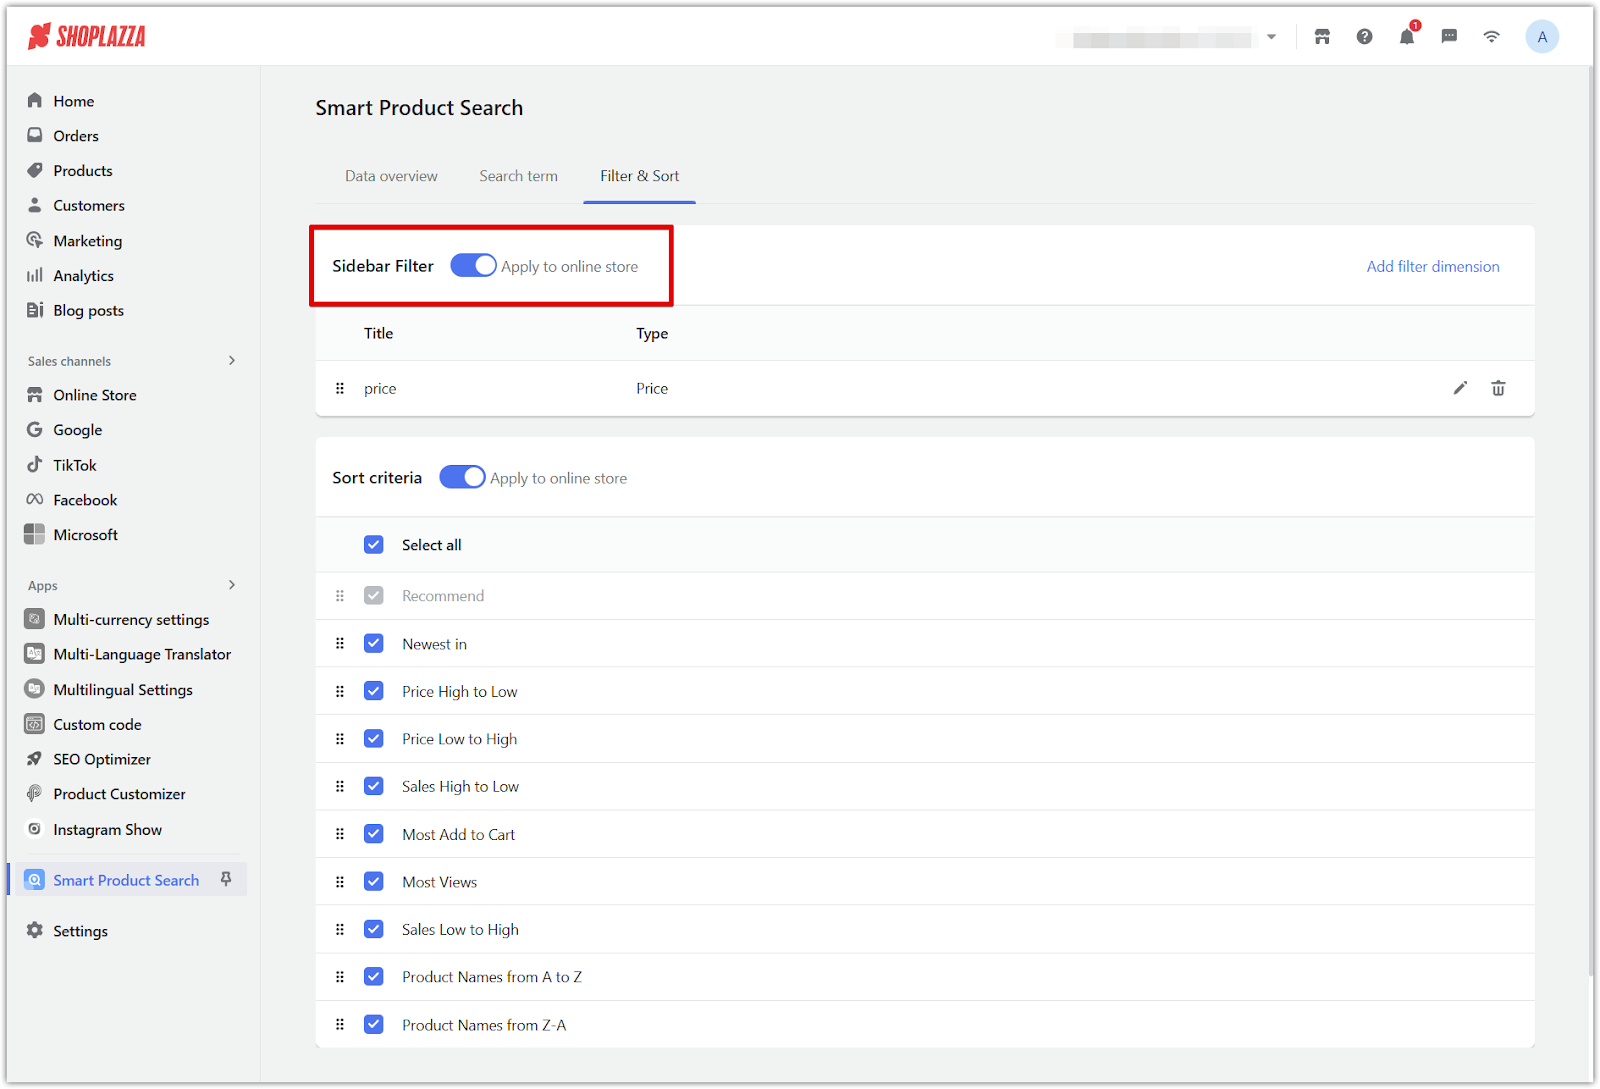
5. Apply the filter to your store: Toggle on the Apply to online store switch to activate the filtering feature on your storefront.
Setting up sorting options
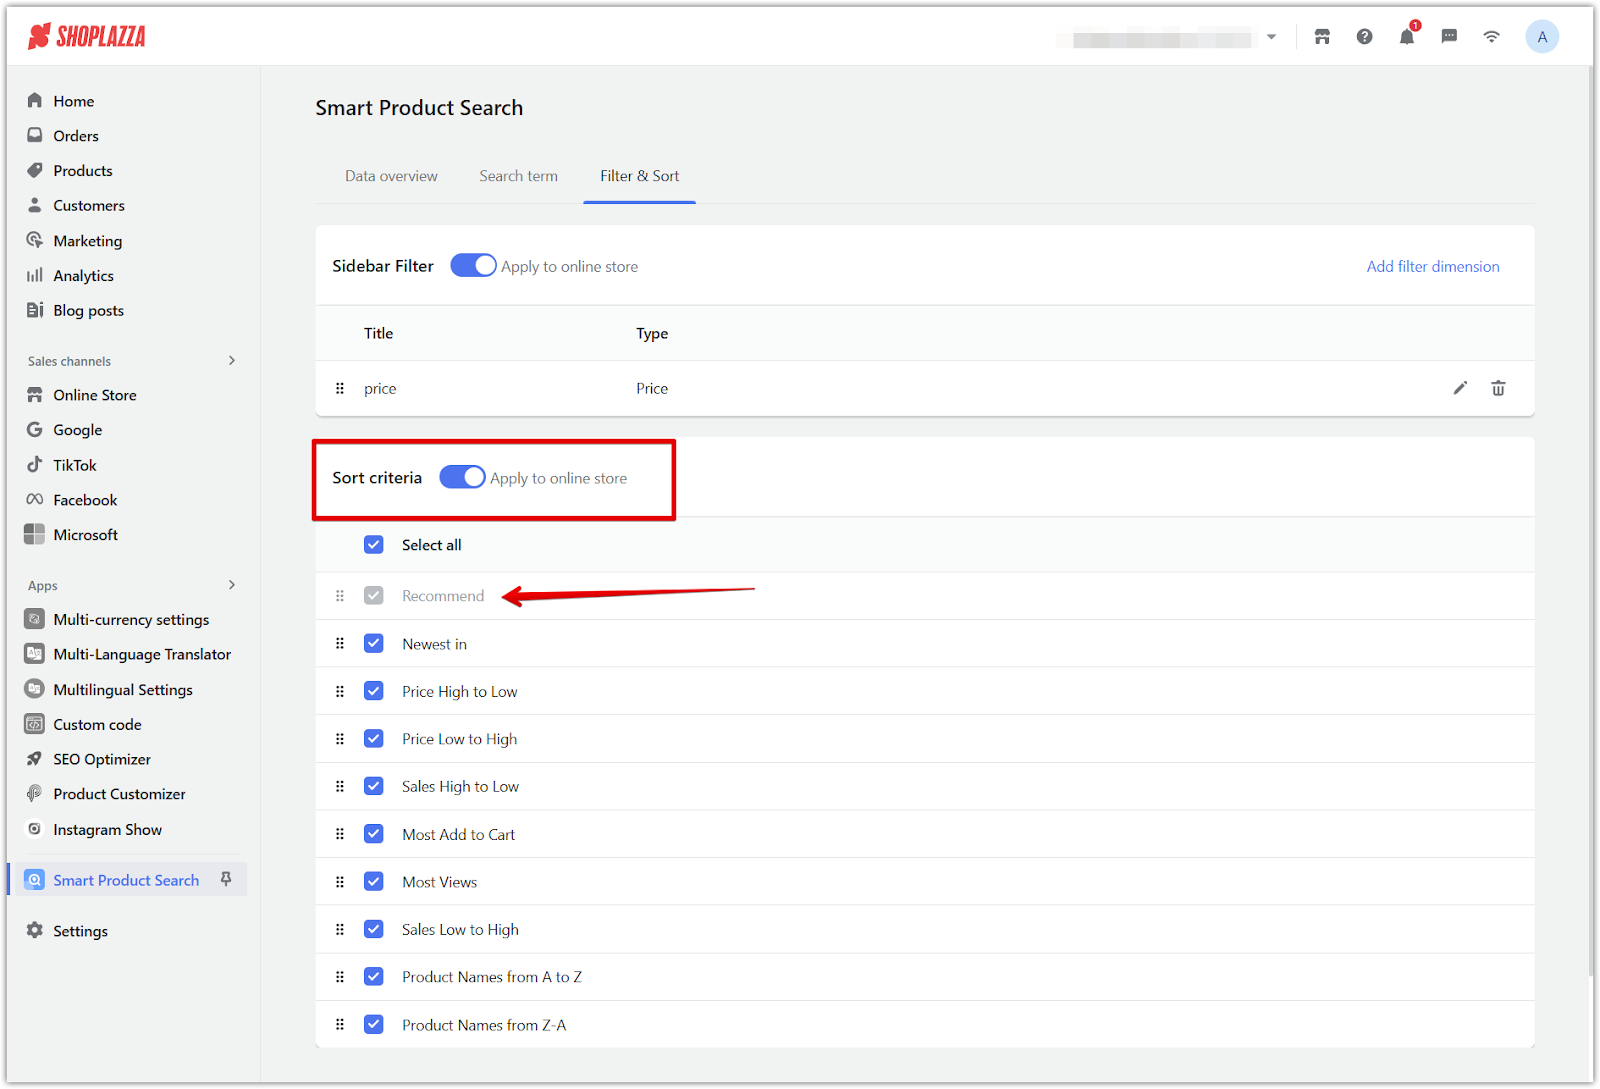
Adjust sorting conditions to match how you want products to be listed in search results.
1. Default sorting option: When the Apply to Store switch is enabled, Recommend becomes the default sorting condition and cannot be removed.
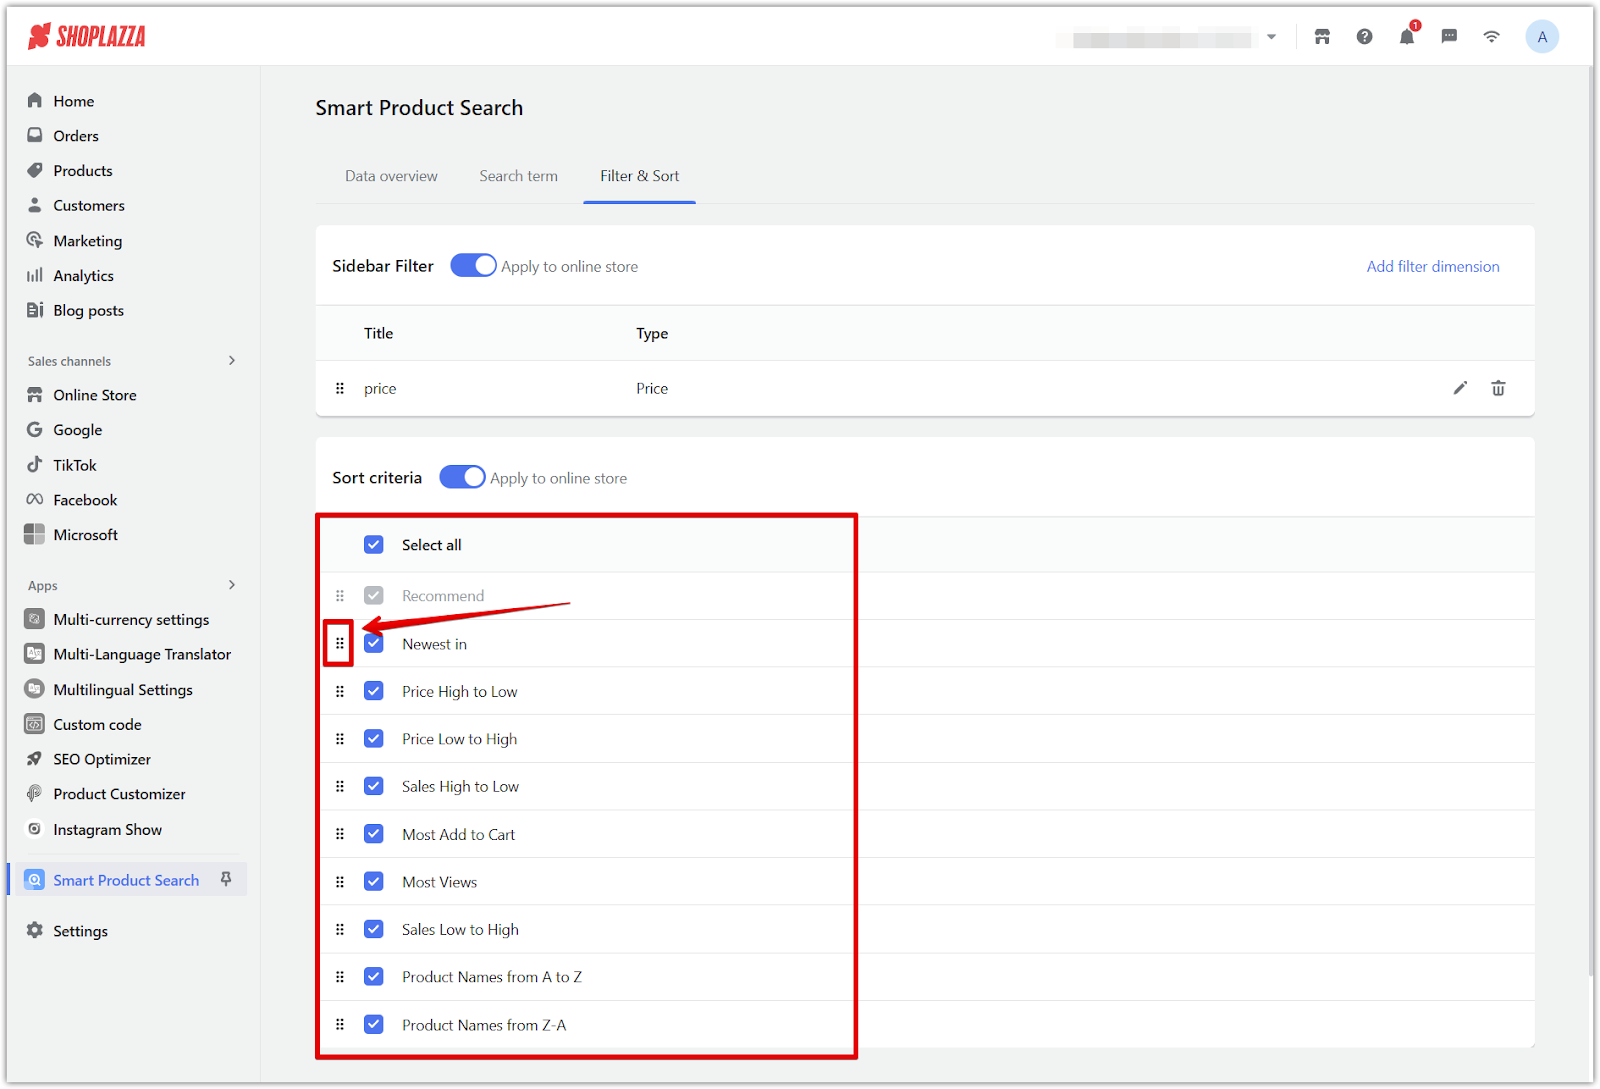
- Customize sorting types: Reorder or select from the following options based on your store’s needs:
- Newest in
- Price High to Low
- Price Low to High
- Sales High to Low
- Most Add to Cart
- Most Views
- Sales Low to High
- Product Names from A to Z
- Product Names from Z to A
Storefront preview
Once filters and sorting are applied, customers will be able to refine their search results directly from the storefront.
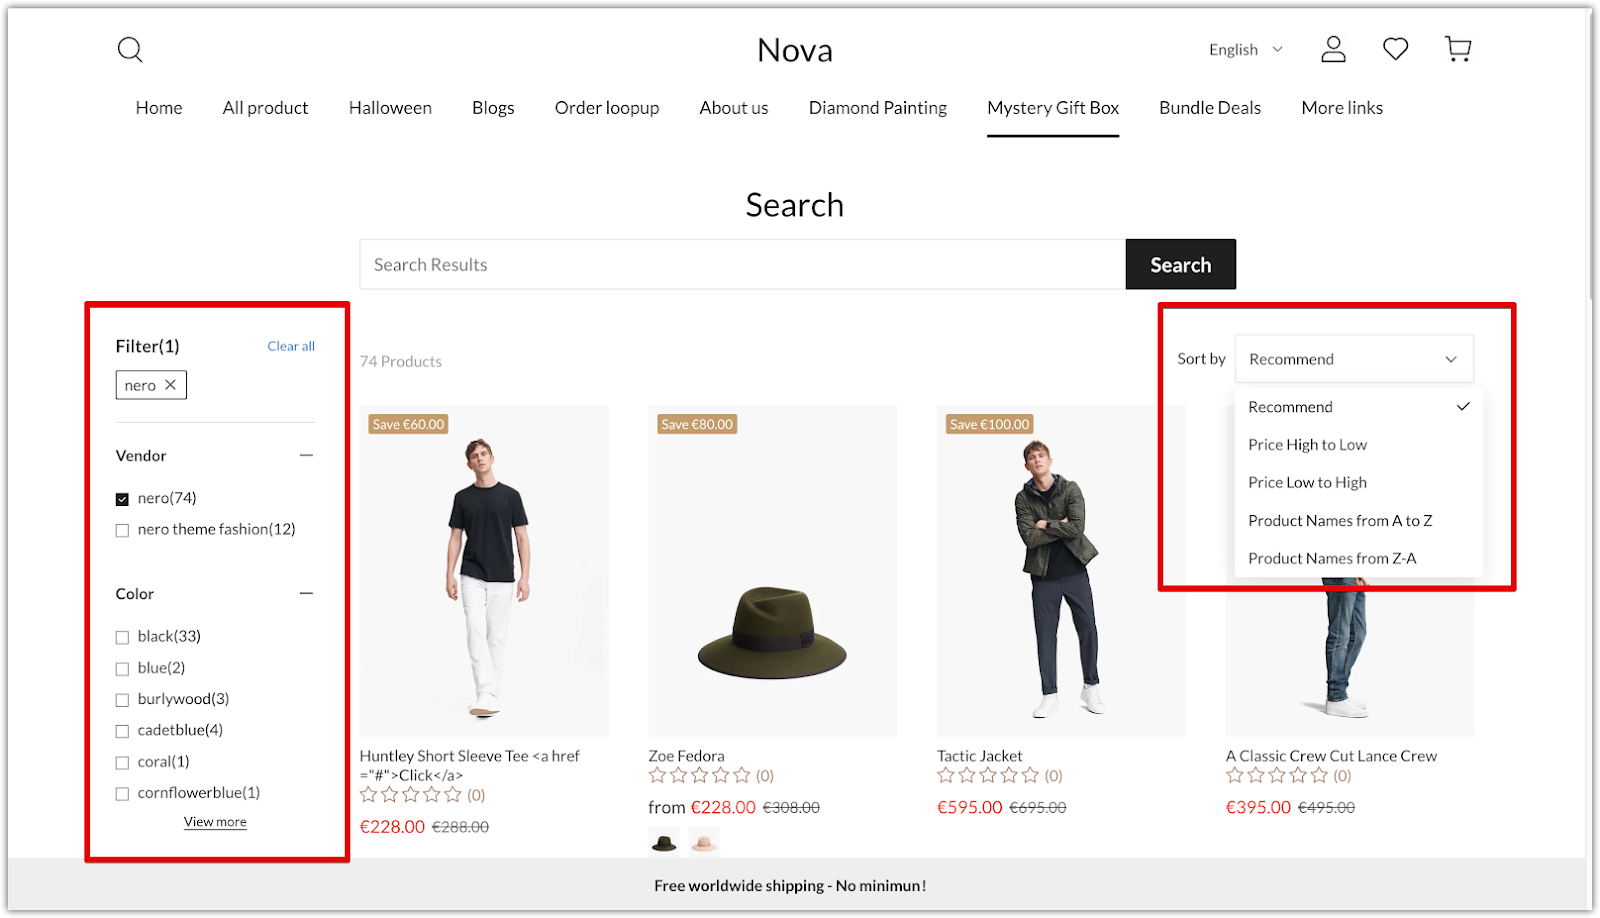
1. Desktop display: Filters appear in a sidebar next to the product list, while sorting options are typically shown above the search results.
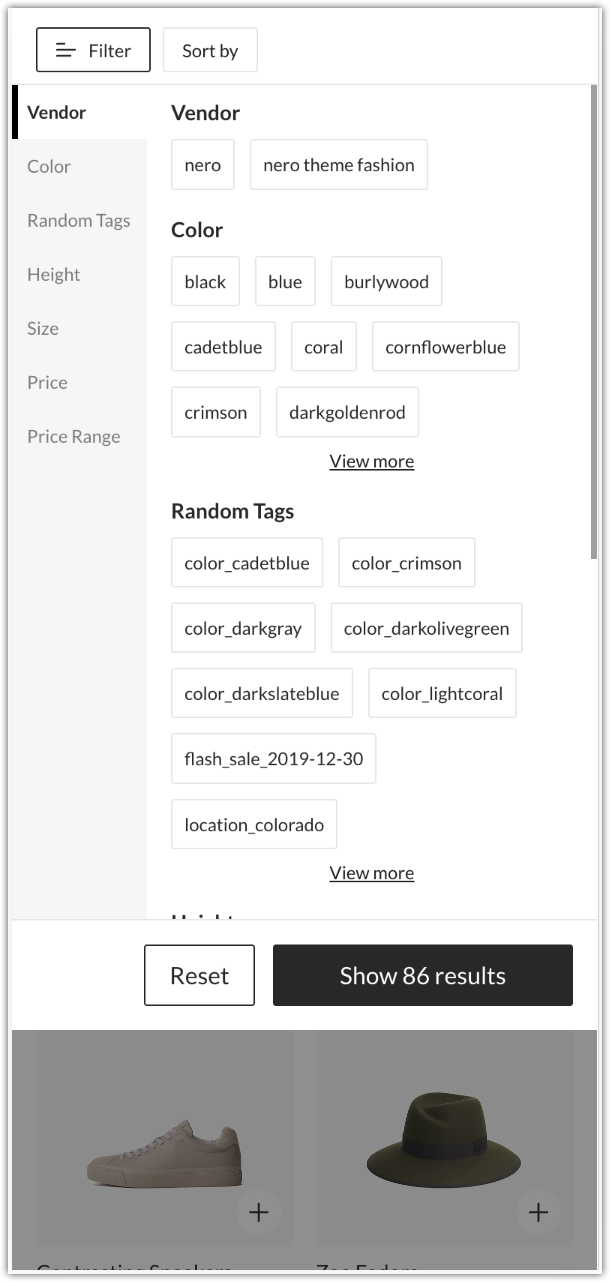
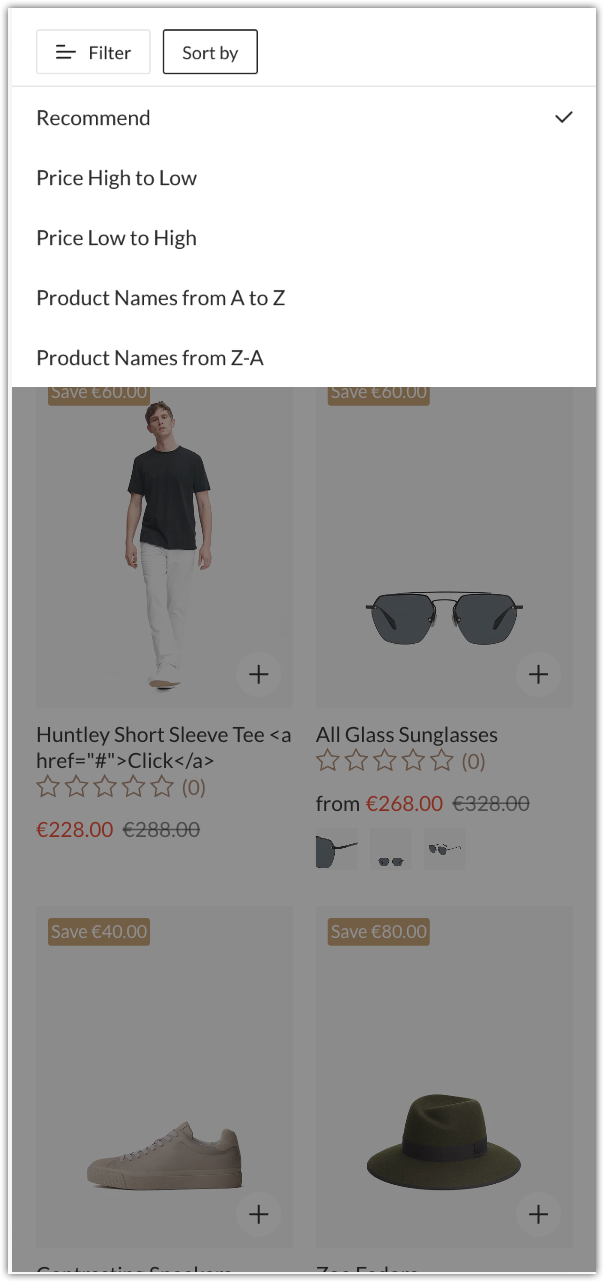
2. Mobile display: Filters and sorting are accessible from a collapsible menu, optimized for smaller screens to ensure a smooth browsing experience.
With Smart Product Search filters and advanced sorting, customers can browse your store more efficiently and find exactly what they’re looking for. A streamlined search experience keeps shoppers engaged and improves your store’s conversion rate.


Comments
Please sign in to leave a comment.