
Push notifications provide a number of benefits when it comes to marketing. It can be a great tool to increase your engagement with your customers. Push notifications are messages that appear on a user’s device when they have downloaded an app. They can be used to send out timely and relevant information about special offers, discounts, events and other important updates. To set this up, you will need to use Google's Firebase, a third-party service. This article will guide you on how to get started.
Note
It's important to first publish your app and then continue with the following steps. For details about publishing your app, see Publishing your MoCart app for the first time in the Apple Store .
Configuring Firebase for MoCart
Creating a new project
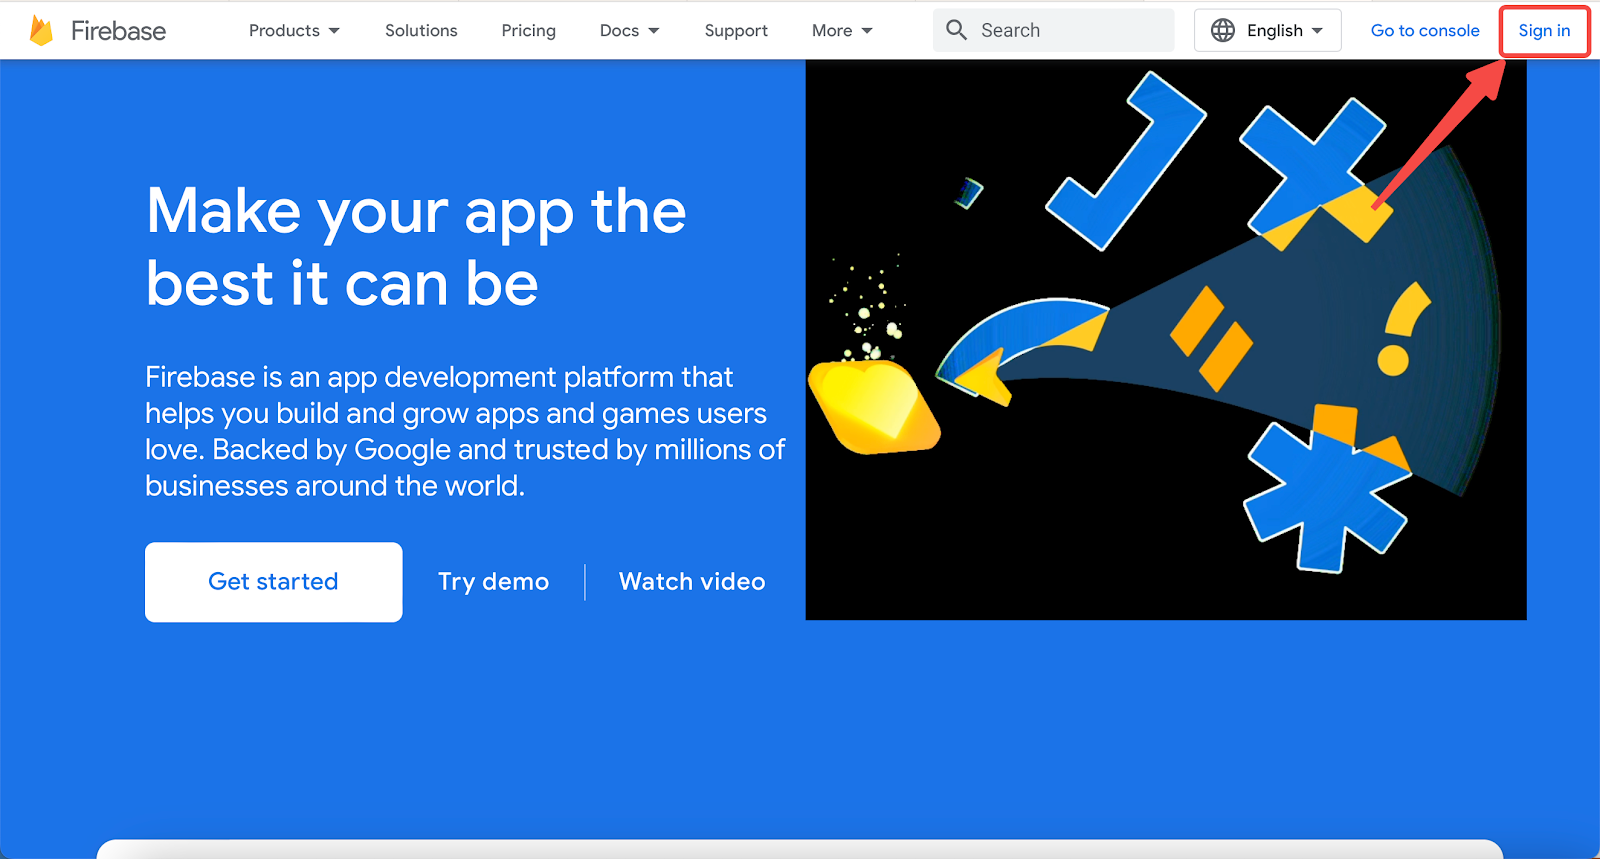
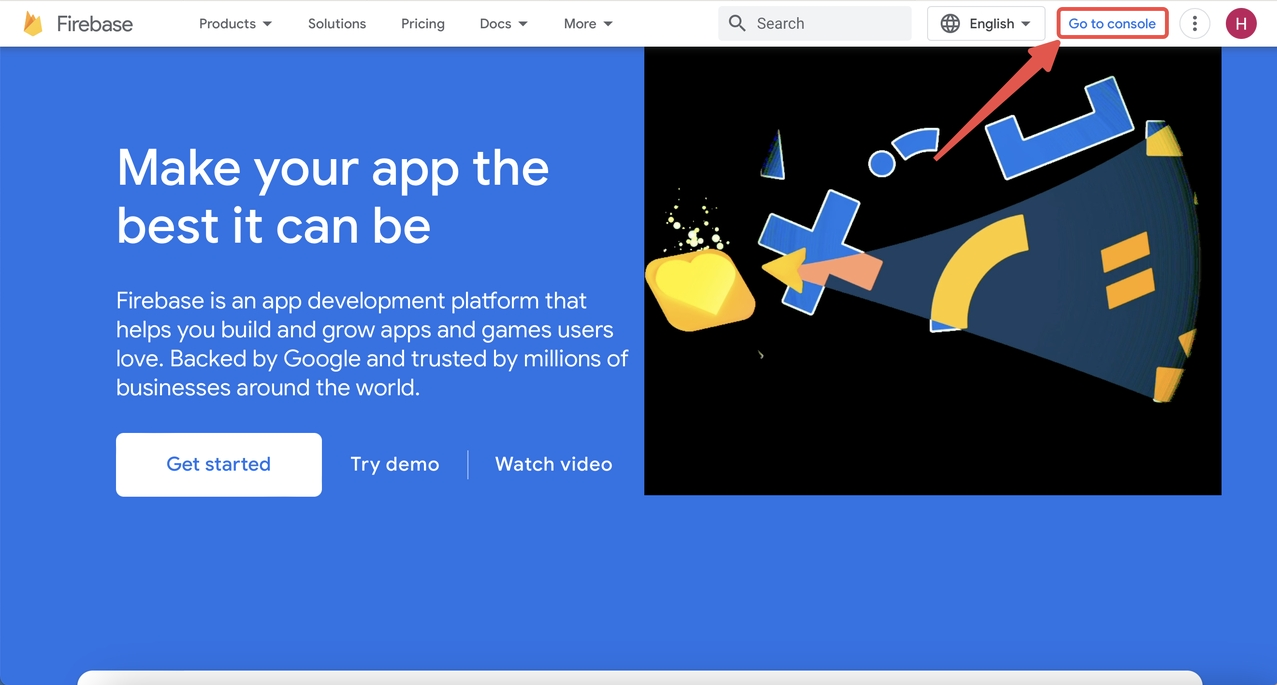
1. Log in to Firebase with your Google account, then click Go to console.
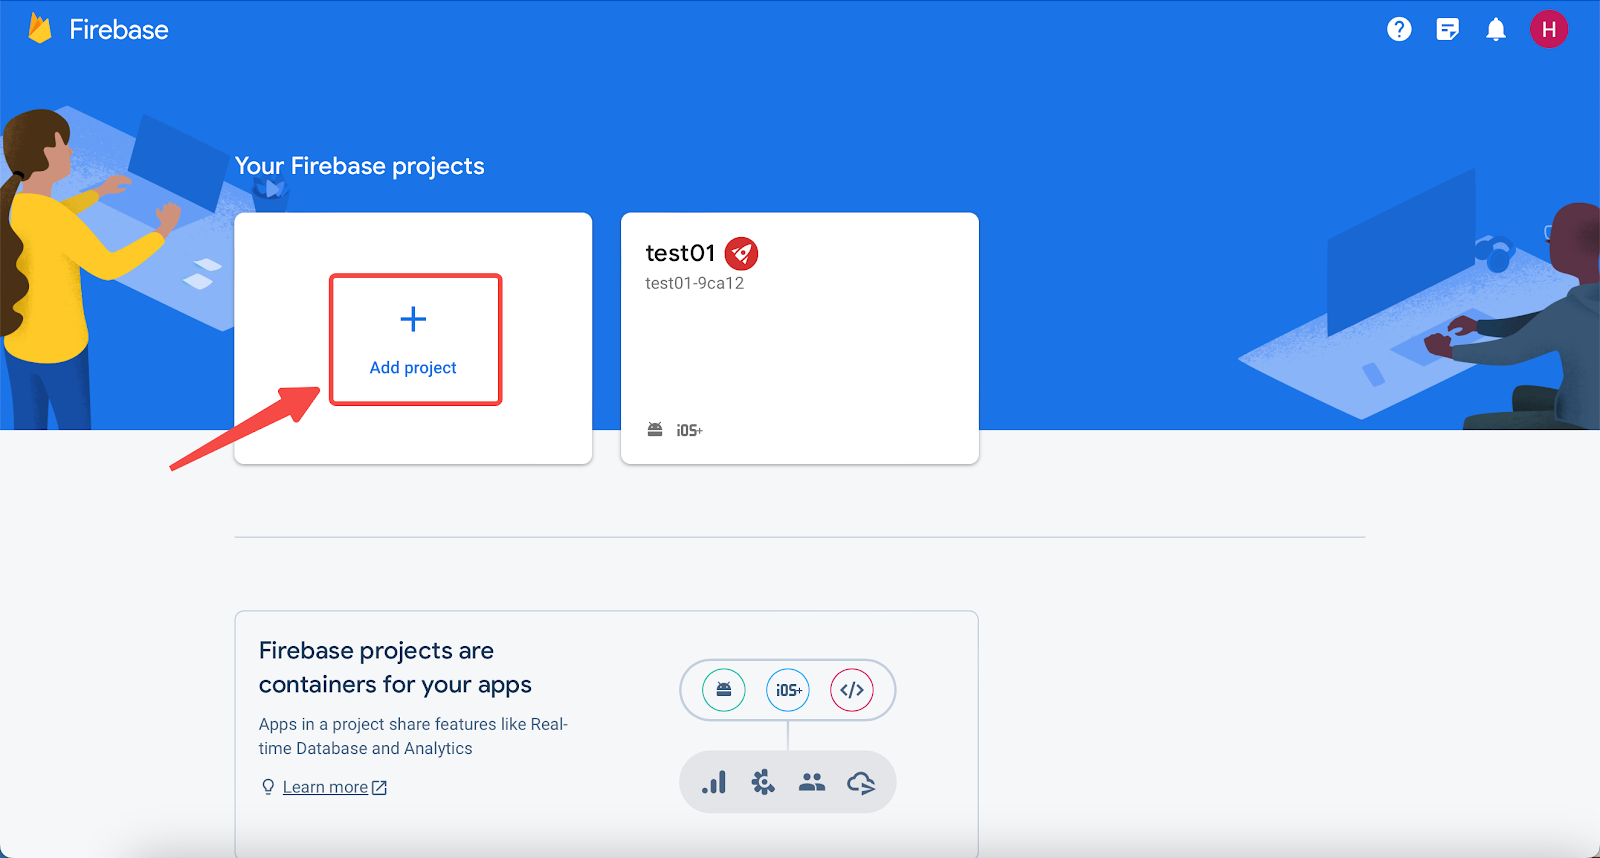
2. Click Add project.
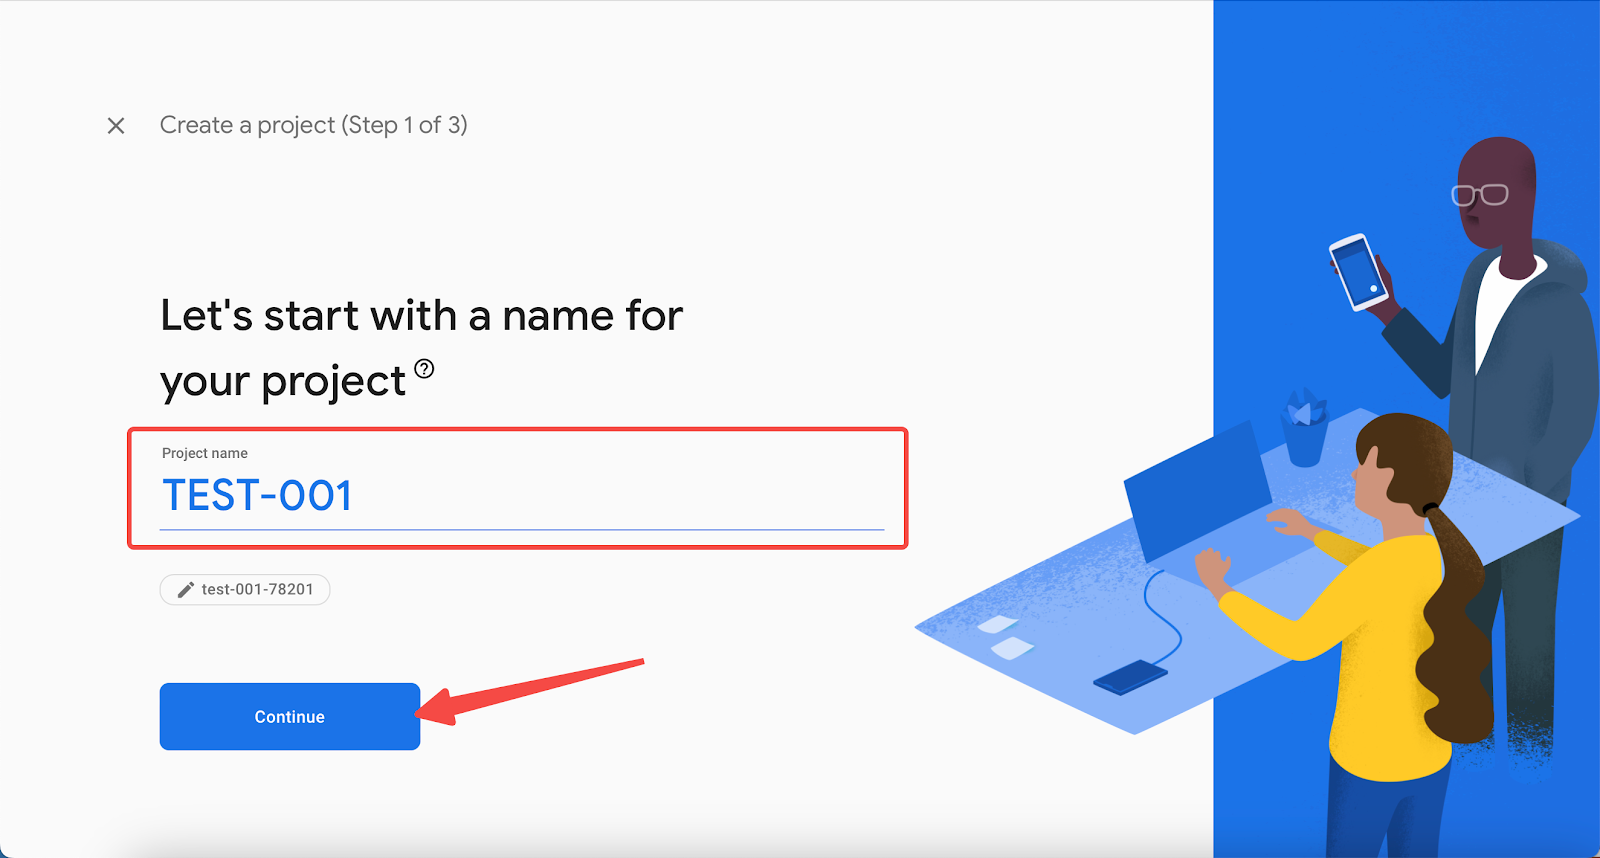
3. Name your project, then click Continue.
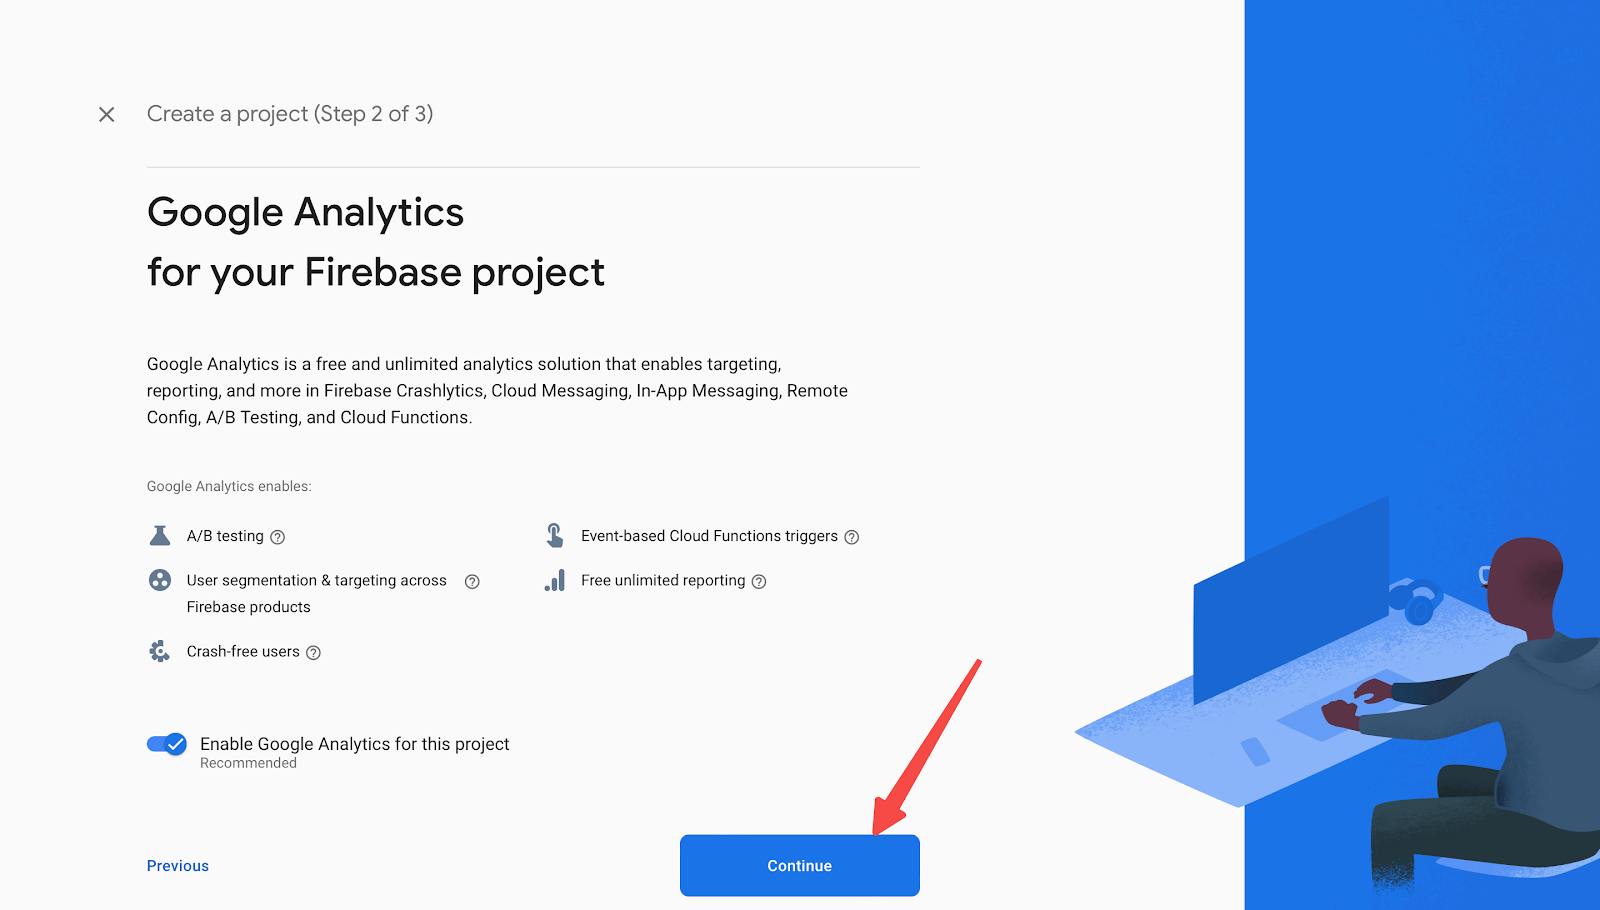
4. After reviewing the brief intro, click Continue.
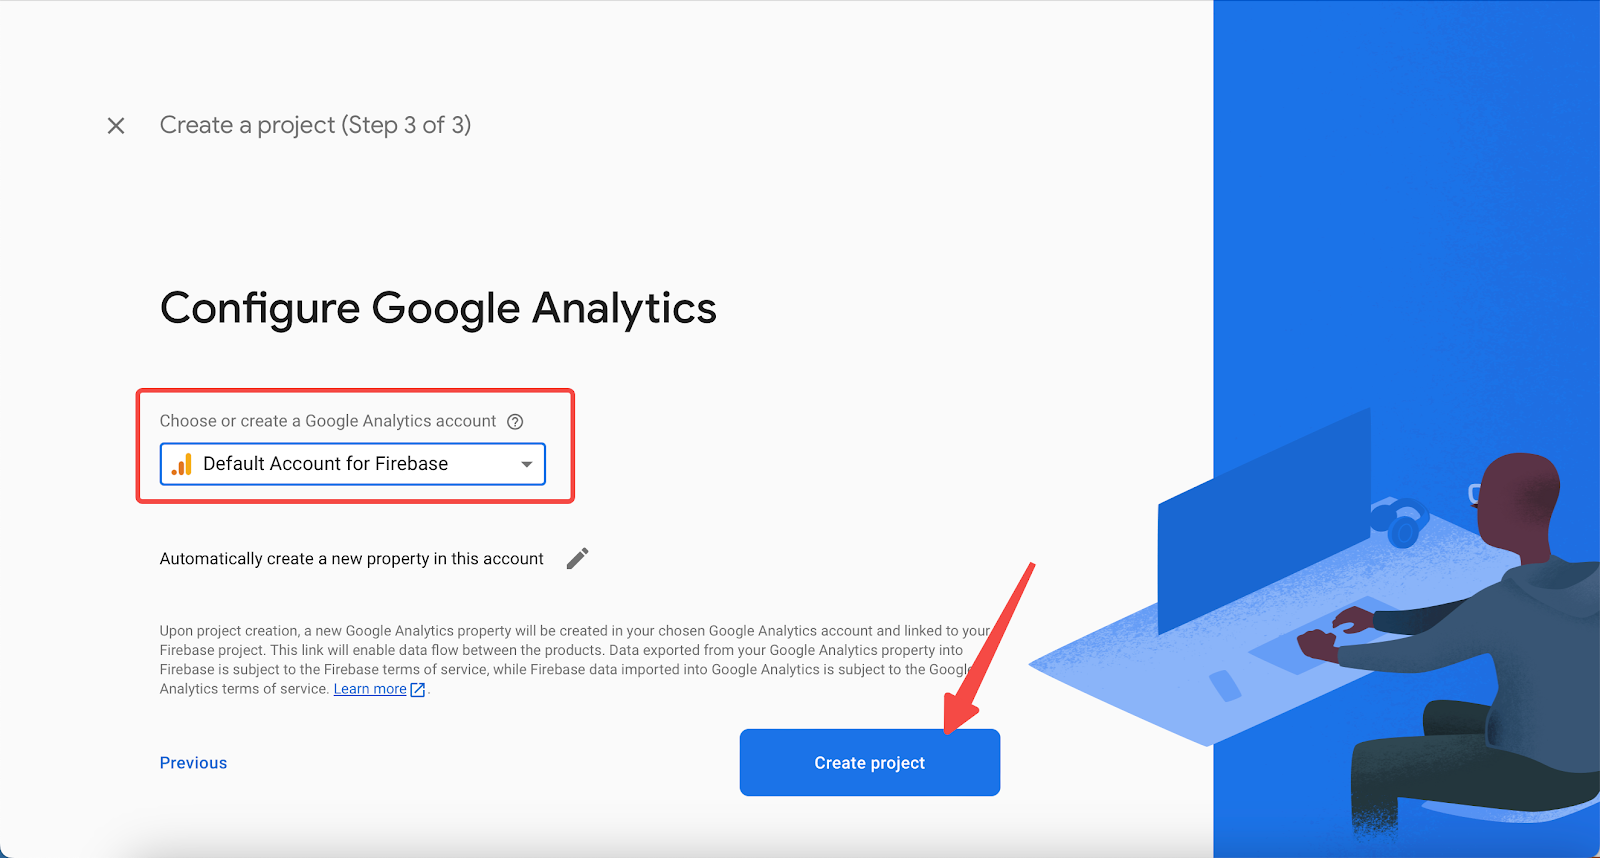
5. Select Default Account for Firebase in the dropdown and click Create project.
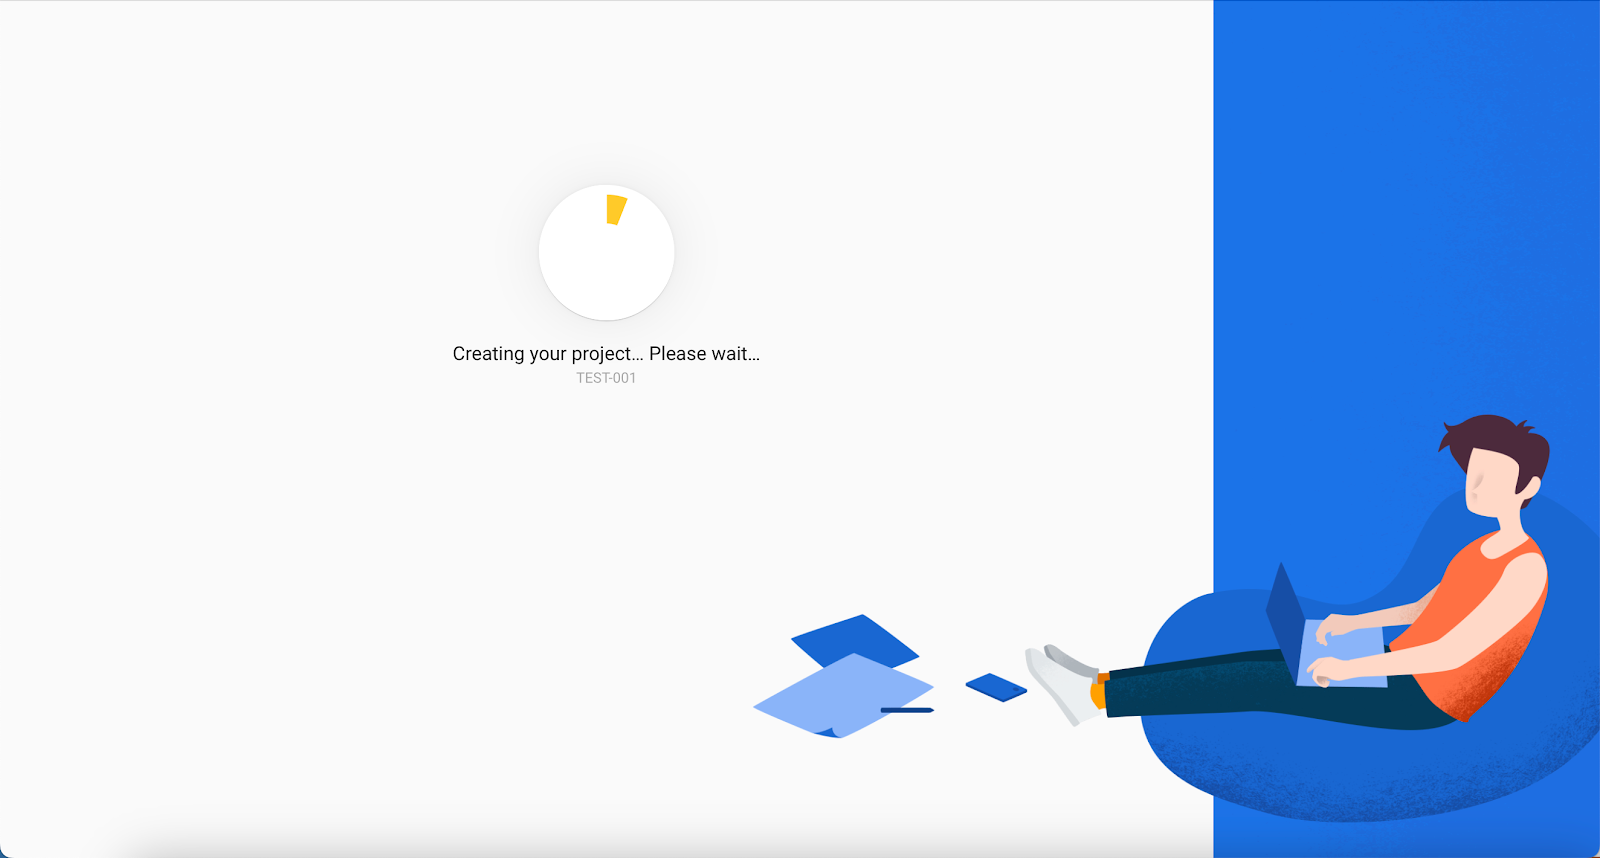
6. Wait for Firebase to create your project. When finished, click Continue.
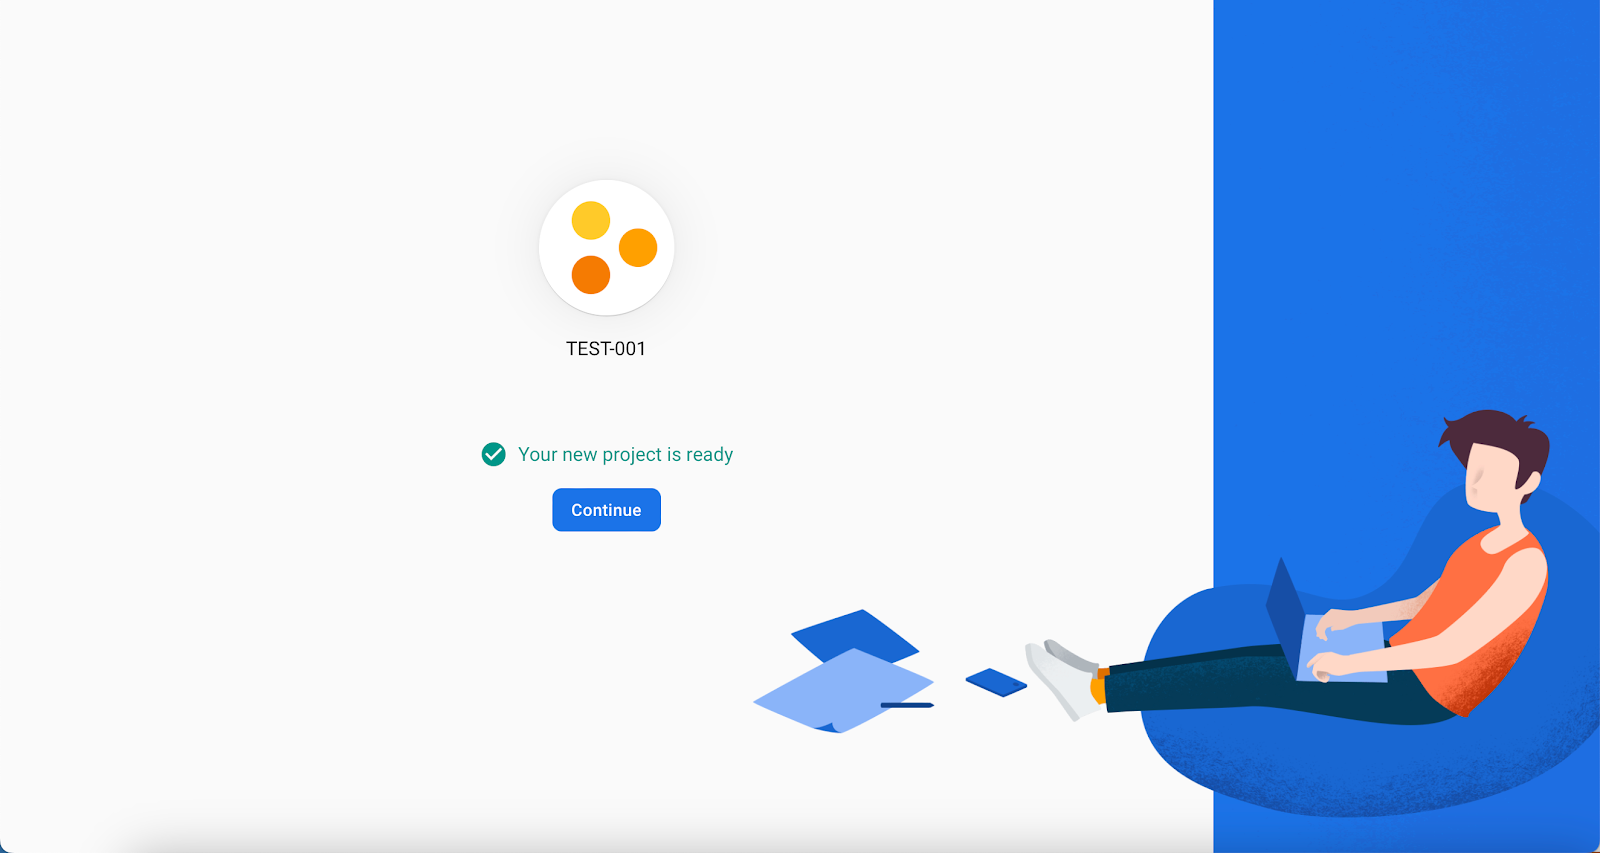
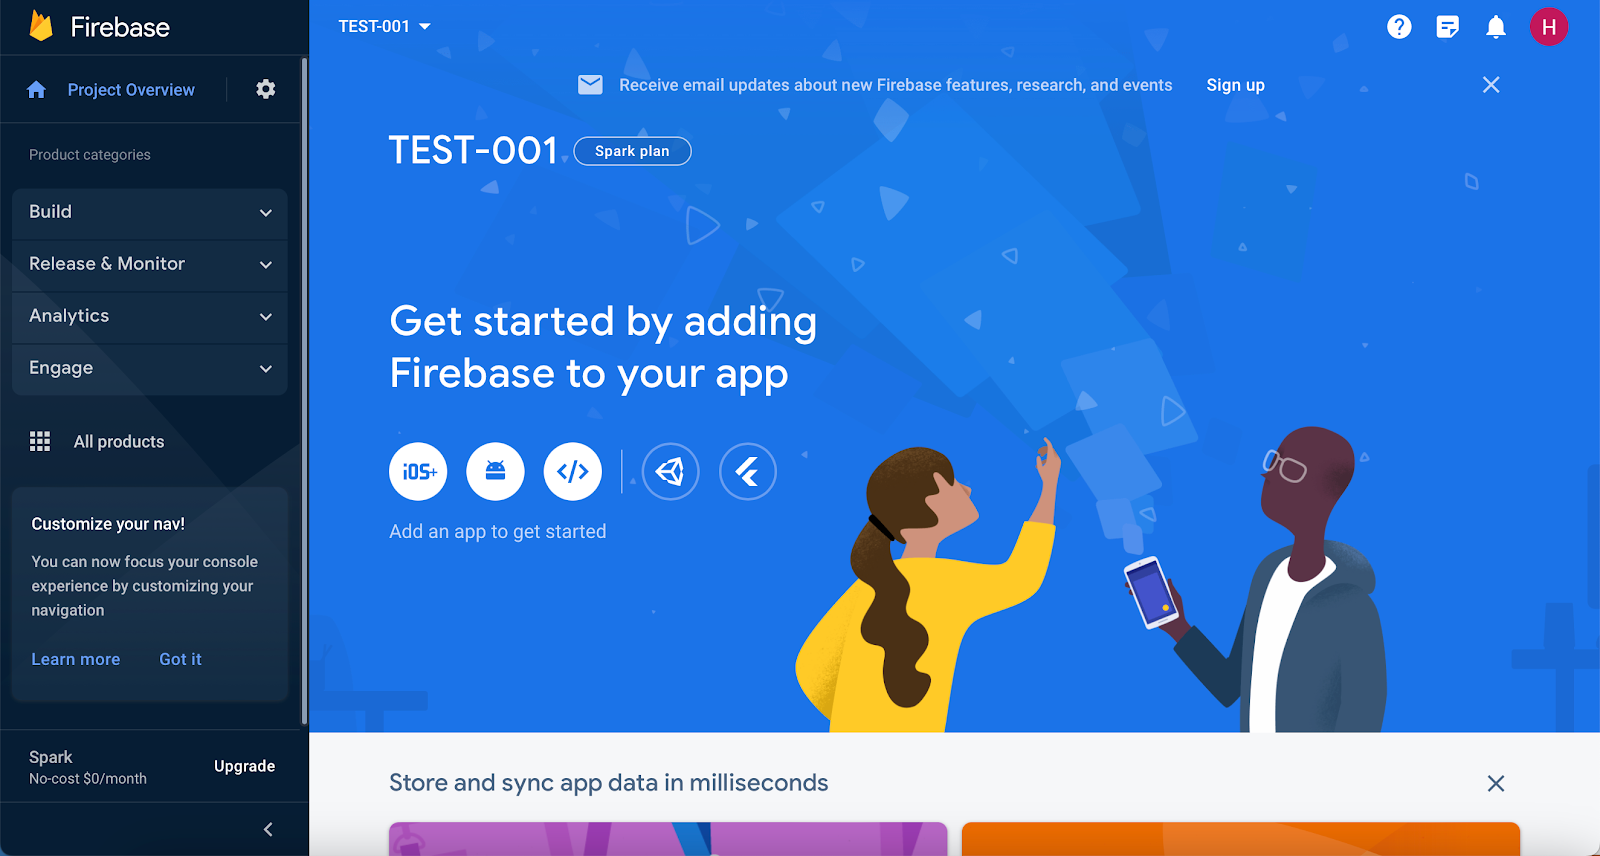
7. You will then be navigated to the project preview page.
Generating your private key and uploading it to Mocart
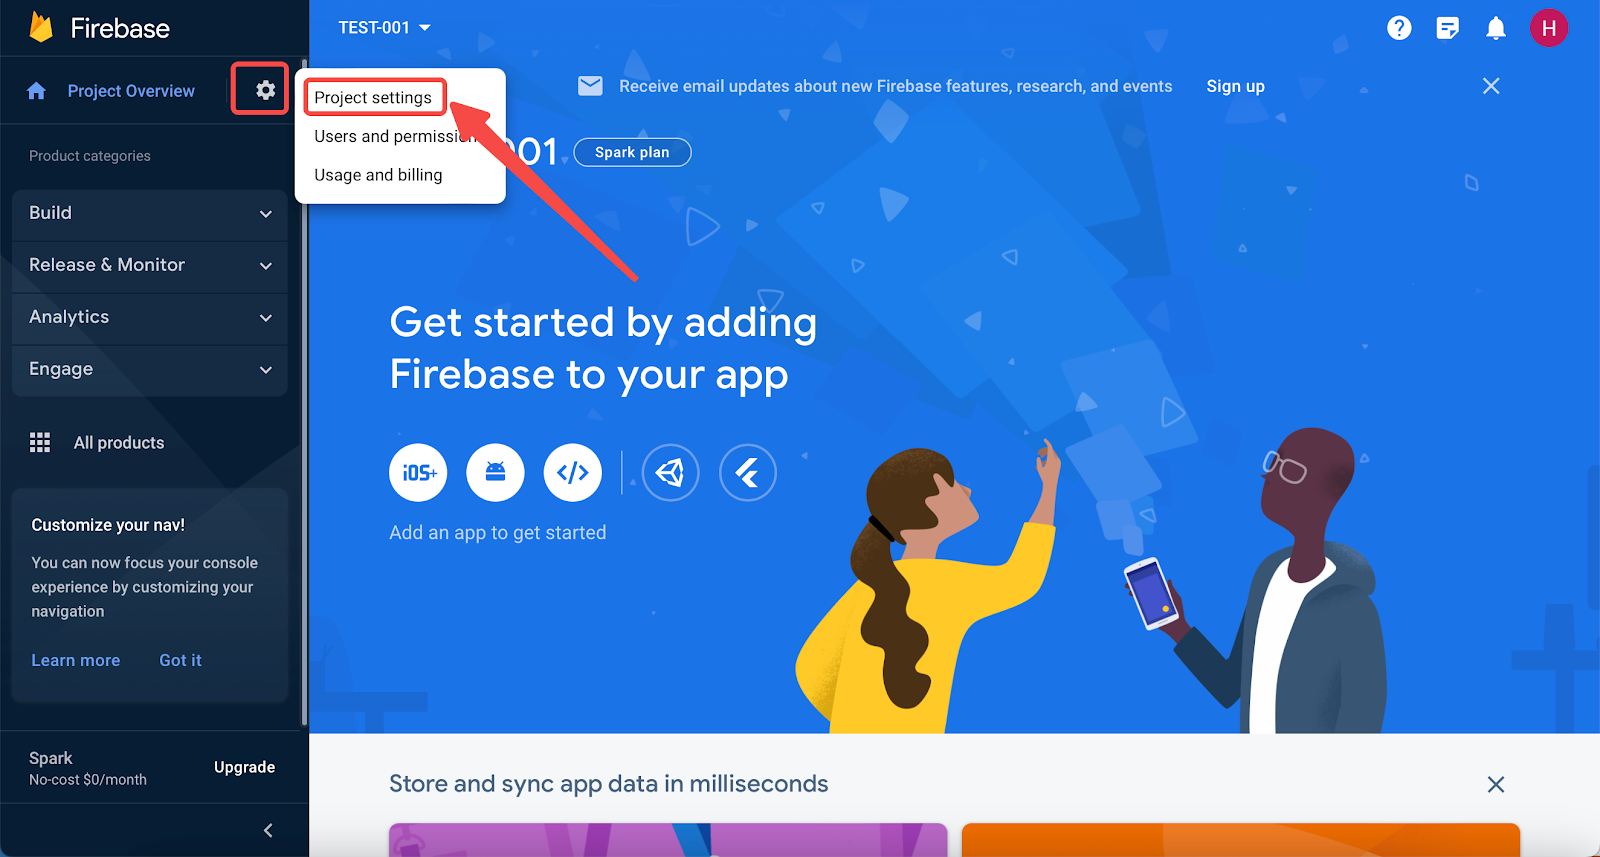
1. Click the gear icon beside Project Overview and select Project settings in the dropdown.
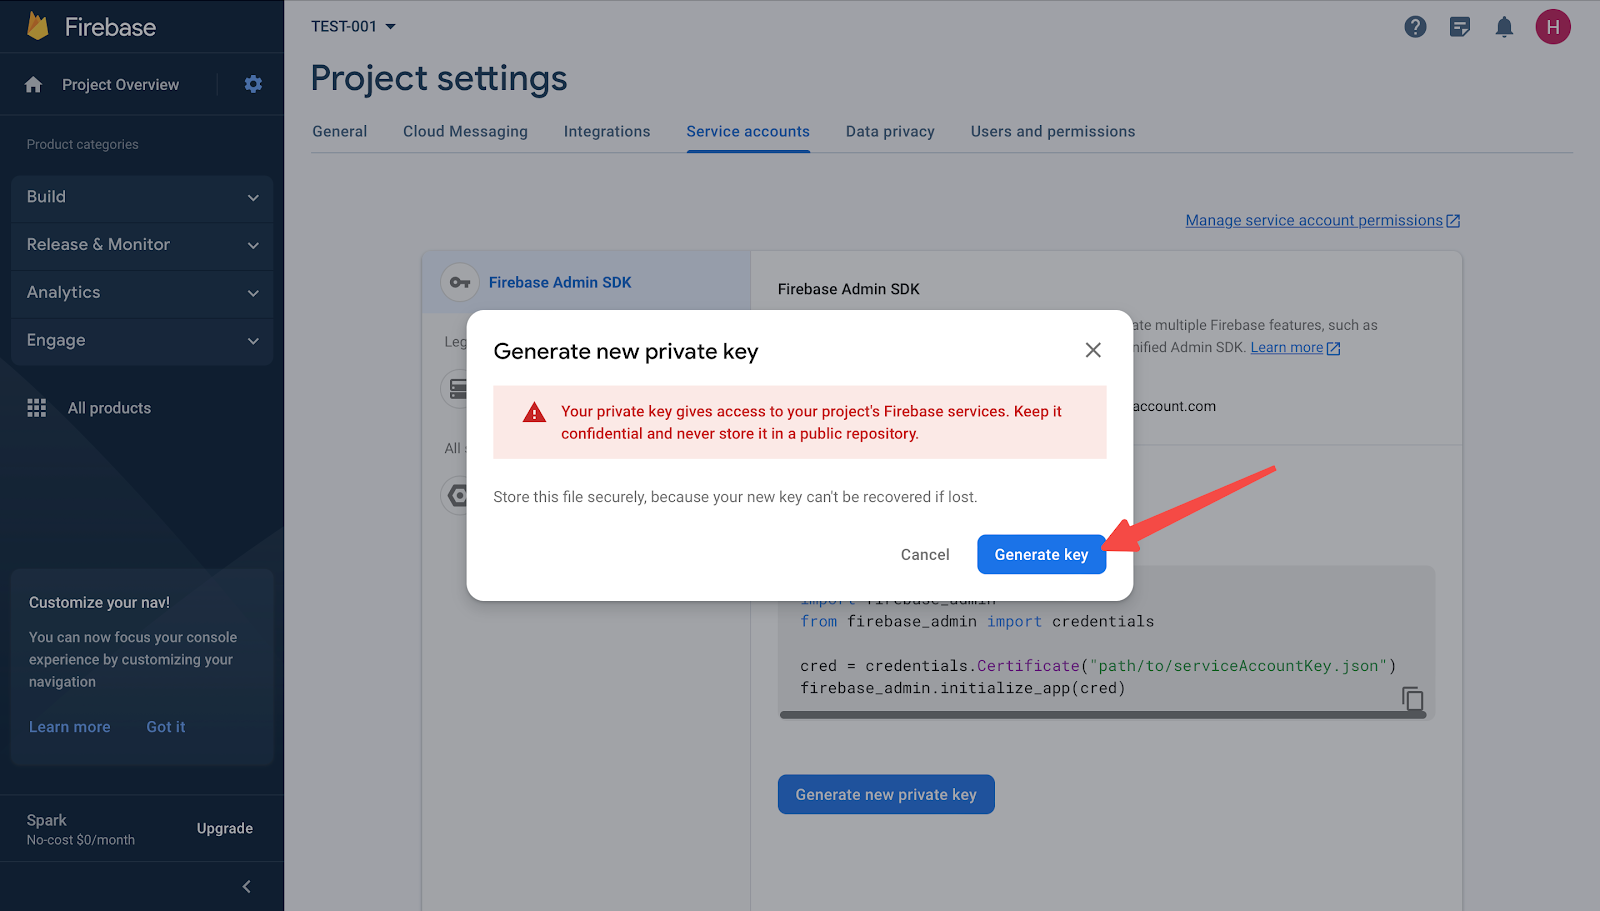
2. Select Service accounts, then click Python and Generate new private key.


3. Click Generate key in the pop-up window.
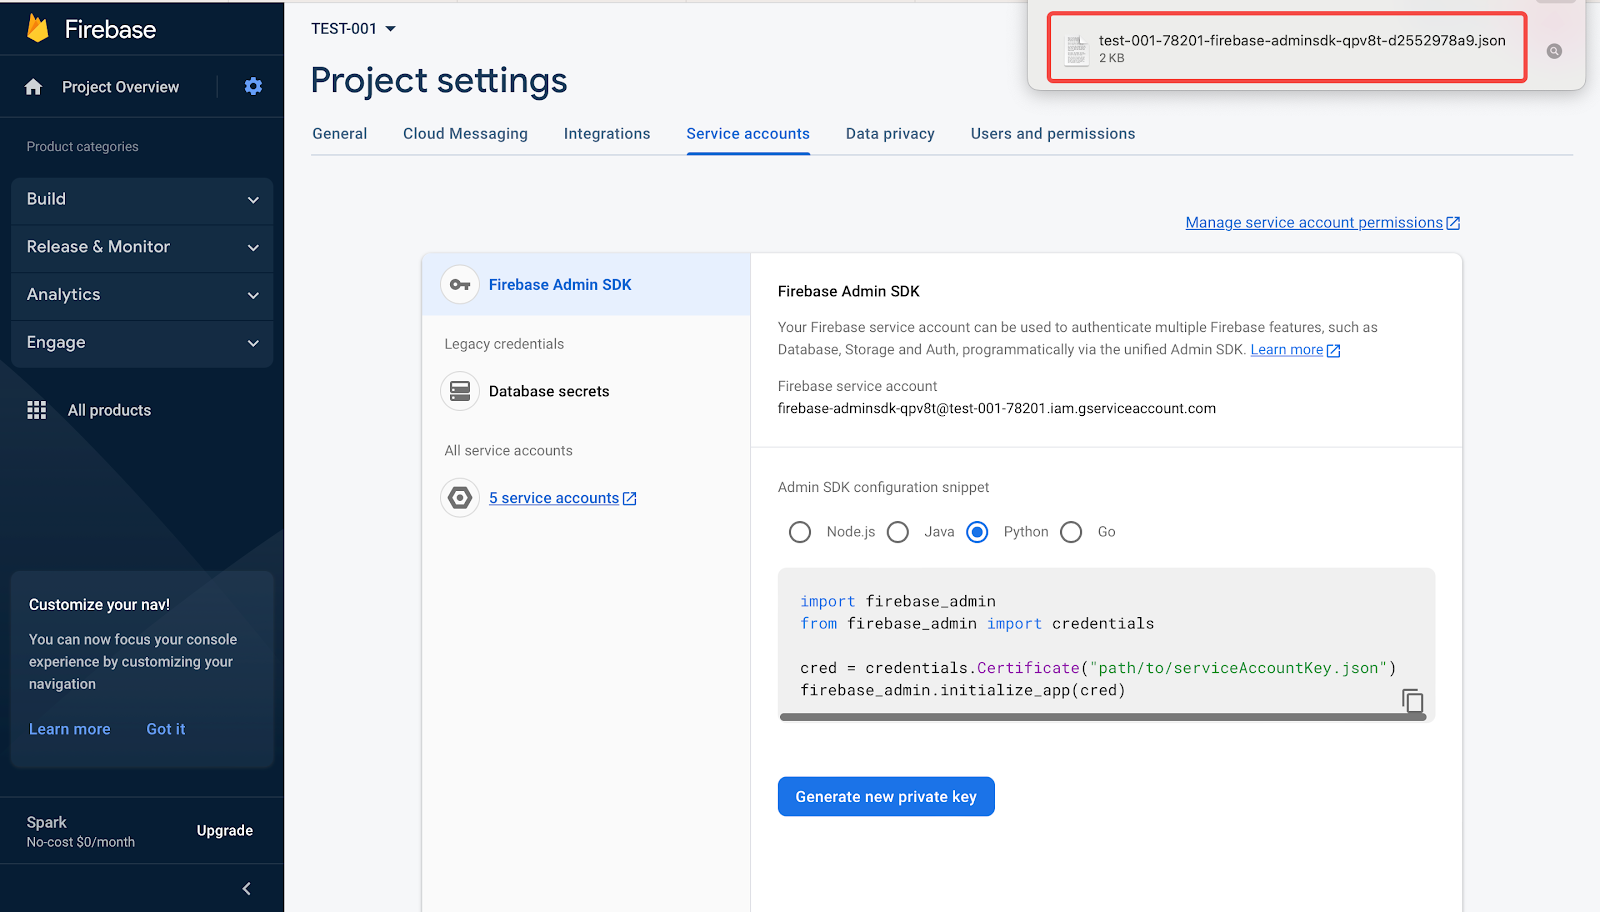
4. A document containing your private key will be downloaded.
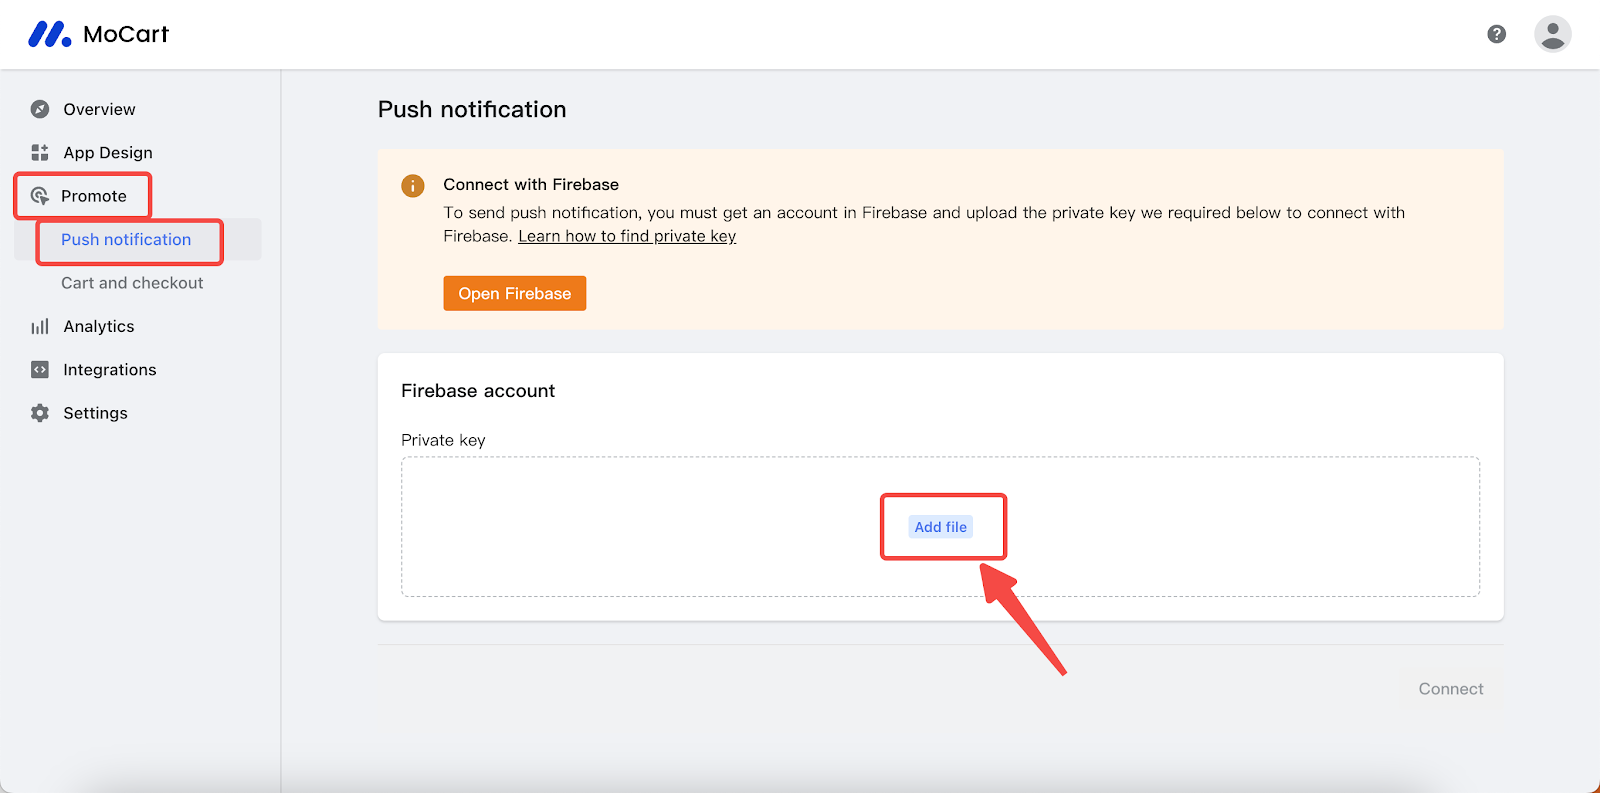
5. From your Shoplazza Admin, go to Apps > MoCart > Promote, click Push notification. Then, click Add file and upload the document for private key.
6. After uploading the document, click Connect.
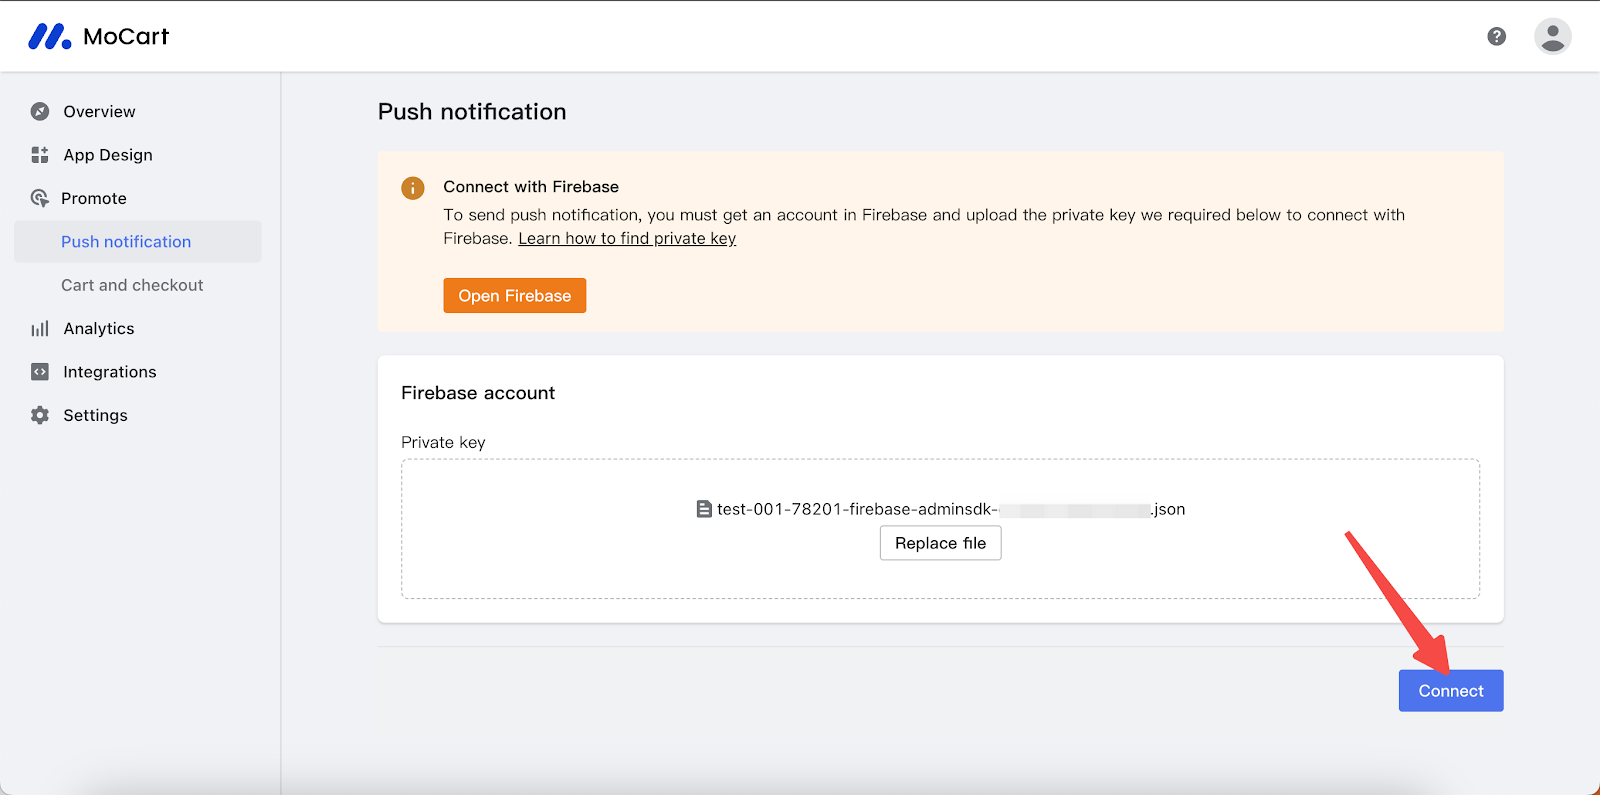
7. Your MoCart app will then be connected to Firebase.
Setting up push notifications for your app on the Apple Developer platform
After you have created your app with MoCart, you can enable push notifications for iOS users by configuring settings on the Apple Developer Platform. Follow these steps to set it up.
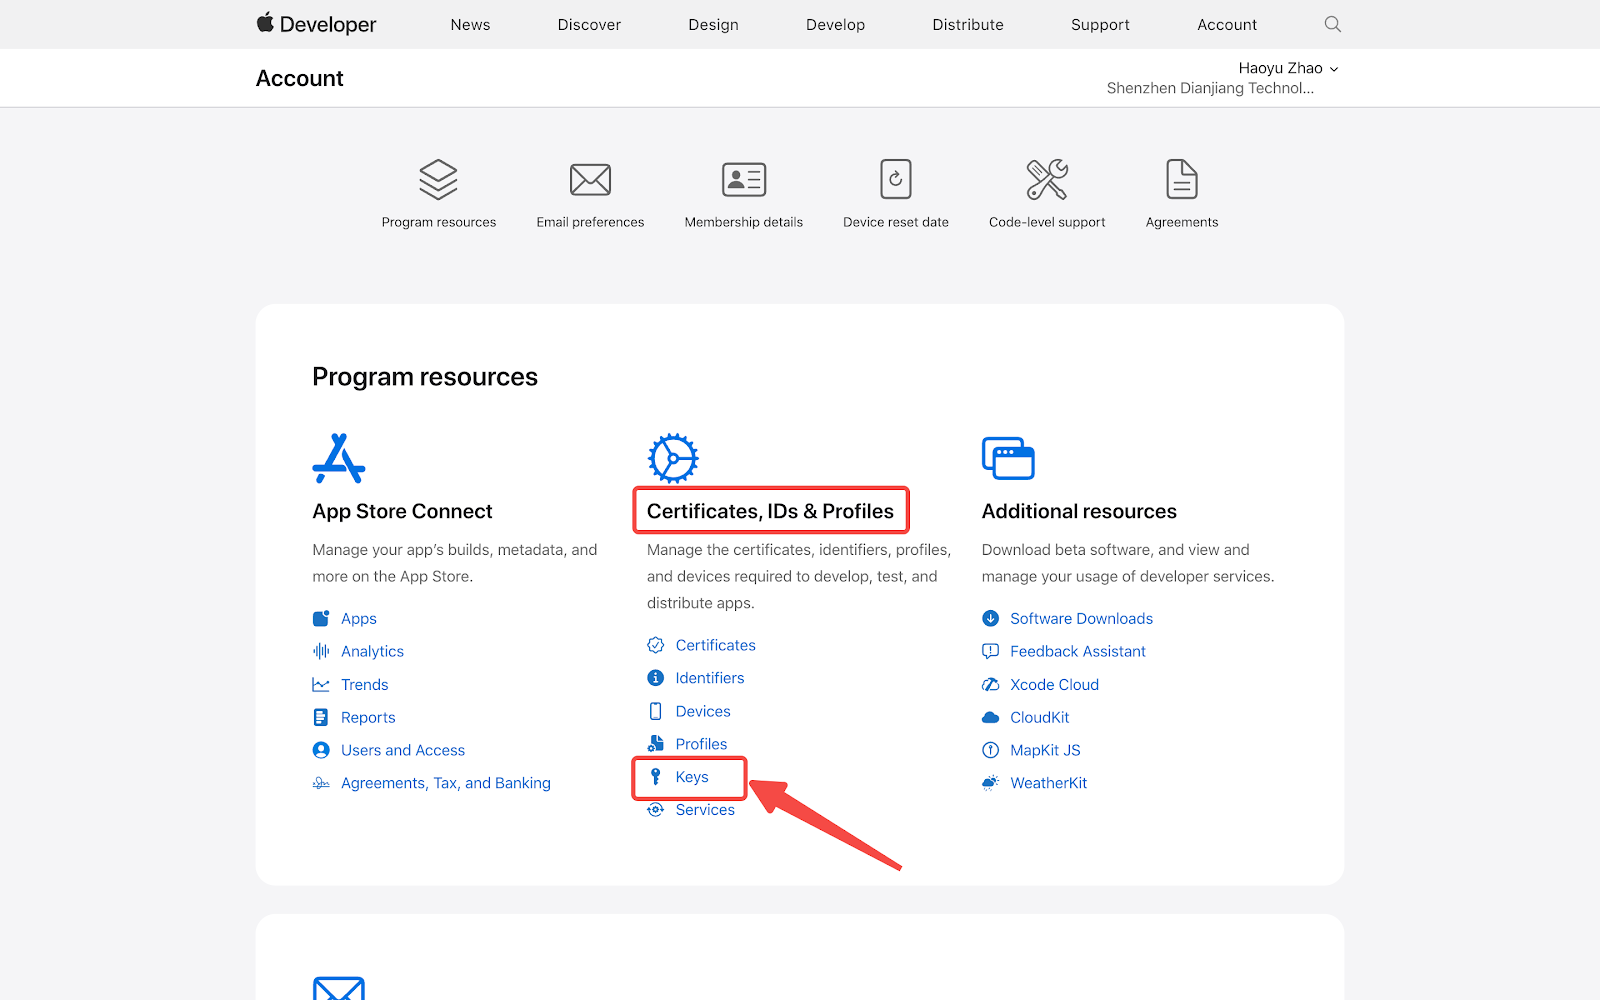
1. Navigate to Apple Developer platform , click Account and sign in.

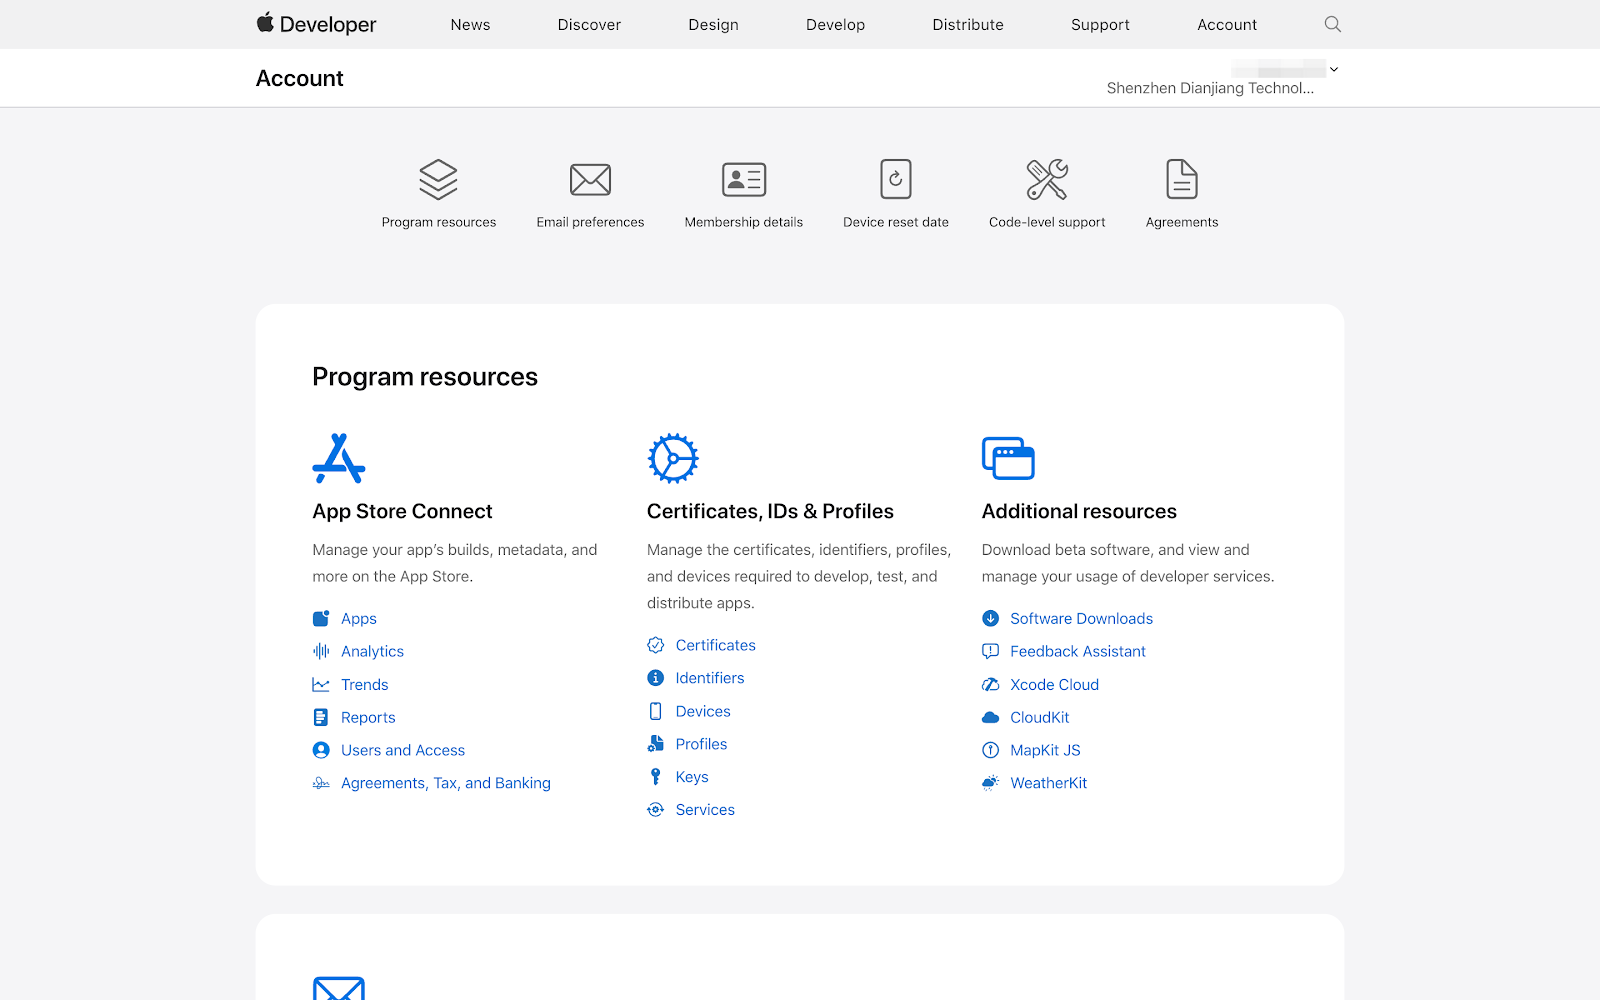
2. Click Keys under the Certificates, IDs & Profiles section.
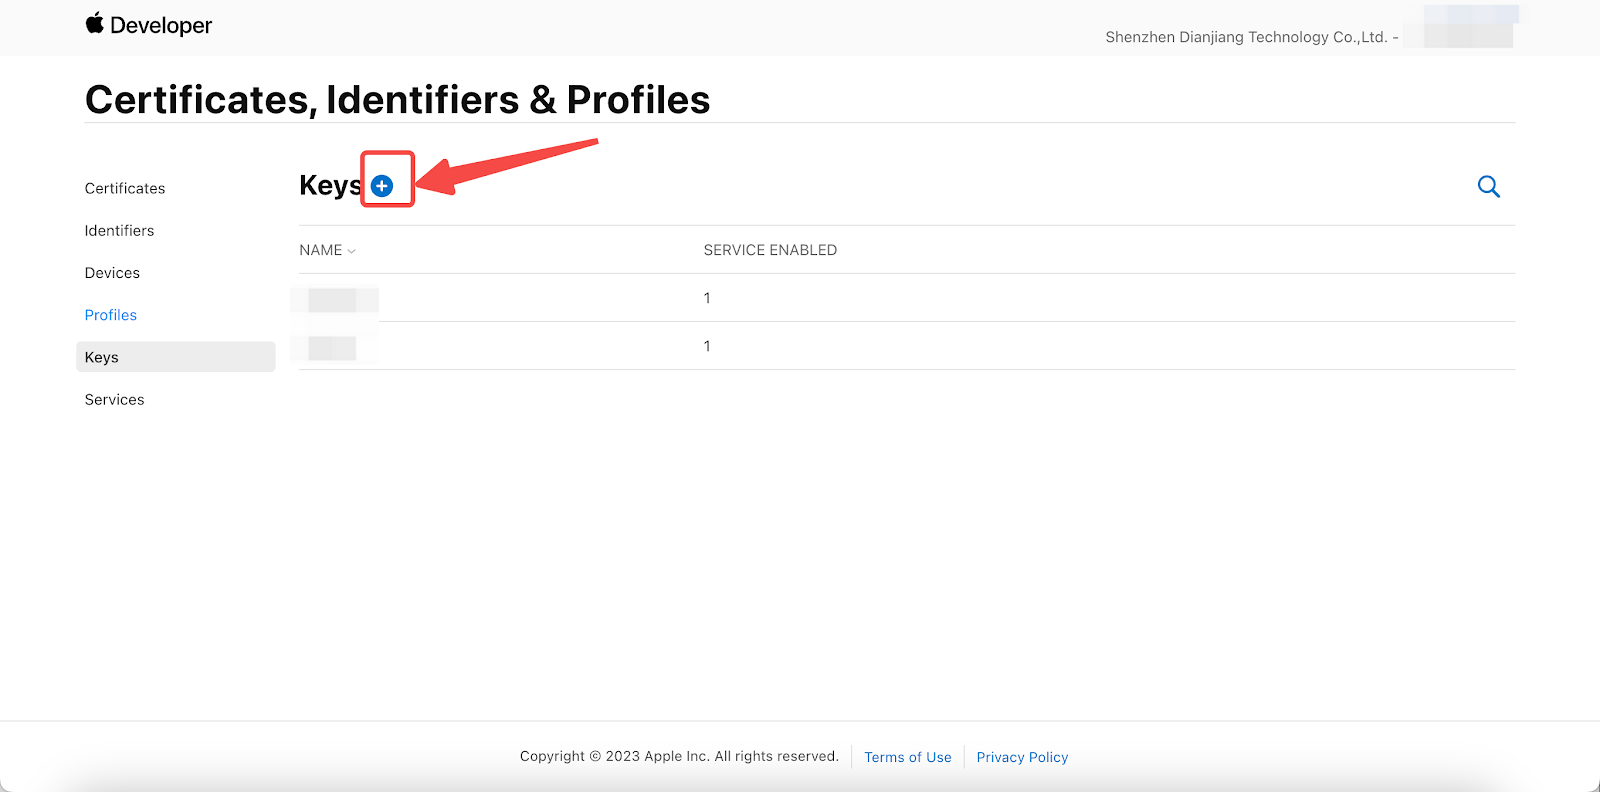
3. Click the "+" icon next to Keys.
4. Enter a Key Name, enable Apple Push Notifications service (APNs), and click Continue.
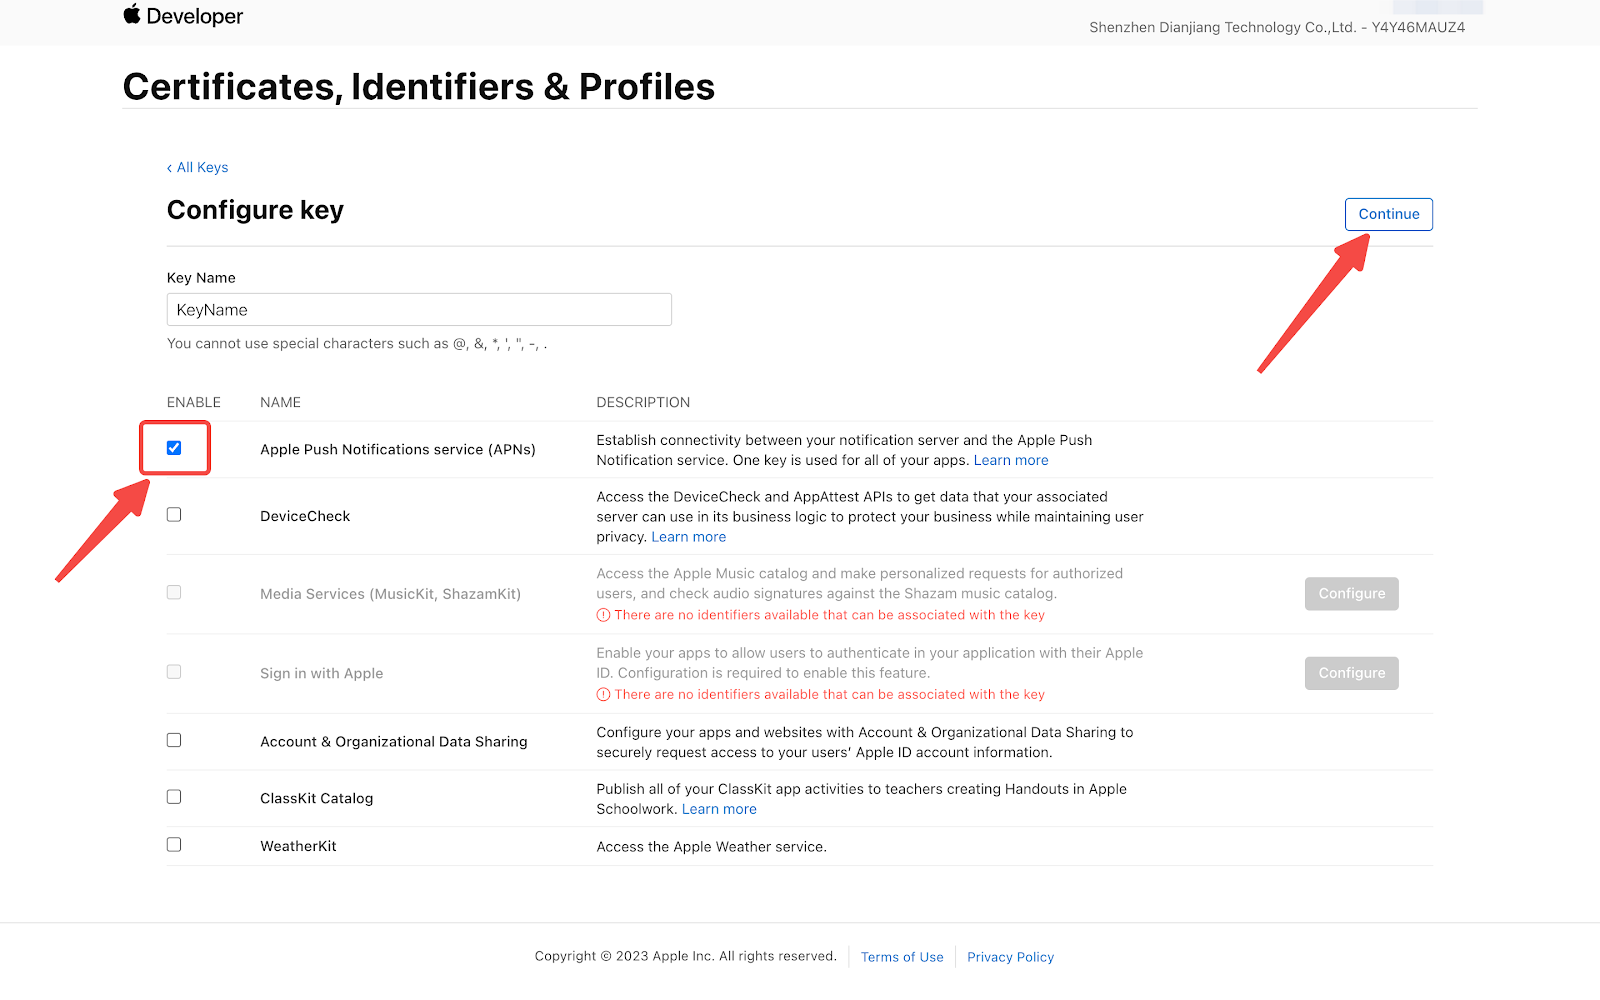
5. Click Register.

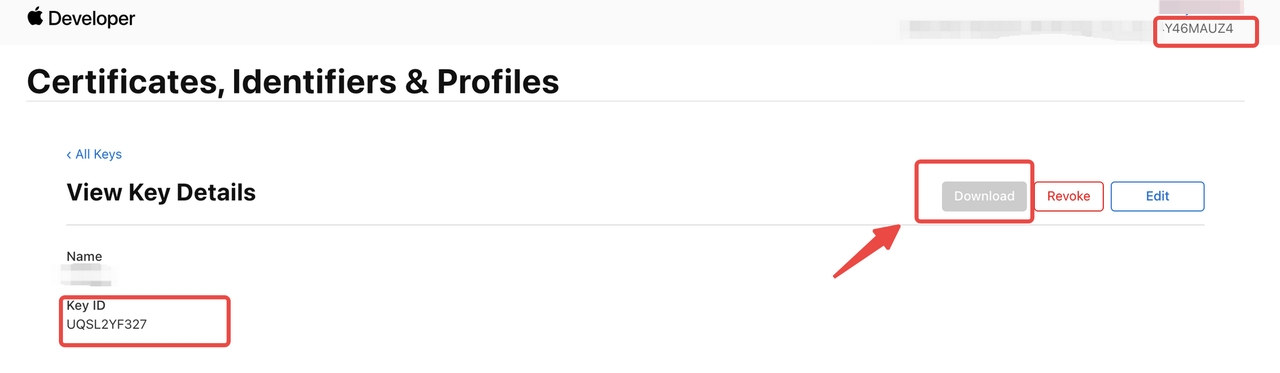
6. Navigate back to the Keys page, click on the key you just created.
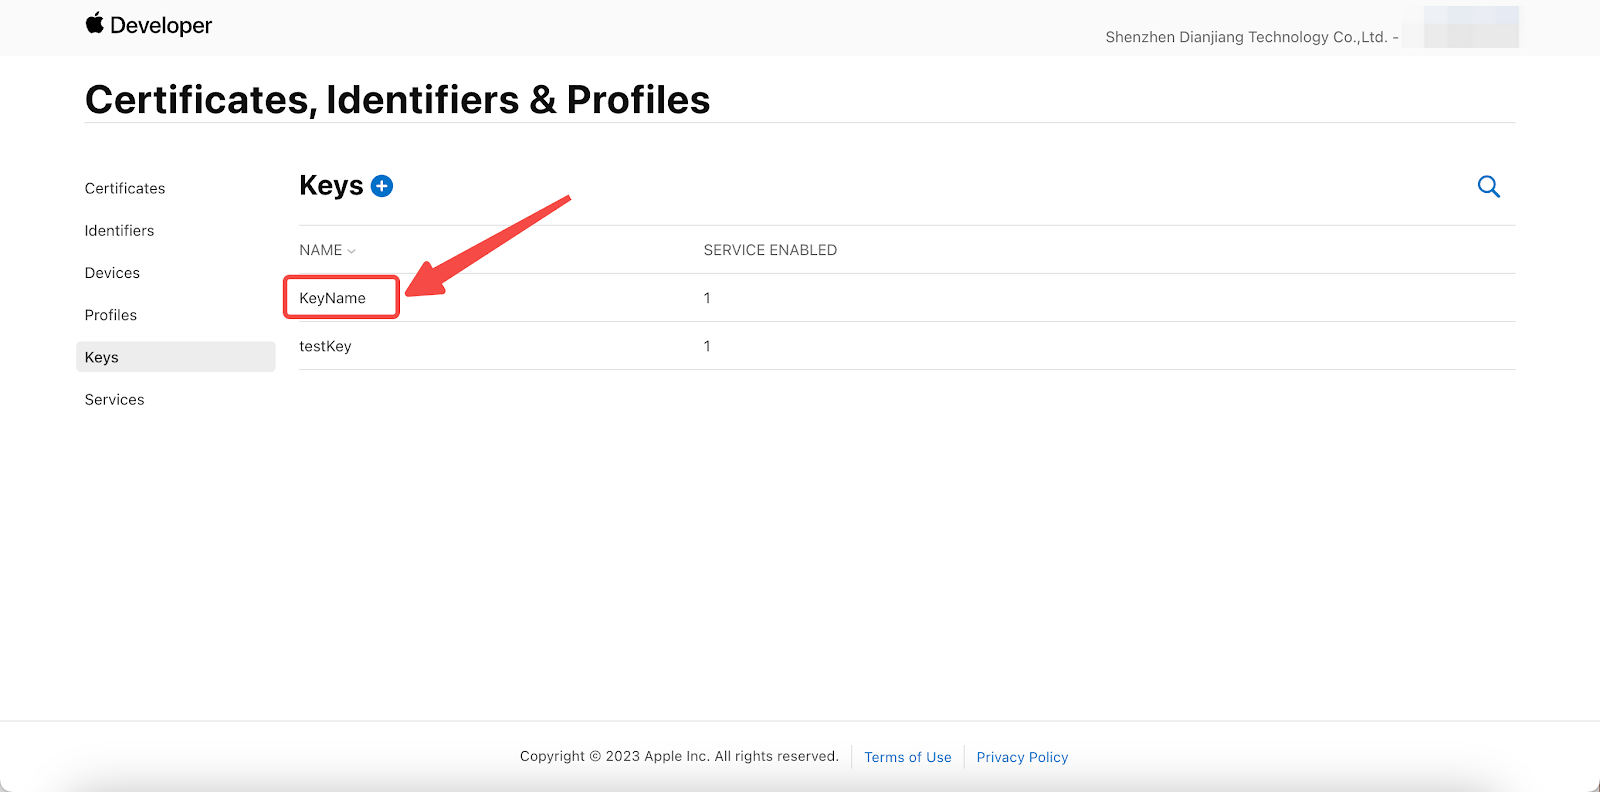
7. Click Download to get your private key file with the suffix ".p8", and record the Key ID and Team ID in the top right corner.
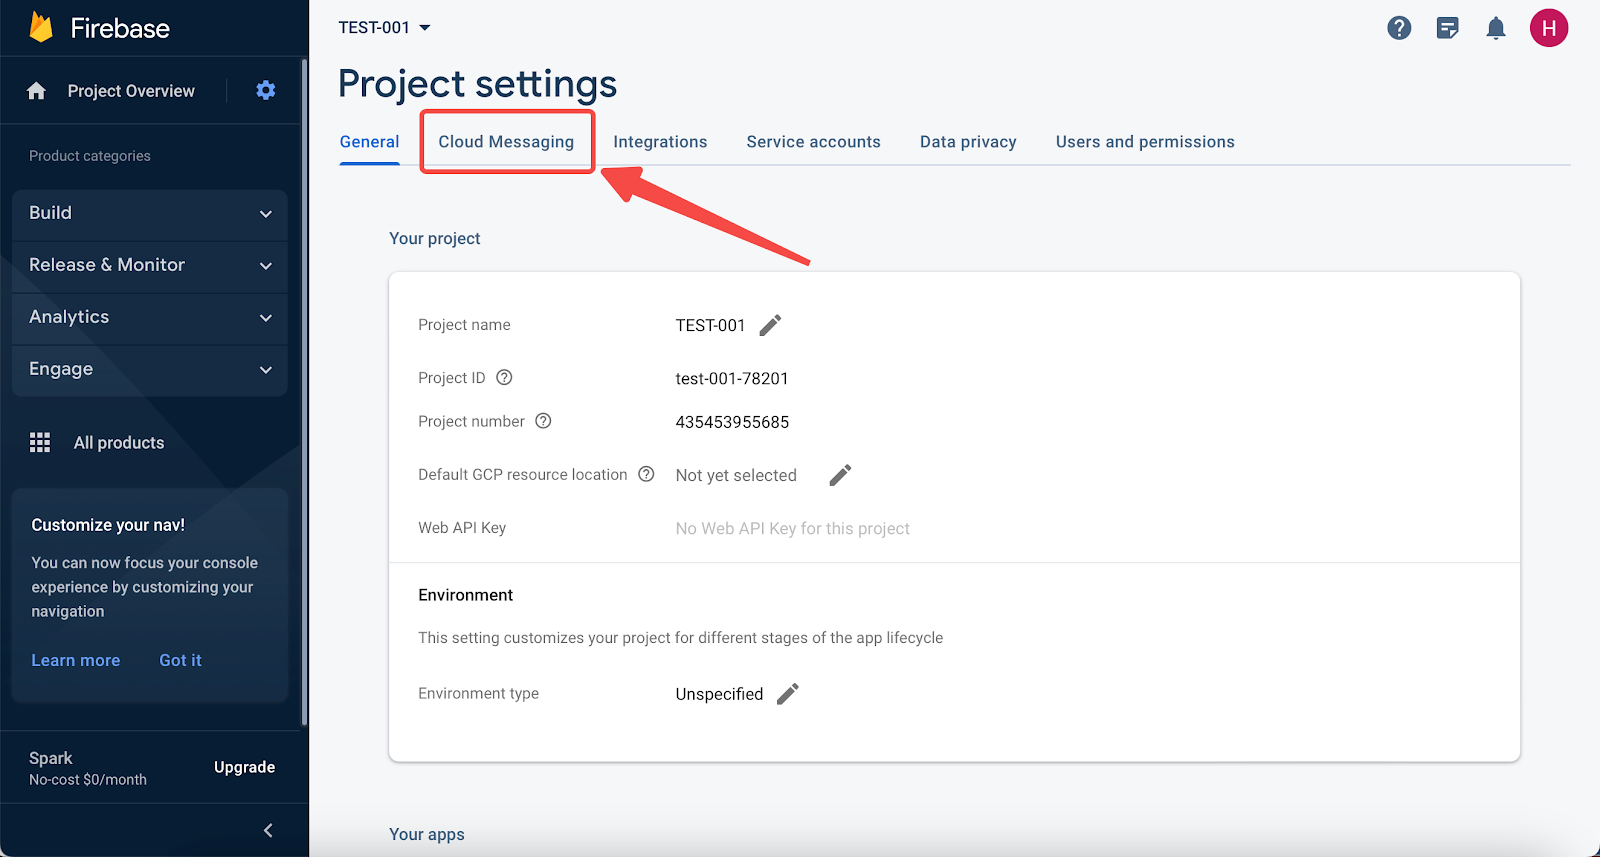
8. Navigate back to Firebase and enter the project. Click the gear icon beside Project Overview and select Project settings in the dropdown.
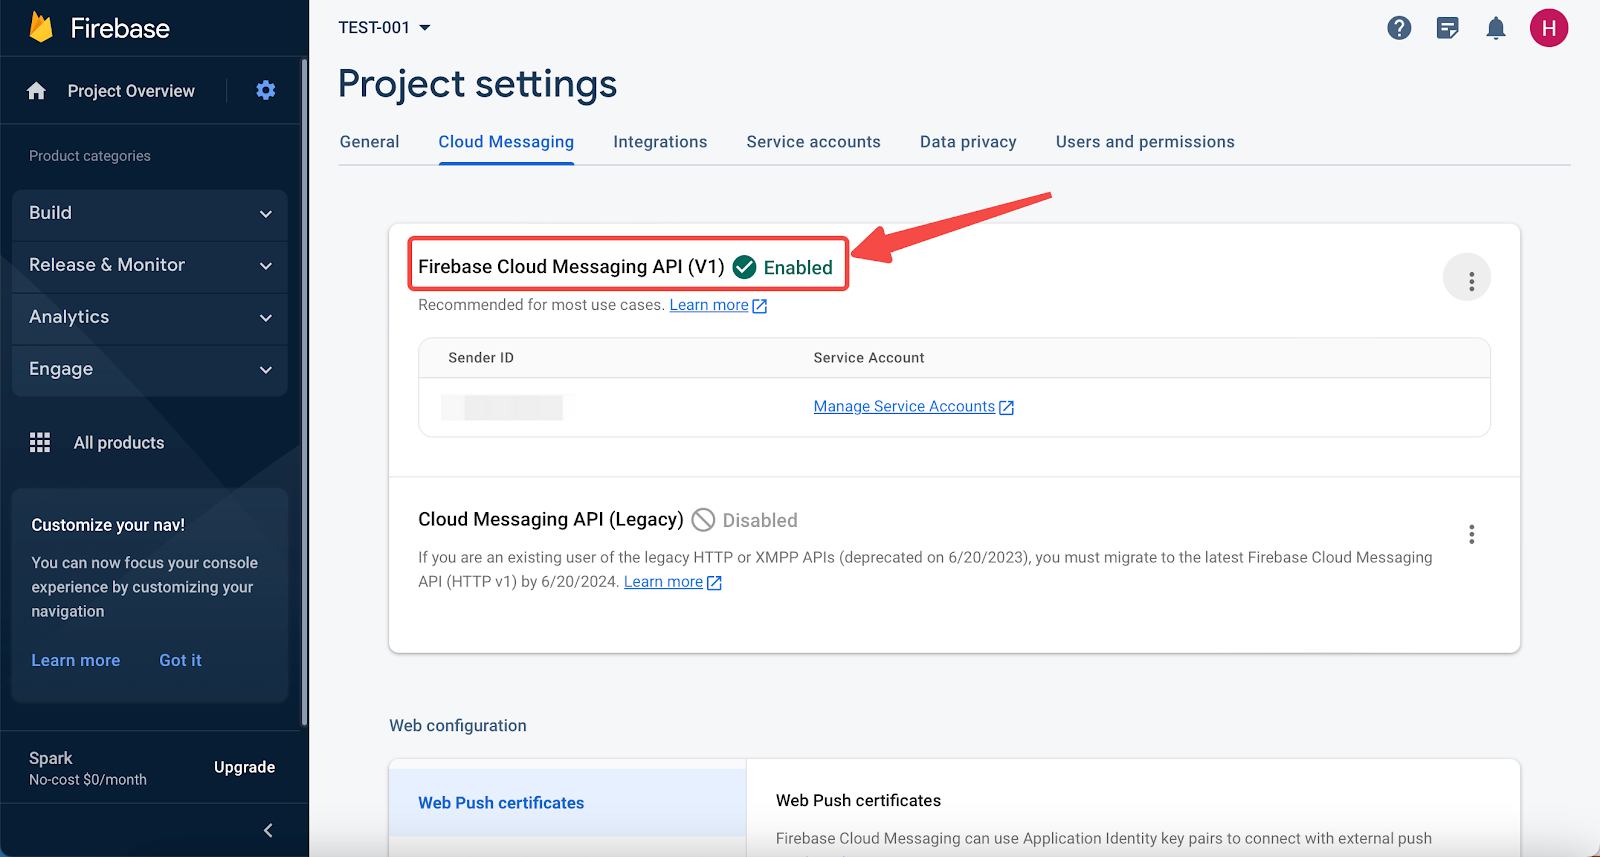
9. Select the Cloud Messaging tab.
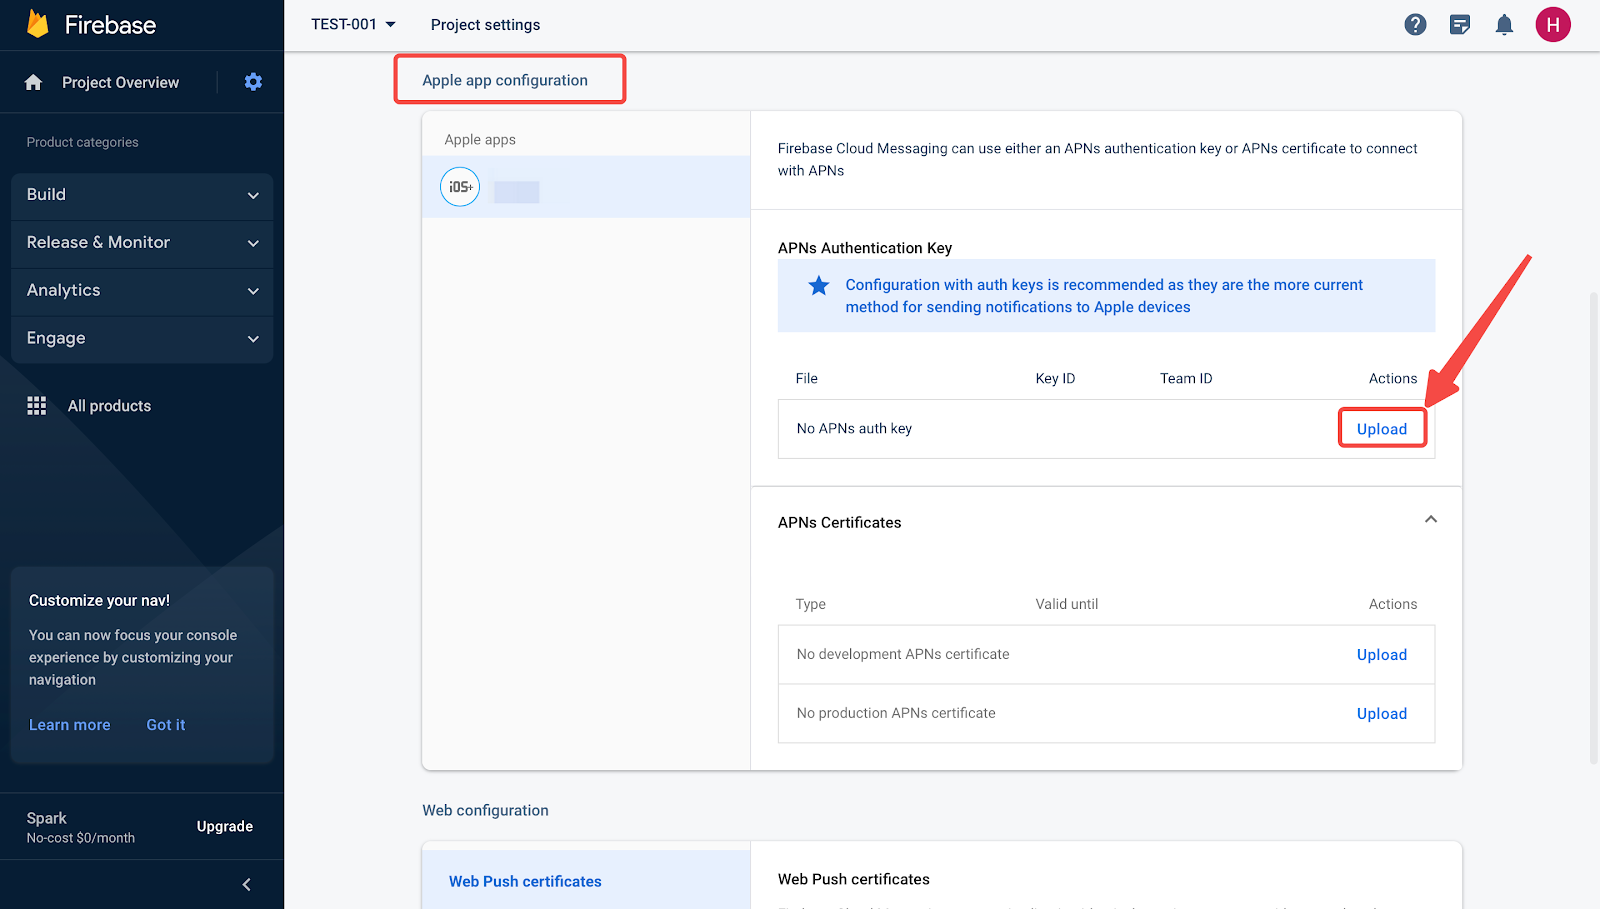
10. Select your MoCart-created app and click Upload in the Apple application configuration section.
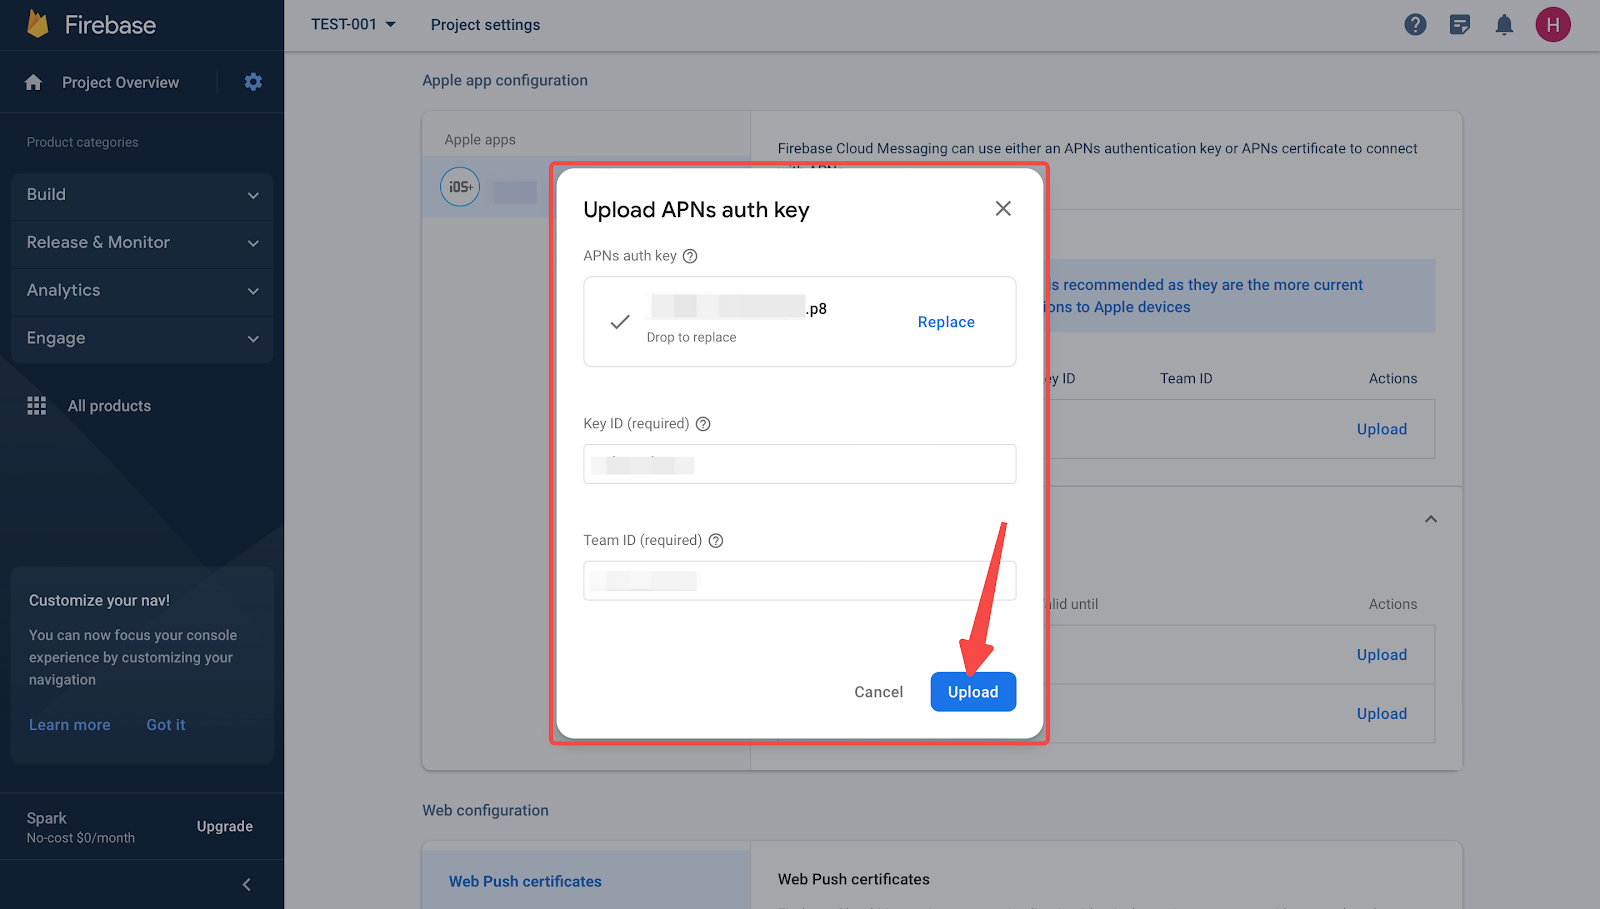
11. Fill in the information in the pop-up window, click Upload.
12. Enable the Firebase Cloud Messaging API (V1).
Applying the push notification feature
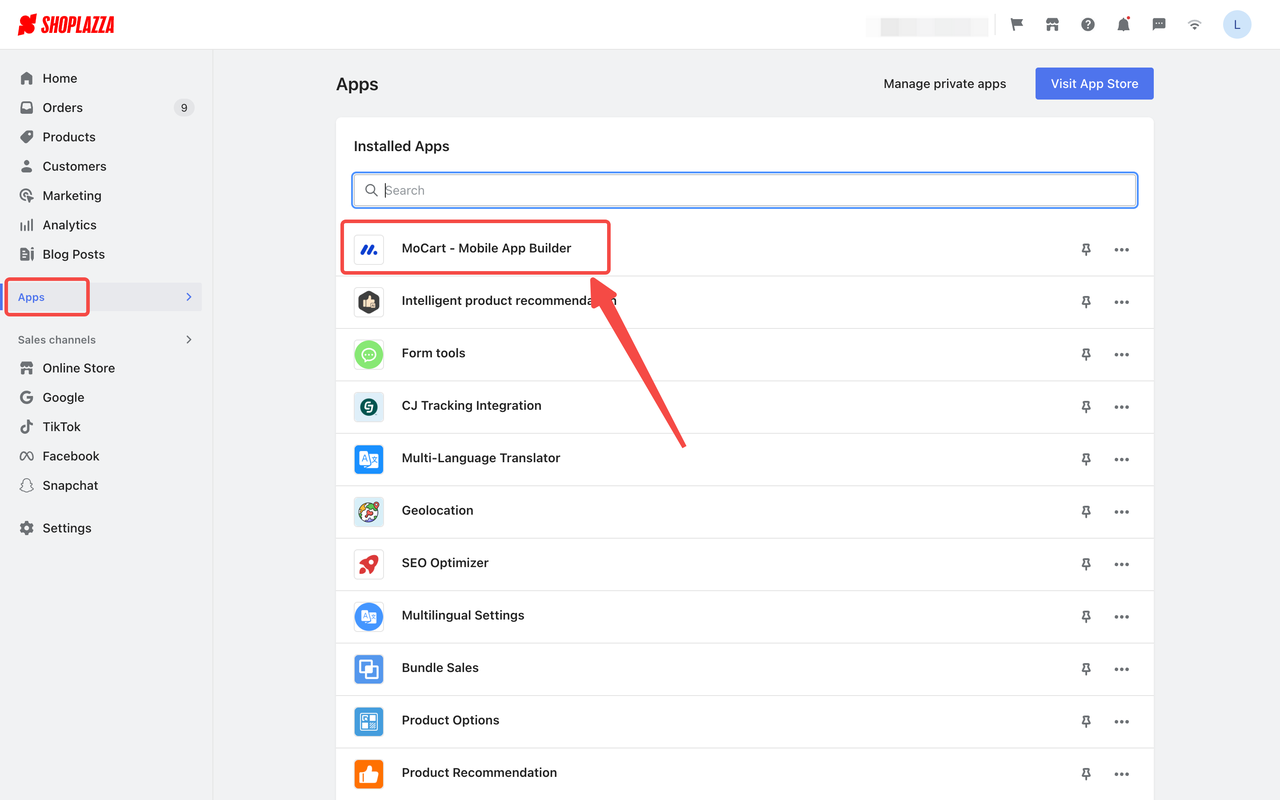
From your Shoplazza Admin, go to Apps > MoCart > Promote > Push notification.
Applying the Push Notification Feature
In this part of the MoCart app, you have two main tabs to work with: Create a push and View all. Below is a walkthrough of each tab to help you get your push notifications up and running smoothly. To get started, navigate to your Shoplazza Admin > Apps > MoCart > Promote > Push notification.
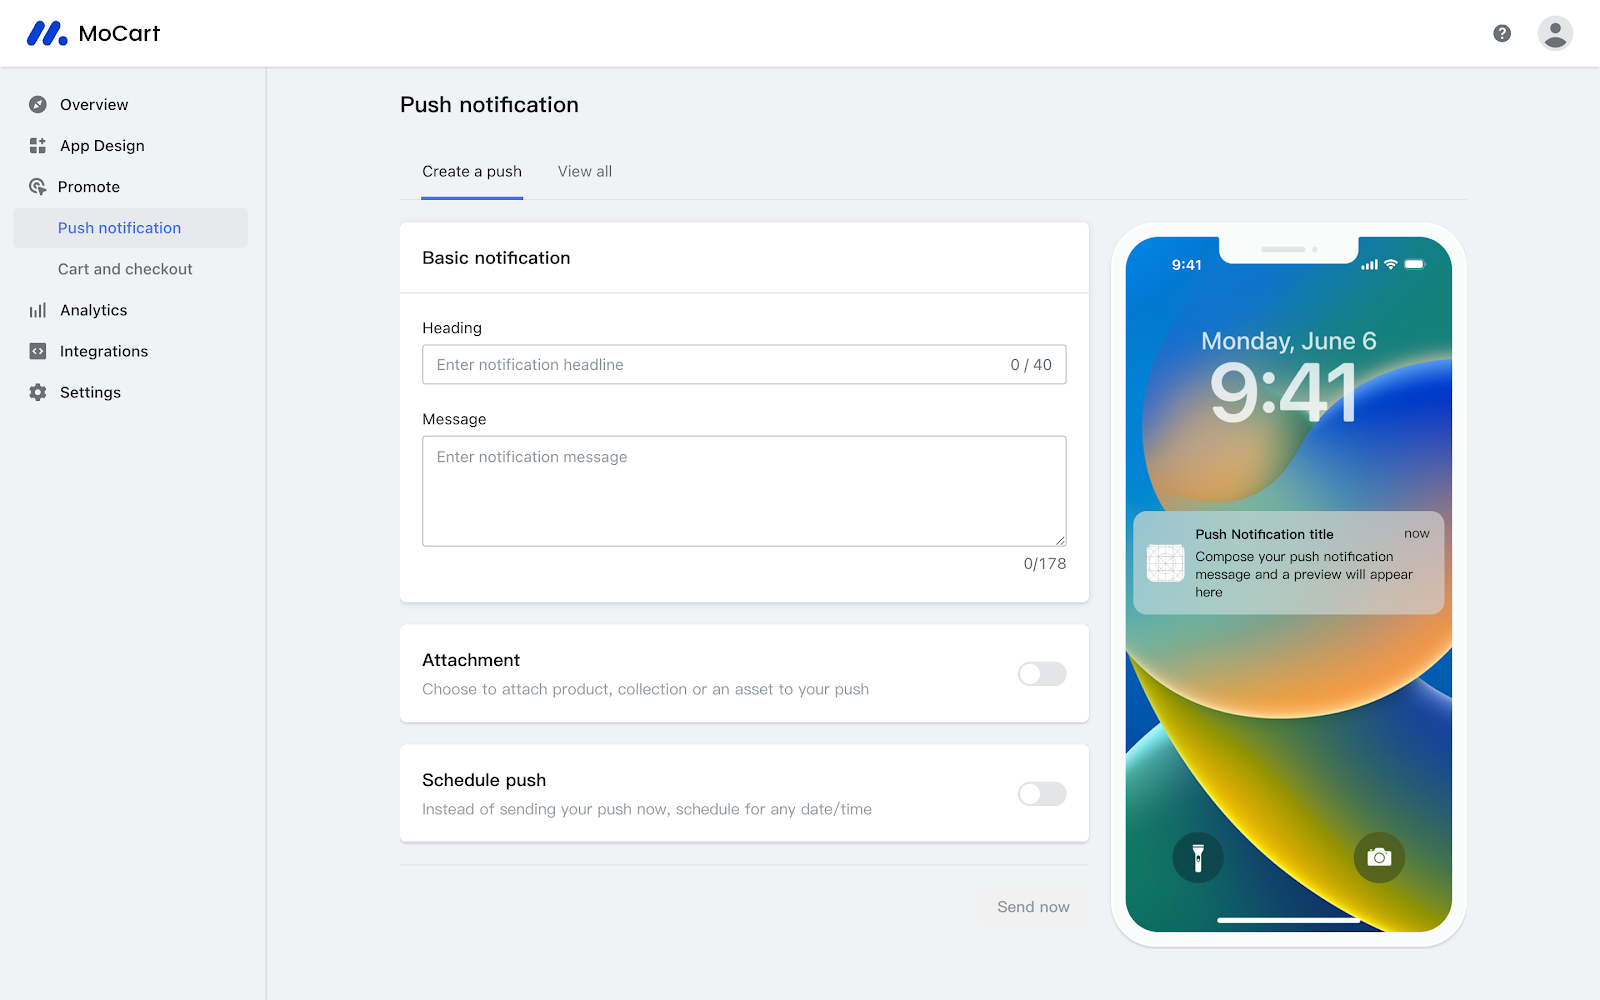
Create a push tab
The Create a push tab is where you'll set up individual notifications. From naming the alert to choosing optional attachments and scheduling, you'll find all the settings you need to tailor your message here.
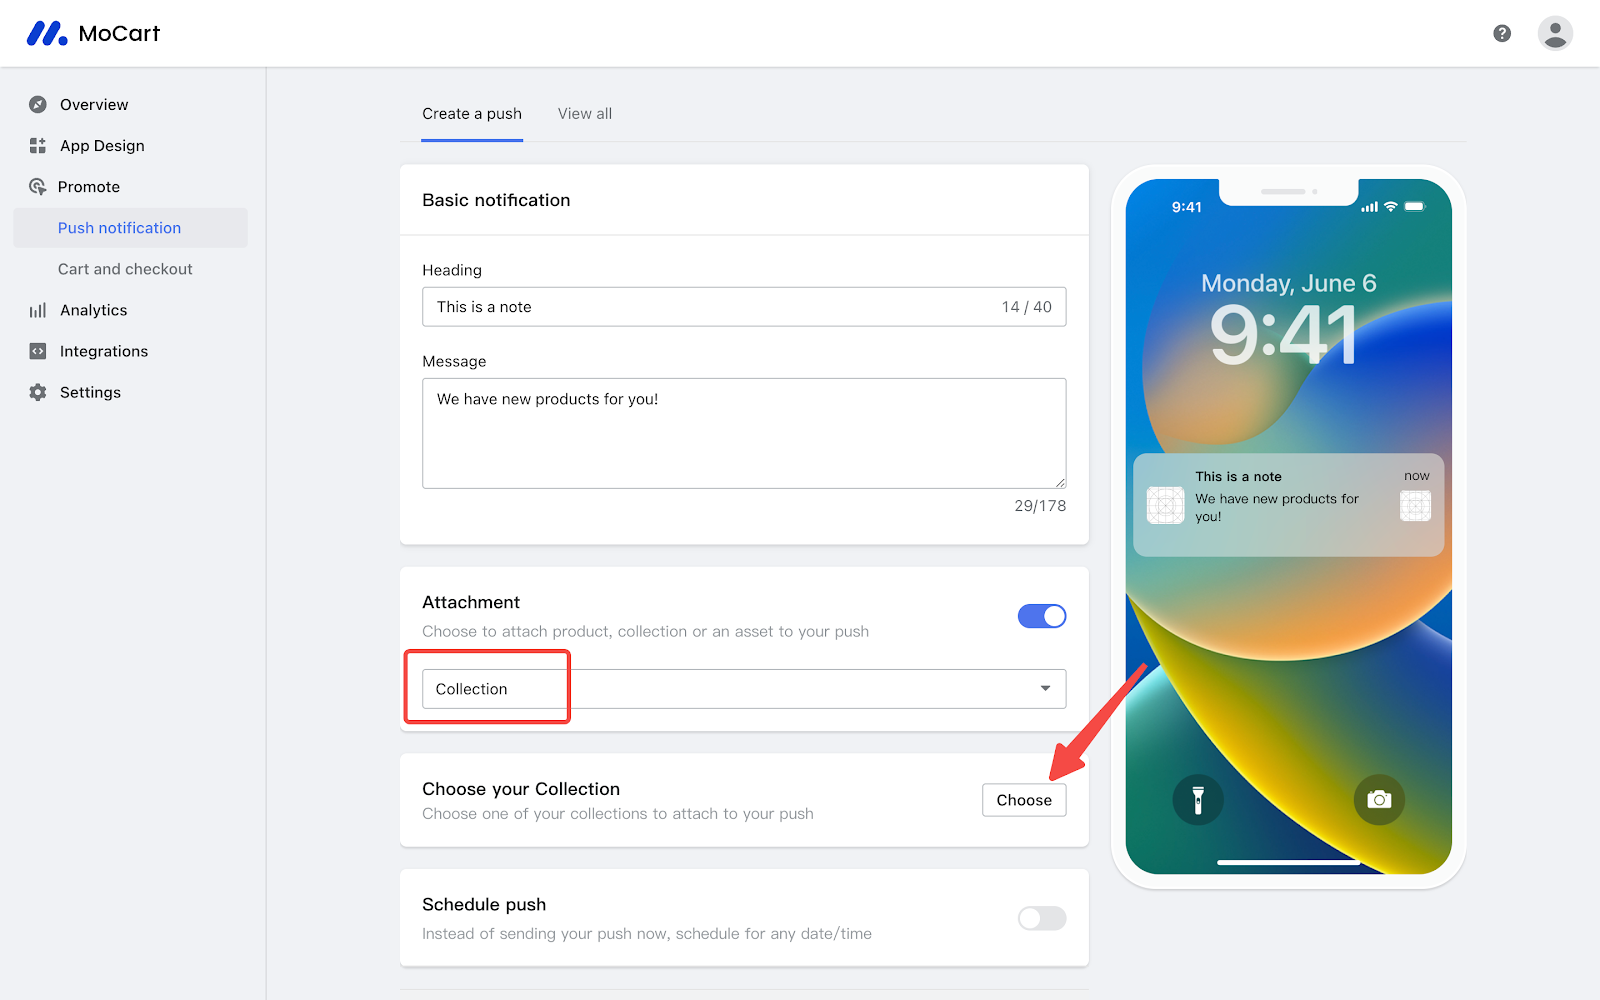
Basic Notification
Start by naming your notification and writing the message you want to send to your customers.

Attachment Options
Here, you can add more content to your push notification. You have three types of attachments to choose from:
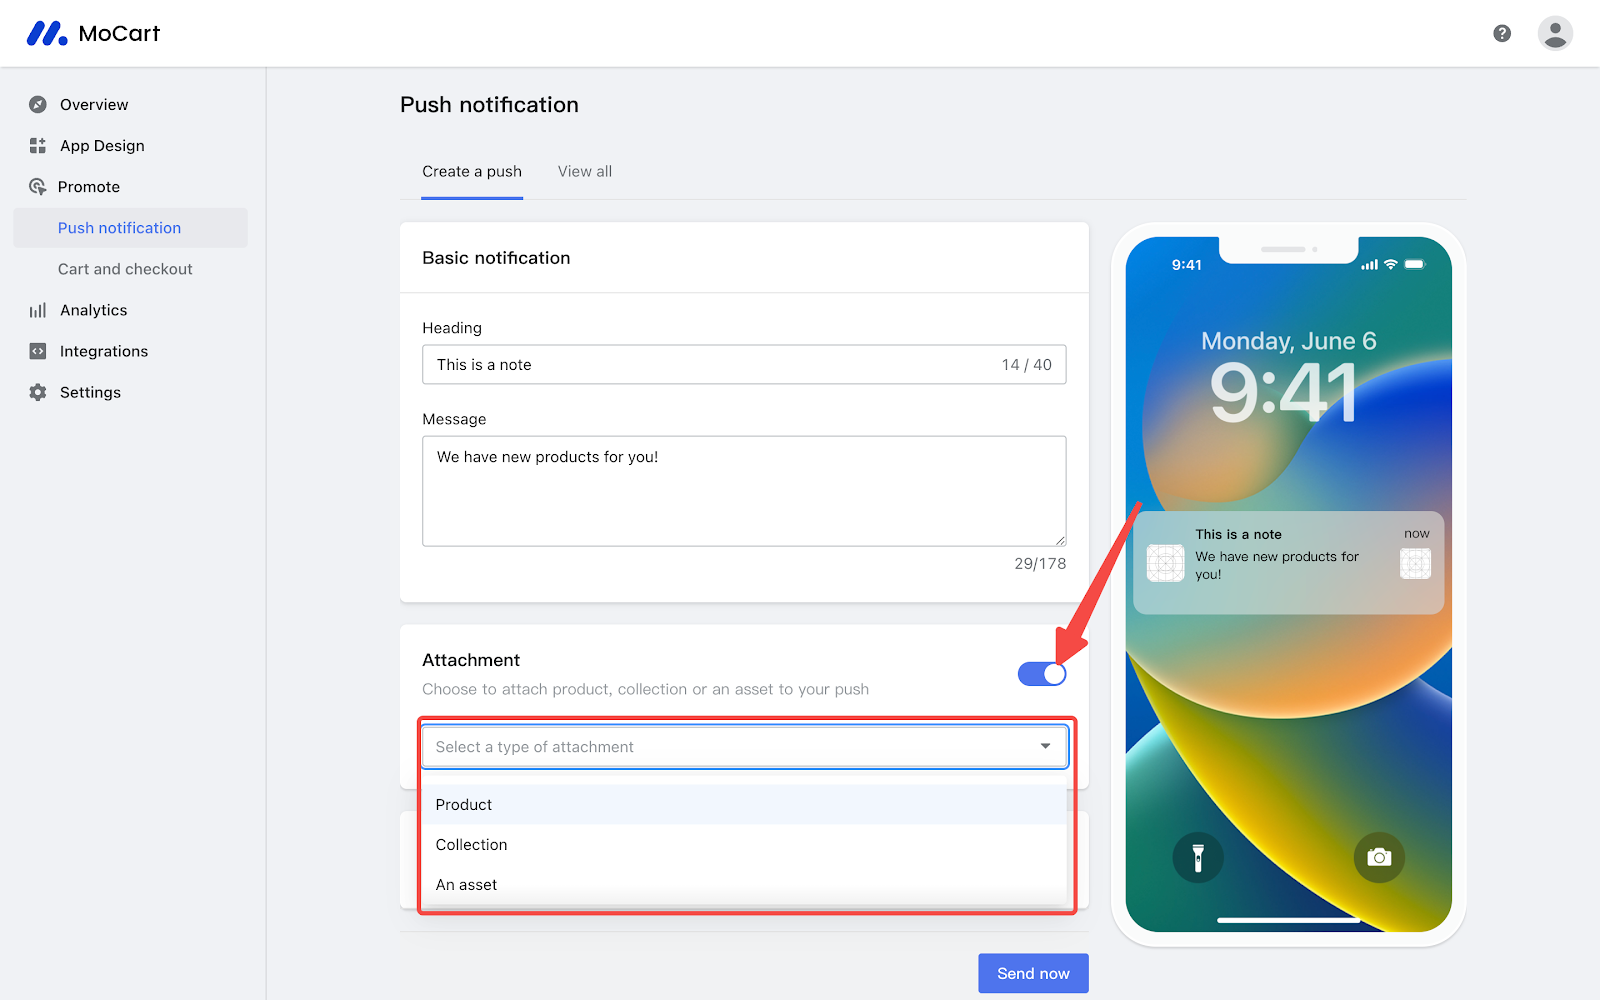
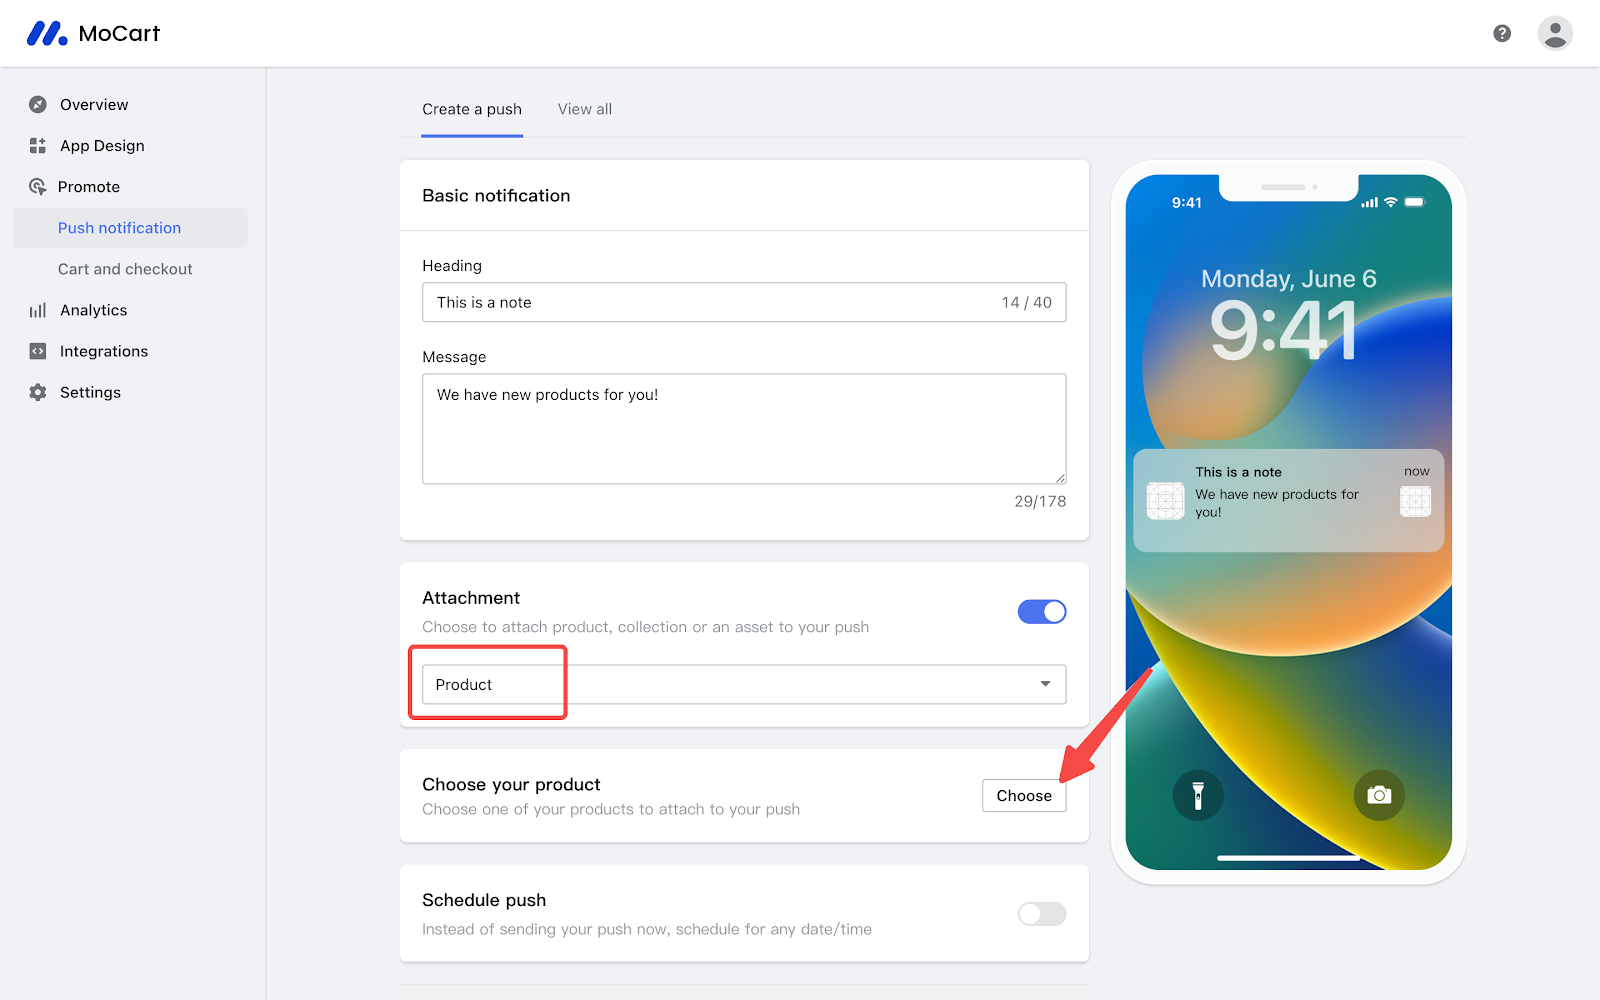
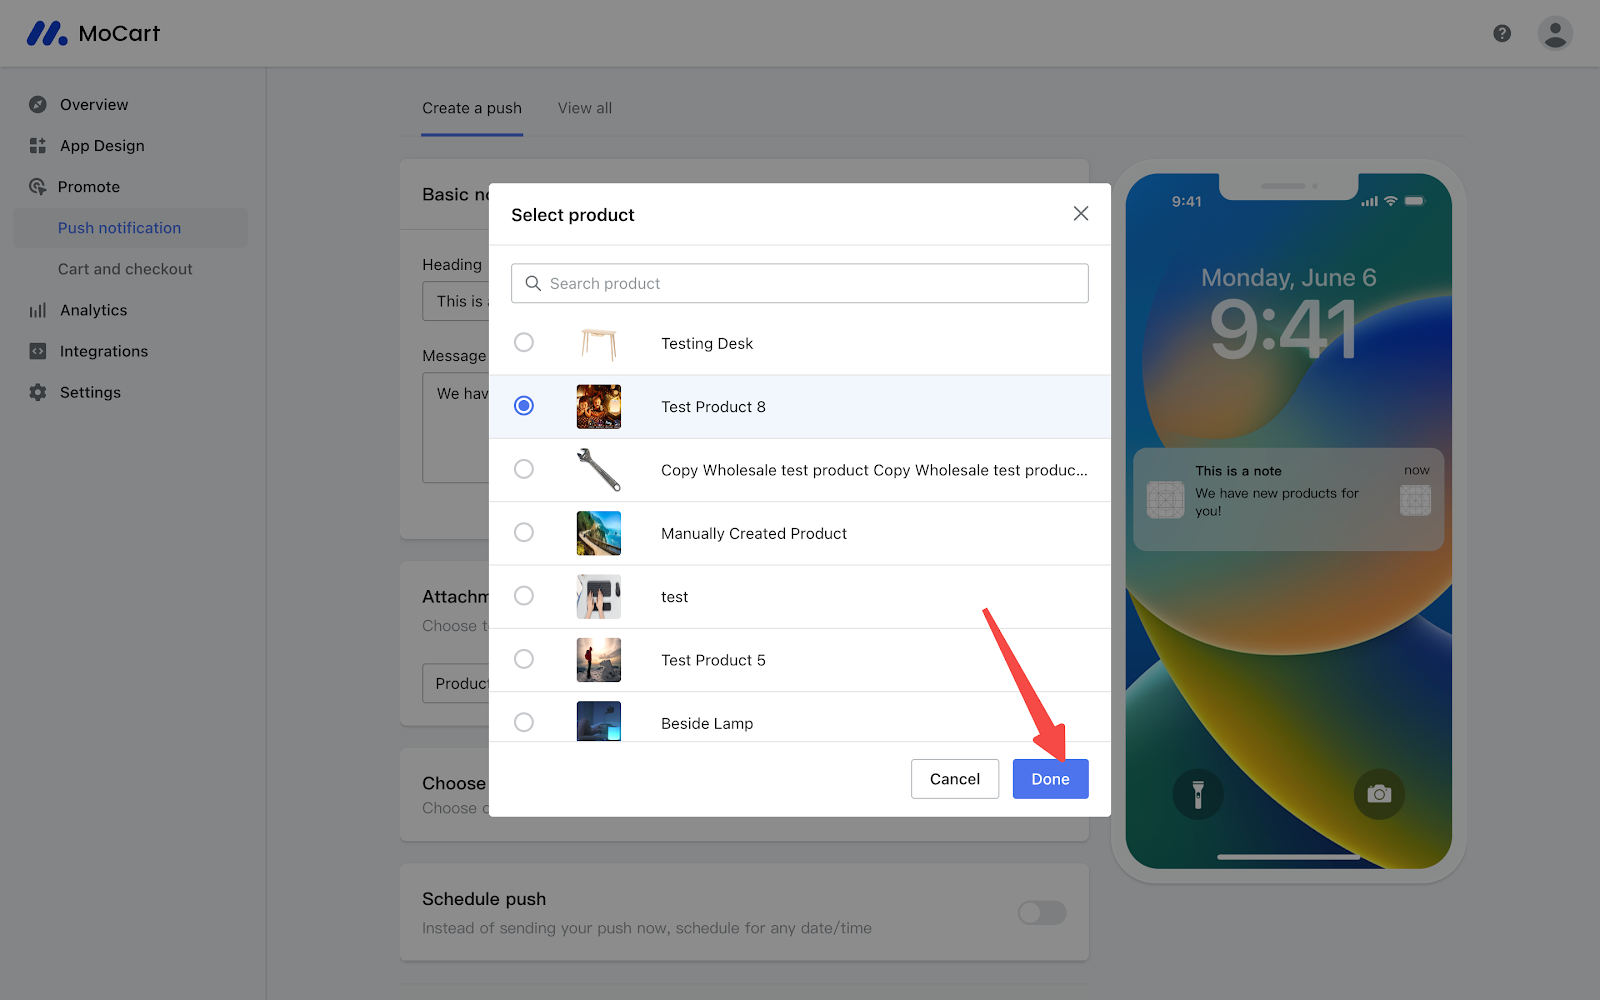
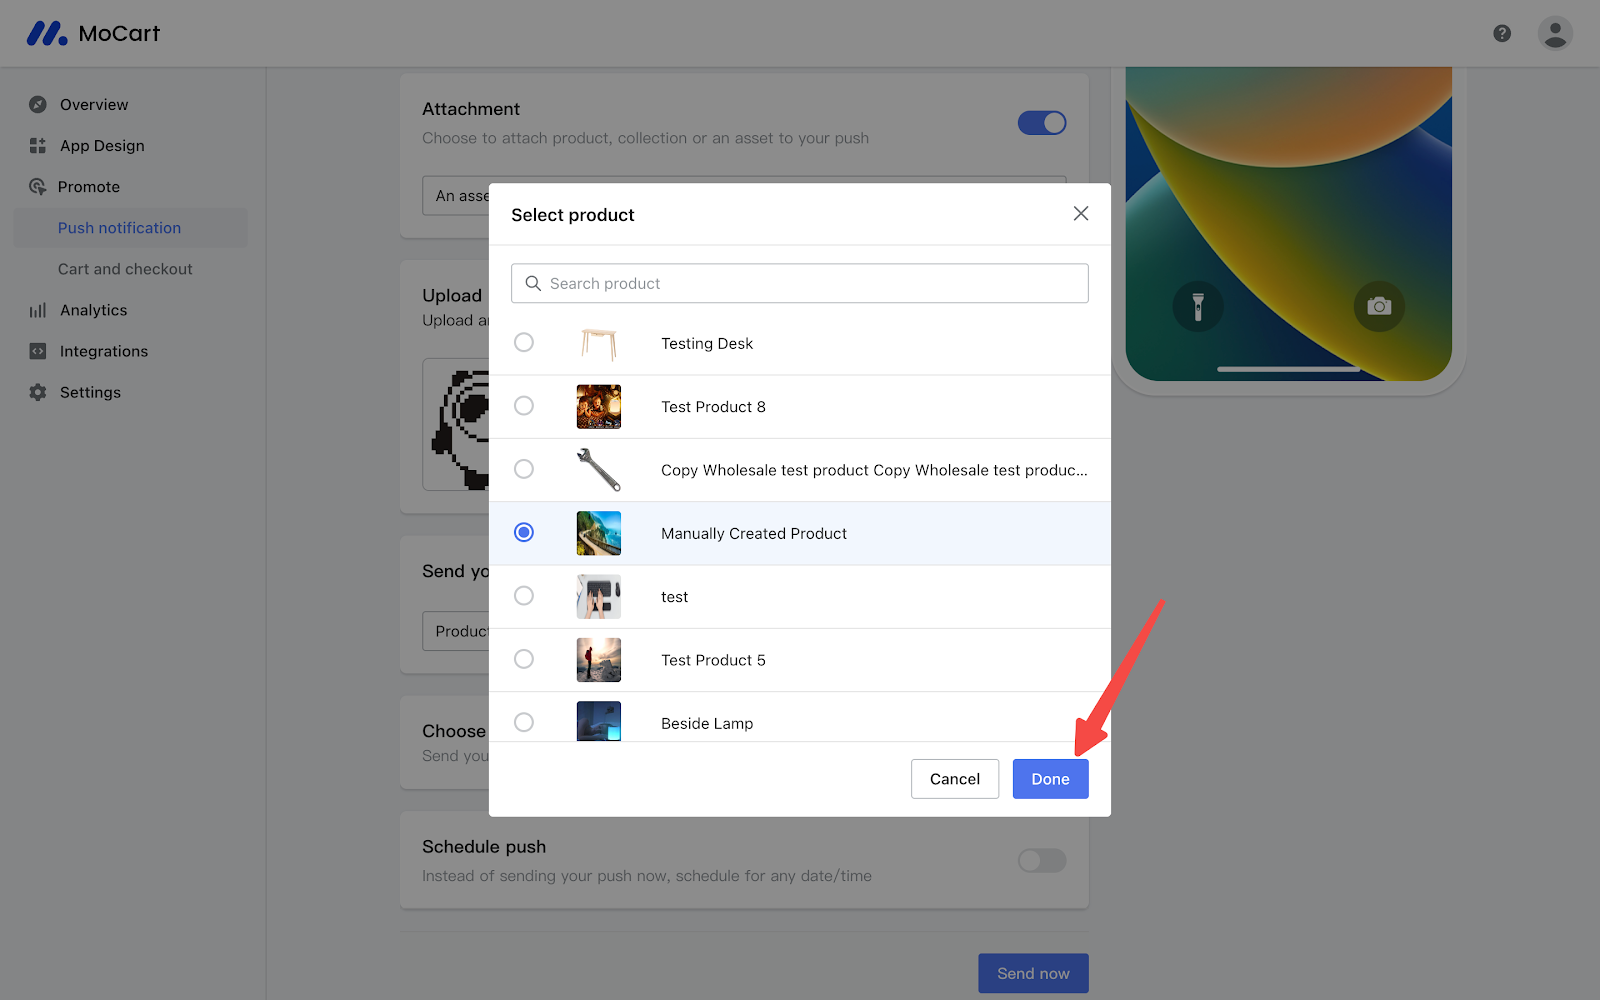
- Product: When you select this, a new section will appear asking you to choose a specific product. Customers will see images of the selected item when they receive the notification.
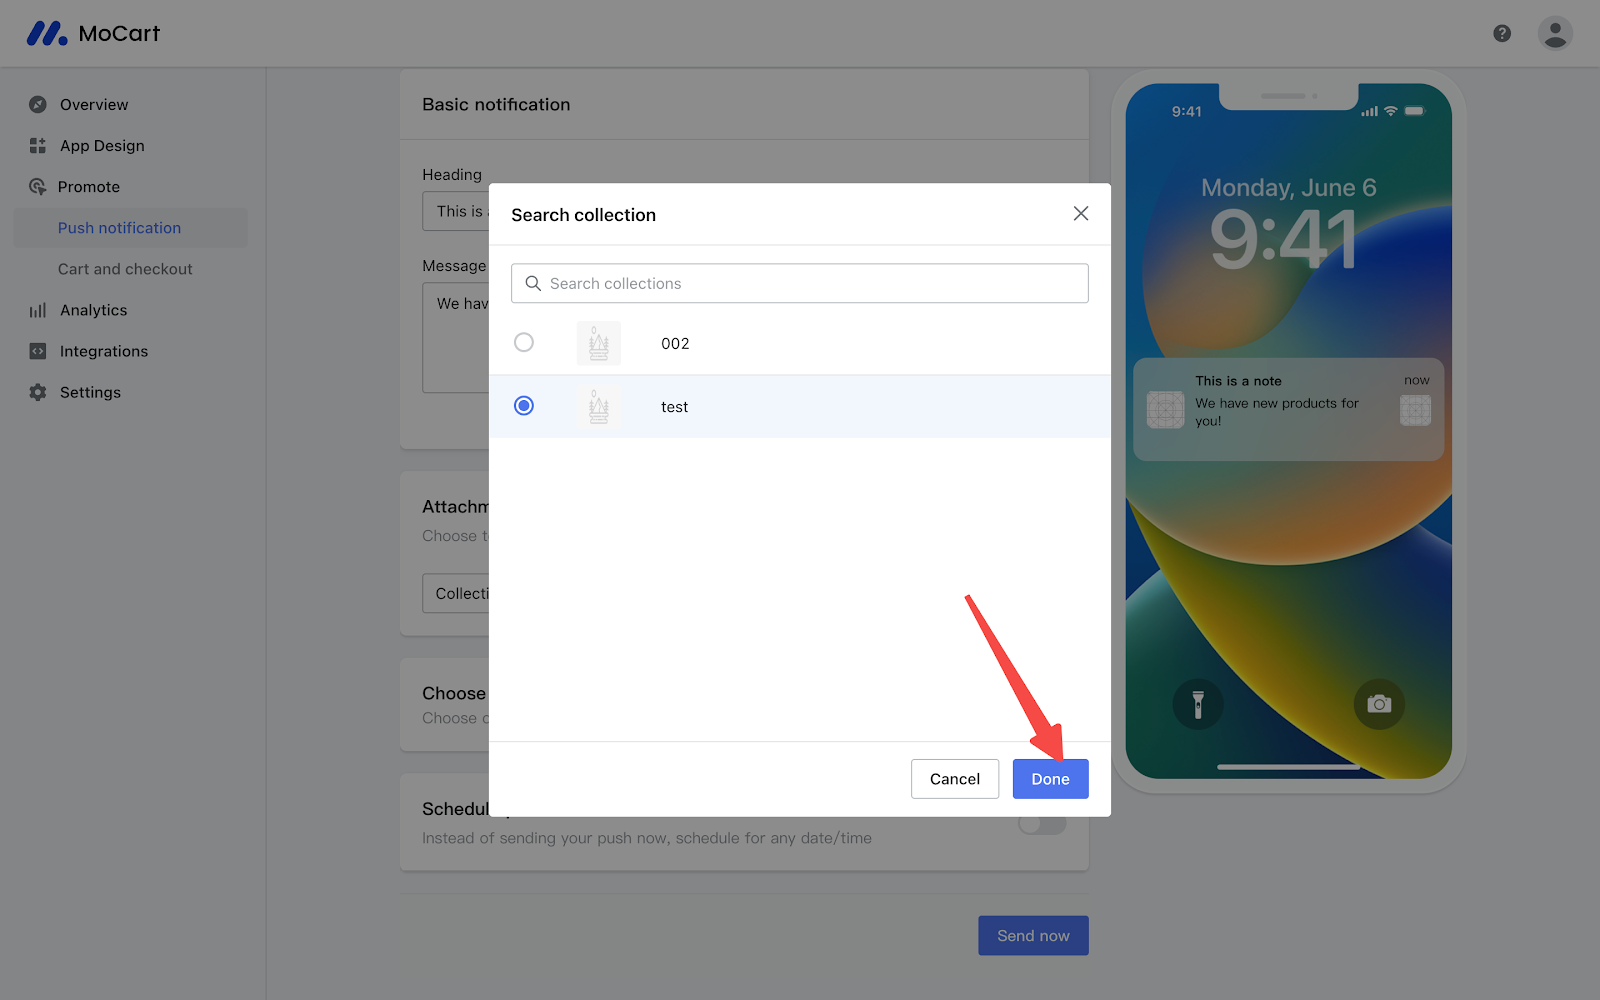
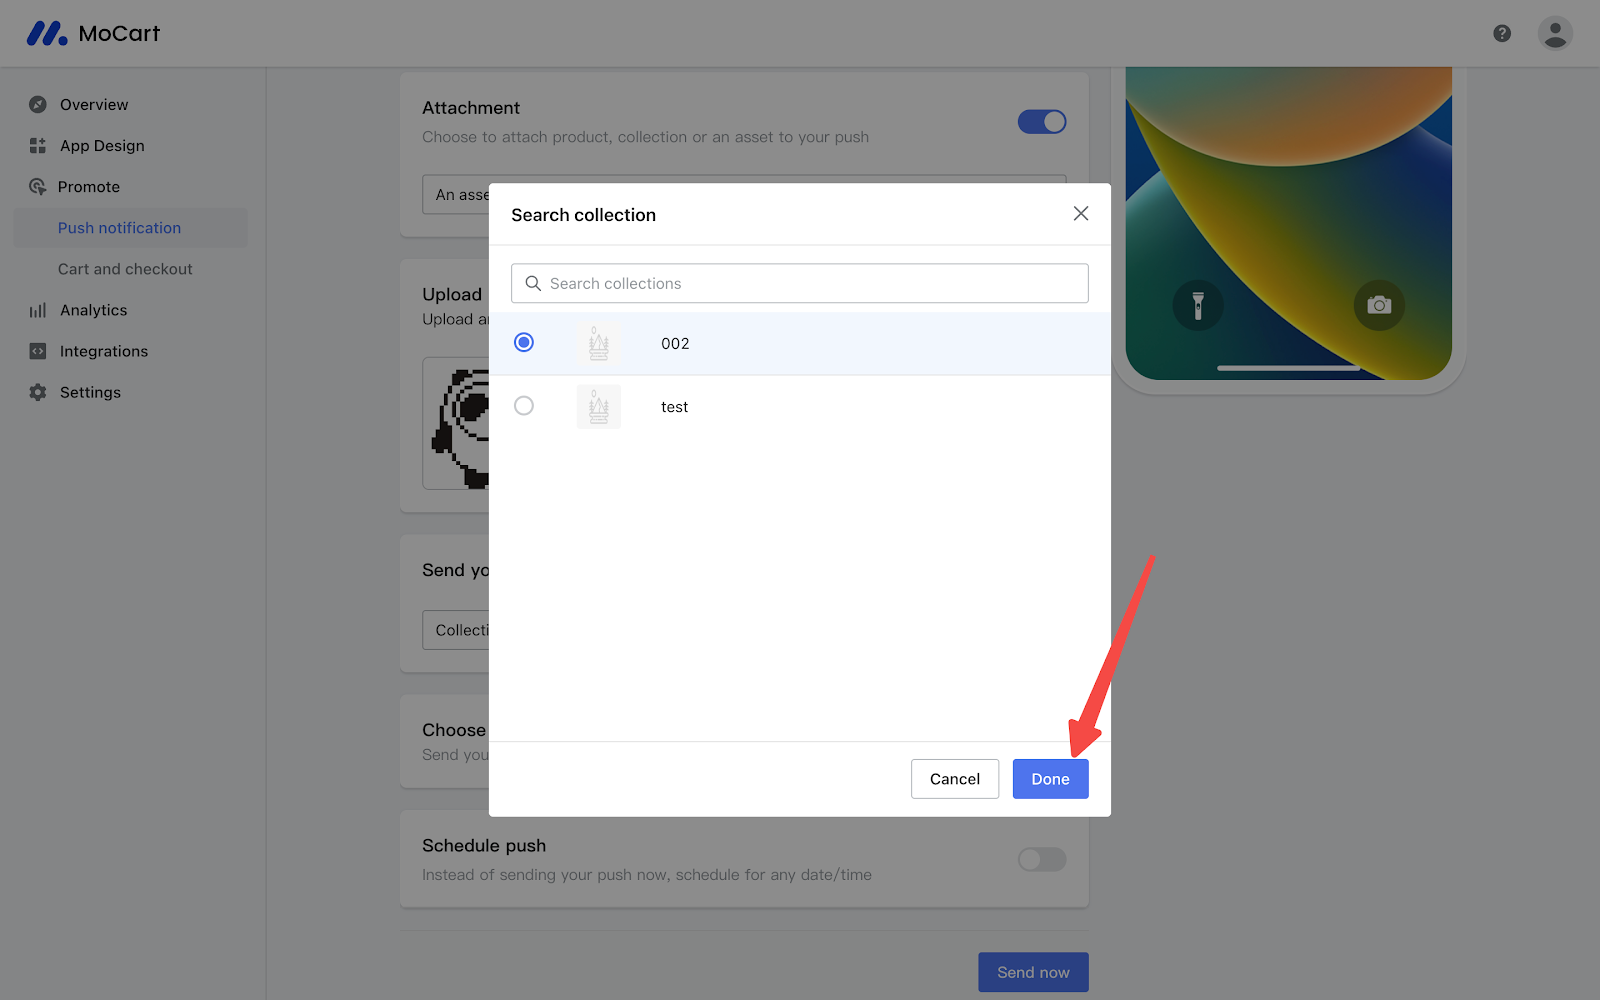
- Collection: Similar to the product option, a new section will prompt you to select a collection after choosing this. Customers will see the collection cover in the notification.
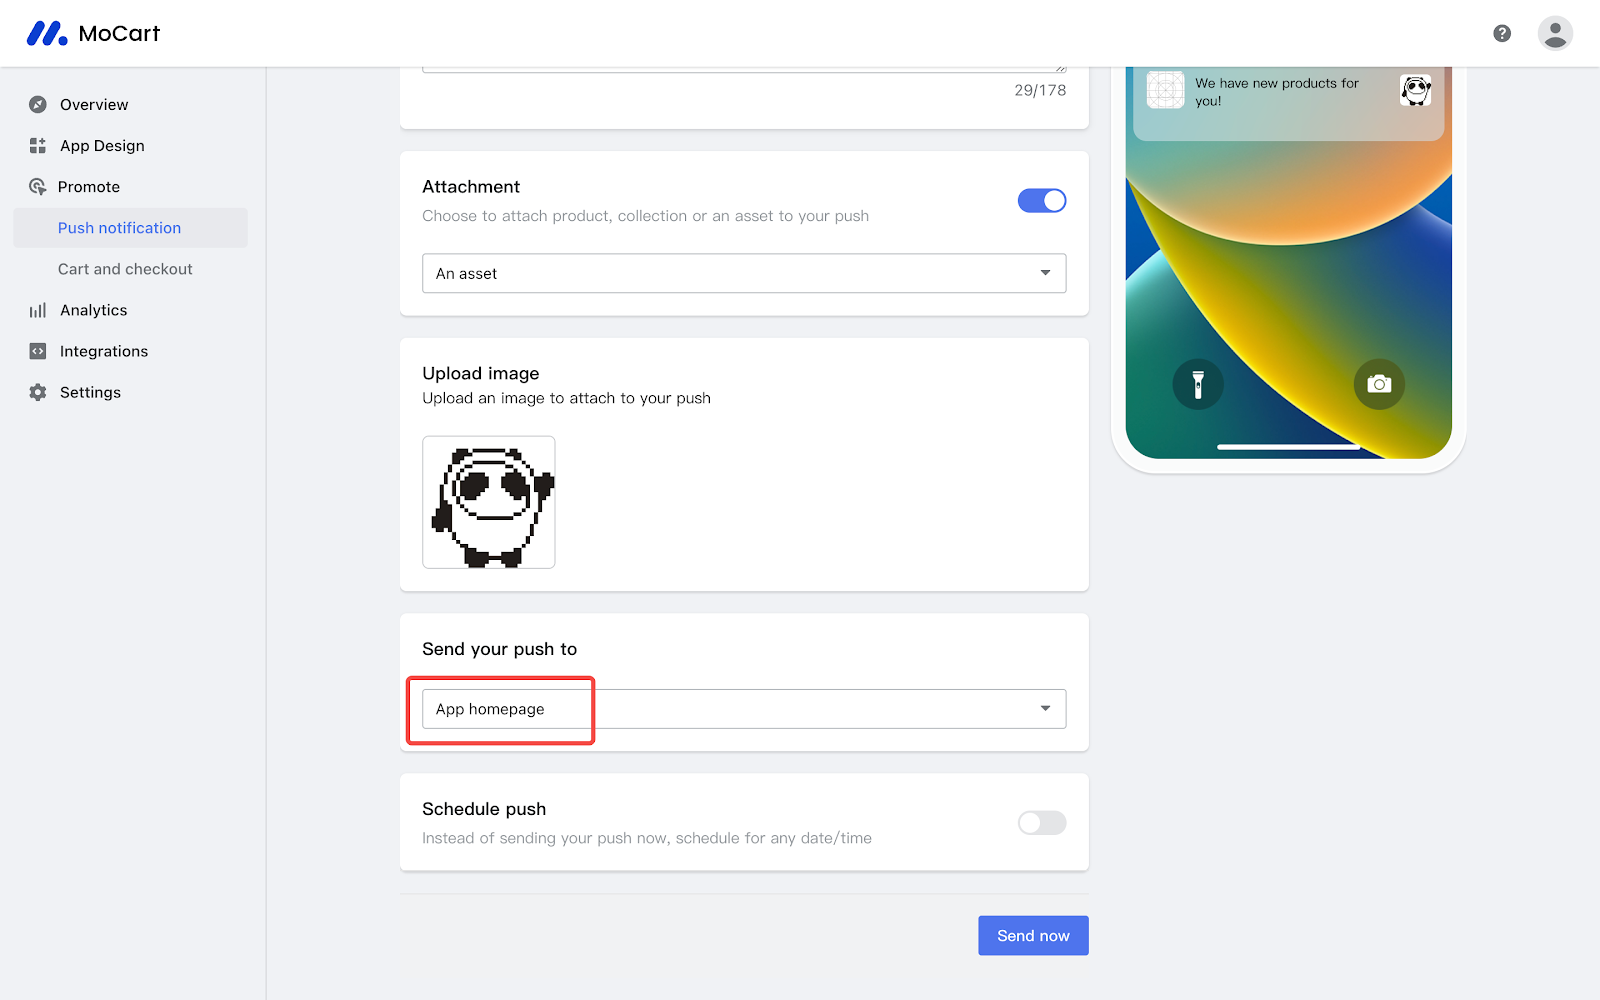
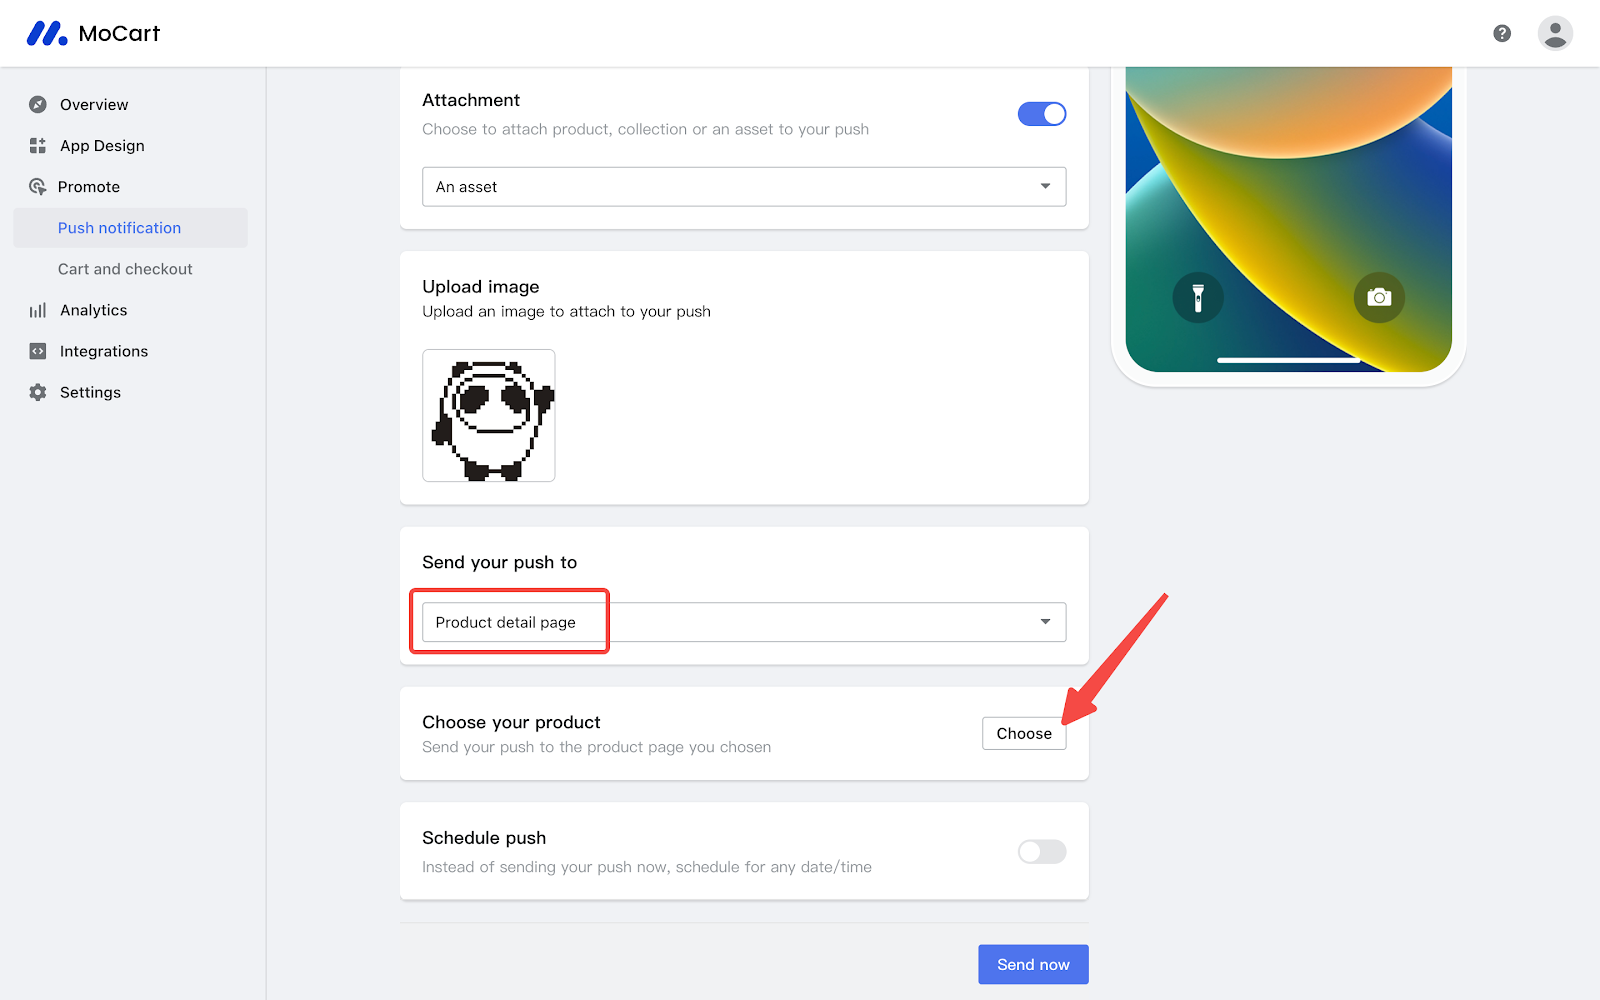
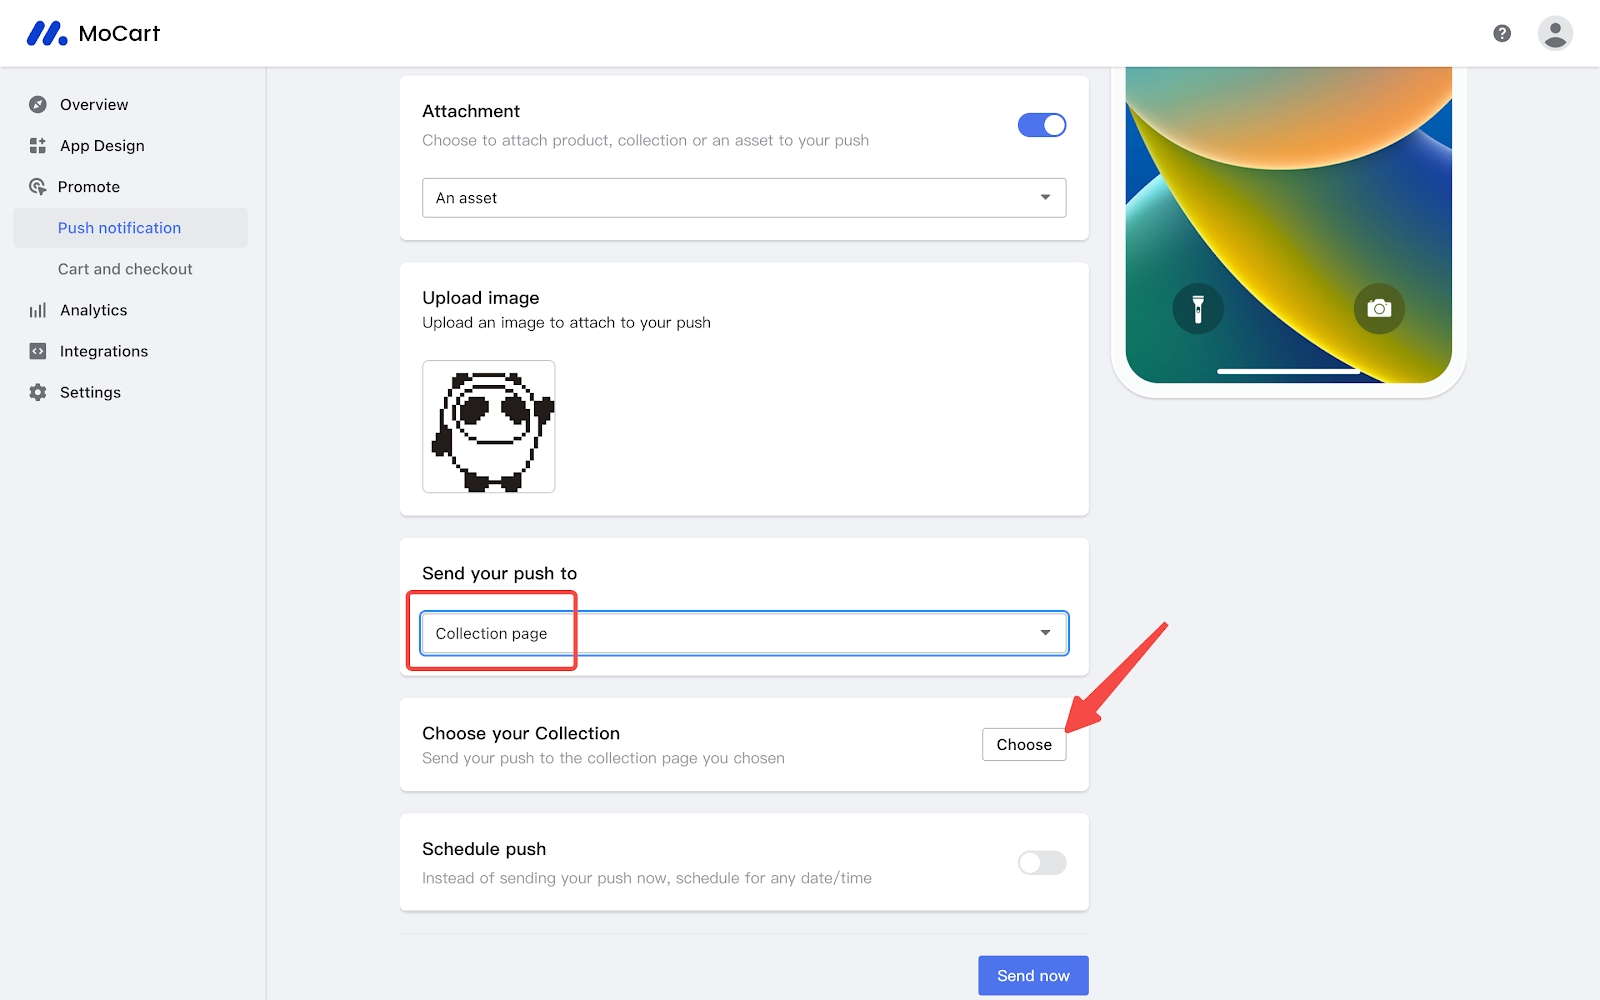
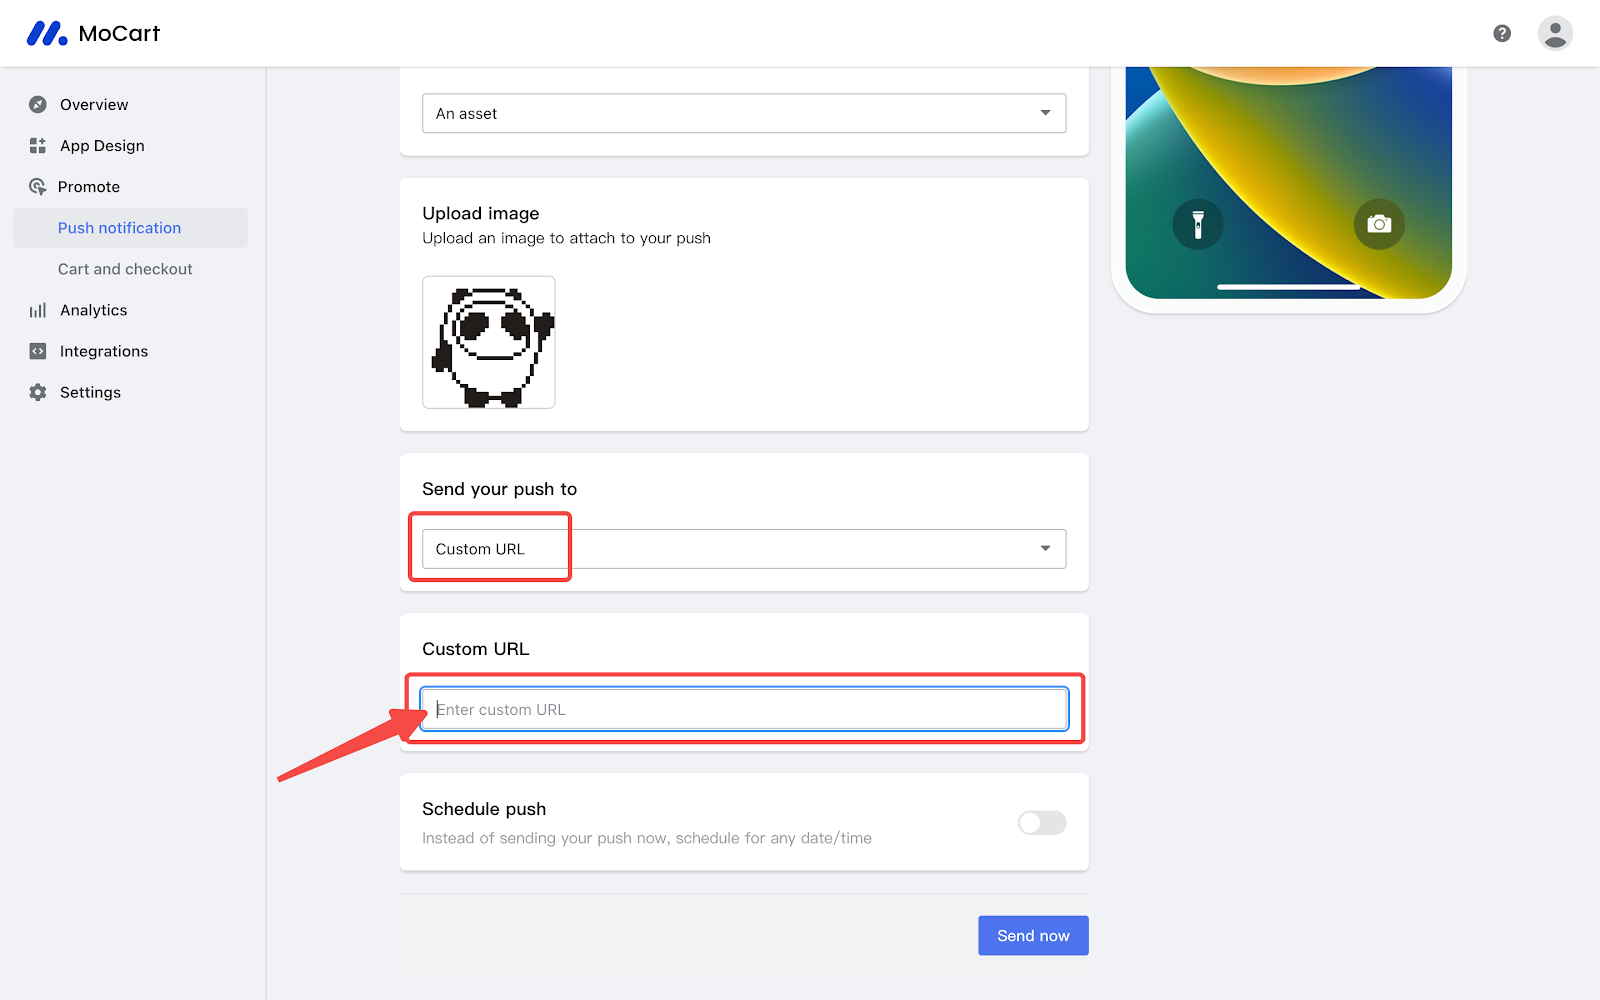
- An Asset: This option lets you upload an image as an attachment. Upon selection, another section will appear with a dropdown menu, offering these linking options:
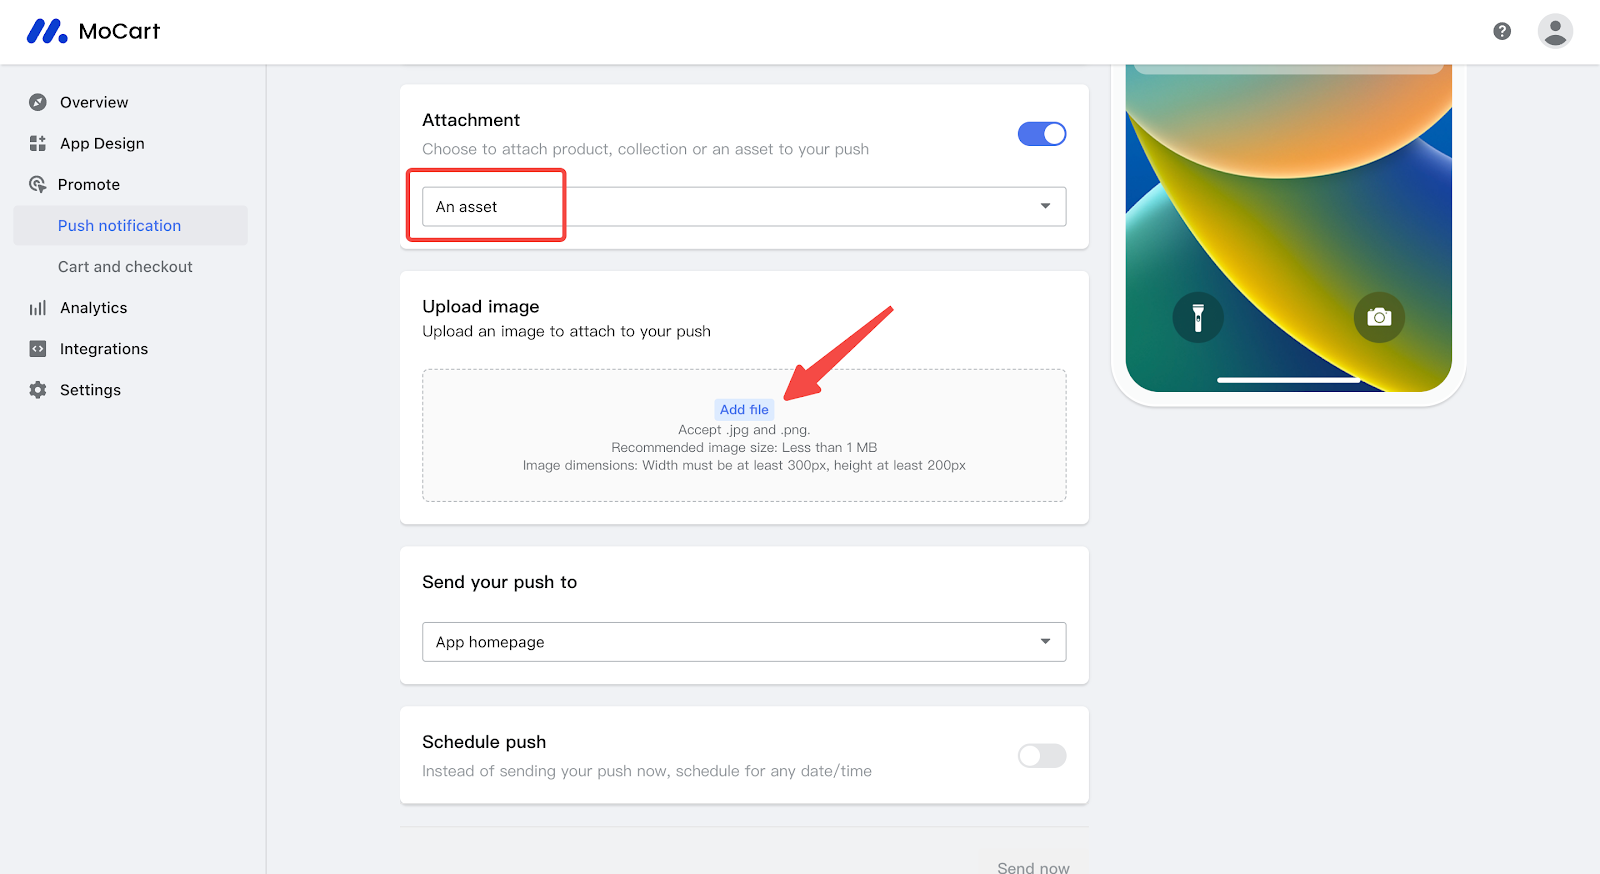
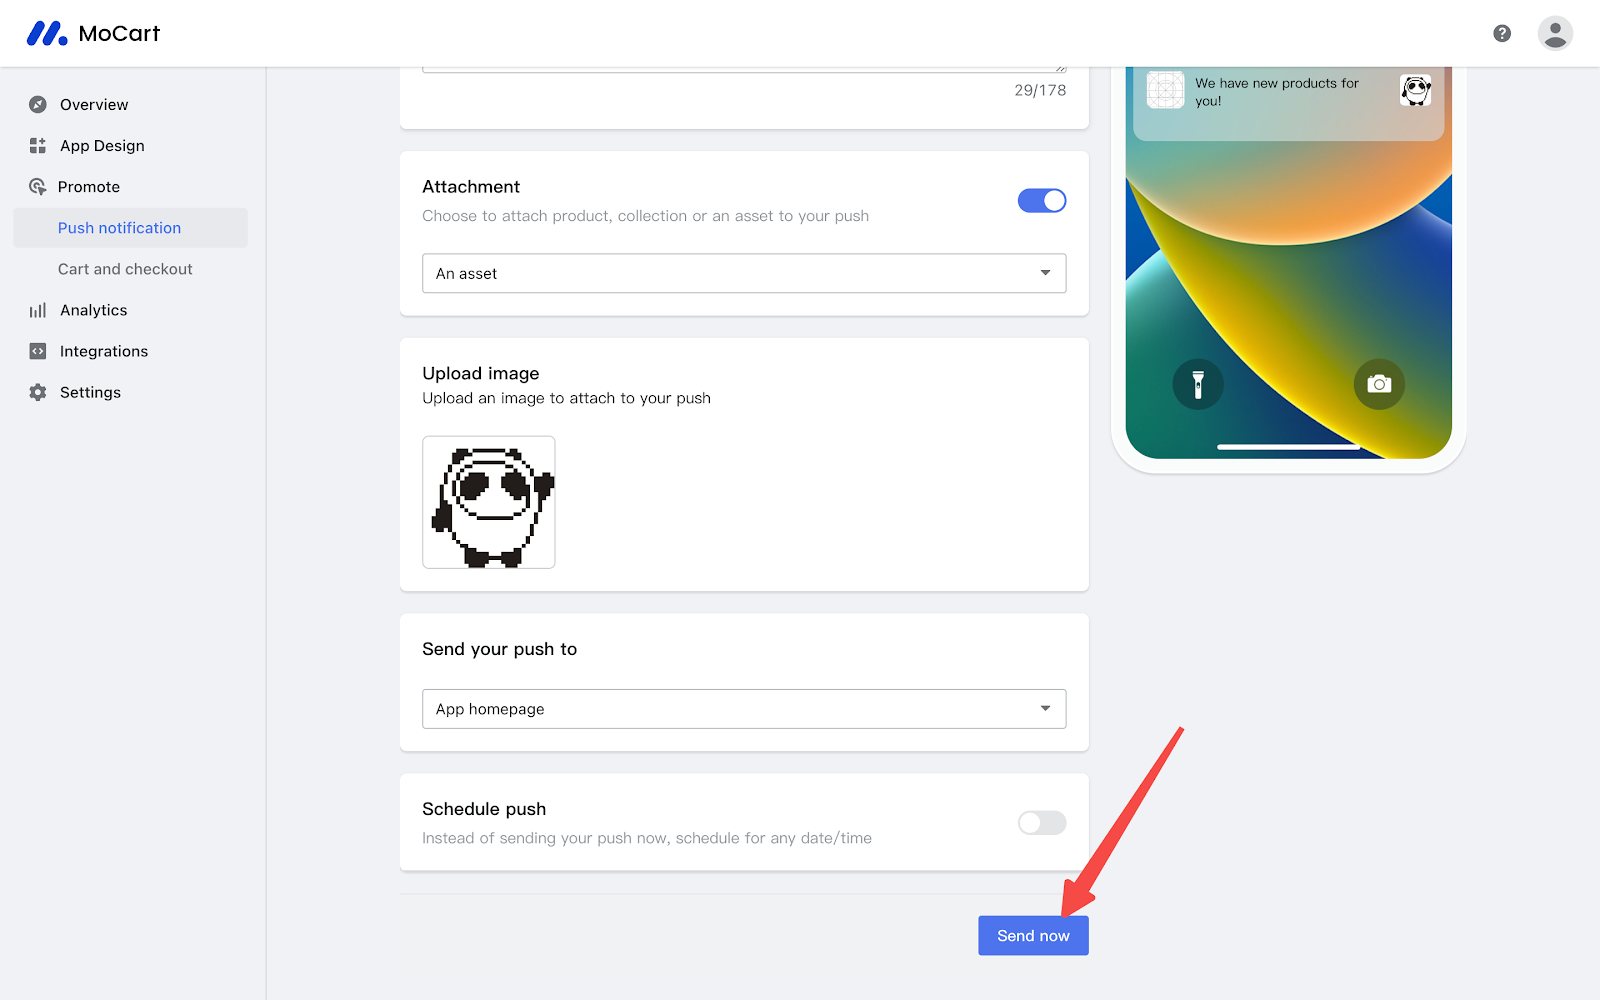
- App homepage: Automatically links to the app's main page.
- Product detail page: You'll be prompted to choose a target product.
- Collection page: You'll be prompted to choose a target collection.
- Custom URL: Enter a specific URL that customers will go to when they click the image.
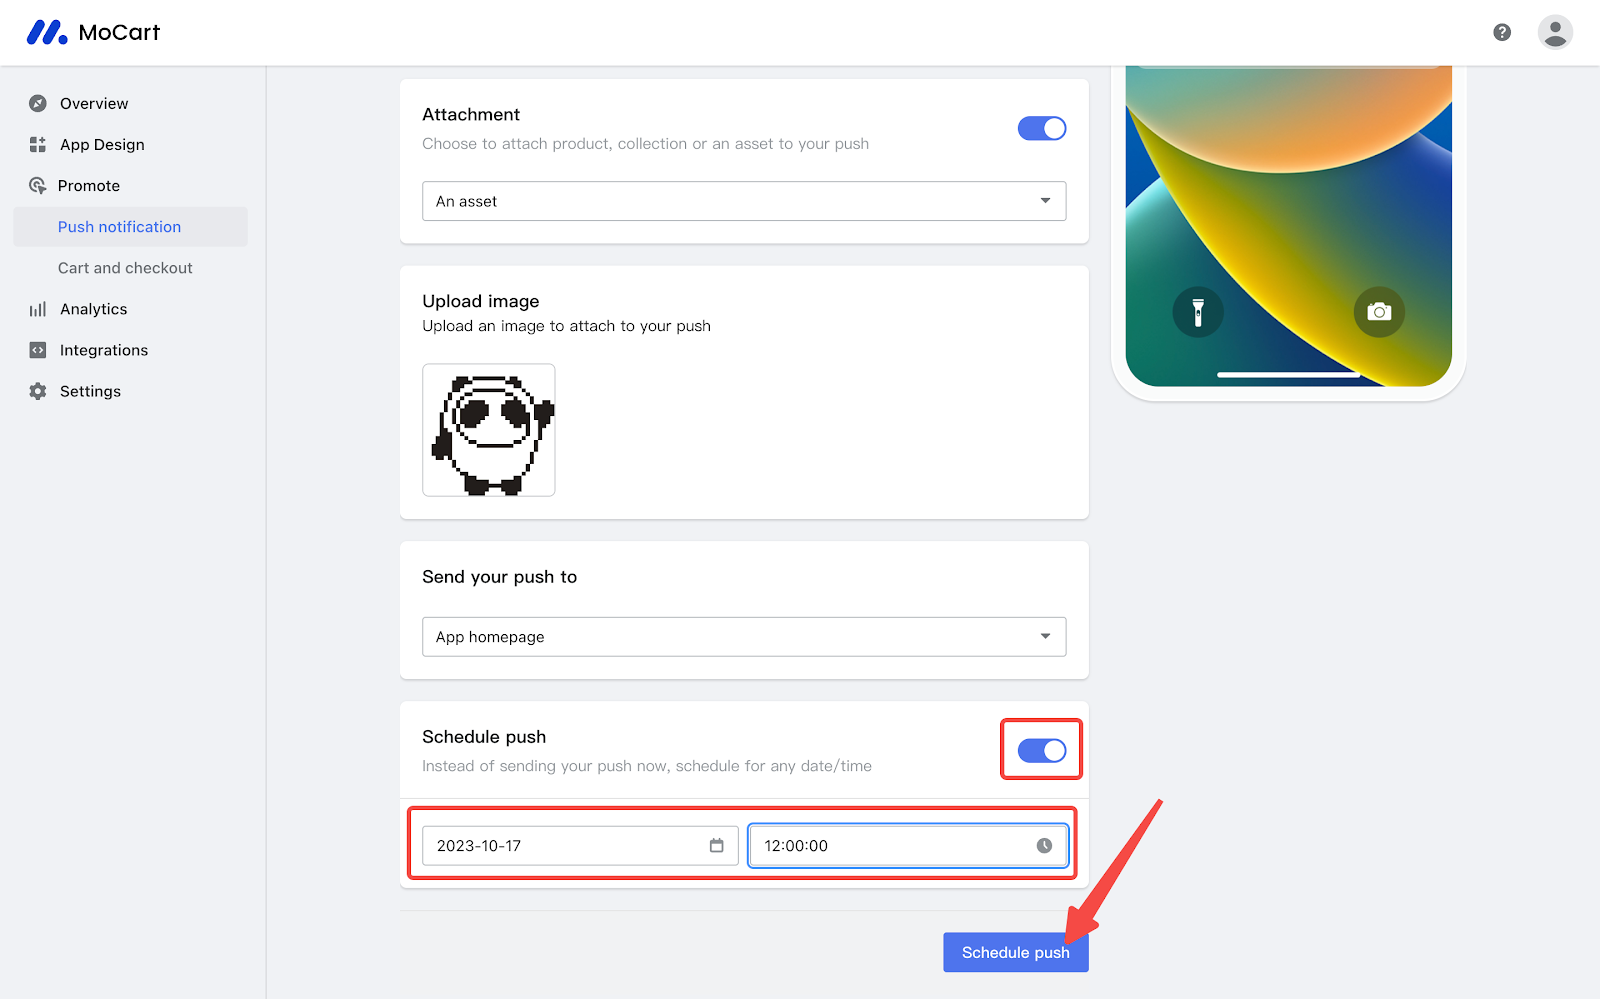
Schedule Push
Once you've set up the notification and any attachments, you can either click Send now to send it immediately or schedule it for a later time. Just enable the Scheduled push feature and set your preferred time.
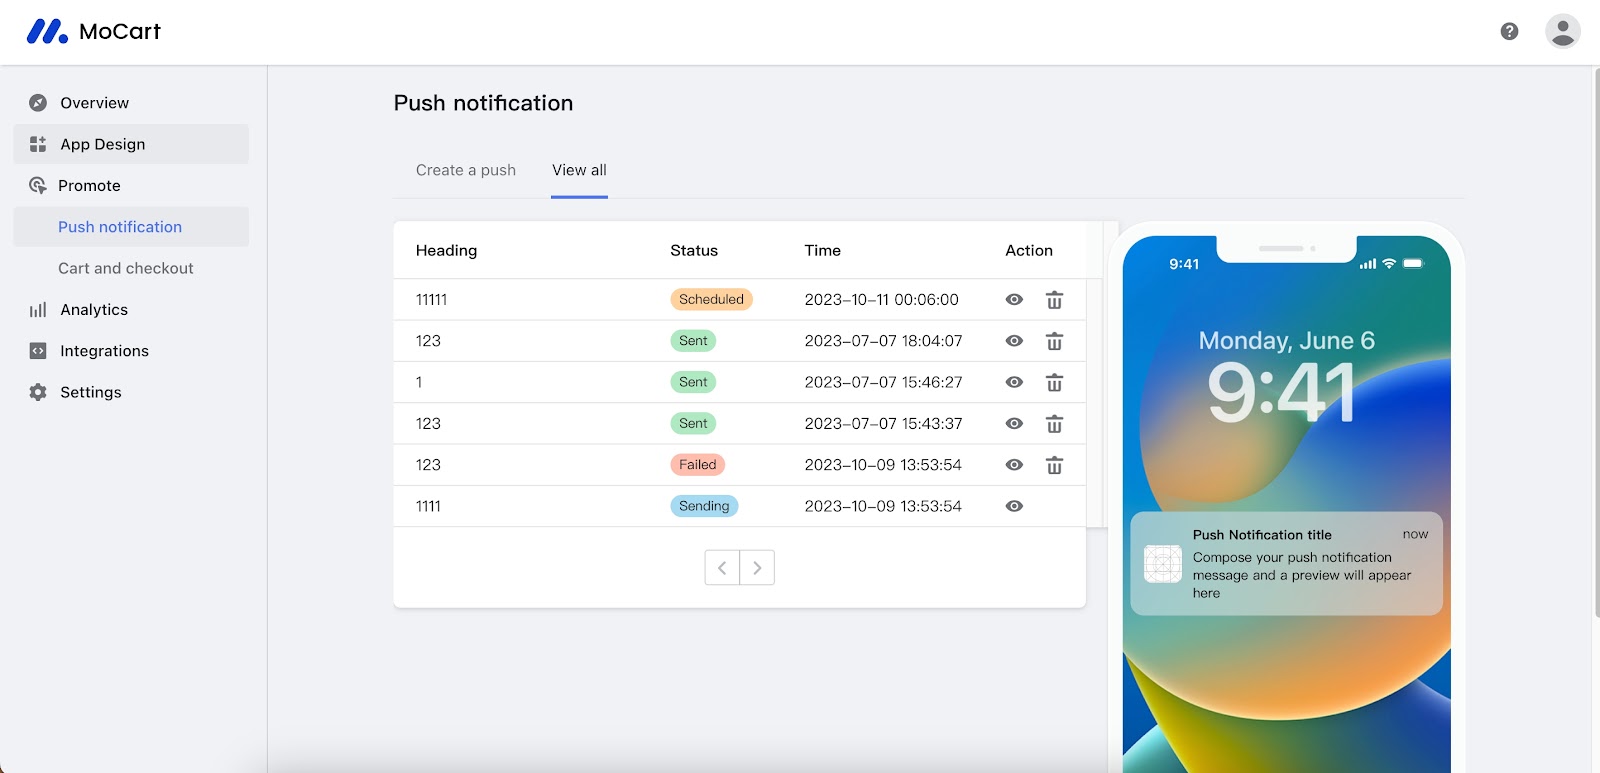
View All tab
Navigate to the View all tab to manage your previously created notifications. Here, you can check the status, timing, and actions available for each notification, making it easier to keep track of your communication with app users.
- Heading: The notification's name
- Status: Current condition of the notification (Sent, Scheduled, Sending, Failed)
- Time: When the notification was or will be sent
- Action: Options to preview or delete the notification
This streamlined approach should make setting up your push notifications easier and more intuitive.
Related articles
Publishing the MoCart app for the first time in the Apple Store


Comments
Please sign in to leave a comment.