Google Display Campaigns are a practical tool for reaching a wider audience through visual advertising. These campaigns utilize images, videos, and other visual formats on the Google Display Network, allowing your ads to appear across various websites, apps, and Google platforms like YouTube and Gmail. This strategy extends your advertising scope beyond just Google Search. Before you can get started on setting up your Google Display Campaign, you will first need to create a Google Ads account through Shoplazza. To learn more about creating a Google Ads account, click here.
Steps
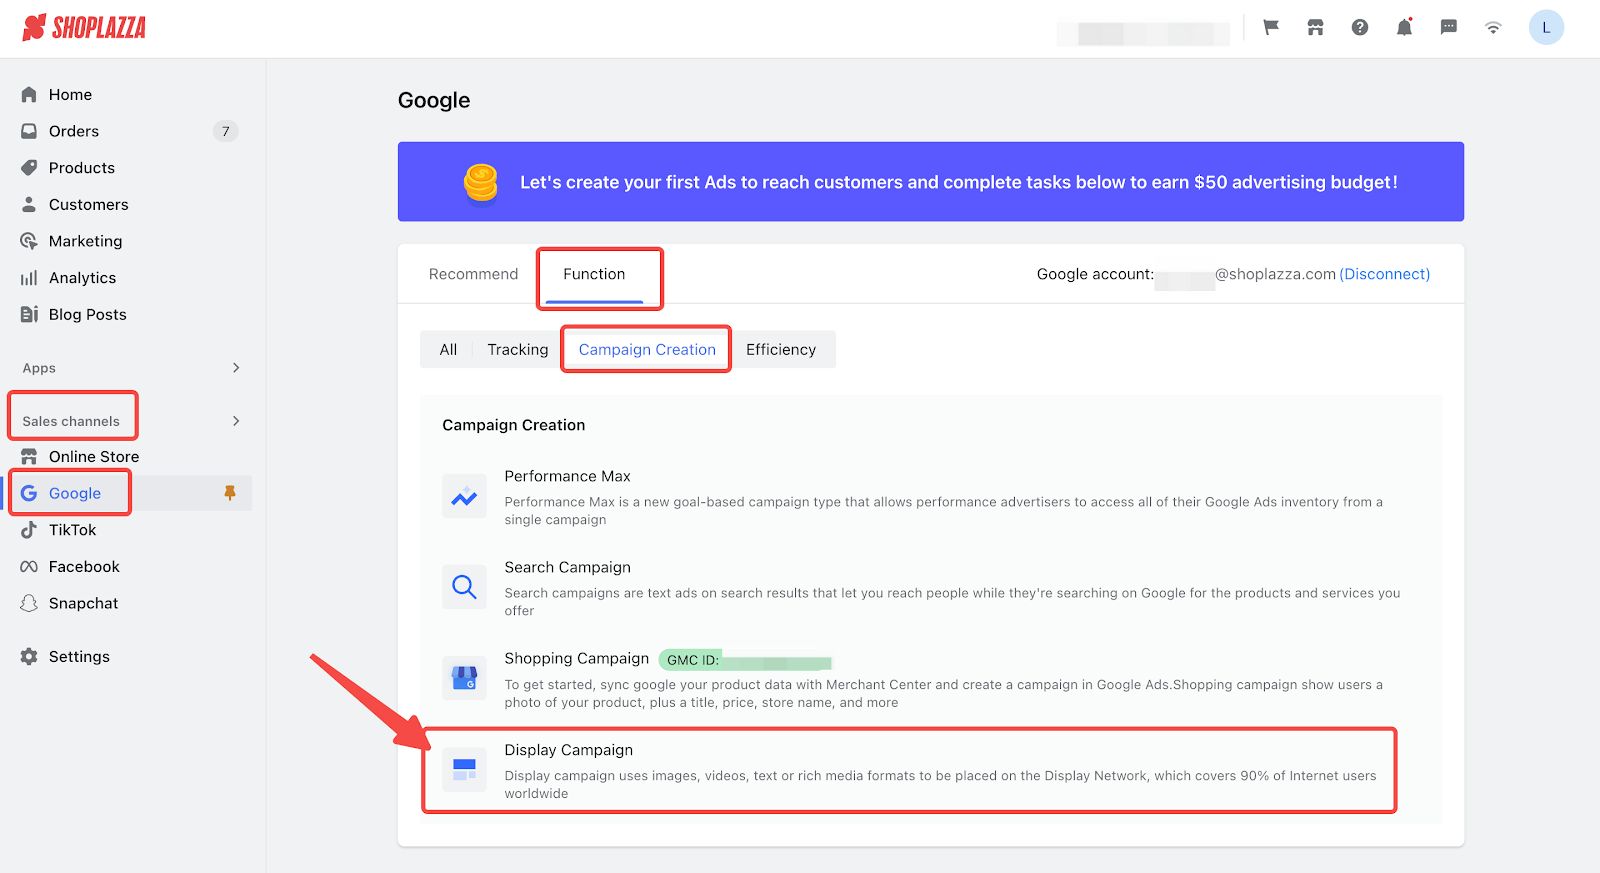
1. From your Shoplazza admin > Sales channels > Google, switch to the Functions tab. Under the Campaign Creation section, click Display Campaign.
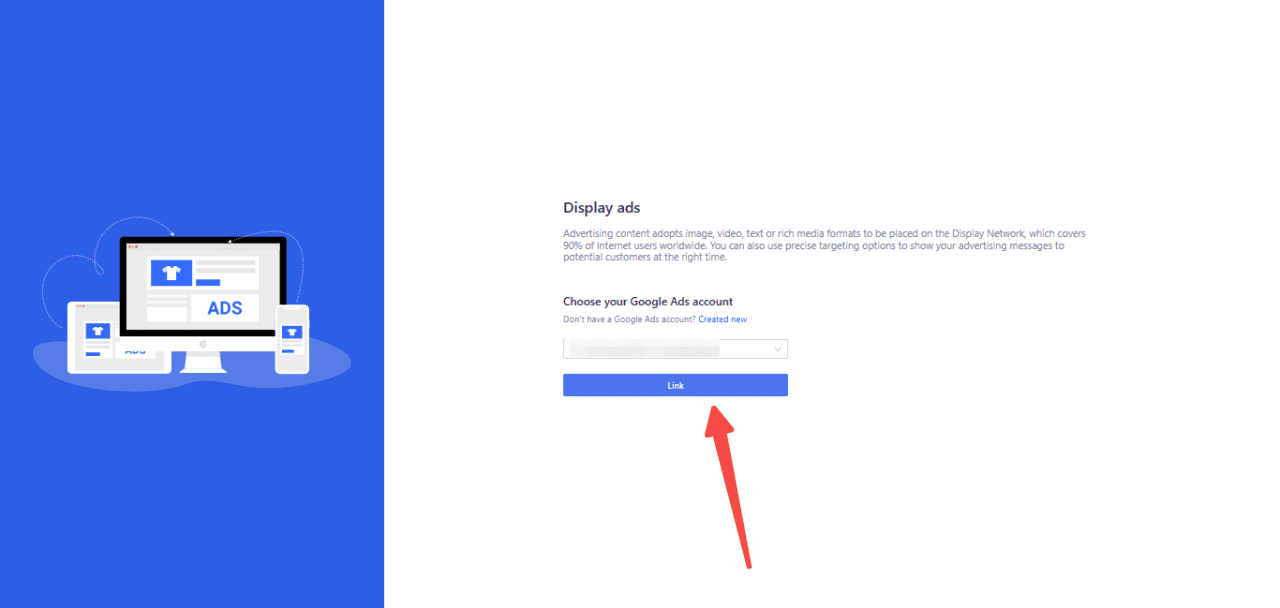
2. Link your Google Ads account. If your account isn't listed here, it's likely because it wasn't created through Shoplazza. Once your account is active, return to this page to link it from the dropdown options.
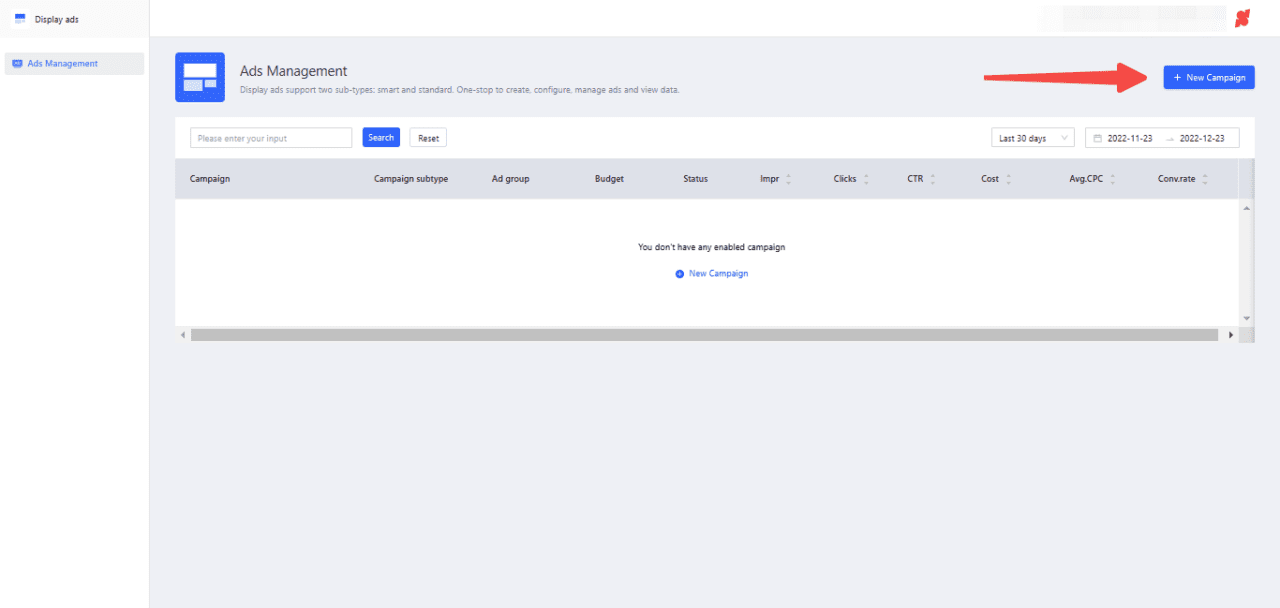
3. After linking, you will be taken to the Ads Management page. Click on New Campaign.
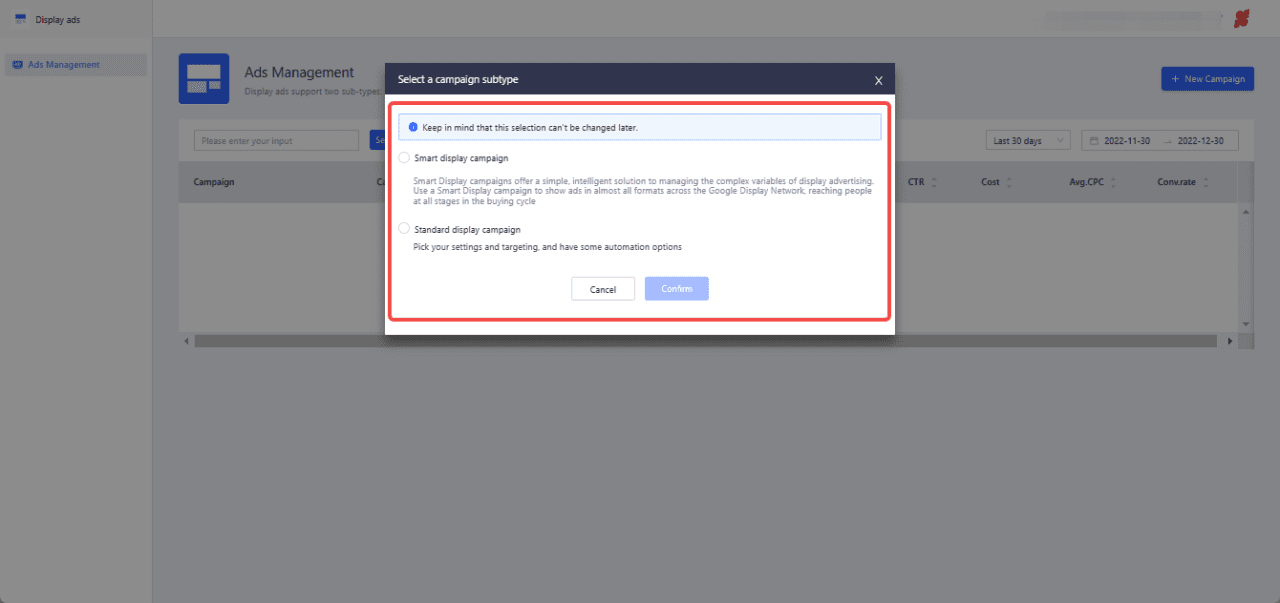
4. Choose from two campaign subtypes:
- Smart display campaign: For automated management of your display advertising.
- Standard display campaign: Allows custom settings and targeting.
Note
Once you select a campaign subtype, updating it later is not possible.
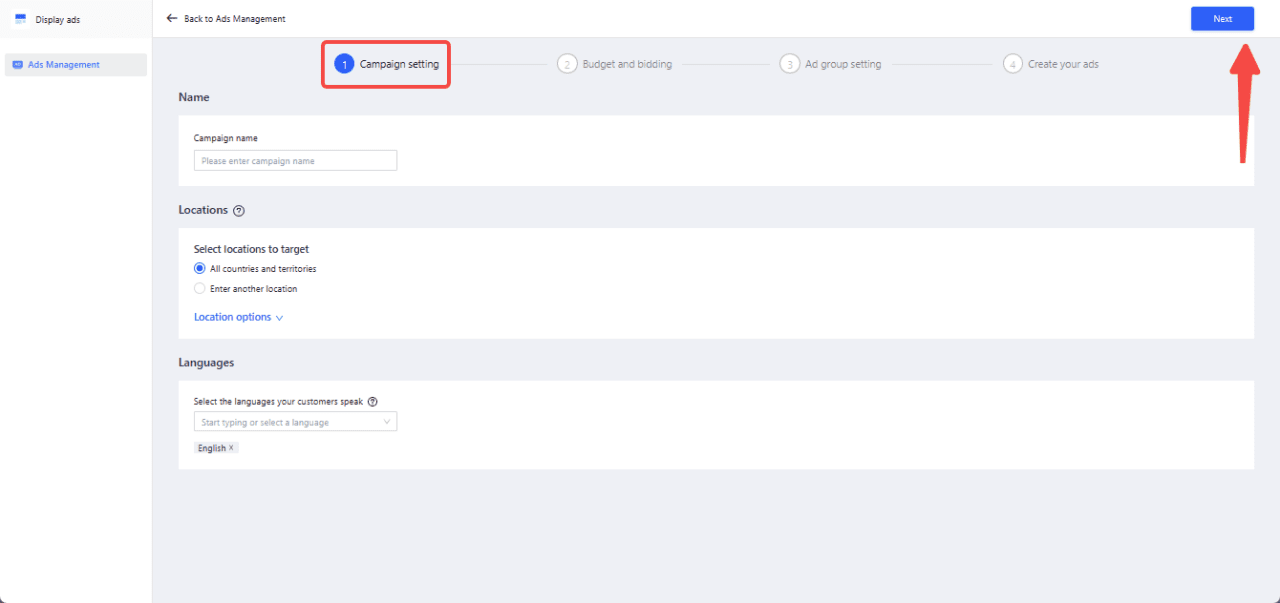
5. If you opt for a Smart Display Campaign, create a name, then select the locations and languages for your ads. Click Next after making your choices.
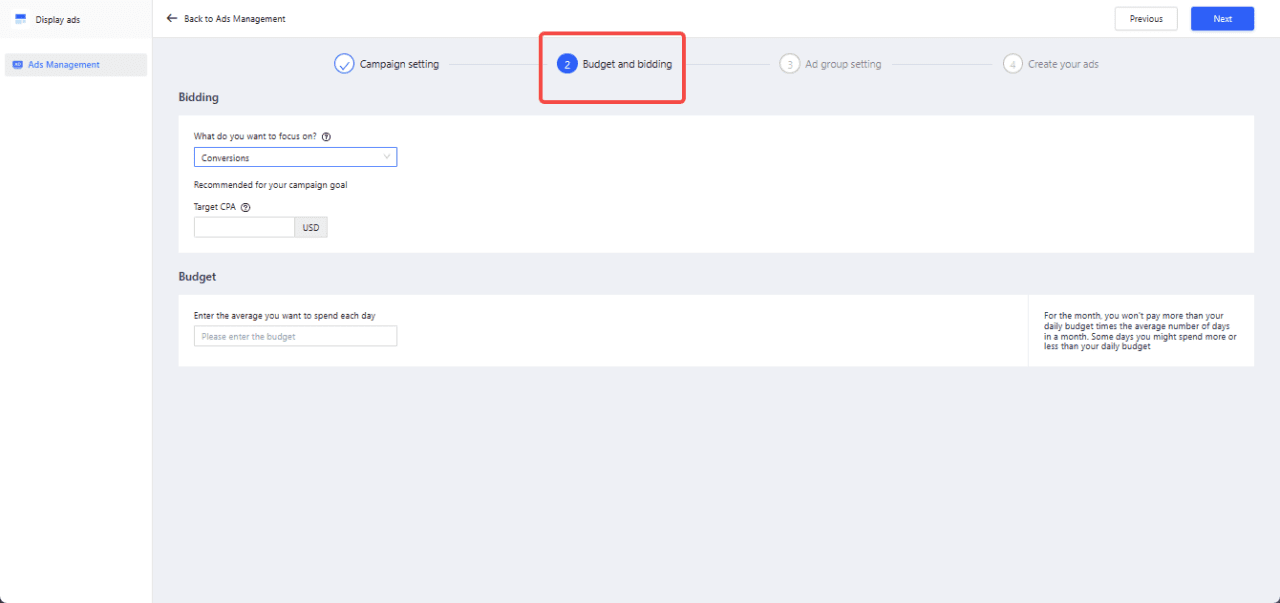
6. Define your campaign's budget and bidding strategy:
-
Bidding:
- The system suggests a strategy based on your campaign goal. Select conversions from the dropdown and set your target CPA (cost per action).
- The target CPA can influence the number of conversions.
-
Budget:
- Enter your daily budget. The maximum monthly spend is your daily budget multiplied by 30.4, the average number of days in a month.
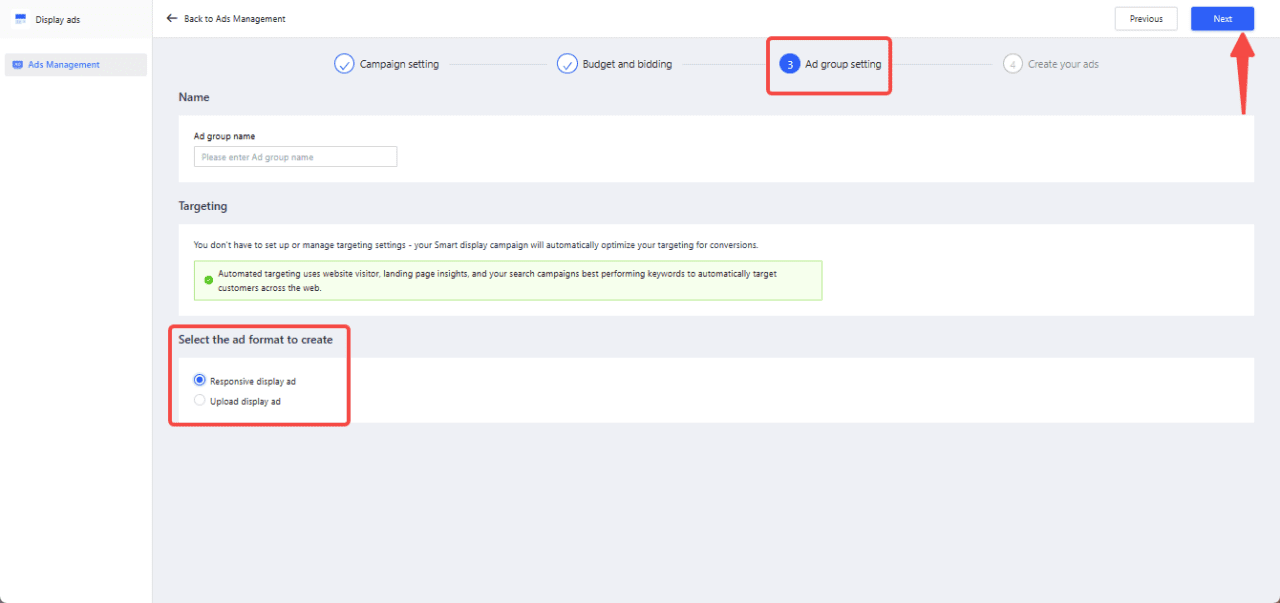
7. For the Ad Group setup, name your group and choose a format:
- Responsive Display Ad: For automated ad creation using uploaded assets.
- Upload Display Ad: Offers more creative control, requiring images prepared in advance.
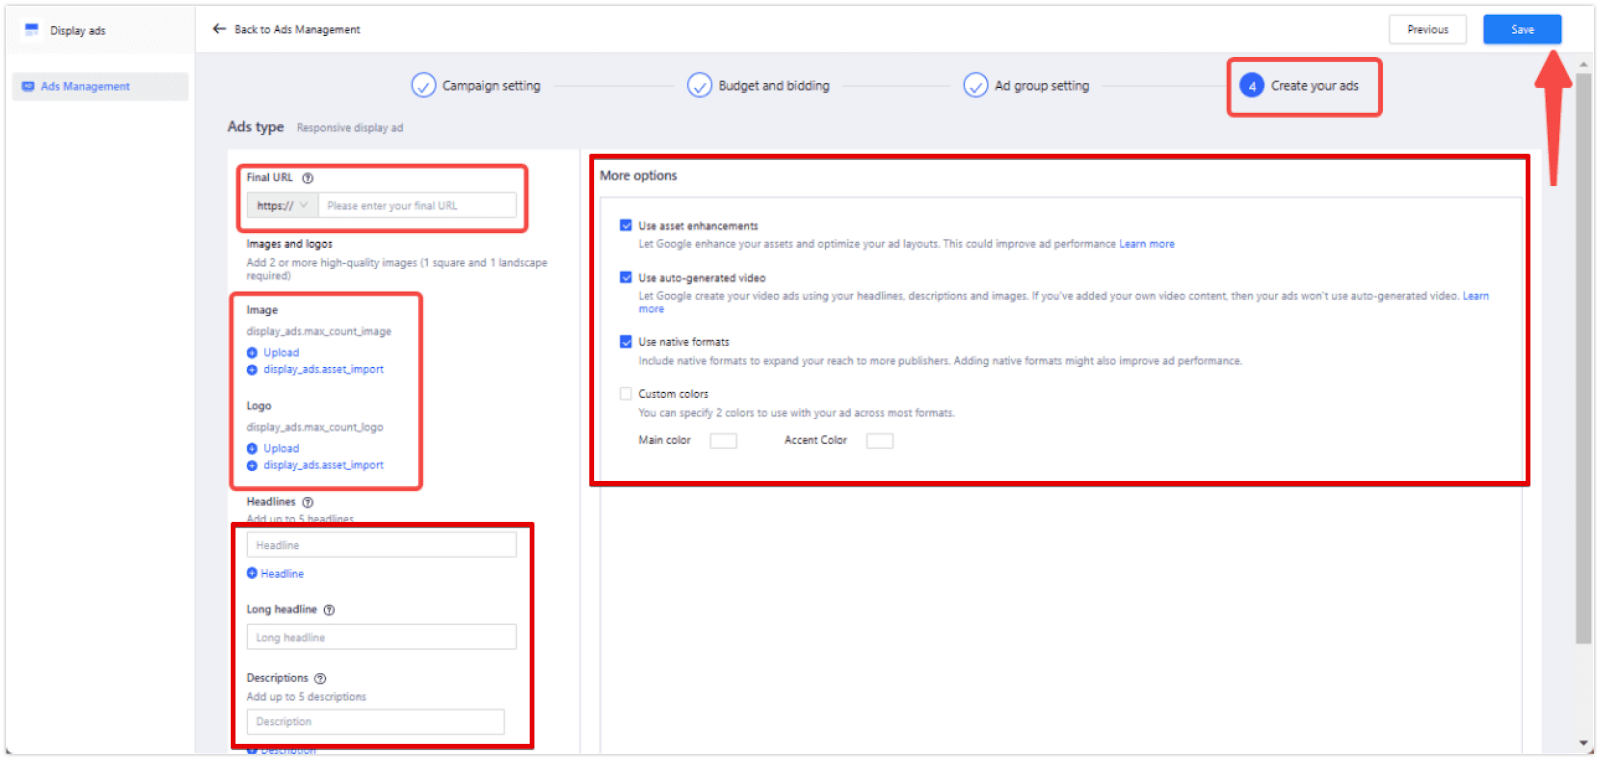
8. For your chosen Ad format, complete the ad setup with these specifics:
- Responsive Display Ad:
-
- Enter the Final URL of your landing page where you want users to be directed after clicking your ad.
- Upload your Images and Logos: Google requires at least one square and one landscape image for optimal display across different sites and devices. You can upload these directly or import from your asset library.
- Craft compelling Headlines: You can add up to five different headlines that Google will rotate to test which performs best. Keep them clear and relevant to your ad's message.
- Provide a Long Headline: This gives you more space to explain your offer. It’s shown instead of your short headline in larger ads.
- Write up to five Descriptions: Google will also rotate these to find the best performing message.
- Ensure all text fields are completed with attention-grabbing copy that reflects your brand's voice and your campaign's goals. Use the More options section to enhance your ad with additional features like asset enhancements, auto-generated video, native formats, and custom colors to match your brand identity.
- Once all the information is entered and assets are uploaded, click Save to proceed.
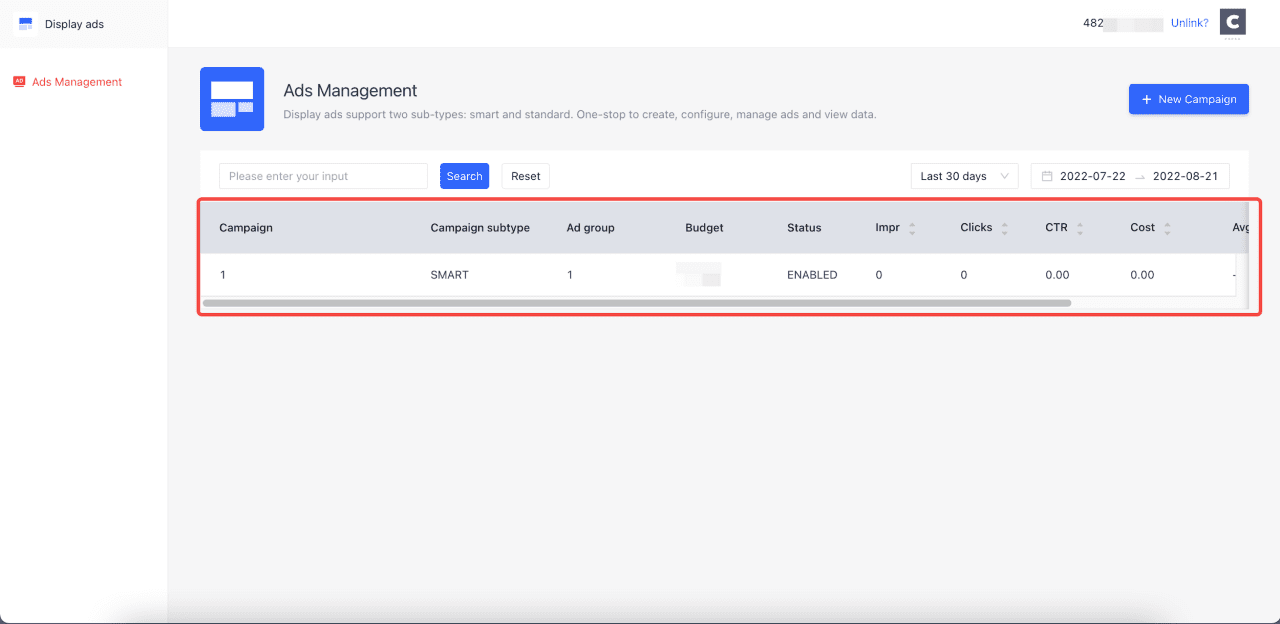
9. After your ad campaign is created, you can view it and its key metrics on the Ads Management homepage.
Note
- The Ads Management list includes only the ads created through Shoplazza Admin.
- Google campaigns can't be deleted, but their status can be changed to 'Paused'.
Google Display Campaigns provide a straightforward and efficient way to enhance your online advertising efforts. These campaigns offer customization options to align with your marketing strategies. Regular monitoring and adjustments are essential to optimize your campaign's performance.


Comments
Please sign in to leave a comment.