
Setting up Meta Pixel and Conversions API is essential for accurate tracking and better ad performance on Facebook. These tools work together to capture both online and server-side events, giving you deeper insights into customer behavior.
In this guide, you’ll learn how to create a Meta Pixel in Meta Events Manager, get your access token, and manually activate both Meta Pixel and Conversions API in your Shoplazza admin.
Follow these steps to enhance data accuracy, build smarter ad audiences, and maximize your marketing results on Facebook.
Creating a Facebook Pixel
To get started, create a Facebook Pixel in Meta Events Manager. This step is essential before connecting it to your Shoplazza store.
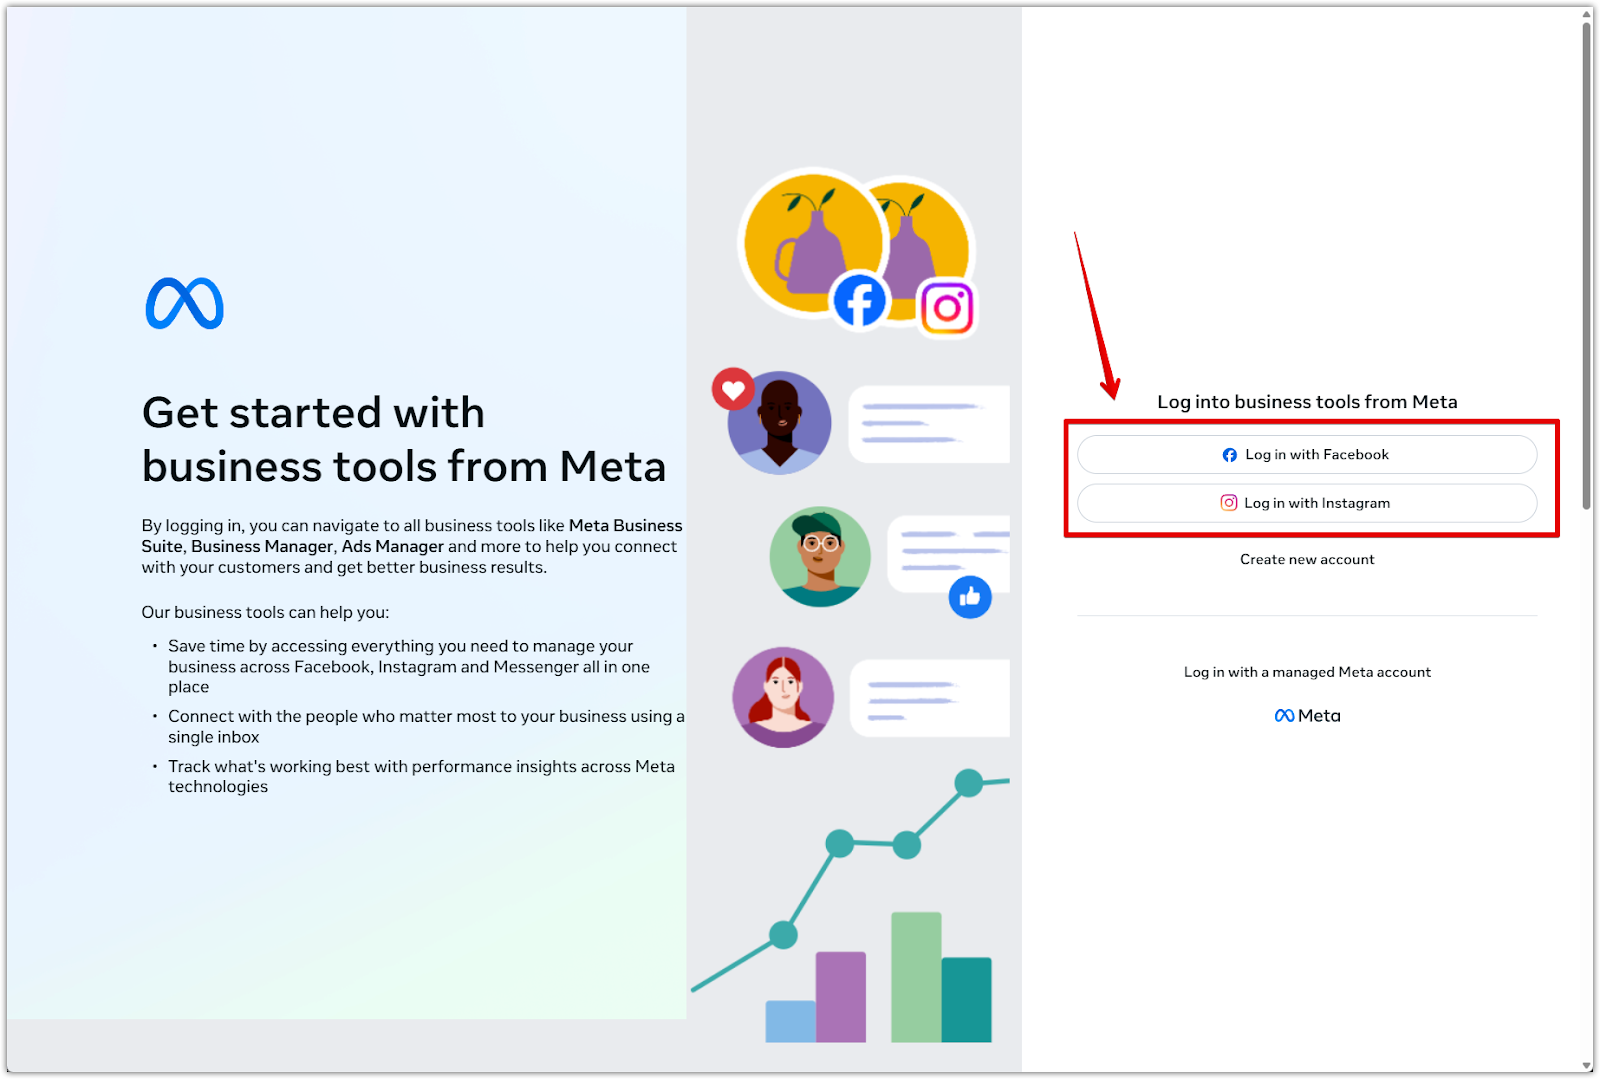
1. Log in to Meta Business Manager: Go to Meta Business Manager and sign in with your Facebook account.
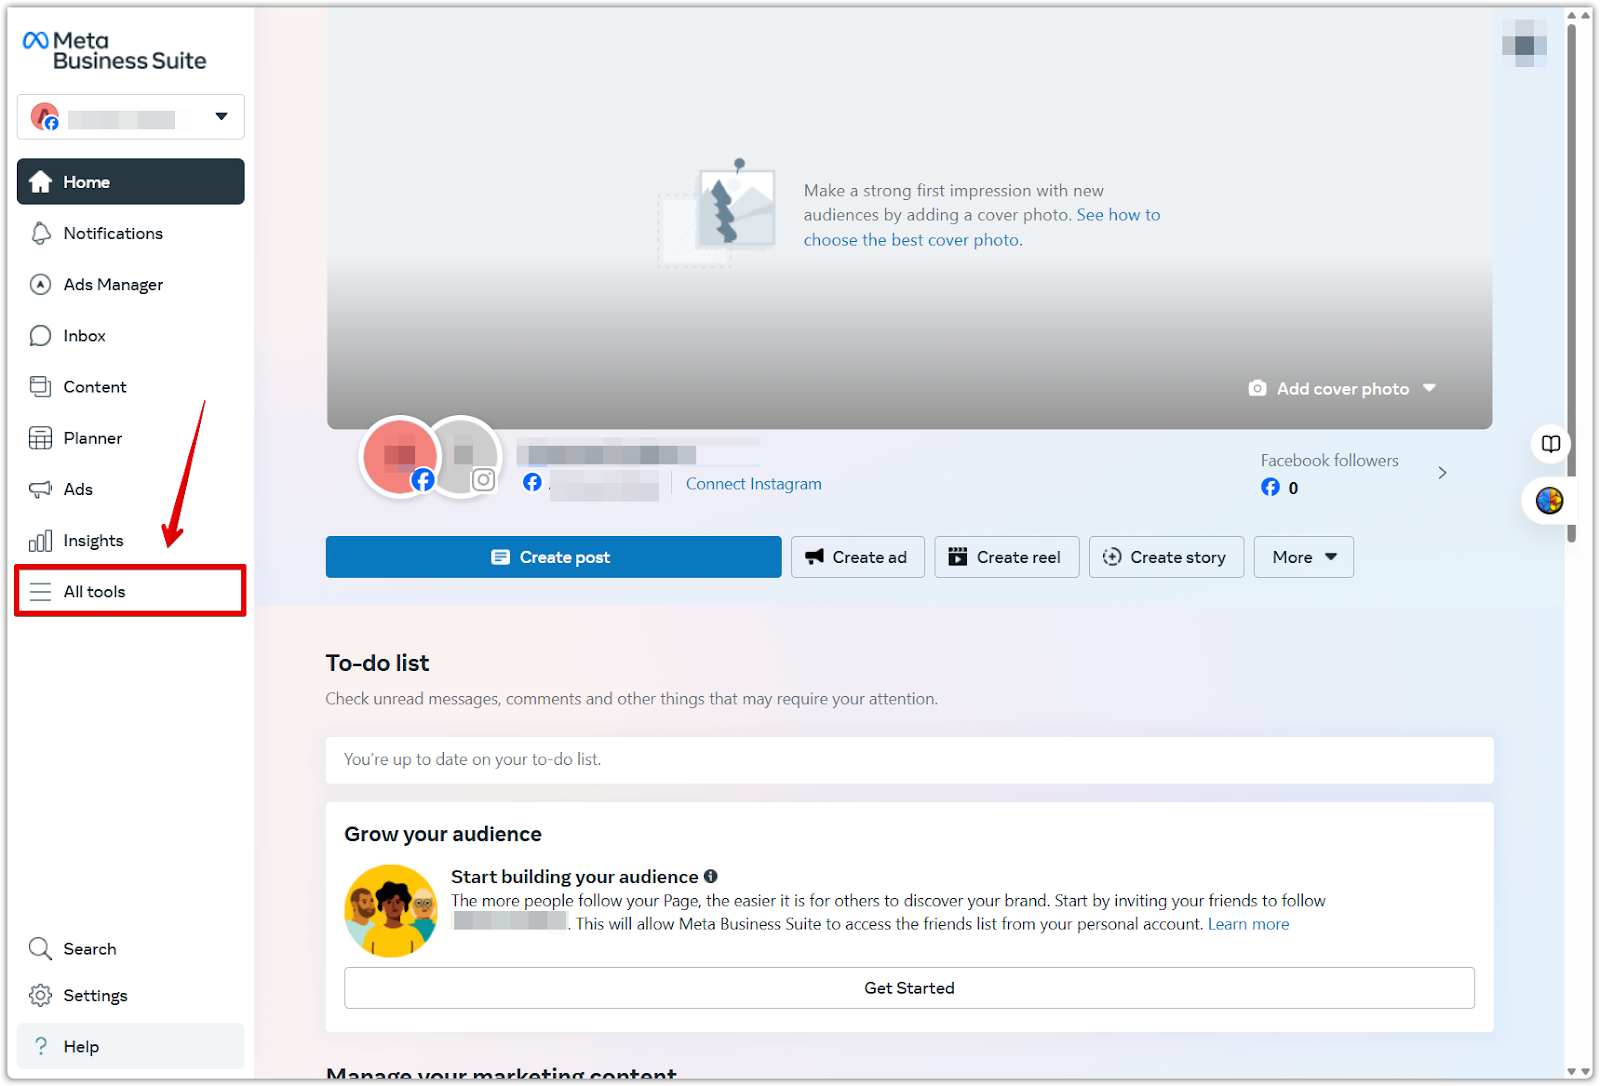
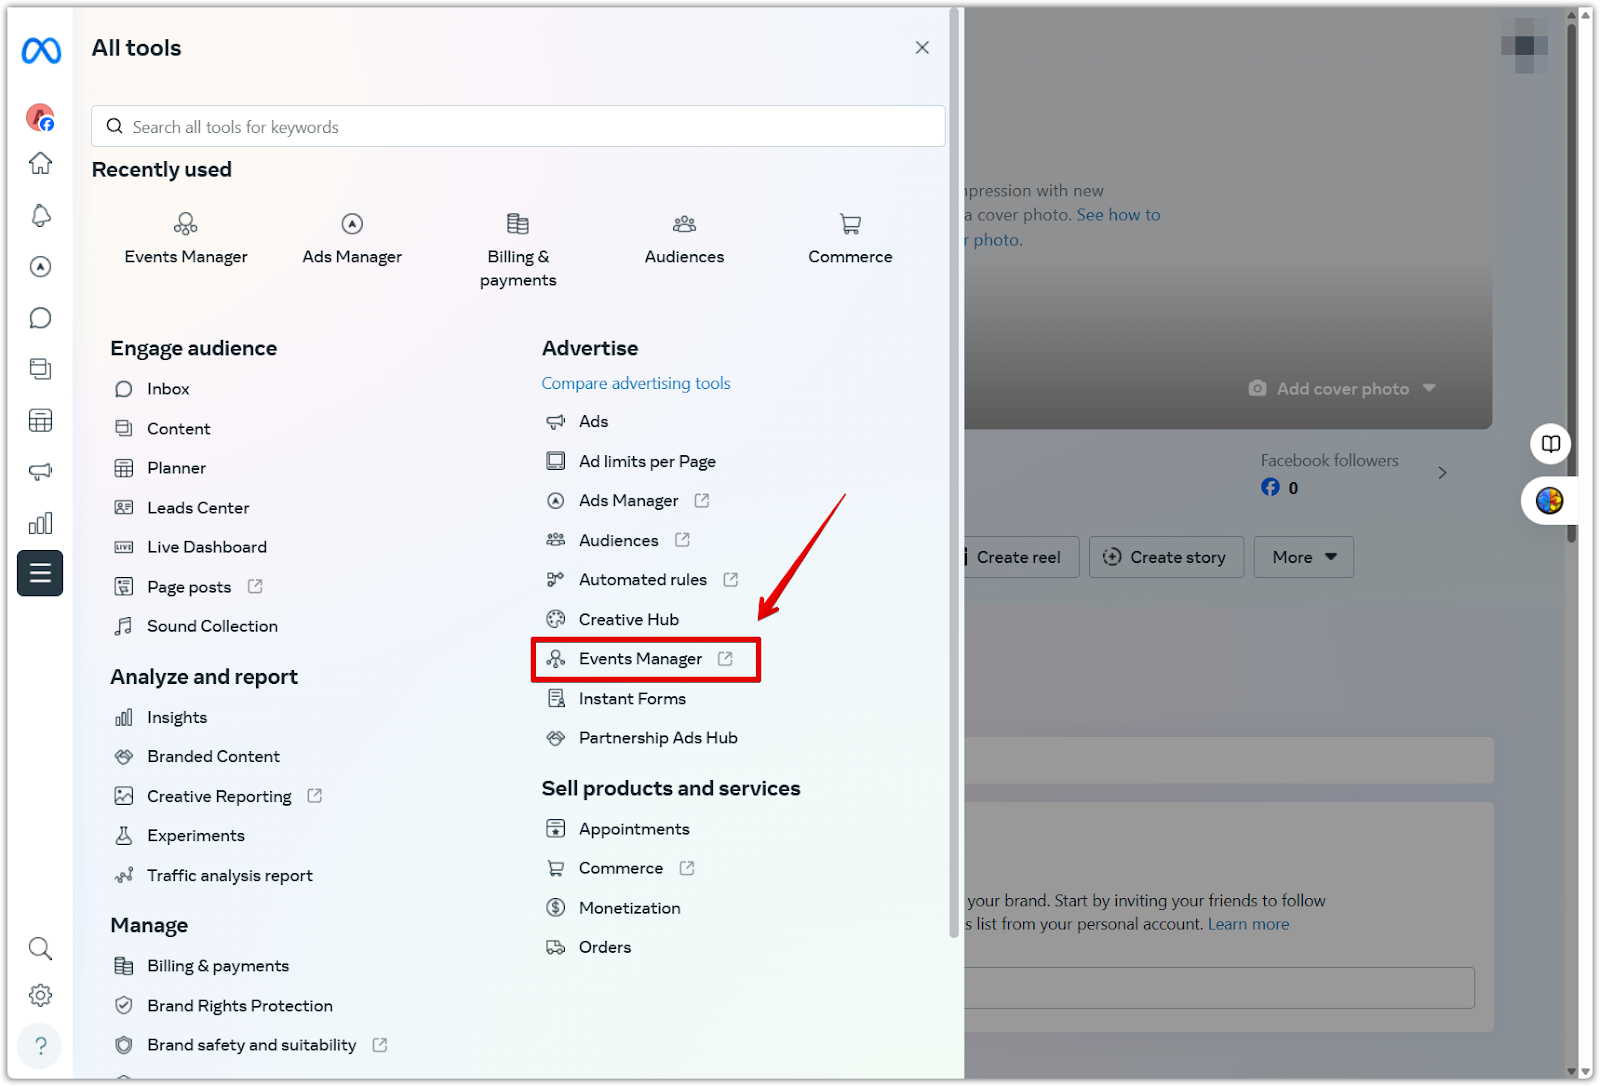
2. Open Events Manager: In the left-hand menu, click All tools, then select Events Manager under Advertise.
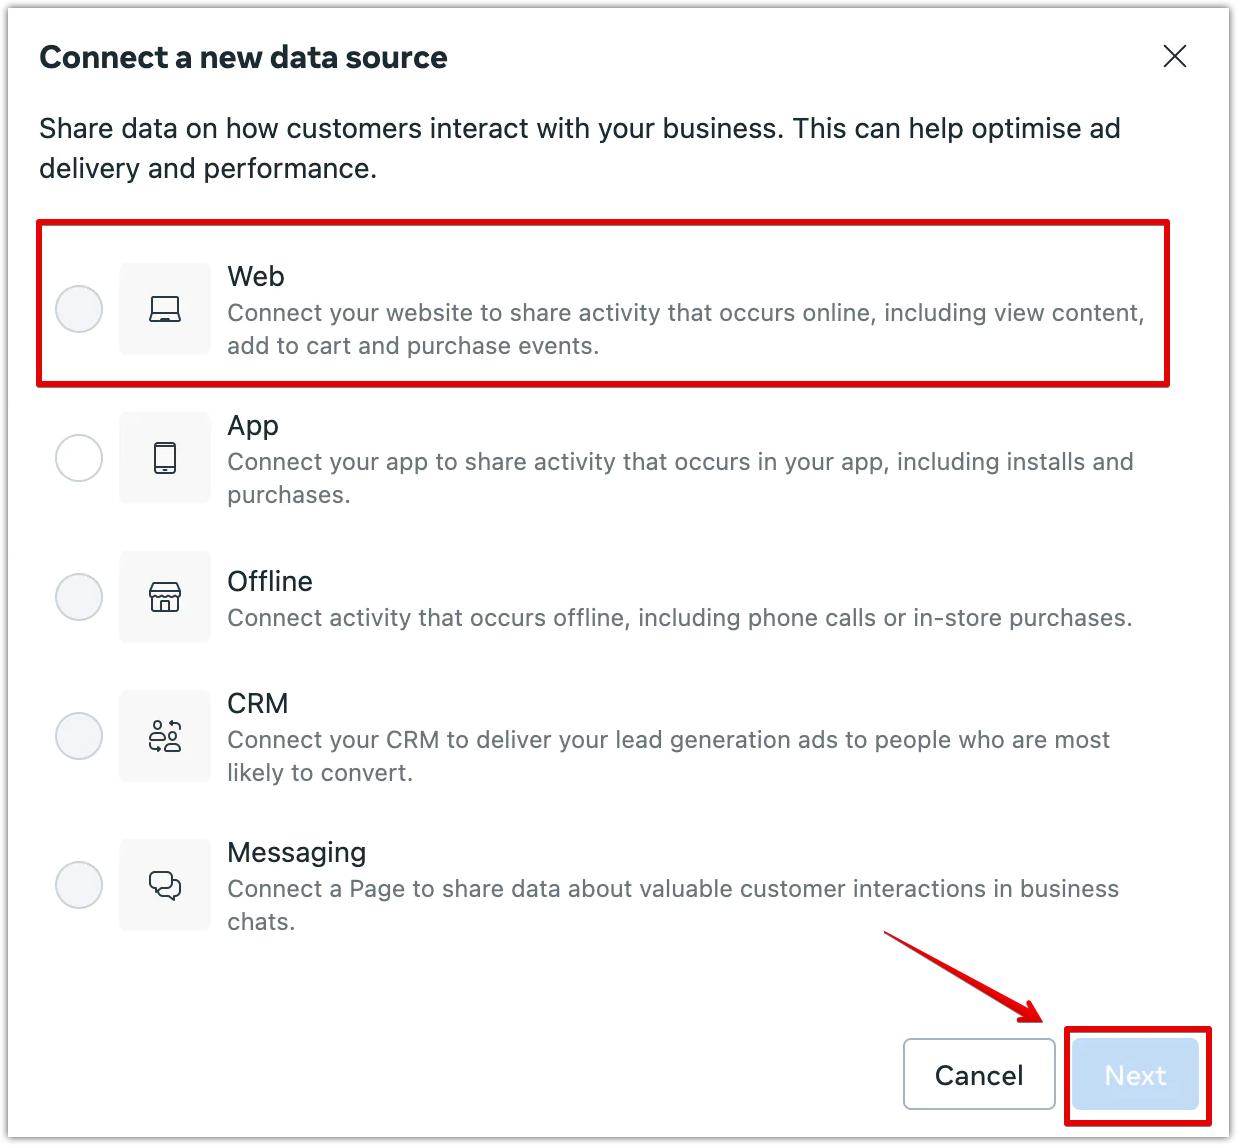
3. Connect a new data source: Click Connect data > Web then click Next.

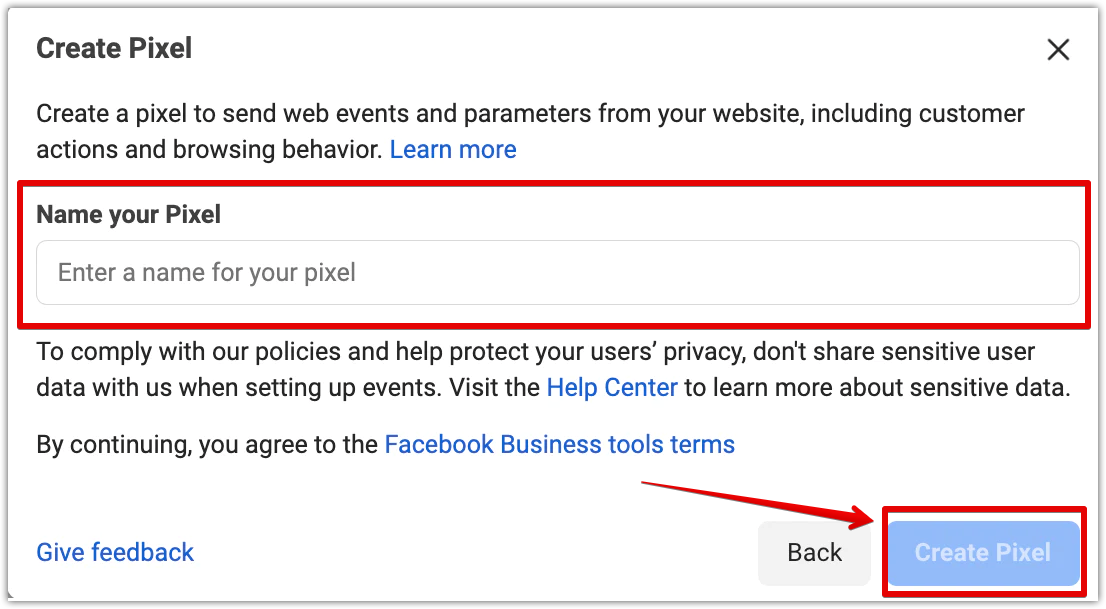
4. Name your Pixel: Enter a name for your Pixel, then click Create.
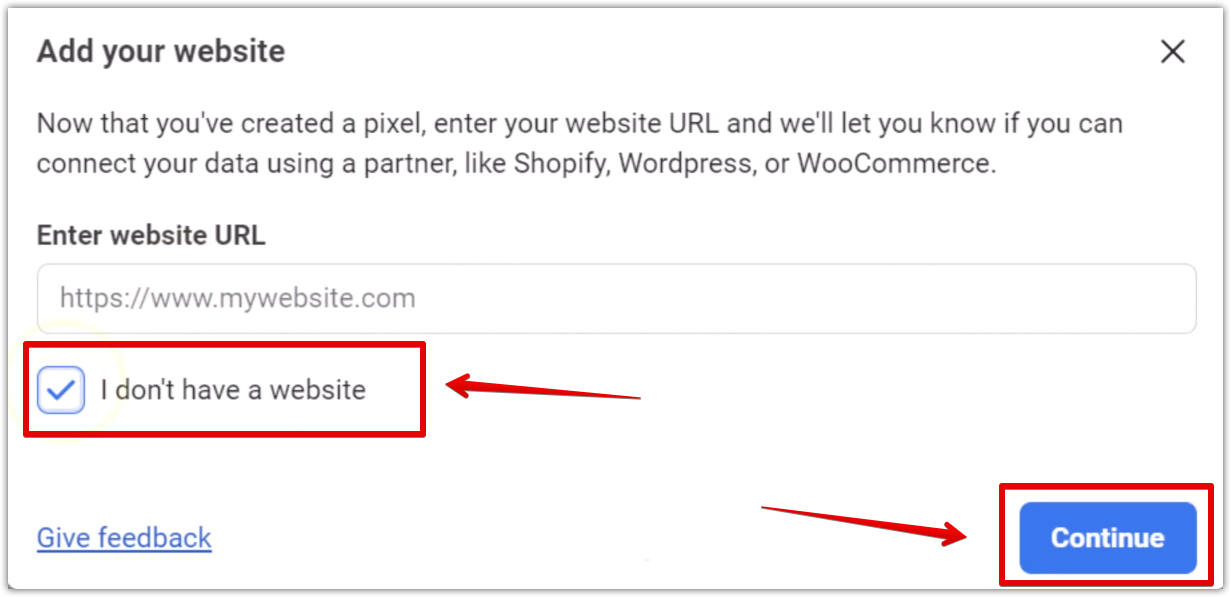
5. Check for partner integration: Select I don’t have a website to continue with a manual setup. This lets you connect Meta Pixel and Conversions API directly in Shoplazza without needing an external site. Click Continue to move on.
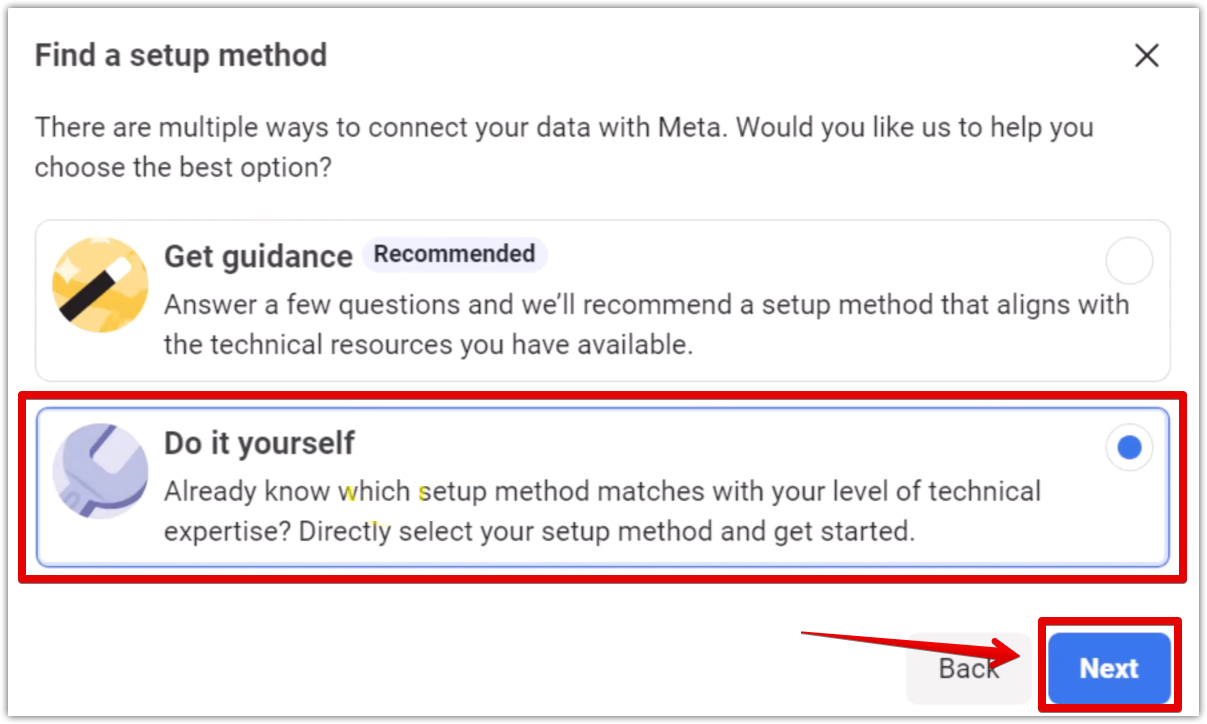
6. Select your setup method: On the next screen, choose Do it yourself, then click Next to proceed. This lets you directly select how you want to set up your Pixel and Conversions API.
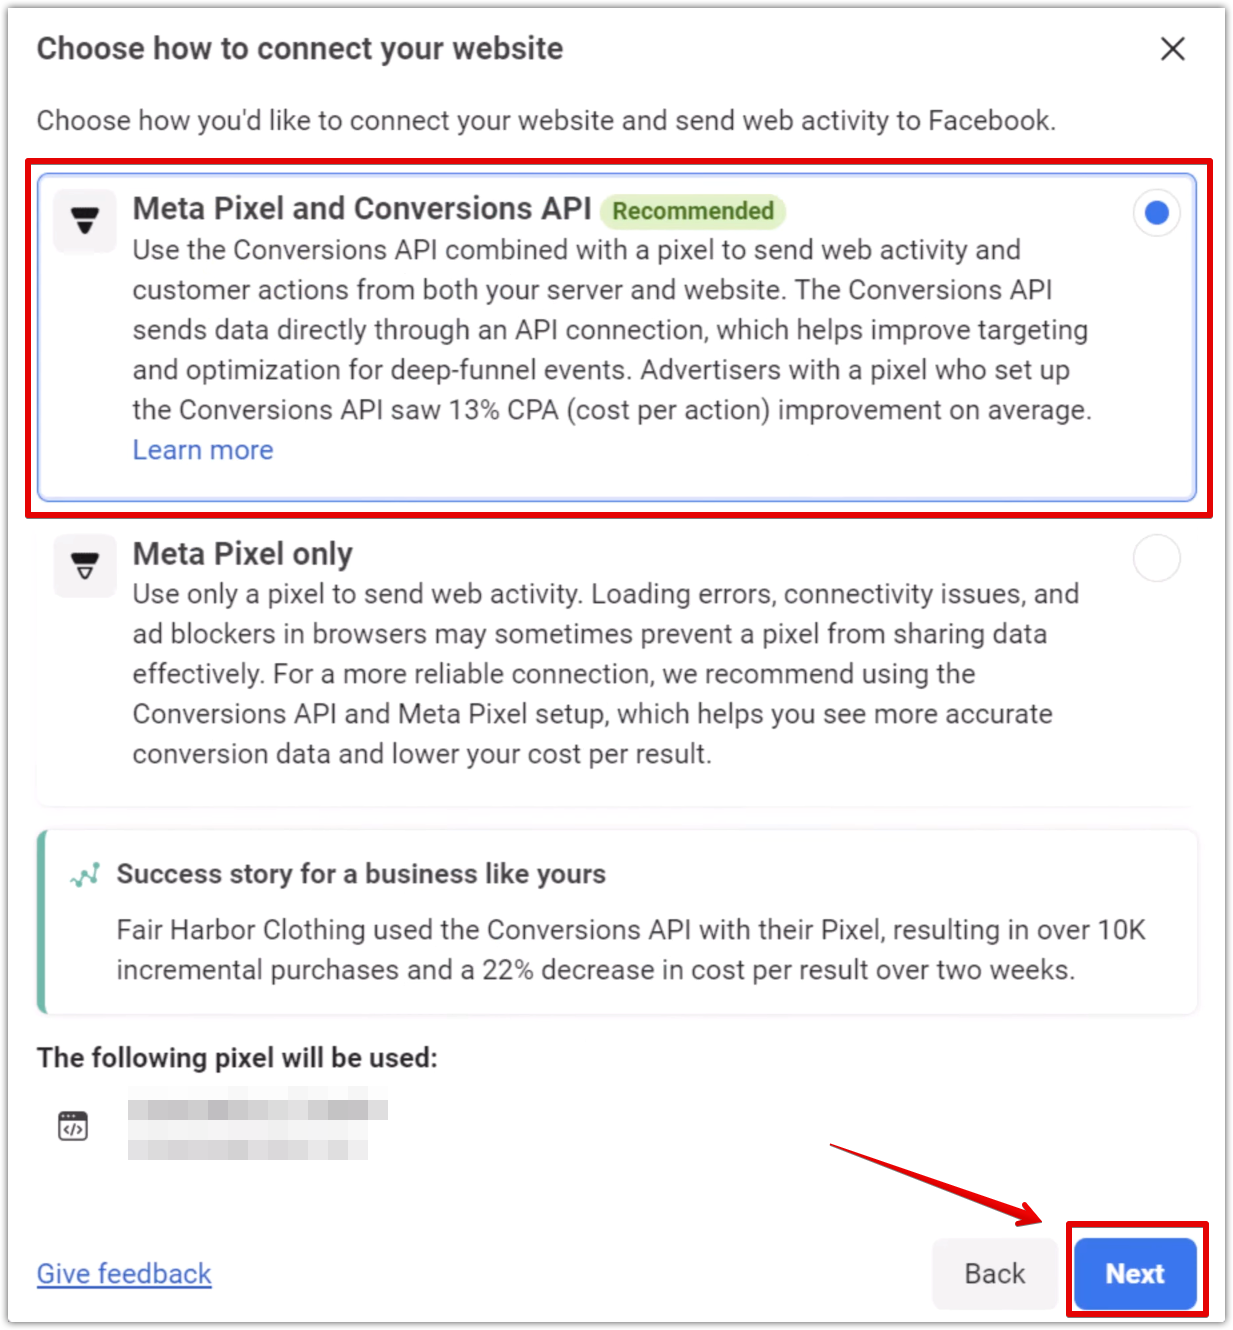
7. Choose how to connect your website: Select Meta Pixel and Conversions API then click Next. Meta recommends this option for the most accurate data tracking and campaign optimization.
8. Set up Conversions API: Choose how you want to implement the API. Select Set up manually then click Next.
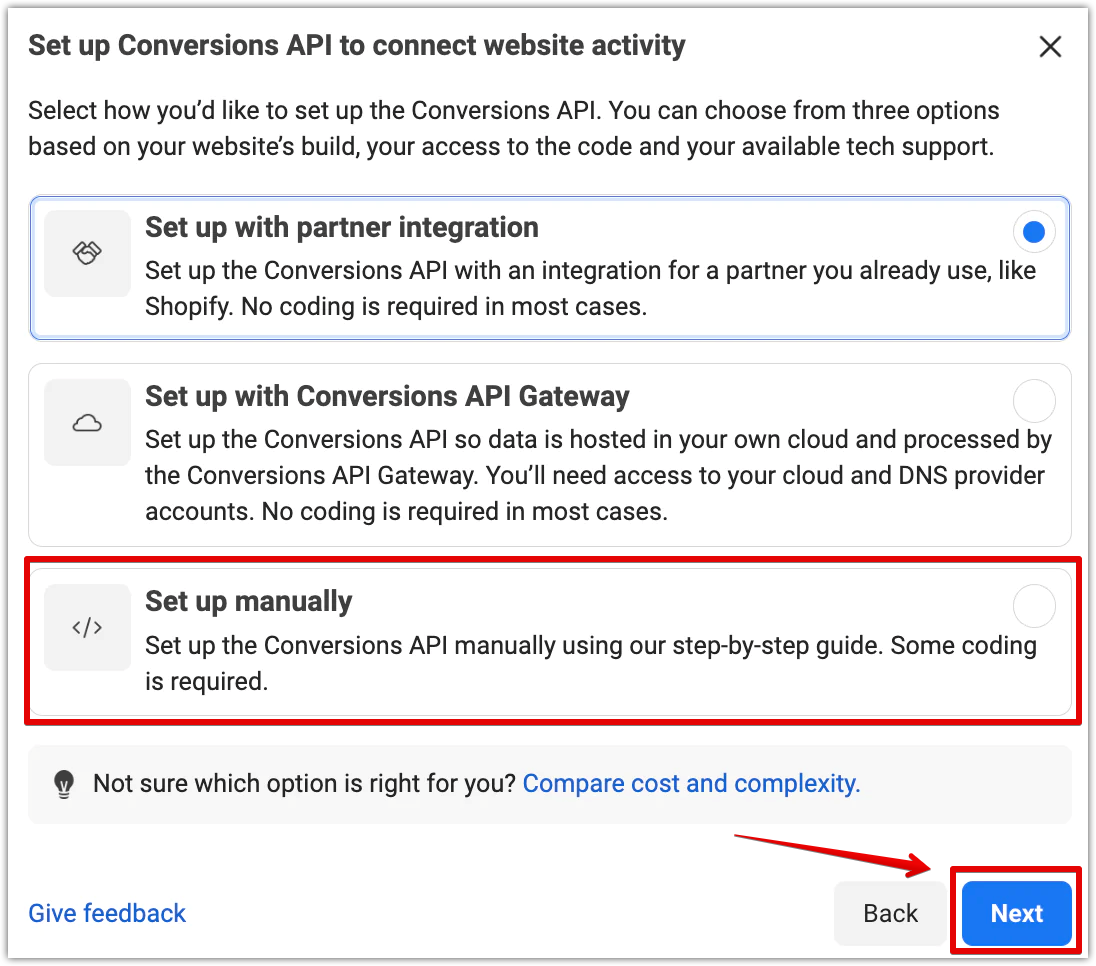
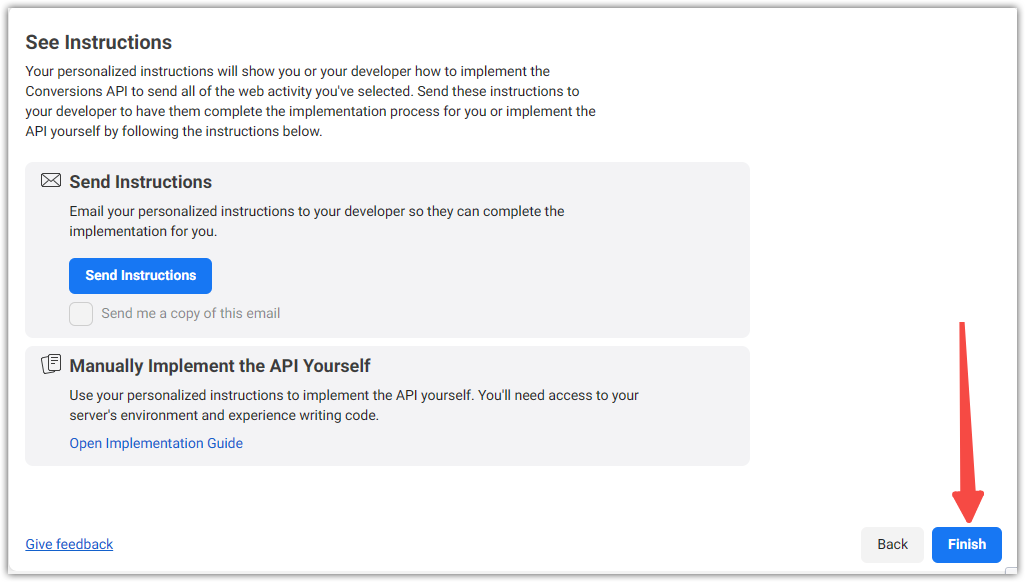
9. Finish setup: Click Finish. Your Pixel is now created and ready for activation.
Getting your Pixel ID
After creating your Pixel, follow these steps to locate and copy your Pixel ID for use in your Shoplazza admin:
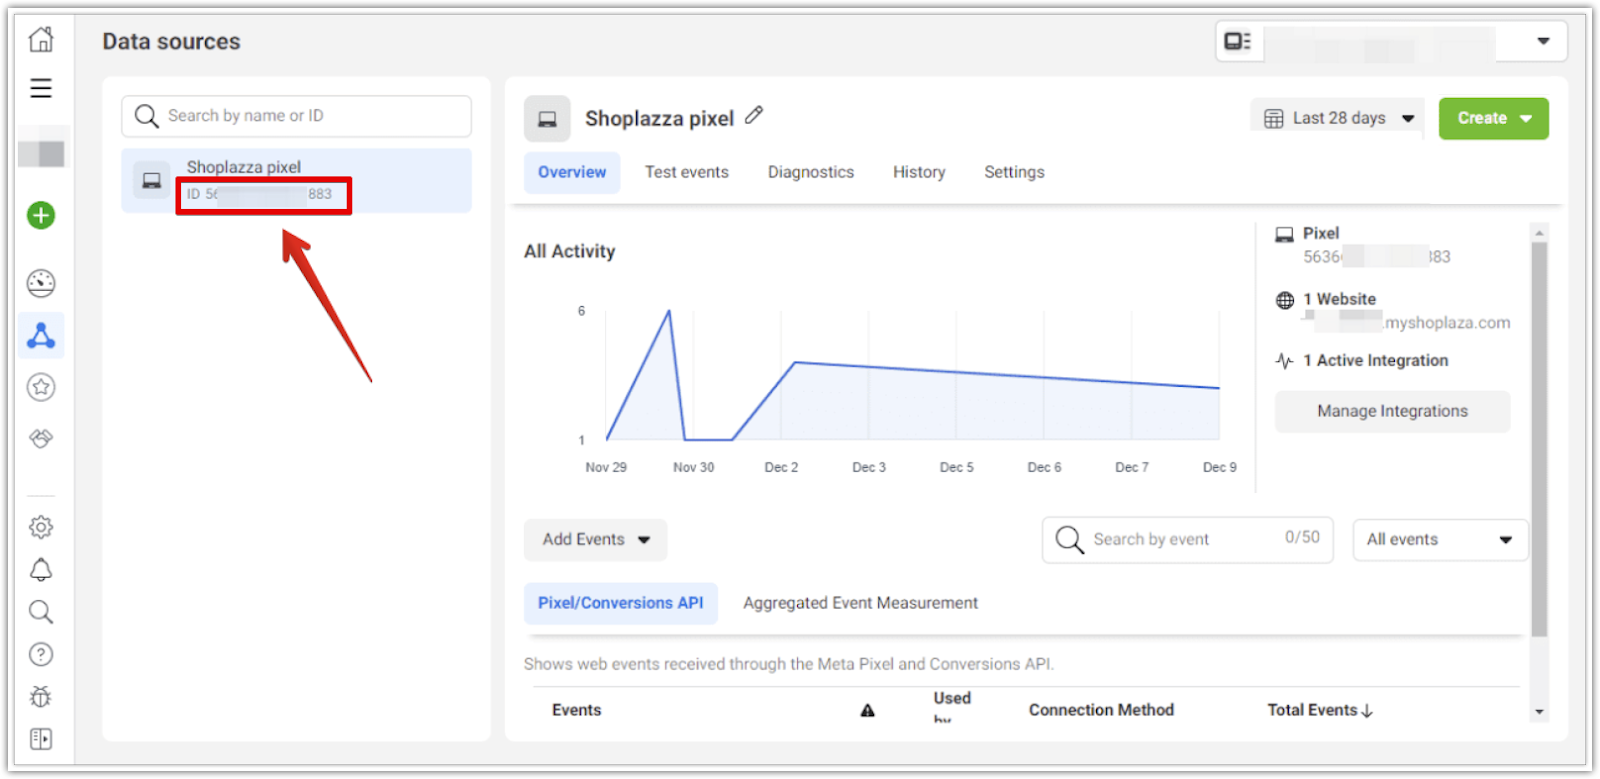
1. Find the Pixel ID: After creating the Pixel, go to the Data sources list in Events Manager. Your Pixel ID is the numeric string displayed under the Pixel name. Copy and save it—you’ll need to paste it into your Shoplazza admin during setup.
Getting your Meta Access Token
The Meta Access Token is required to enable server-side tracking through the Conversions API. Follow these steps to generate one:
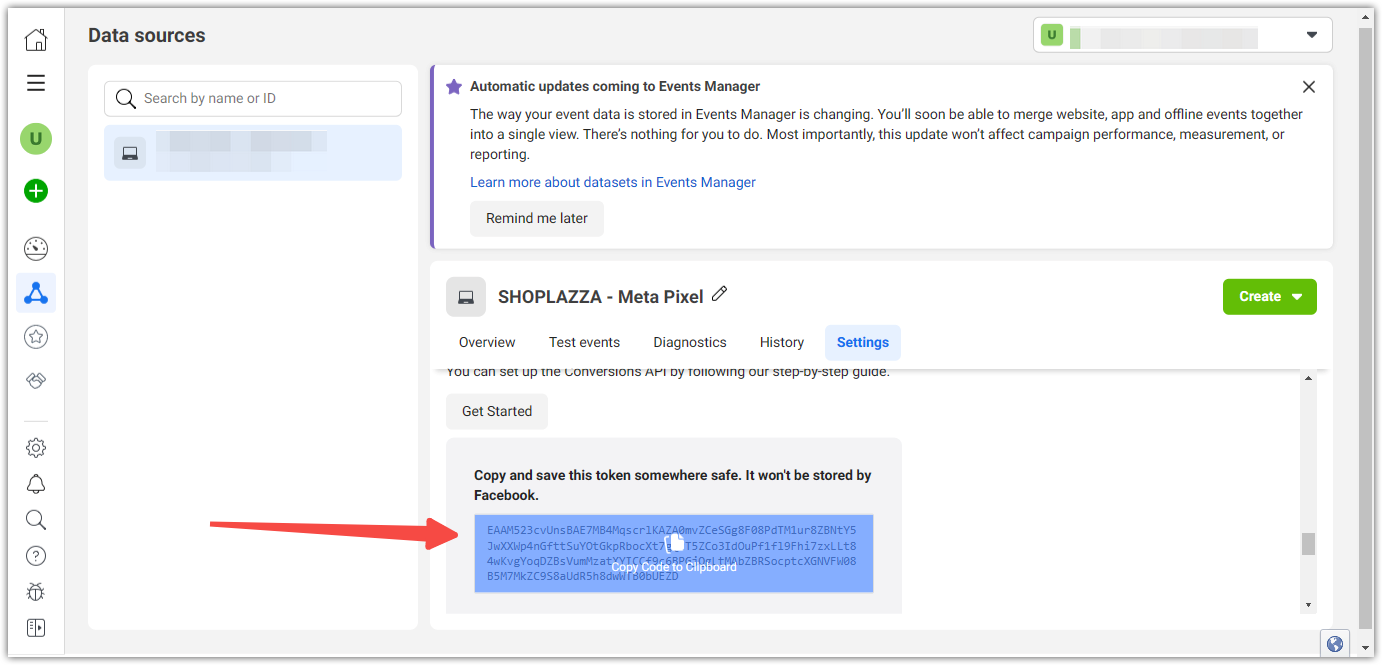
1. Generate the token: Navigate to the Settings page in Events Manager. Under the Conversions API section, click Generate access token.
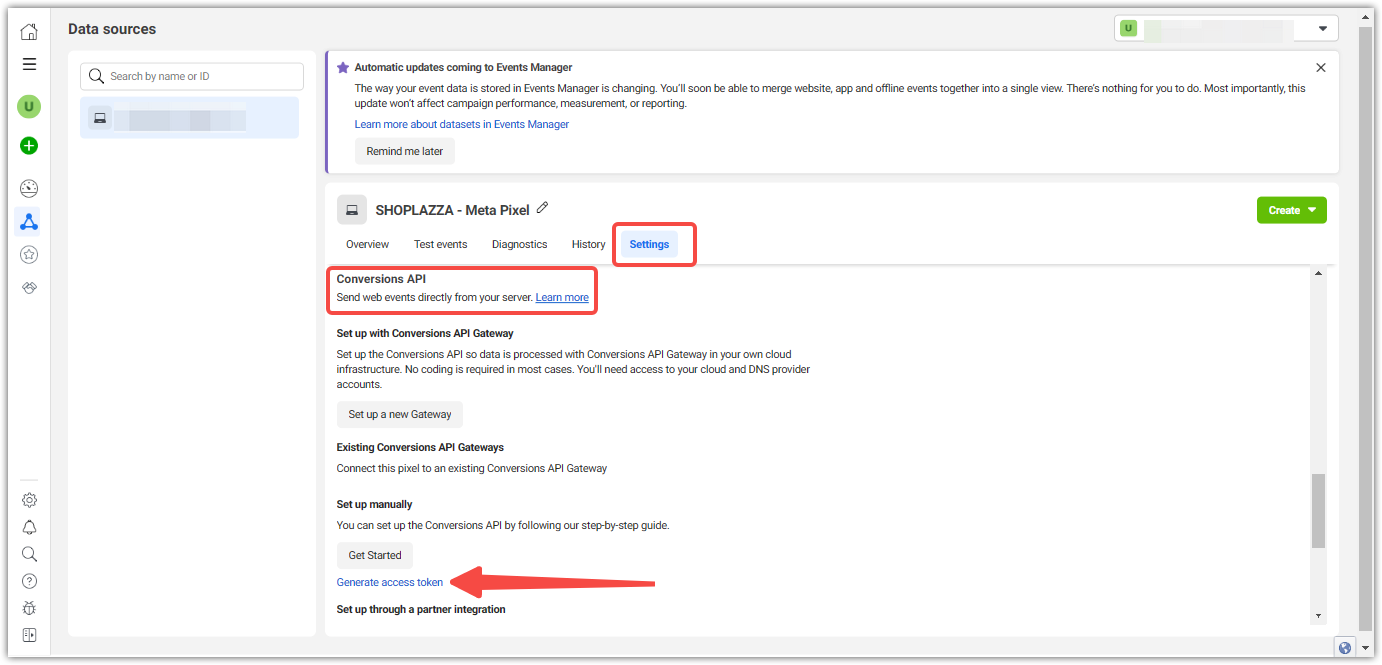
2. Copy and save the token: After generating the token, copy and store it somewhere secure. You’ll need this during your manual integration in Shoplazza.
Activating Meta (Facebook) Pixel and Conversion API in Shoplazza
After creating your Pixel, complete the manual setup in your Shoplazza admin.
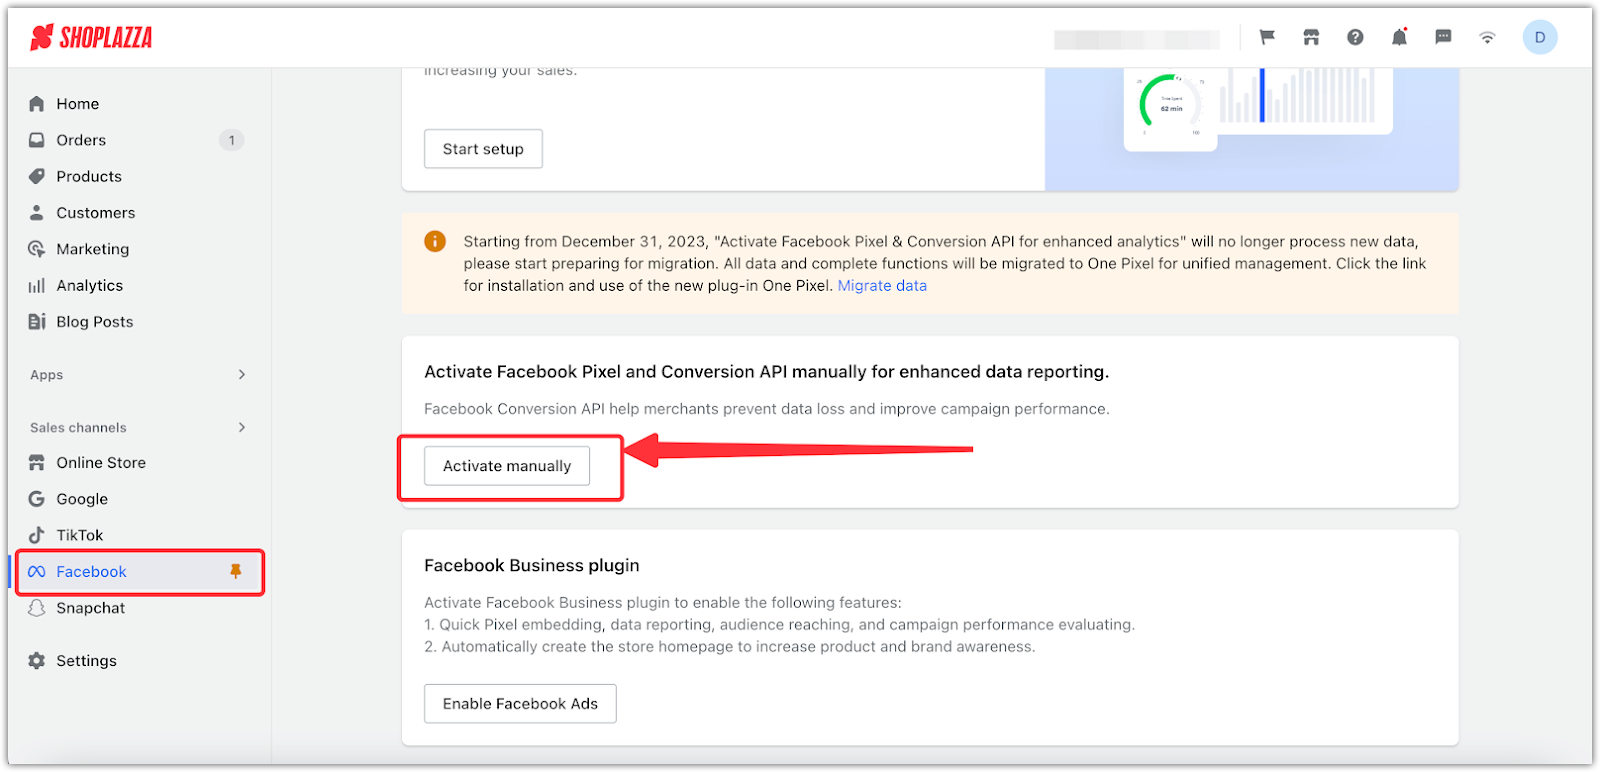
1. Activate manually: Go to your Shoplazza admin > Facebook, scroll down to Activate Facebook Pixel and Conversion API manually for enhanced data reporting, then click Activate manually.
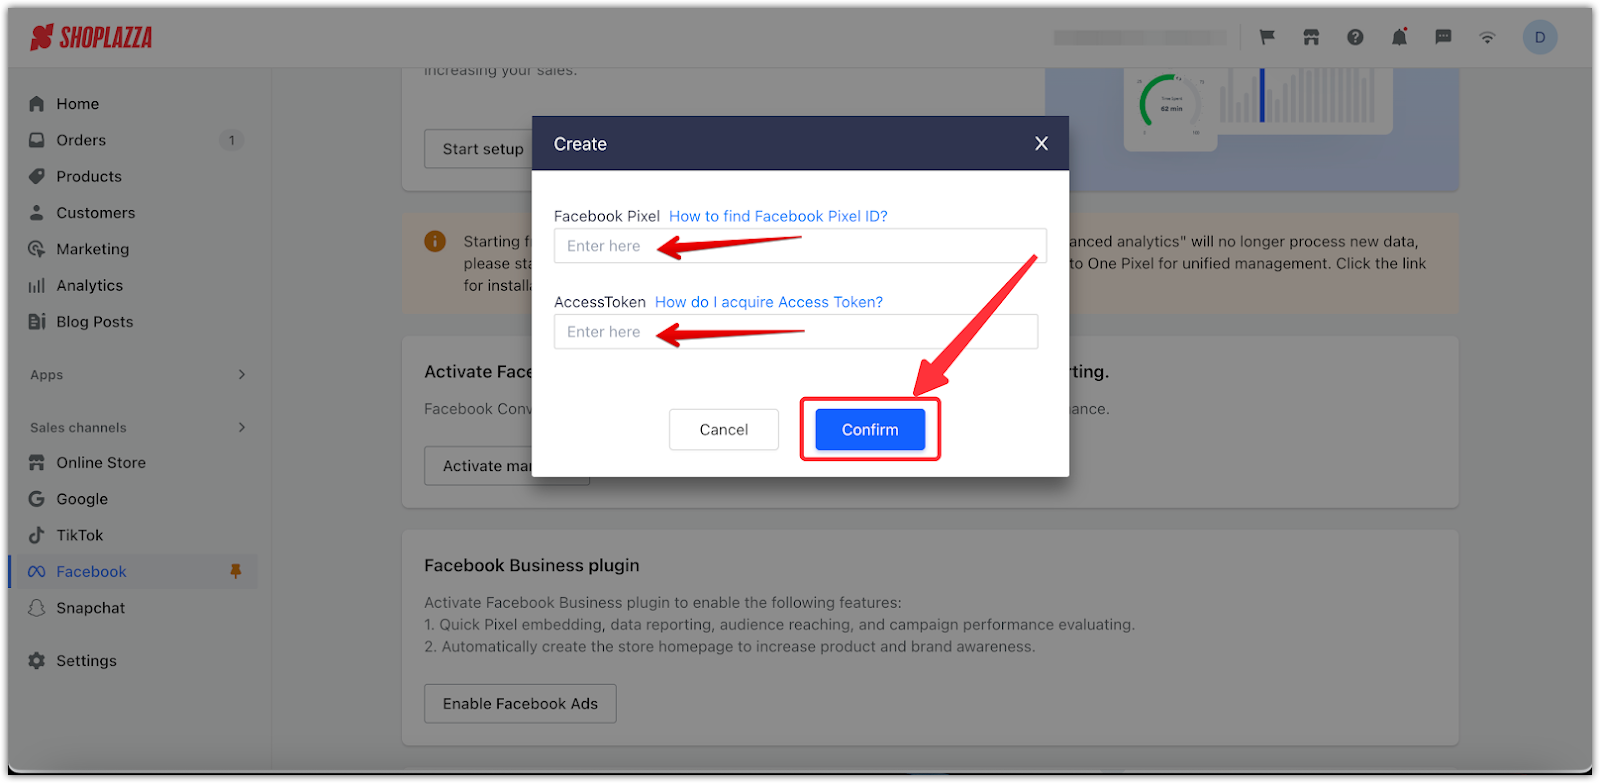
2. Enter your Pixel ID and Access Token: In the pop-up, paste your Pixel ID and Access Token, then click Confirm.
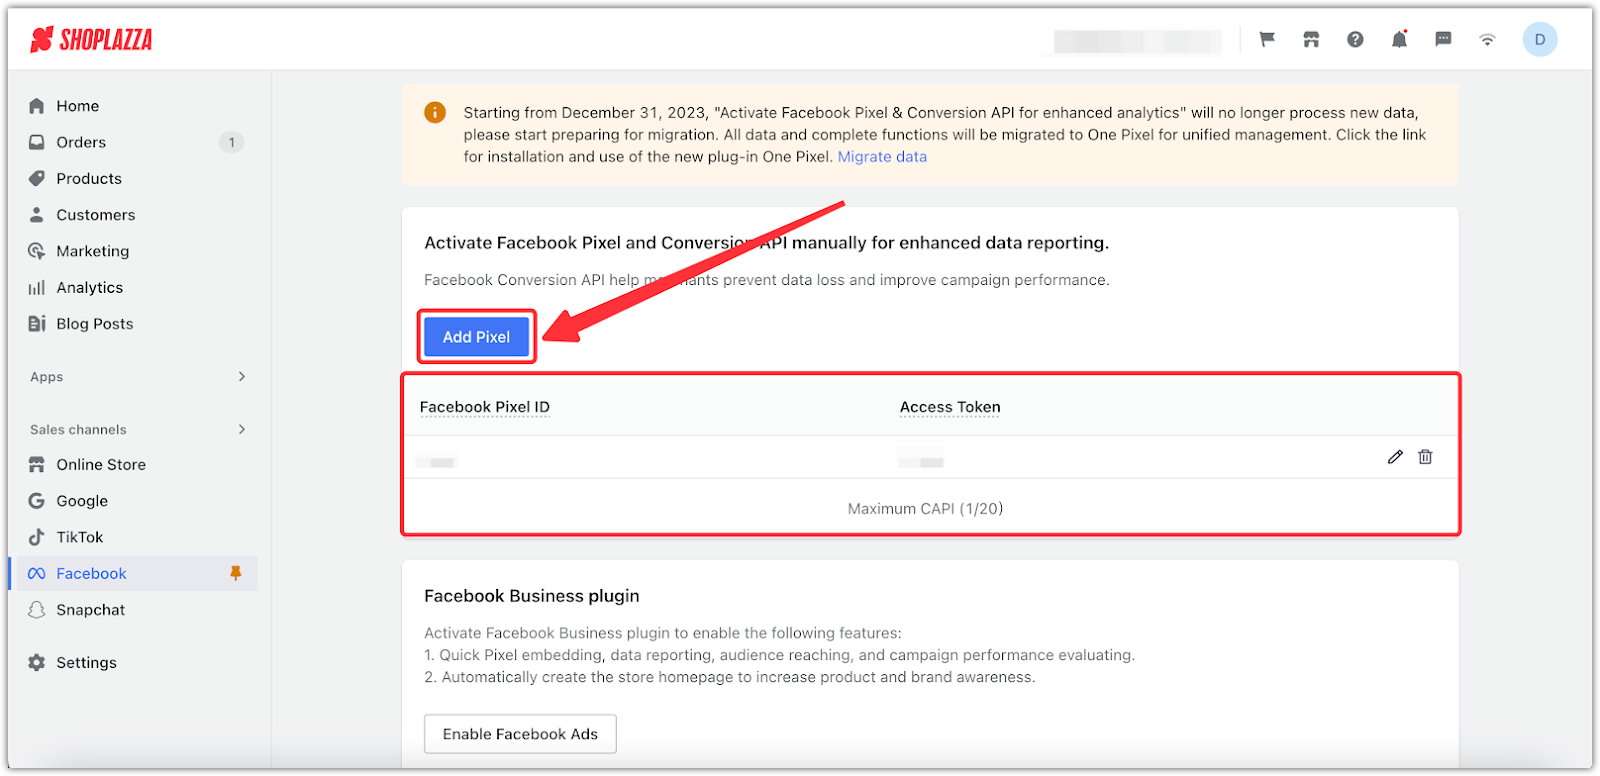
3. Start tracking and optimizing: Once connected, you can begin using Facebook Pixel and CAPI to build custom audiences, track conversions, and optimize ad performance based on real user behavior.
By manually activating Meta Pixel (formerly Facebook Pixel) and Conversions API, you’ll gain deeper insights into customer actions, improve data accuracy, and unlock the full potential of your Facebook advertising. Together, these tools help fine-tune your campaigns and drive better results in your Shoplazza store.


Comments
Please sign in to leave a comment.