
Adding custom code allows you to personalize your store by embedding scripts for tracking, design, or functionality enhancements. This makes integrating third-party tools, customizing visual elements, or adding special functionality to your store easier. Follow these steps to efficiently add, manage, and test your custom code.
Install the custom code app
To start embedding custom scripts, you need to install the Custom Code app. This allows you to add and manage scripts directly from your admin panel.
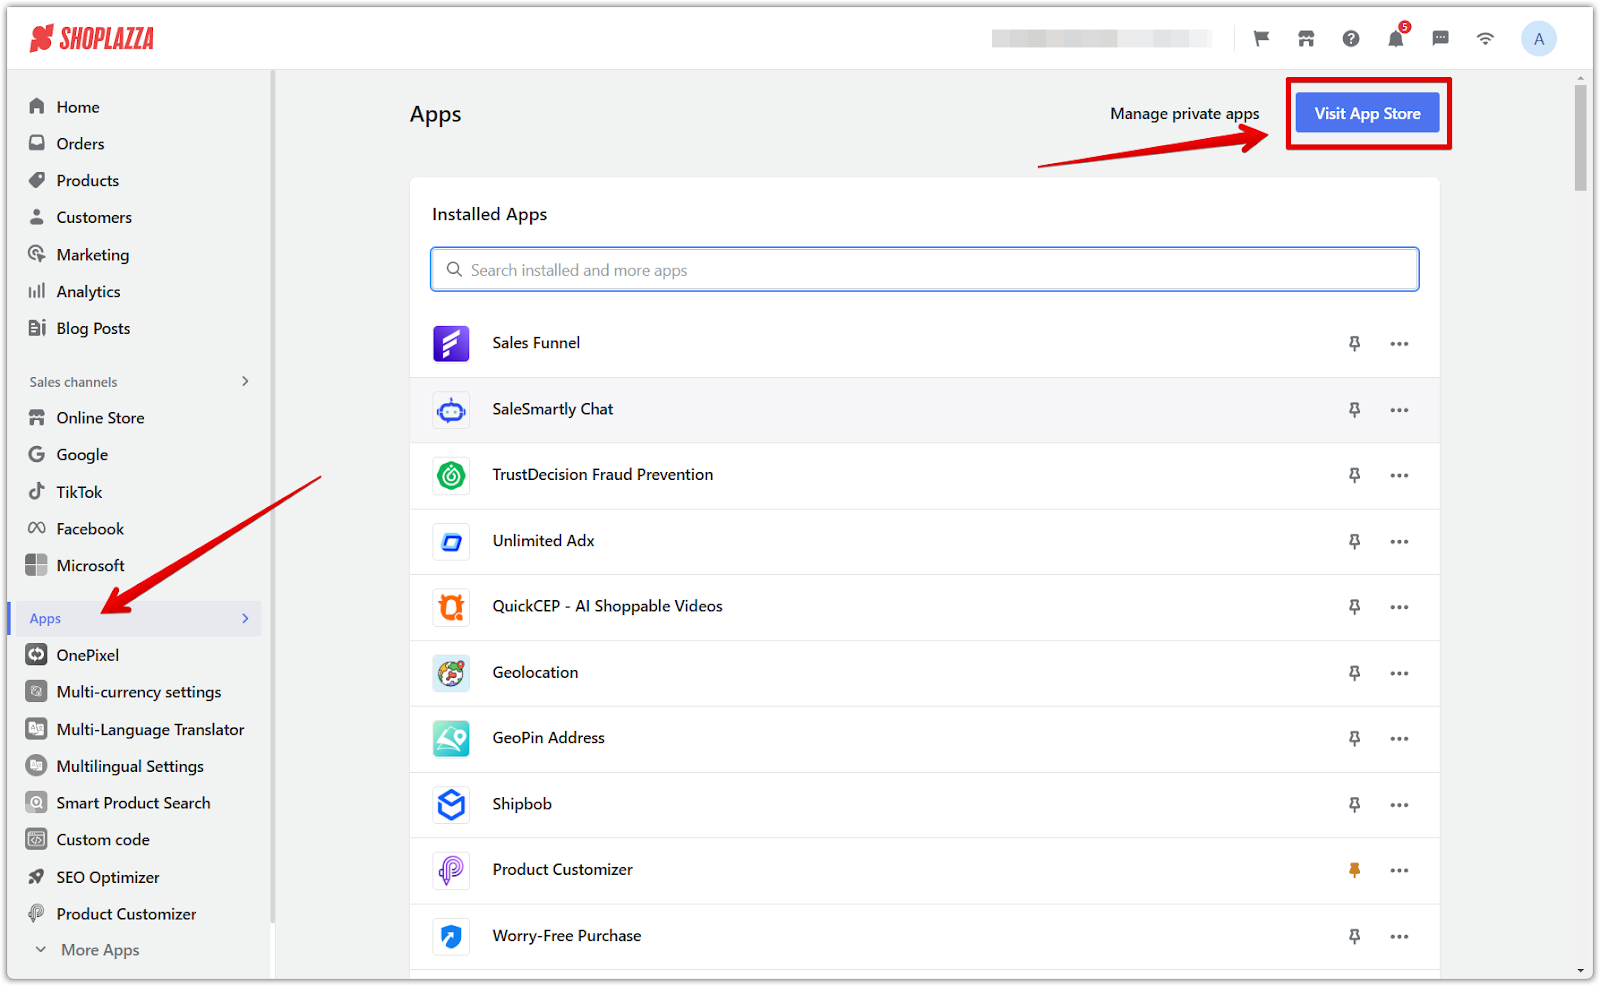
1. Access the app store: Log into your Shoplazza admin, navigate to Apps, and click on Visit App Store.
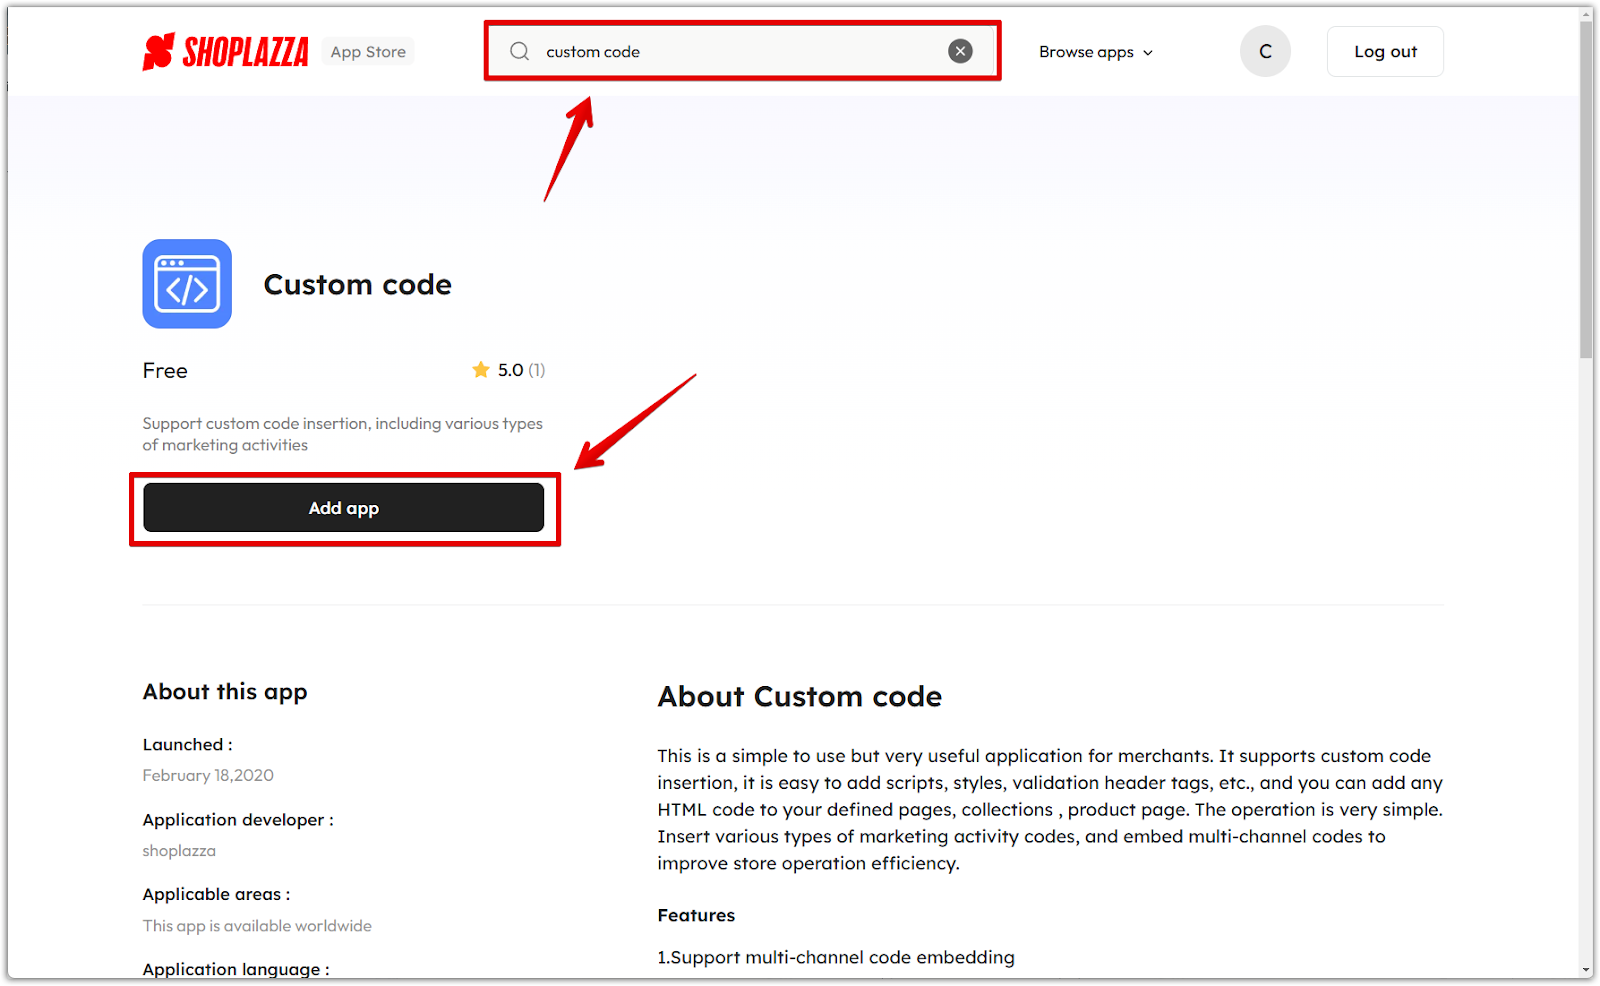
2. Find the app: Enter Custom Code in the search box, then click Add app.
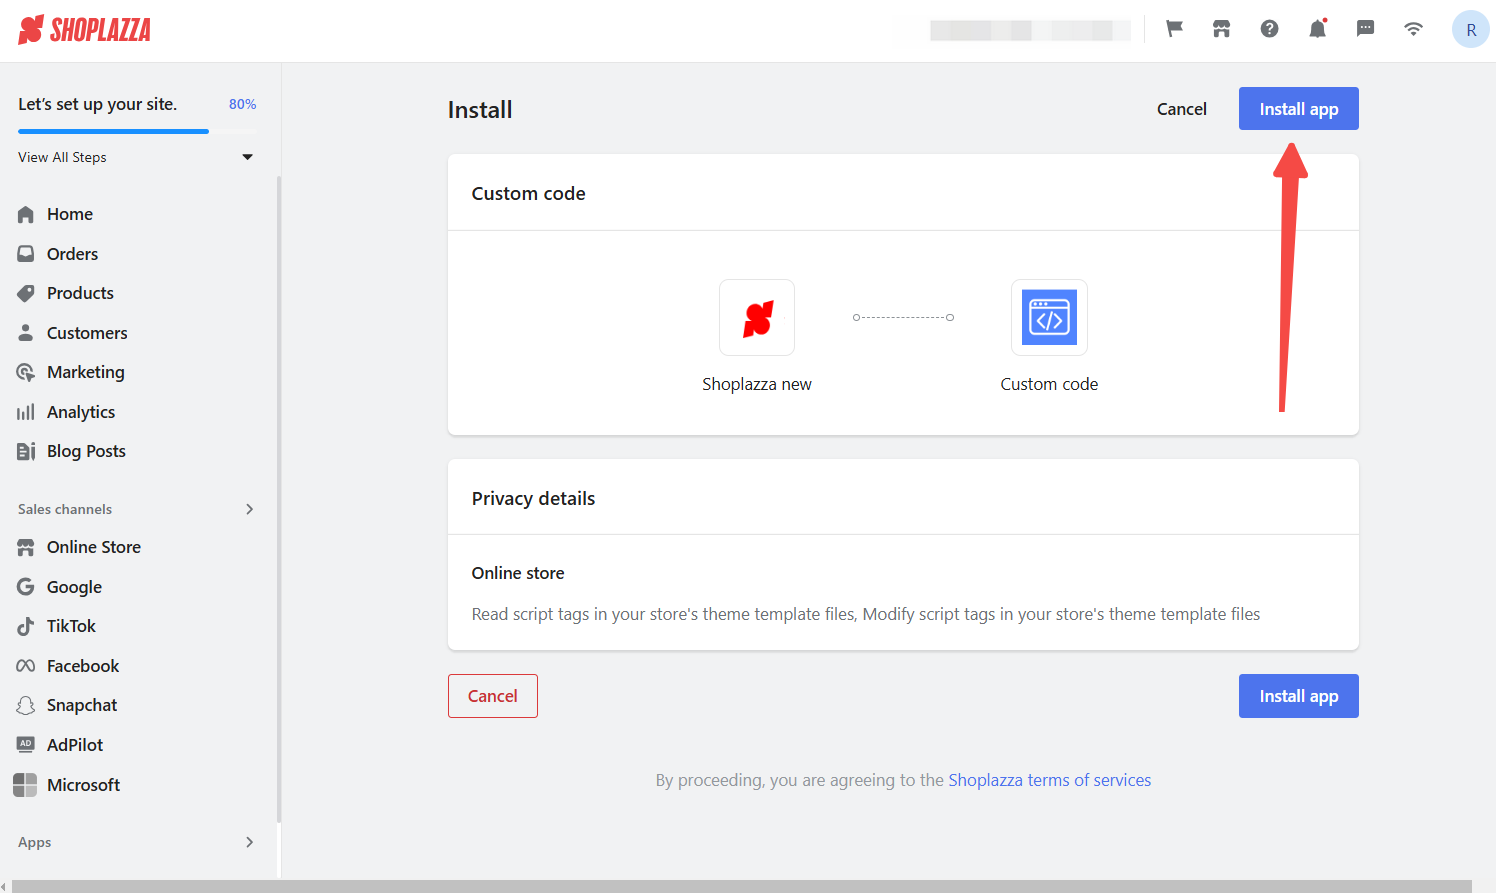
3. Install the app: Click the Install app button to complete the app installation. This will allow you to easily start embedding custom scripts.
Add new custom code
Once the app is installed, you can create new custom scripts and specify where they should be applied within your store.
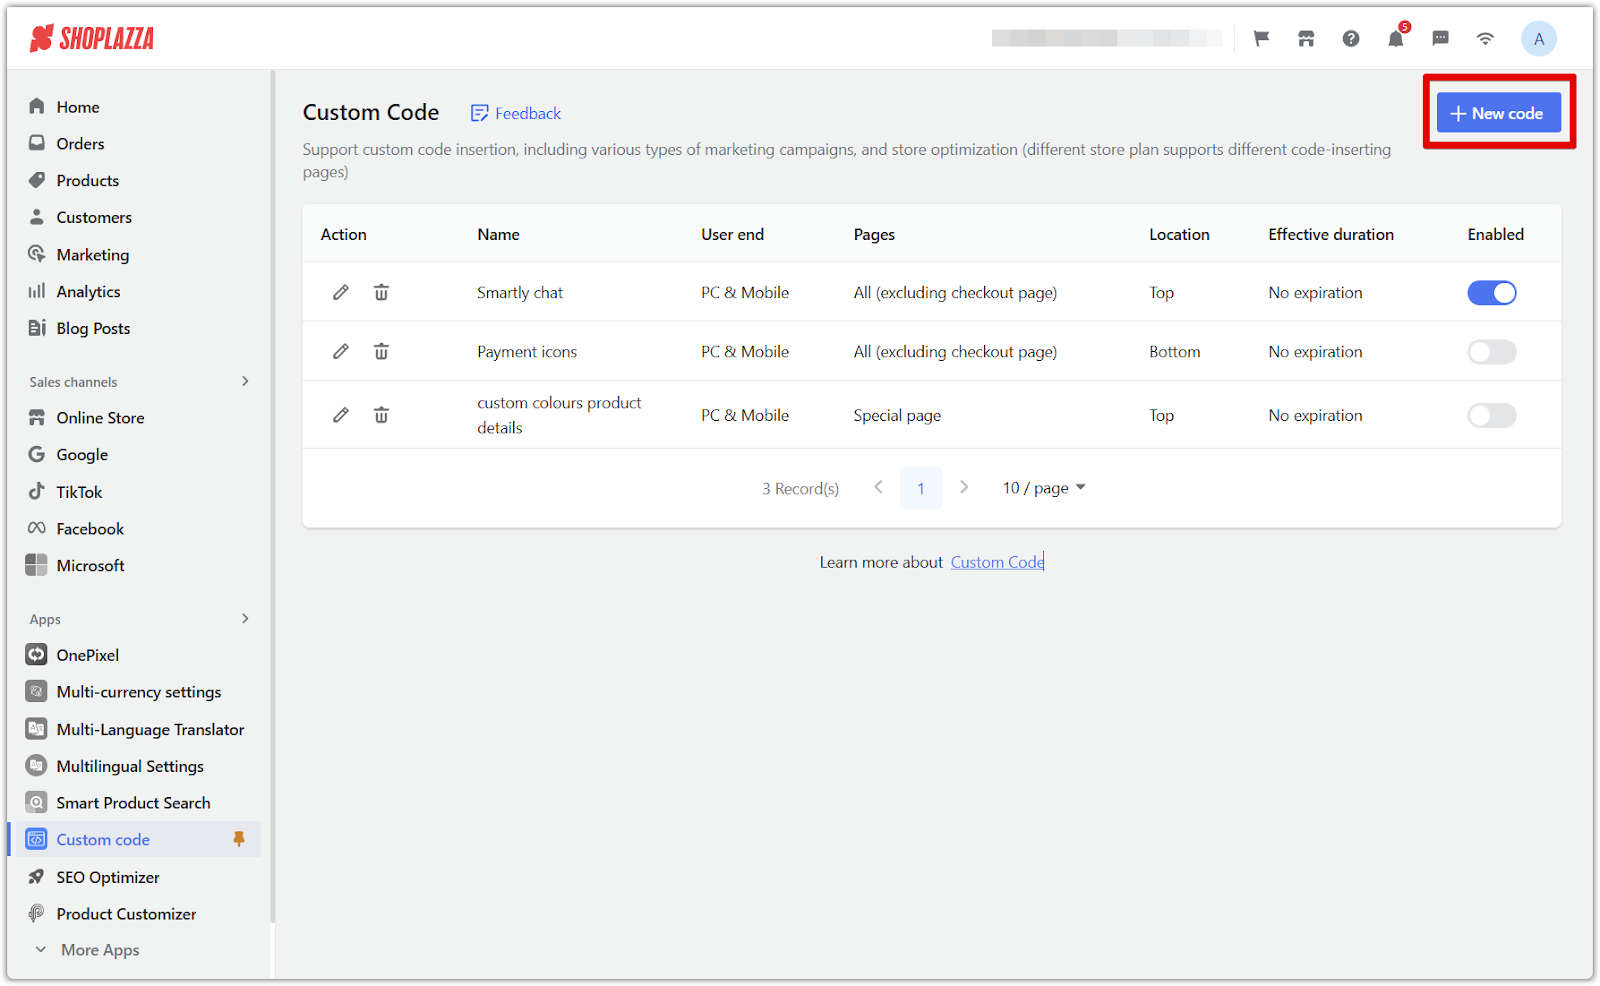
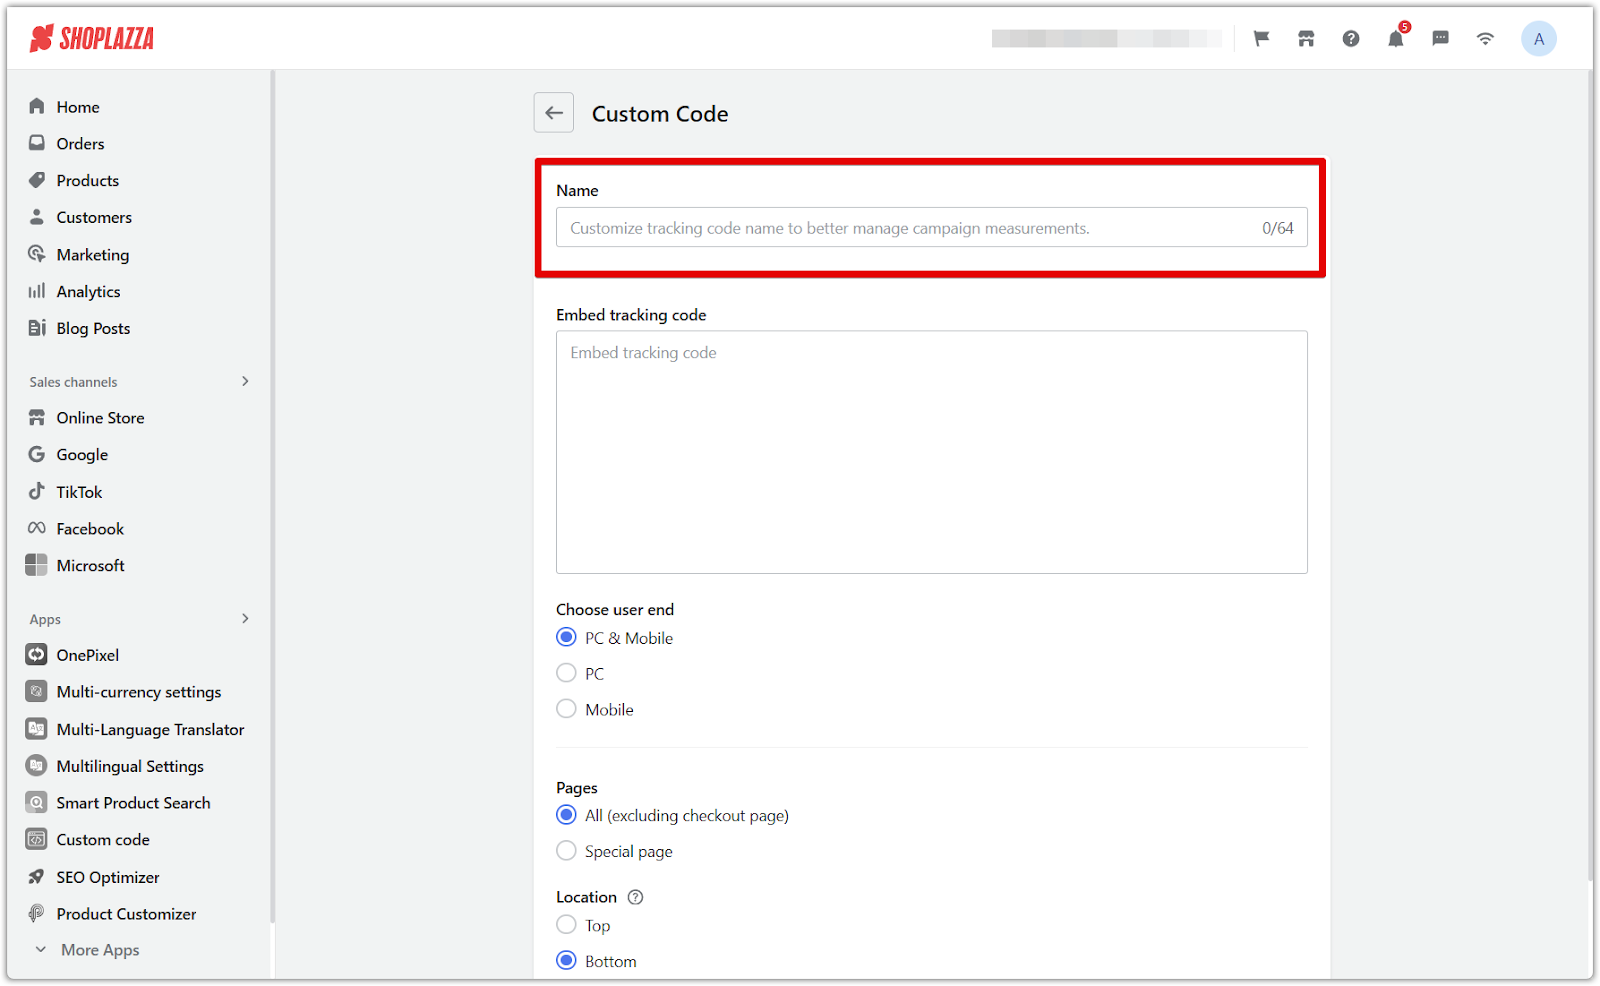
1. Create a new entry: From your admin panel, go to the Custom code app and click Add code to begin setting up a new script.
2. Name the code: Enter a descriptive name to help you identify the script later, making management easier.
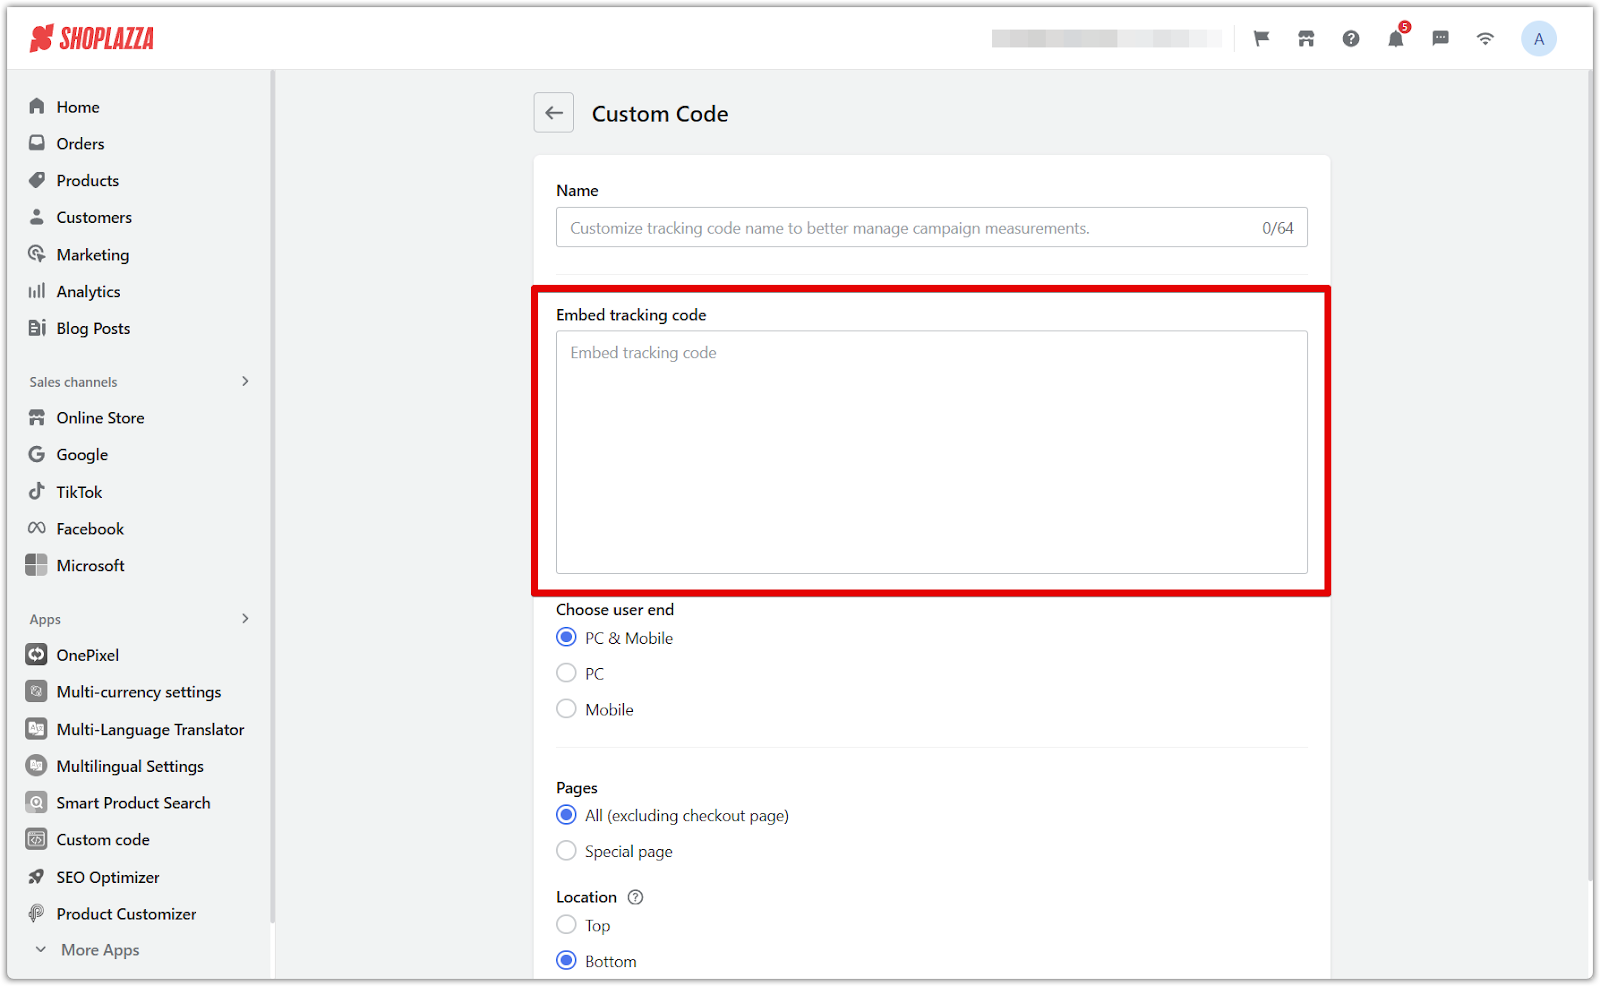
3. Paste the code: Copy and paste the custom script you want to embed. This can include tracking codes, styling updates, or third-party integrations.
Choose user end, page type, and placement
Properly selecting where and how your script runs ensures it is effective without affecting store performance. Adjust these settings to control which pages and devices your code will apply to.
1. Select user end:
- PC & Mobile (default selection): The script will apply to all device types.
- PC: The script will only execute on desktops and laptops.
- Mobile: The script will function exclusively on mobile devices for better optimization.

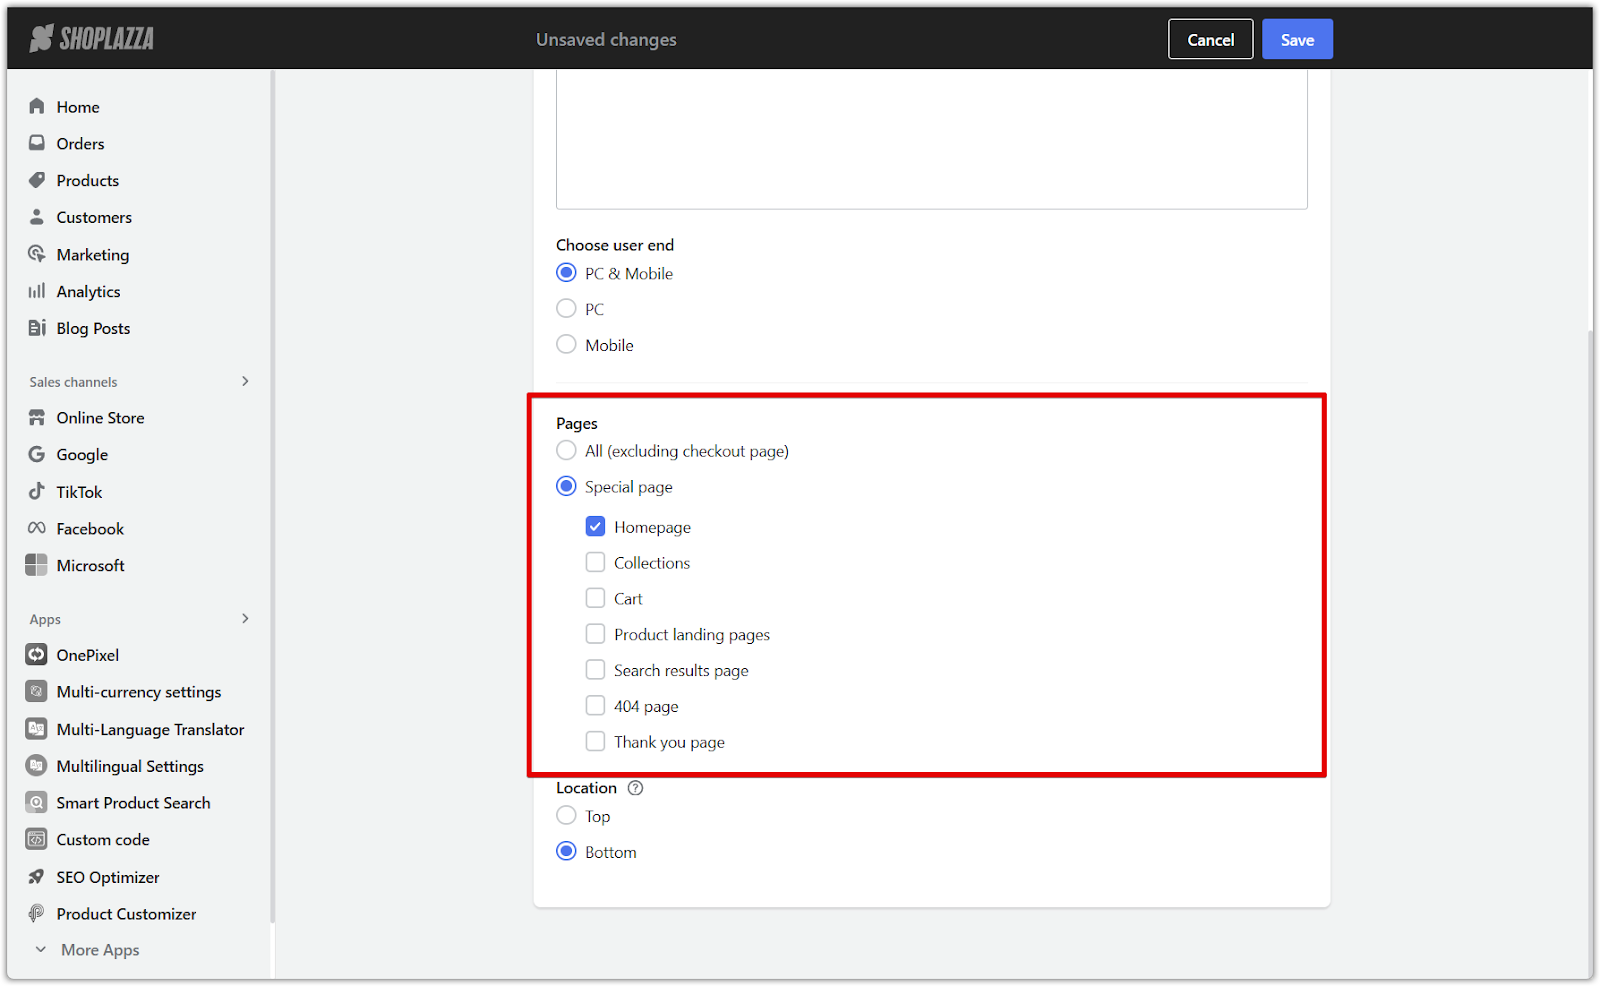
2. Choose a page type: Select which pages the code will be applied to:
- All (excluding checkout page): Applies the script to all store pages except the checkout process.
-
Special page: Allows you to select specific pages where the script will run:
- Homepage: Applies custom scripts to the main landing page.
- Collections: Customizes category pages for improved organization or tracking.
- Cart: Adds scripts specifically to the shopping cart page.
- Product landing pages: Enhances individual product pages with additional features.
- Search results page: Modifies search results for better navigation or tracking.
- 404 page: Customizes the error page layout or tracking settings.
- Thank you page: Applies scripts to post-purchase pages to track conversions or display messages.
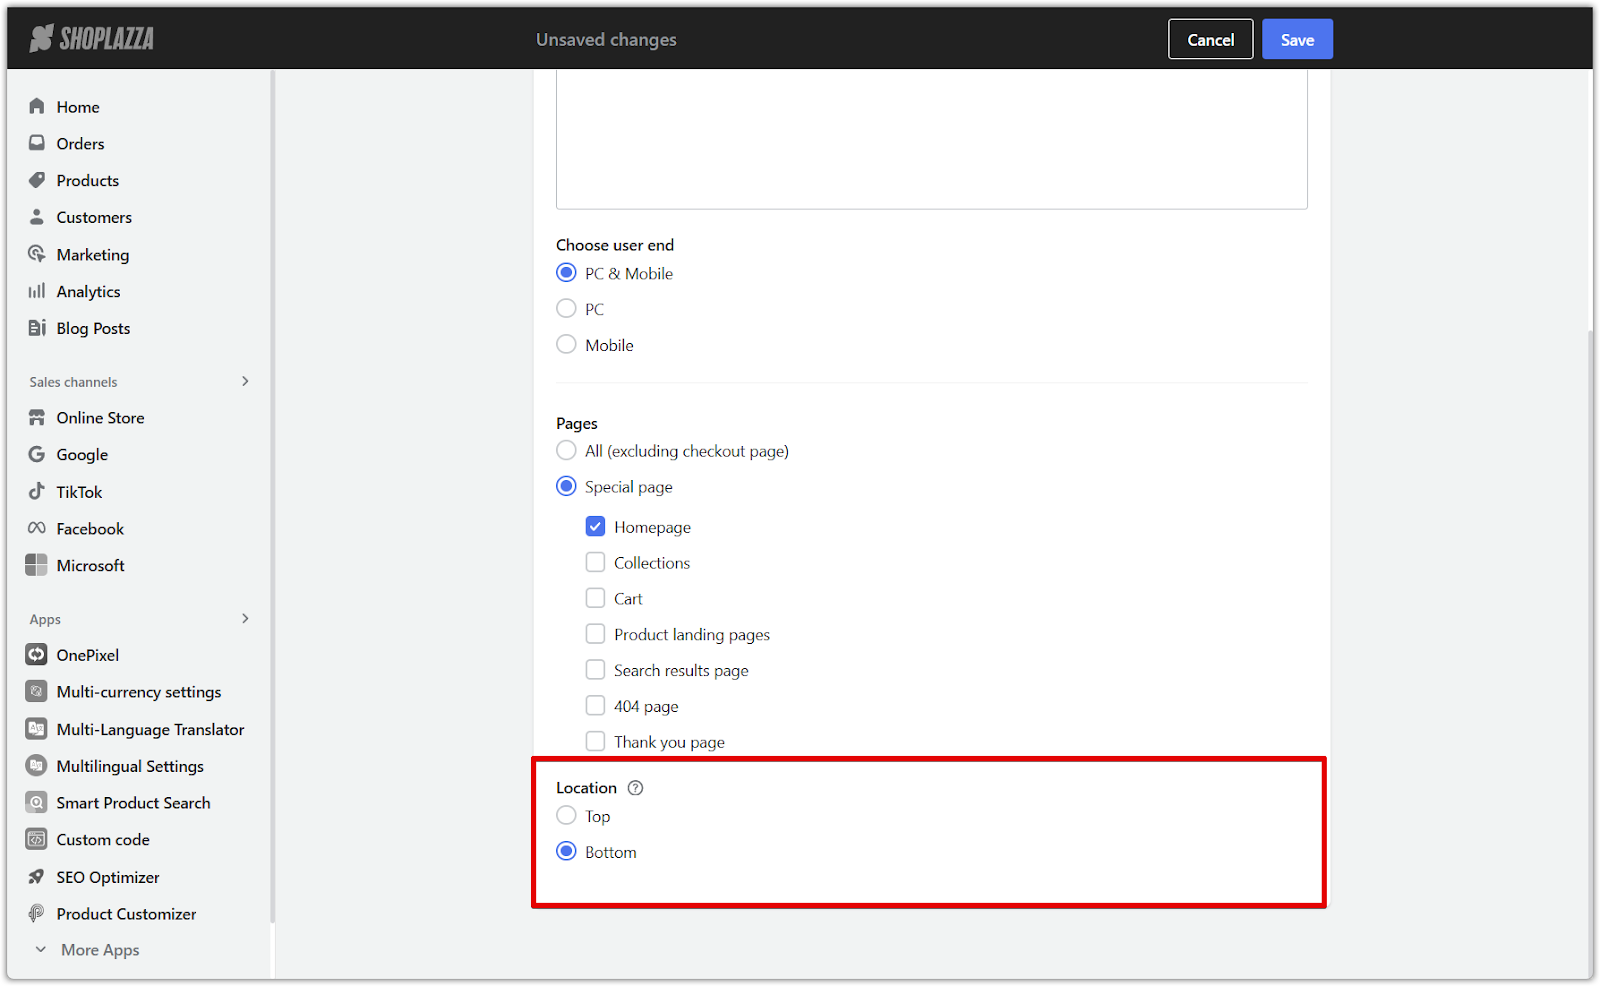
3. Determine placement:
- Top of the page: The script will load before the page content, which may be useful for essential tracking codes.
- Bottom of the page (recommended): The script will load after all content, ensuring it doesn’t interfere with the loading speed or user experience.
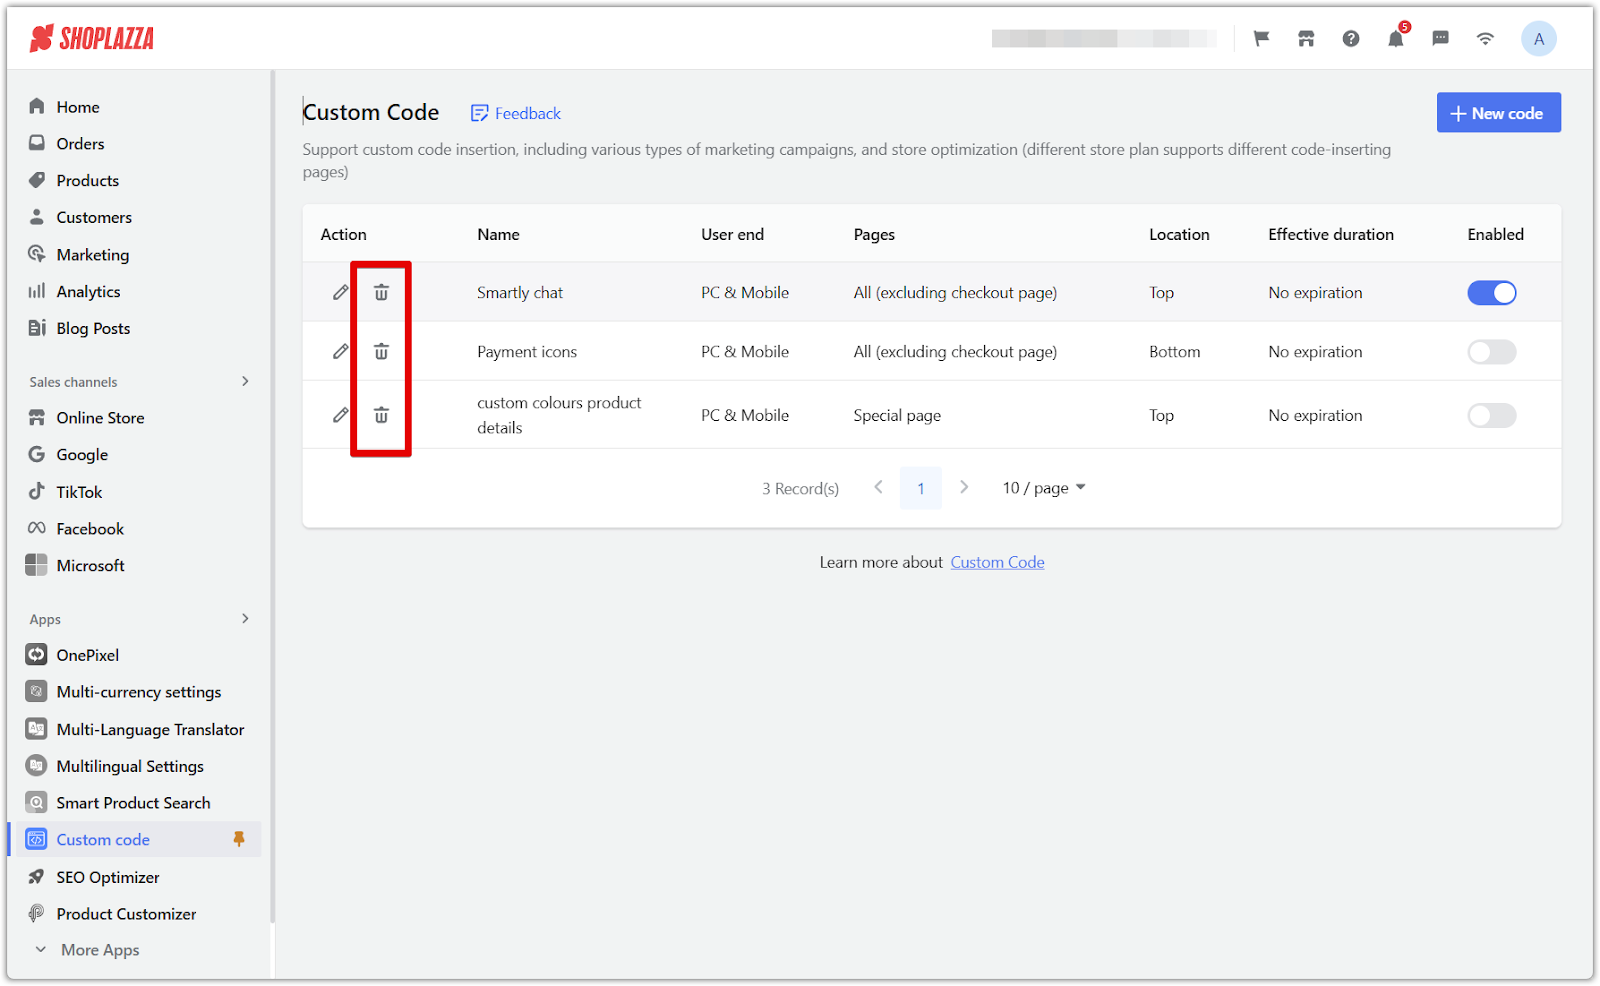
Manage your custom code
After adding scripts, you can edit or remove them as needed to keep your store’s code up to date and functioning correctly.
1. Edit existing code: If changes are needed, locate the script in the list and modify it as required.

2. Delete code: Remove any unnecessary or outdated scripts from the list to keep your store running smoothly.
Verify script functionality
After embedding a script, testing its performance is essential to maintaining a smooth user experience. Checking that the script runs as intended helps prevent conflicts with existing store features and ensures that customers can navigate without disruptions.
To confirm proper execution, visit the front end of your store and check that the script is displayed correctly. Additionally, test its compatibility by ensuring that it does not interfere with other features or content on your website. Performing these checks will help maintain a functional and optimized store environment.
Custom scripts empower your store with greater flexibility, allowing seamless integrations and optimizations. Applying these steps ensures your store remains functional, visually appealing, and performance-driven.


Comments
Article is closed for comments.