Managing customer information effectively is essential for boosting your store’s sales and customer service. Importing your customer data lets you streamline account management, run personalized marketing campaigns, and gain insights into customer behavior. Follow these steps to import customer profiles directly into your Shoplazza admin.
Steps to import customer data
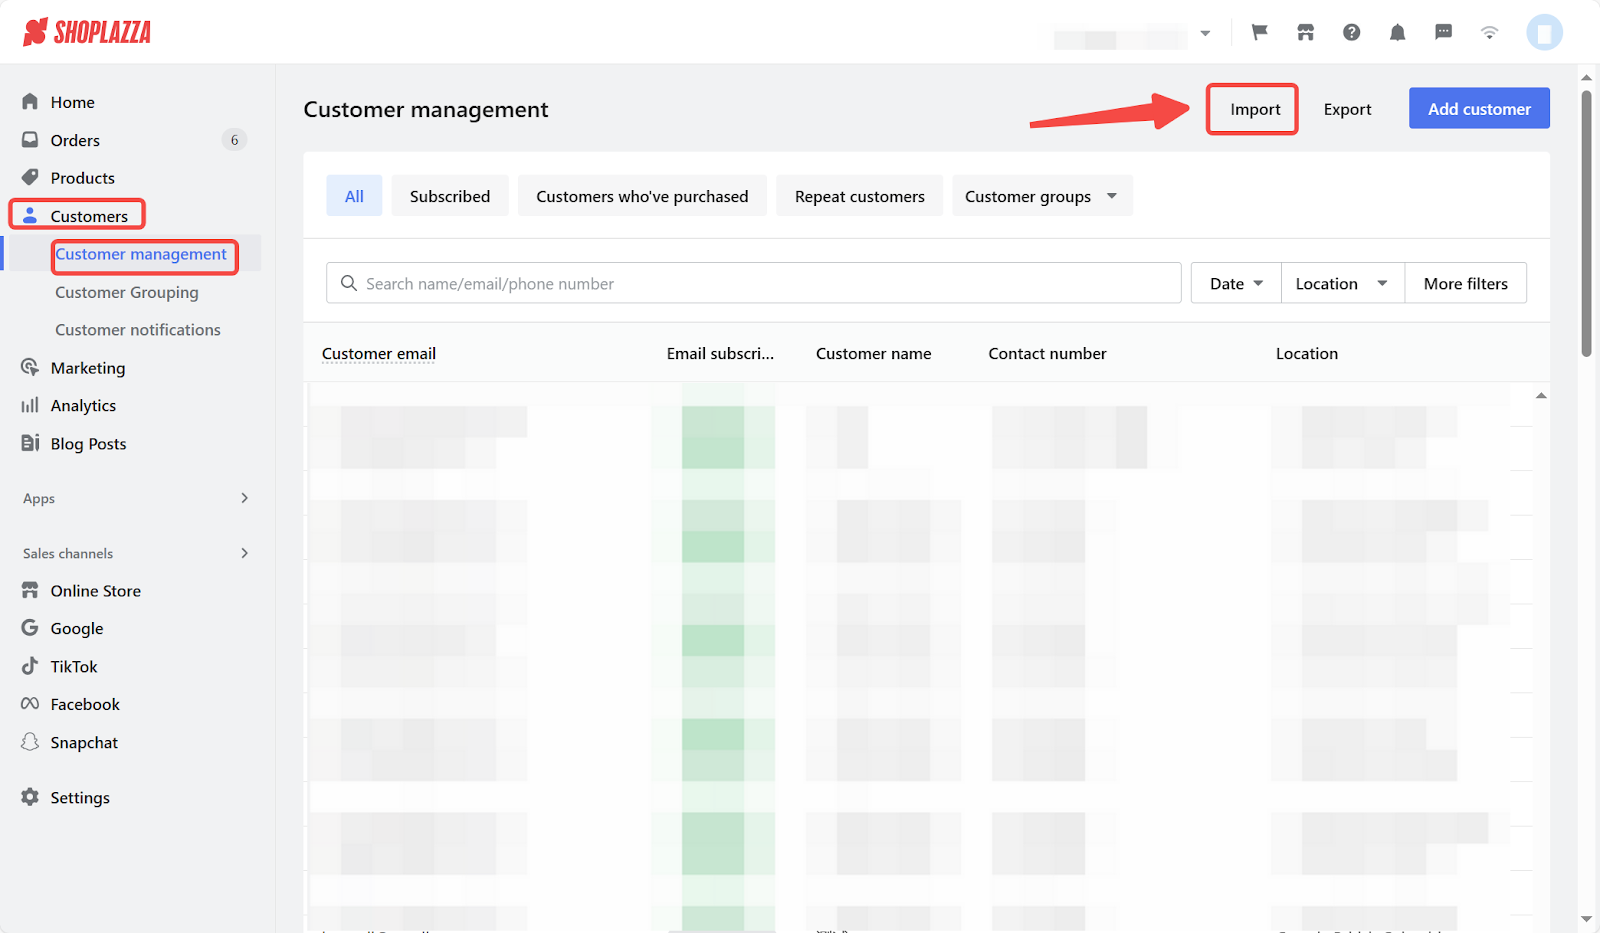
1. Access the import tool: Go to your Shoplazza admin > Customers > Customer management, then click Import.
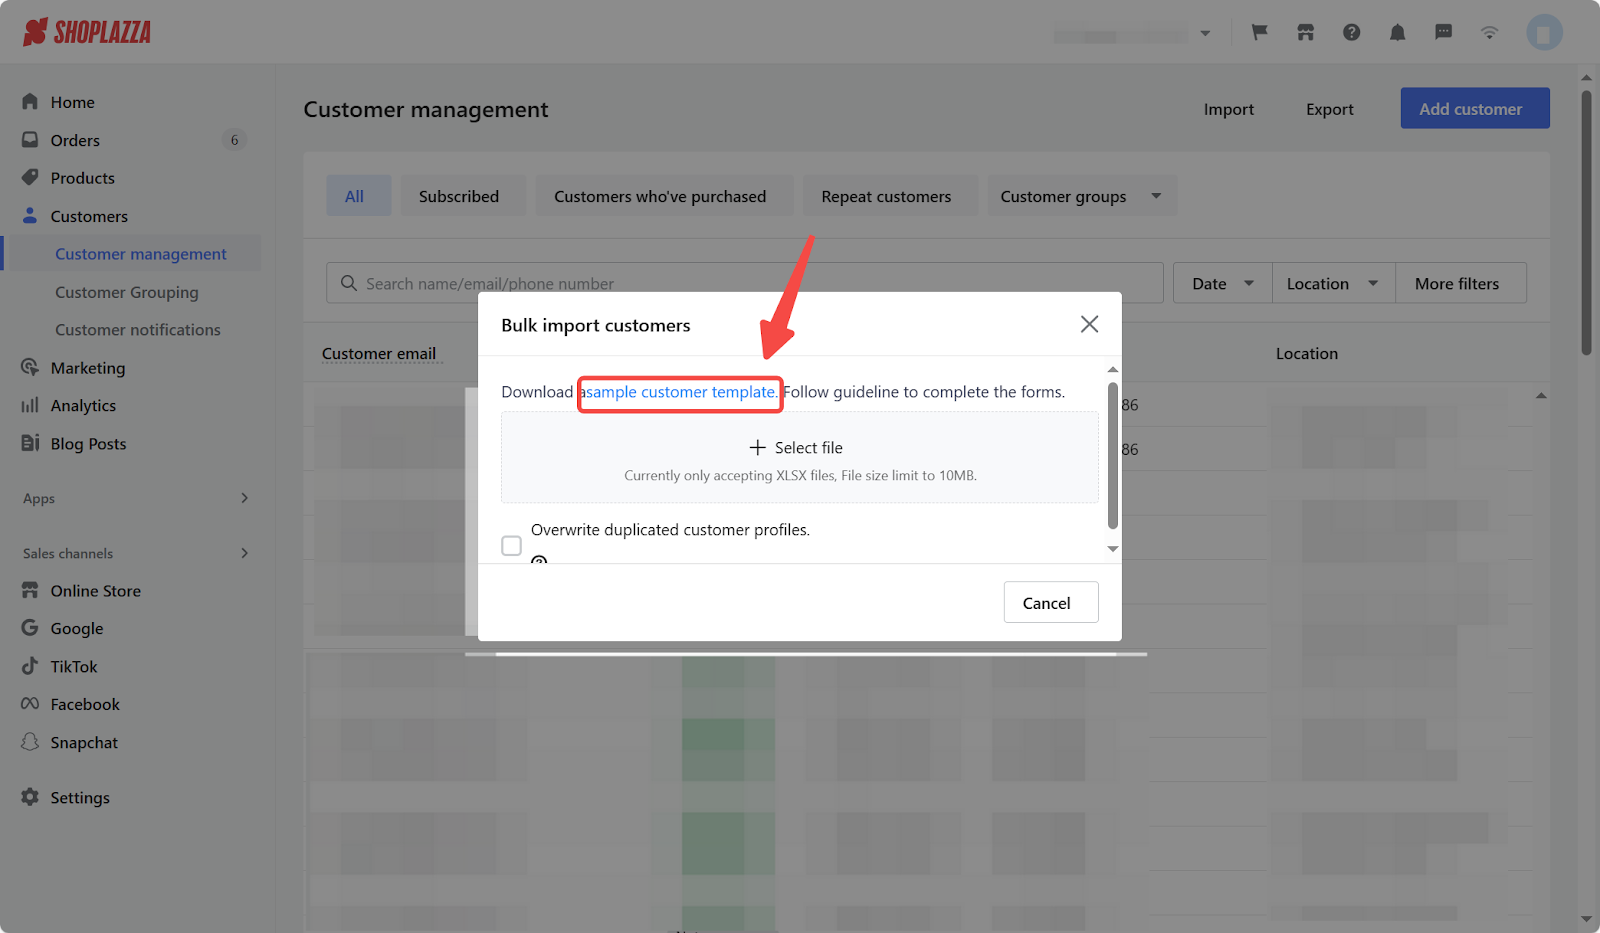
2. Download the template: Click on the sample customer template to download the XLSX file. Use this file as a guide and enter your customer information according to the format shown.
3. Understand the required fields: The sample file includes all supported variables and formatting requirements. Follow the guidelines to avoid upload errors.
| Field | Description |
| ID | Identifies customer profiles. Each customer has a unique serial number ID (e.g., ec5fff6a-03ac-4280-baac-b5608cff372b). This field is auto-generated by Shoplazza and should not be modified. |
| Main contact information | Indicates the customer’s main contact method. Enter 1 to provide an email address in the next column or 2 to provide a phone number. |
| The customer’s email address. | |
| First name | The customer's given name (first name). |
| Last name | The customer’s family name (last name). |
| Subscribed | Enter Y if the customer is subscribed to marketing; enter N if not. |
| Country/Region | The country or region the customer is from. |
| Country code | Two-letter country code (e.g., US for United States). |
| Tags | Add optional tags to categorize or label customers (e.g., VIP, High-Value). |
| created at | The date and time of the customer’s first purchase using this email or phone number. |
| Registered | Indicates whether the customer is registered (Y for yes, N for no). |
| Registered at | The timestamp when the customer registered. |
| Finished order count | The total number of completed orders placed using the given email or phone number. |
| Finished order total | The total value of completed orders placed using the given email or phone number. Default currency is USD. |
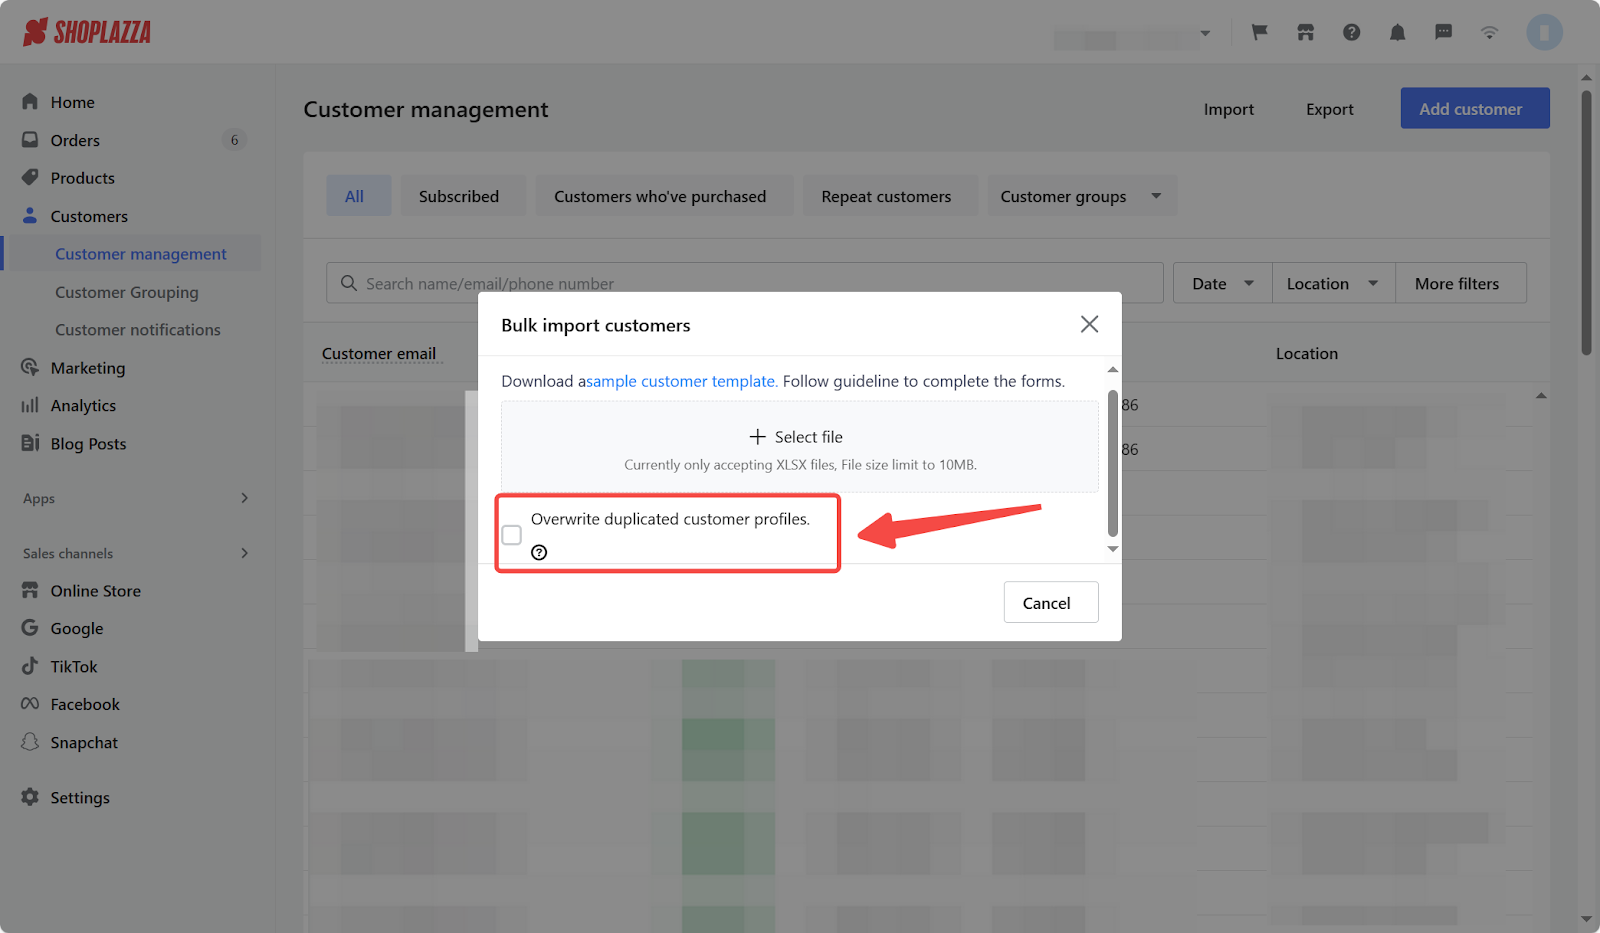
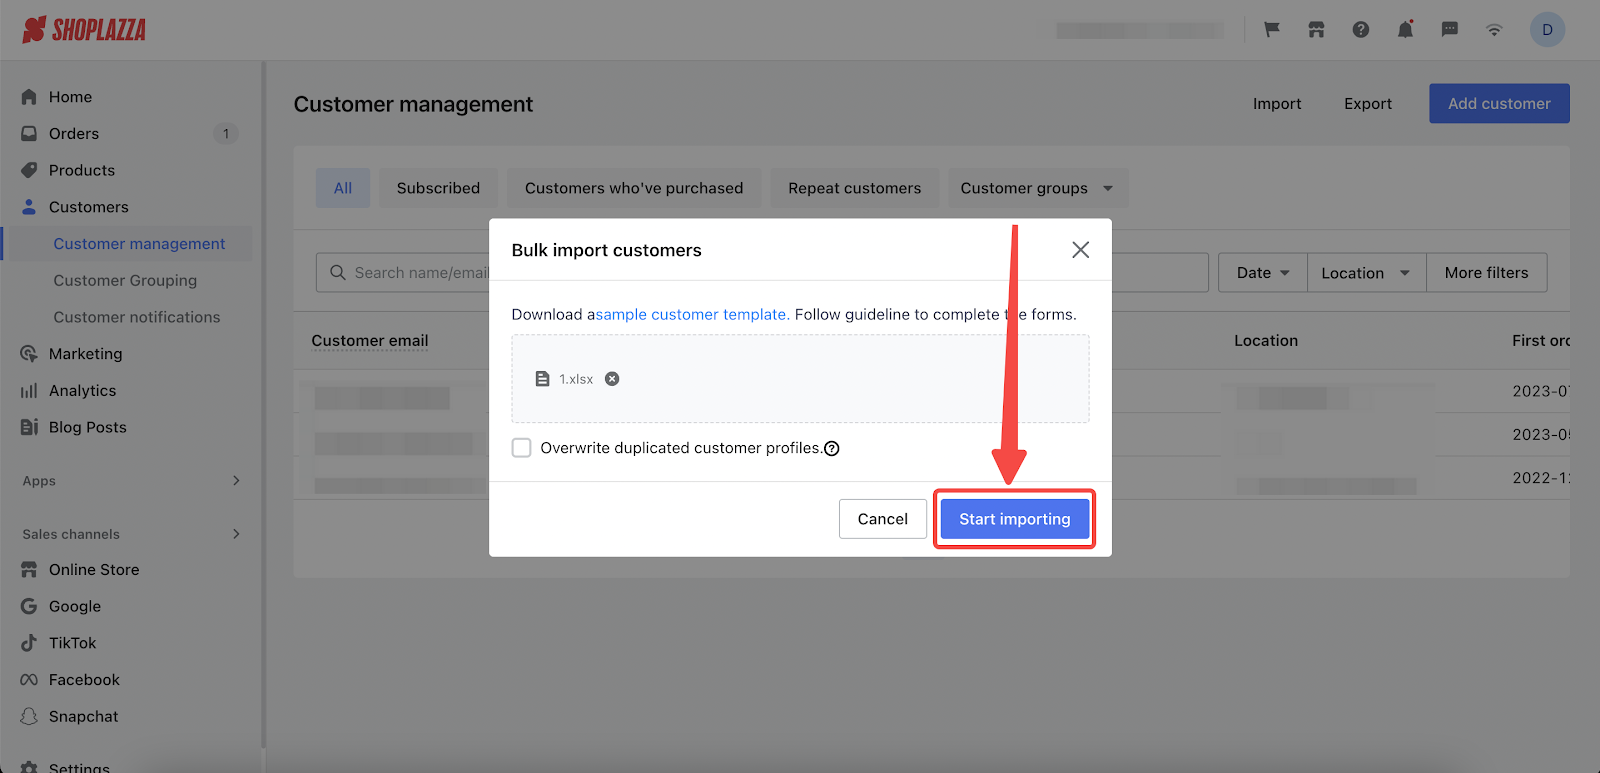
4. Choose overwrite settings: Enable Overwrite duplicated customer profiles if you want the import to replace any existing customer records with the same email address or phone number.
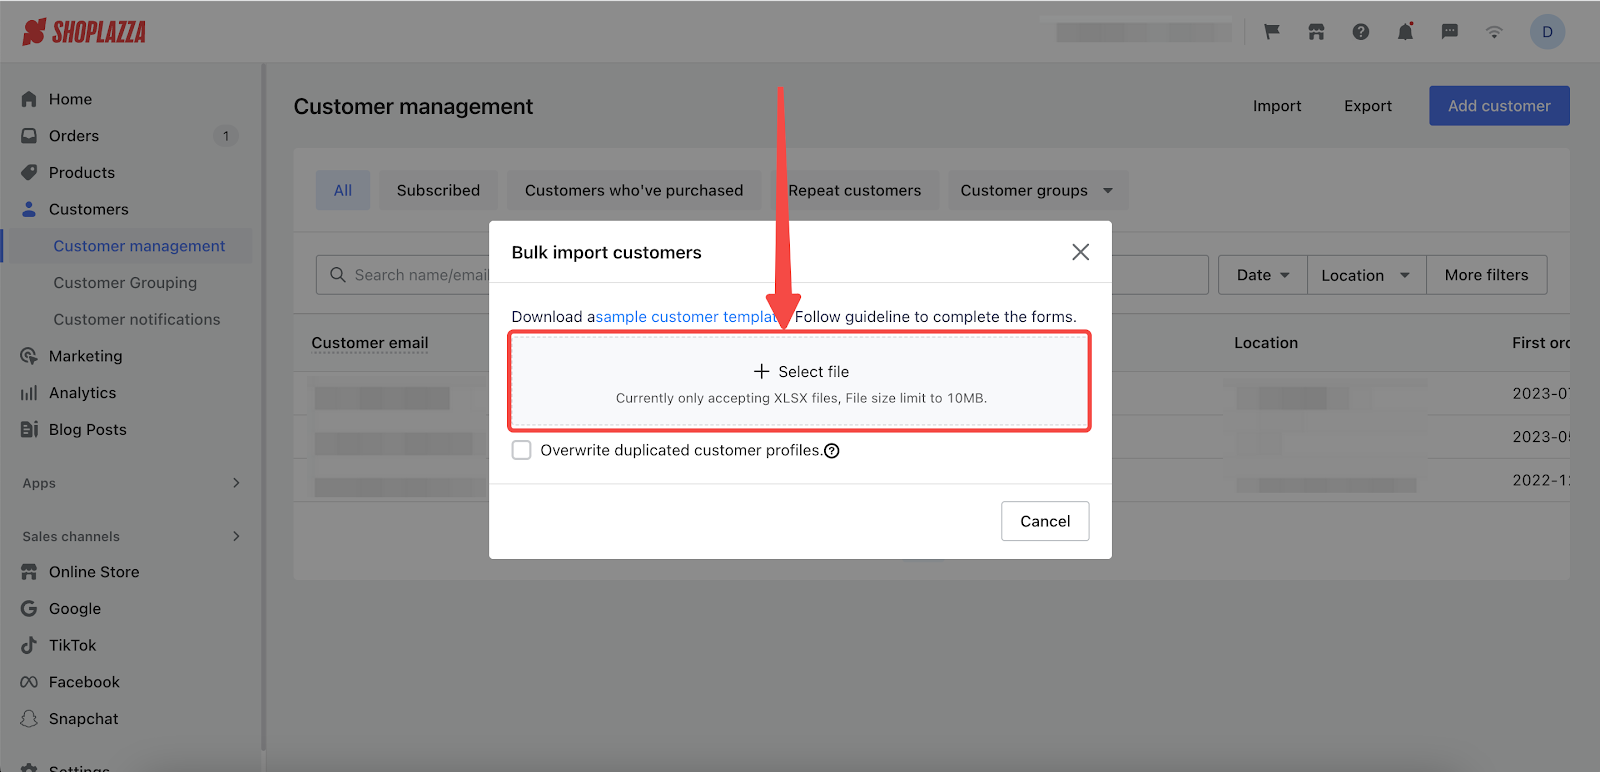
5. Upload your completed file: Once you’ve filled out the customer template, click Select file and choose your file to begin the upload.
6. Start the import process: After uploading the file, click Start importing to proceed.
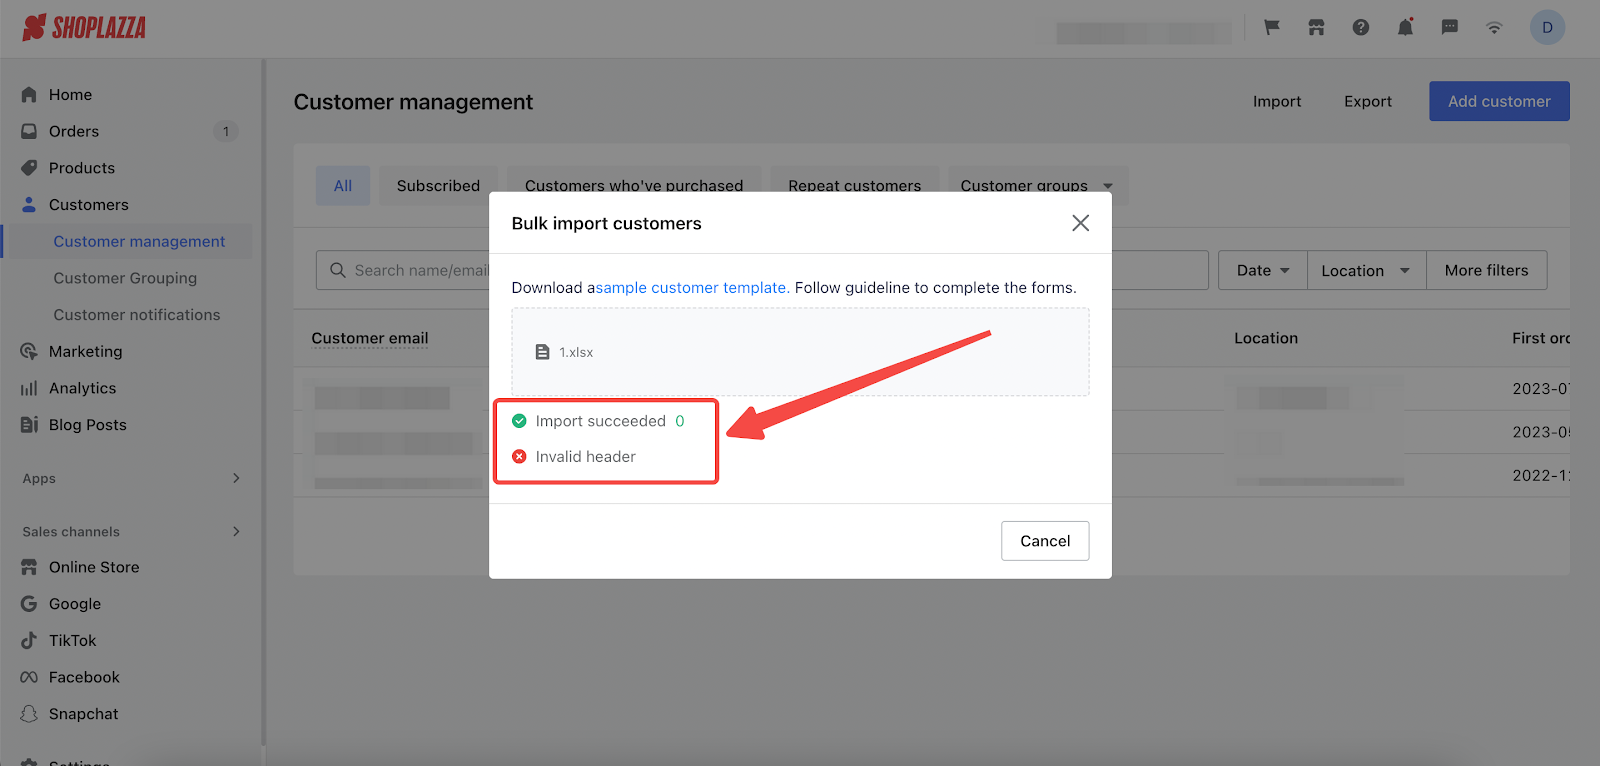
7. View import results: After the process finishes, you’ll see a summary of your import results. Use this report to confirm successful uploads or resolve any errors.
Importing customer data into your Shoplazza store helps you centralize customer profiles, improve communication, and unlock smarter marketing strategies. Use this simple tool to manage your customer base and stay organized and efficient.


Comments
Article is closed for comments.