
The Proposals module is one of the core features of your POD system, empowering you to better serve large clients. Here, you can upload customer information, fill out proposal details, batch upload products, communicate and modify proposals with clients, and track the status of both proposals and products. Once a client agrees to your proposal, it will automatically move to the Orders module, ready for production. Below is a detailed guide to the Proposals module's features and operations.
Overview of proposal tabs and product statuses
In the process of negotiating and modifying proposals with clients, both the proposal and product statuses will change based on your actions. Understanding these statuses helps both parties track and share order progress in a timely manner.
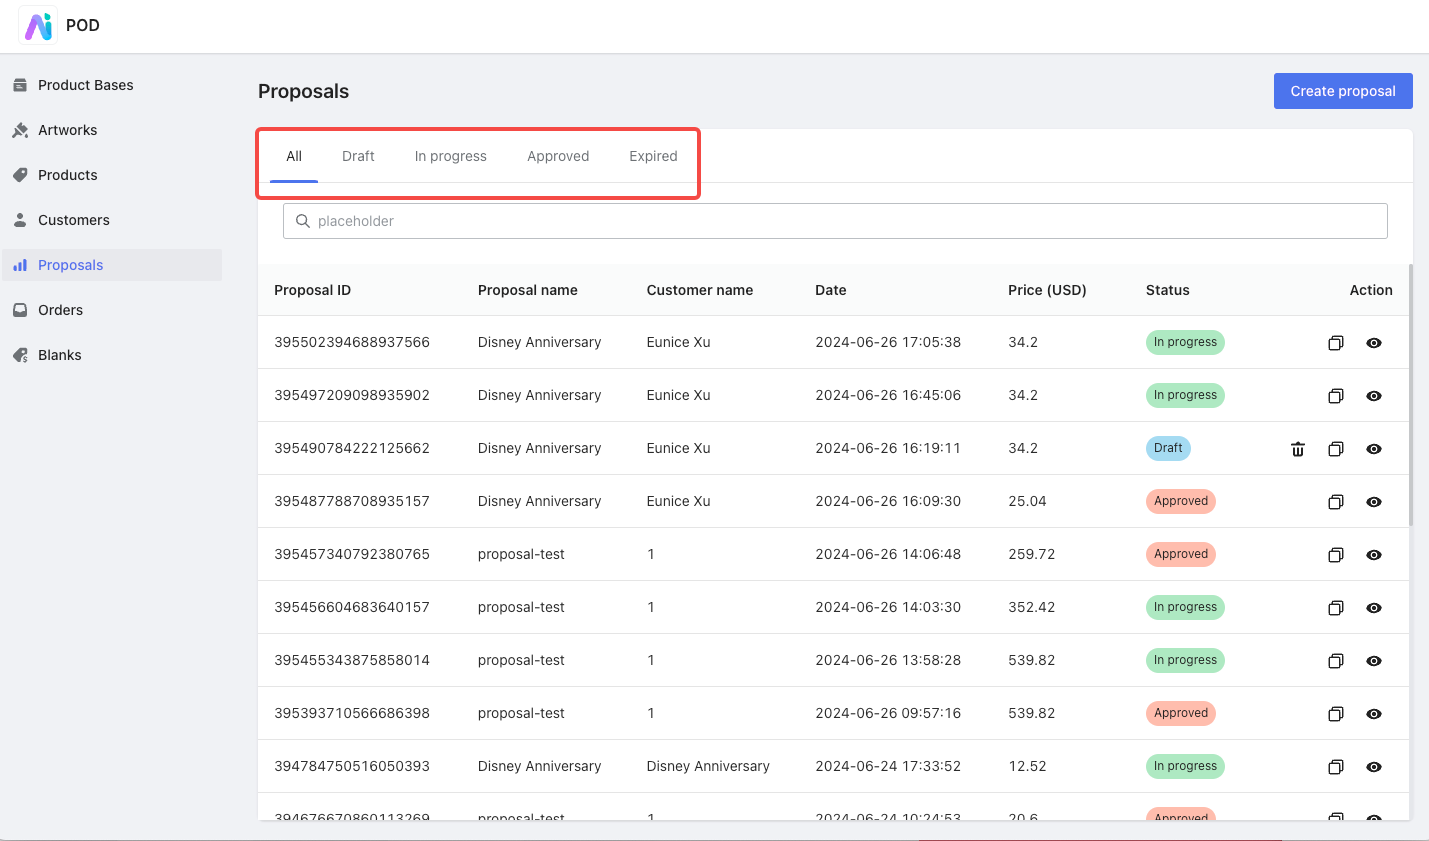
1. Proposal status tabs: Manage and monitor your proposals through the following tabs:
- Draft: A newly created proposal is automatically categorized as a draft.
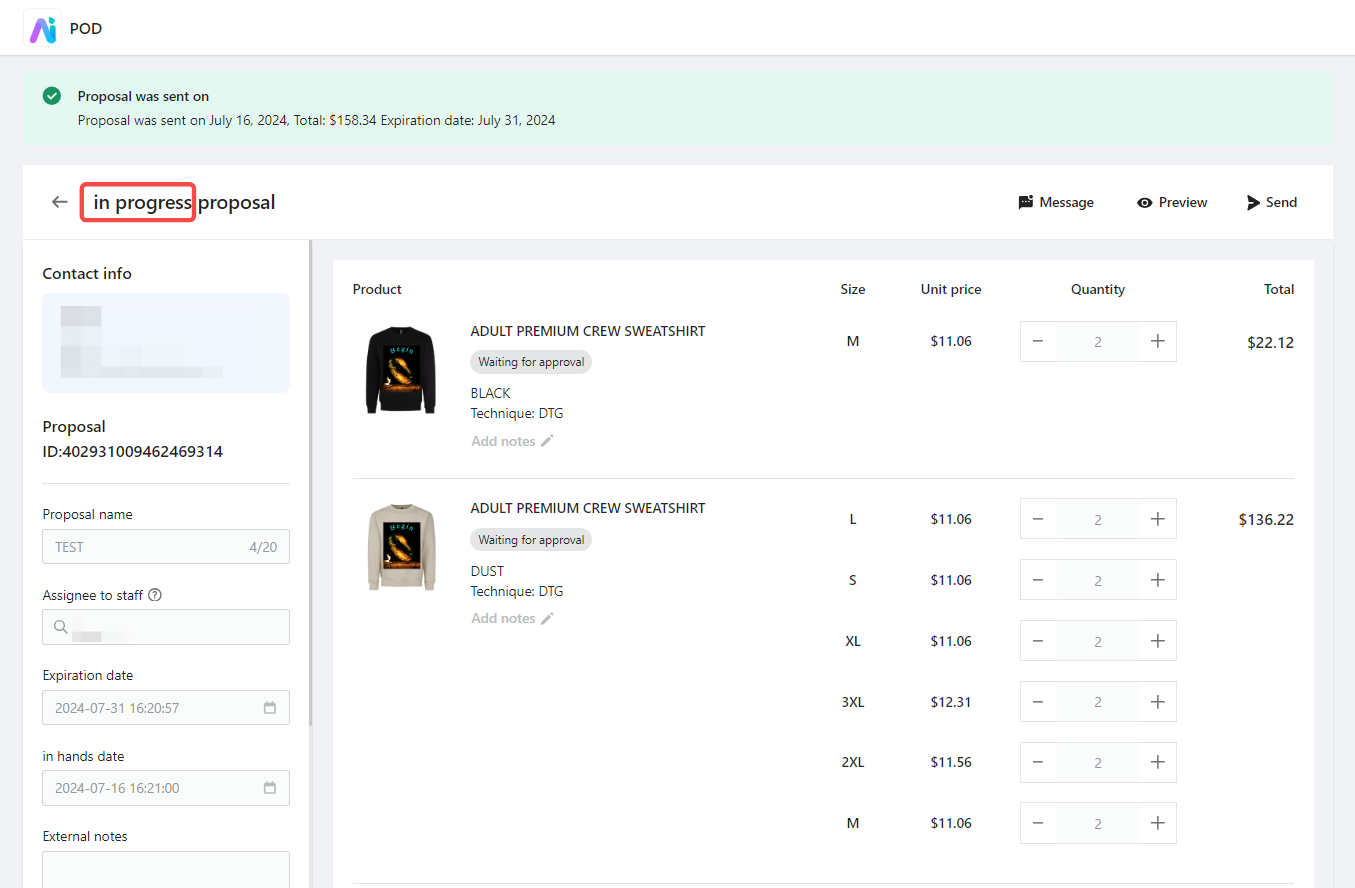
- In progress: When you send an email to the client and they have not yet approved the proposal, it is categorized as in progress.
- Approved: When the client clicks the approve button in the email, the proposal status changes to approved.
- Expired: Proposals that are not approved by the deadline become expired.
2. Product statuses: Track the progress of each product within a proposal through these statuses:
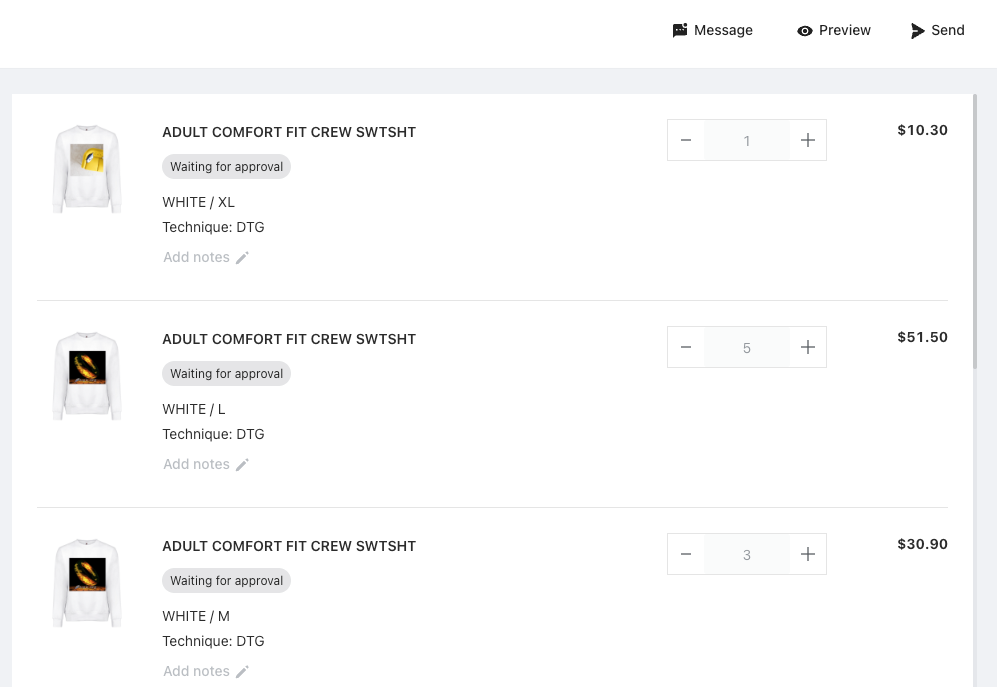
- Waiting for approval: When you first send the proposal email, the product status changes to Waiting for approval.
- Approved: When the client approves the product, its status changes to Approved.
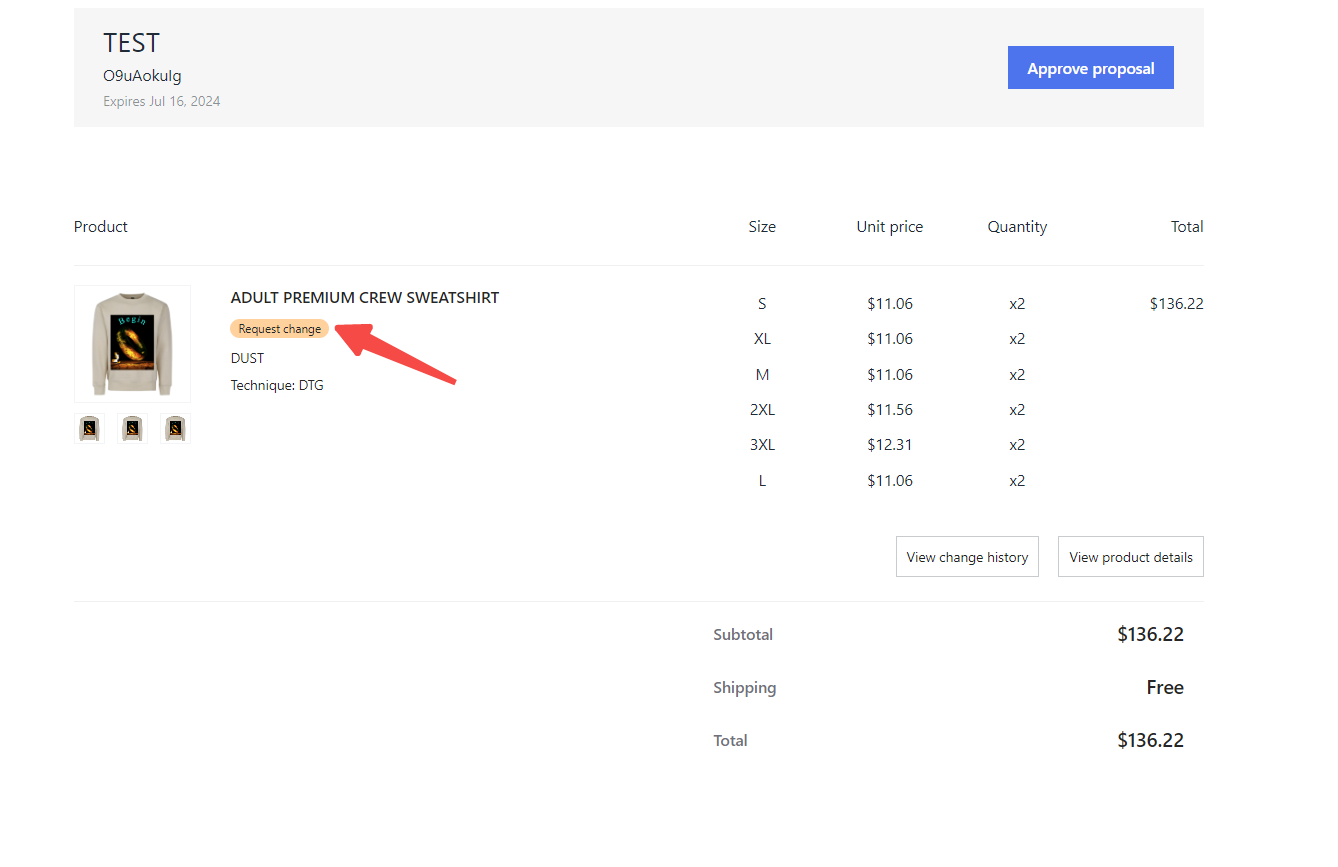
- Request change: If the client requests changes, the product status changes to Request change.
- Revised & waiting for approval: After you make the requested changes and resend the proposal, the product status changes to Revised&waiting for approval.
Status progression
Understanding how proposals and products progress through their statuses is essential for effective management and tracking, ensuring that you stay informed and proactive in managing client interactions.
1. Proposal progression: Proposals typically progress through the following statuses:
- Draft -> In progress -> Approved
- Draft -> In progress -> Expired
2. Product progression: Products within a proposal progress through these statuses:
- Waiting for approval -> Approved
- Waiting for approval -> Request change -> Revised&waiting for approval -> Approved
Creating a proposal
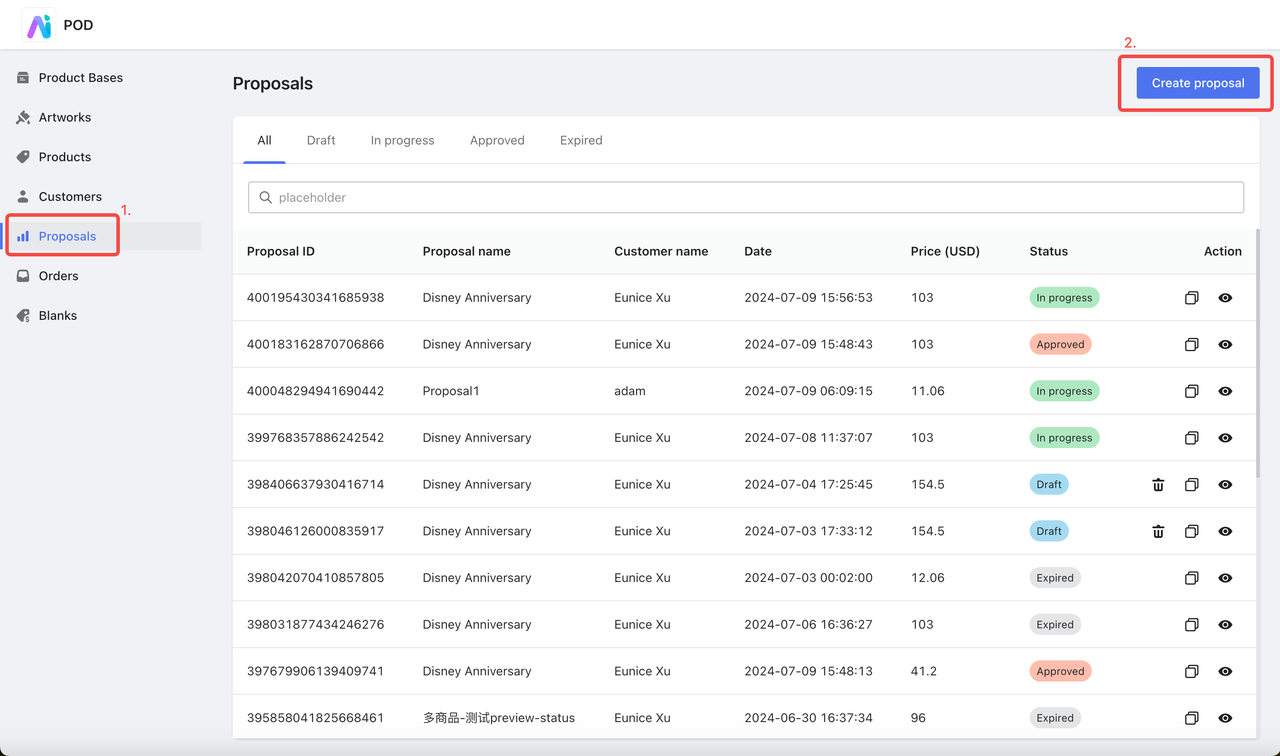
1. Start a new proposal: Enter the Proposals section and click Create proposal to start a new proposal. Here, you can also preview all created proposals and track their statuses.
Filling in proposal details
1. Fill in proposal details: Enter the proposal details page to edit the left-side contact information and proposal details, and upload products on the right side.
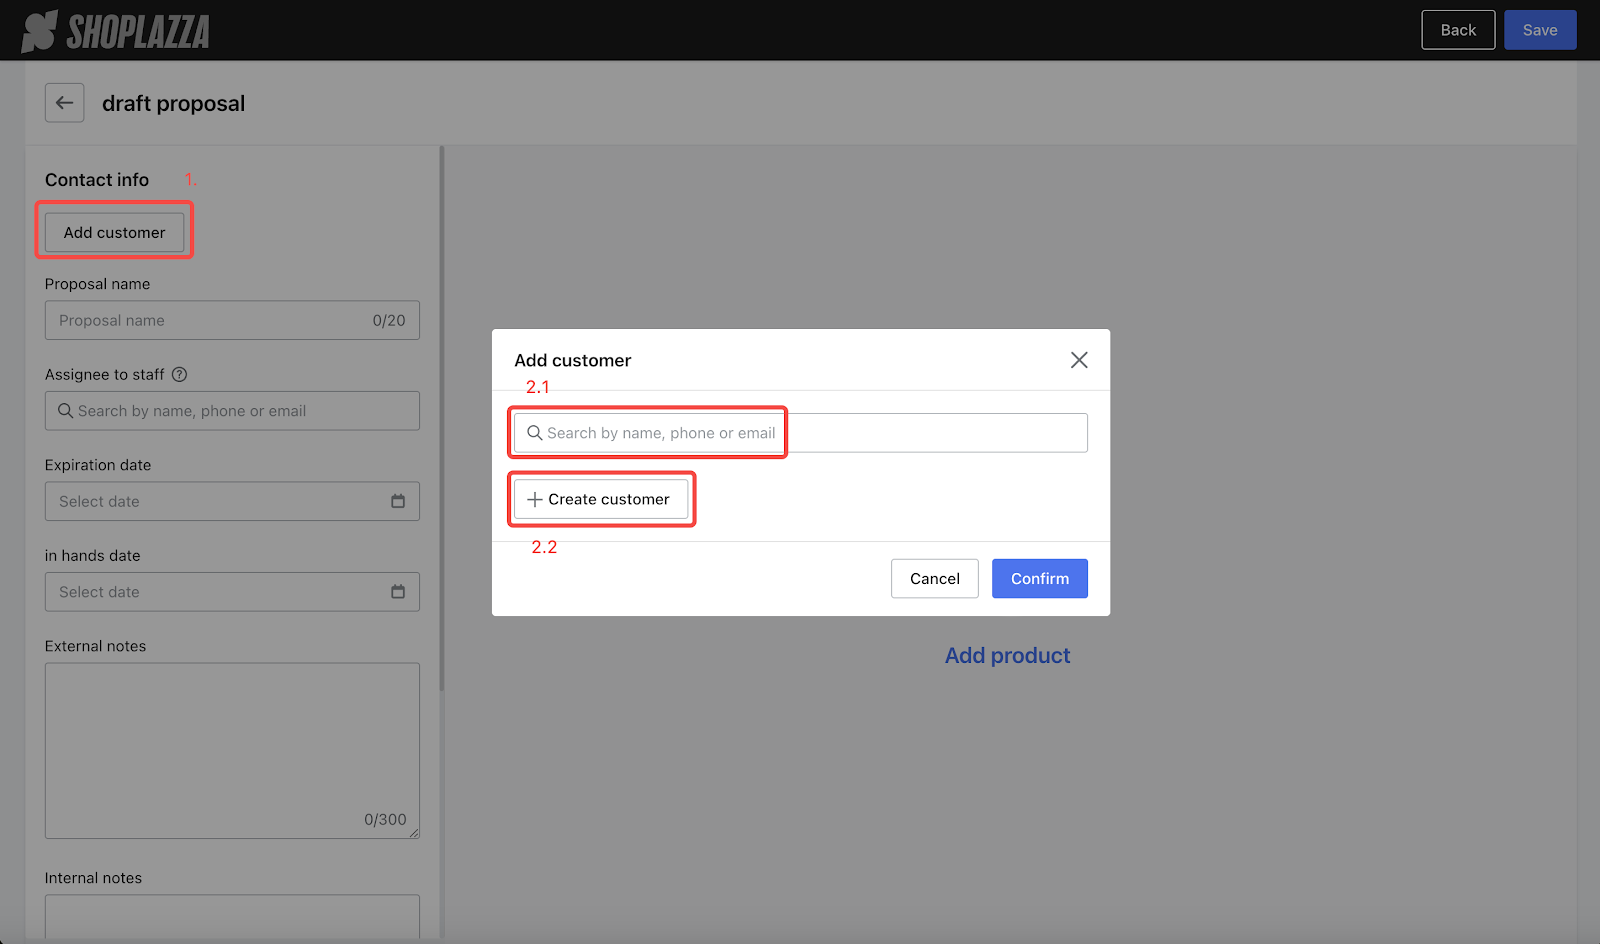
- Contact info:Click Add customer to choose an existing customer or create a new one.
- Proposal name: Give the proposal a unique name.
- Assign to staff: Assign a staff member to follow up on the proposal.
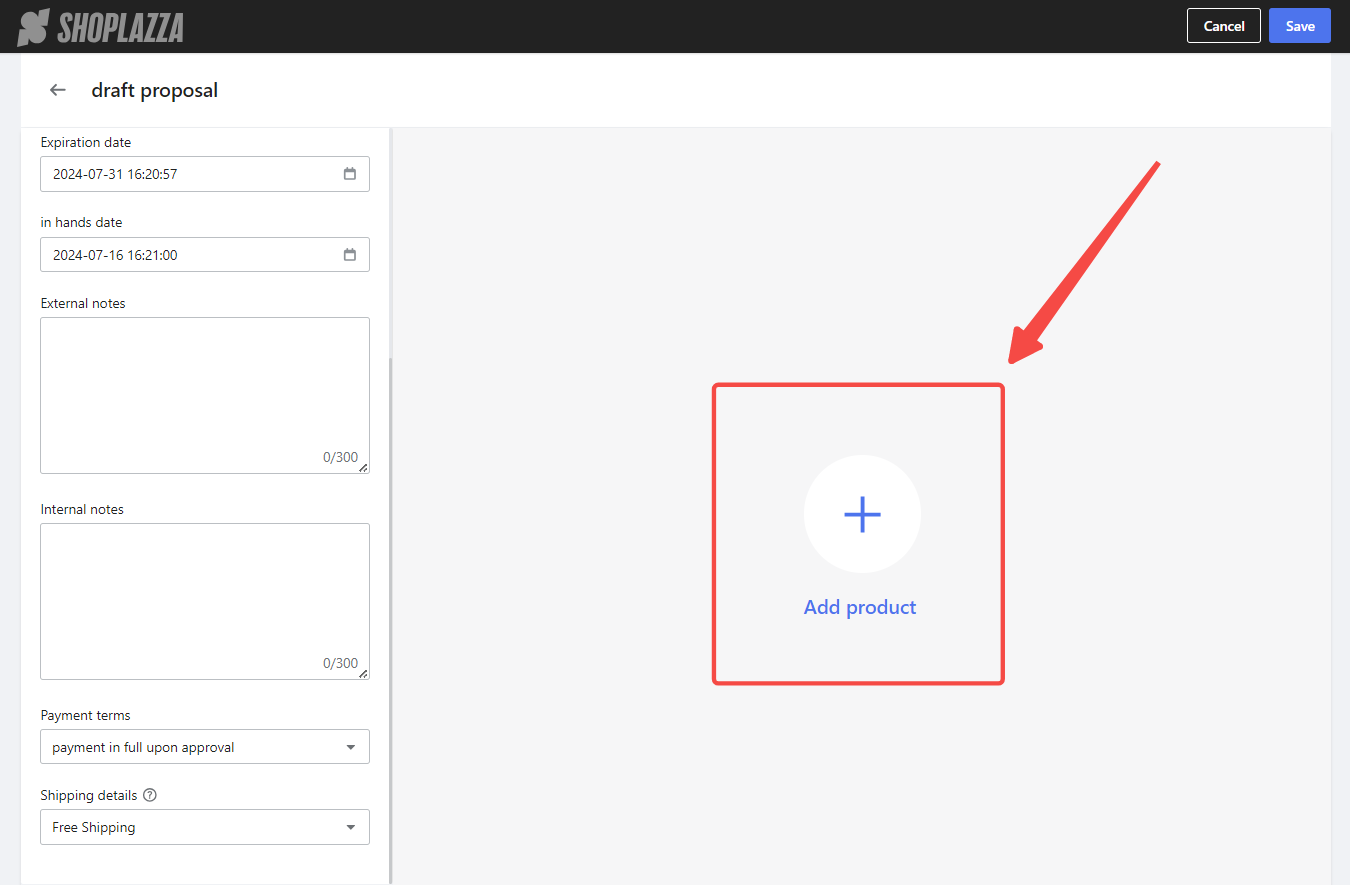
- Expiration date: Set the proposal's expiration date. After this date, the client cannot view or pay for the proposal.
- In hands date: Set the expected delivery date for the proposal.
- External notes: Add notes that clients can view in the email link under additional notes.
- Internal notes: Add notes for internal use only.
- Payment terms: Currently, only "payment in full upon approval" is supported.
- Shipping details: Select the shipping method, which will automatically sync with Shoplazza Shipping.

Adding products to the proposal
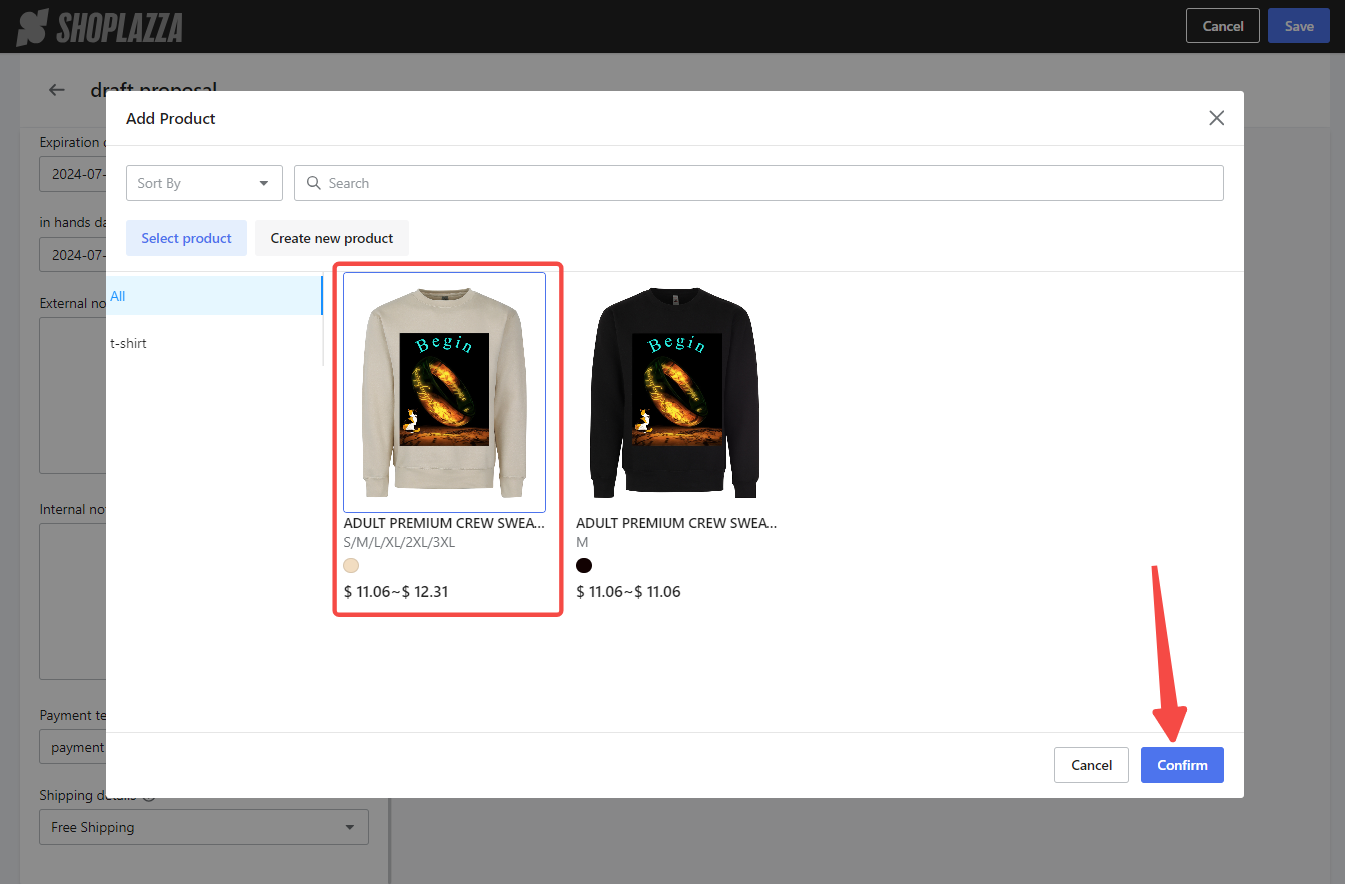
1. Add product: Click Add product on the right side to add products to the proposal.
2. Select product: In the pop-up window, select a product and click Confirm to enter the product details page.
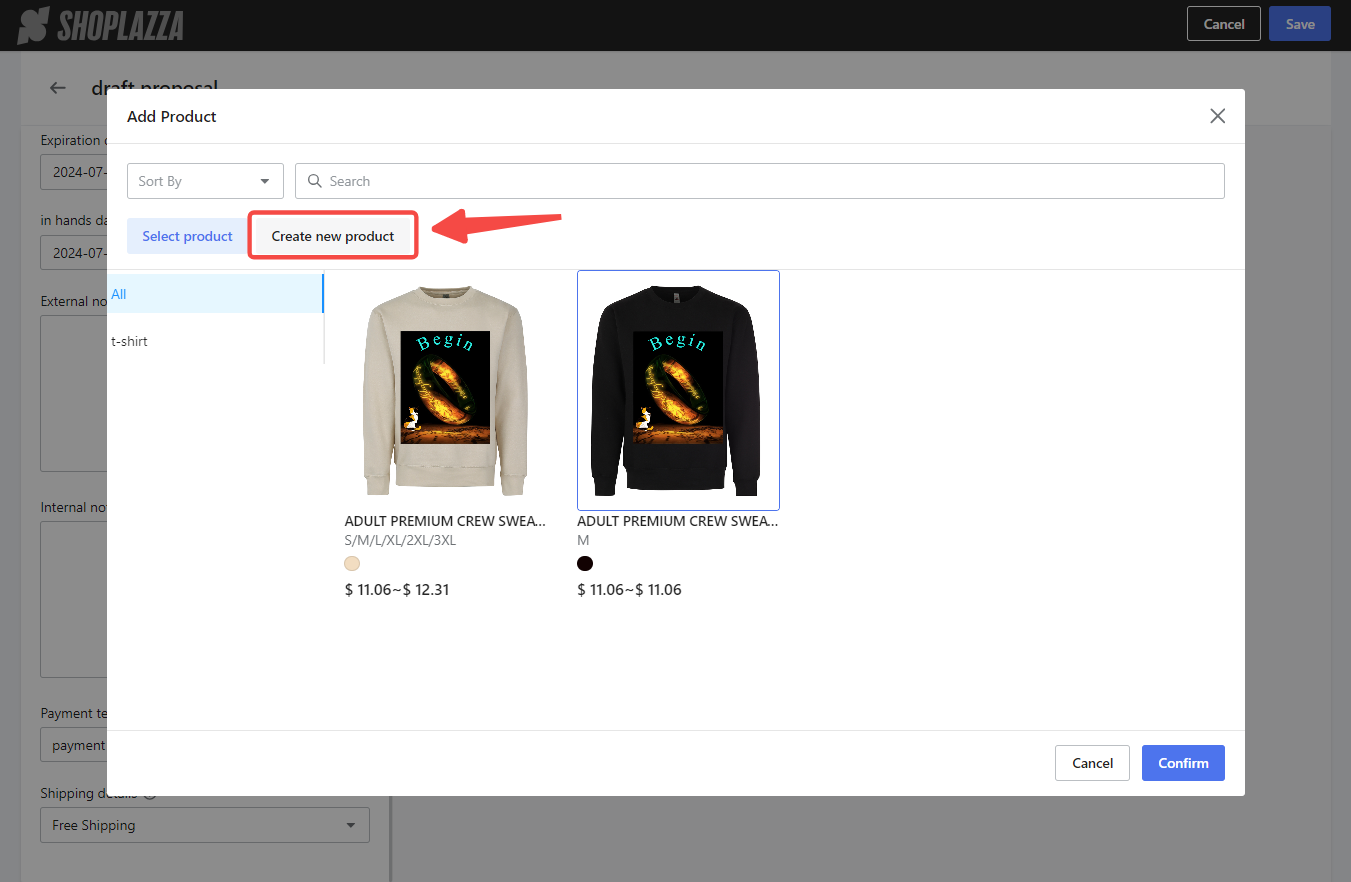
3. Create a new product: If no suitable product is found, click Create new product below the search bar to jump to the Product module and design a new product.
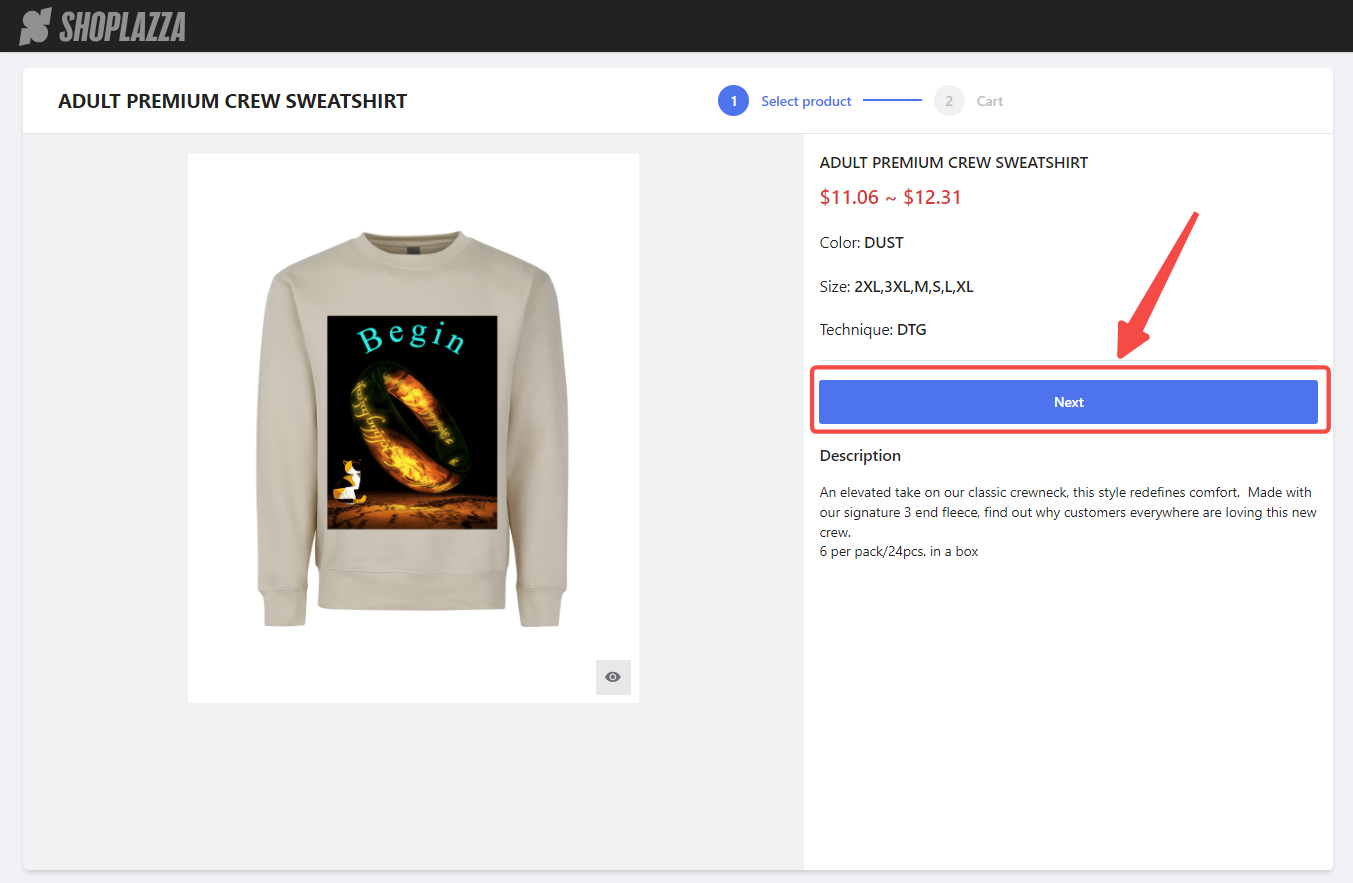
4. Upload product details: On the product details page, click Next to proceed to the upload product page.
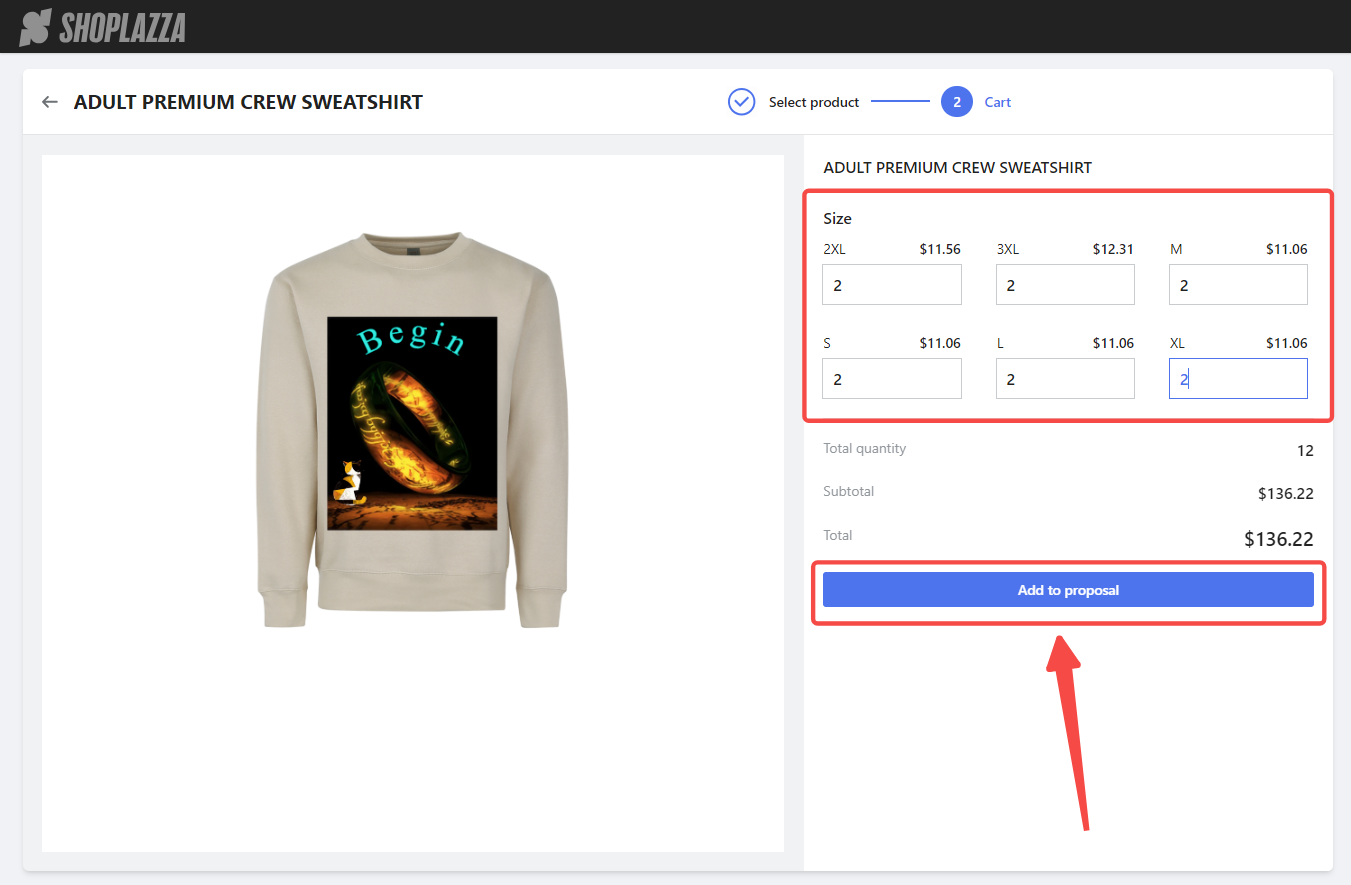
5. Customize product quantities: Customize the quantity for each size on the right side of the page. The system will automatically generate the total order price. Click Add to proposal to add the product to the proposal, then return to the proposal details page.
Finalizing and sending the proposal
1. Save the proposal: After reviewing the contact info and proposal details or adding more products, click Save to finalize the proposal.
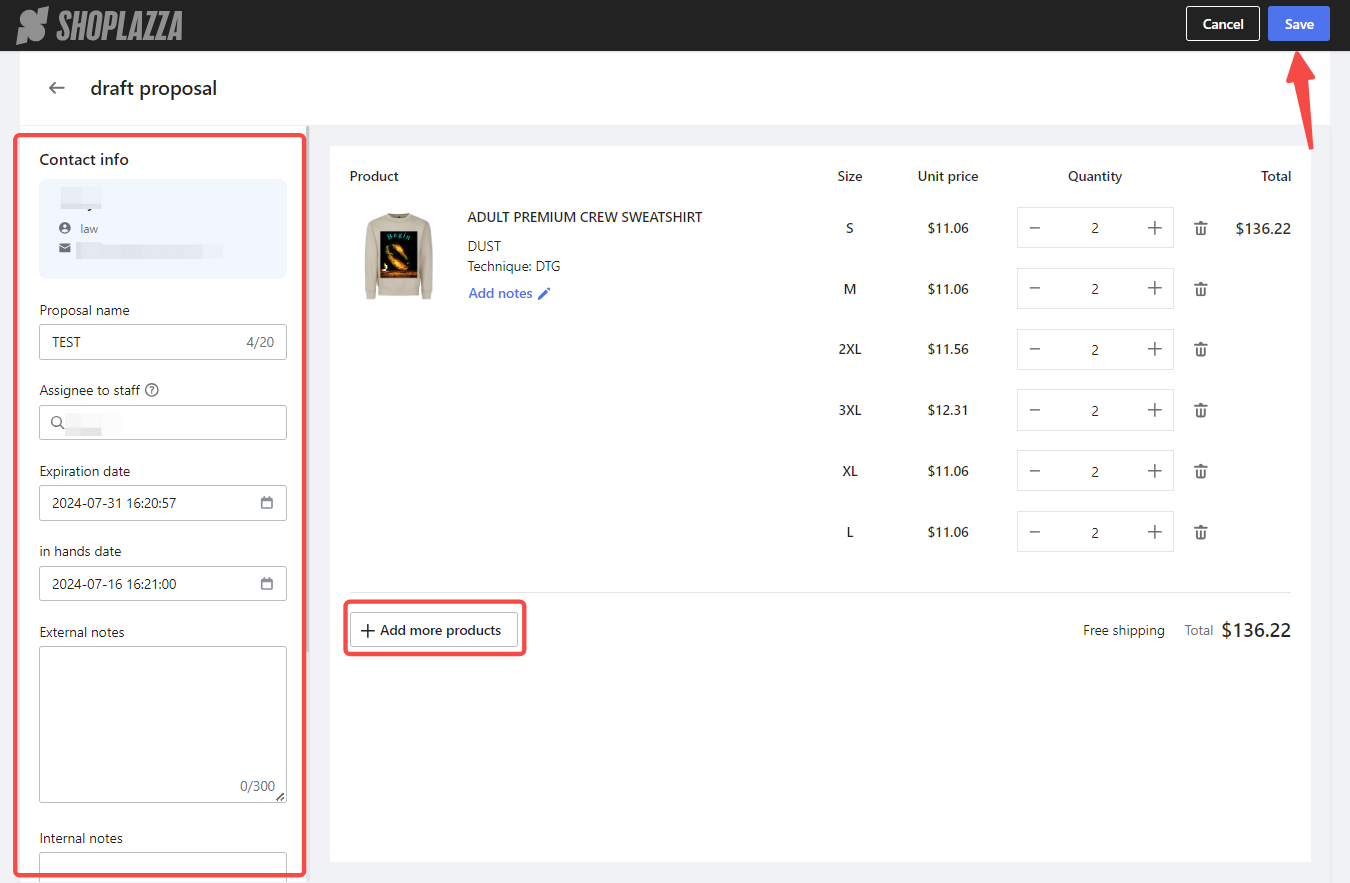
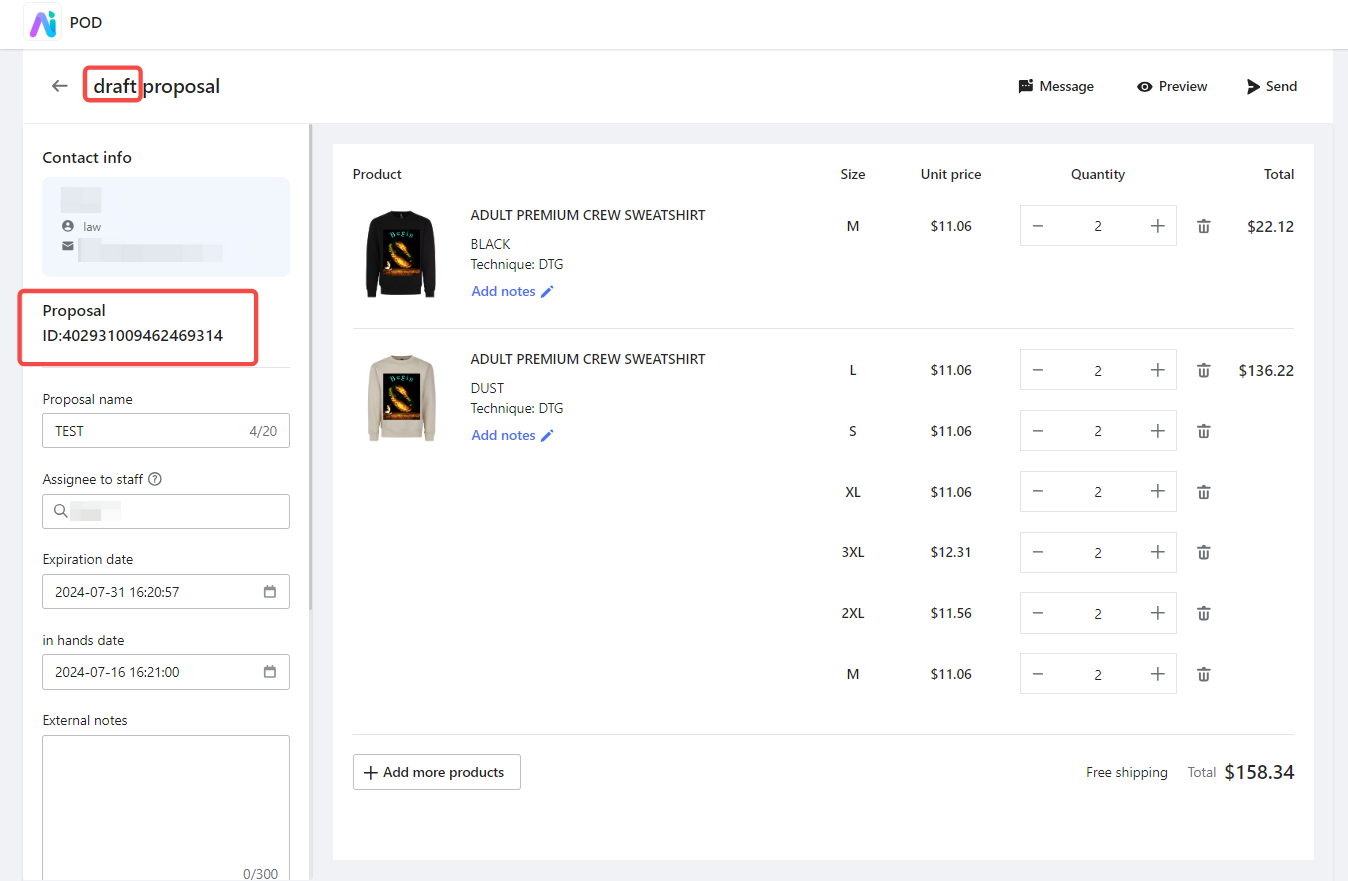
2. Generate Proposal ID: The system will generate a unique Proposal ID. The proposal will then be in Draft status.
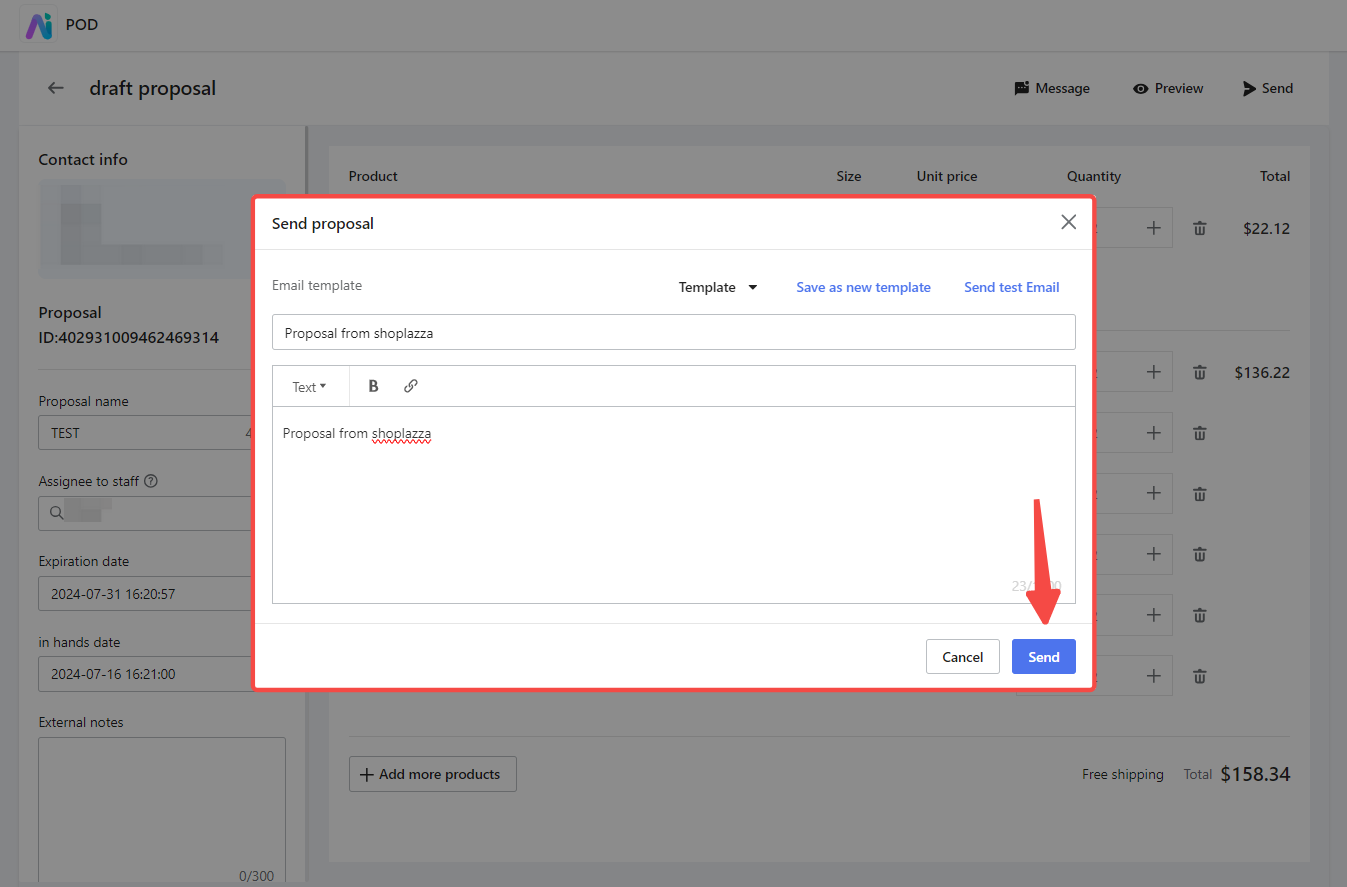
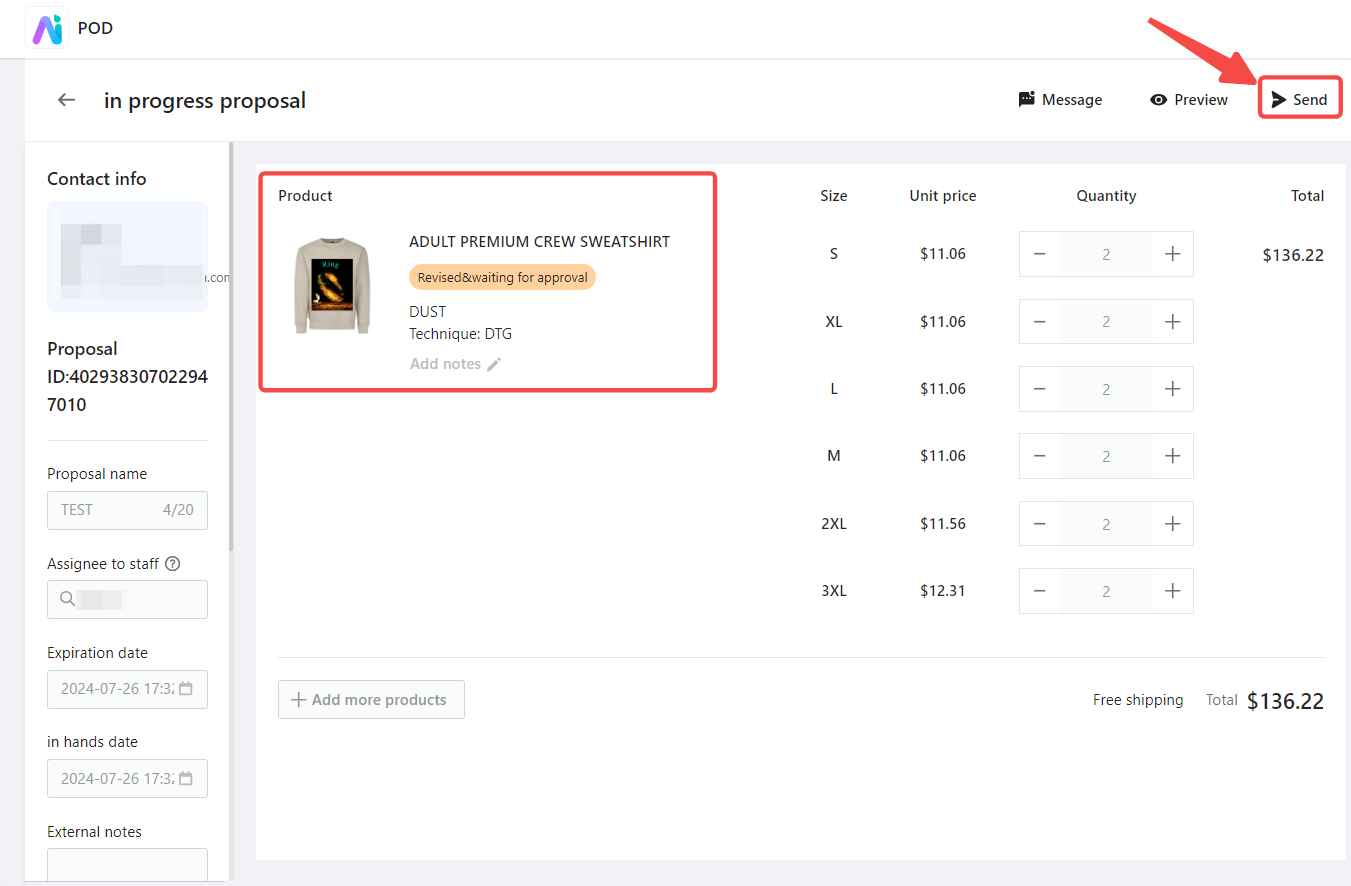
3. Send the proposal: Click Send to email the proposal to your client.
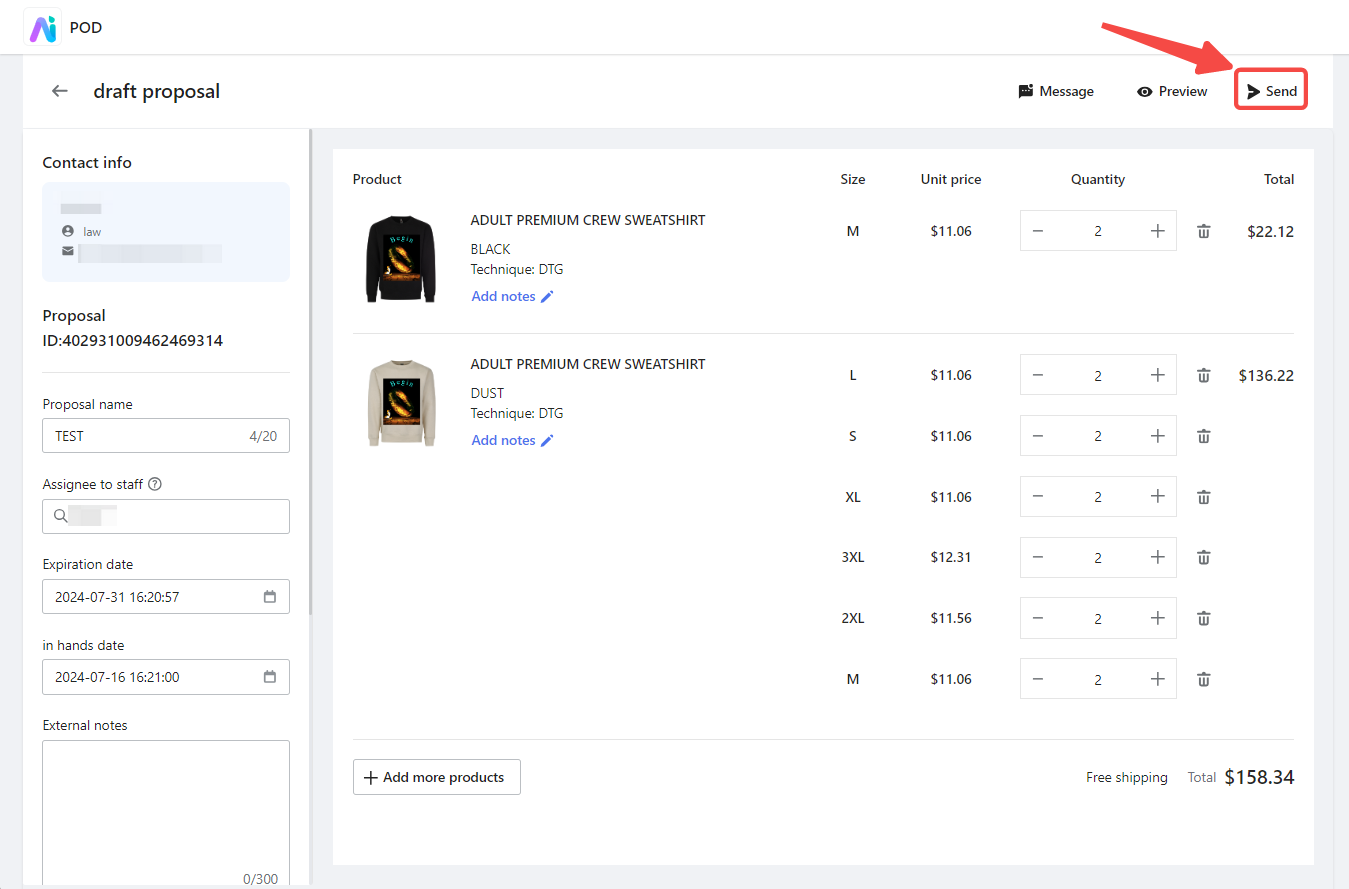
4. Change proposal status: The proposal status will change to In Progress.
Communicating with clients
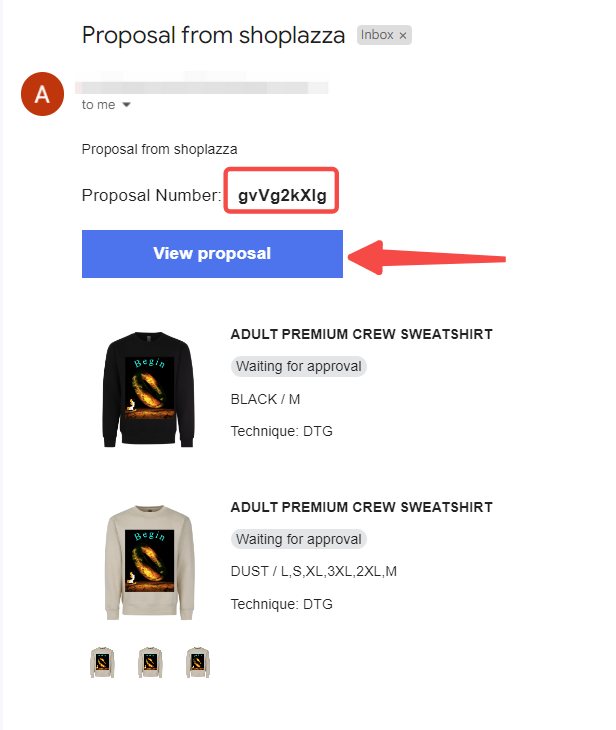
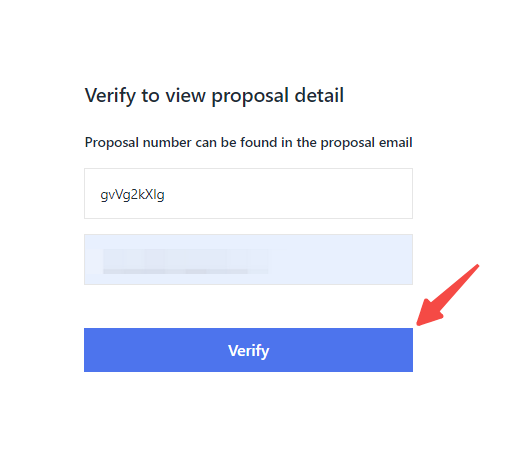
After sending the proposal, begin the communication and modification phase with your client. Clients do not need to download anything extra; they can simply click the View proposal link in the email, enter their email address and the Proposal Number, and click Verify to view the products.
Managing product statuses
Based on the client's feedback, the product statuses will evolve through the following stages:
1. Approved status: Waiting for approval -> Approved
2. Request change status: Waiting for approval -> Request change -> Revised&waiting for approval -> Approved
Approved Status
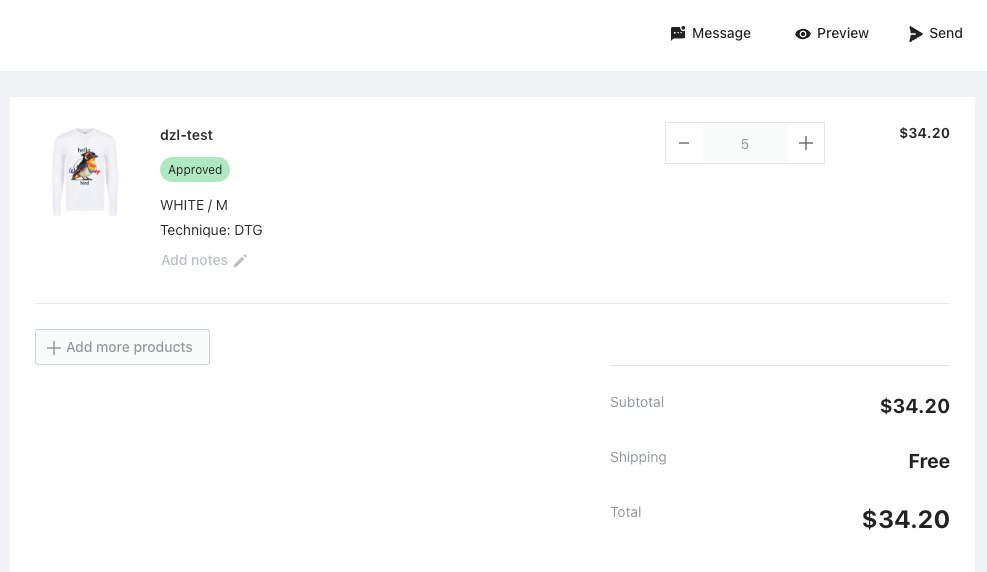
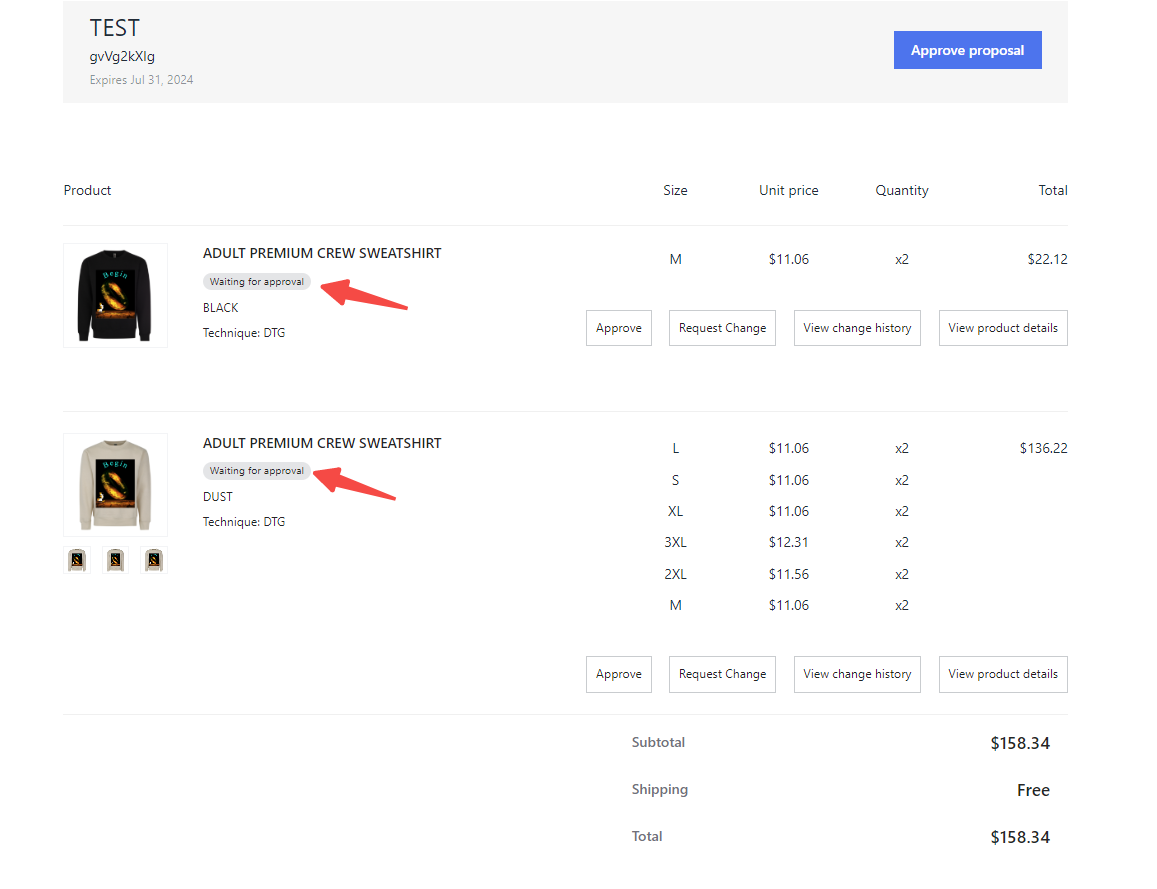
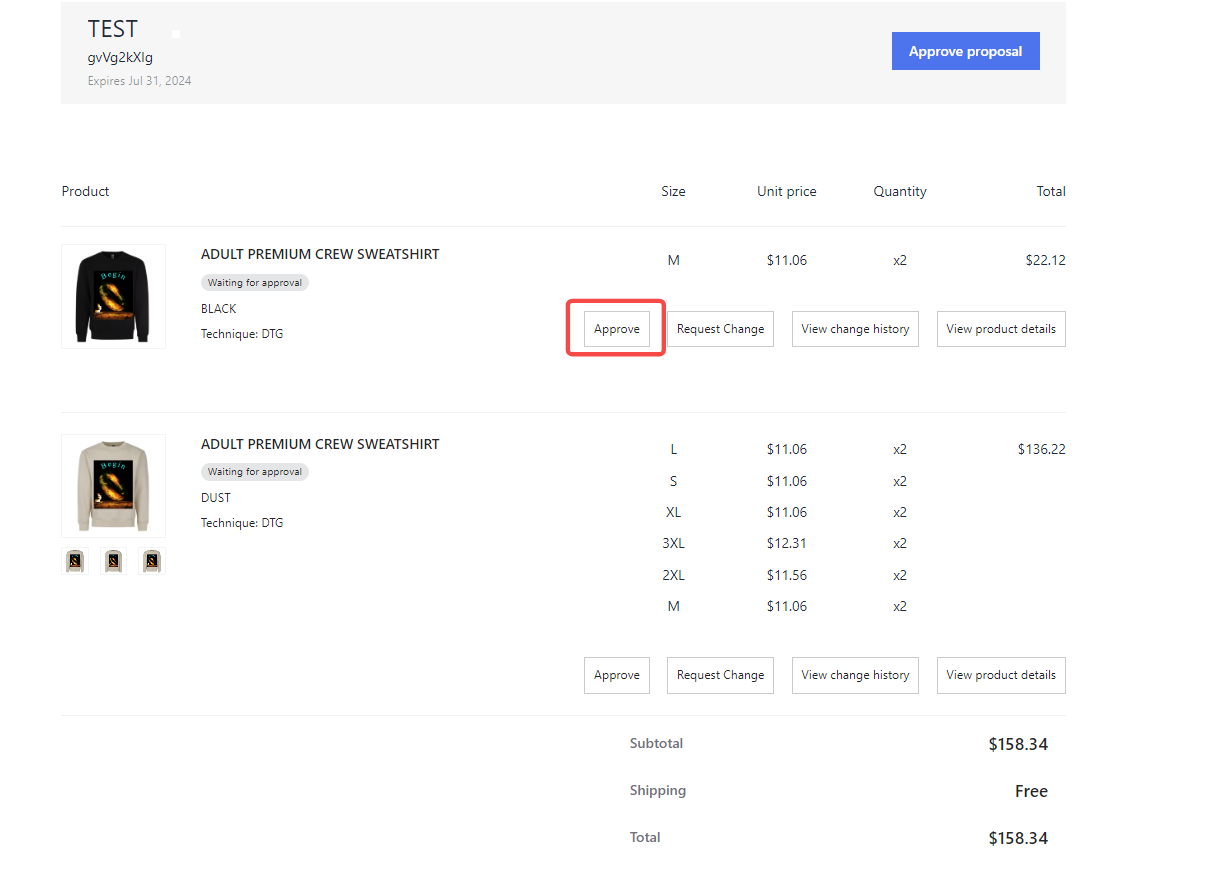
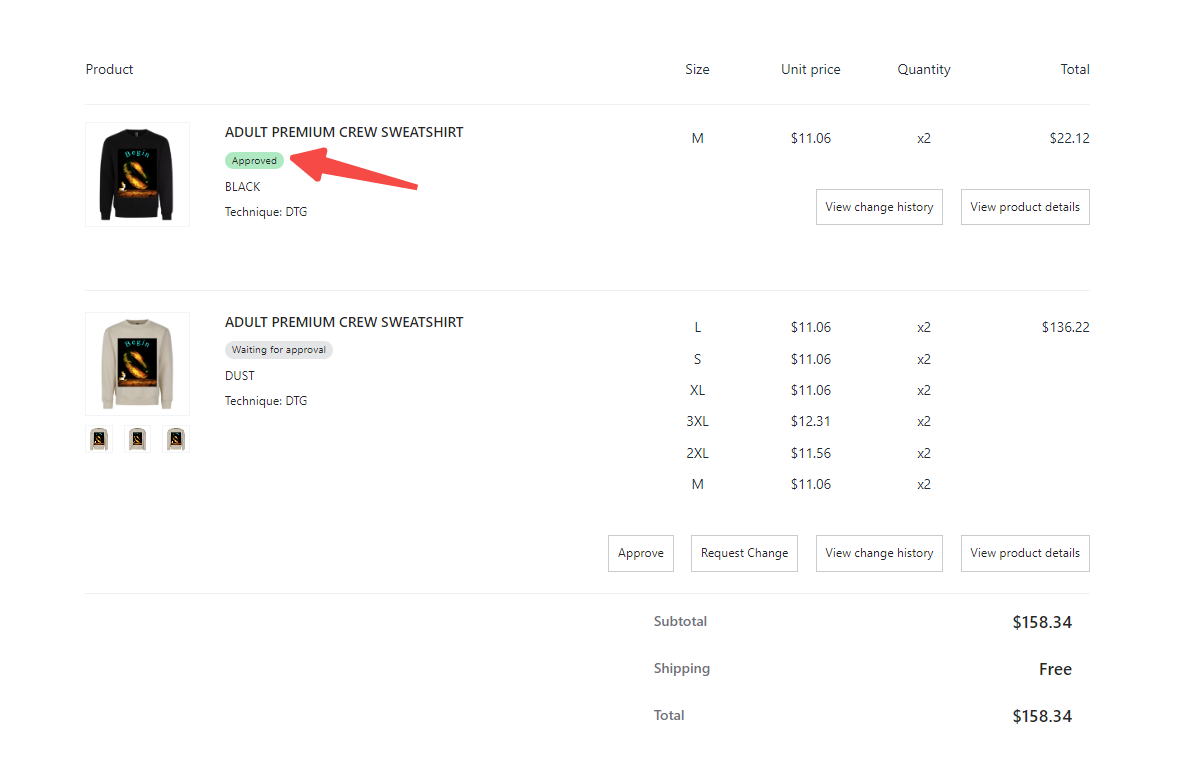
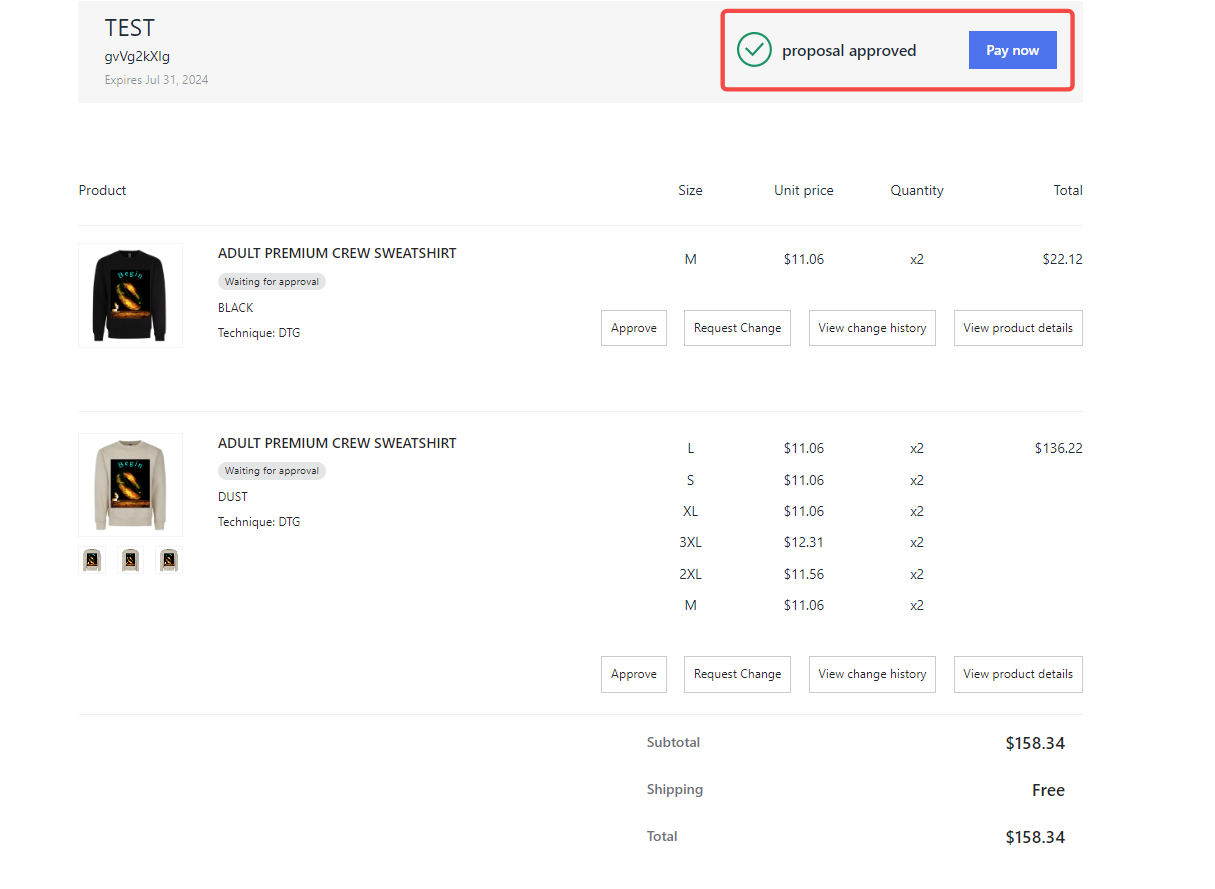
When a client is satisfied with a product, they can click the Approve button for each product or the Approve proposal button for the entire proposal, changing its status to Approved. Once payment is made, the proposal moves to the Orders list for production.
1. Client's view: Clients can approve individual products or the entire proposal, changing the status to Approved.

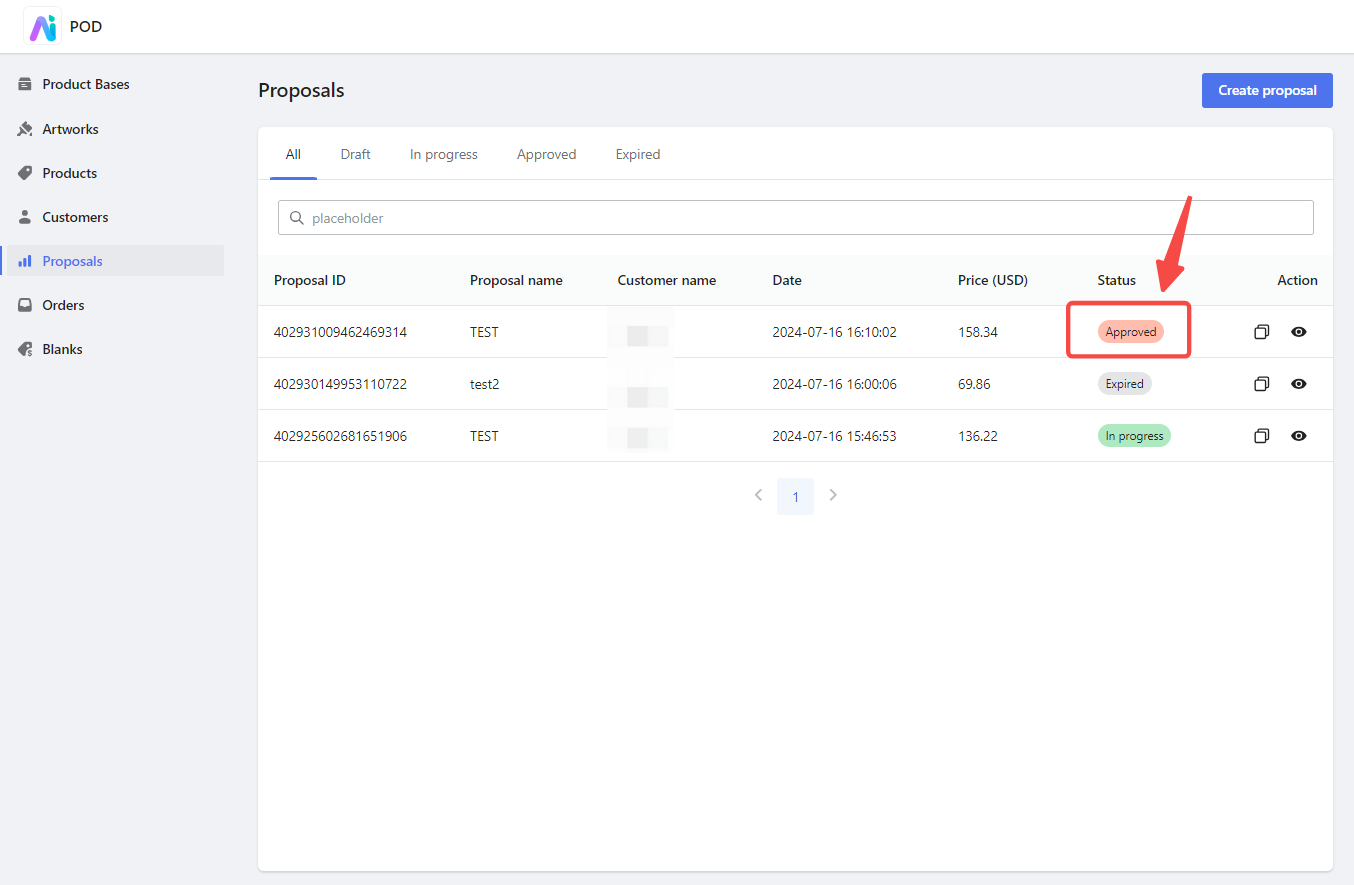
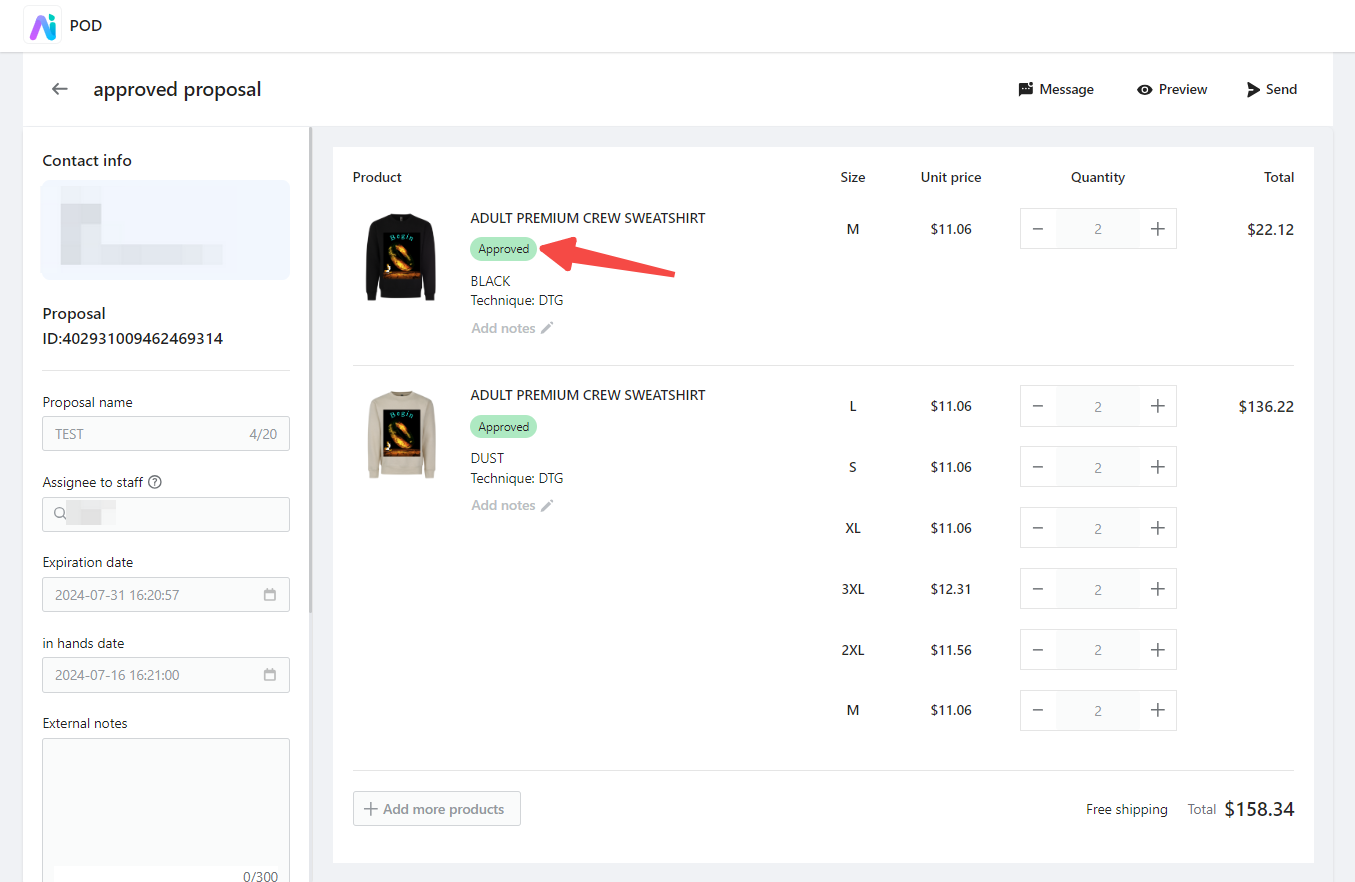
2. Merchant's view: On the POD Proposal Overview page, you can see the proposal status change to Approved. In the proposal details page, the product status will also be updated to Approved.
Request change status
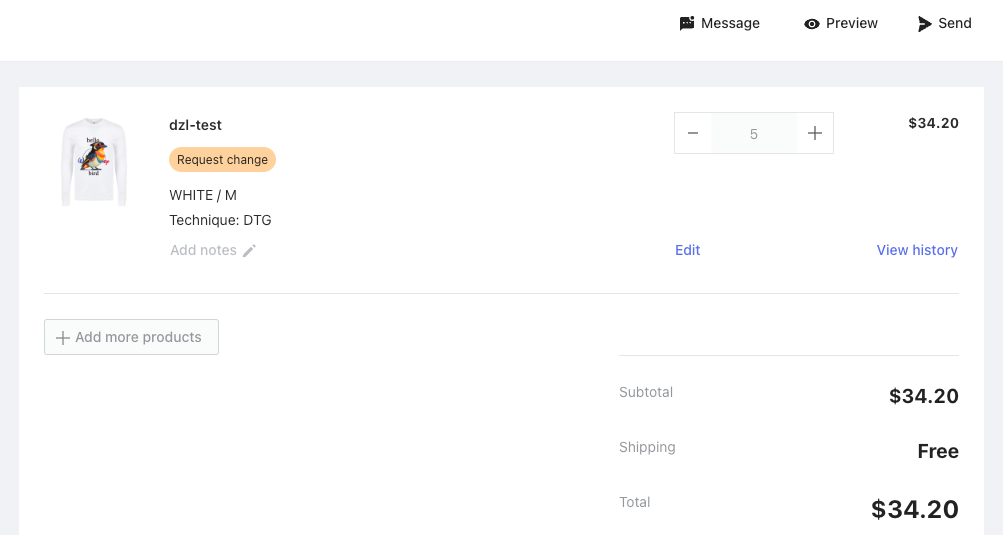
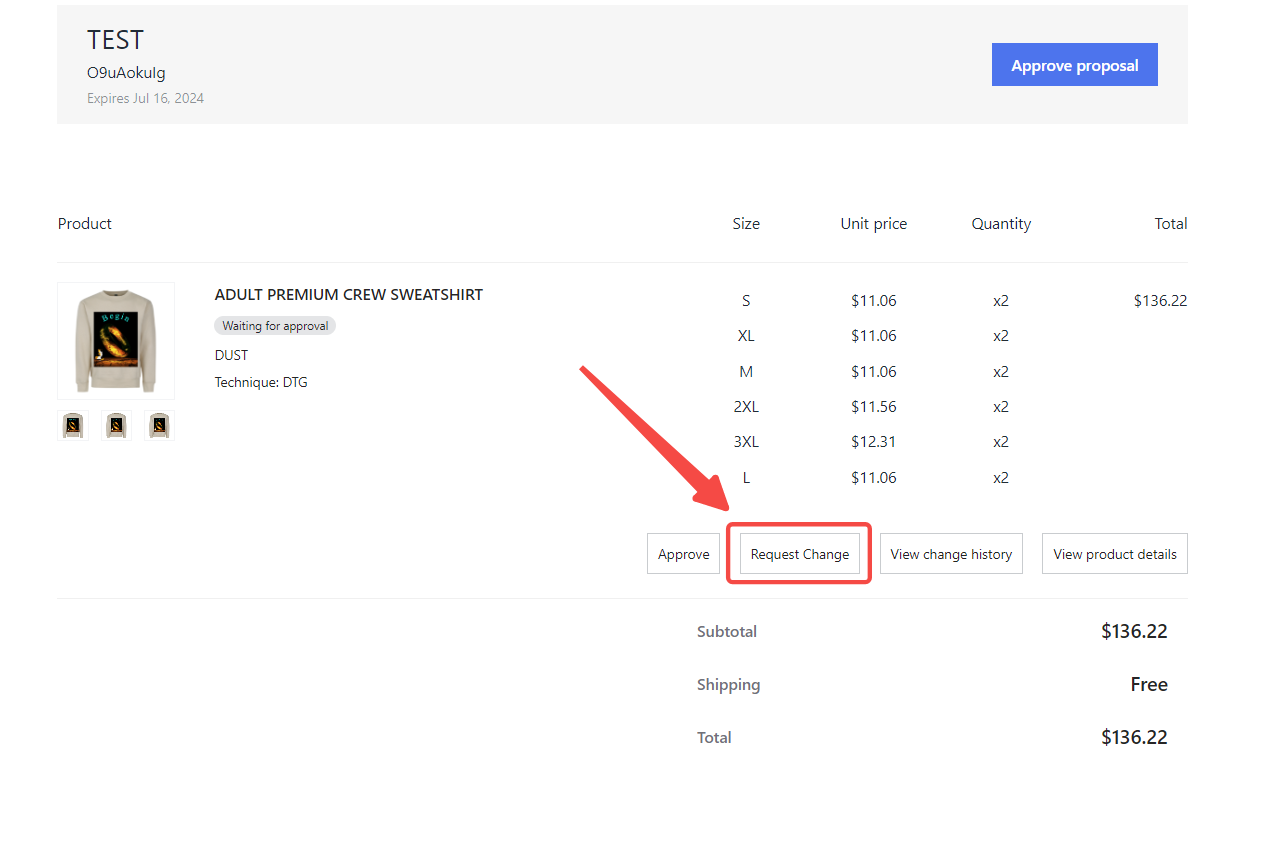
If a client requests changes, they can click the Request change button, sending their feedback directly. You can then modify the product and resend the proposal. This process can repeat until the client is satisfied and approves the product.
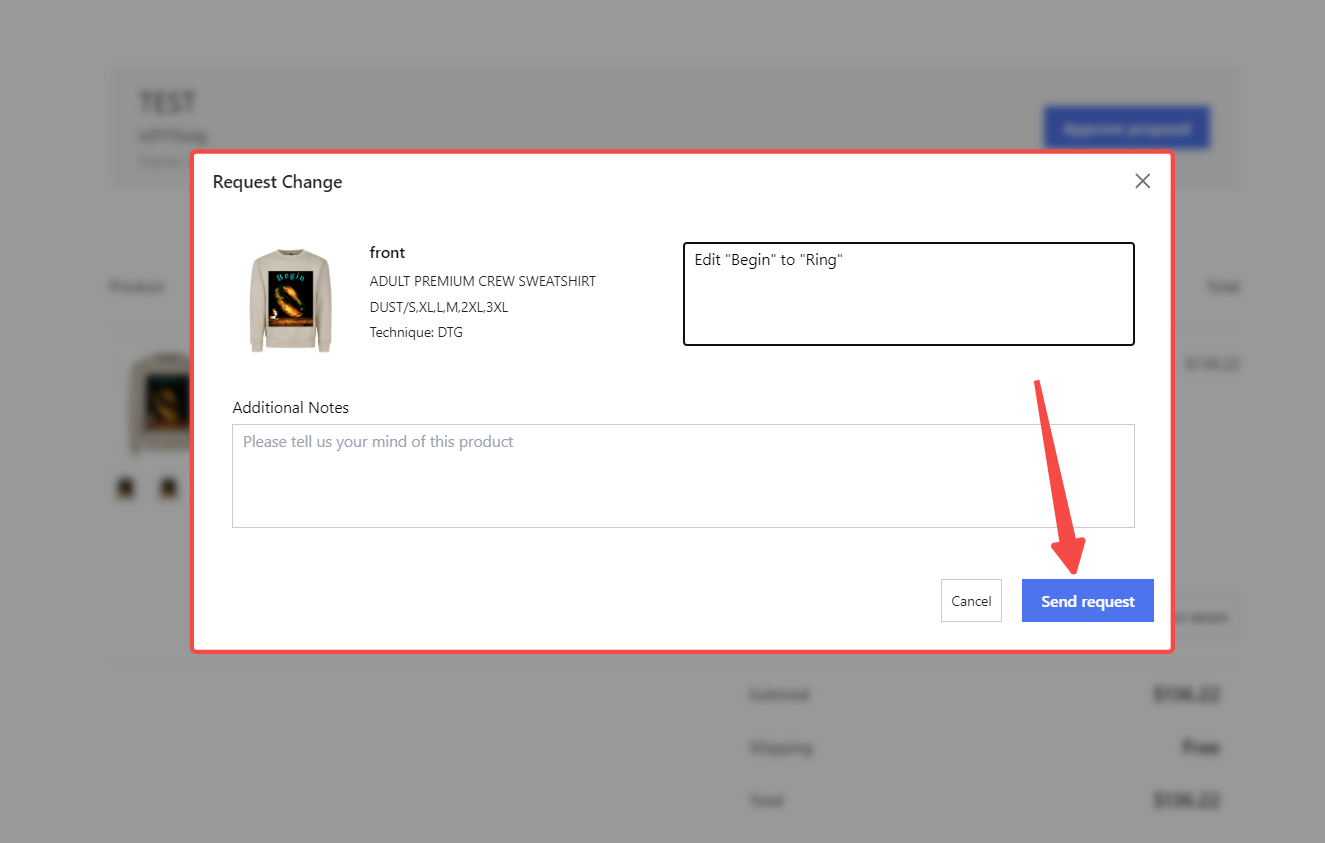
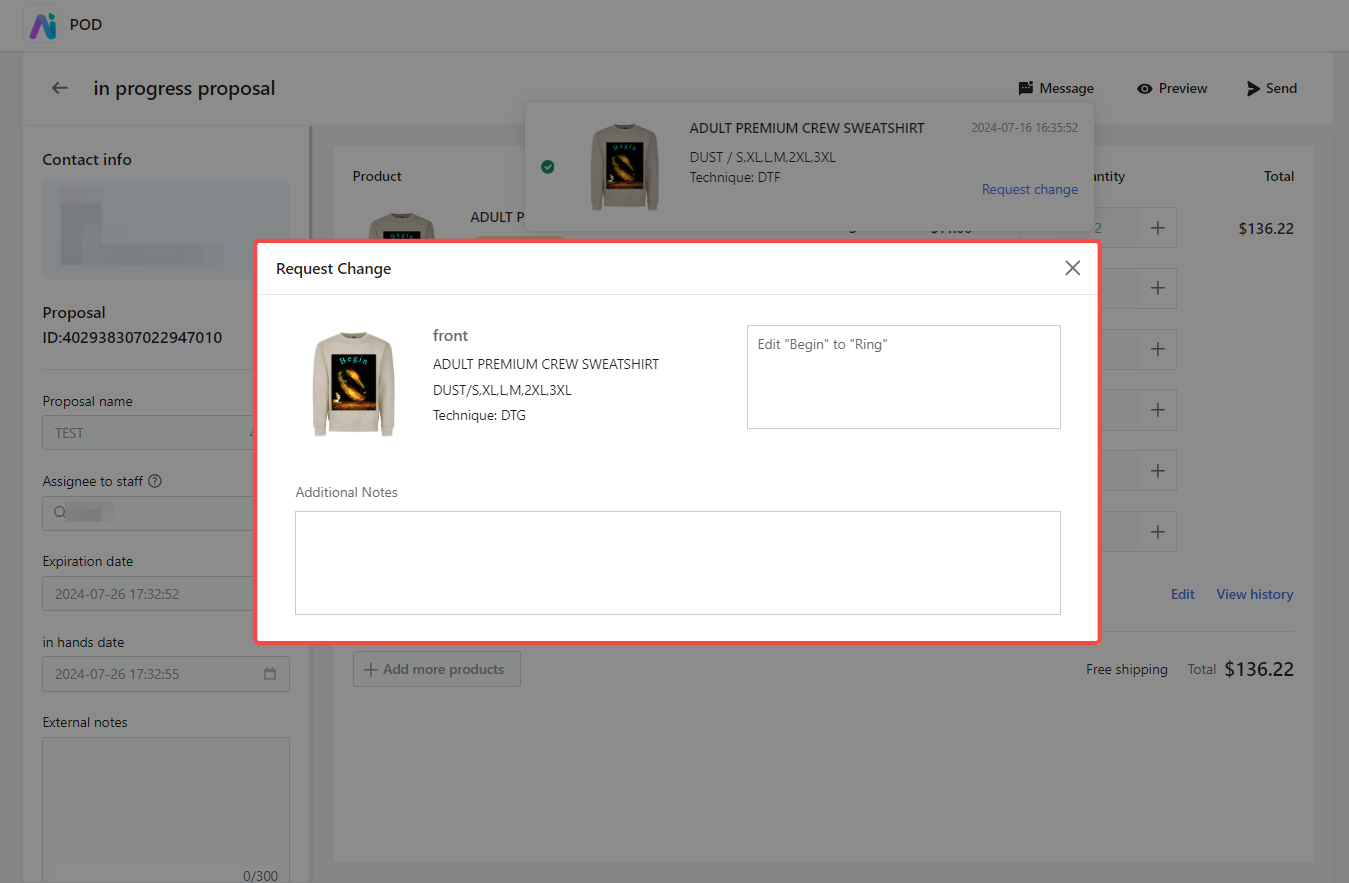
1. Client's view: Clients can request changes by clicking the Request change button, sending their feedback directly.
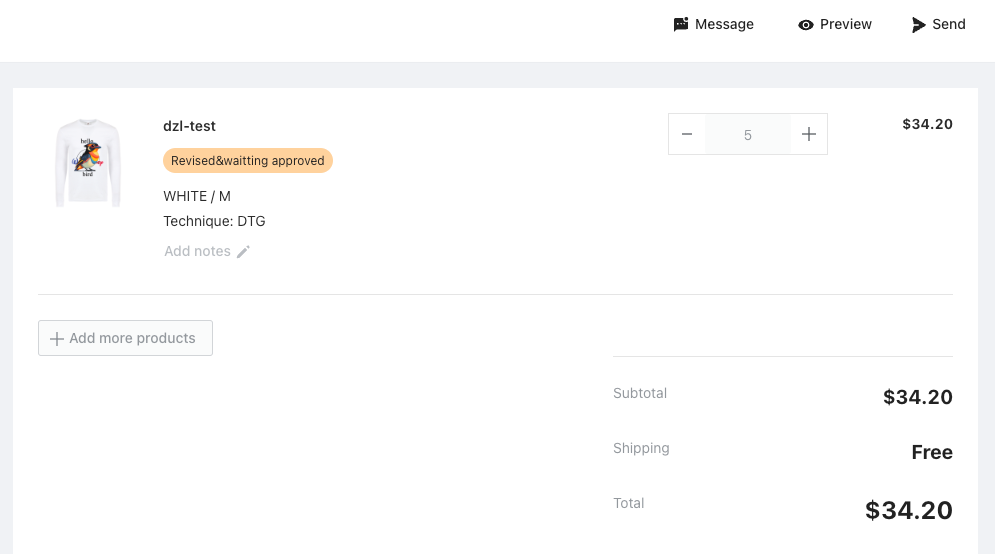
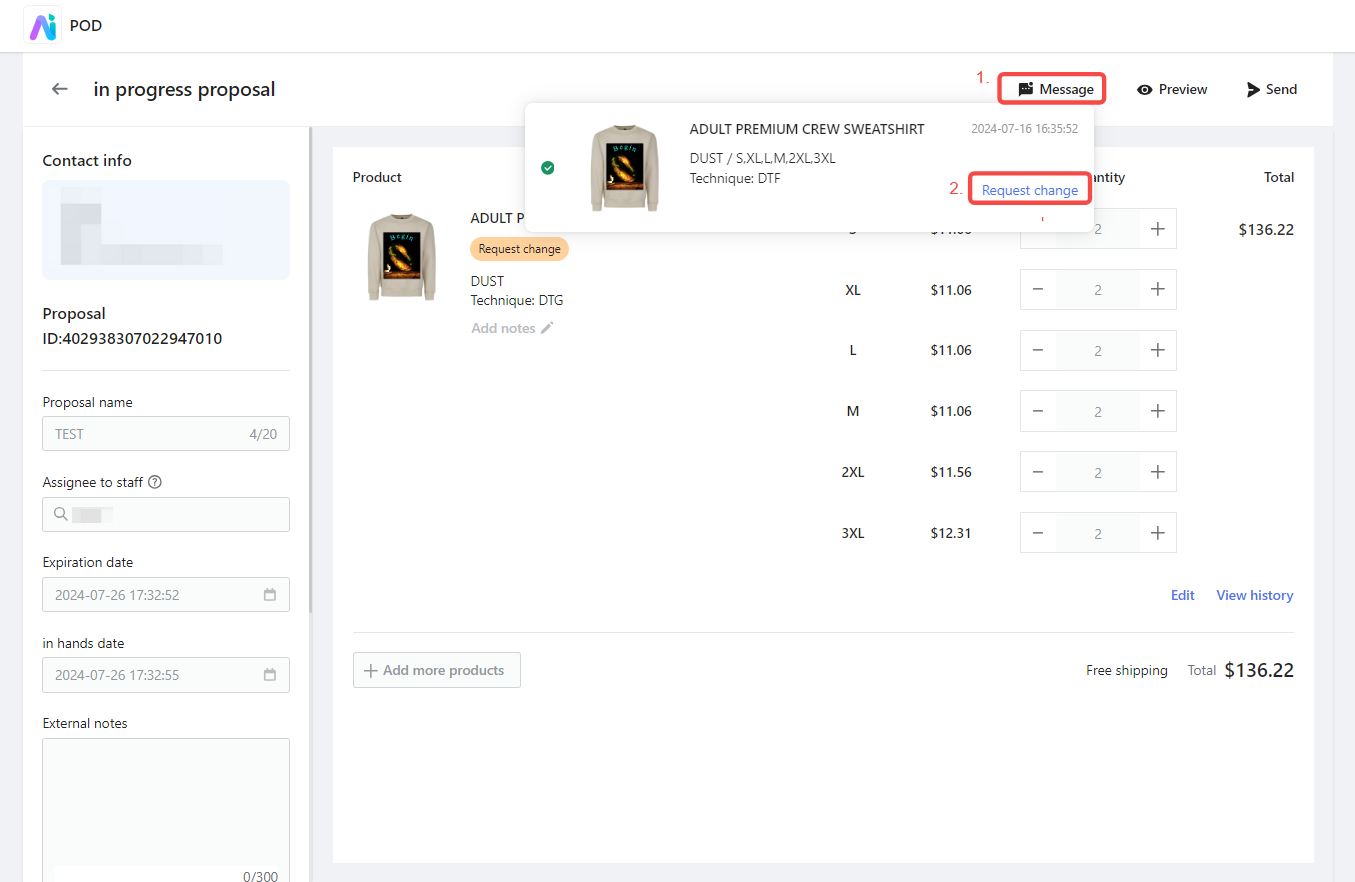
2. Merchant's view: In the POD backend, click on the proposal order to enter the proposal details page. Click the Message button at the top of the page to view all client feedback on the product.
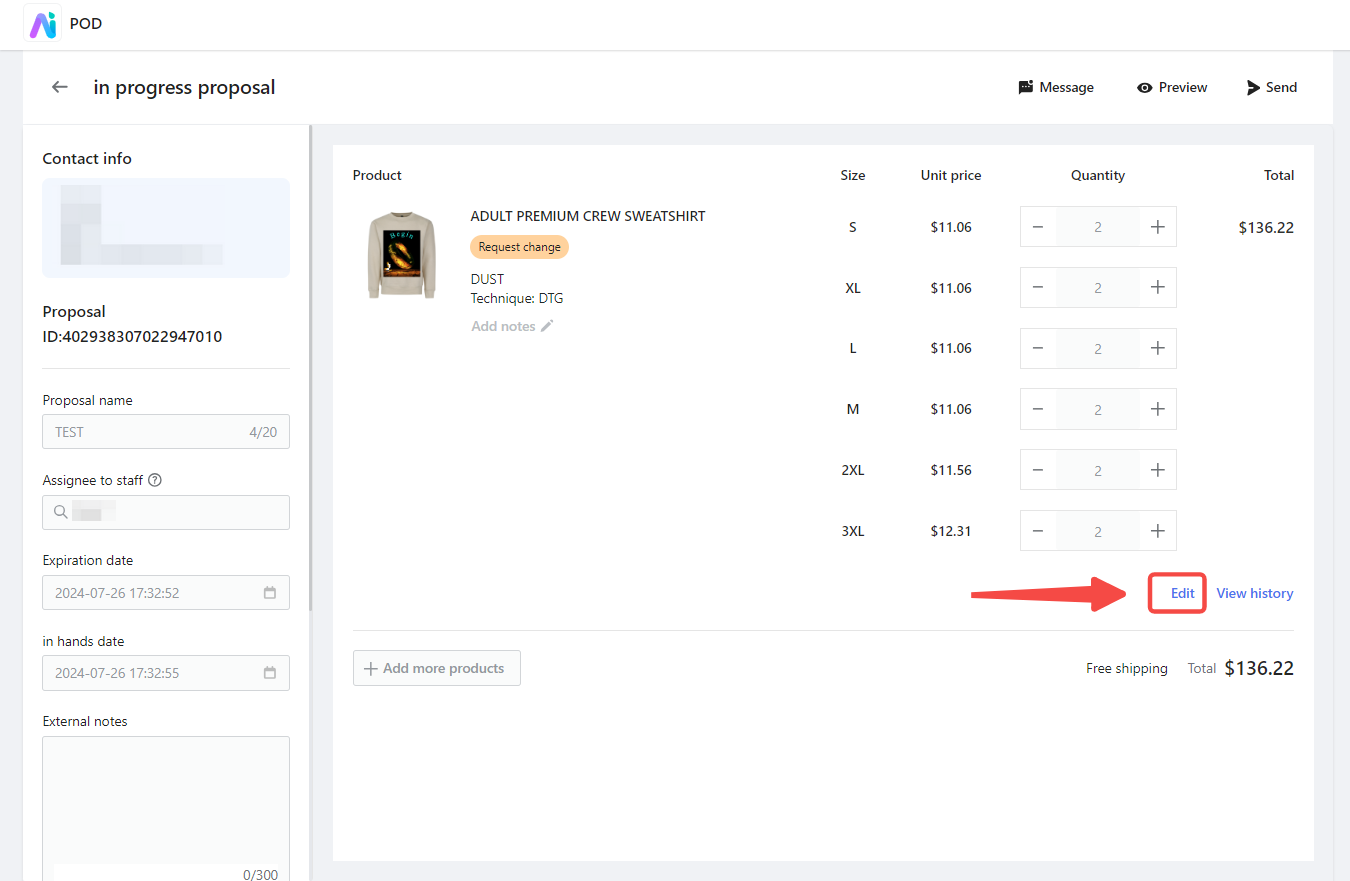
3. Edit product: Based on the client's feedback, click the Edit button under the specified product to enter the product designer page and make quick modifications.
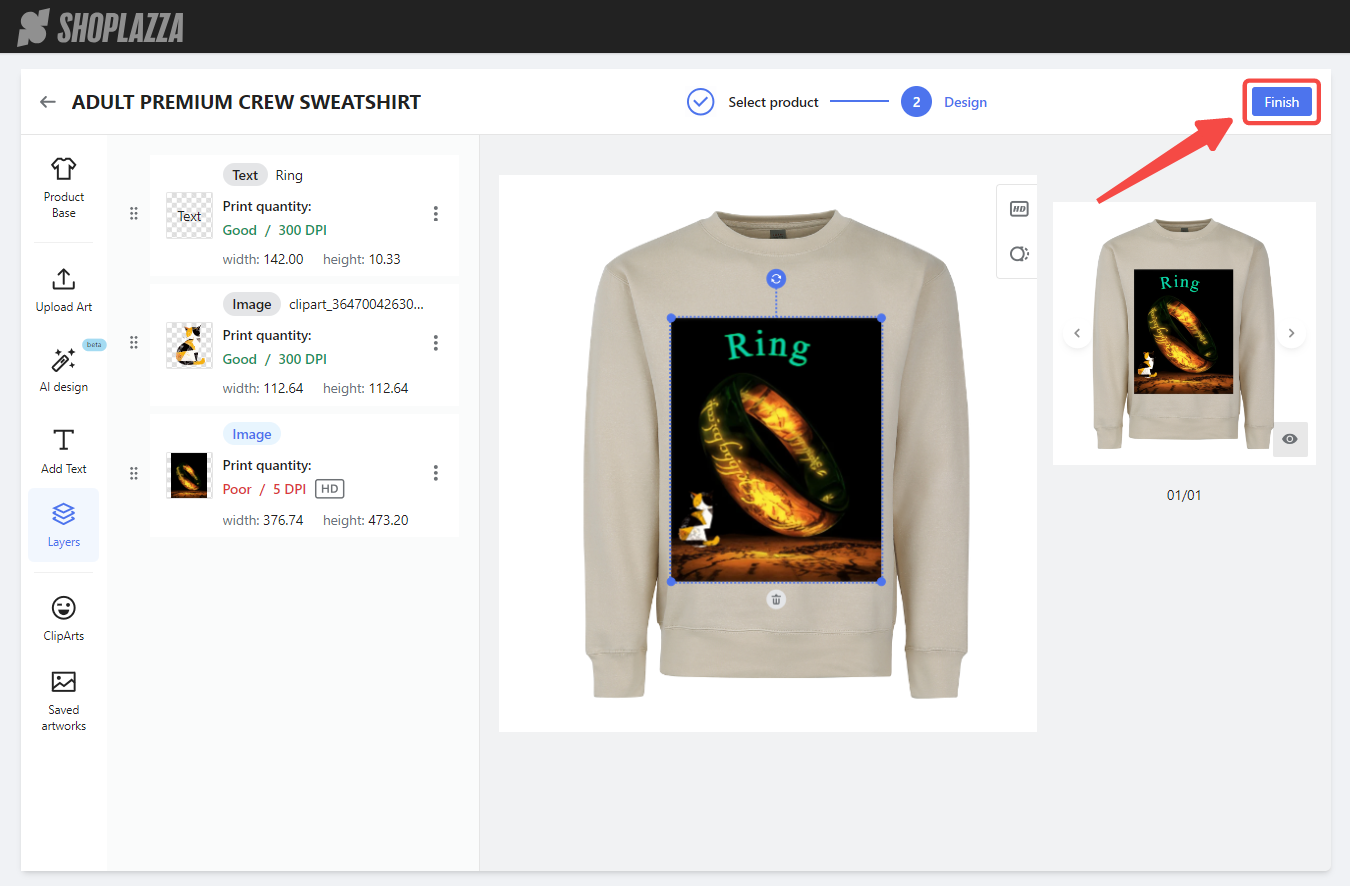
4. Finish edit: After modifying the product, click Finish. The product image will update to the latest version, and the product status will change to Revised & waiting for approval. Click Send to notify the client of the updates.
Note
1. Clients will always see the latest version of the product, even if they click the link in previous emails.
2. If the client remains unsatisfied, they can request further changes by clicking the Request change button again.
3. The product status can cycle through Request change -> Revised & waiting for approval multiple times.
4. Once the client is satisfied with the final product, they can click the Approve button for the individual product or the Approve proposal button for the entire proposal, making the payment and moving the proposal to production.
Using the Proposals module effectively ensures a smooth workflow, enhances client satisfaction, and streamlines the transition from proposals to production. By keeping track of proposal and product statuses, maintaining clear communication with clients, and efficiently managing proposal details, you can provide a high level of service to your clients. This organized approach not only helps in meeting client expectations but also contributes to the overall success of your POD operations.


Comments
Please sign in to leave a comment.