
Managing your X (formerly Twitter) Pixels is easy with the OnePixel app. By simply adding your Pixel ID and Event ID, you can effectively track and optimize your campaigns. This guide will walk you through the steps to obtain your X Pixel ID and Event ID.
Installing the OnePixel app
To start using OnePixel, you’ll first need to install the app in your Shoplazza store. Here’s how you can do it:
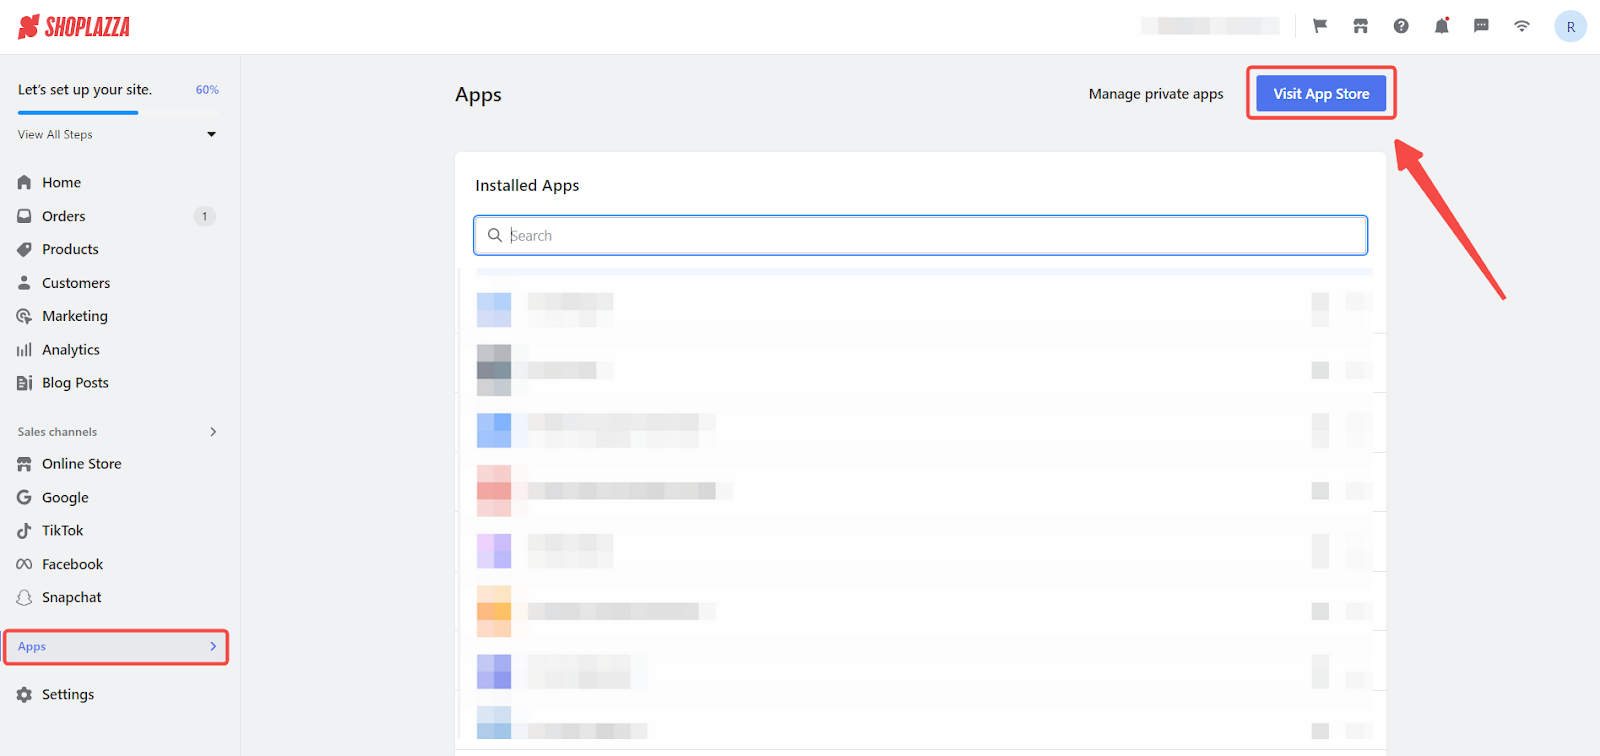
1. Access the App Store: Access the App Store by navigating from your Shoplazza Admin > Apps, and clicking Visit App Store.
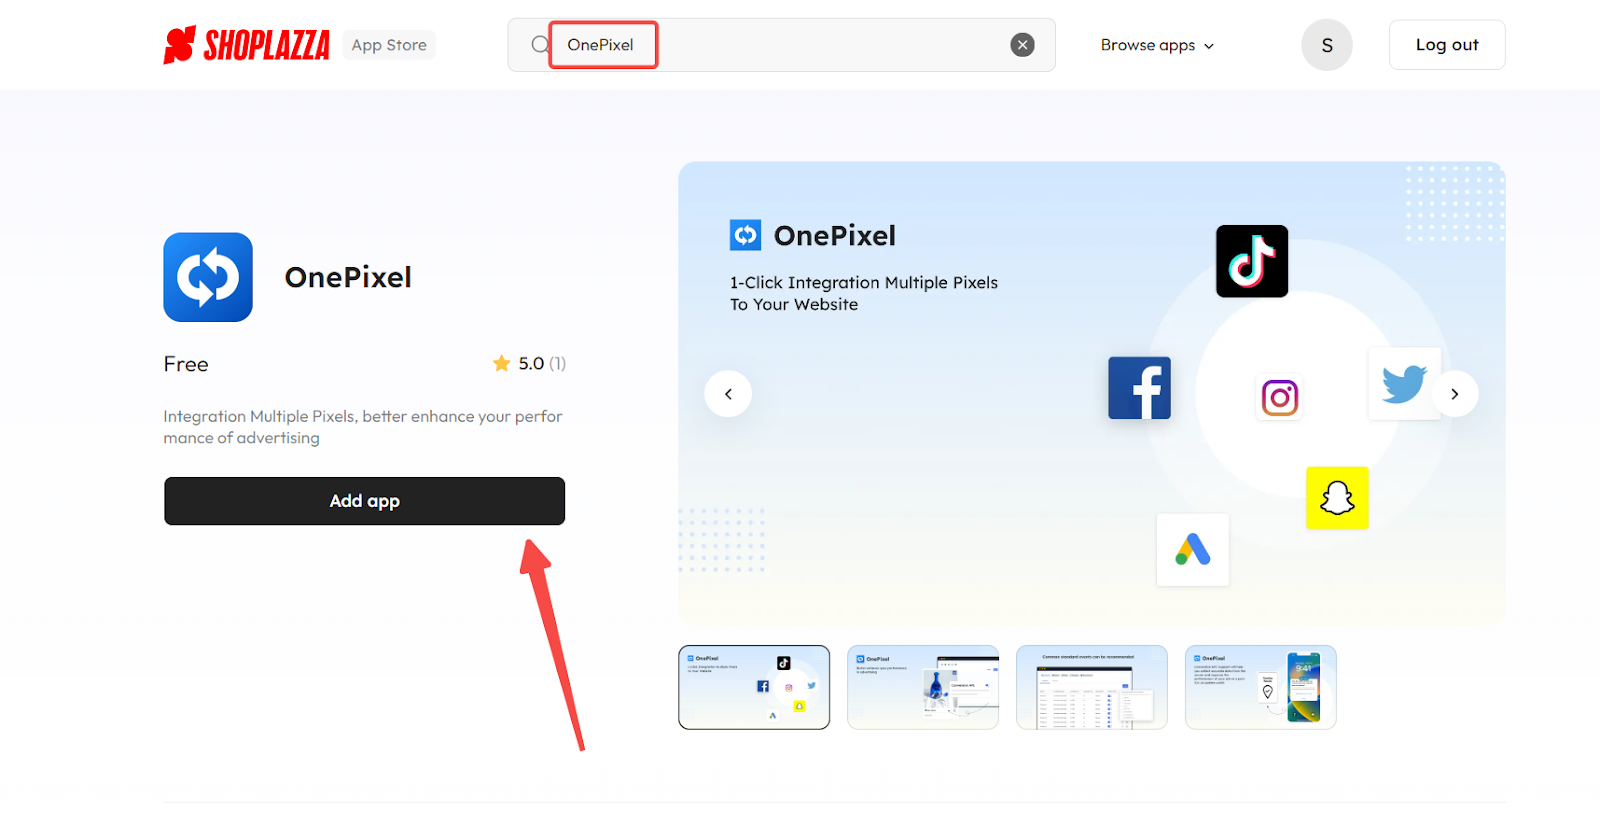
2. Find the app: Find the One Pixel app by entering the app name “One Pixel” in the search box and clicking on Add app.
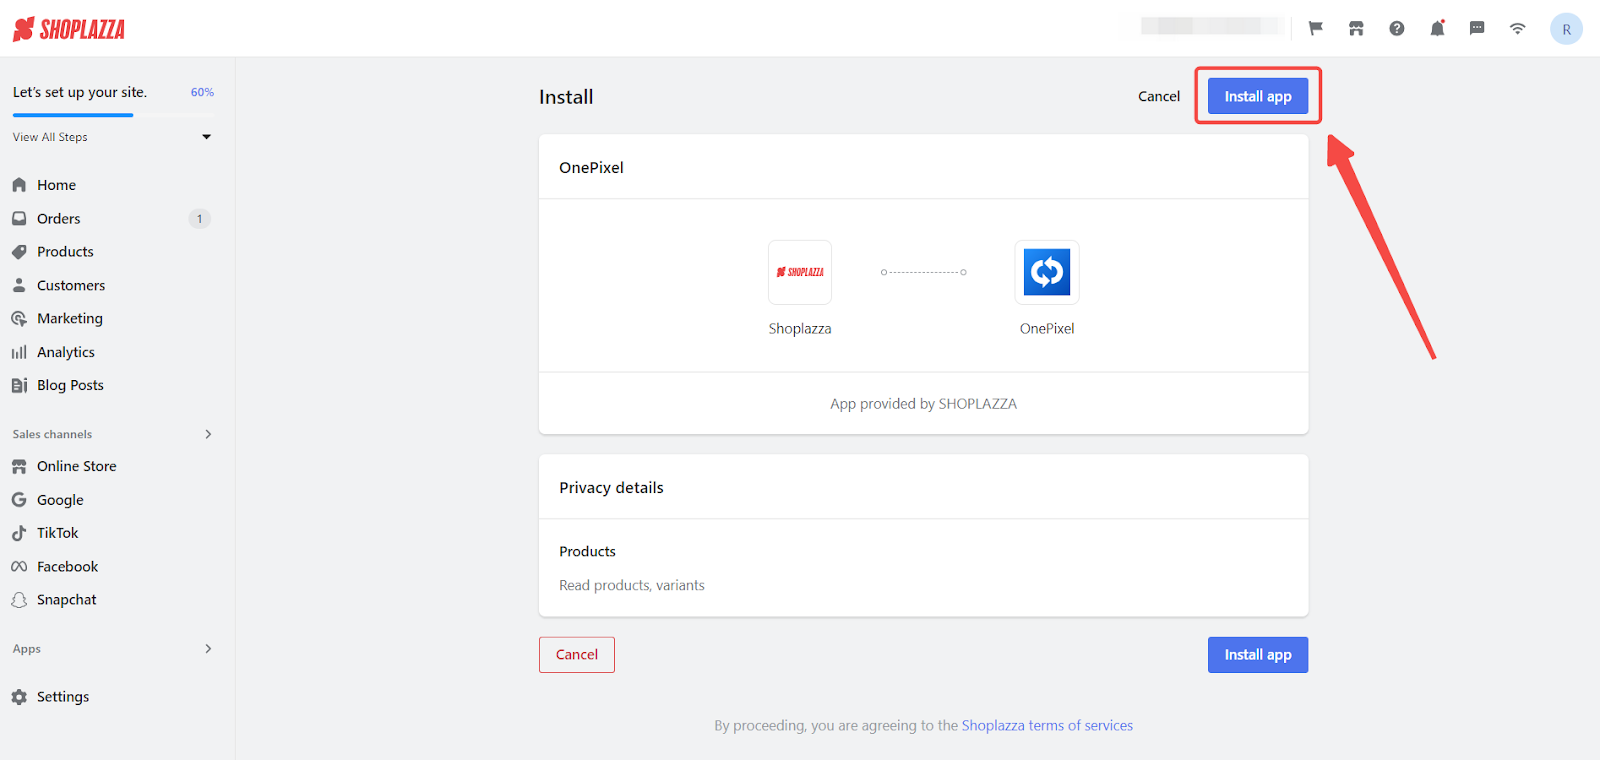
3. Install the app: Install the One Pixel app by clicking Install app to complete the app installation.
Obtaining Your X Pixel ID
If you already have an X Pixel ID, you can follow the steps below to add it to your Shoplazza store. If you don't have one, proceed to the next section to create a new ID. To learn more on creating a new X Pixel ID, click here.
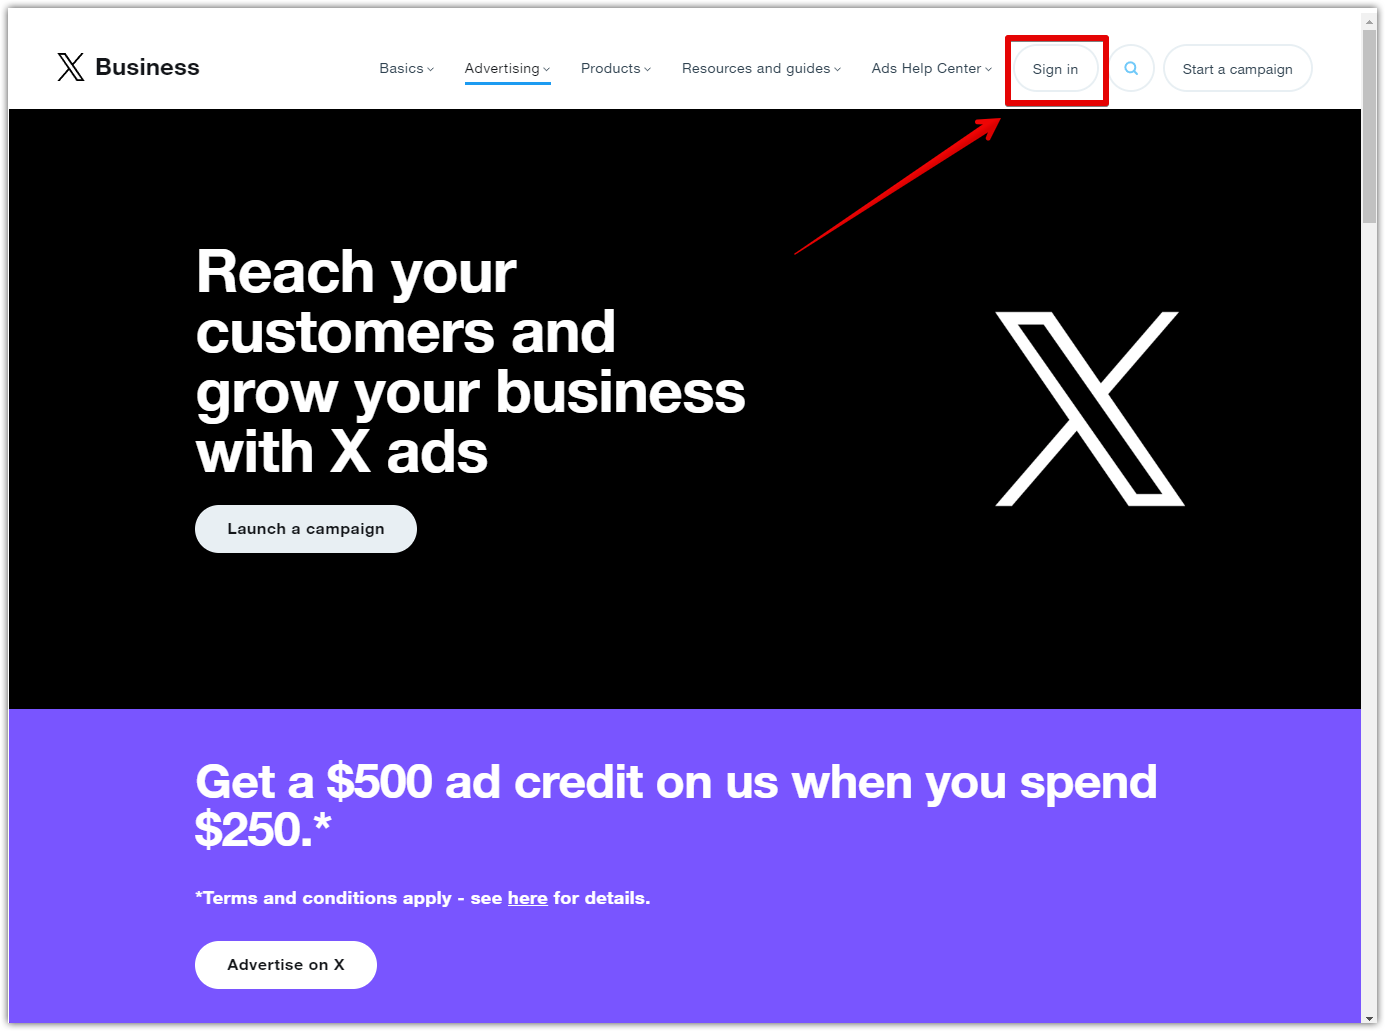
1. Log in to Your X Ads Account: Start by logging in to your X Ads account to access your campaign management tools.
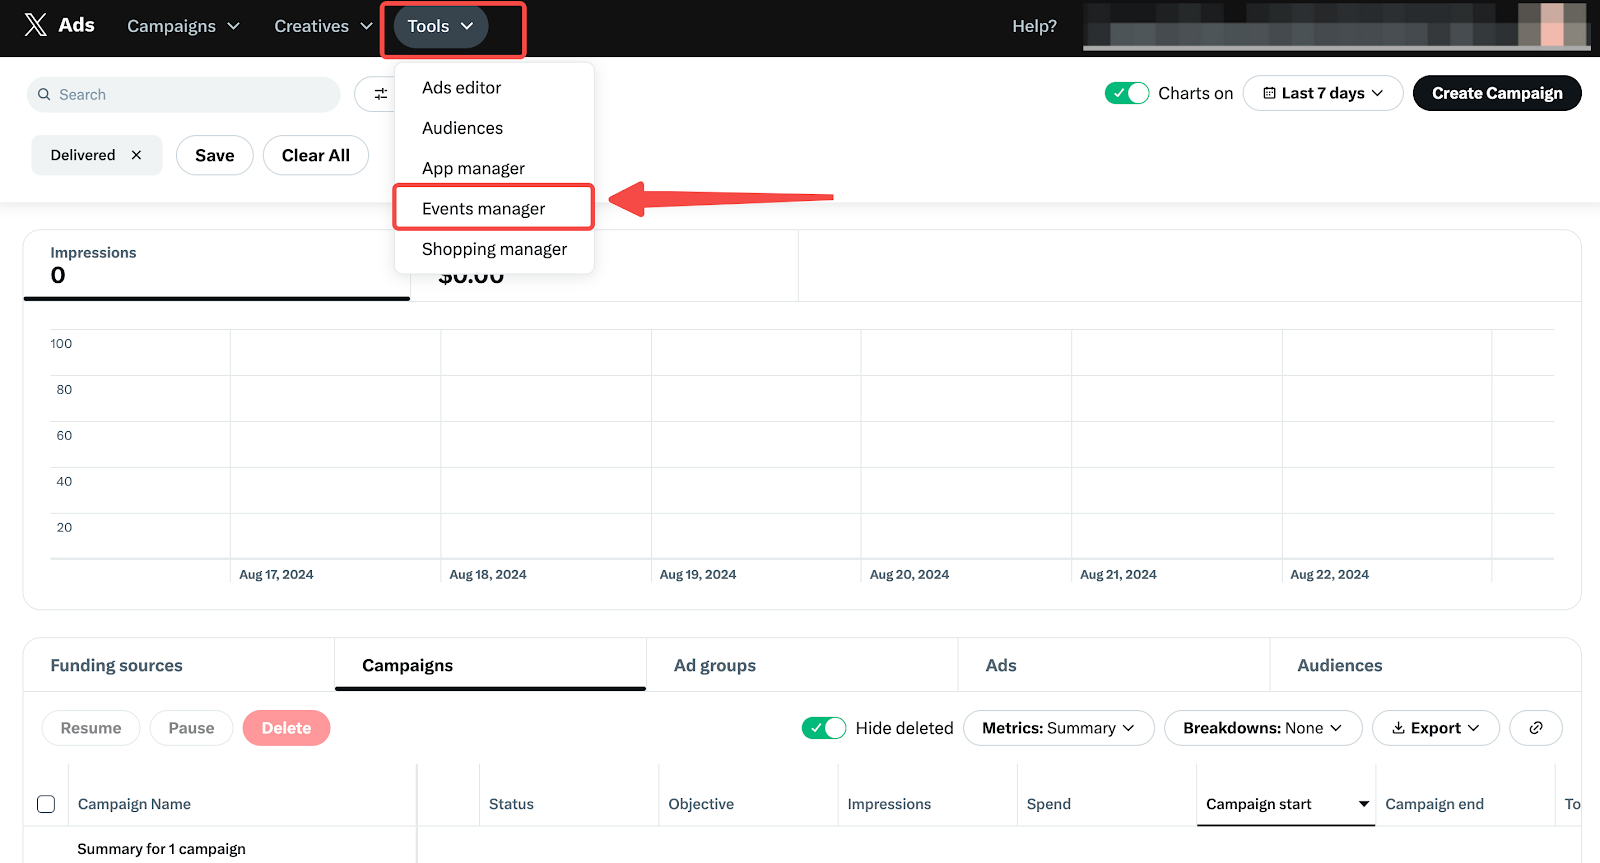
2. Access the Event Manager: In your X Ads dashboard, navigate to Tools > Event Manager to find your Pixel and Event IDs.
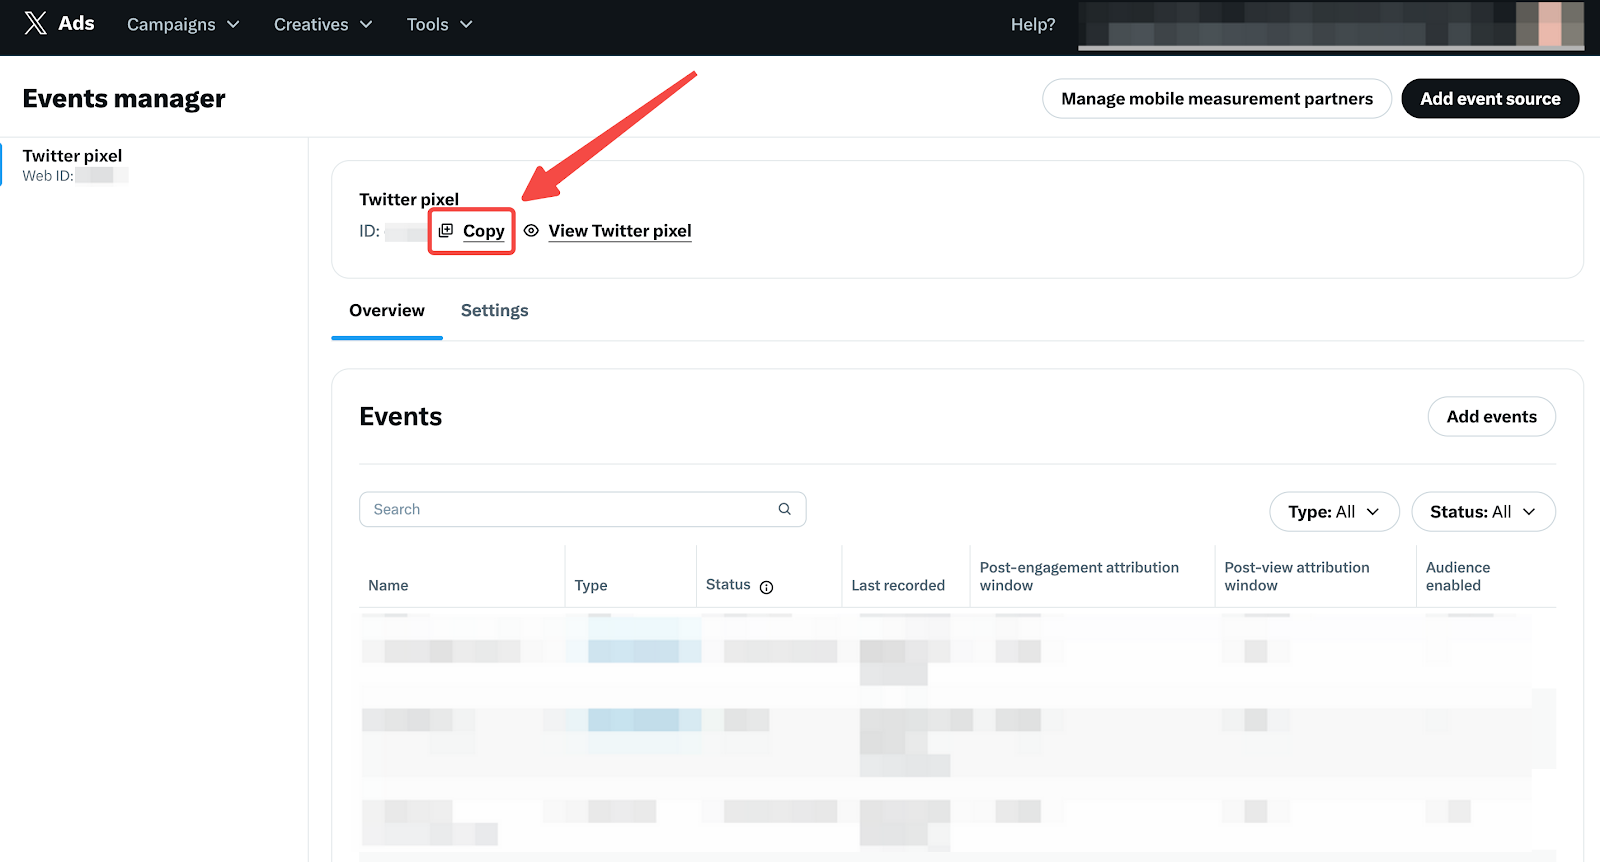
3. Copy the Pixel ID: Within the Events Manager, locate your Pixel ID and click on the Copy button to copy it to your clipboard.
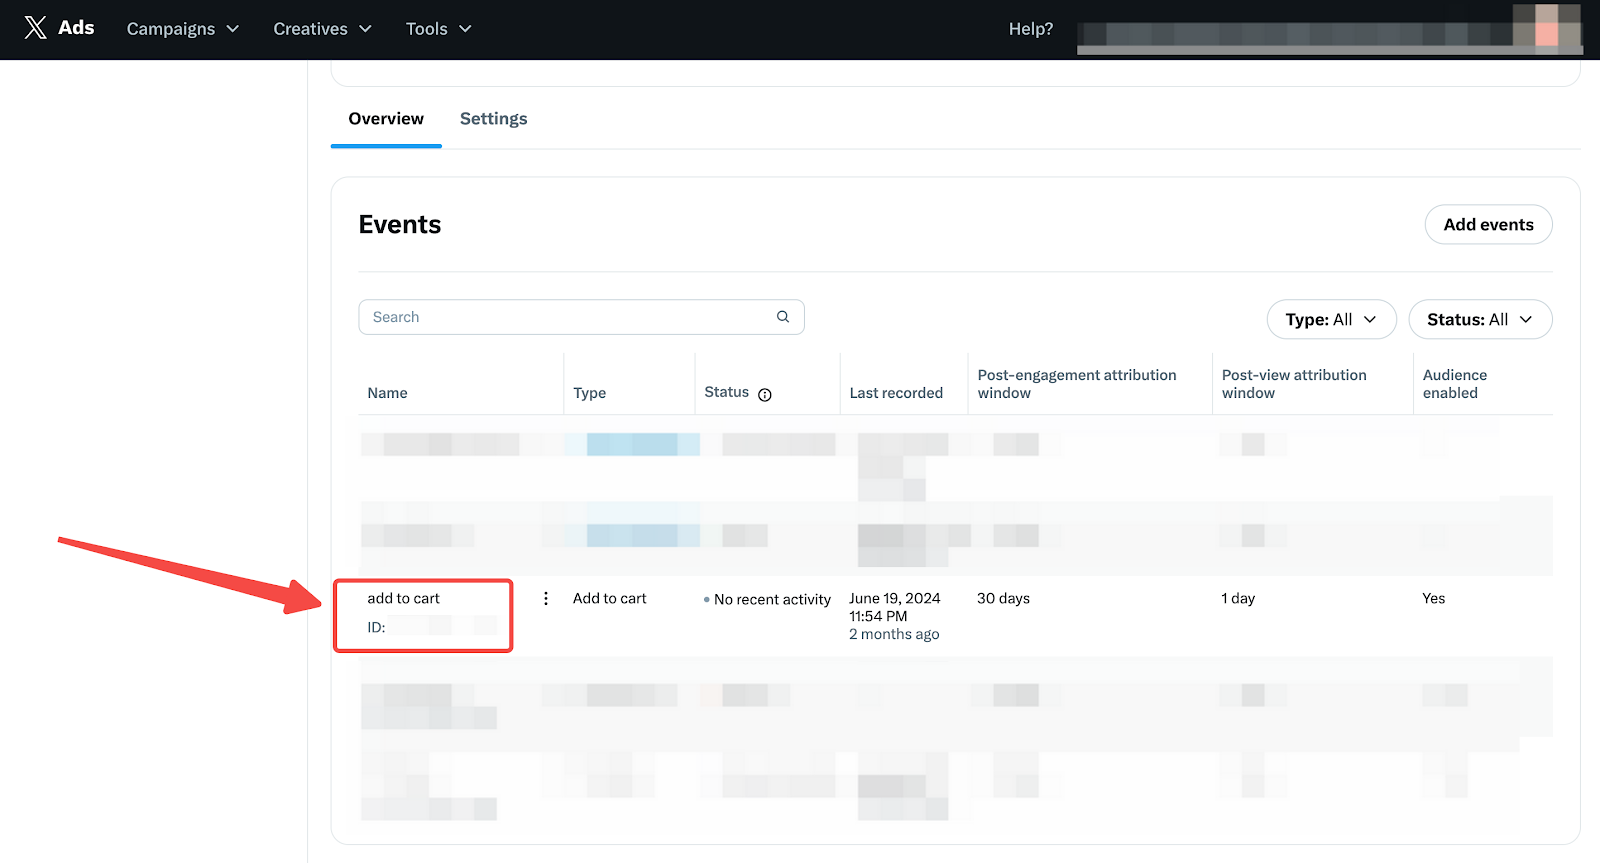
4. Find and copy the Event ID: In the Event Manager overview section, find the event you want to track, and copy the corresponding Event ID.
Adding and configuring the X Pixel in OnePixel
Now that you have your Pixel ID and Event ID, follow these steps to add them to OnePixel:
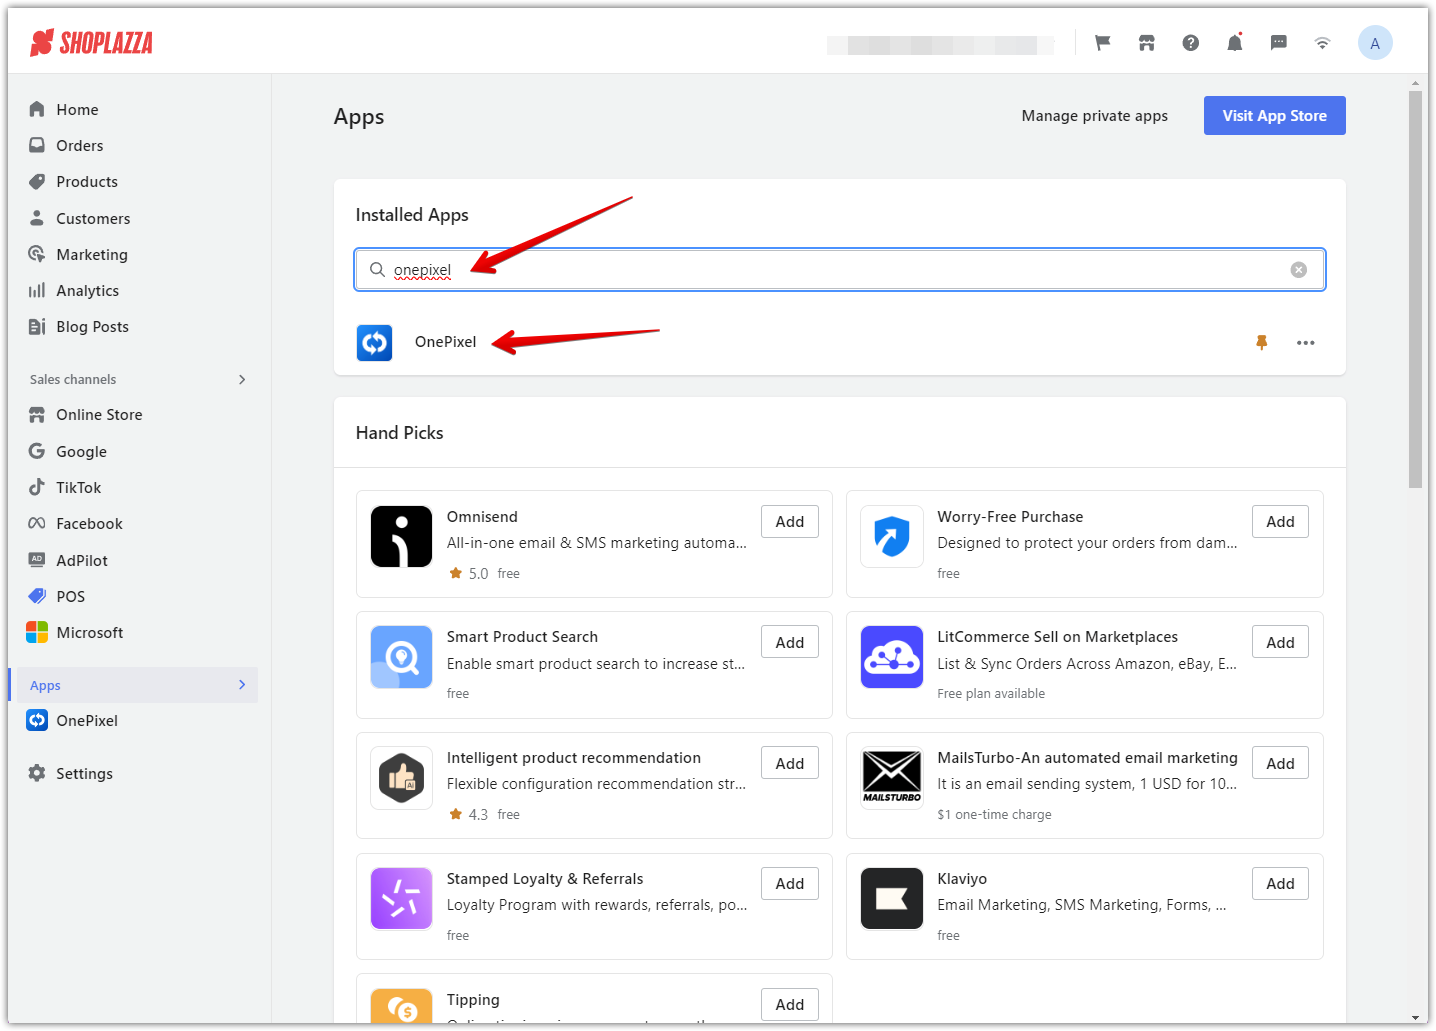
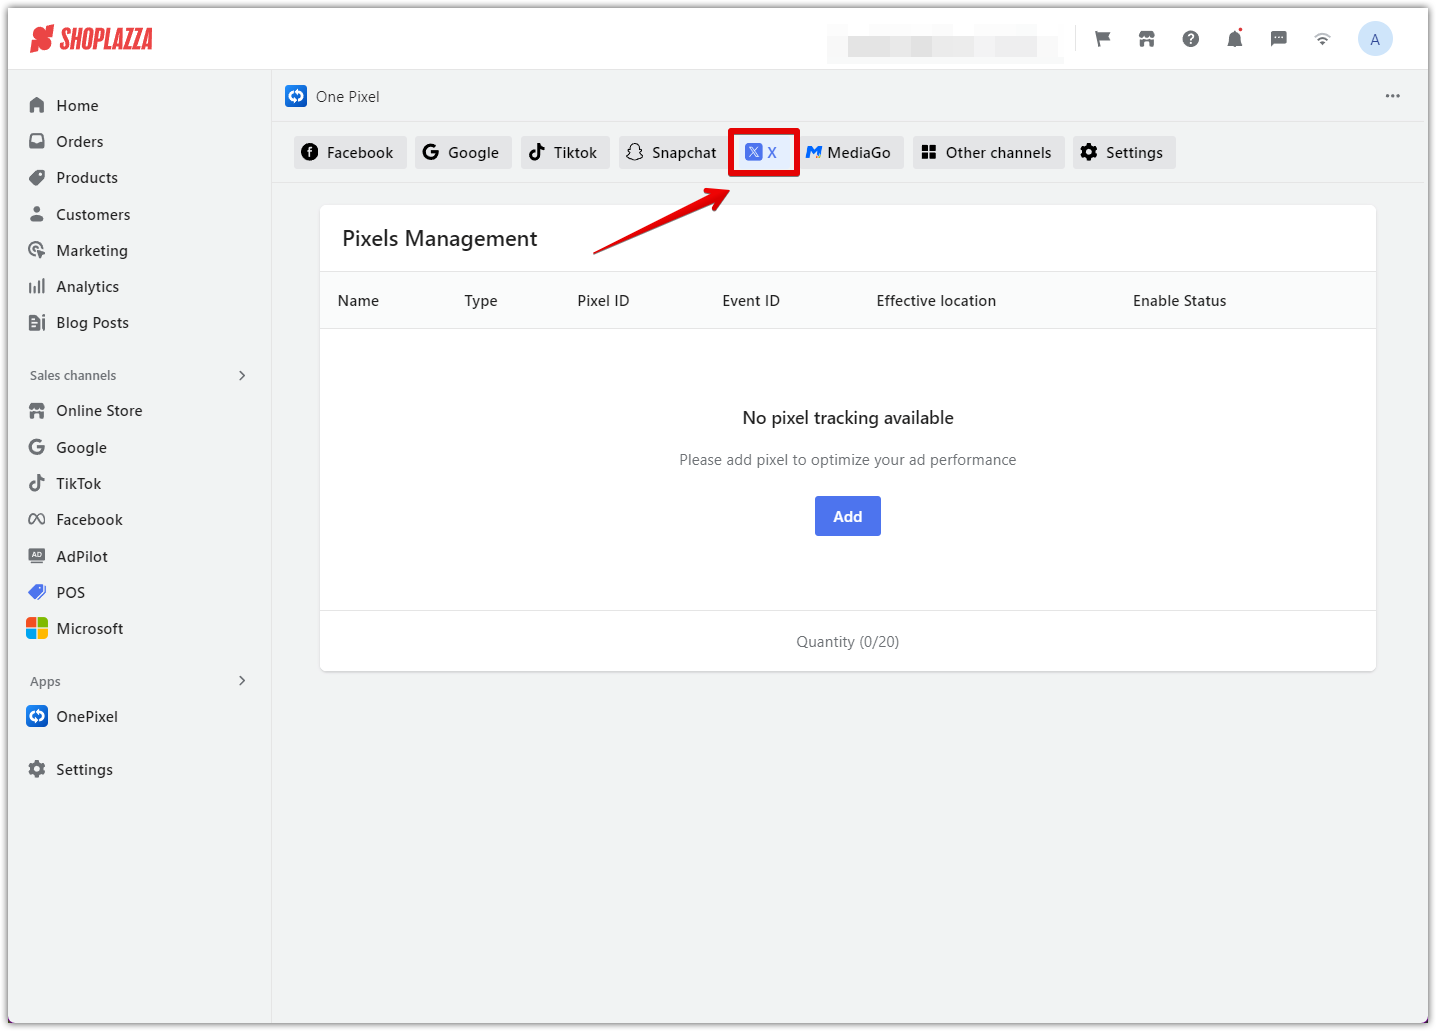
1. Navigate to OnePixel App: In your Shoplazza admin, go to Apps, search for OnePixel, and select it. Once in the OnePixel app, click on the X tab to manage your X Pixel settings.
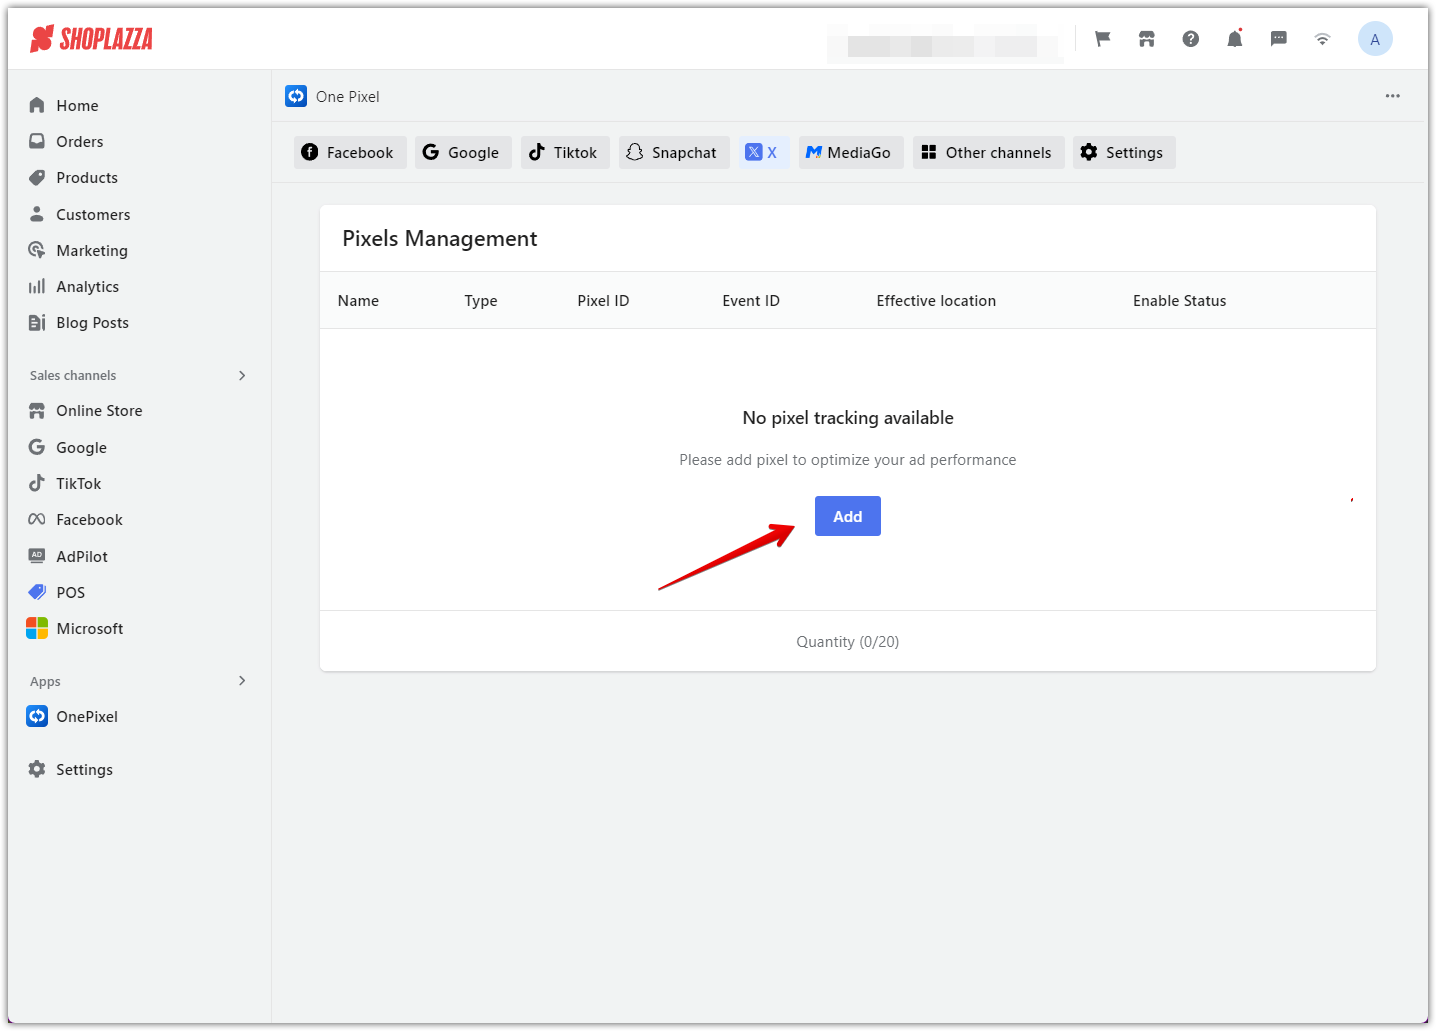
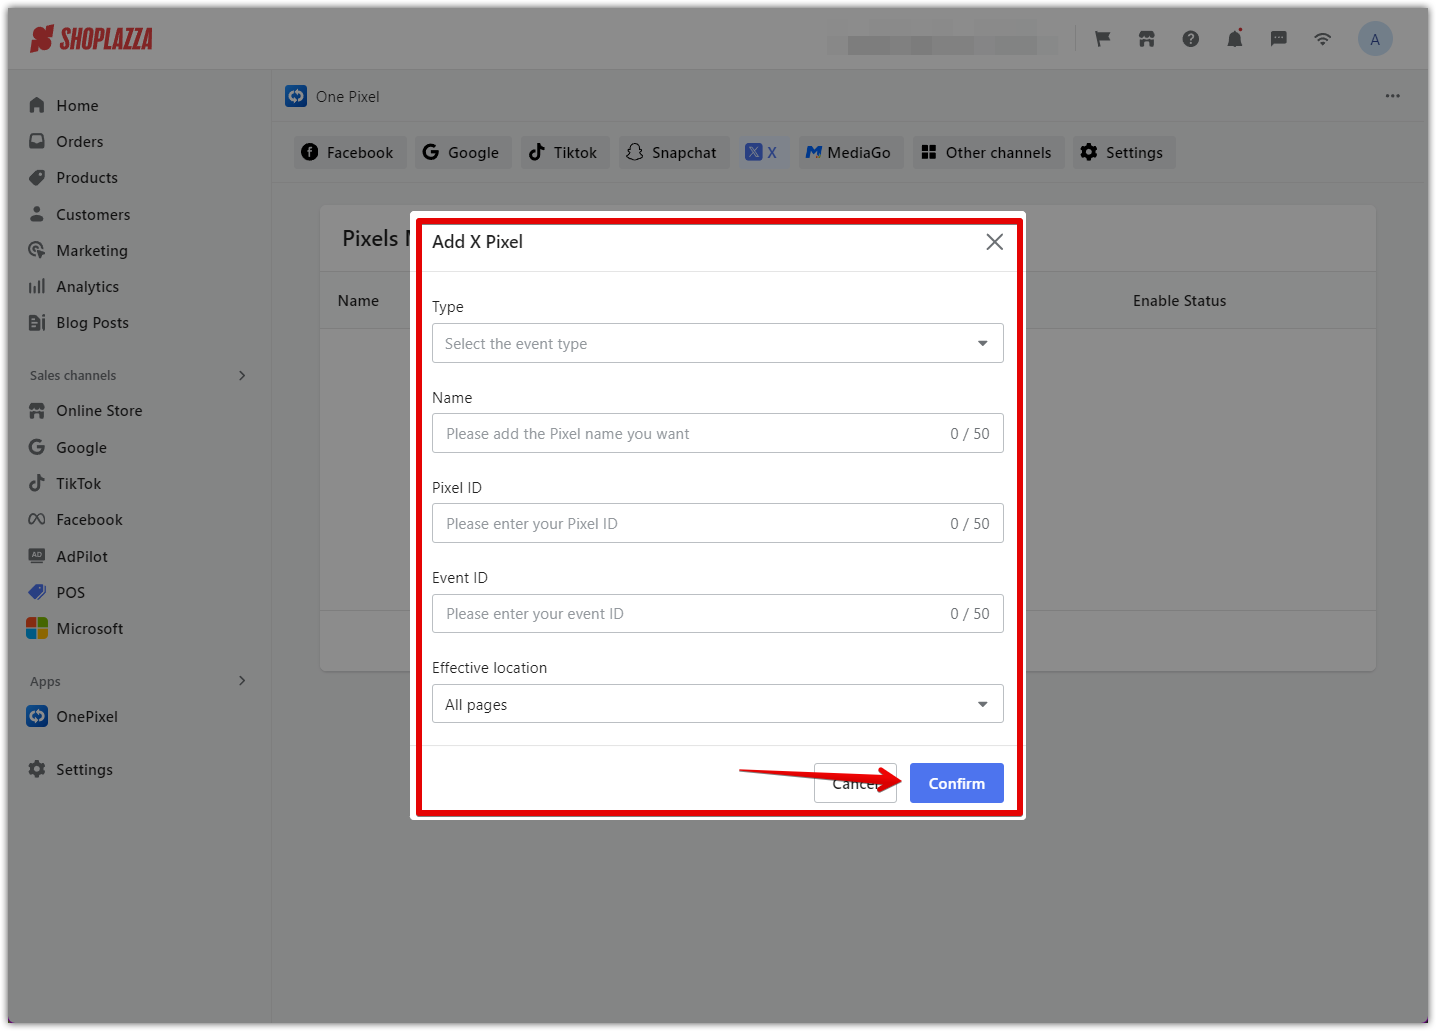
2. Click the Add Button and Enter Details: Click the Add button and enter the following details. Once you have entered all the details, click Confirm to complete the setup.
- Type: Select the event type.
- Name: Add the Pixel name you want.
- Pixel ID: Enter the Pixel ID you copied from the X Ads Events Manager.
- Event ID: Enter the Event ID you copied.
- Effective Location: Choose where the Pixel should be effective, such as all pages.
Using your X (formerly Twitter) Pixel ID and Event ID effectively allows you to track and report website traffic, helping you enhance your ad campaign performance. By gathering invaluable data on visitor behavior, sources, and activities, you can optimize your advertising strategies and improve conversion rates. Regularly reviewing and refining your conversion goals will ensure that your ad efforts are aligned with your business objectives, leading to better results.


Comments
Please sign in to leave a comment.