
AdPilot is a powerful tool designed to help merchants quickly create effective online ad campaigns without the hassle of complex configurations. Utilizing AI technology, AdPilot generates high-quality ad content, including engaging headlines, compelling text, and eye-catching images. Ideal for merchants with physical stores such as eyewear, health products, clothing, and home goods, AdPilot simplifies the ad creation process, enabling you to launch ads efficiently, thereby boosting both online and offline sales. It supports various campaign types, like new product launches, event promotions, and brand promotions.
Key features include direct connection to Meta’s ad platform for efficient ad placements on Facebook and Instagram, AI-generated content for engaging and effective ads, and an effortless ad creation process suitable even for those with little to no prior ad experience. AdPilot continues to expand its capabilities to support more merchants and advertising scenarios, continually improving its AI technology for smarter, more personalized ad content, ultimately driving better business growth.
Getting started
AdPilot simplifies the ad creation process for merchants, making it easy to launch effective online campaigns using AI-generated content. Follow these steps to start using AdPilot and boost your sales.
Accessing and starting AdPilot
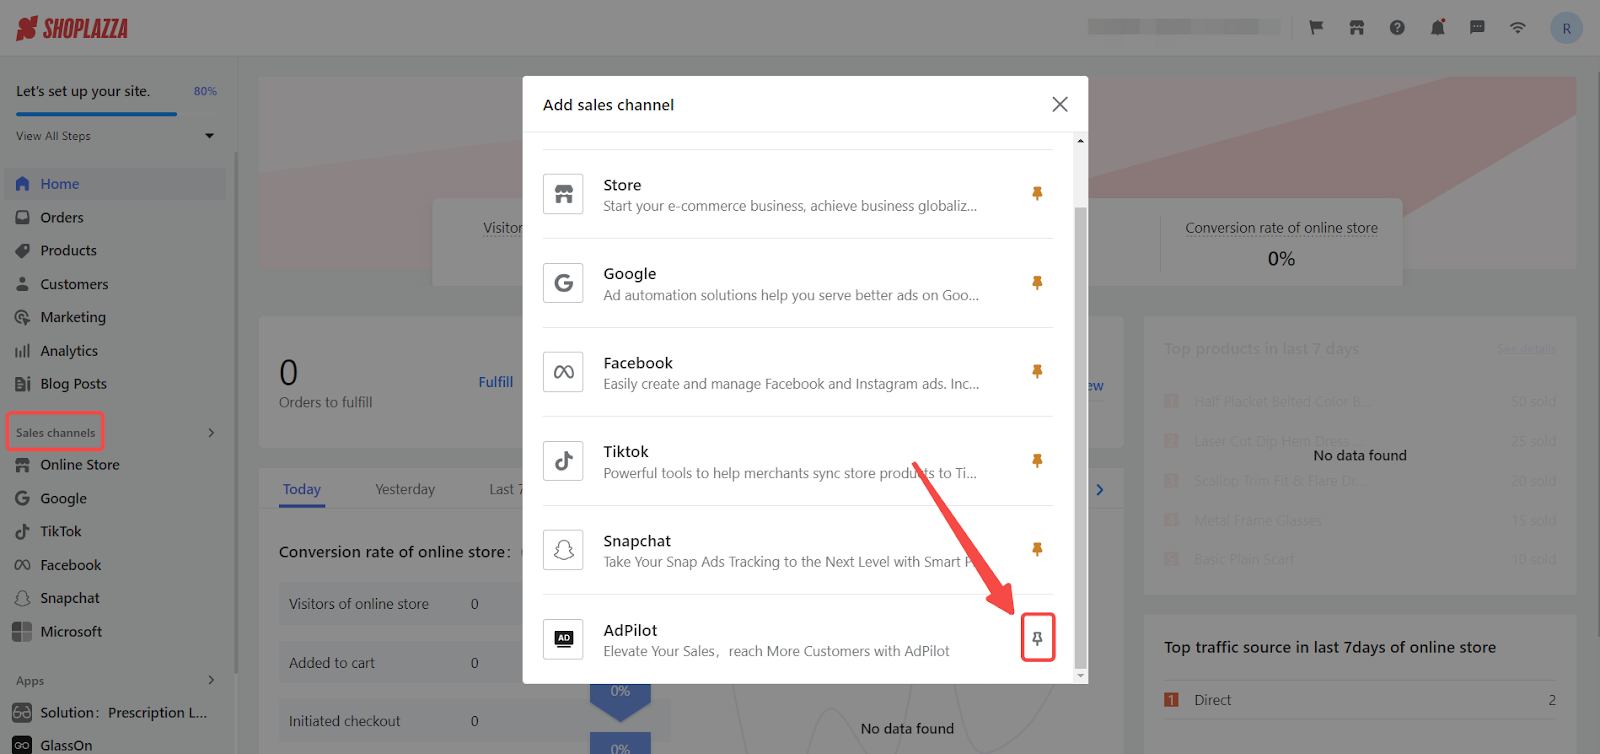
1. Access AdPilot: Log into your Shoplazza admin, click Sales Channels > AdPilot, Pin to Navigation to show it in the navigation bar. and enter the AdPilot homepage.
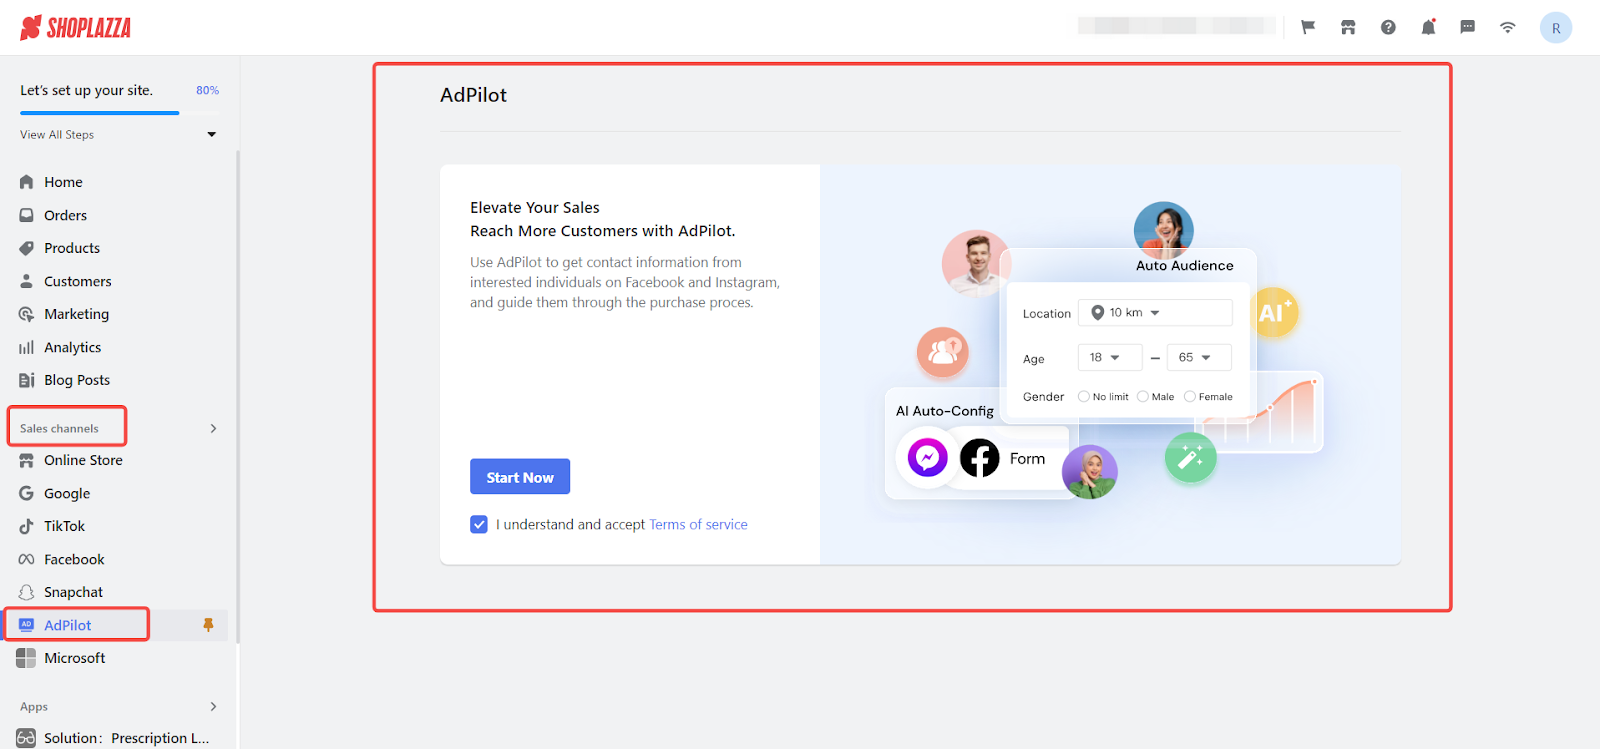
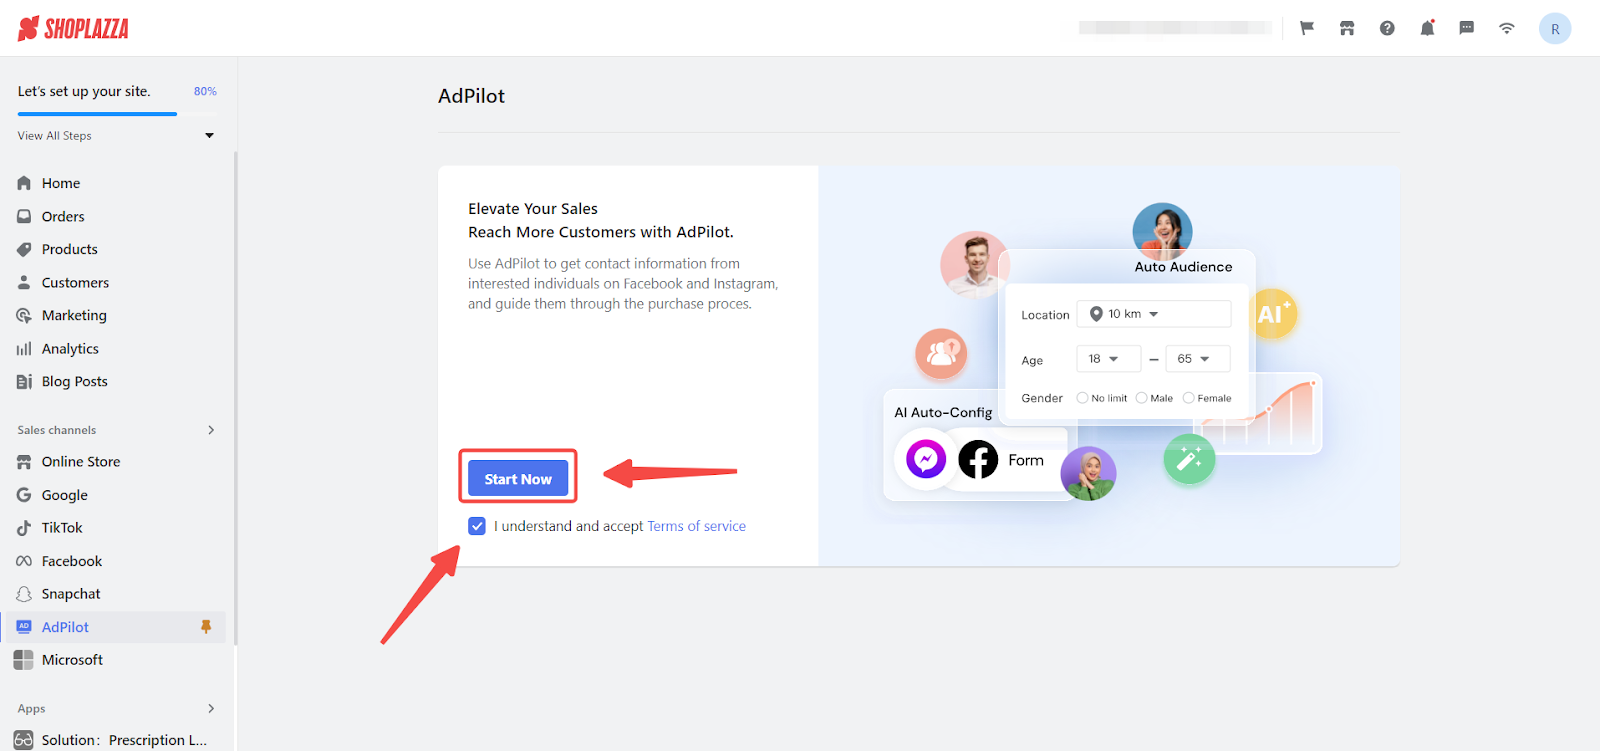
2. Agree to service terms: On the AdPilot page, carefully review the service terms, agree to them by clicking the checkbox, and then click Get Started.
Authorizing Facebook
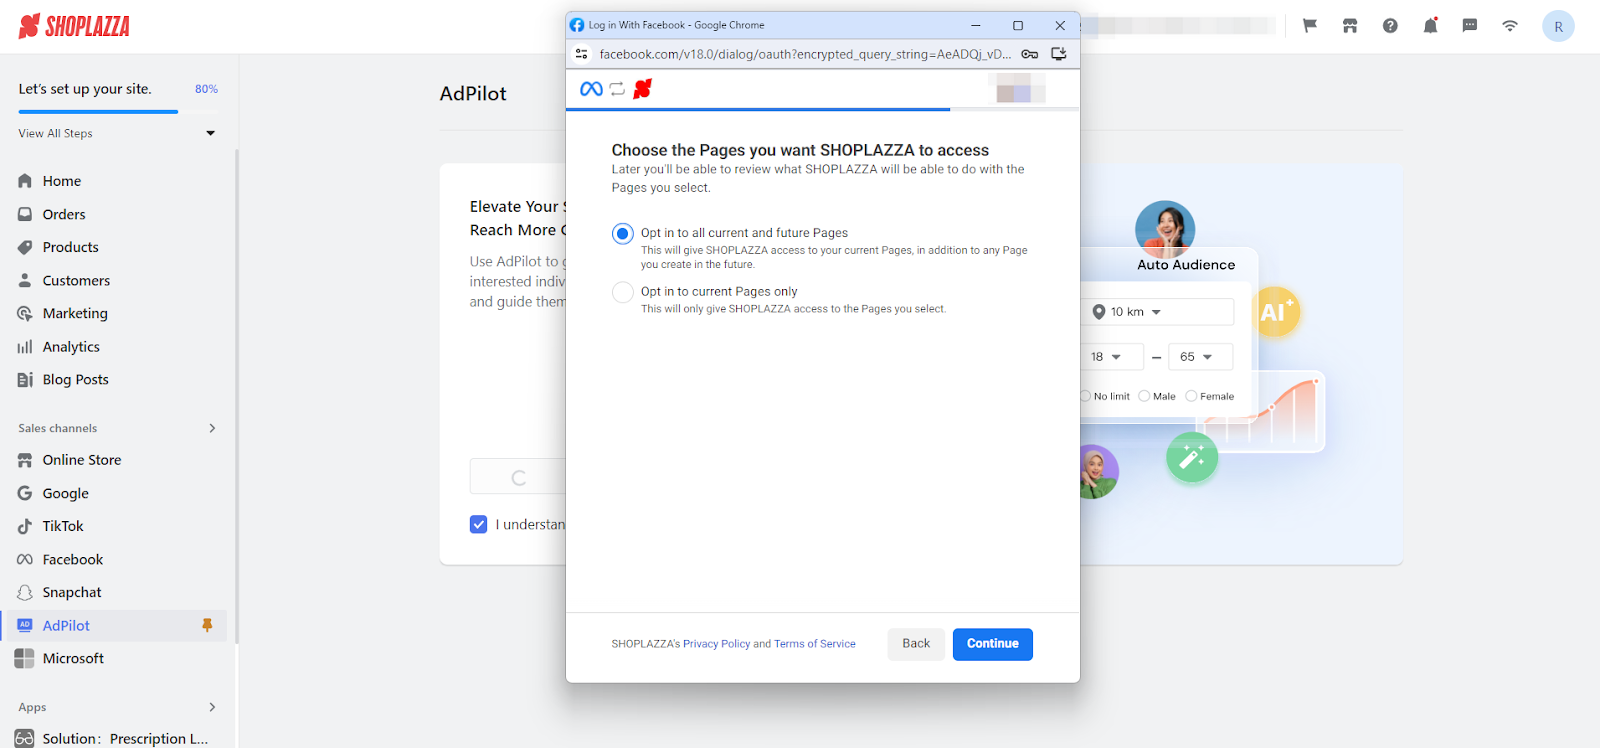
1. Log into Facebook: Log in to Facebook and access the authorization page (register if you don’t have an account). Select the Opt in to all current and future Businesses/Pages, then click Continue.
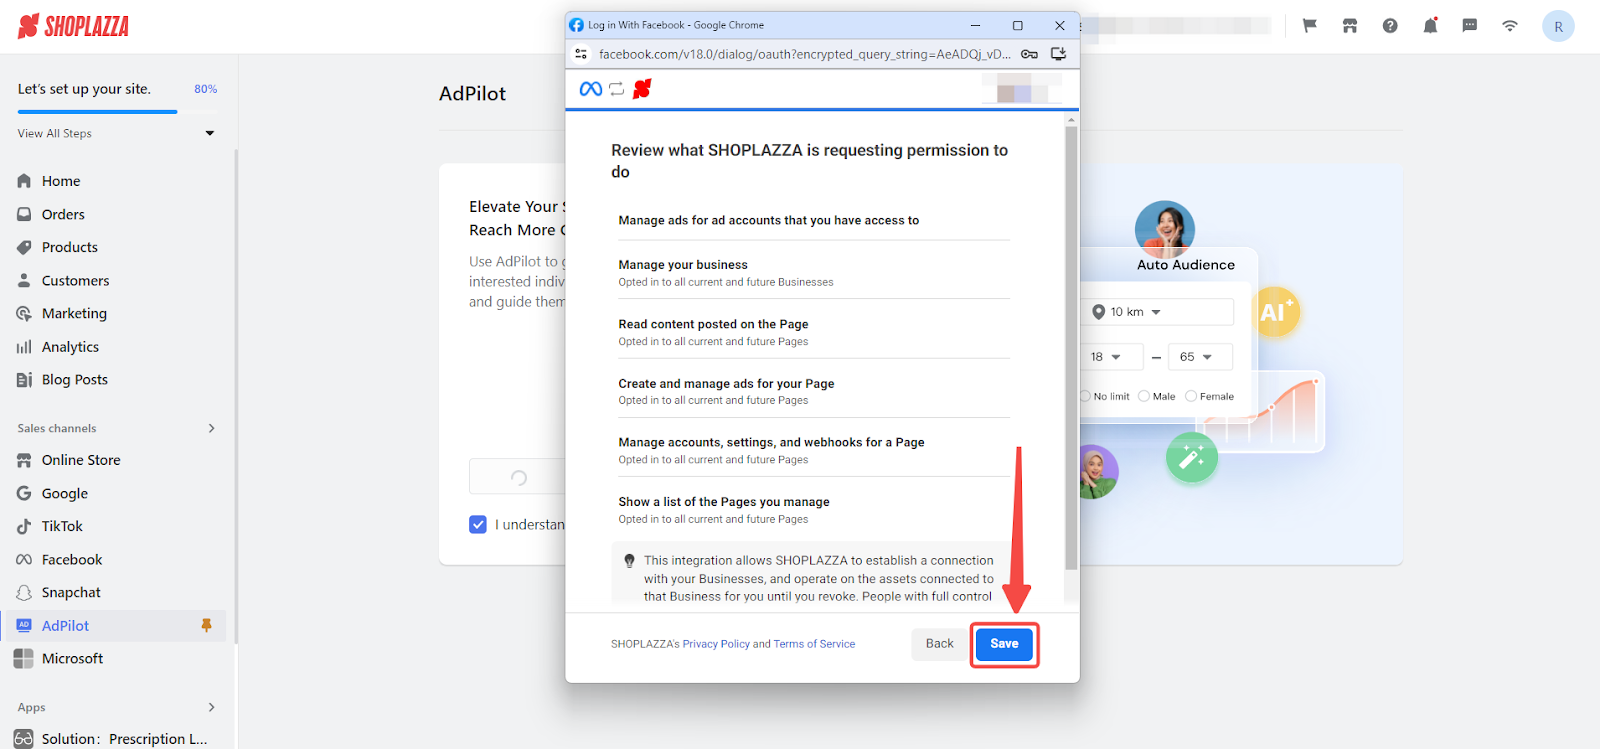
2. Review permissions: Check the permissions AdPilot will access and click Save.
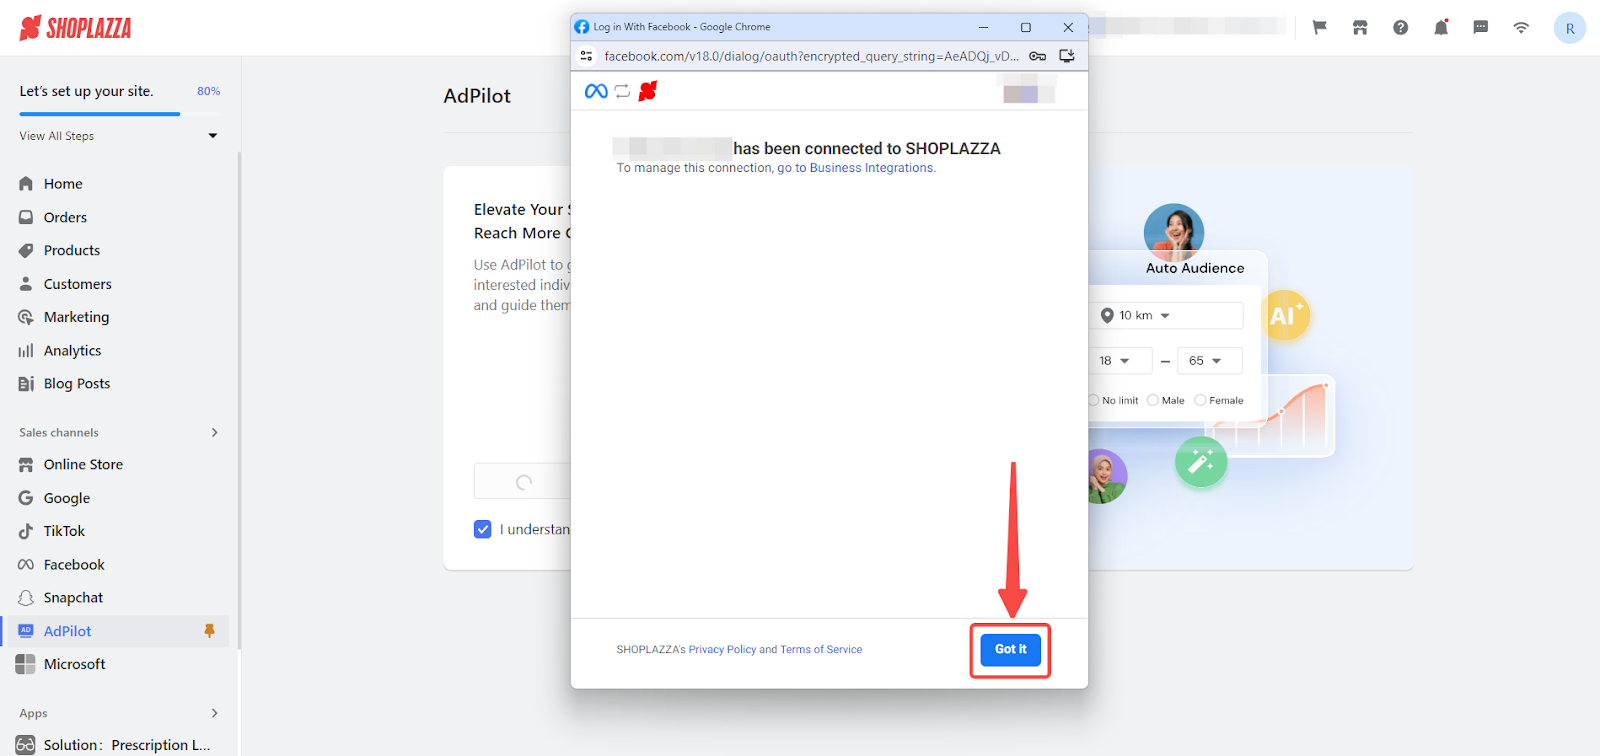
3. Complete authorization: Finish the Facebook authorization process by clicking Got it.
Selecting company category
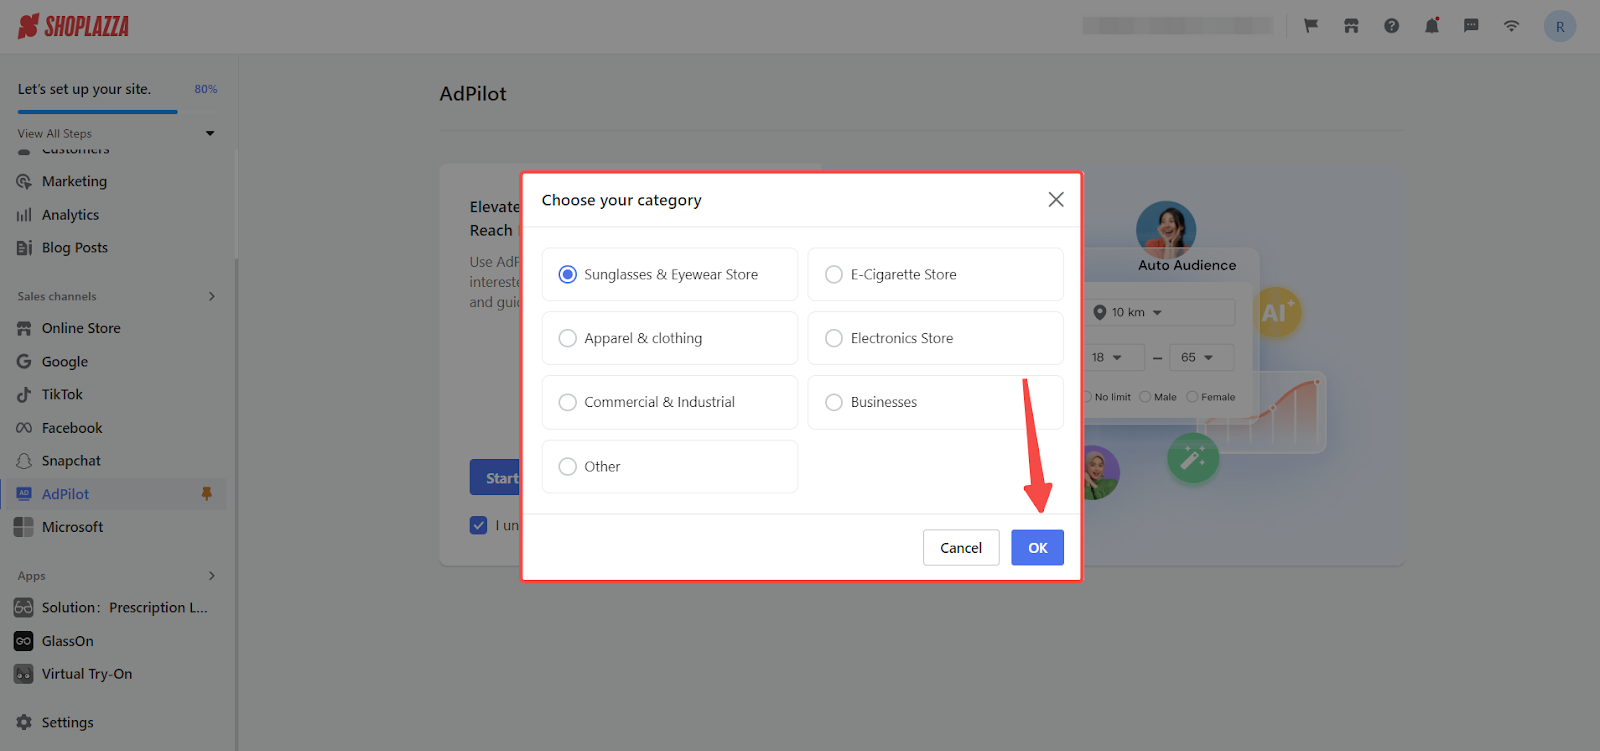
1. Choose your category: Choose your company category and click OK. The system will automatically create a public page, business manager account, and ad account for you. To maximize ad effectiveness, ensure the public page type matches your ad type. This will improve ad relevance and effectiveness. Example categories include:
- Commercial & Industrial: Providing products or services to other businesses, including manufacturing, engineering, construction, energy, logistics, etc.
- Businesses: Selling products directly to consumers, such as clothing, home goods, electronics, food, etc.
- Other: For businesses that don’t fit into the other categories.
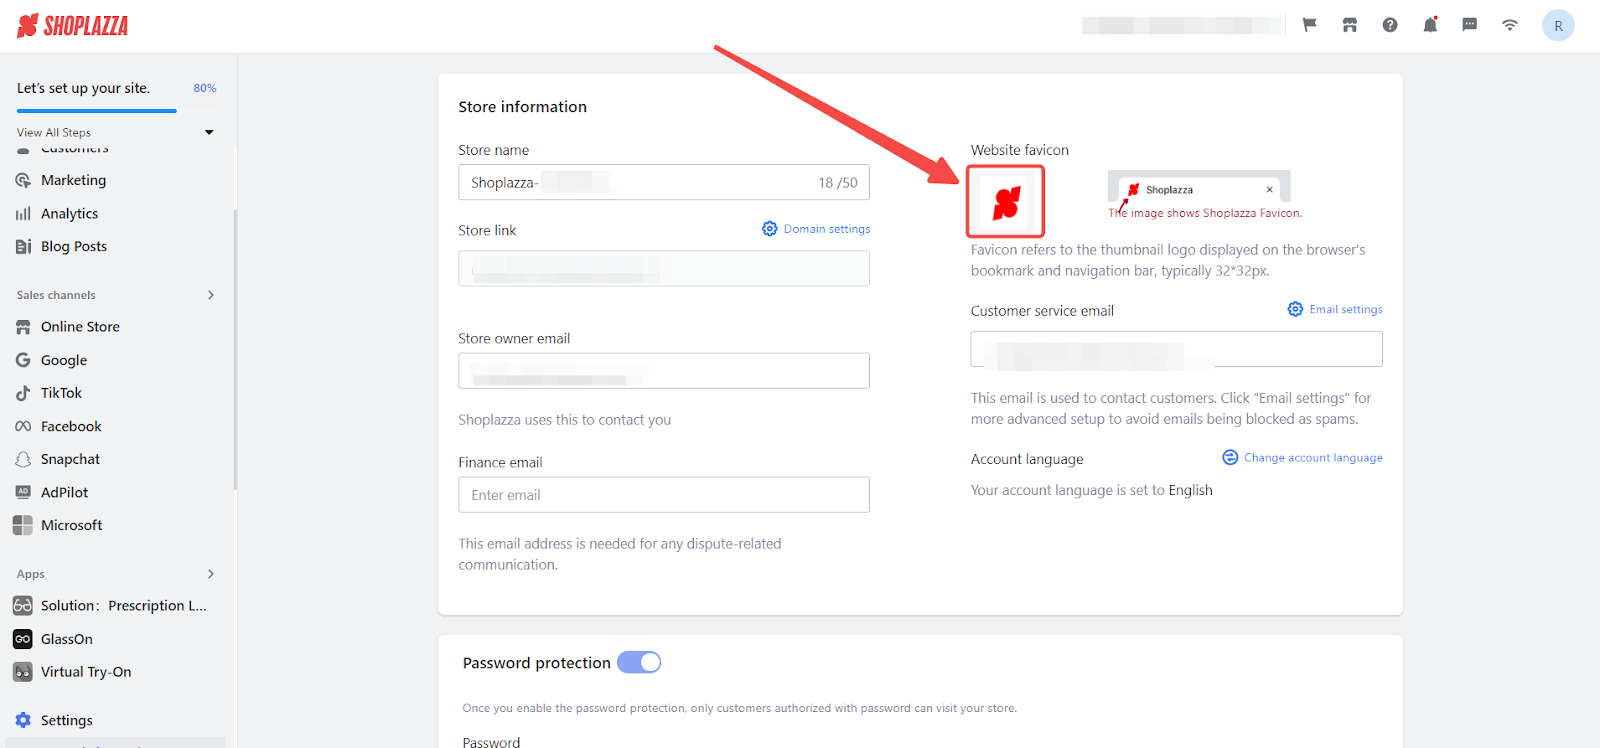
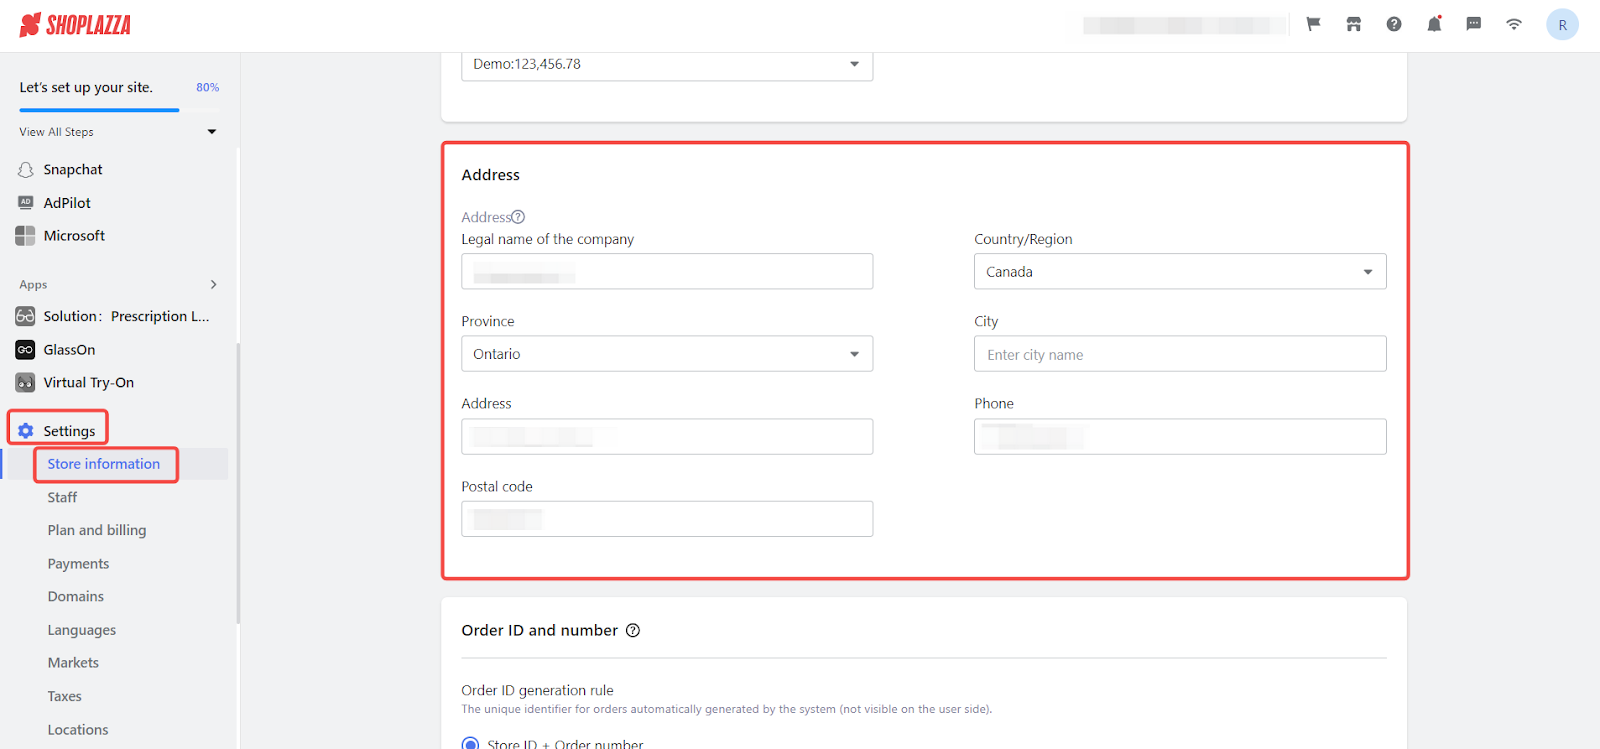
- Error messages: If you encounter an error message while creating an ad campaign, it may be because your store information is incomplete. Go to Settings > Store Information and complete all required fields, including your store’s address and favicon.
Creating and managing Ad campaigns
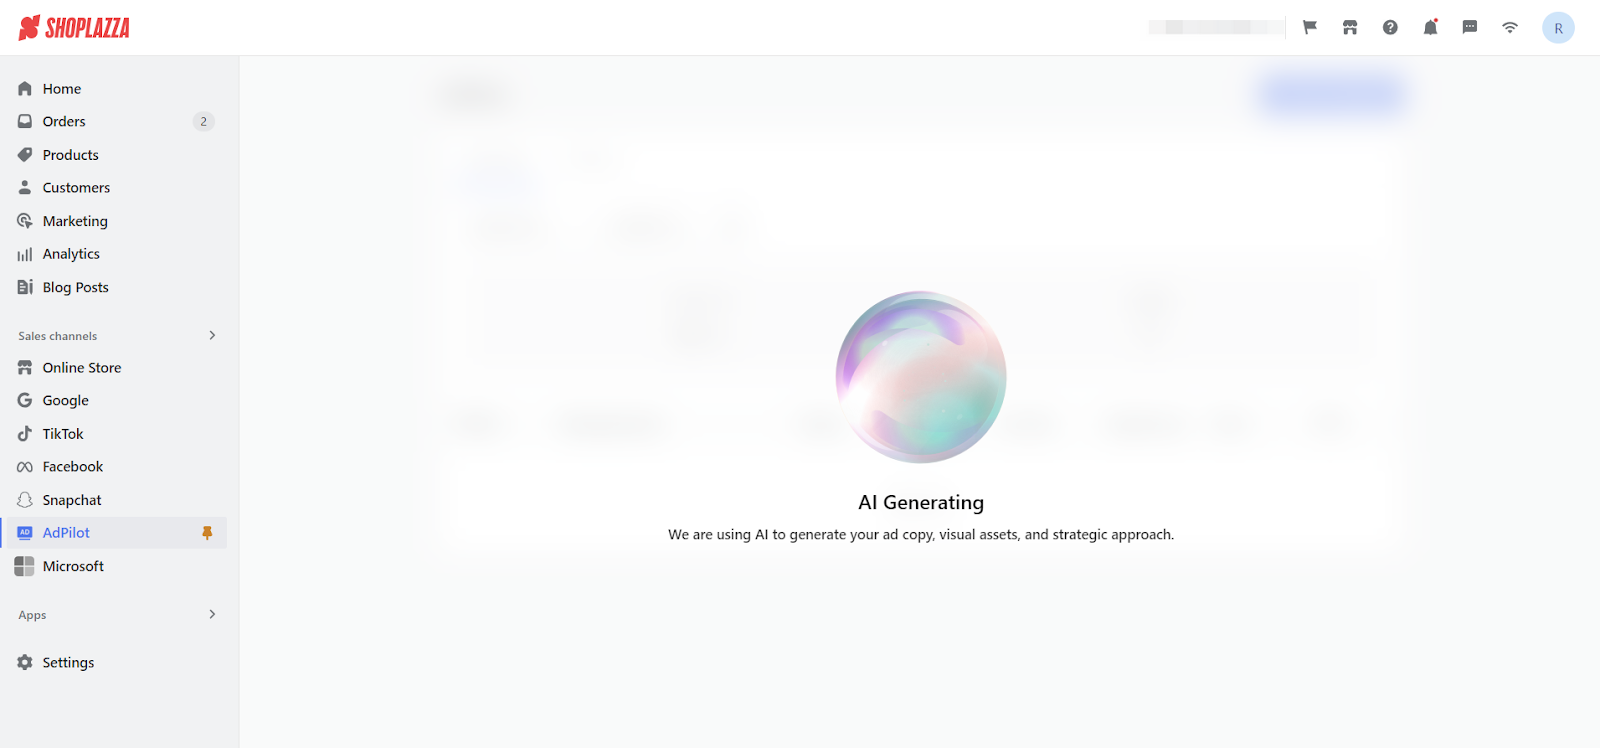
1. Use AI for campaign creation: AdPilot will use AI to create an ad campaign based on your store information, including ad content, audience, placements, and conversion methods.
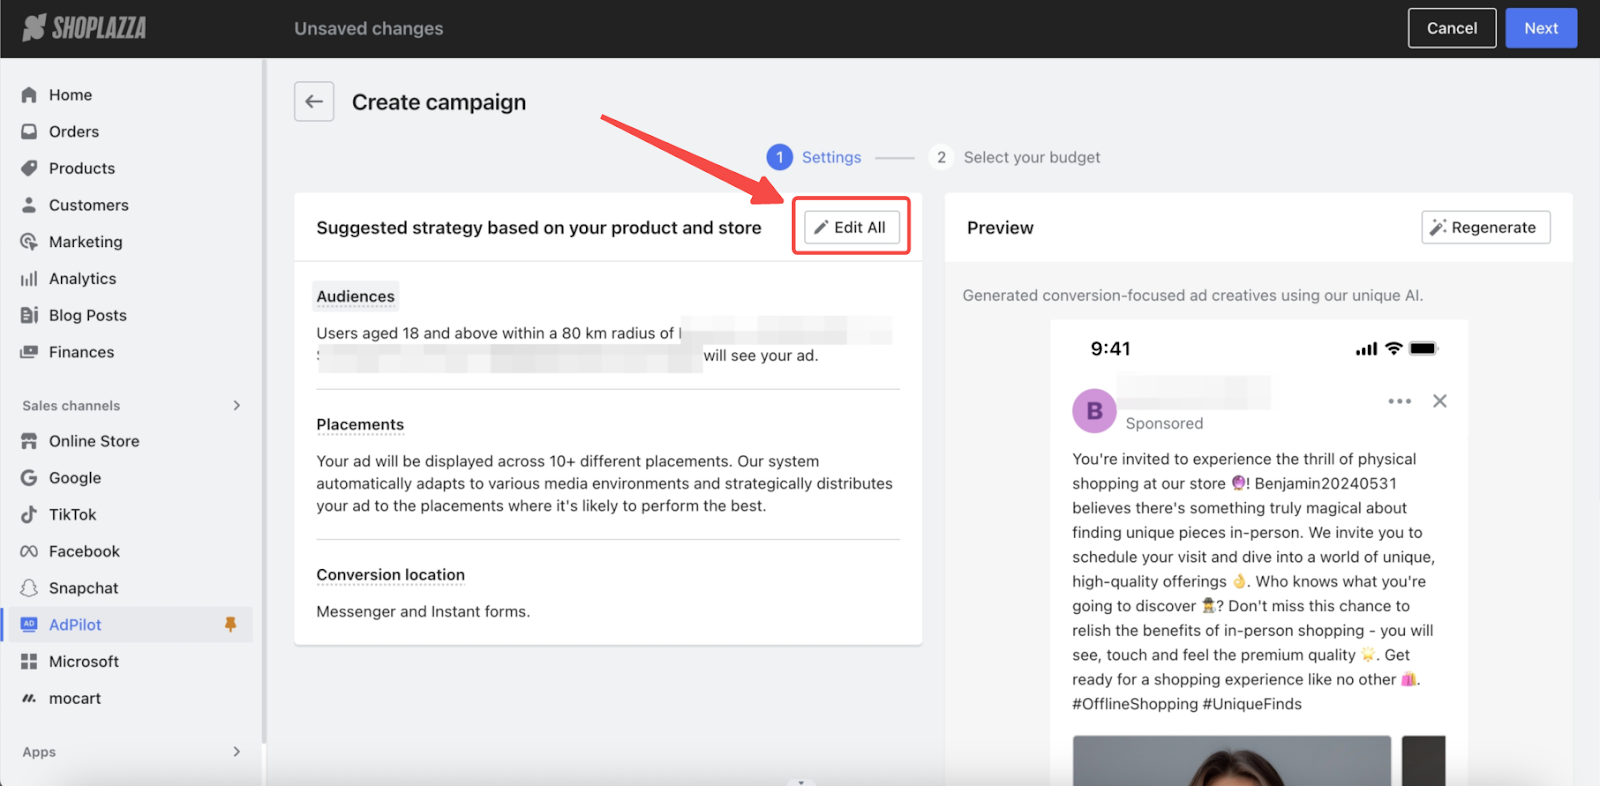
2. View and modify ad content: Once created, view the ad campaign details. Click Edit All to modify ad content, audience, and form content.
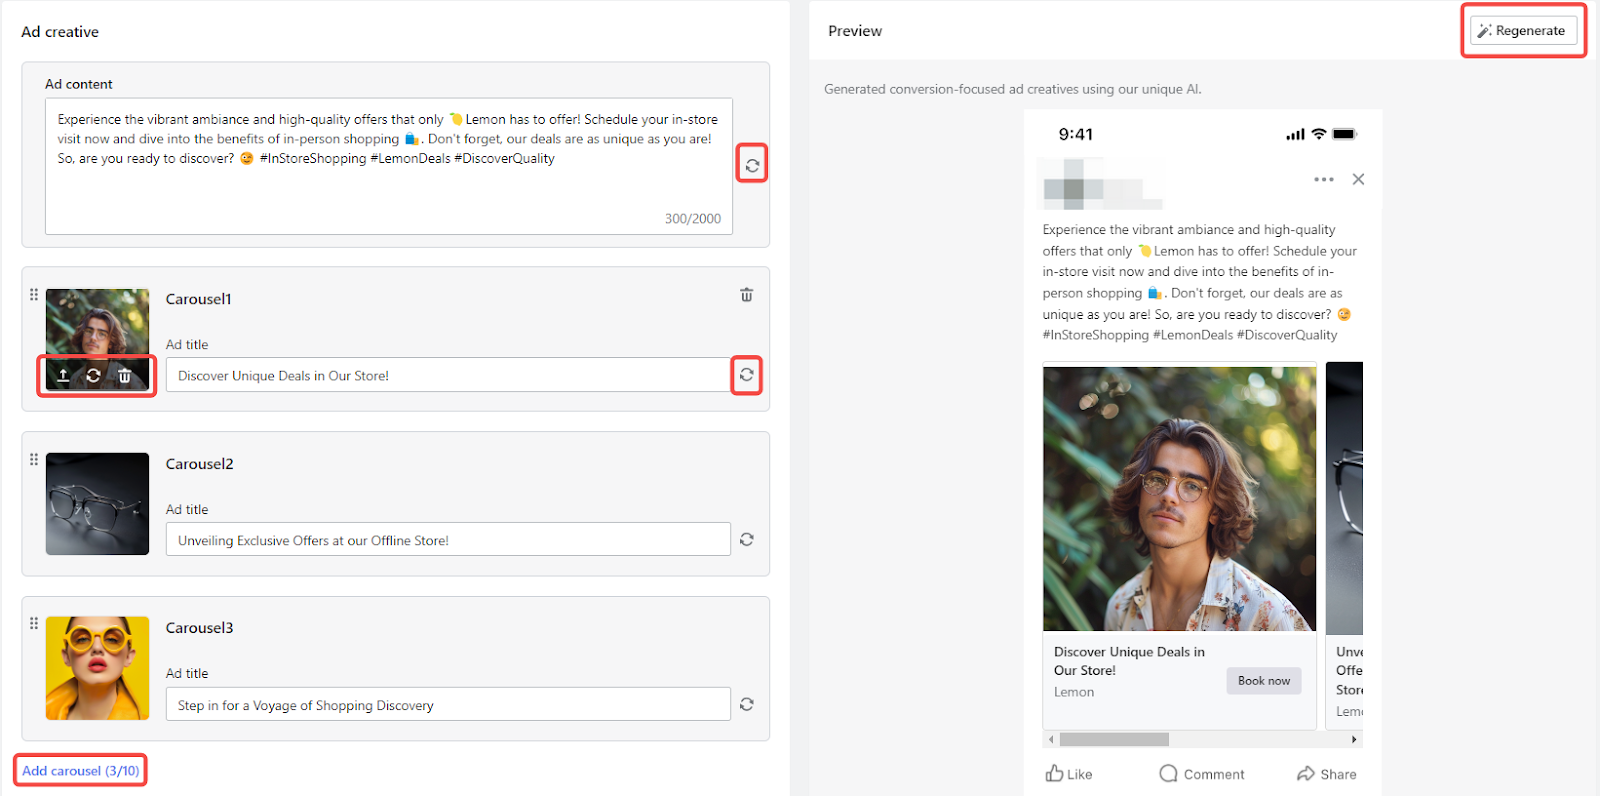
- Regenerate all ad content: Click the Regenerate button to use AI for regenerating the entire ad, including the copy, headlines, and images.
- Make specific edits: For more targeted changes, regenerate and directly edit the ad copy, headlines, or images individually.
- Manage images: Upload new images, delete existing ones, or manage image cards by adding or removing them as needed.
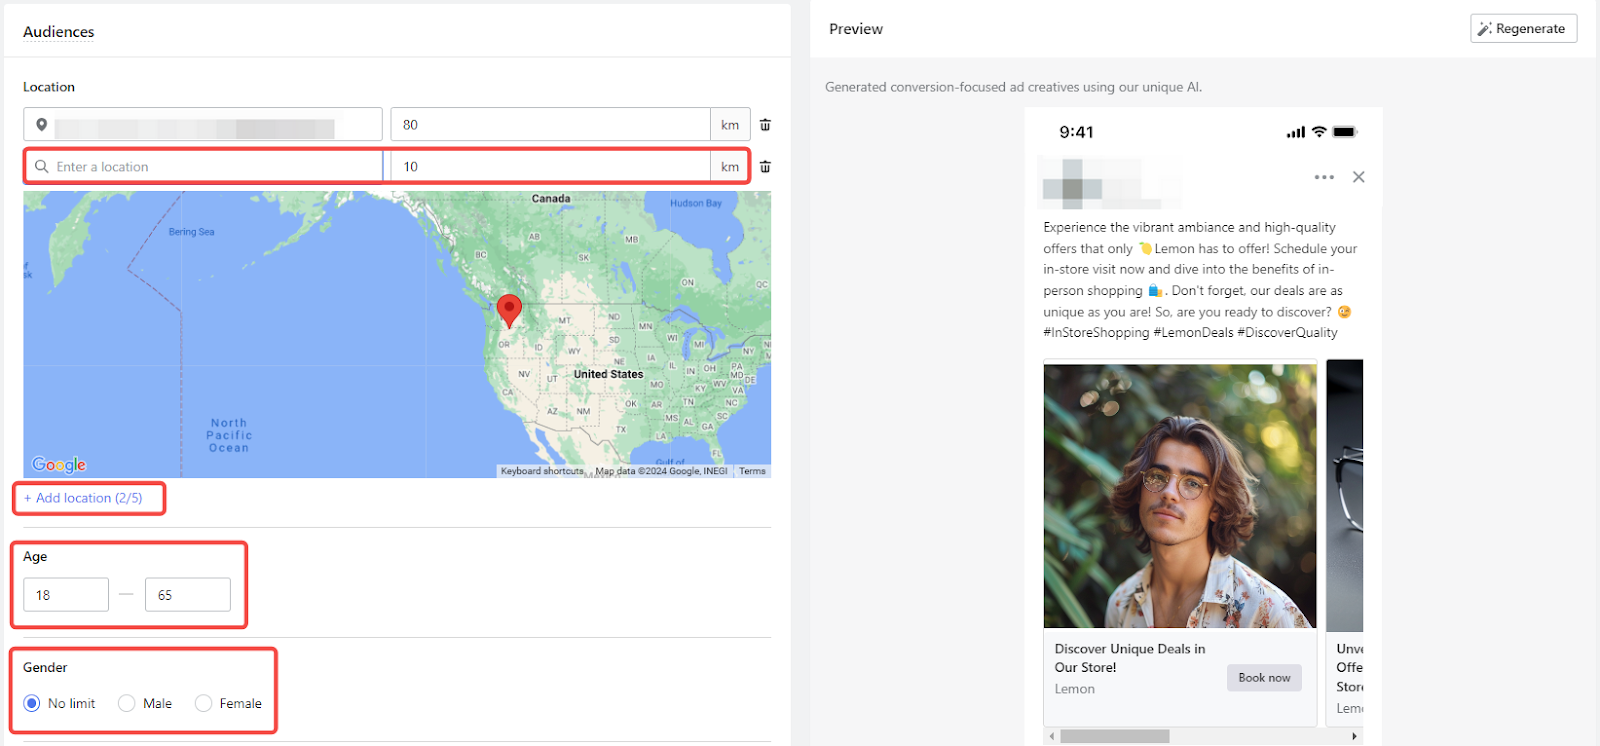
3. Customize audience settings:
- Add locations: Click Add location, enter the desired location in the input box, and select it from the dropdown results. You can modify the coverage range for each location, with up to five locations targeted.
- Set age range and gender: Set the age range for your target audience (18 to 65 years) and specify the gender.
Note
AdPilot currently does not support ad placements in EU regions.
4. Adjust form content:
- Customize the greeting: Customize the greeting message.
- Modify the description: Modify the description text.
- Add questions: Add or change custom questions to fit your campaign needs.

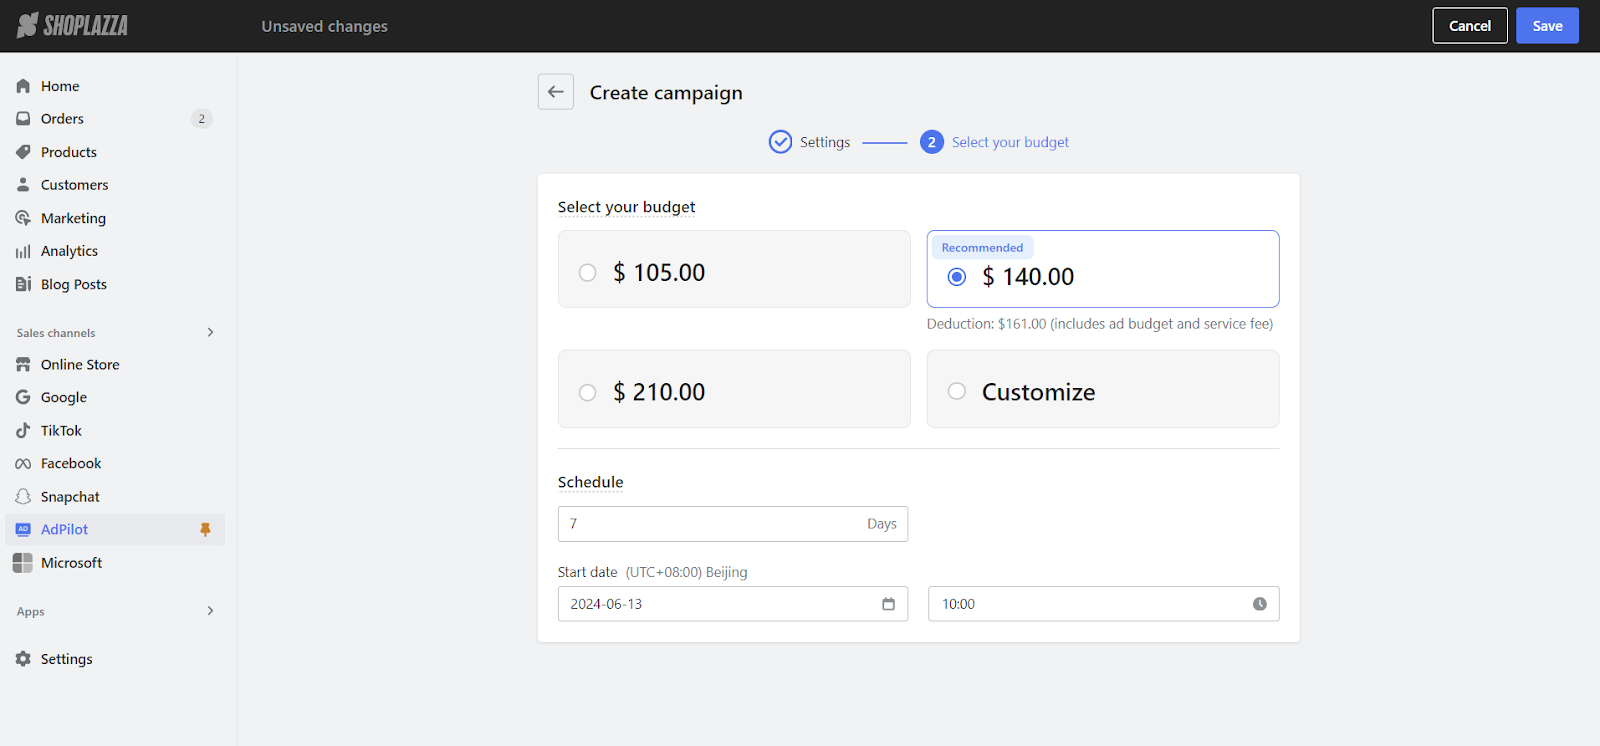
Setting ad budget and schedule
1. Configure budget and schedule: Click Next to set the ad budget and schedule. After setting, click Save to complete the ad creation.
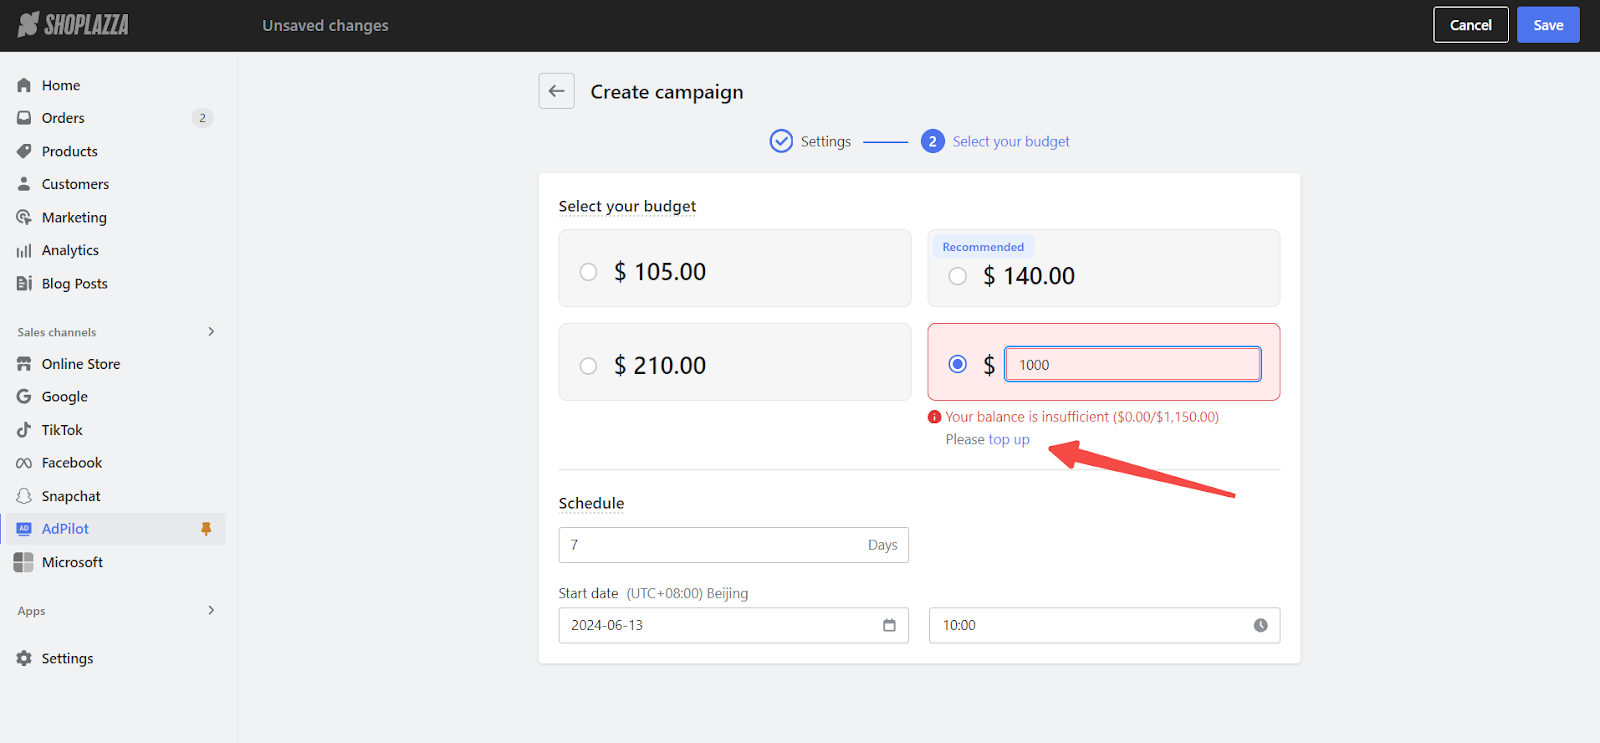
2. Recharge your account if needed: If the balance is insufficient, you’ll be prompted to recharge by clicking Top Up.
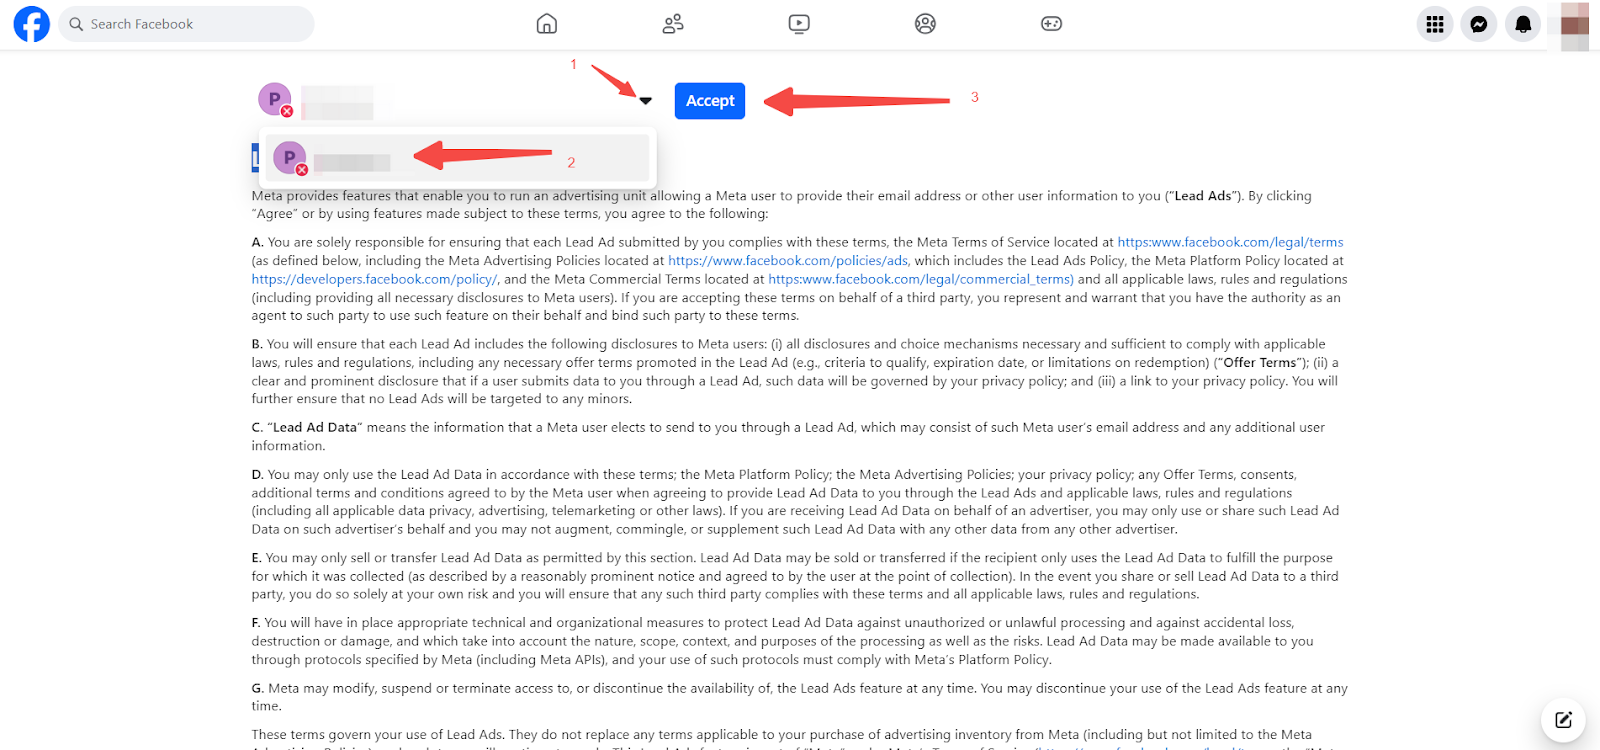
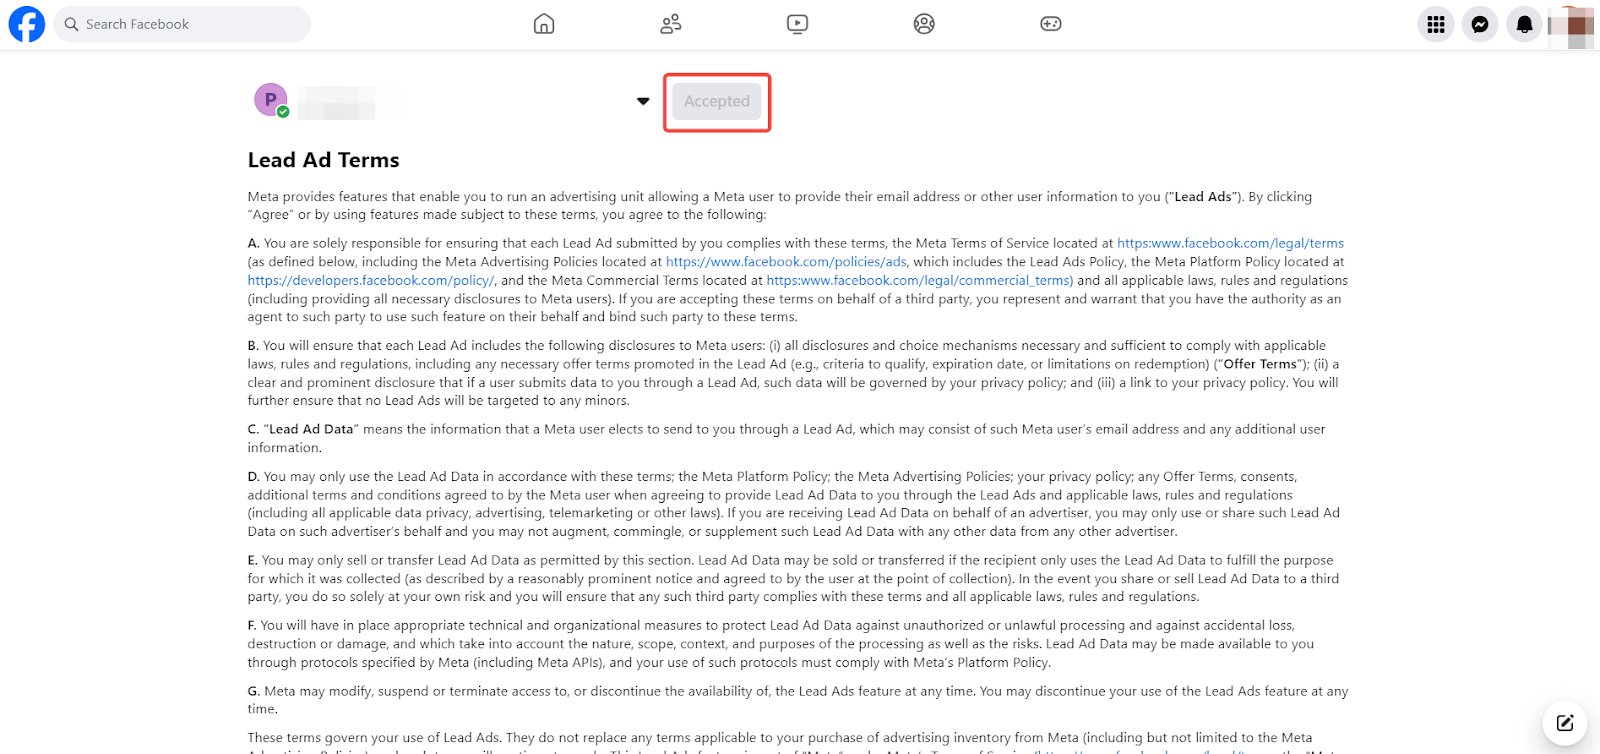
3. Accept Facebook’s terms: For the first ad creation, you’ll need to accept Facebook’s terms. Click Lead Ads Terms , choose the public page with the same name as your store, and click Accept. Return to your Shoplazza admin and click Confirm to close the popup, then click Save to complete the ad creation.
Overview page
The overview page provides a central hub to manage your AdPilot campaigns. Here, you can monitor ad performance, manage your account details, and ensure your campaigns are running smoothly. Follow these steps to navigate and utilize the overview page effectively.
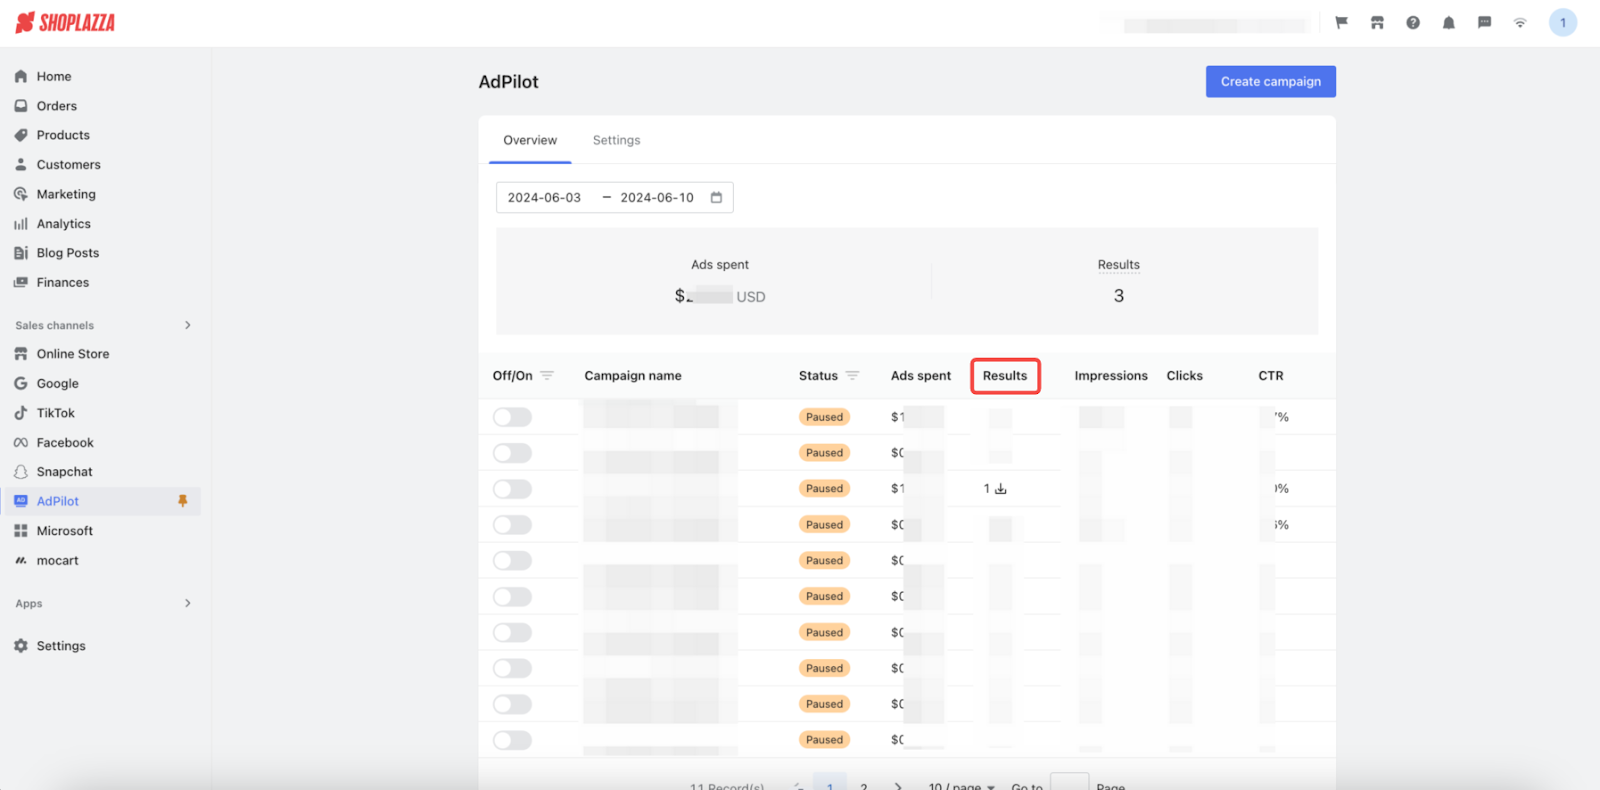
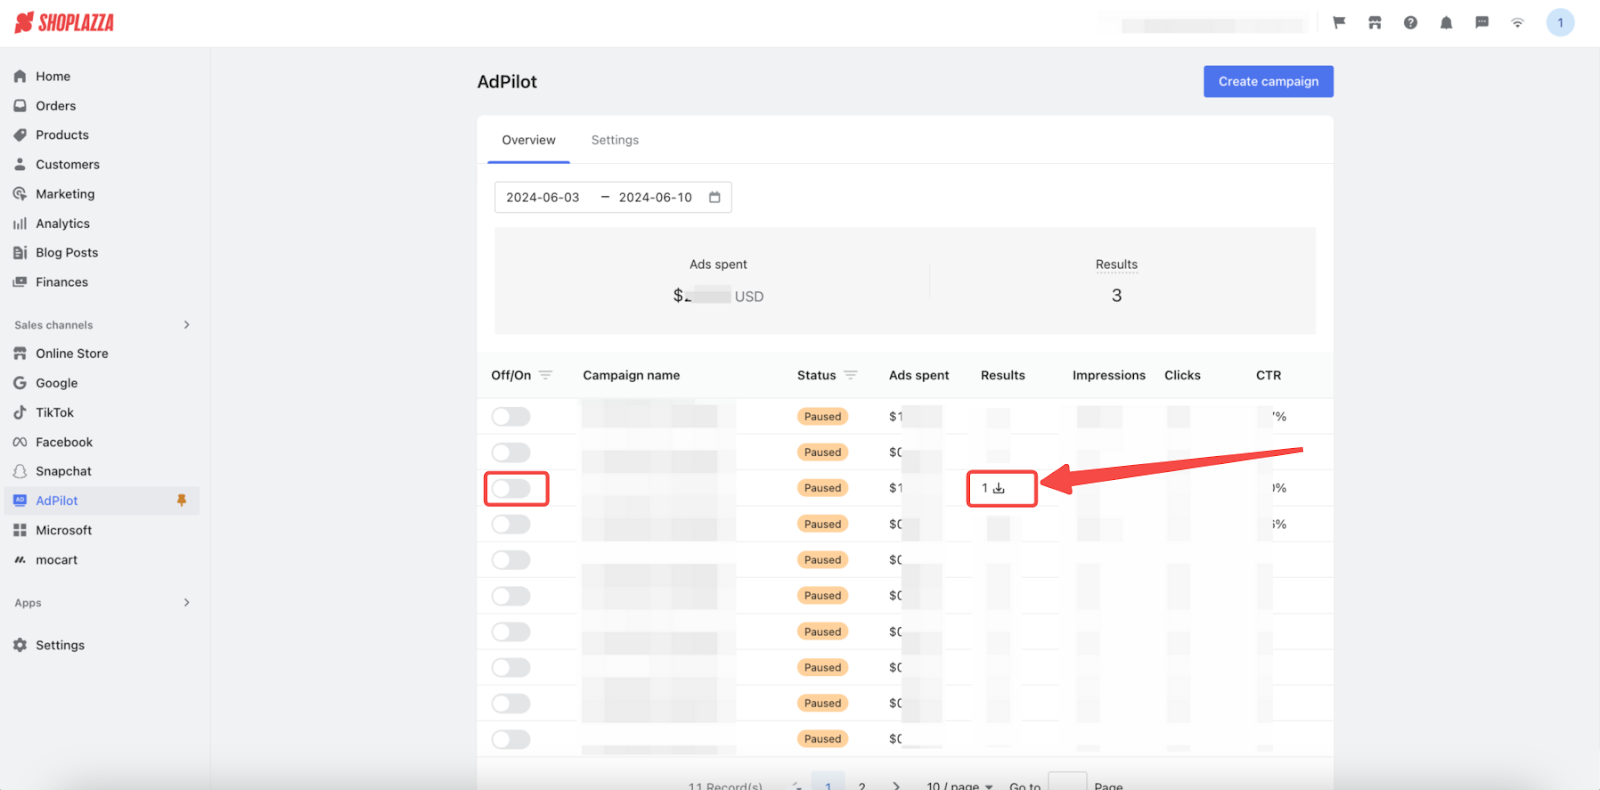
1. Manage your campaigns: Once created, you’ll be taken to the overview page where you can view ad data and download lead forms. You can also modify the ad status.
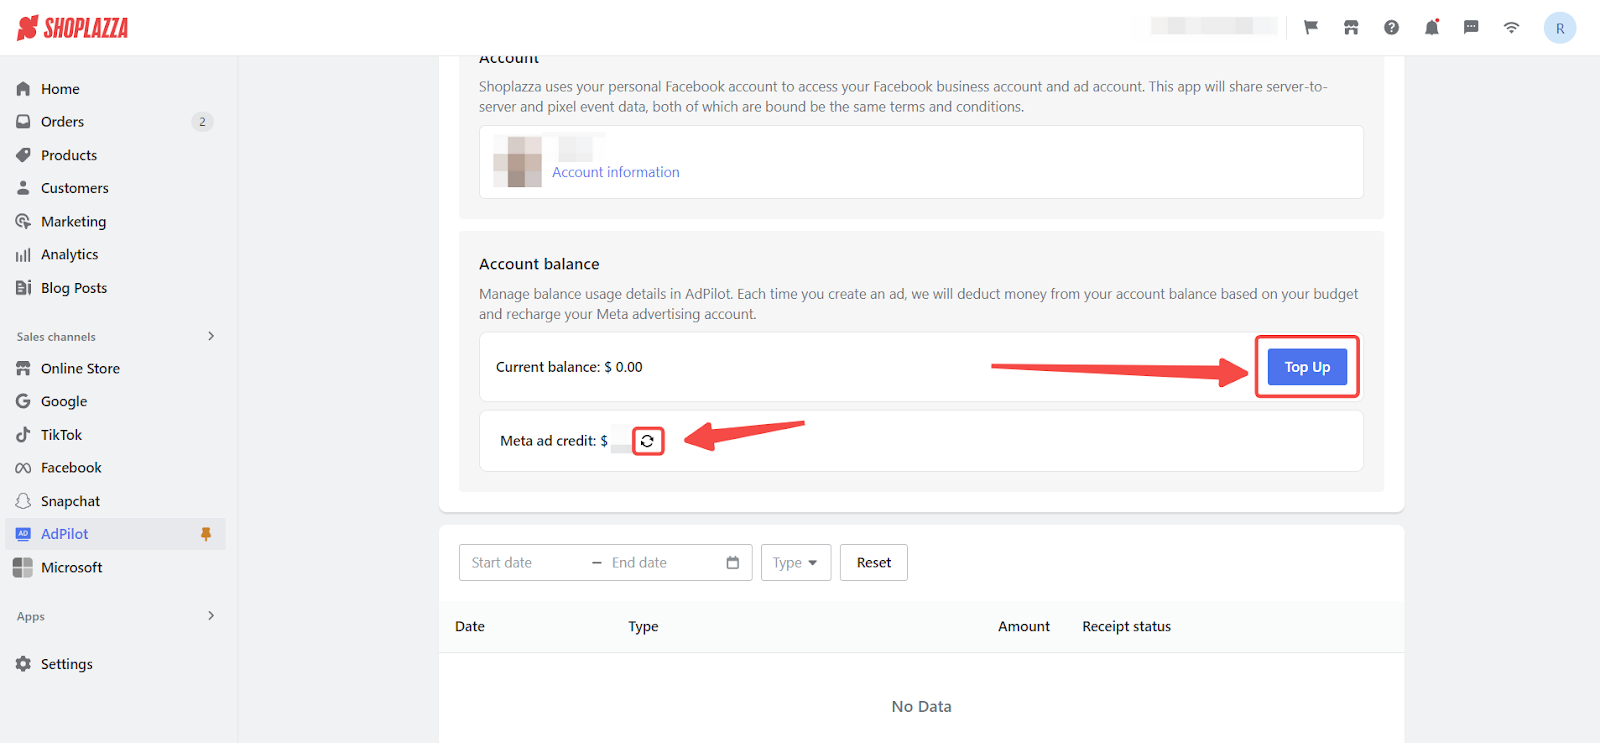
- View account and balance information: In the Settings module, view account and balance information.
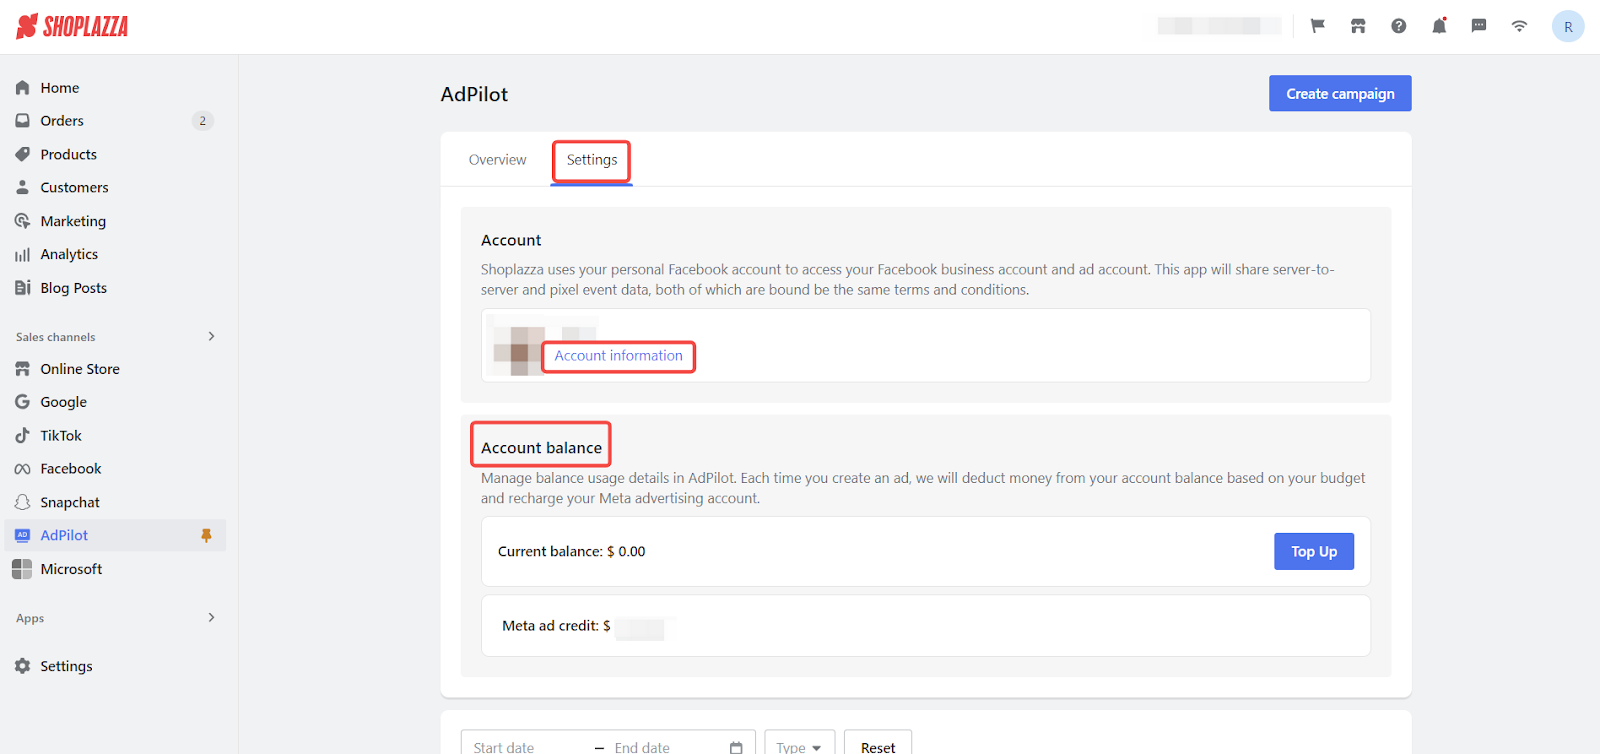
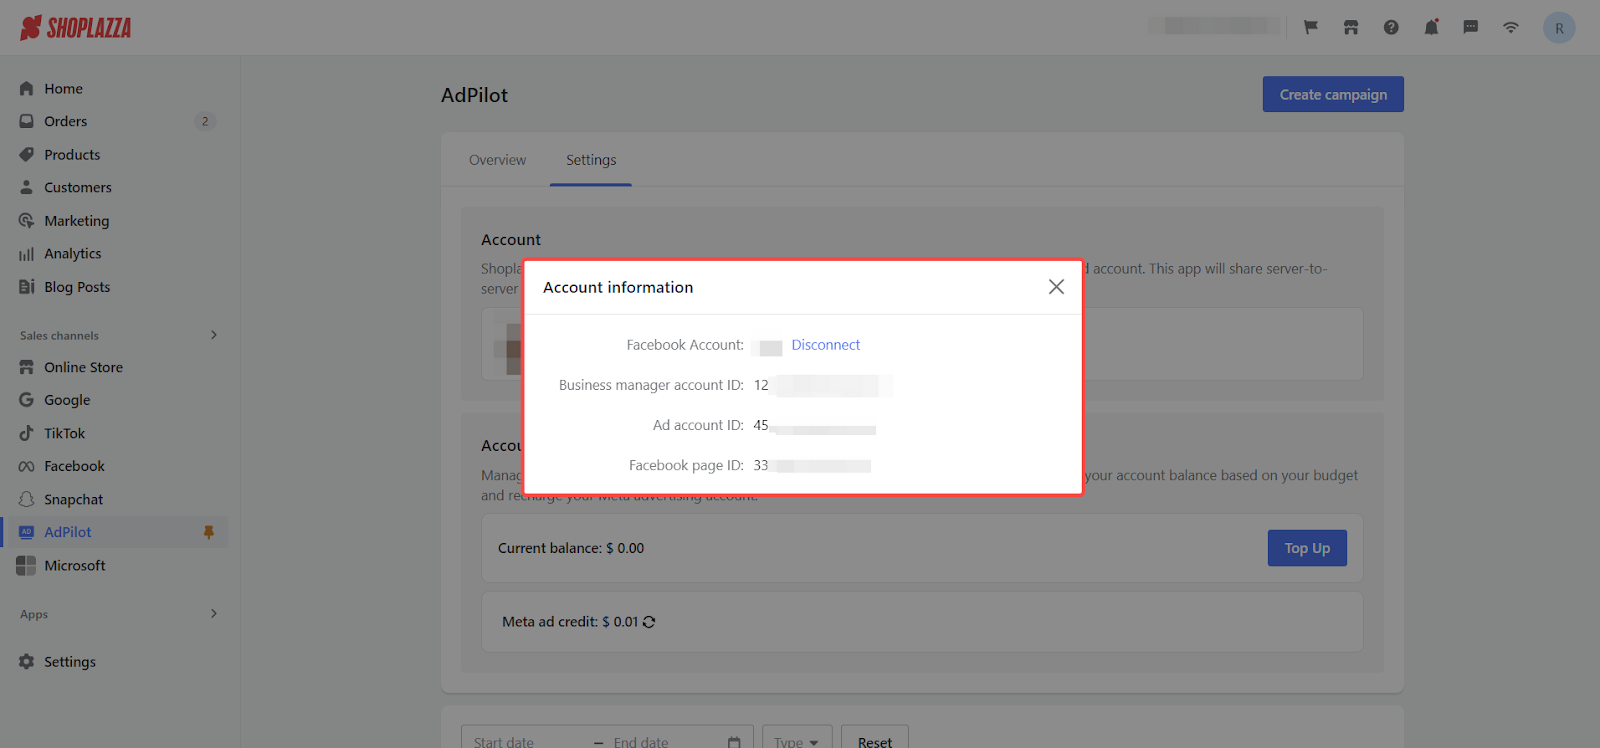
- Manage account details: Click Account Details to unlink the Facebook account or view business manager, ad account, and public page IDs.
- Add funds: Click Top Up to add funds. The transaction status will be shown in the transaction list. Meta ad balance supports manual refresh.
Note
Currently, AdPilot only supports ad campaigns designed to attract customers to your physical store. AdPilot will continue to improve and support different ad objectives and scenarios in the future.
Managing public pages
Managing public pages created with AdPilot is essential for maintaining your online presence and engaging with your customers. Follow these steps to effectively manage your public pages on Facebook.
Logging into Facebook
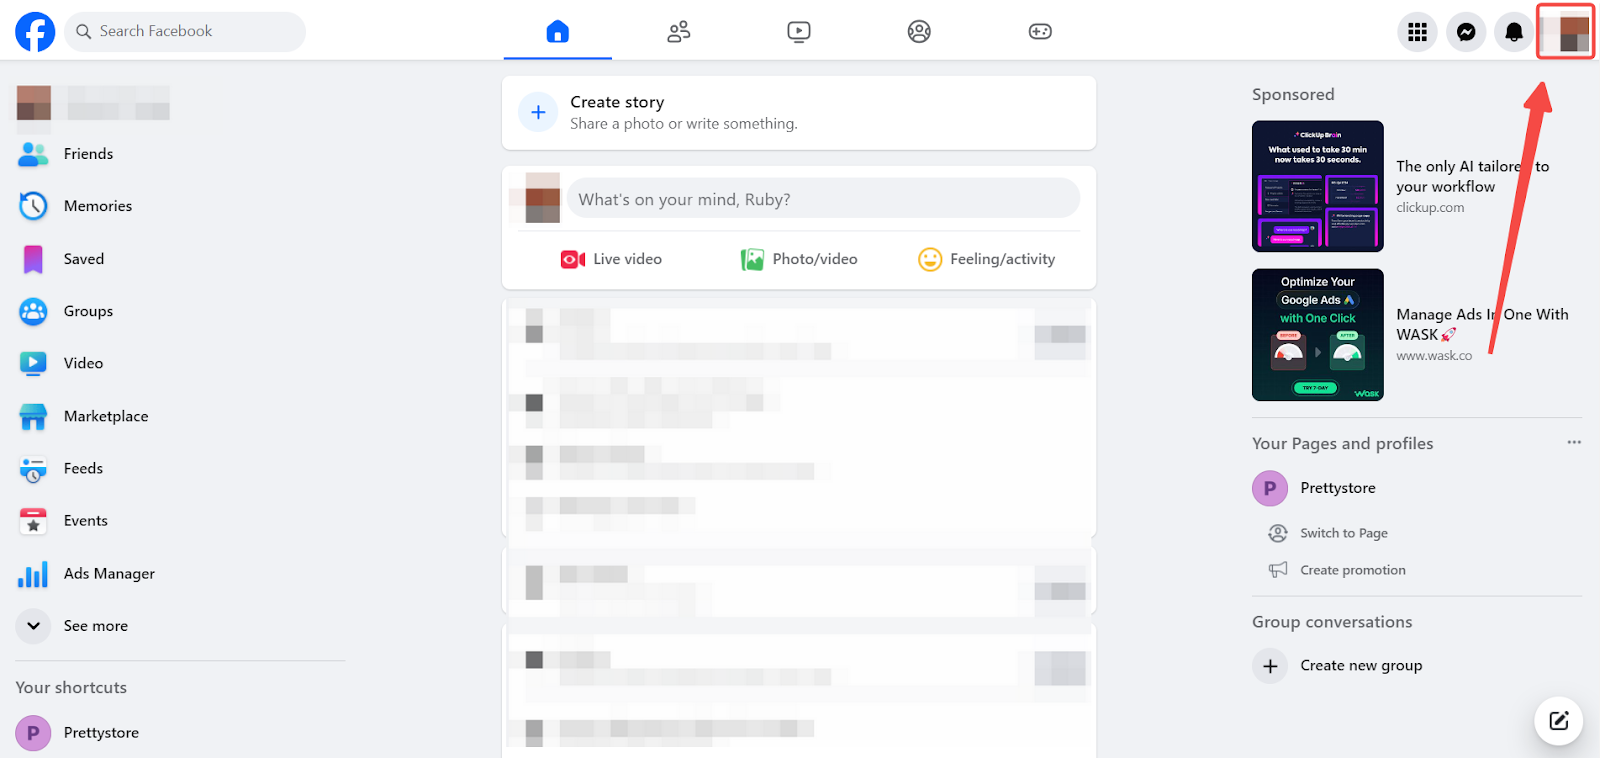
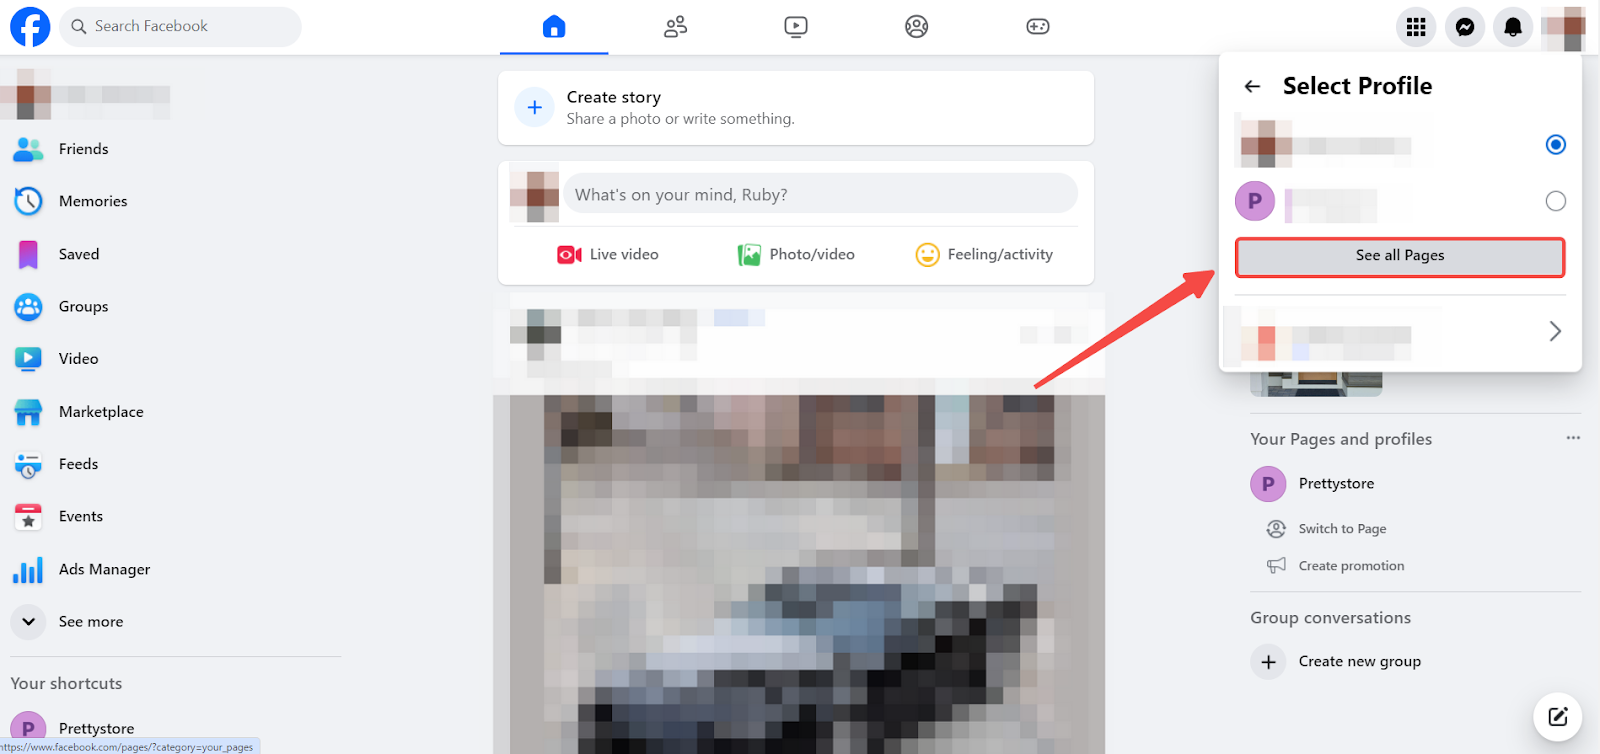
1. Access account settings: Click your profile picture in the top right corner of the Facebook homepage to access your account settings.
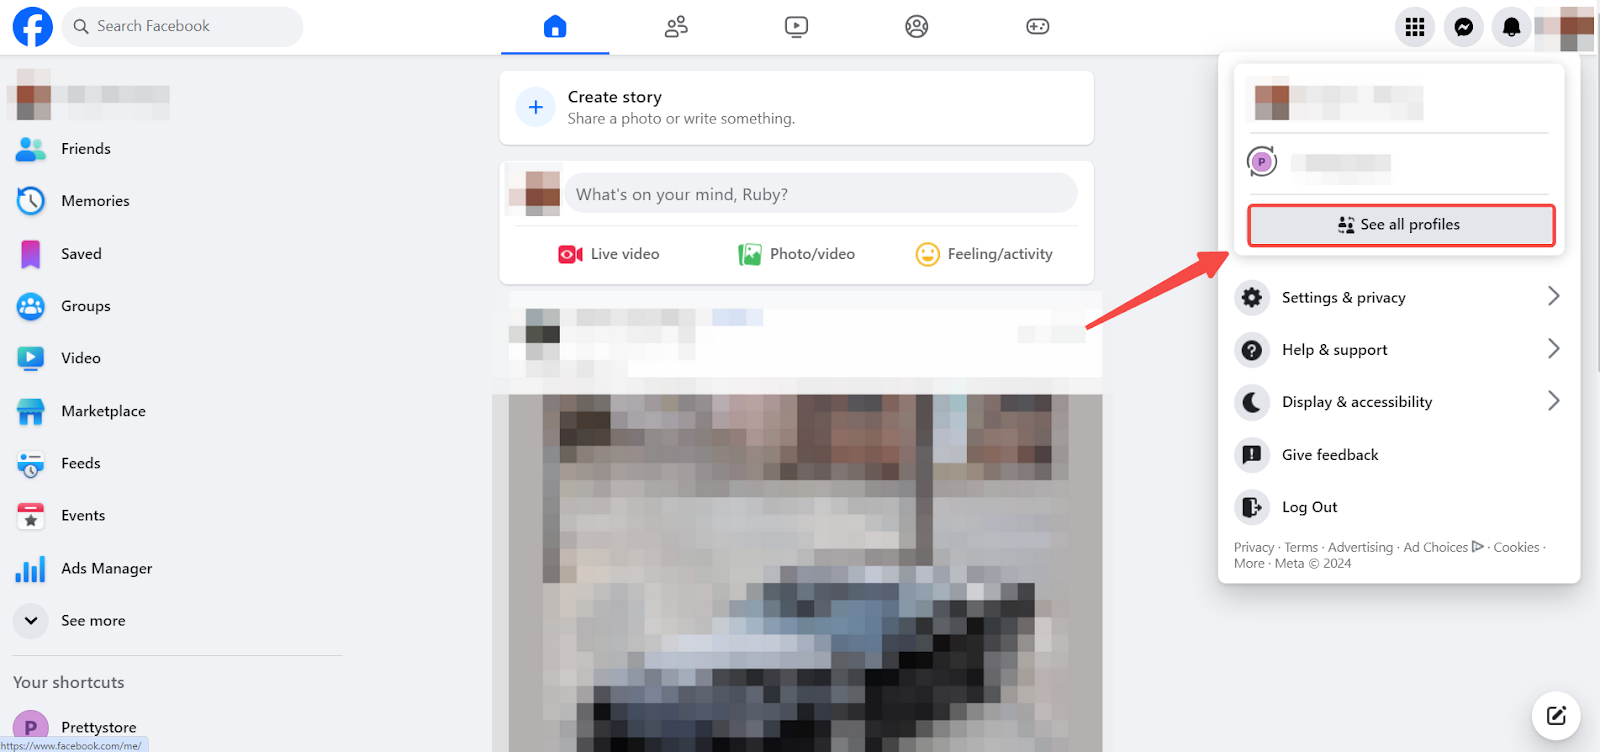
2. View all profiles: From the dropdown menu, select See all profiles to view a list of all profiles associated with your account.
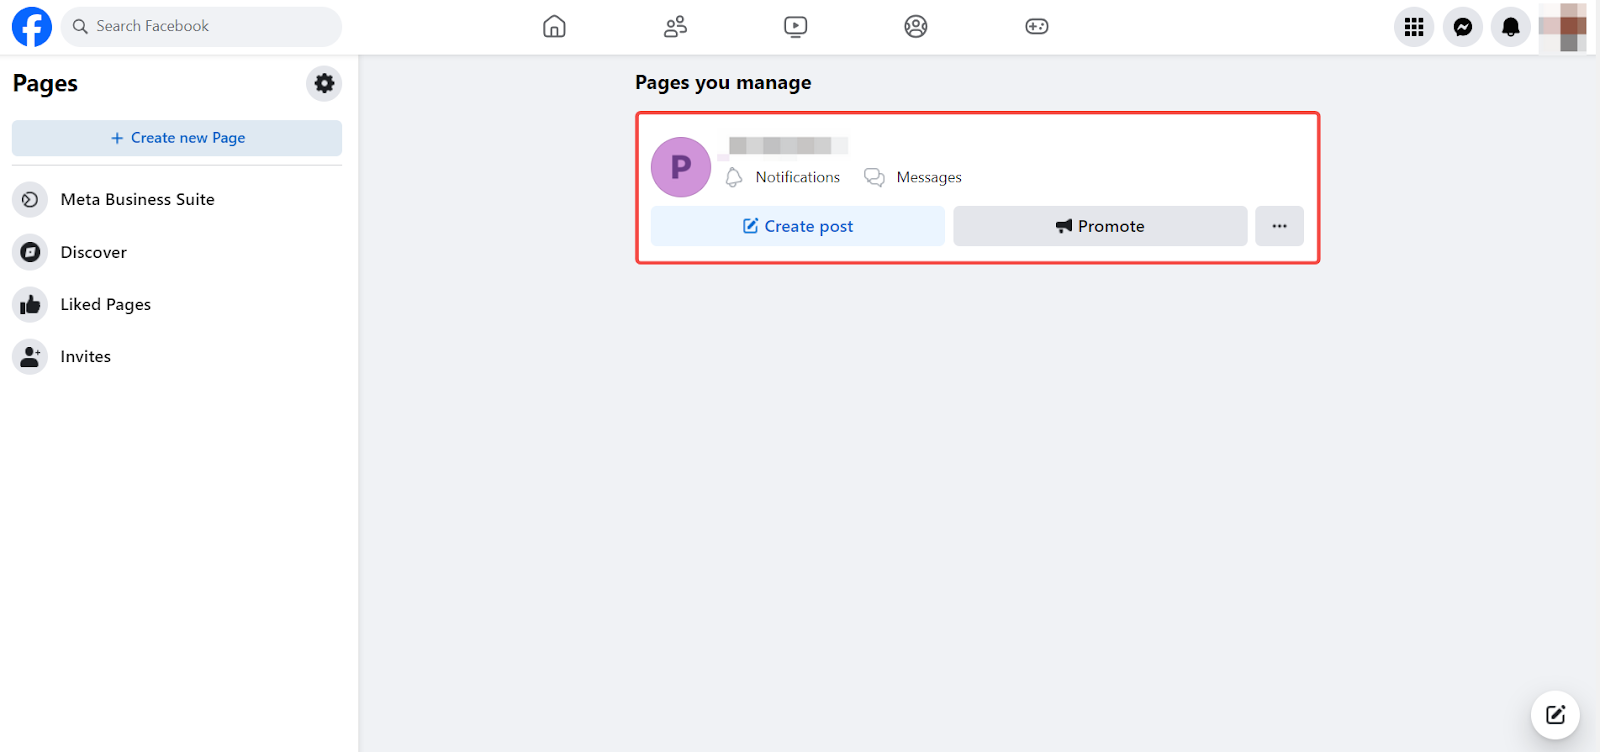
3. Navigate to all pages: Navigate to this section to view all the pages you manage. This option is usually found in the same dropdown menu.
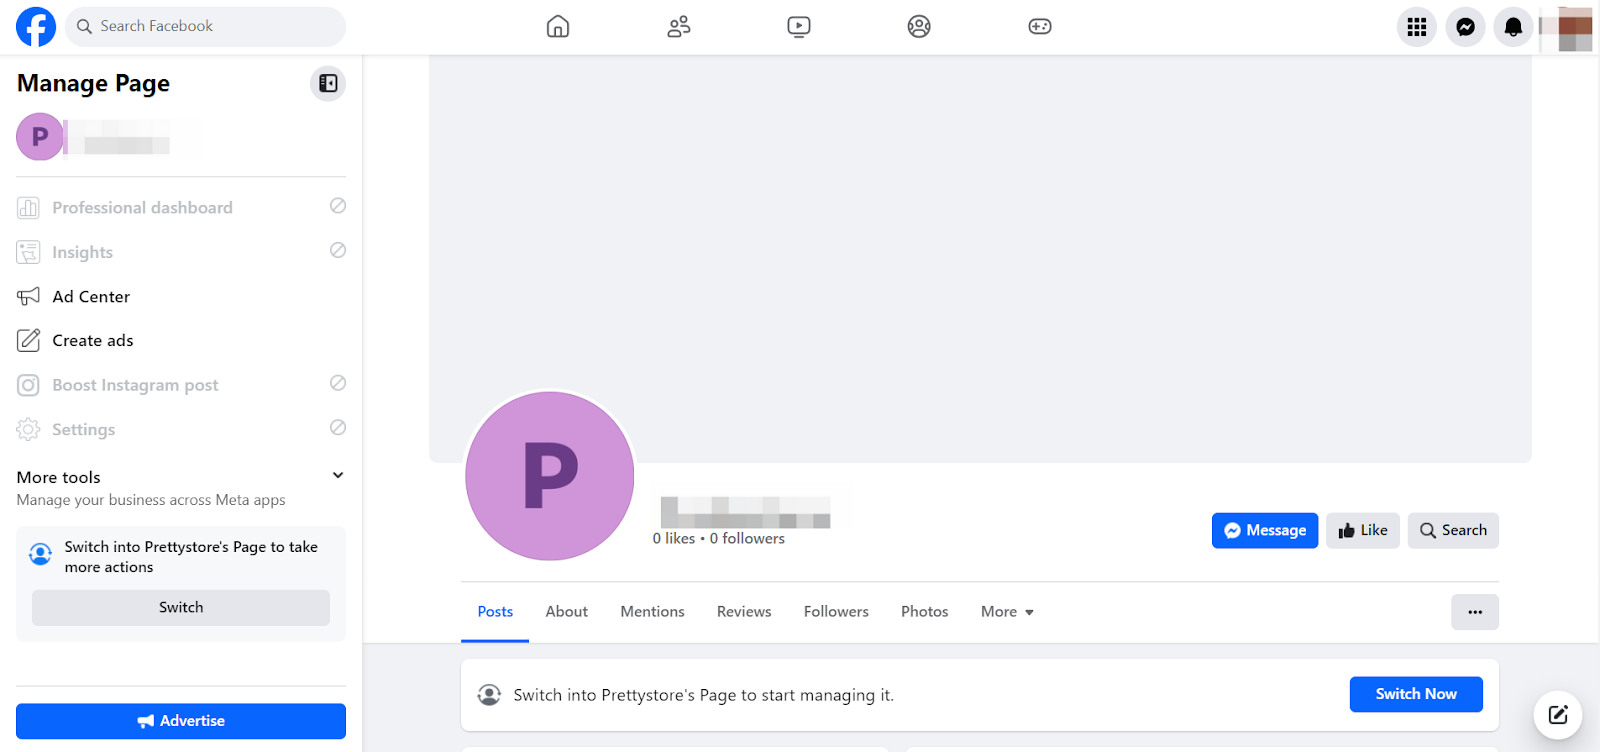
4. Manage your page: Find and click the page with the same name as your store. This will take you to the page’s management interface, where you can edit information, post updates, and monitor page activity.
By leveraging AI technology, AdPilot simplifies the ad creation process and provides real-time performance tracking, helping merchants optimize their ad strategies for better business growth. With its direct connection to Meta and user-friendly interface, AdPilot makes it easy for merchants to reach more potential customers and drive both online and offline sales.


Comments
Please sign in to leave a comment.