
Managing inventory across multiple locations is essential for maintaining accurate stock levels and ensuring smooth fulfillment in cross-border eCommerce. The inventory list in Shoplazza admin provides a centralized interface where you can view, export, and import inventory data by SKU and location. Whether you're tracking stock at warehouses, retail stores, or third-party logistics centers, this feature helps you prevent overselling, minimize stockouts, and optimize restocking strategies.
Accessing the inventory list
The inventory list page allows you to check real-time inventory for each product variant at different locations. This makes it easier to plan logistics, redistribute stock, and coordinate with fulfillment teams.
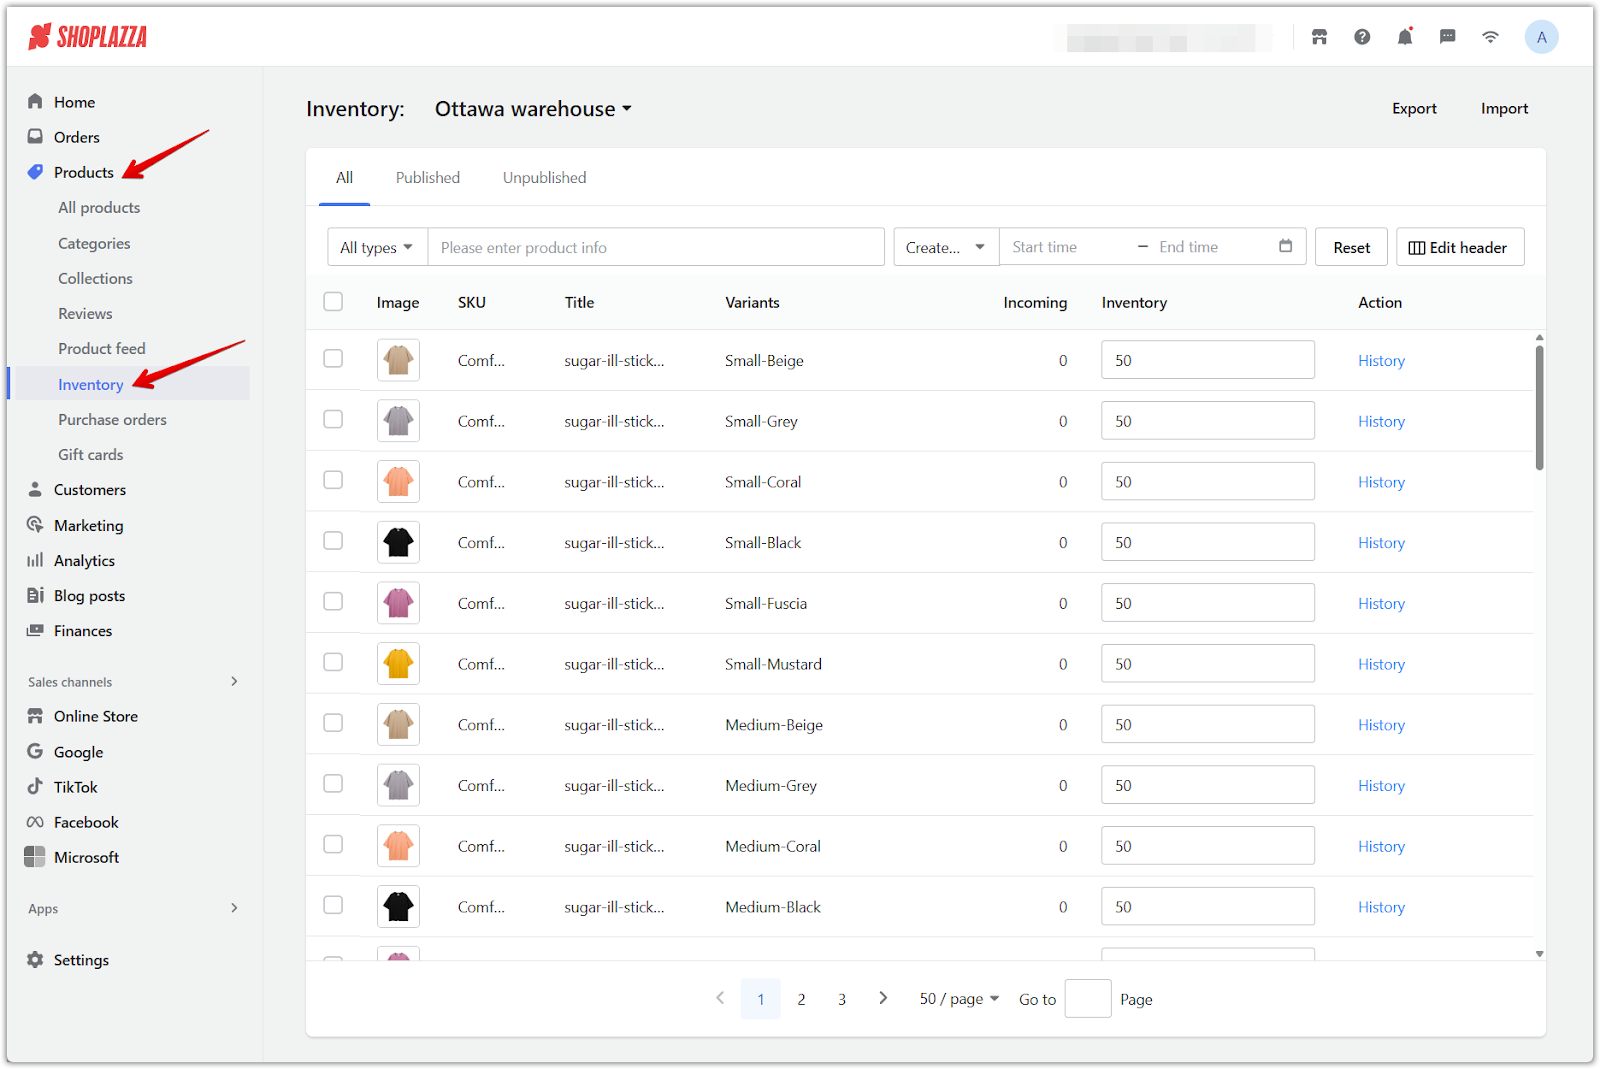
1. Go to the inventory list: From your Shoplazza admin, click Products, then select Inventory to open the inventory list page. This is where you’ll manage stock levels for each product variant across different locations.
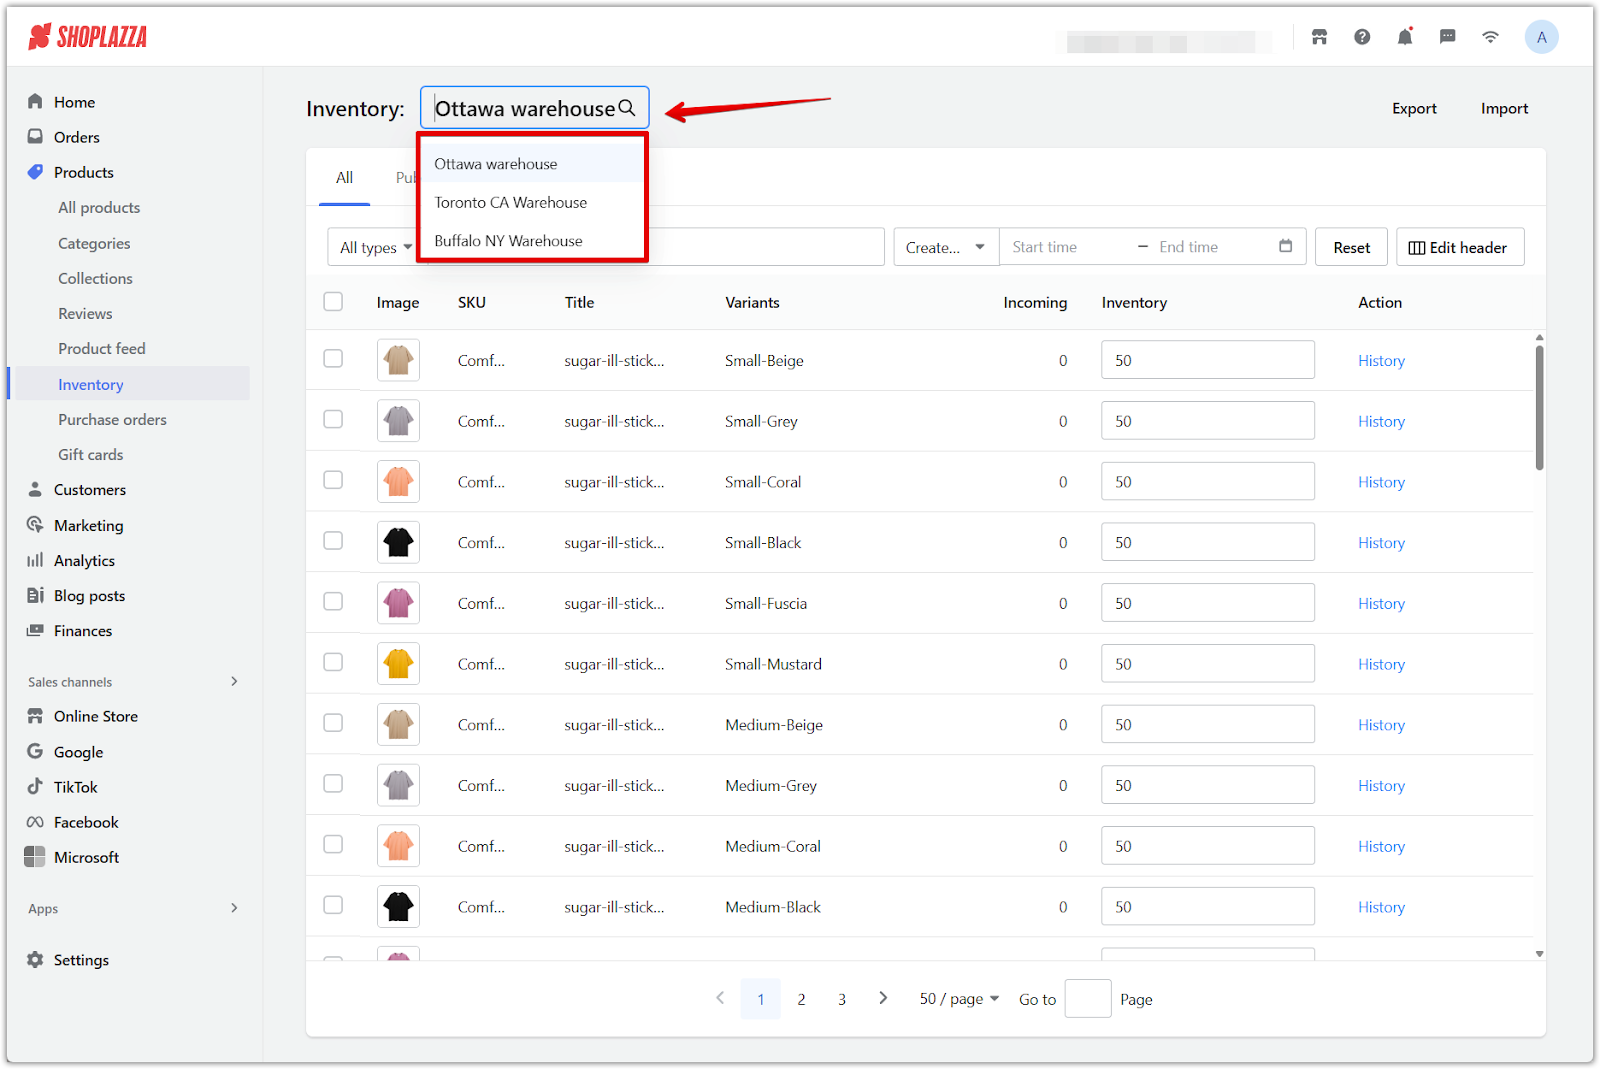
2. Switch between locations: Use the location dropdown to filter inventory by site. This function is helpful for quickly narrowing down stock levels at a specific fulfillment center or retail outlet without having to sort manually.
Exporting inventory data
Exporting inventory data into an Excel file allows you to back up your records, analyze stock trends offline, or prepare for bulk updates in a structured format.
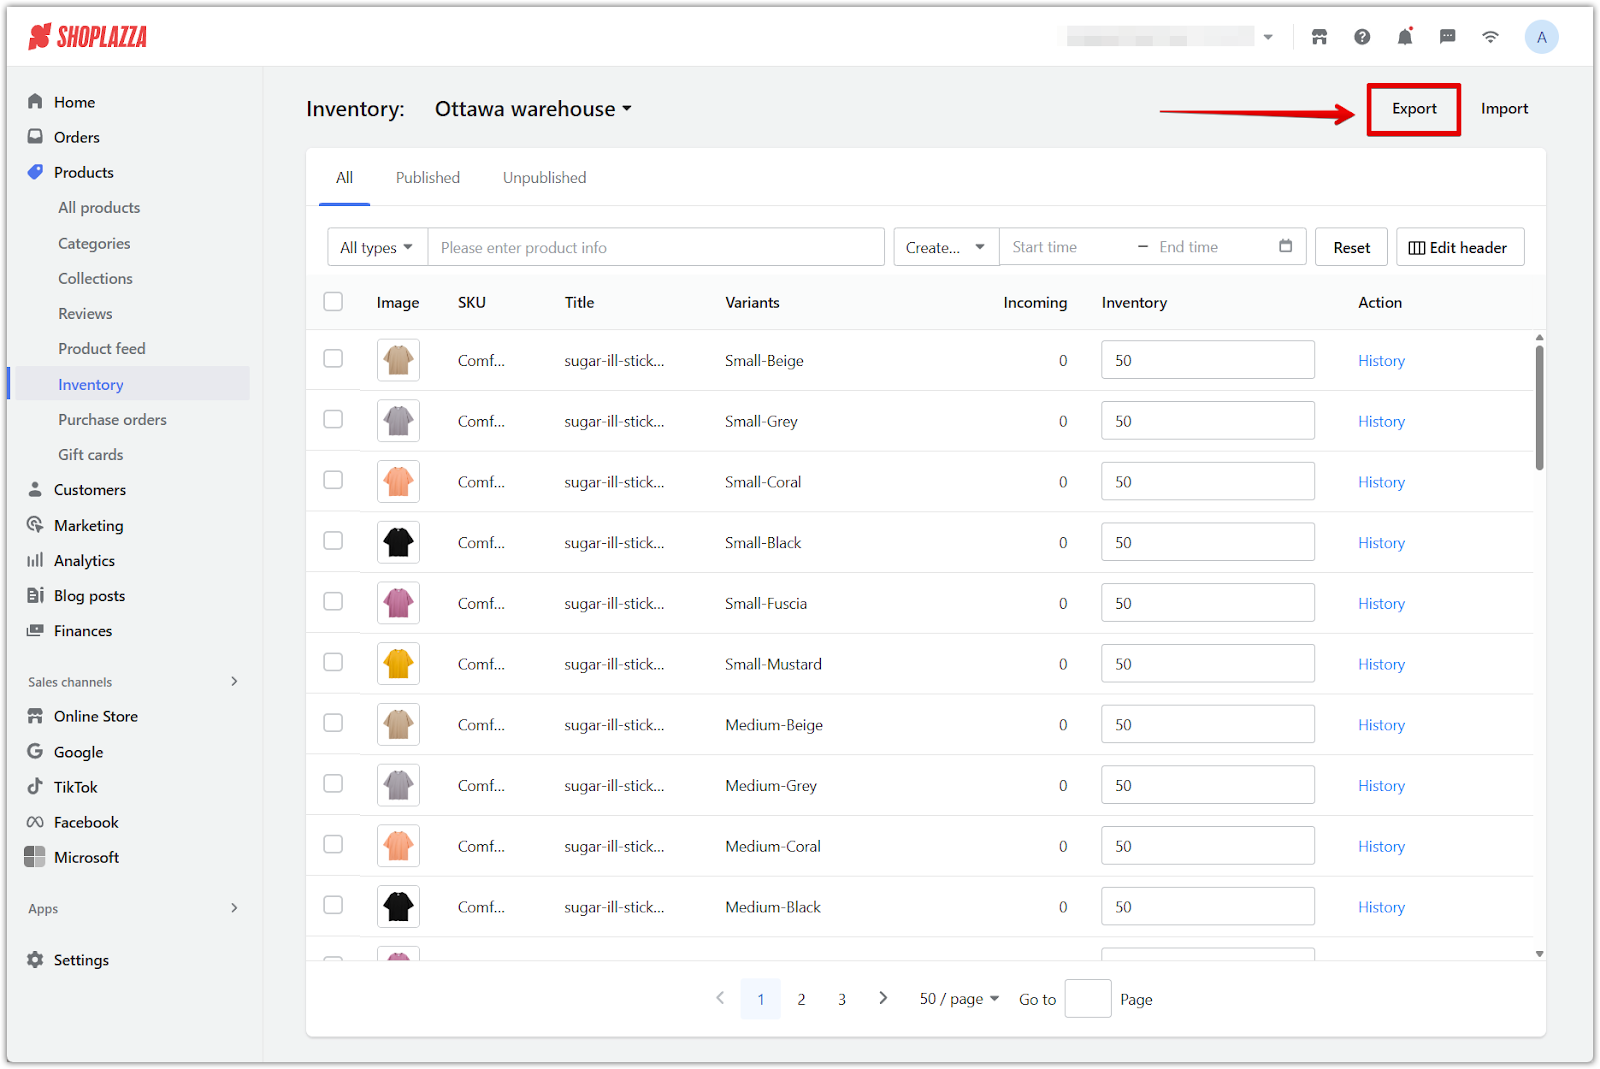
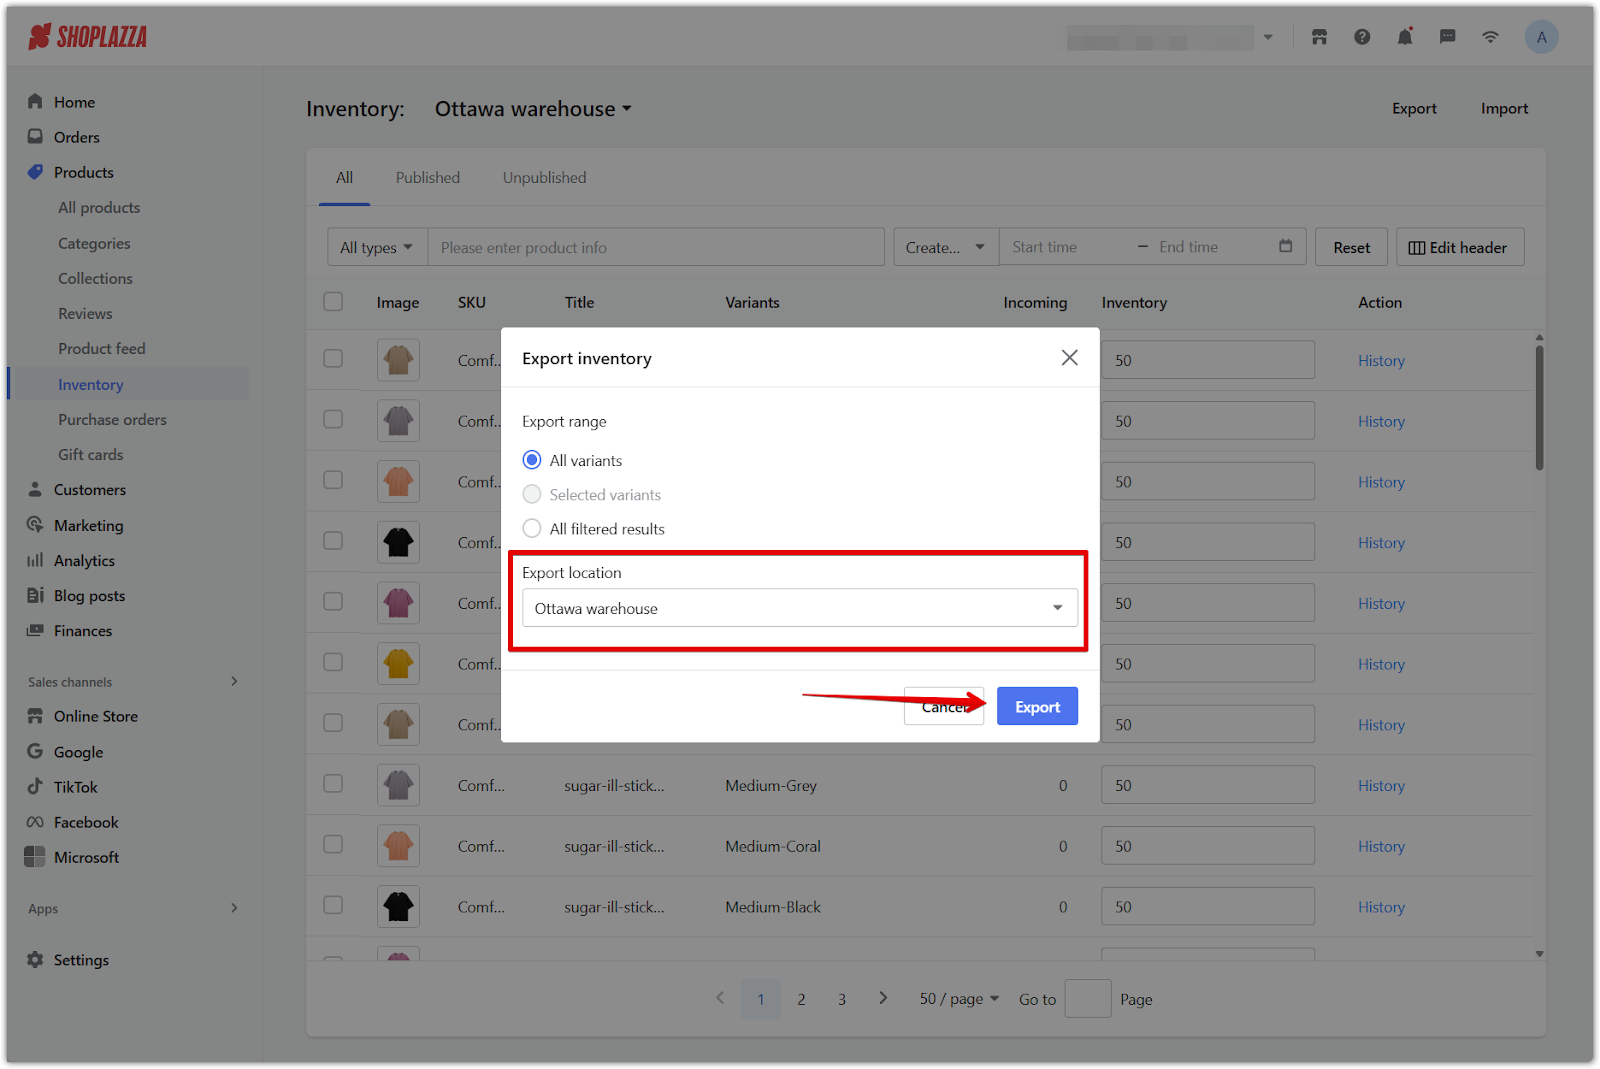
1. Click Export: On the inventory list page, click the Export button at the top right to open the export dialog.
2. Choose the export range: Select which products you want to include in the exported file.
- All variants: Includes every SKU in your store’s catalog.
- Selected variants: Exports only SKUs you manually select.
- All filtered results: Applies any current filters (e.g., product status, vendor) to limit the export.
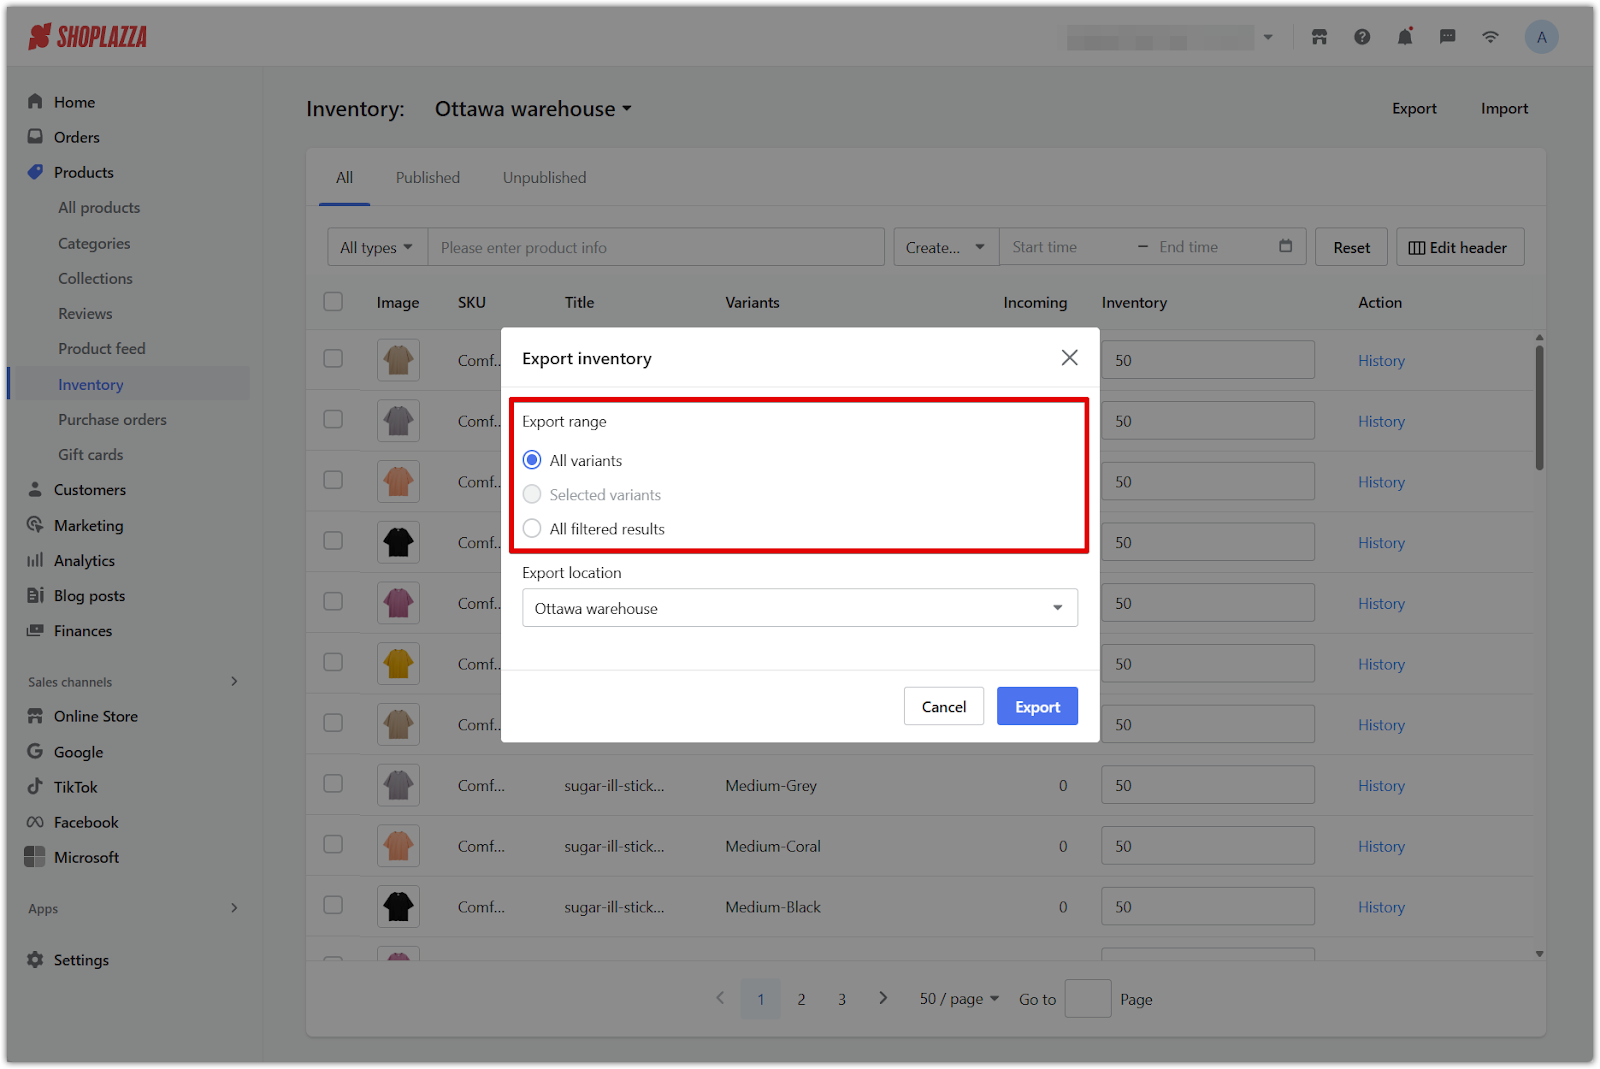
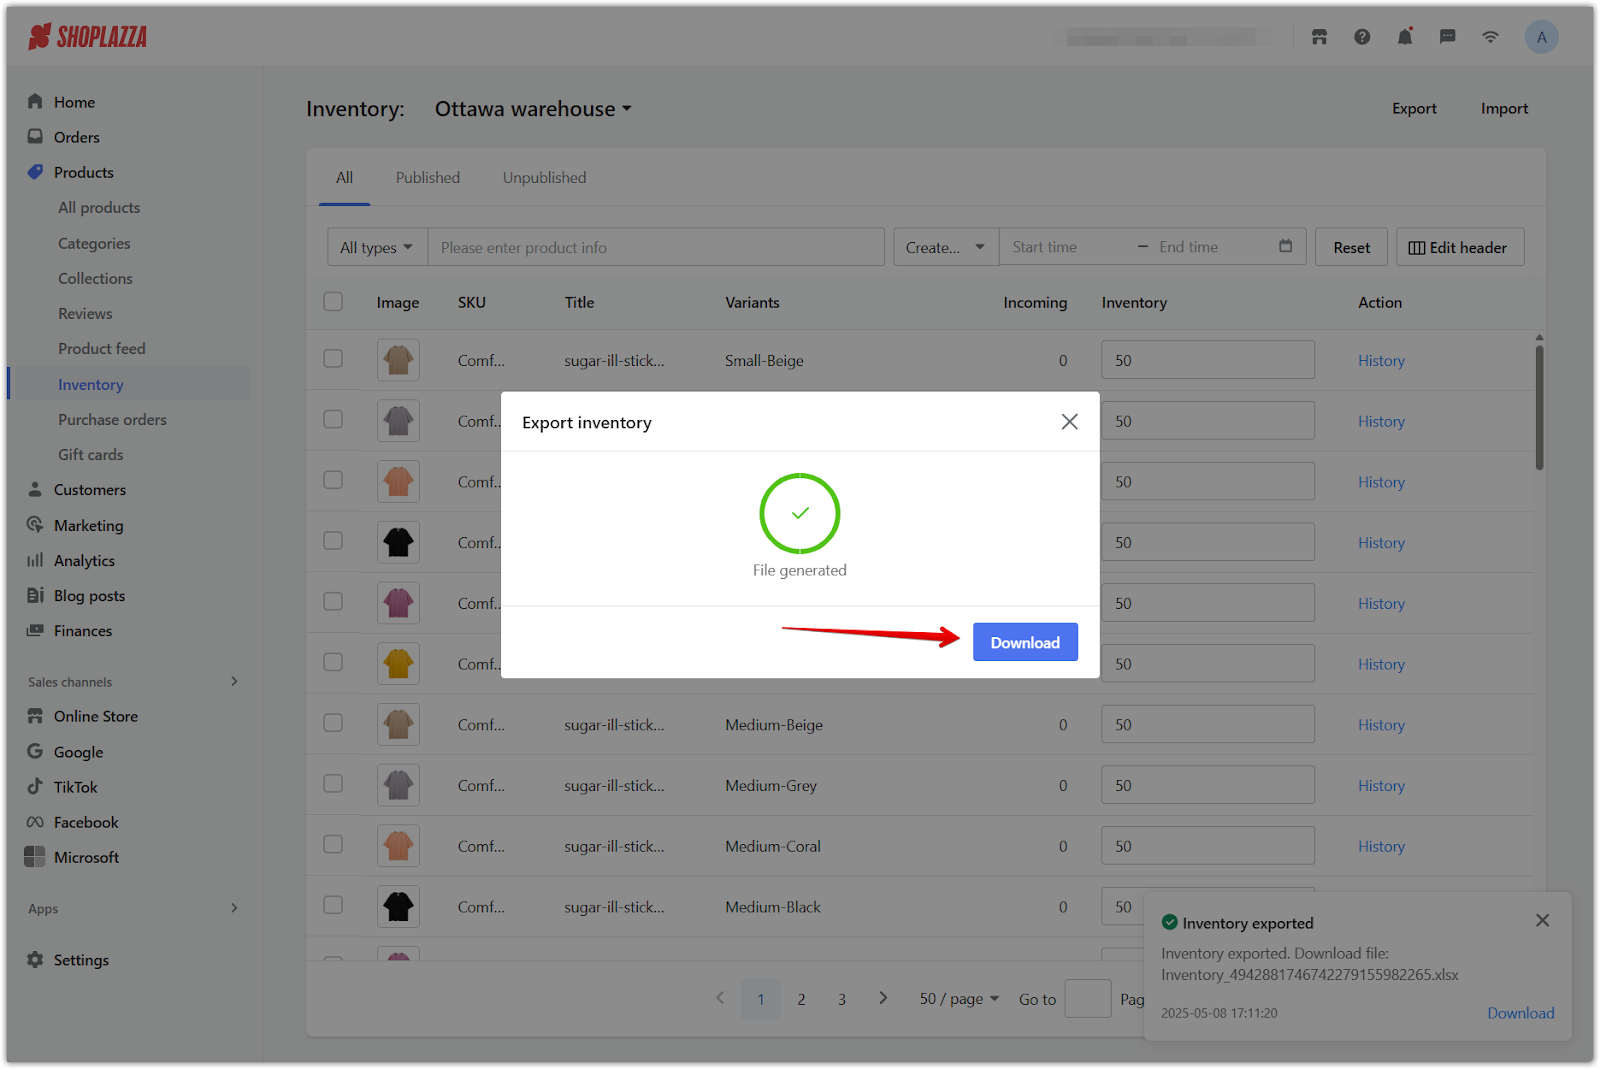
3. Select export locations and download: Choose whether to export data for all locations or only a specific one. This lets you narrow the scope of your file to a particular fulfillment site. Click Export again to generate the .xlsx file and download it to your device.
Note
Product variants for which Inventory tracking is not enabled will not be included in the export file.
Importing updated inventory
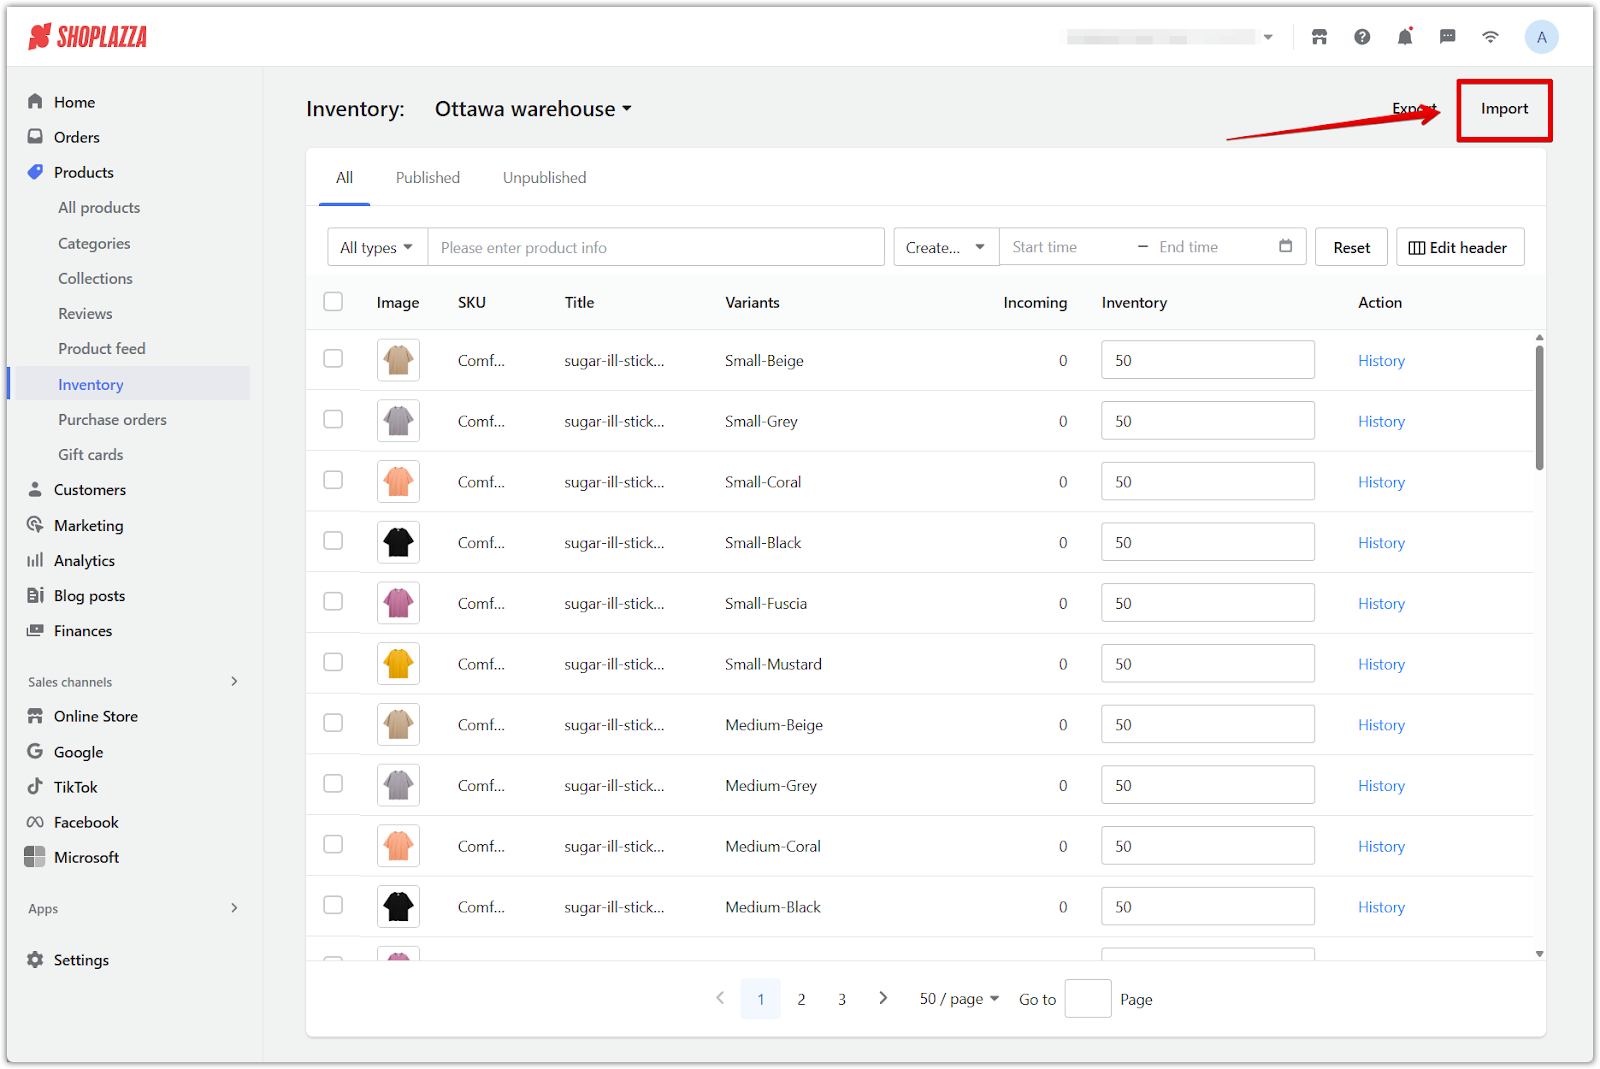
Use the Import tool to update stock quantities in bulk using an Excel file. This is helpful when restocking after shipments, adjusting inventory levels, or making corrections from offline counts. The file must include valid Variant IDs and updated quantity values. A confirmation will appear once the upload is successful.
1. Click Import: On the inventory list page, click the Import button to open the file upload dialog.
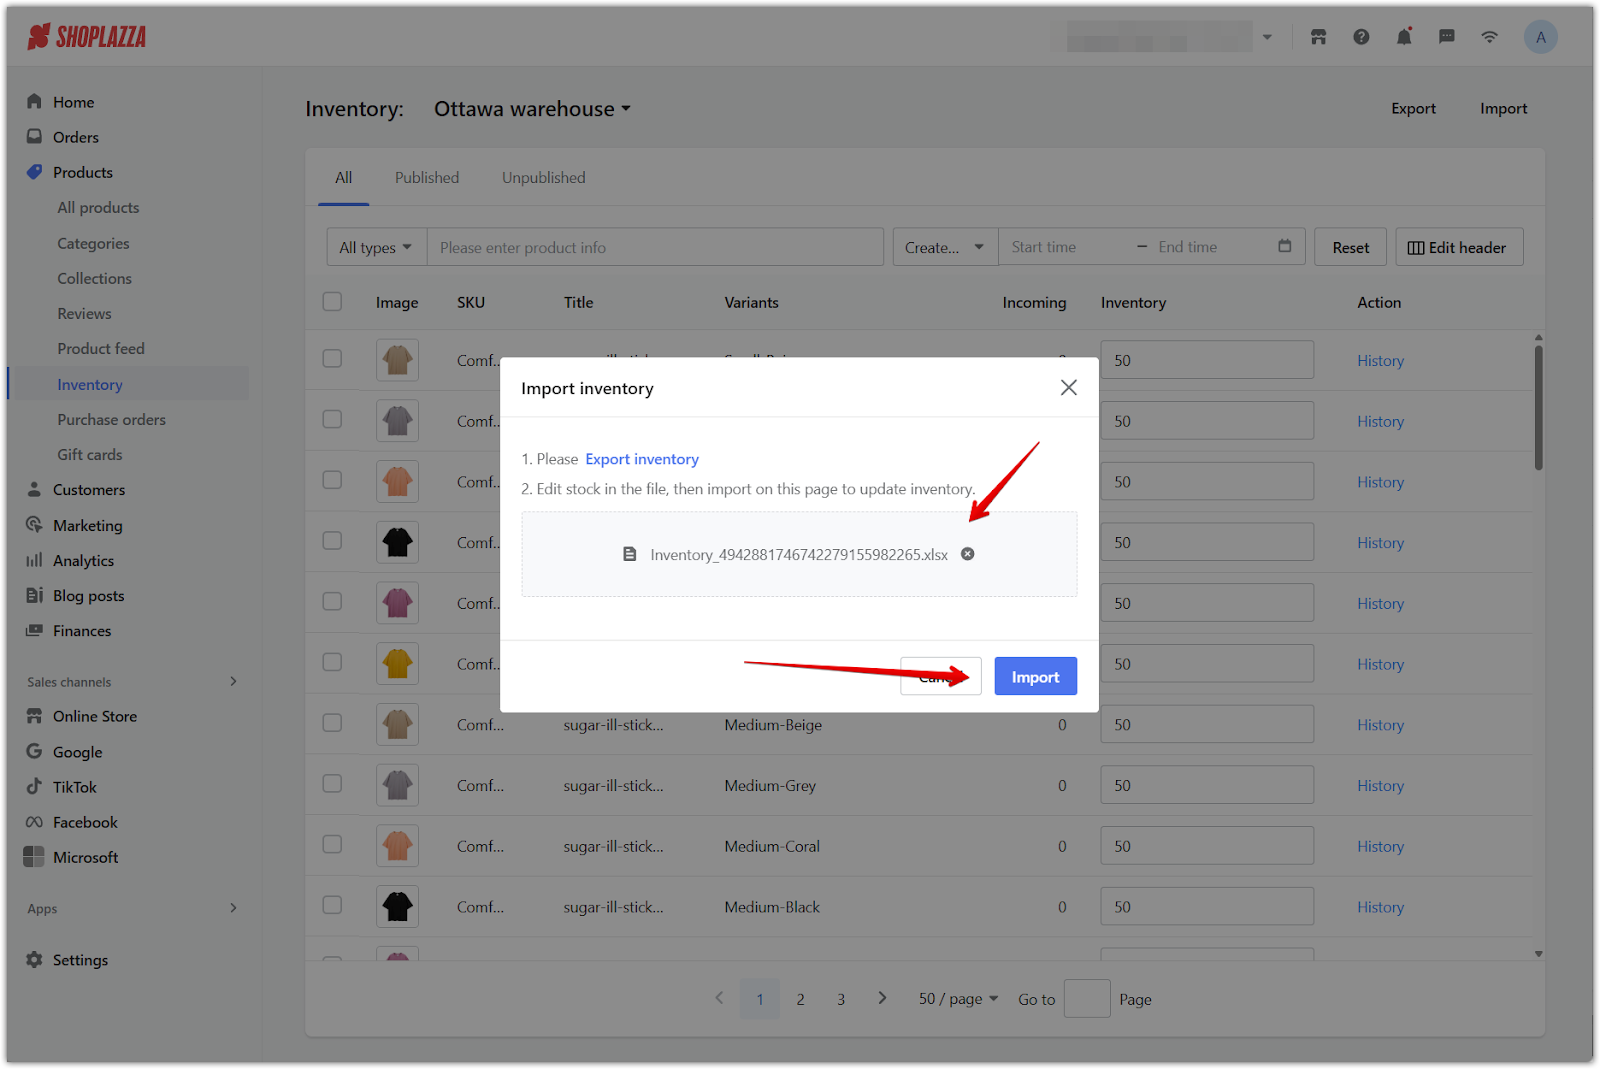
2. Open the import dialog: In the popup window, click Export inventory if you need a template to work from. Then edit the file to reflect new inventory quantities.
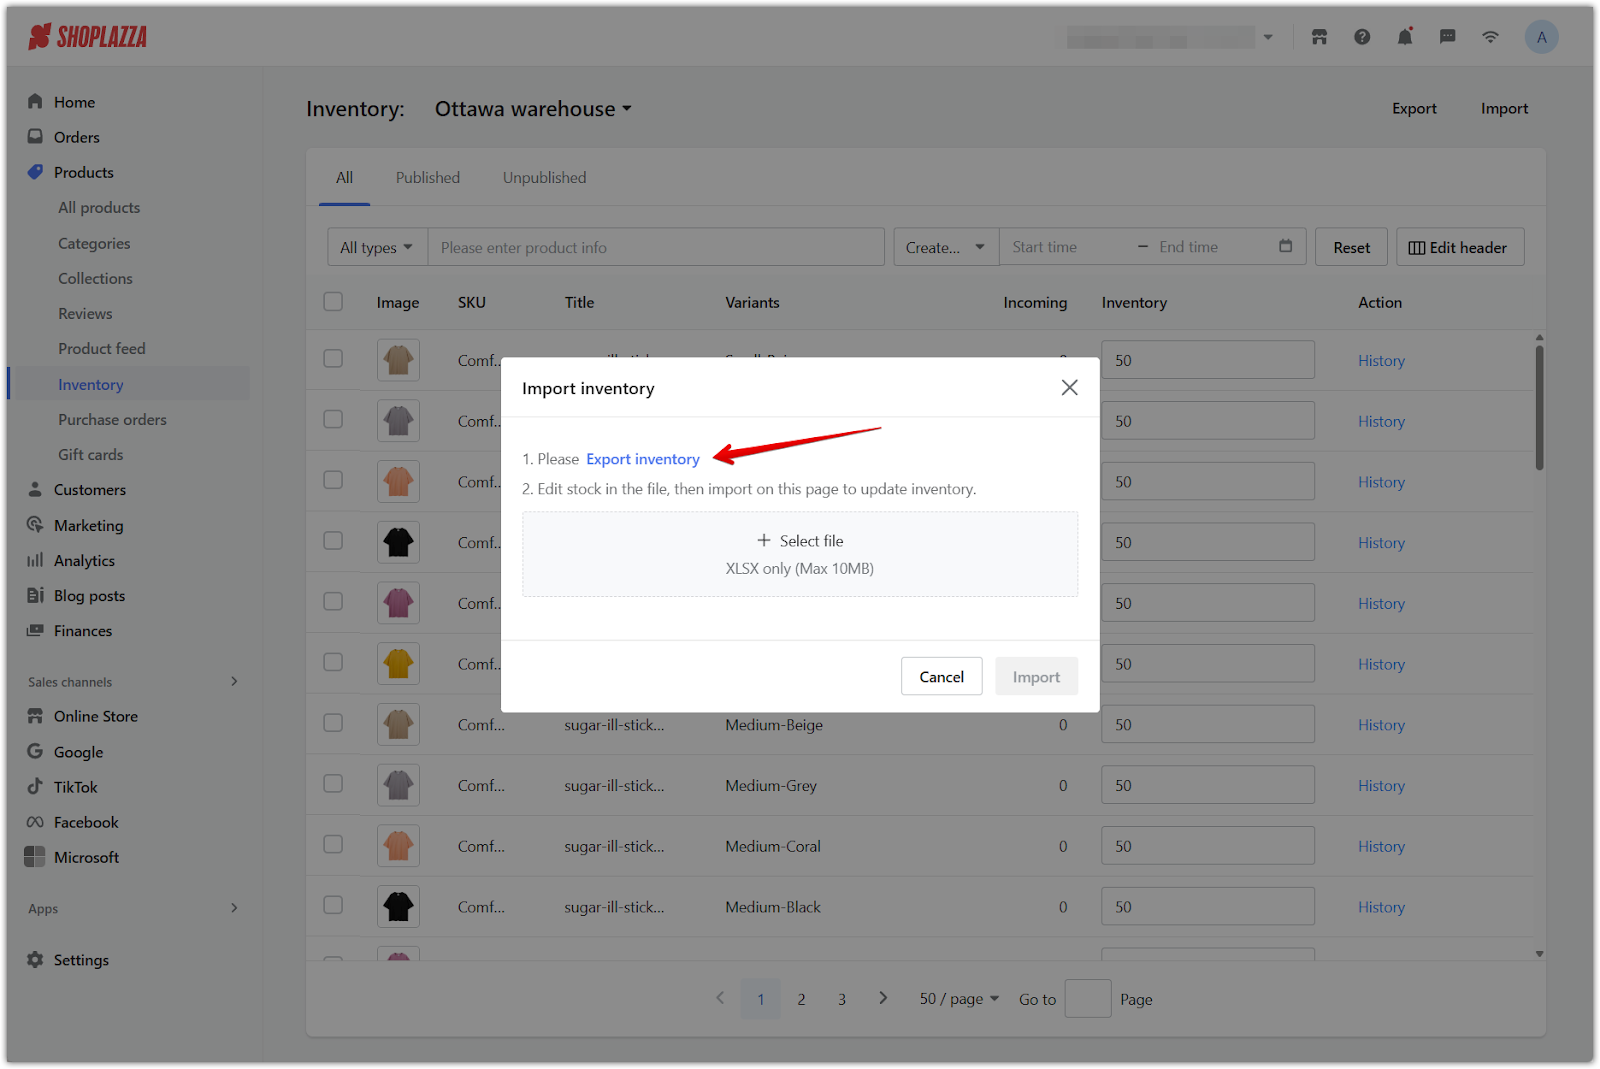
3. Upload and confirm import: Click Select file to upload your .xlsx file, then click Import to apply the changes.
Note
- The uploaded file will replace the inventory quantities for the specified SKUs and locations. Ensure your file reflects the most current and accurate data before importing.
- Inventory updates only apply to products with inventory tracking enabled. If tracking is turned off for a product, it will not be updated through the import.
- The file must include the Variant ID for each row. This is the unique identifier used to match inventory records. Fields like product title and variant name are optional and only used for reference.
- If you do not want to update inventory for a specific location, delete the entire column for that location, including its header, from the spreadsheet.
- Inventory values must be entered for all relevant locations. These values can be positive (to increase stock), negative (to deduct stock), or zero (to reset the quantity).
Viewing inventory history
Use the inventory history feature to trace inventory adjustments over time, such as restocks, manual changes, and fulfillment deductions. For step-by-step instructions, refer to: Viewing inventory history.
Effective inventory management across multiple locations helps reduce stock errors, improve fulfillment accuracy, and keep your operations running smoothly. Use the inventory list to stay organized, apply updates in bulk, and maintain full visibility into stock movements for every product variant in your store.


Comments
Please sign in to leave a comment.