
Managing IP access helps protect your store from unwanted traffic while keeping it accessible to trusted users. Use the blacklist to block suspicious activity, and the whitelist to ensure seamless access for approved IPs.
Adding IP addresses
Follow these steps to add public IP addresses to your store’s blacklist or whitelist settings.
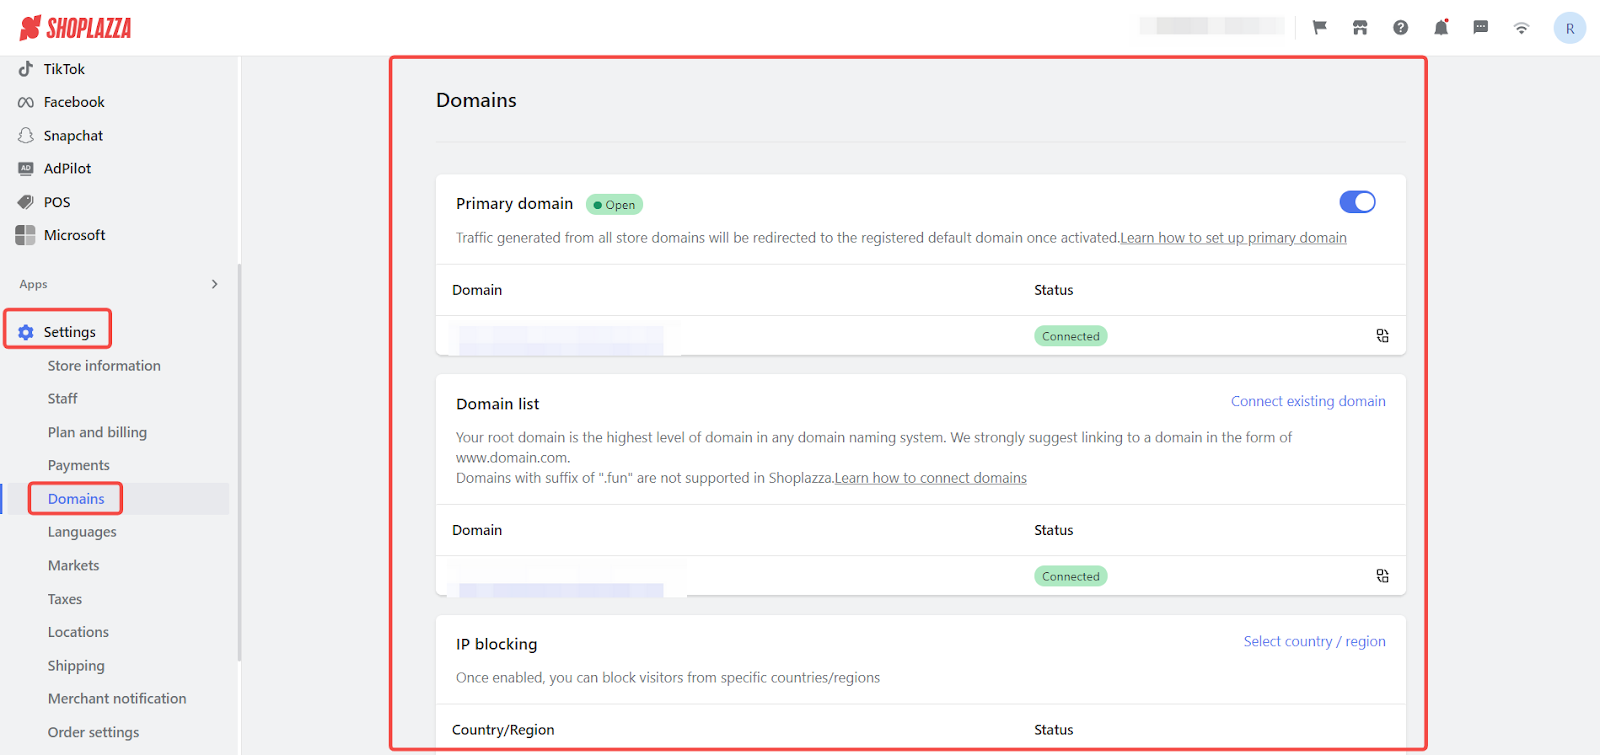
1. Log in to your Shoplazza admin: From your Shoplazza admin, go to Settings > Domains. This will take you to the domain management page where you can view and manage your store's domains.
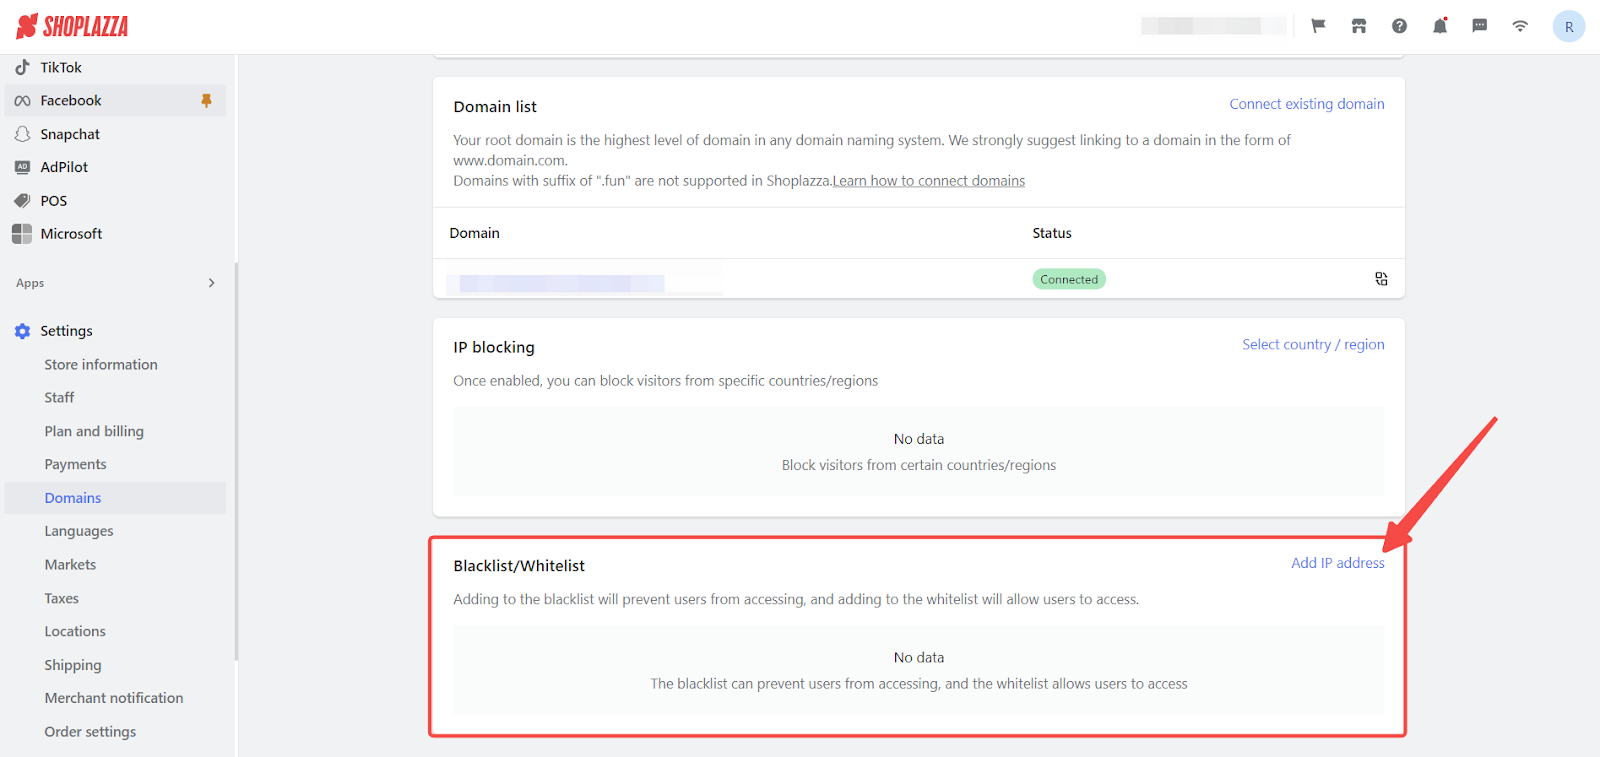
2. Locate the Blacklist/Whitelist section: Scroll down to the Blacklist/Whitelist section and click Add IP address.
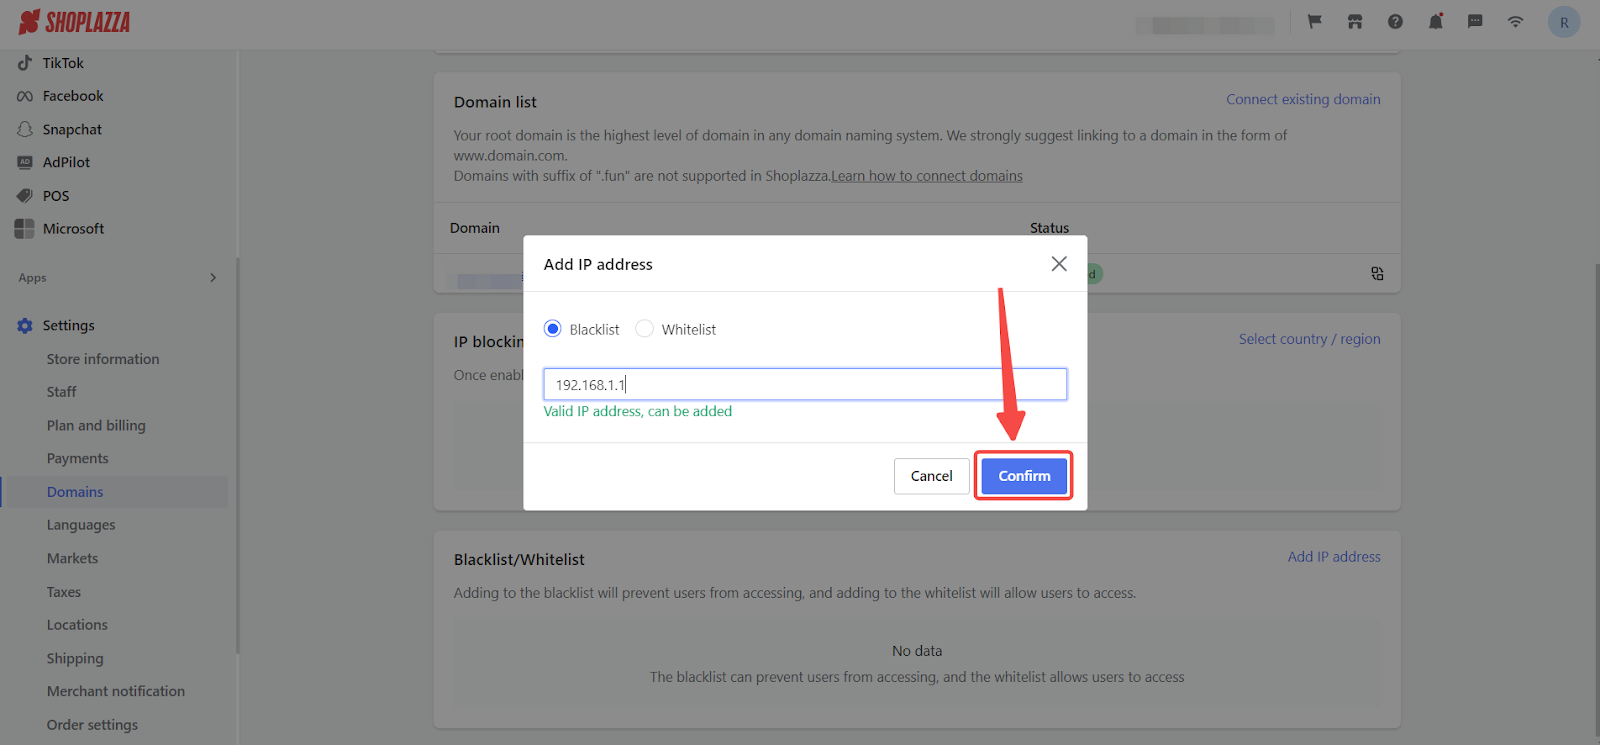
3. Add the IP address: In the popup window, choose to add the IP address to either the blacklist or whitelist. Enter the public IP address you want to add (e.g., 8.8.8.8) and ensure it’s in a valid format. If the format is incorrect, an error message will prompt you to revise it.

4. Confirm the addition: Click Confirm to save your changes. A success message will confirm the IP has been added to the selected list.
IP limits by plan
The number of IPs you can add depends on your Shoplazza plan.
| Plan | Package name | Whitelist limit | Blacklist limit |
| Basic | Basic Edition | 10 | 300 |
| Advanced | Ultimate | 20 | 400 |
| Pro | Pro Version | 30 | 600 |
Use IP blacklists and whitelists wisely to protect your store and avoid unintentionally blocking valid traffic. Regularly review your IP settings to ensure they align with your store’s security needs and access policies.


Comments
Please sign in to leave a comment.