
Extensive theme customization allows you to create unique styles and effects for your store, helping you establish a visually appealing and cohesive brand identity. With the ability to modify elements like fonts, colors, layouts, and interactive effects, your storefront can align with your specific business goals. However, applying custom CSS requires some coding knowledge and experience. If you are unfamiliar with CSS or theme development, hiring a professional is recommended to ensure that changes are implemented correctly without disrupting the functionality of your store. The Custom Code App provides a powerful tool to override and enhance theme styles using custom CSS, giving you precise control over your store’s design and functionality while ensuring seamless updates and flexibility.
This guide shows you how to preview and apply style changes to your Shoplazza store using Google Inspector and the Custom Code App. As examples, you’ll learn how to change the hero slideshow card's background color and modify the quantity number's appearance in the accessories list.
What is Google Inspector?
Google Inspector is a tool built into most web browsers. It lets you inspect your page's HTML and CSS and test changes in real-time. To open it, right-click on your store page and select Inspect (or press Ctrl+Shift+I on Windows or Cmd+Option+I on Mac). Any changes you make here are temporary and will revert when you refresh the page.
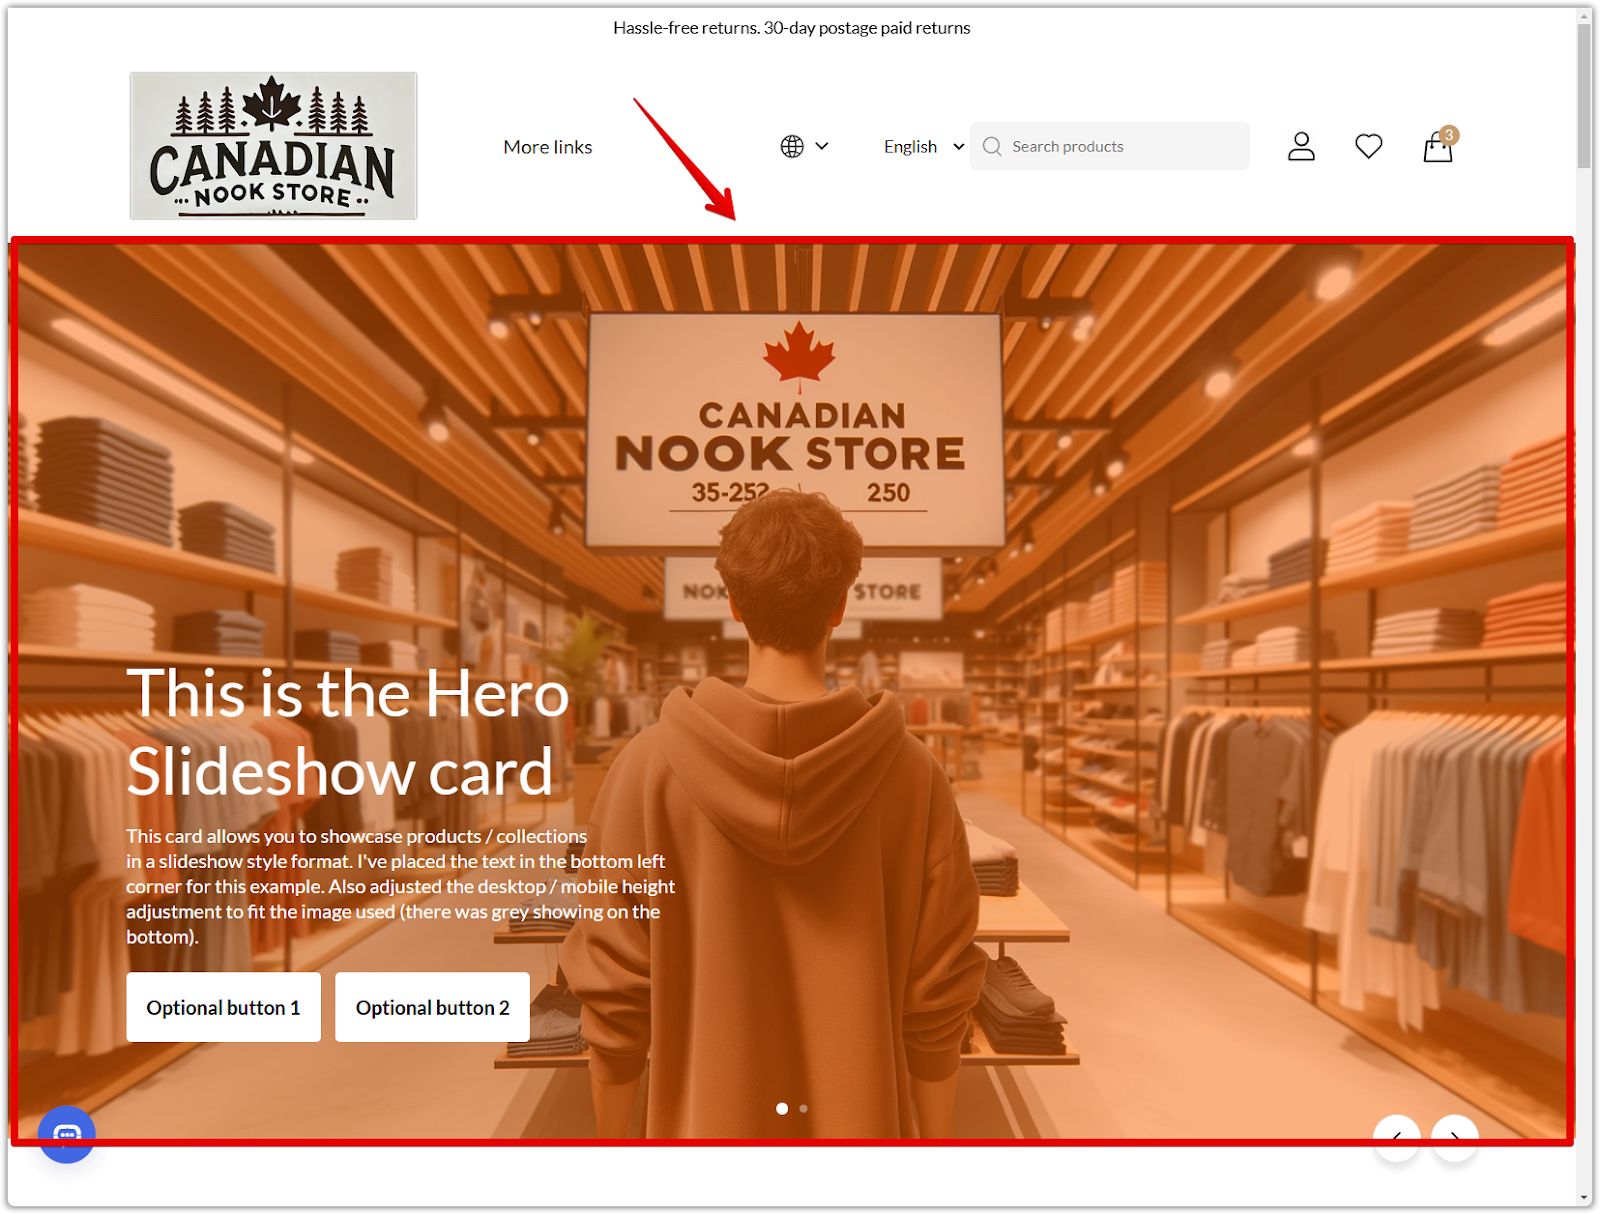
Example 1: Changing the background color of the hero slideshow card
In this example, you will learn how to find the hero slideshow card and change its background color using a new RGBA value.
Finding the Hero Slideshow element
To modify an element—like the hero slideshow card in our example below—you first need to locate its container in the page’s HTML. Follow these steps:
1. Open the Inspector: Right-click on the hero slideshow section and choose Inspect. The developer tools panel will open, and the related HTML code will be highlighted.

2. Use the Element Picker: Click the cursor icon in the developer tools panel. Then, hover over the hero slideshow area. The element corresponding to the slideshow will be highlighted.
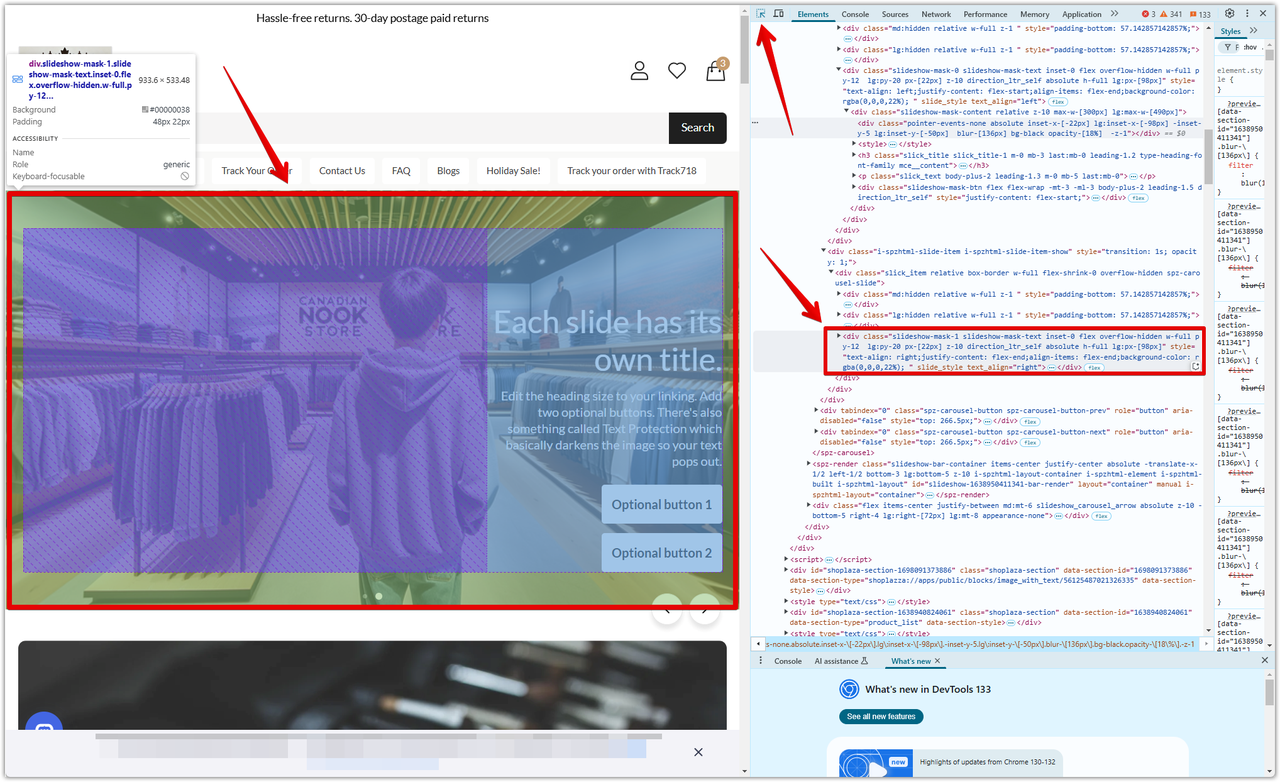
3. Confirm the correct element: Look for a <div> that wraps the entire hero slideshow content. In our example, you might see:
<div class="slideshow-mask-0 slideshow-mask-text ..." style="...background-color: rgba(0,100,100,50%);">
  <!-- Hero slideshow content -->
</div>
Testing the background color change
Now that you’ve found the correct element, test a new background color using Inspector:
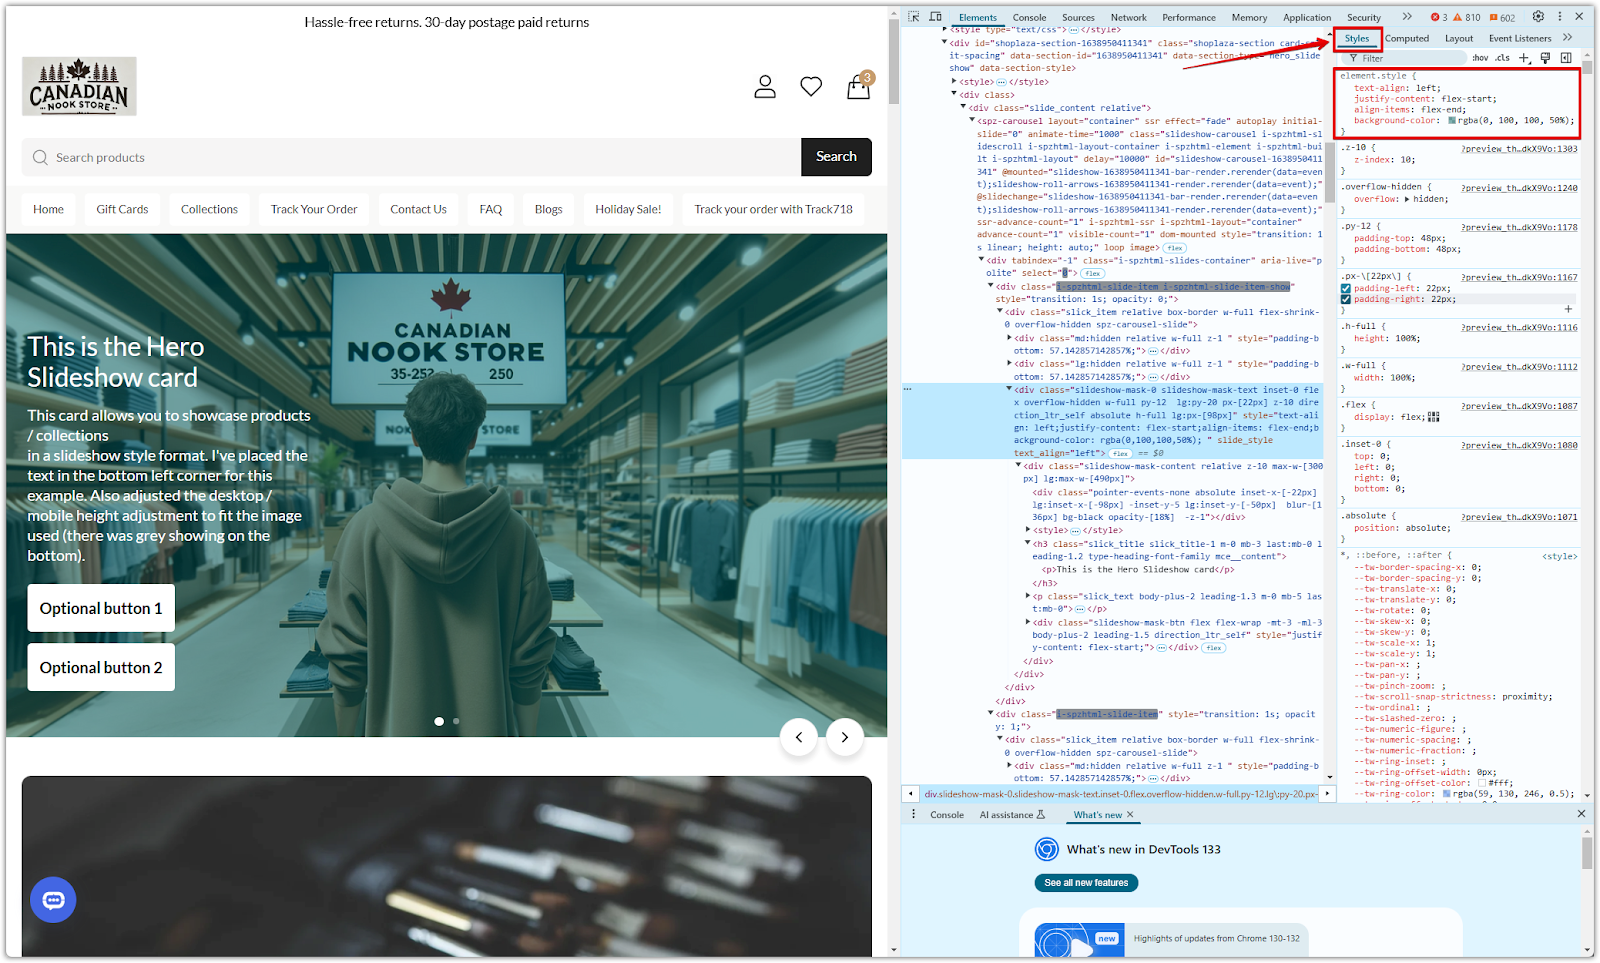
1. Edit the style: In the Styles panel, locate the background-color property in the inline style. You’ll see something like:
background-color: rgba(0,100,100,50%);
2. Edit the color value: Click on the value and change it to a new RGBA value. Press Enter to see the change immediately on your page. For example, if you want a slightly different look while keeping the same style, you might try:
background-color: rgba(255,100,0,50%);
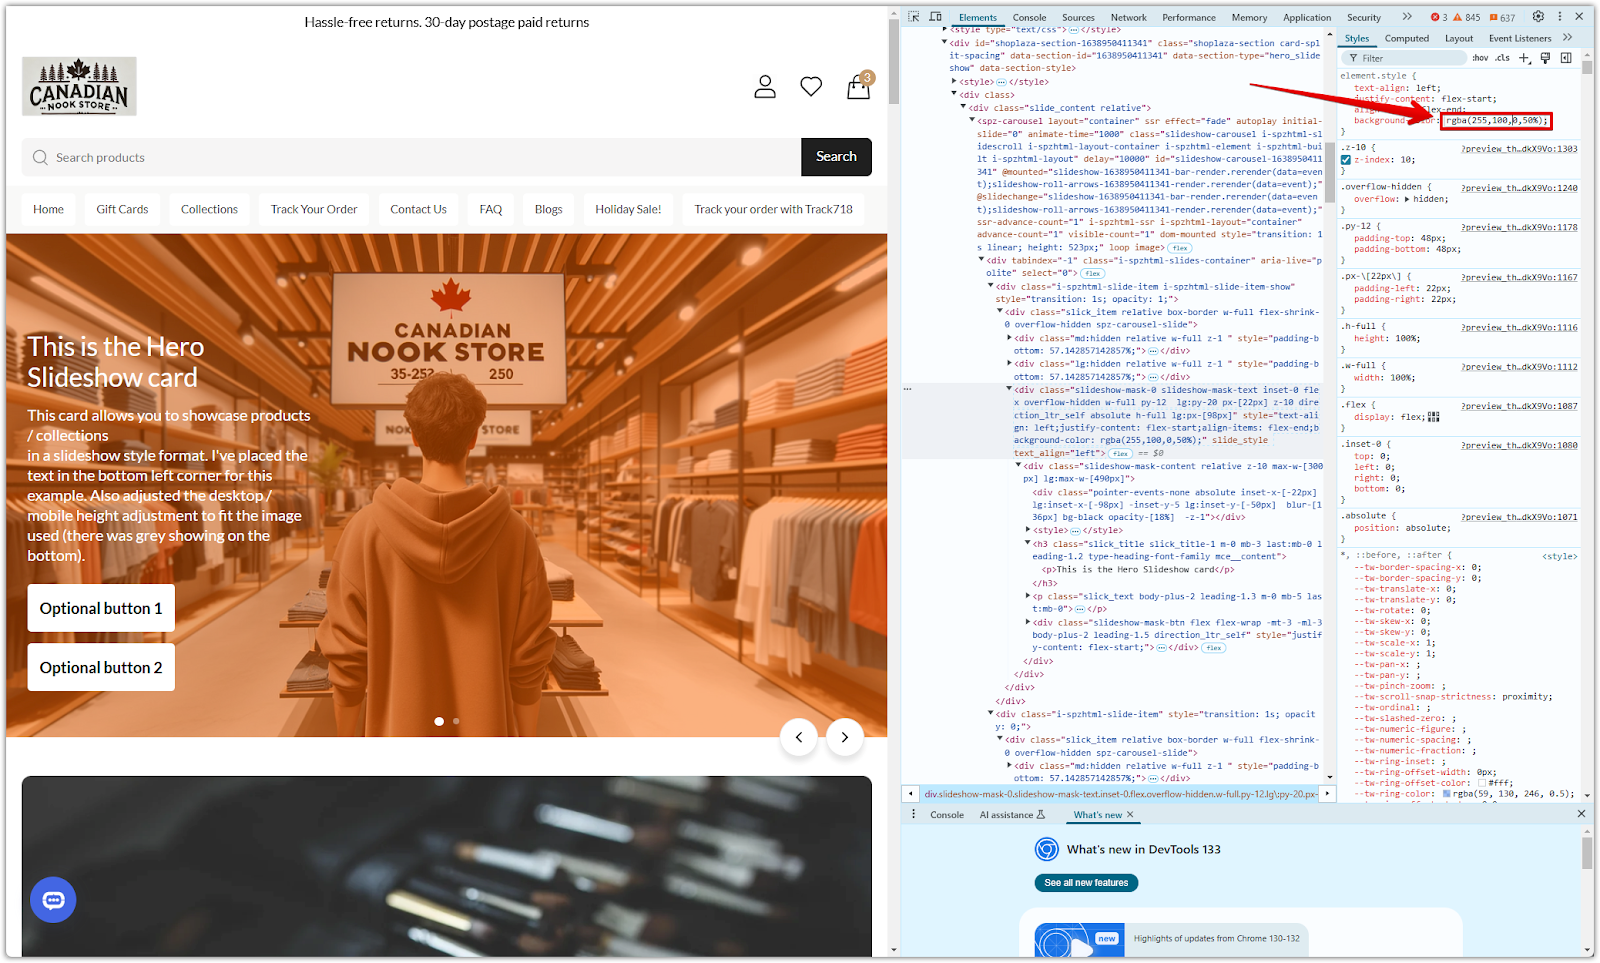
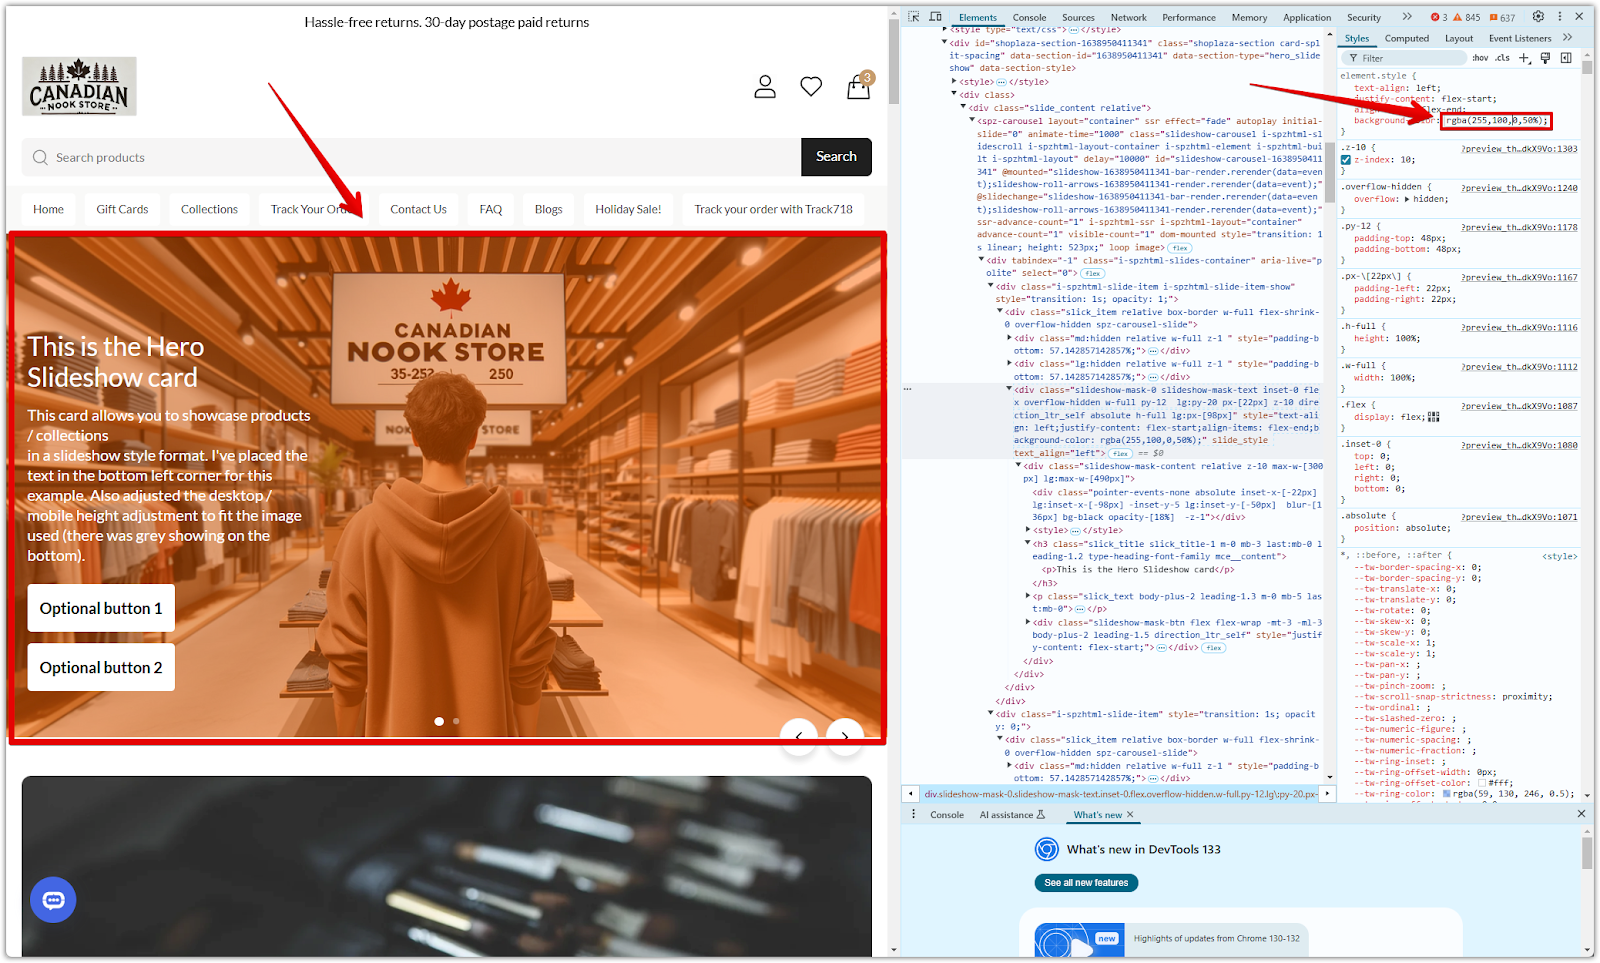
3. Review the change: After making the changes, the preview will update automatically. Check that the new color appears as you expect. Remember, this is only a preview—refreshing the page will revert the change. This change will show up instantly but is only temporary.
Making the change permanent
Once you’re happy with the new look, apply the change permanently using one of these methods:
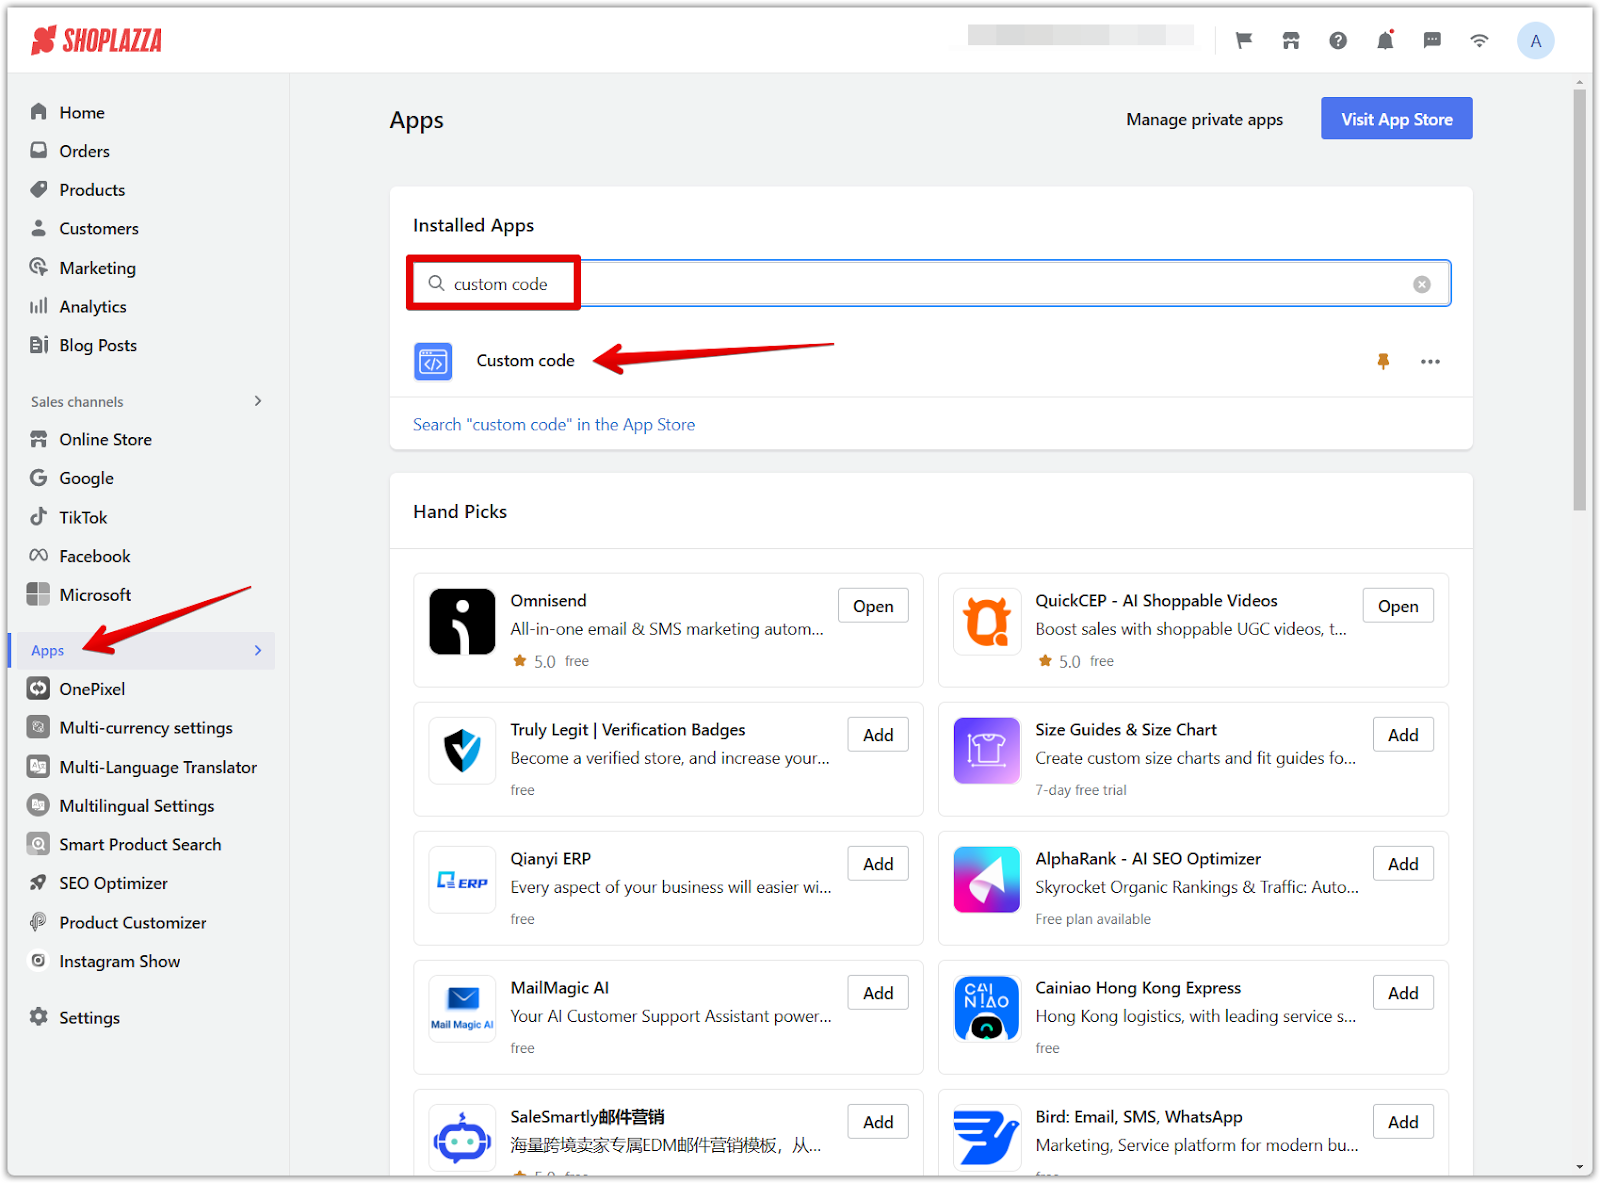
Using the Custom Code App
The Shoplazza Custom Code App lets you add your own CSS to override theme styles without editing the core files.
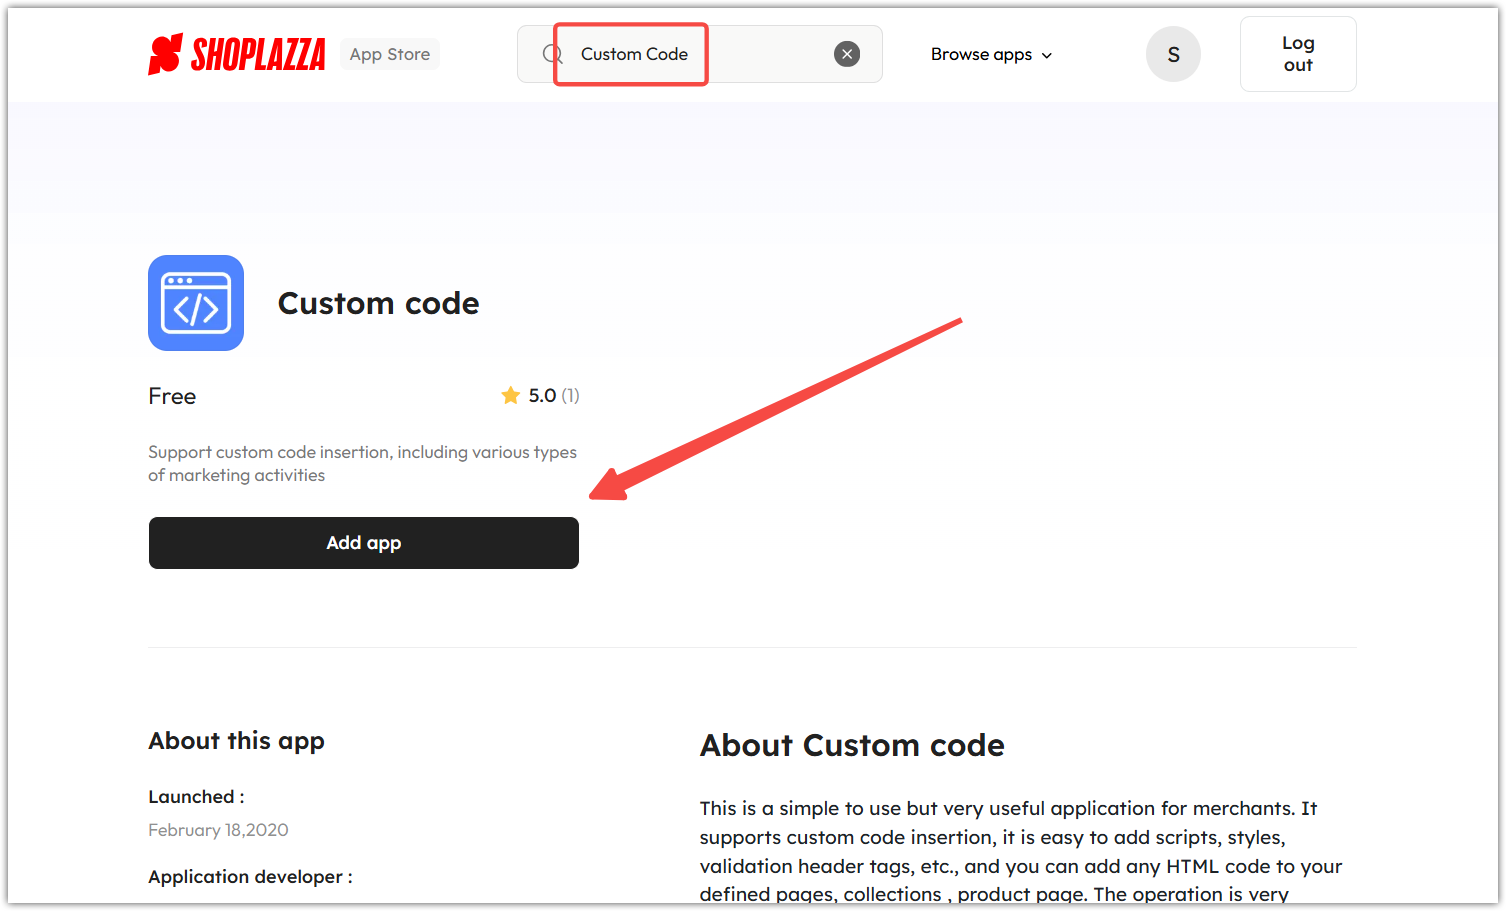
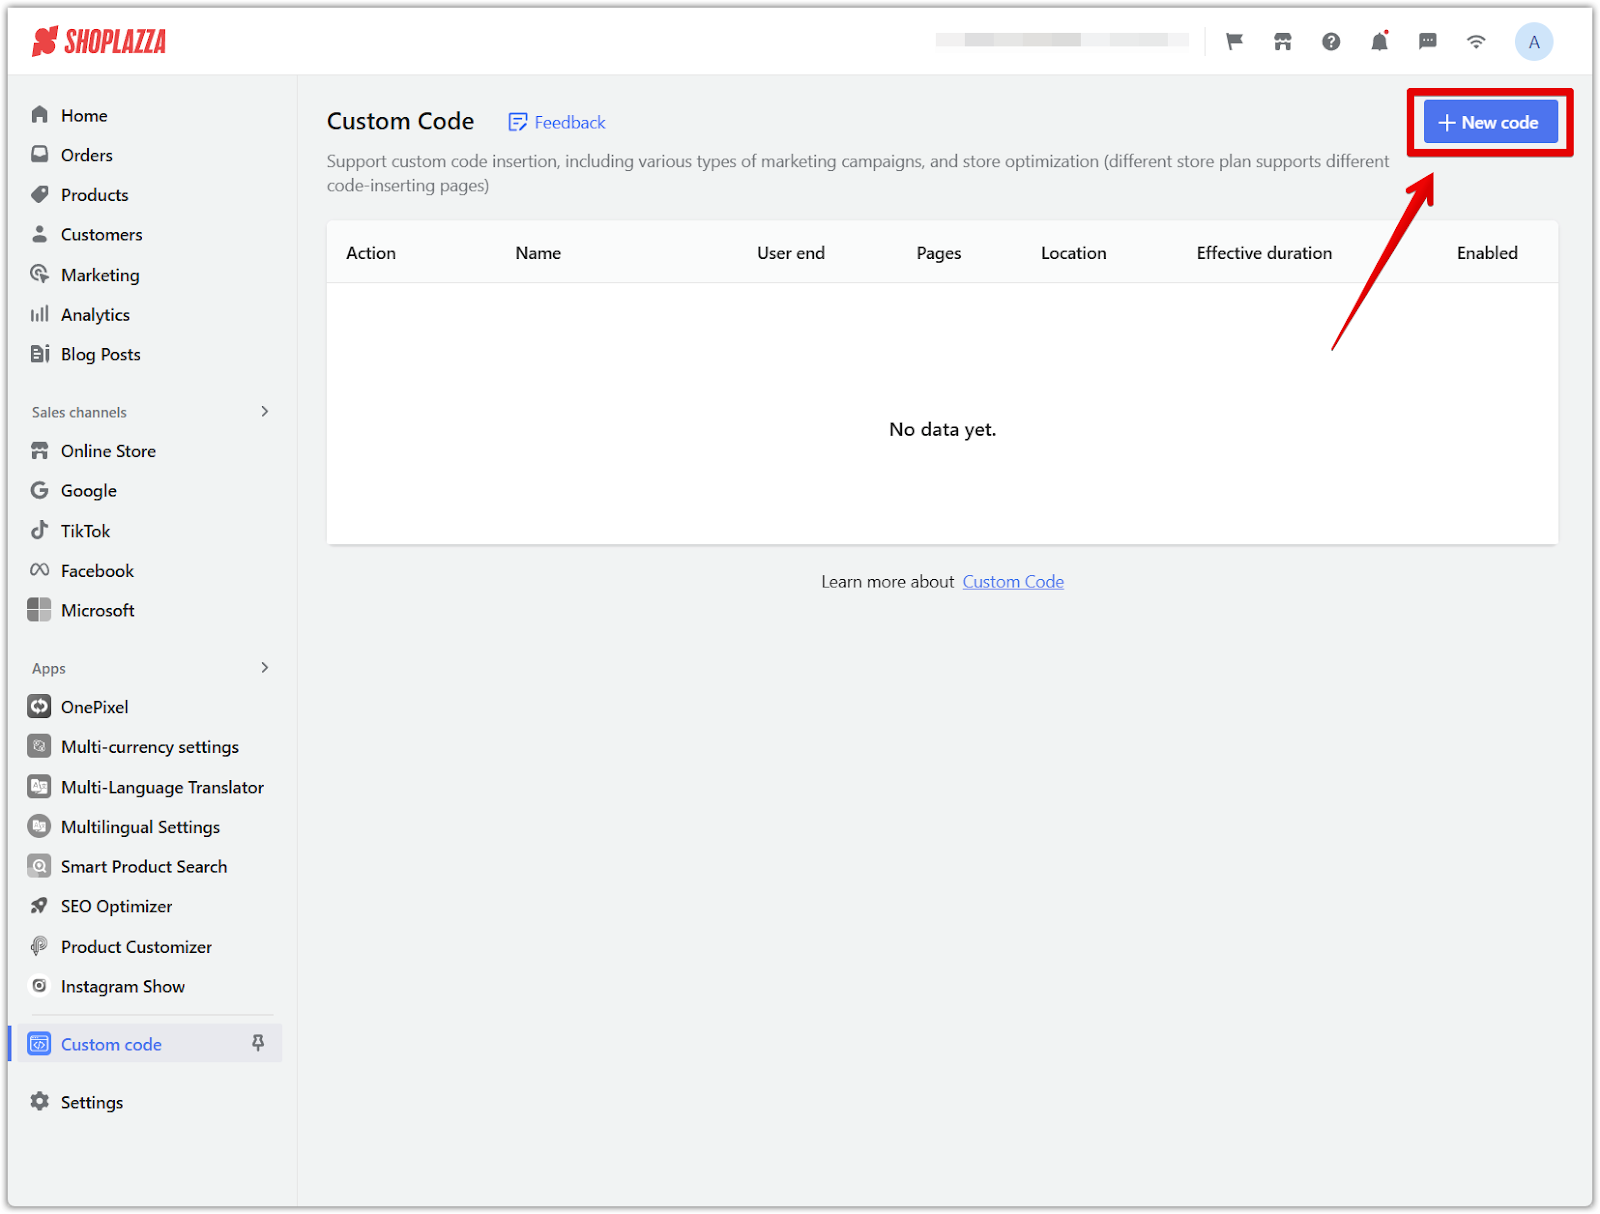
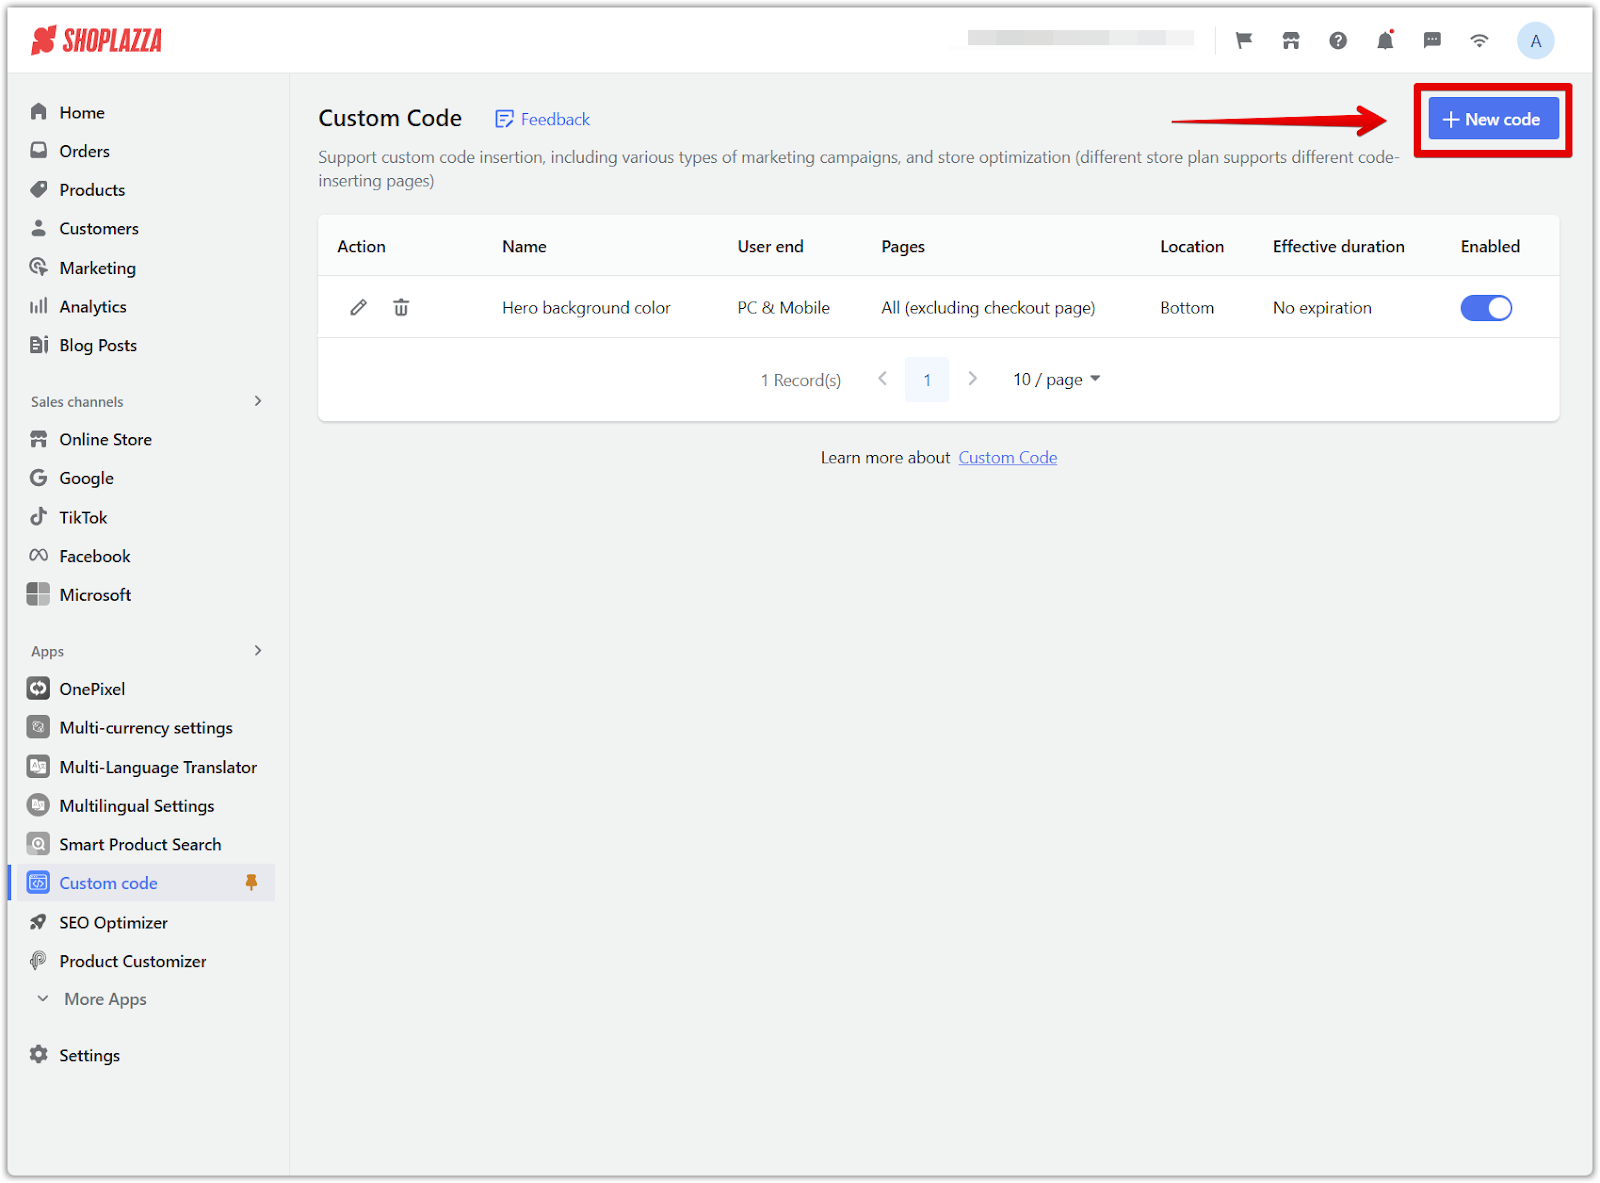
1. Open the Custom Code App: In your Shoplazza admin, go to Apps and open the Custom Code app. If it isn’t installed yet, add it from the App Store .
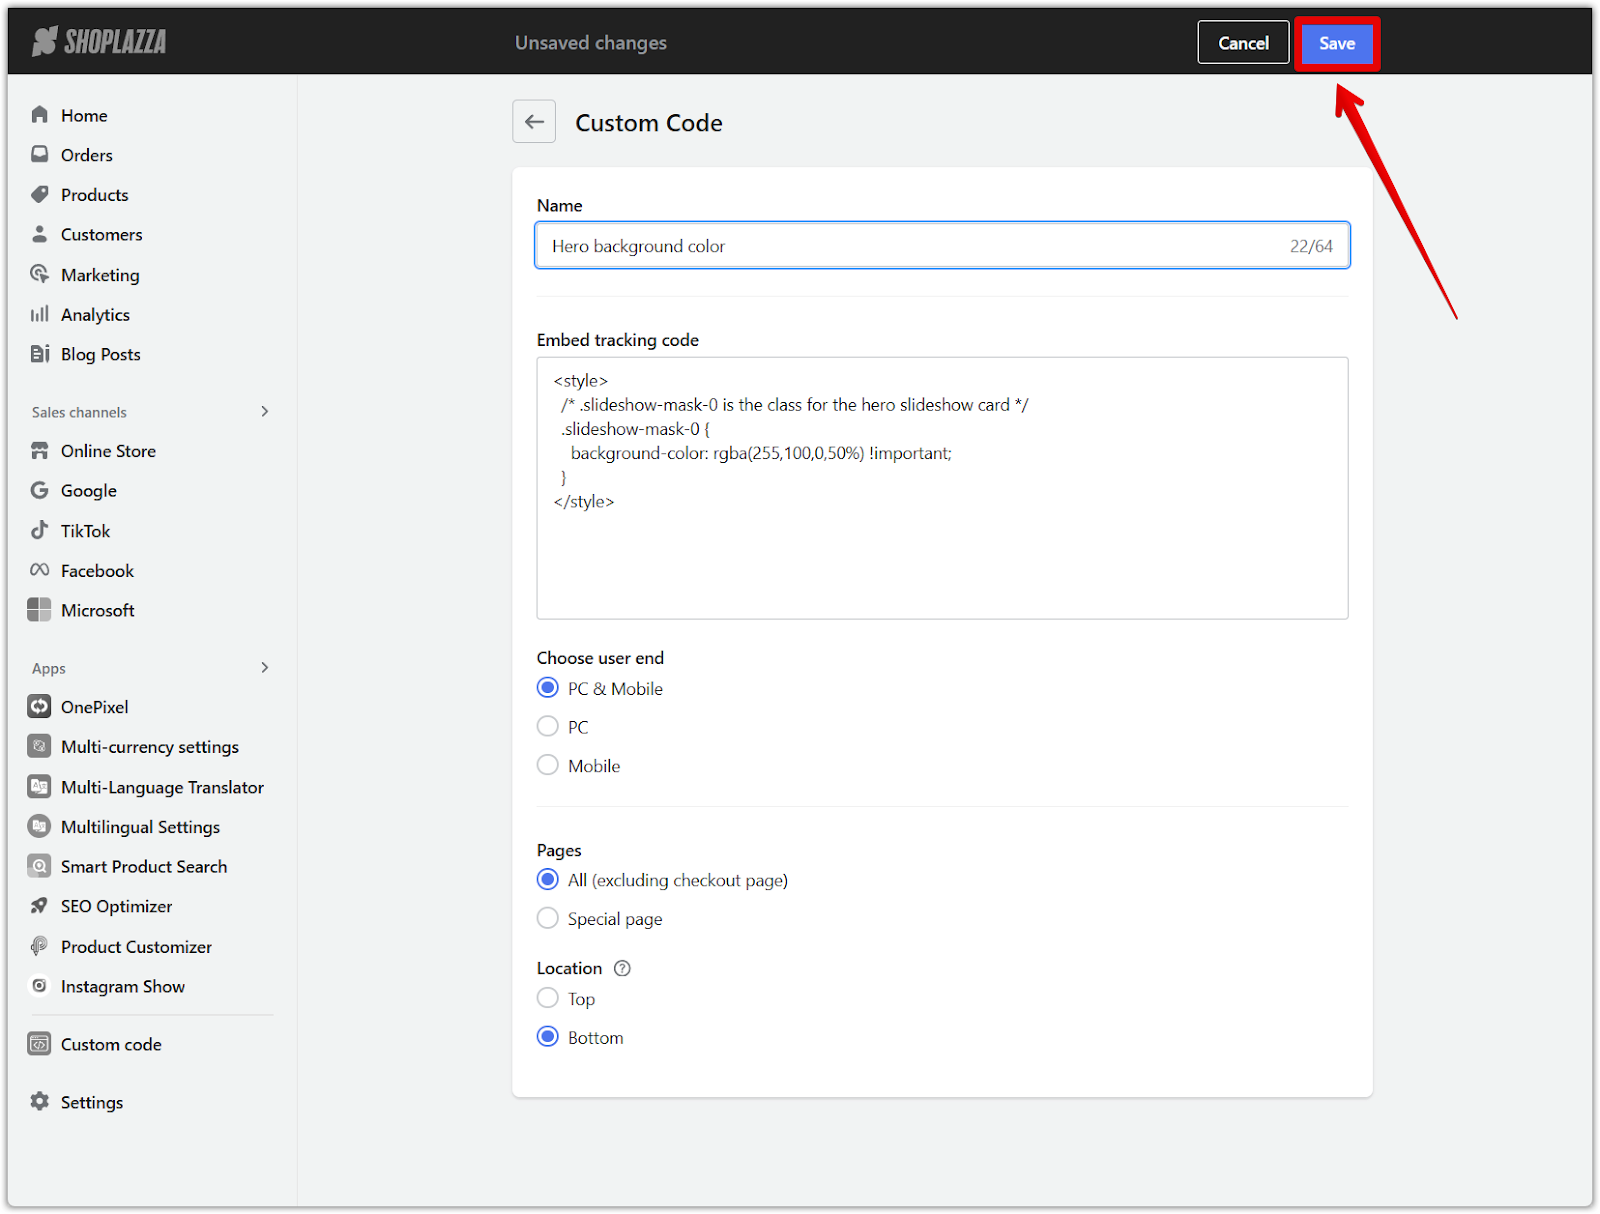
2. Create a New Code Snippet: Click Add new and name your snippet (for example, “Hero Background Color”). Choose the pages where the change should apply.

3. Enter the CSS Code: You can adjust the RGBA values as needed. The !important flag ensures your new style overrides the inline style. In the code editor, add:
<style>
  /* .slideshow-mask-0 is the class for the hero slideshow card */
  .slideshow-mask-0 {
    background-color: rgba(255,100,0,50%) !important;
  }
</style>
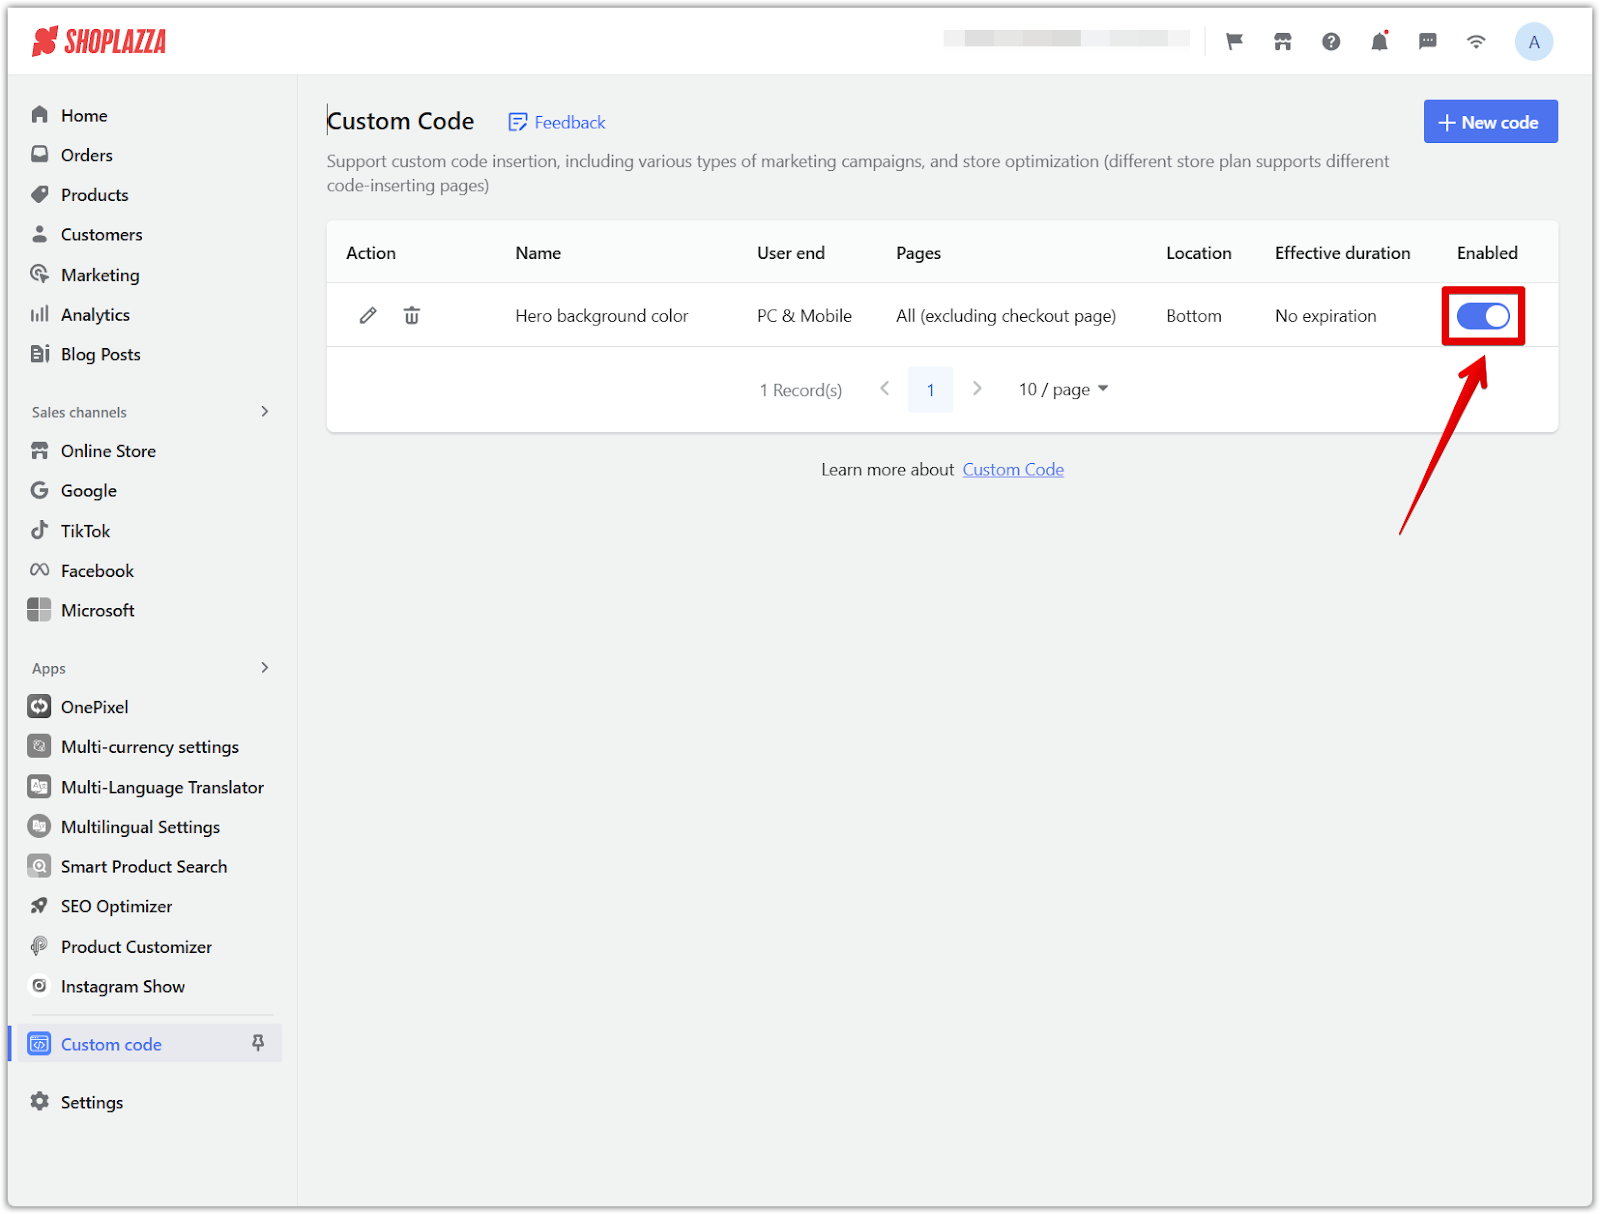
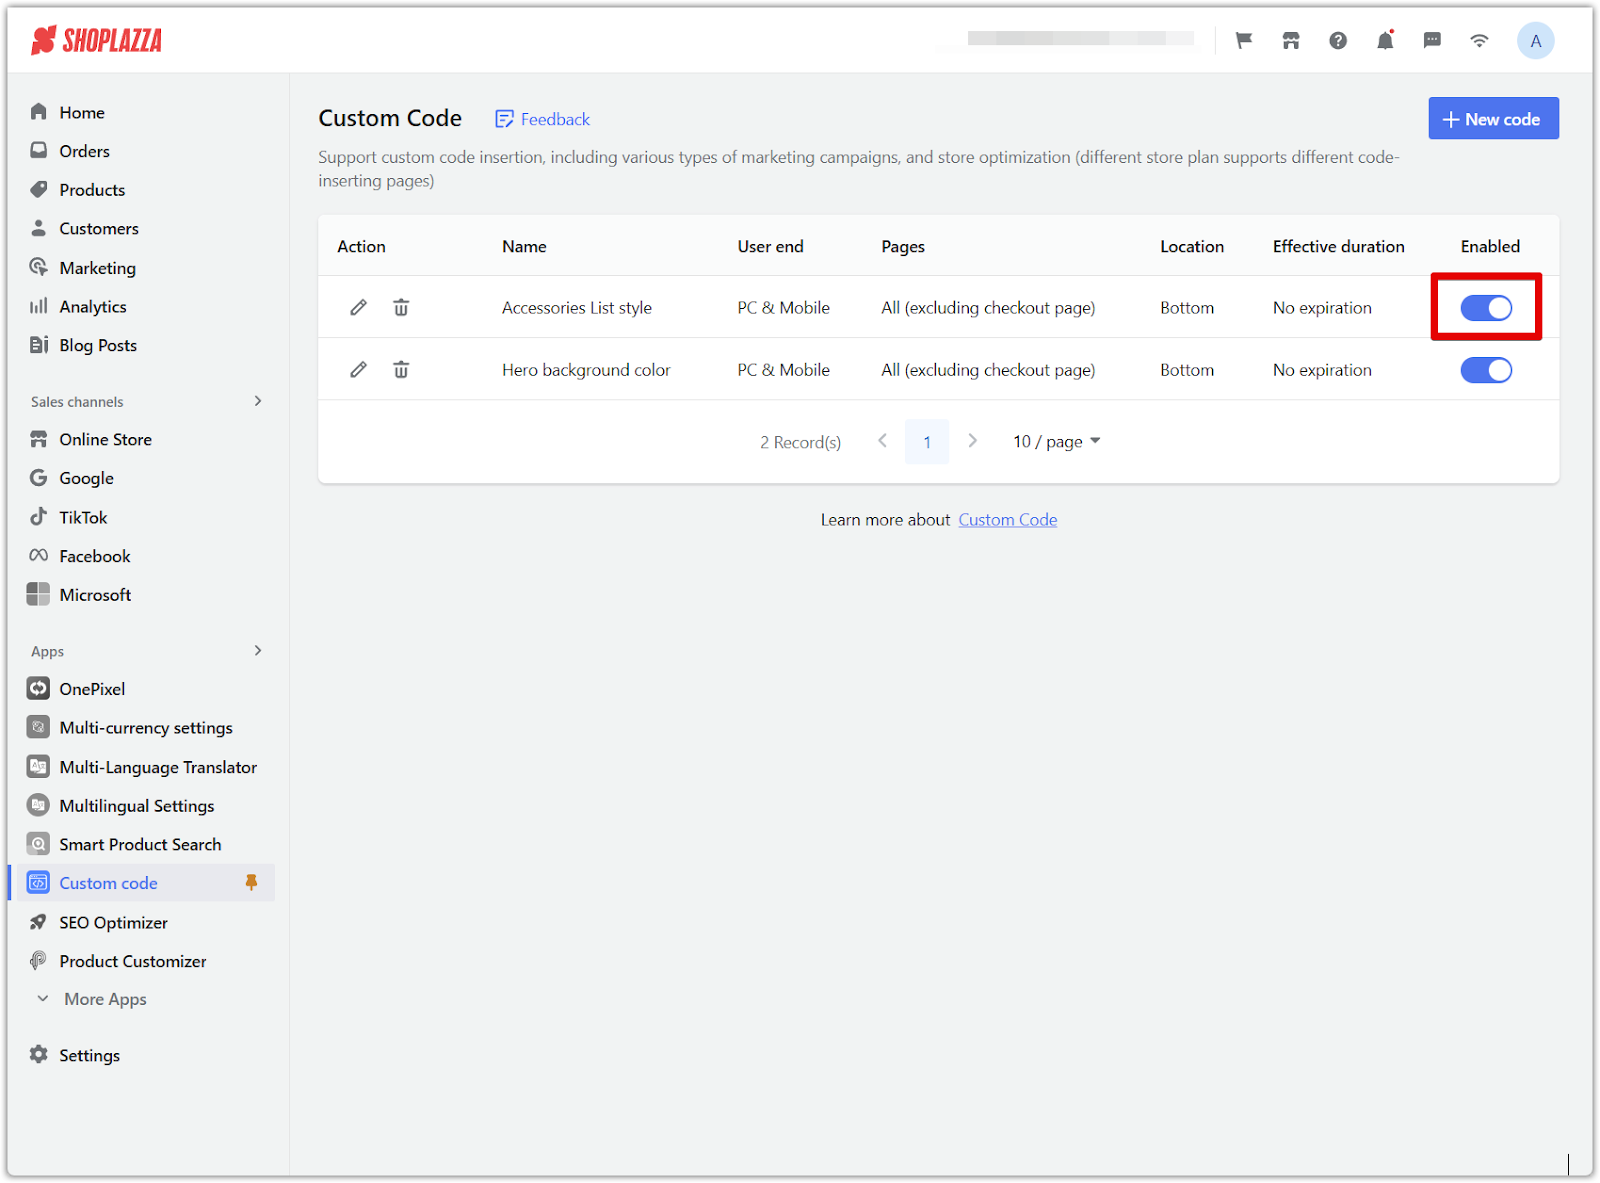
4. Save and Activate: Save your snippet and ensure it is active. Refresh your store to see the permanent change.
Example 2: Changing font color or hiding an element in the accessories list card
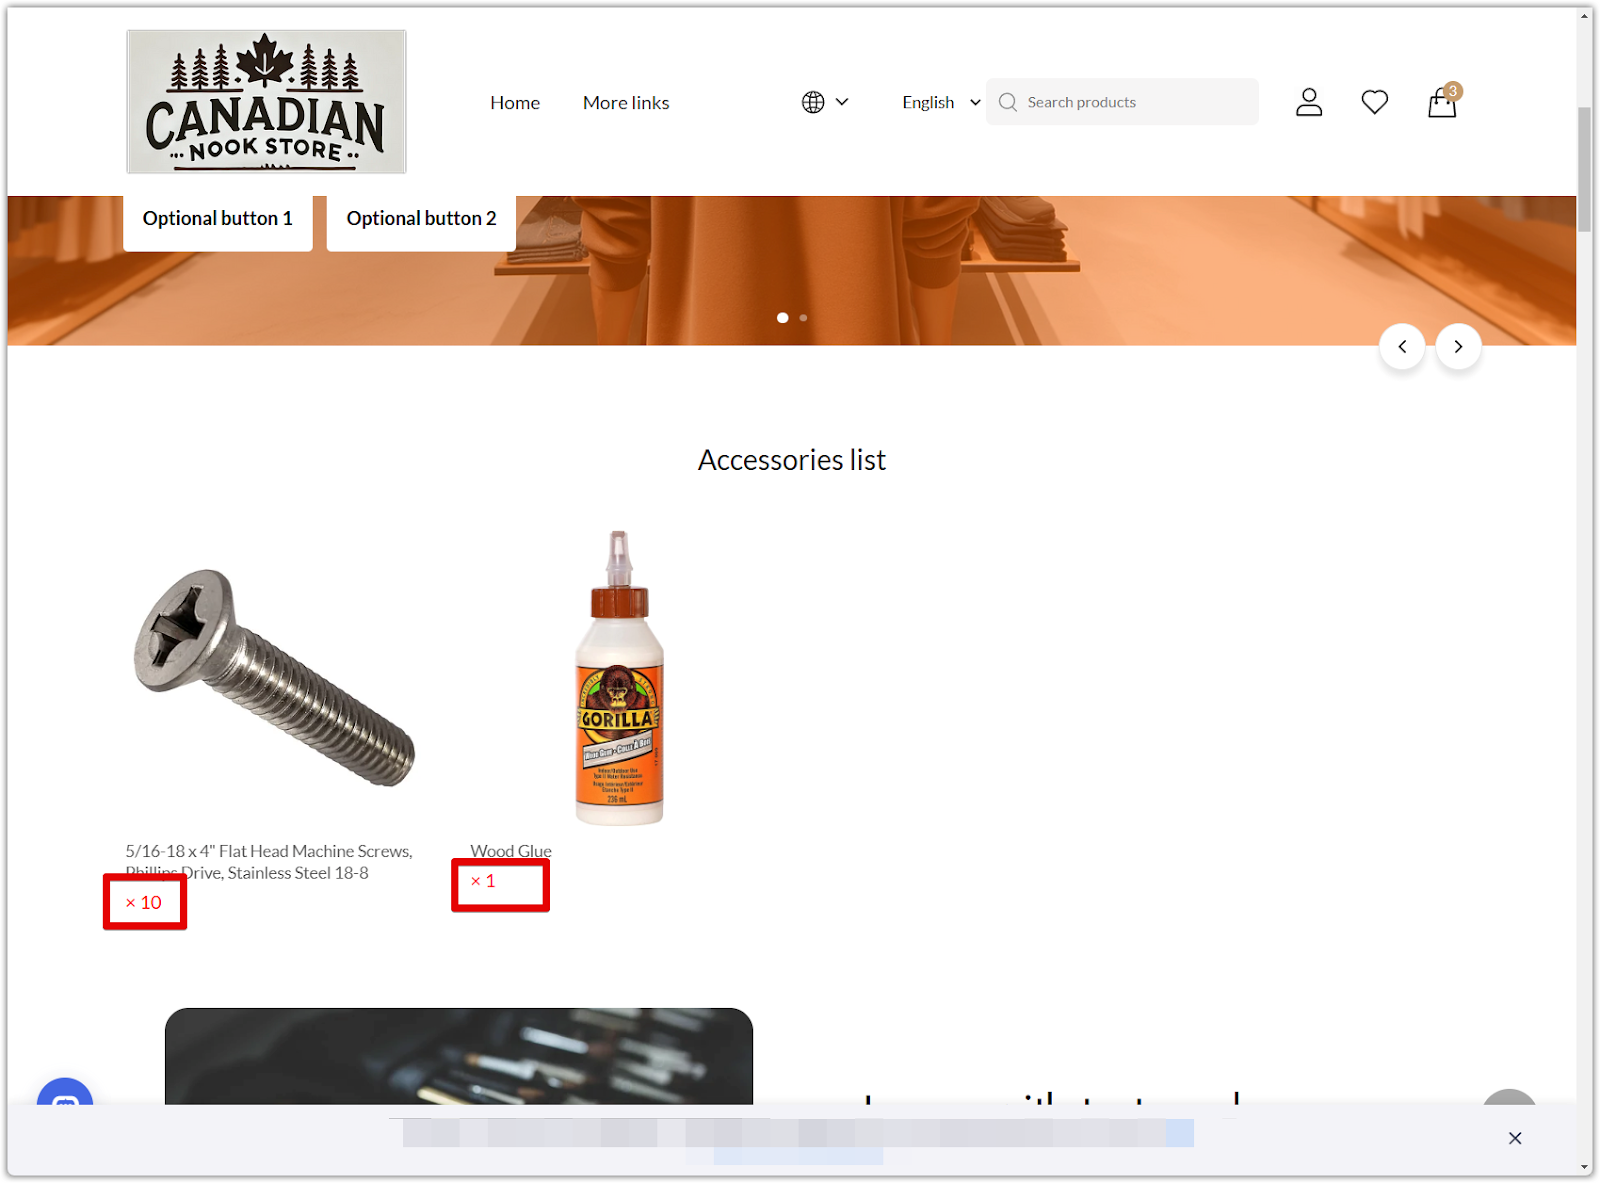
This example shows how to modify the accessories list card. You can either change the font color or hide a specific element (for instance, a quantity number that appears only when a value is greater than 0).
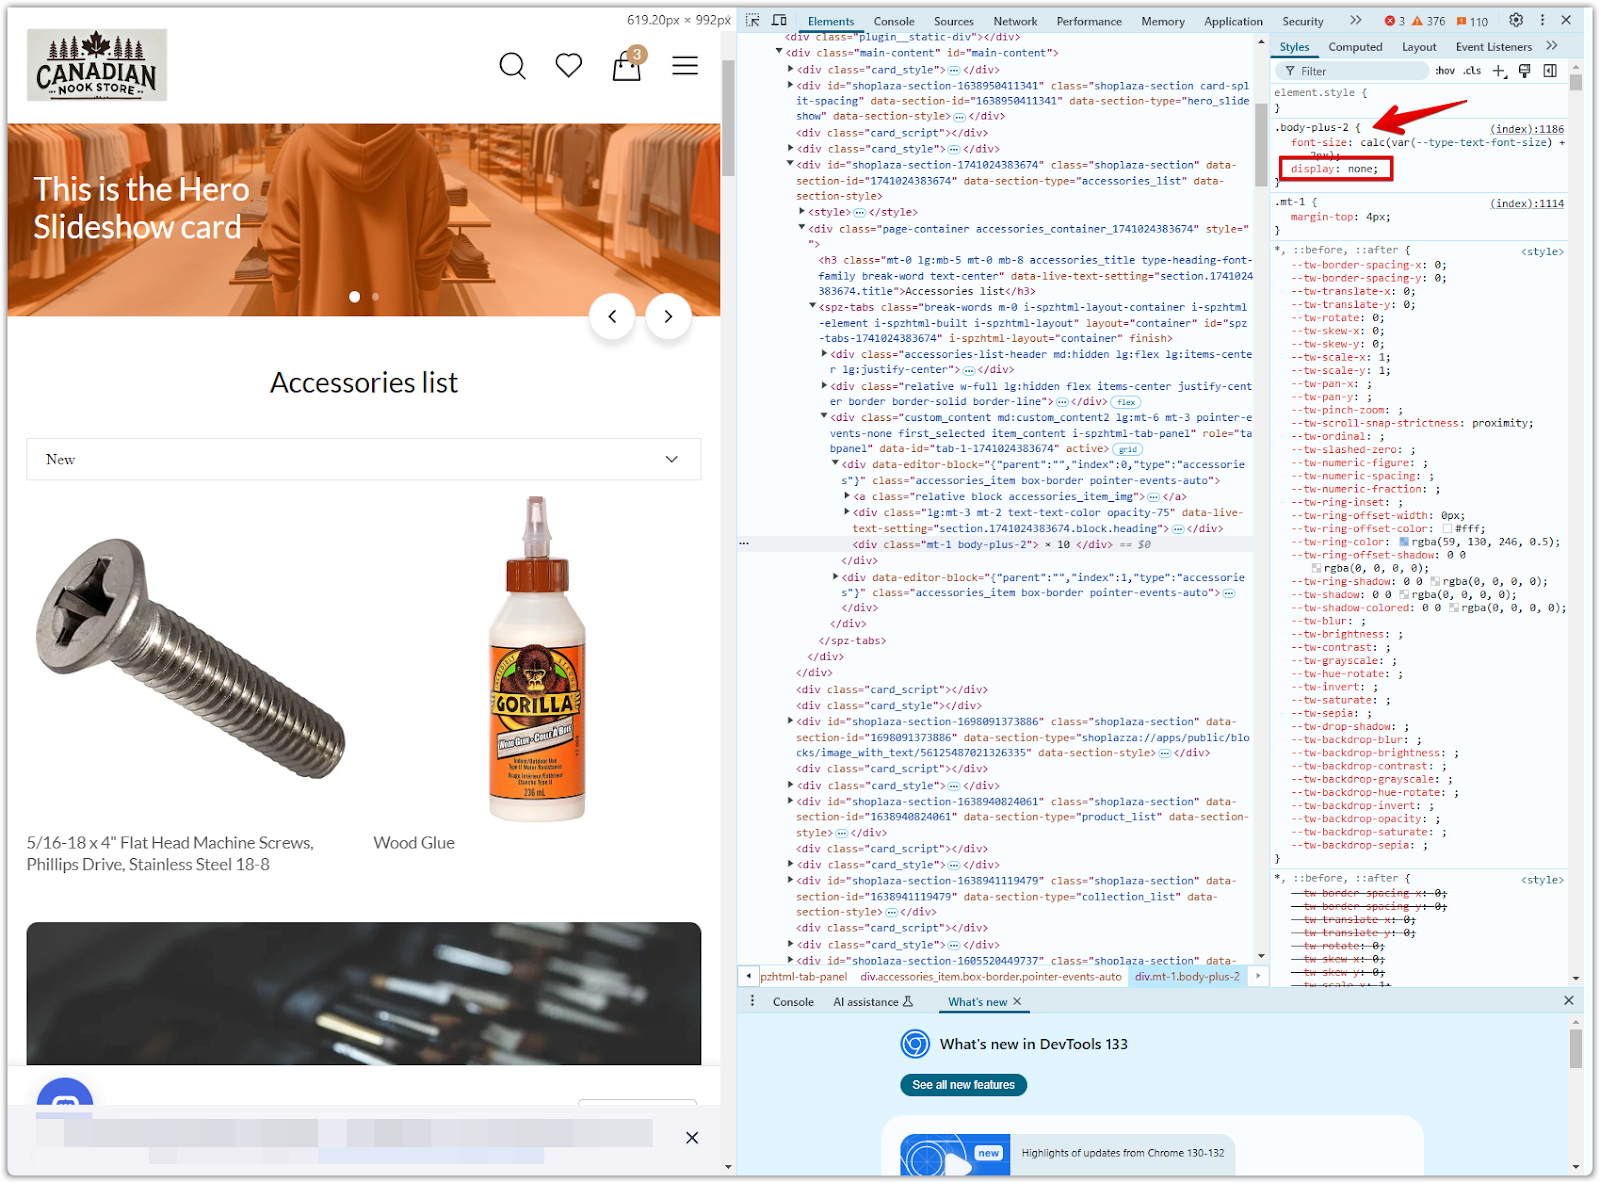
Finding the right element
1. Open Inspector: Right-click on the accessories list area and choose Inspect.
2. Use the element picker: Click the cursor icon and hover over the accessory list section. The element that controls the display of the quantity number will be highlighted. In the screenshot, the quantity number uses a class like tw-body-plus-2 as the target element. This class controls how the quantity appears on your storefront.

Testing a style change
1. To hide the element: In the Styles panel, add or modify the rule with:
display: none;
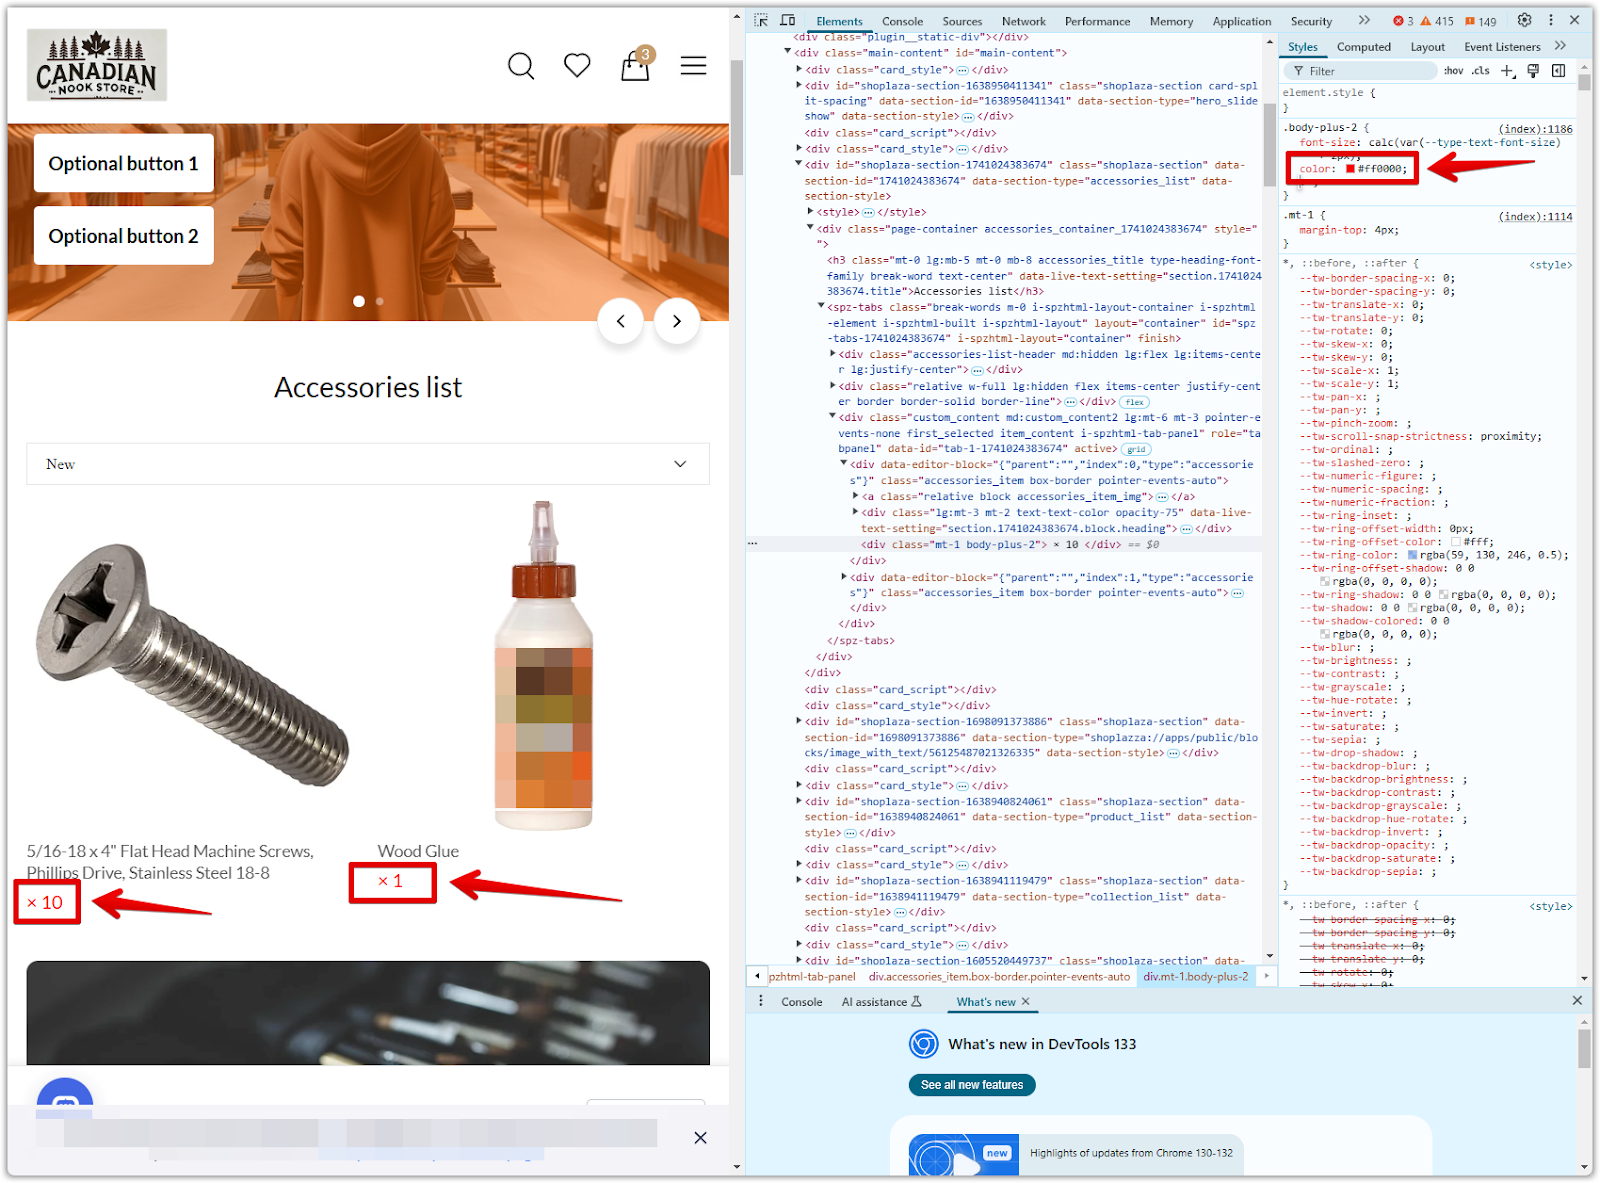
2. To change the font color: Alternatively, add a rule to change the text color. This will change the font color to red. Adjust the color code as needed. For example:
color: #ff0000;
Making the change permanent using the custom code app:
1. Open the Custom Code App: In your Shoplazza admin, go to Apps and open the Custom Code app.
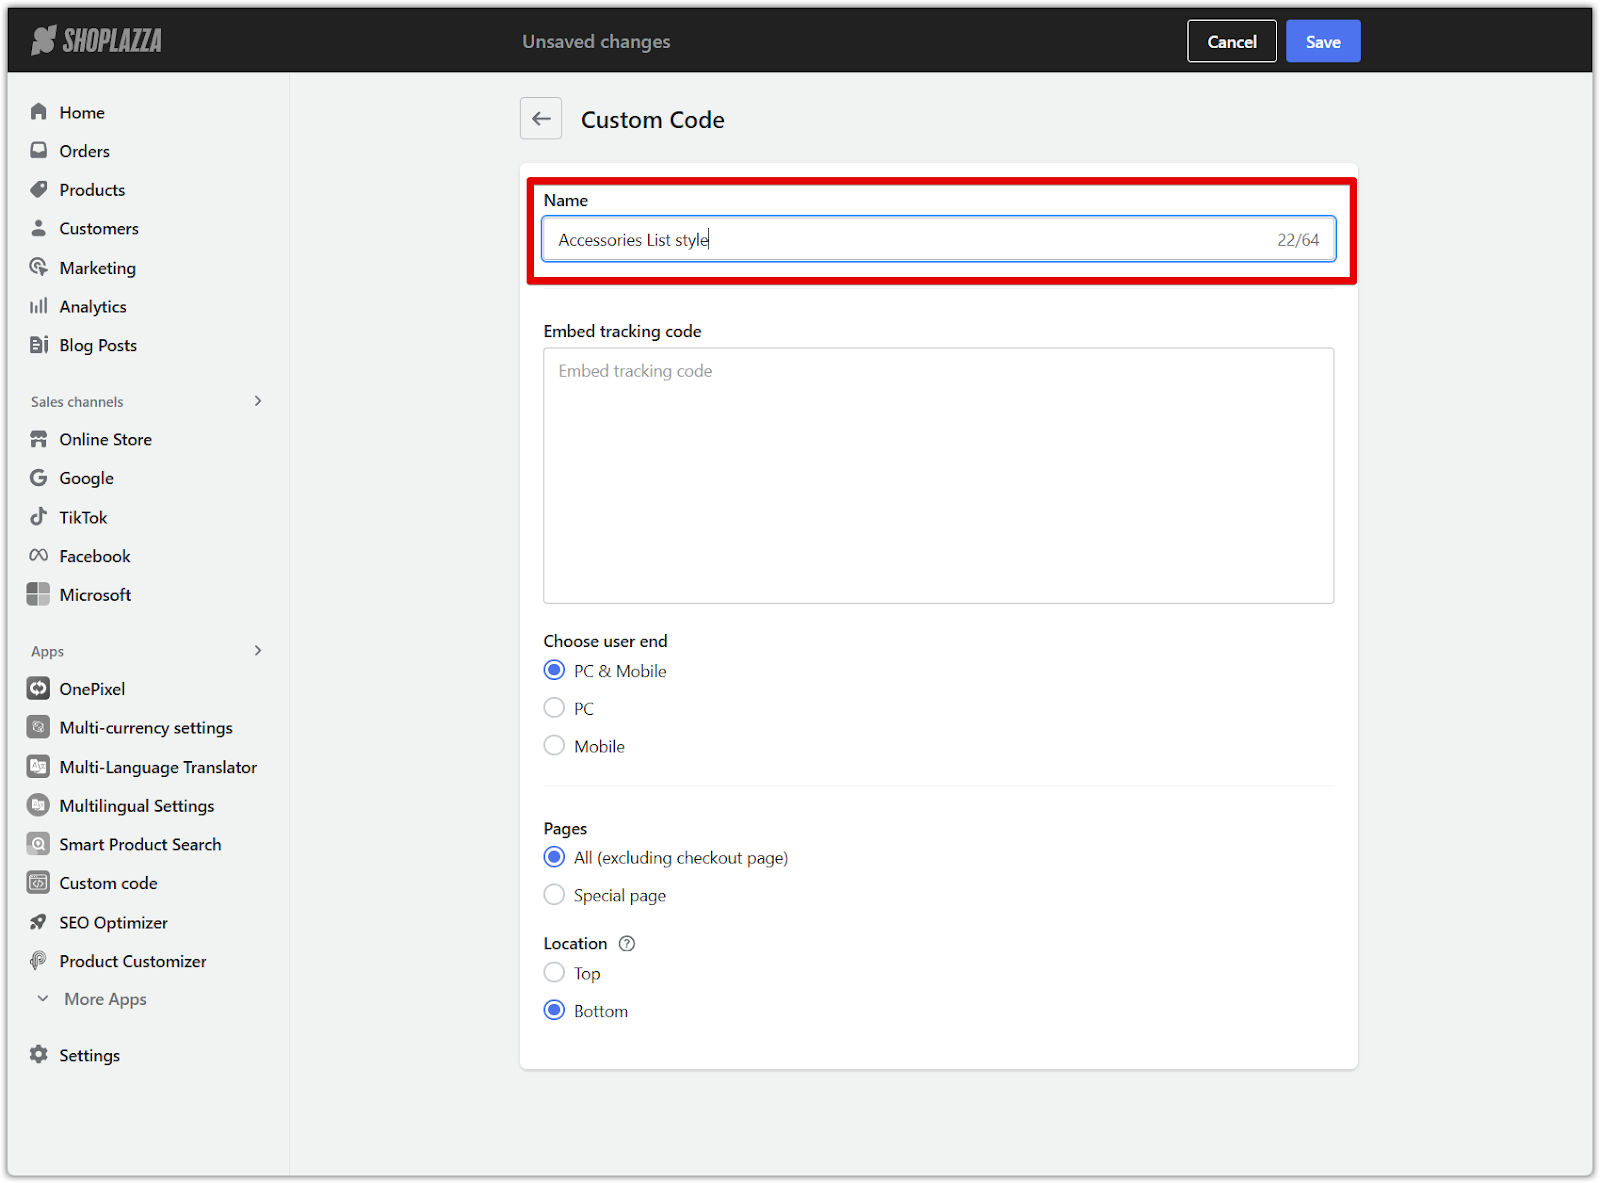
2. Create a new code snippet: Click Add new and name your snippet (for example, “Accessories List Style”). Choose the pages where the accessories list appears.
3. Enter the CSS code:
- For hiding the element, use:
<style>
 /* .body-plus-2 is the class for the accessory list card */
  .body-plus-2 {
    display: none;
  }
</style>
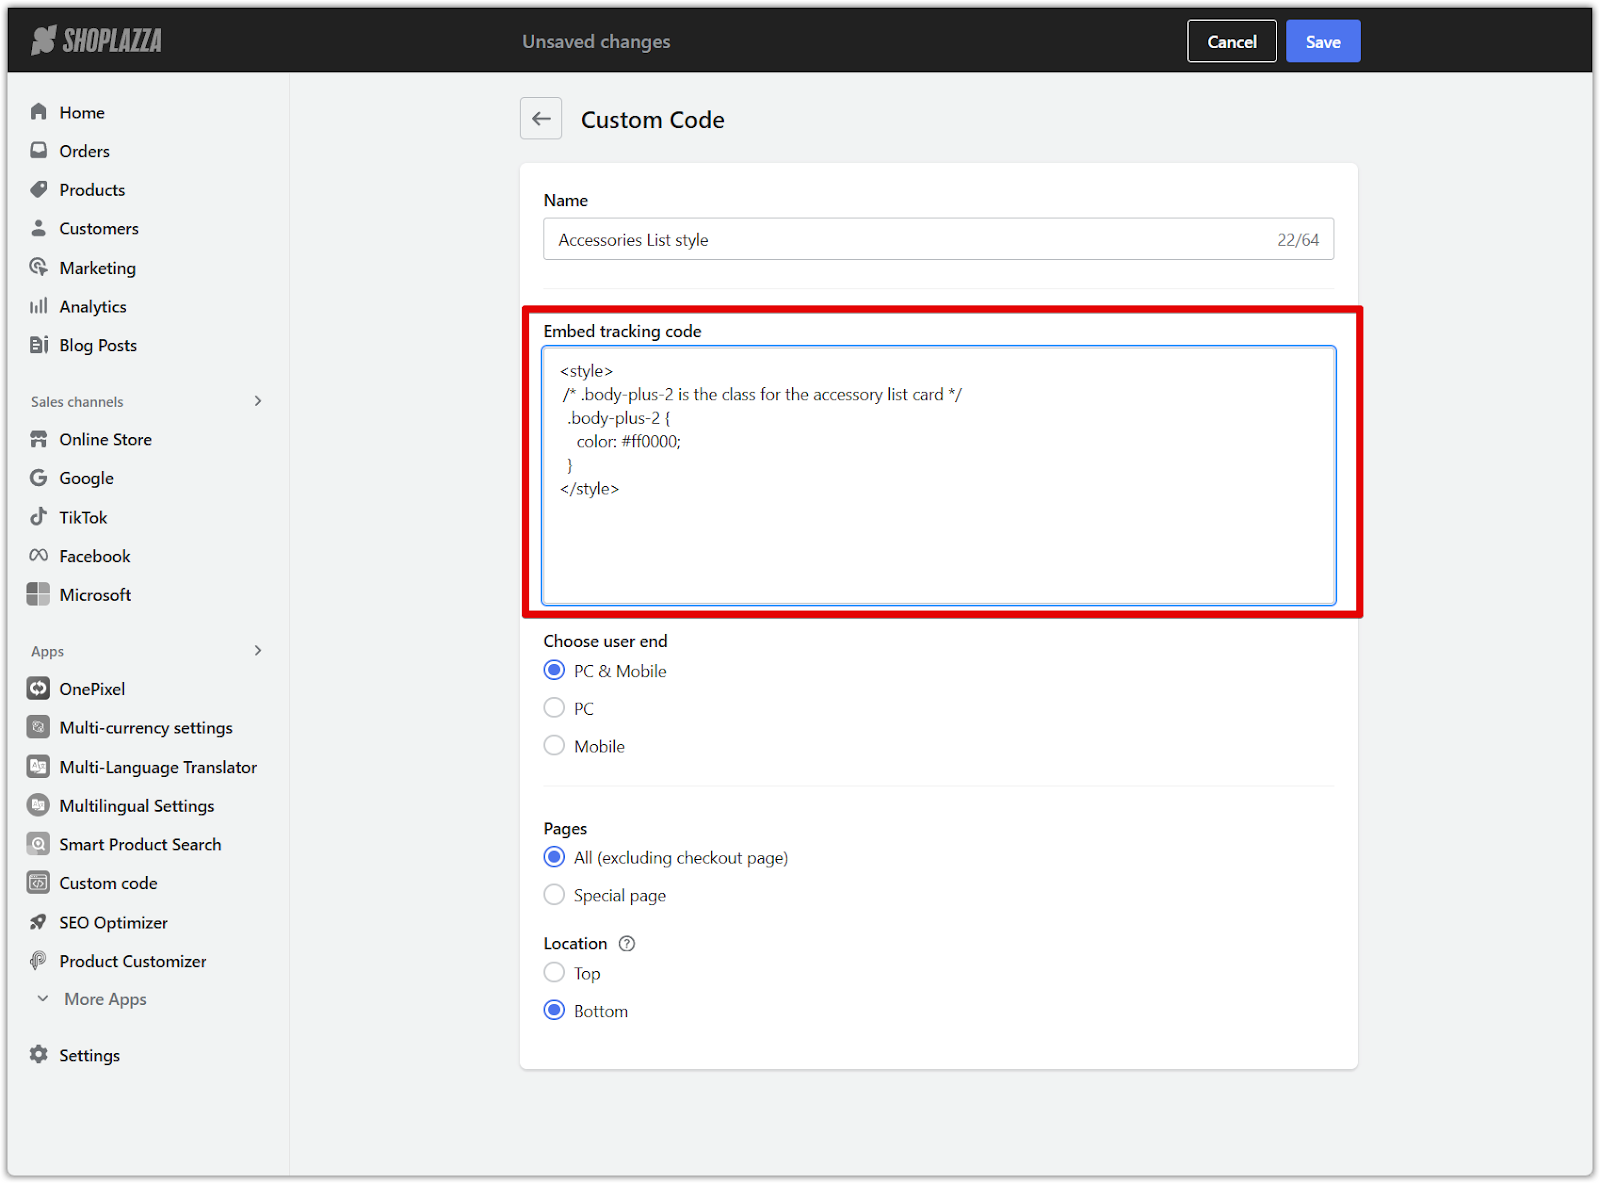
- For changing the font color, use:
<style>
/* .body-plus-2 is the class for the accessory list card */
  .body-plus-2 {
    color: #ff0000;
  }
</style>
4. Save and activate: Save your snippet and ensure it is active. Refresh your store to see the permanent change.

General tips for theme customization
- Use theme settings when available: Check if the theme editor offers options for style changes before using custom code.
- Work on a backup: Always keep a backup of your theme by duplicating it in your Shoplazza admin.
- Document your changes: Record any custom code you add so you can adjust or troubleshoot later.
- Test thoroughly: Verify your changes on multiple devices and browsers to ensure consistency.
Google Inspector offers a safe way to test design changes on your Shoplazza store before permanently applying them. Once you’re happy with the preview, add your custom CSS to the Custom Code App. These examples serve as a starting point, and you can use similar methods to adjust other elements on your site. With careful testing on various devices, your store will maintain a consistent and professional look.


Comments
Please sign in to leave a comment.