节日主题氛围代码帮助商家轻松为店铺增添节日氛围,提升顾客的节庆购物体验。通过简单的代码集成,商家可以在店铺页面展示与节日相关的视觉效果和设计,吸引顾客注意力,从而提高转化率。
注意
本文所提供代码仅作参考。在使用过程中,如遇前端显示异常,该问题可能是添加的代码与您的主题不适配,或者与您添加的其他代码相互冲突。请即刻删除相关代码,或与您的技术团队取得联系以获取进一步的协助与支持。
圣诞梅花鹿动画效果
前端展示效果

添加下方代码到HTML卡片中,点击此处查看操作路径
 <div class="image-container">
        <img class="santa-claus-38KN6X" src="https://cdn.shoplazza.com/a6fd723fec8ce328ef798d1d8f43b198.gif" alt="">
        <img class="bg-luluzi" src="https://cdn.shoplazza.com/c97ce4d1e88f5e787d55199915ce0657.svg" alt="" style="background:repeat">
 </div>
添加下方代码到自定义代码嵌入插件中,位置——顶部,触发页面——全部,客户端——全选,点击此处查看如何使用自定义代码嵌入插件。
<style>
  .image-container {
            position: fixed;
            bottom: 0;
            left: 0;
            width: 100%;
            height: auto; /* 可根据需要调整 */
            z-index: 1; /* 确保在页面内容的下方 */

        }

        .santa-claus-38KN6X {
            position: absolute;
            right: 0;
            bottom: 35px;
            width: 252px;
            height: auto;
            animation: 20s linear 0s infinite normal none running cjj;
            z-index: 3; /* GIF 动图在前面 */
        }
        /* 雪地背景 */
        .bg-luluzi {
            position: absolute;
            bottom: 43px;
            left: 0;
            width: 100%; /* 背景图填满容器 */
            height: auto; /* 保持比例 */
            z-index: 2; /* 背景图在中间 */
            background: url('https://cdn.shoplazza.com/c97ce4d1e88f5e787d55199915ce0657.svg'); /* SVG 作为背景并重复铺满 */
        }

@keyframes cjj {
        0% {
        transform: translateX(100vw);
        }
        100% {
            transform: translateX(-100vw);
        }
    }

</style>
<script async="" src="https://d2n92a4bi8klzf.cloudfront.net/js/lfEvent/lfEvent.js"></script>
注意
请确保将上方代码分别添加到HTML卡片和自定义代码嵌入插件中,以确保其正常生效。
雪花效果
前端展示效果
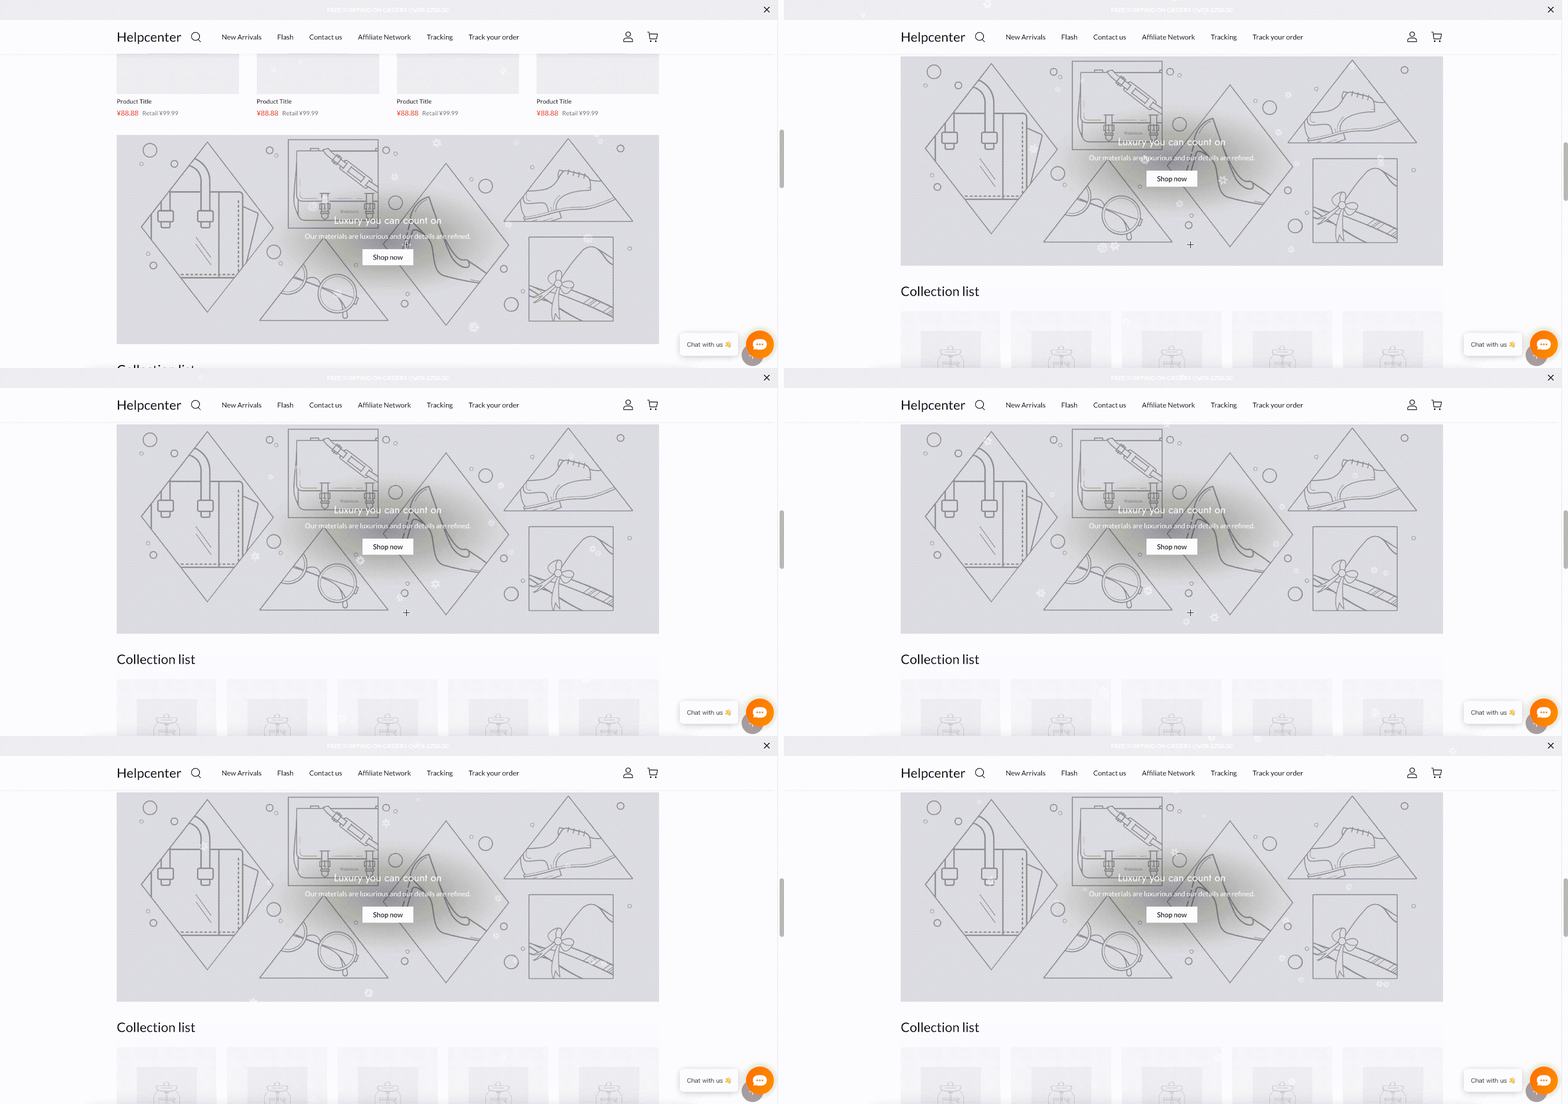
添加代码到HTML卡片中,点击此处查看操作路径
<div class="xuehua">
<script src="https://unpkg.com/magic-snowflakes/dist/snowflakes.min.js"></script>
    <script>
        new Snowflakes({color: 'rgb(255,255,255)'});
    </script>
</div>
提示
如果需要修改颜色,可以在new Snowflakes();中加入参数,可以自定义需要的颜色 new Snowflakes({color: 'rgb(255,255,255)'});
雨滴效果
前端展示效果
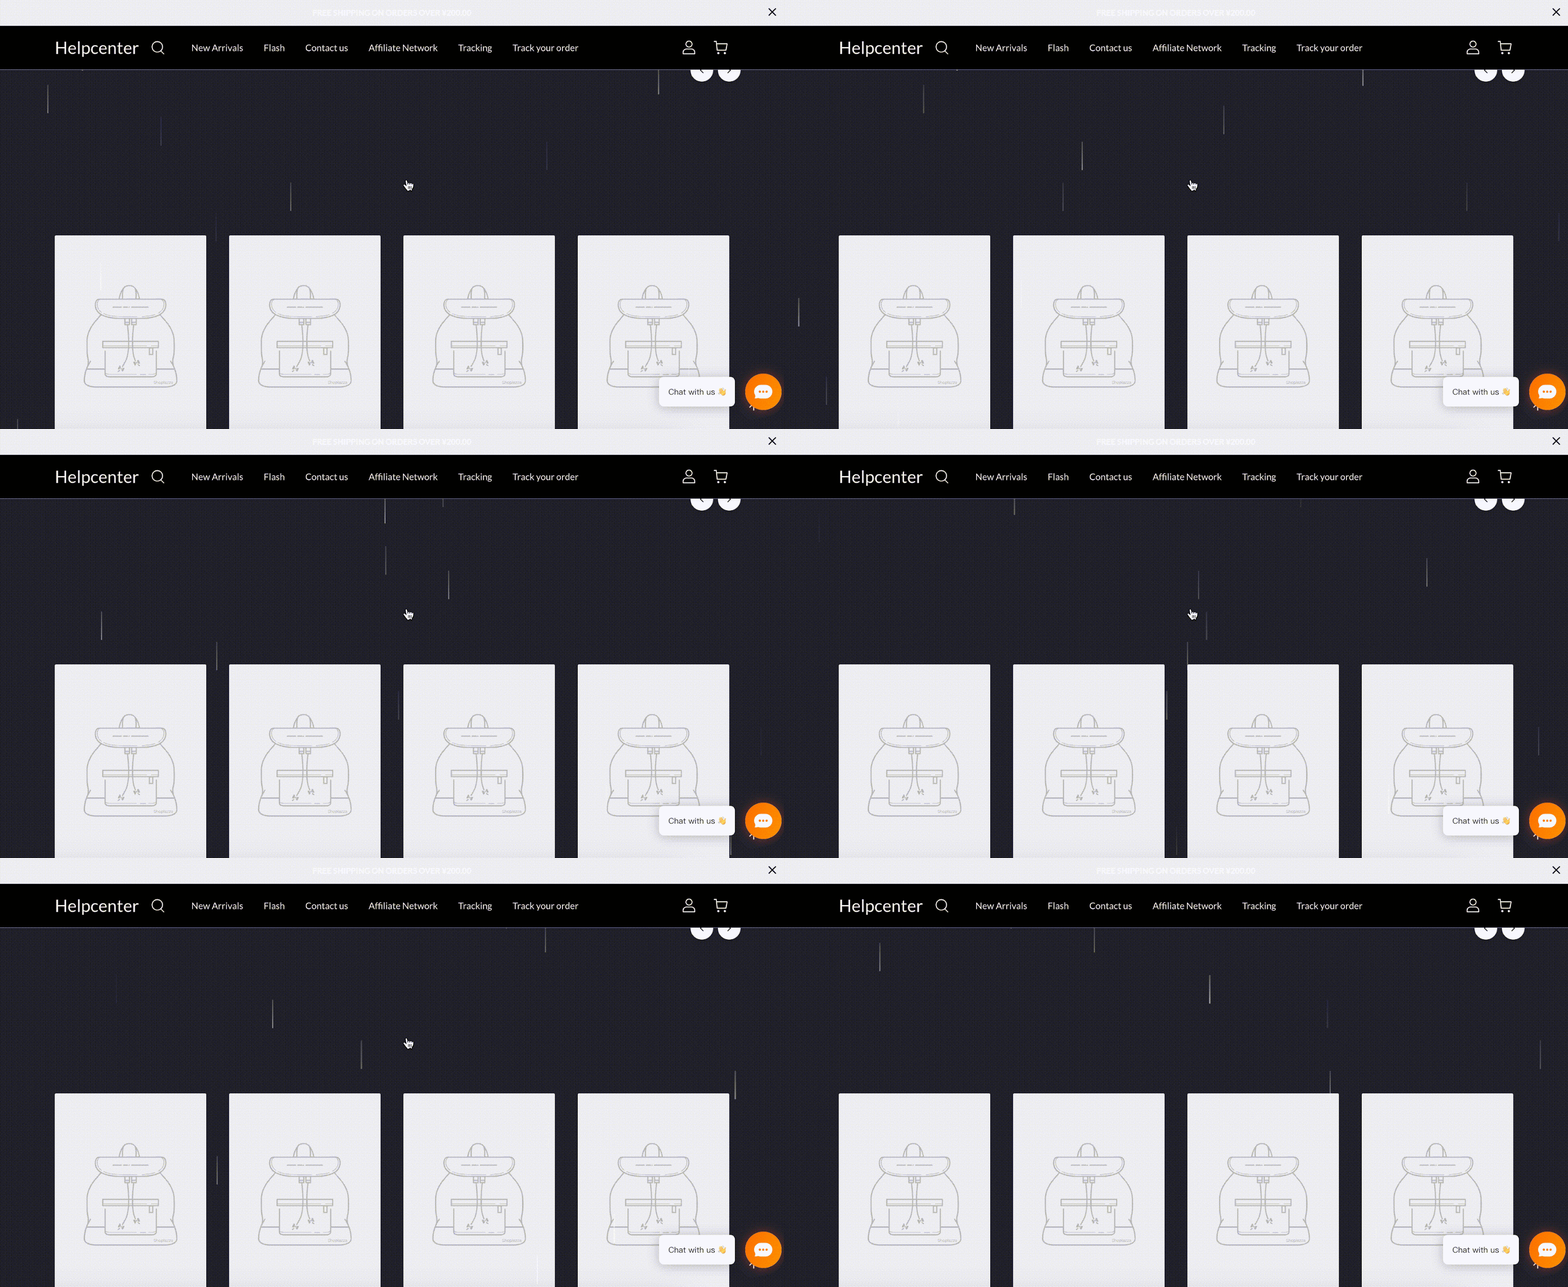
添加下方代码到HTML卡片中,点击此处查看操作路径
<div id="rainBox"></div>
    <div class="content">
    </div>
    <script>
        const box=document.getElementById('rainBox');
        let boxHeight=box.clientHeight;
        let boxWidth=box.clientWidth;
        // 页面大小发生变化时,改变盒子大小
        window.onresize=function(){
            boxHeight=box.clientHeight;
            boxWidth=box.clientWidth;
        }
        // 每隔一段时间,添加雨滴
       setInterval(()=>{
        const rain=document.createElement('div');
        rain.classList.add('rain');
        rain.style.top=0;
        // 随机刷新雨点位置
        rain.style.left=Math.random()*boxWidth+'px';
        // 随机雨点透明度
        rain.style.opacity=Math.random();
        box.appendChild(rain);
        // 每隔一段时间,雨水下落
        let race=1;
        const timer=setInterval(()=>{
            // 判断“雨滴”元素的top属性是否超出“盒子”元素的高度来决定是否停止动画
            if(parseInt(rain.style.top)>boxHeight){
                clearInterval(timer);
                box.removeChild(rain);
            }
            // 每次定时器执行时,“雨滴”元素的top值会逐渐增加,
            //并且增加的速率会随着时间的推移而逐渐加快
            race++;
            rain.style.top=parseInt(rain.style.top)+race+'px'
        },20)
       },50)
    </script>
添加下方代码到自定义代码嵌入插件中,位置——顶部,触发页面——全部,客户端——全选,点击此处查看如何使用自定义代码嵌入插件。
 <style>
    *{
        margin: 0;
        padding: 0;
    }
    .content{
        width: 0;
        height: 0;
        /* 图片链接 */
        /* background: url(https://w.wallhaven.cc/full/yx/wallhaven-yxe3jk.jpg) center center no-repeat; */
        background-size: 120%;
    }
    #rainBox{
        position: fixed;
        top: 0;
        left: 0;
        width: 100vw;
        height: 100vh;
        /* 不阻挡其他元素事件触发 */
        pointer-events: none;
    }
    .rain{
        position: absolute;
        width: 2px;
        height: 50px;
        background: linear-gradient(rgba(255,255,255,.3),rgba(255,255,255,.6));

    }
</style>
注意
请确保将上方代码分别添加到HTML卡片和自定义代码嵌入插件中,以确保其正常生效。
五彩纸屑效果
前端展示效果
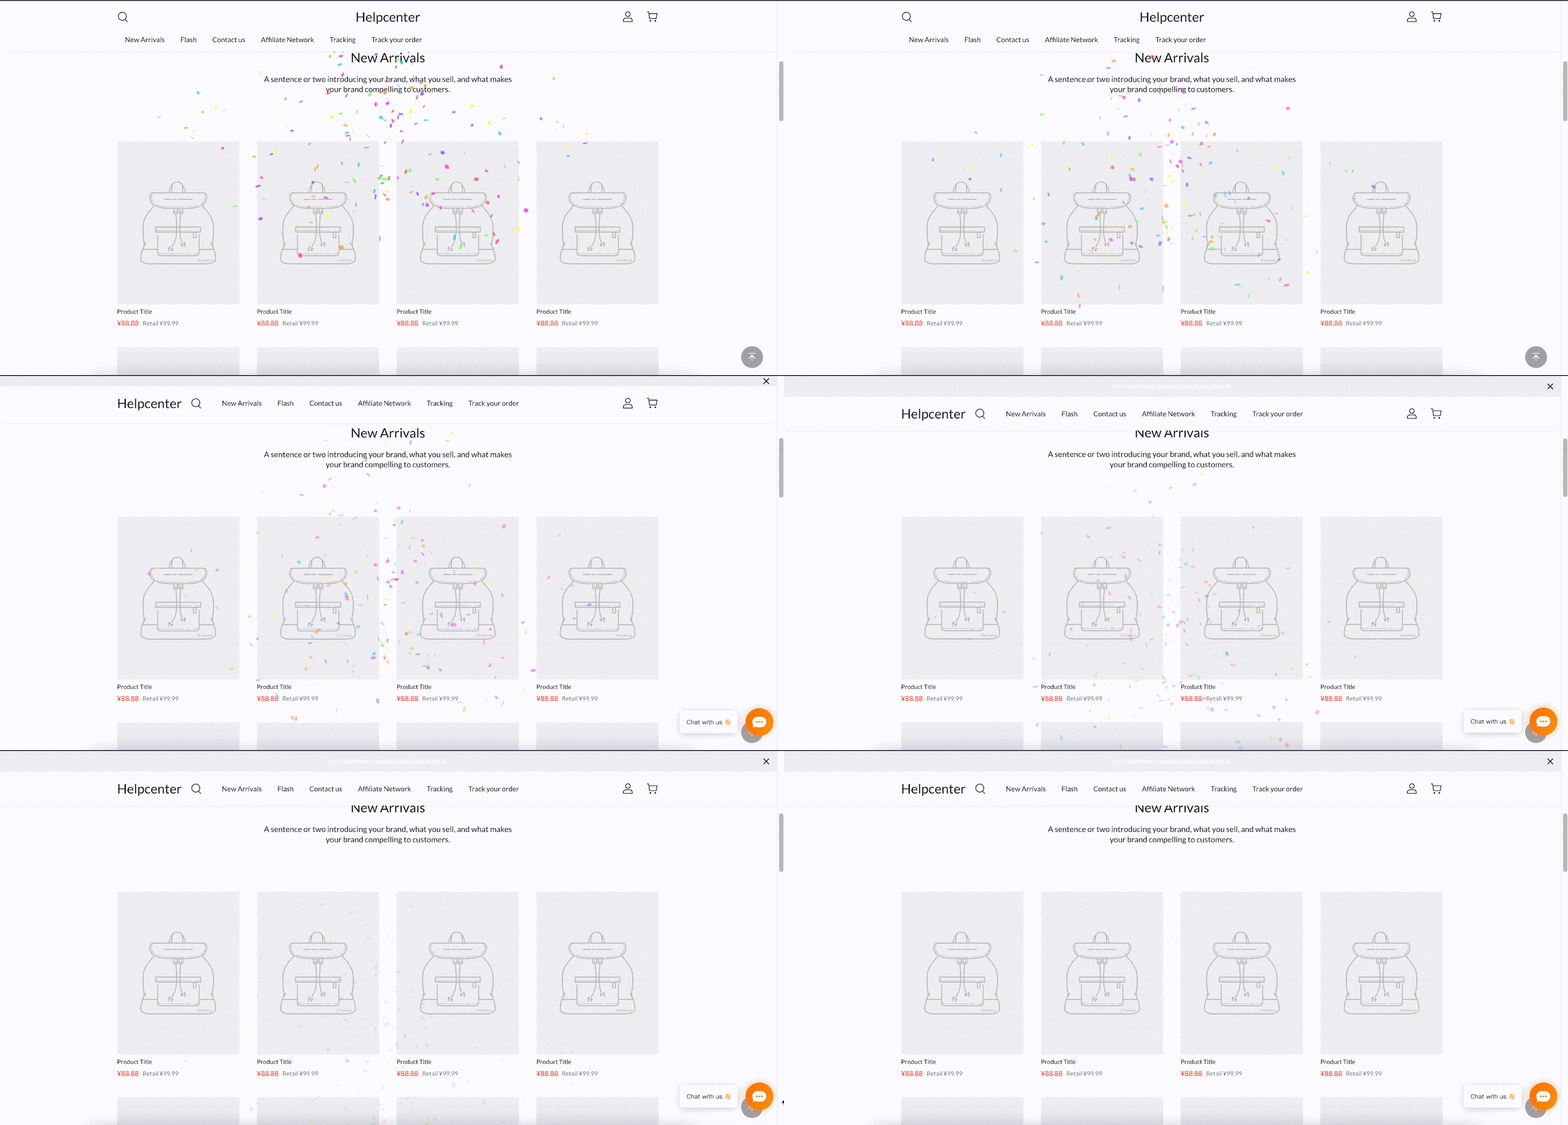
添加代码到HTML卡片中,点击此处查看操作路径
<script src="https://cdn.jsdelivr.net/npm/canvas-confetti@1.9.2/dist/confetti.browser.min.js"></script>
<script>
var count = 200;
var defaults = {
  origin: { y: 0.7 }
};

function fire(particleRatio, opts) {
  confetti({
    ...defaults,
    ...opts,
    particleCount: Math.floor(count * particleRatio)
  });
}

fire(0.25, {
  spread: 26,
  startVelocity: 55,
});
fire(0.2, {
  spread: 60,
});
fire(0.35, {
  spread: 100,
  decay: 0.91,
  scalar: 0.8
});
fire(0.1, {
  spread: 120,
  startVelocity: 25,
  decay: 0.92,
  scalar: 1.2
});
fire(0.1, {
  spread: 120,
  startVelocity: 45,
});
</script>
火焰粒子效果
前端展示效果
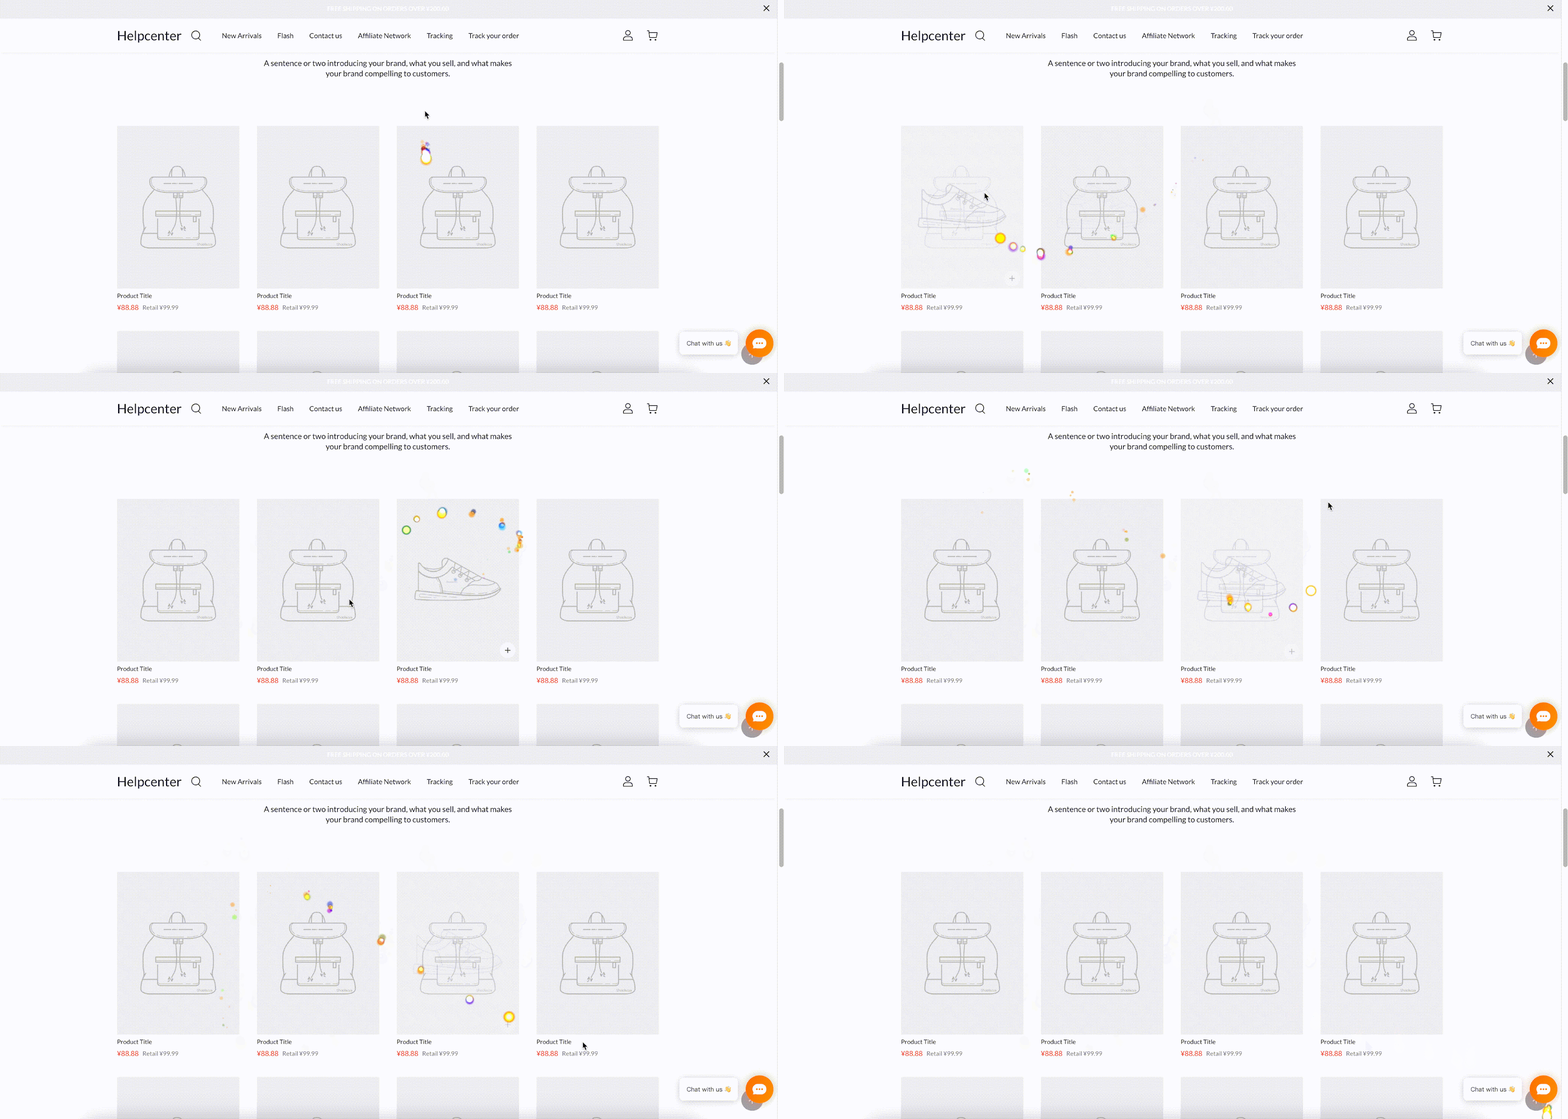
添加代码到HTML卡片中,点击此处查看操作路径
    <title>火焰粒子效果</title>
    <style>
        body, html {
            margin: 0;
            padding: 0;
            width: 100%;
            height: 100%;
            background: black;
            position: relative;
        }
        canvas {
            position: fixed;
            top: 0;
            left: 0;
            pointer-events: none;
            z-index: 9999;
        }
        #ai-autoreply {
            /* 确保自动回复按钮不会拦截鼠标事件 */
            pointer-events: none;
        }
    </style>
    <script>
        try {
            document.addEventListener('DOMContentLoaded', function() {
                function createParticleCanvas() {
                    var canvas = document.createElement('canvas');
                    canvas.id = 'myCanvas';
                    document.body.appendChild(canvas);

                    var ctx = canvas.getContext('2d');

                    // Make the canvas occupy the full page
                    var W = window.innerWidth, H = window.innerHeight;
                    canvas.width = W;
                    canvas.height = H;

                    var particles = [];
                    var mouse = { x: W / 2, y: H / 2 };

                    // Create some particles now
                    var particle_count = 50;
                    for (var i = 0; i < particle_count; i++) {
                        particles.push(new particle());
                    }

                    // Mouse tracking
                    window.addEventListener('mousemove', track_mouse, false);
                    window.addEventListener('scroll', track_scroll, false);

                    function track_mouse(e) {
                        var rect = canvas.getBoundingClientRect();
                        mouse.x = e.clientX - rect.left;
                        mouse.y = e.clientY - rect.top;
                    }

                    function track_scroll() {
                        var rect = canvas.getBoundingClientRect();
                        mouse.x = mouse.x - rect.left;
                        mouse.y = mouse.y - rect.top;
                    }

                    function particle() {
                        this.speed = { x: -1 + Math.random() * 2, y: -5 + Math.random() * 5 };
                        this.location = { x: mouse.x, y: mouse.y };
                        this.radius = 5 + Math.random() * 10;
                        this.life = 10 + Math.random() * 5;
                        this.remaining_life = this.life;
                        if (Math.random() > 0.5) {
                            this.r = 255;
                            this.g = 165;
                            this.b = 0;
                        } else {
                            do {
                                this.r = Math.round(Math.random() * 255);
                                this.g = Math.round(Math.random() * 255);
                                this.b = Math.round(Math.random() * 255);
                            } while ((this.r > 200 && this.g > 200 && this.b > 200) || // Avoid white
                                     (this.r < 55 && this.g < 55 && this.b < 55));  // Avoid black
                        }
                    }

                    function draw() {
                        ctx.globalCompositeOperation = "source-over";
                        ctx.clearRect(0, 0, W, H);
                        ctx.globalCompositeOperation = "lighter";

                        for (var i = 0; i < particles.length; i++) {
                            var p = particles[i];
                            ctx.beginPath();
                            p.opacity = Math.round(p.remaining_life / p.life * 100) / 100;
                            var gradient = ctx.createRadialGradient(p.location.x, p.location.y, 0, p.location.x, p.location.y, p.radius);
                            gradient.addColorStop(0, "rgba(" + p.r + ", " + p.g + ", " + p.b + ", " + p.opacity + ")");
                            gradient.addColorStop(0.5, "rgba(" + p.r + ", " + p.g + ", " + p.b + ", " + p.opacity + ")");
                            gradient.addColorStop(1, "rgba(" + p.r + ", " + p.g + ", " + p.b + ", 0)");
                            ctx.fillStyle = gradient;
                            ctx.arc(p.location.x, p.location.y, p.radius, Math.PI * 2, false);
                            ctx.fill();

                            p.remaining_life--;
                            p.radius--;
                            p.location.x += p.speed.x;
                            p.location.y += p.speed.y;

                            if (p.remaining_life < 0 || p.radius < 0) {
                                particles[i] = new particle();
                            }
                        }
                    }

                    setInterval(draw, 30);

                    // Adjust canvas size when the window is resized
                    window.addEventListener('resize', function() {
                        W = window.innerWidth;
                        H = window.innerHeight;
                        canvas.width = W;
                        canvas.height = H;
                    });
                }

                createParticleCanvas();
            });
        } catch(e){  }
    </script>
操作路径
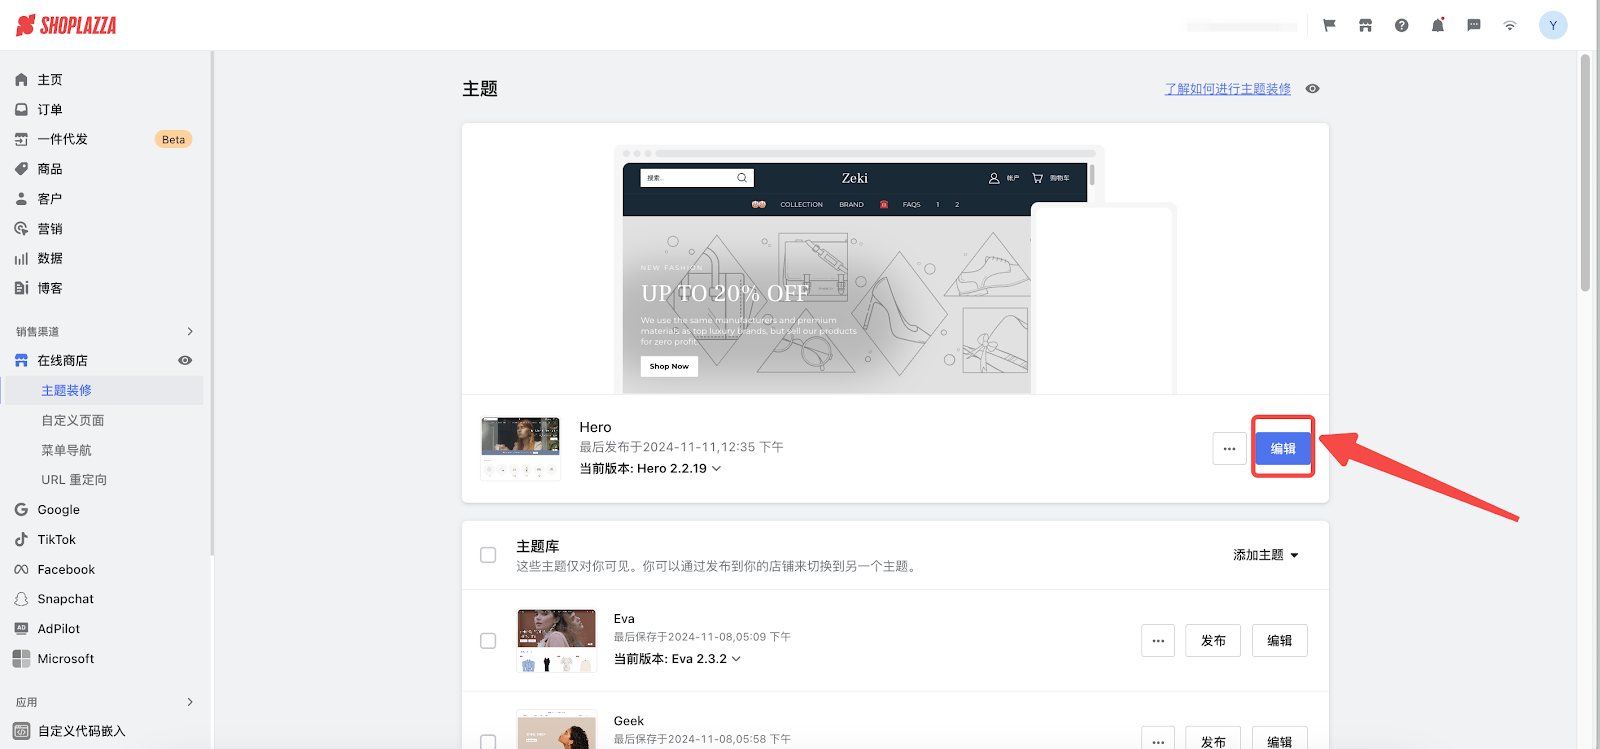
1. 登录您的Shoplazza管理后台,点击在线商店 > 主题装修,点击编辑按钮。
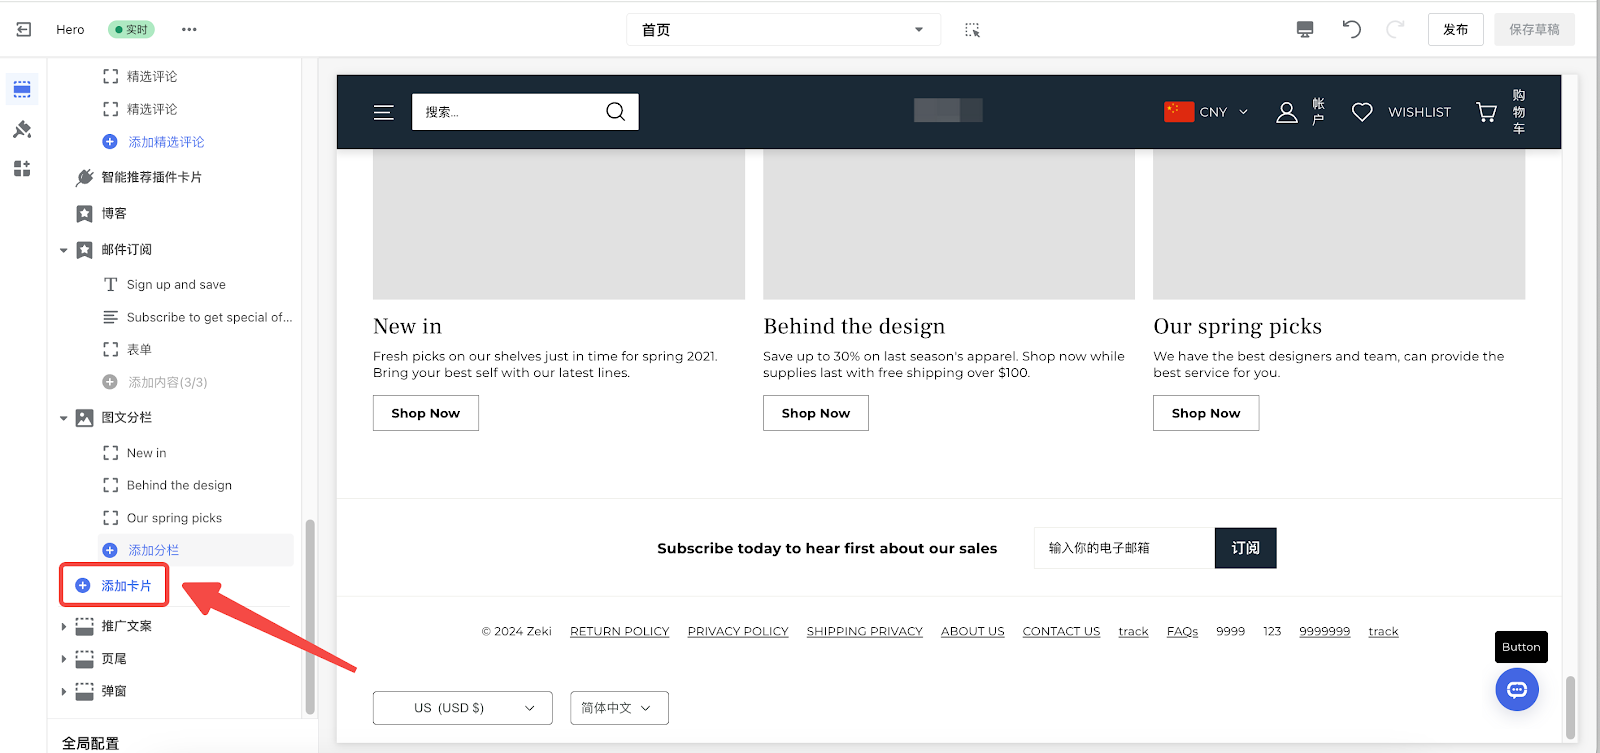
2. 点击下方添加卡片按钮。
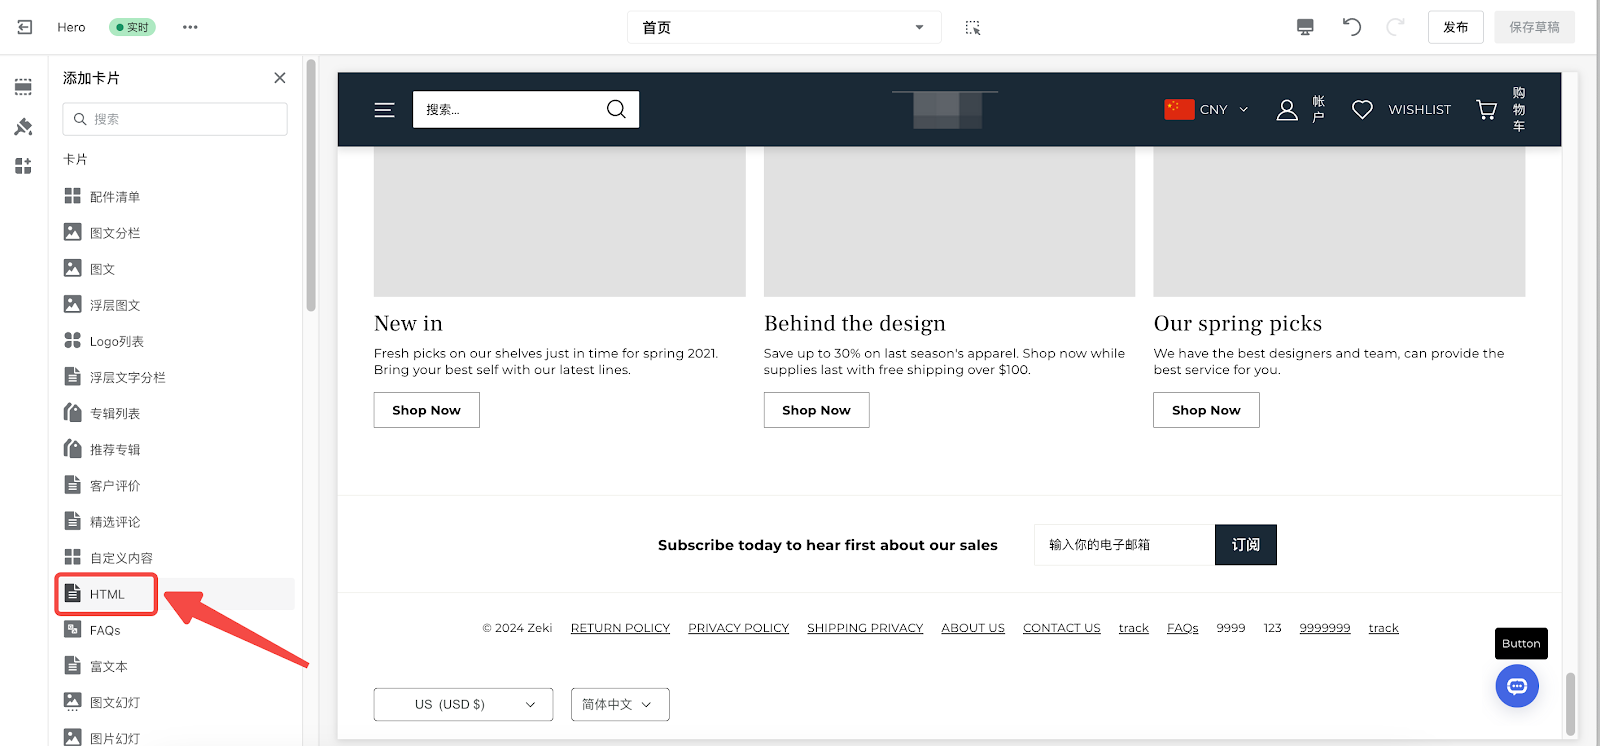
3. 在卡片列表中找到并点击选择HTML卡片。
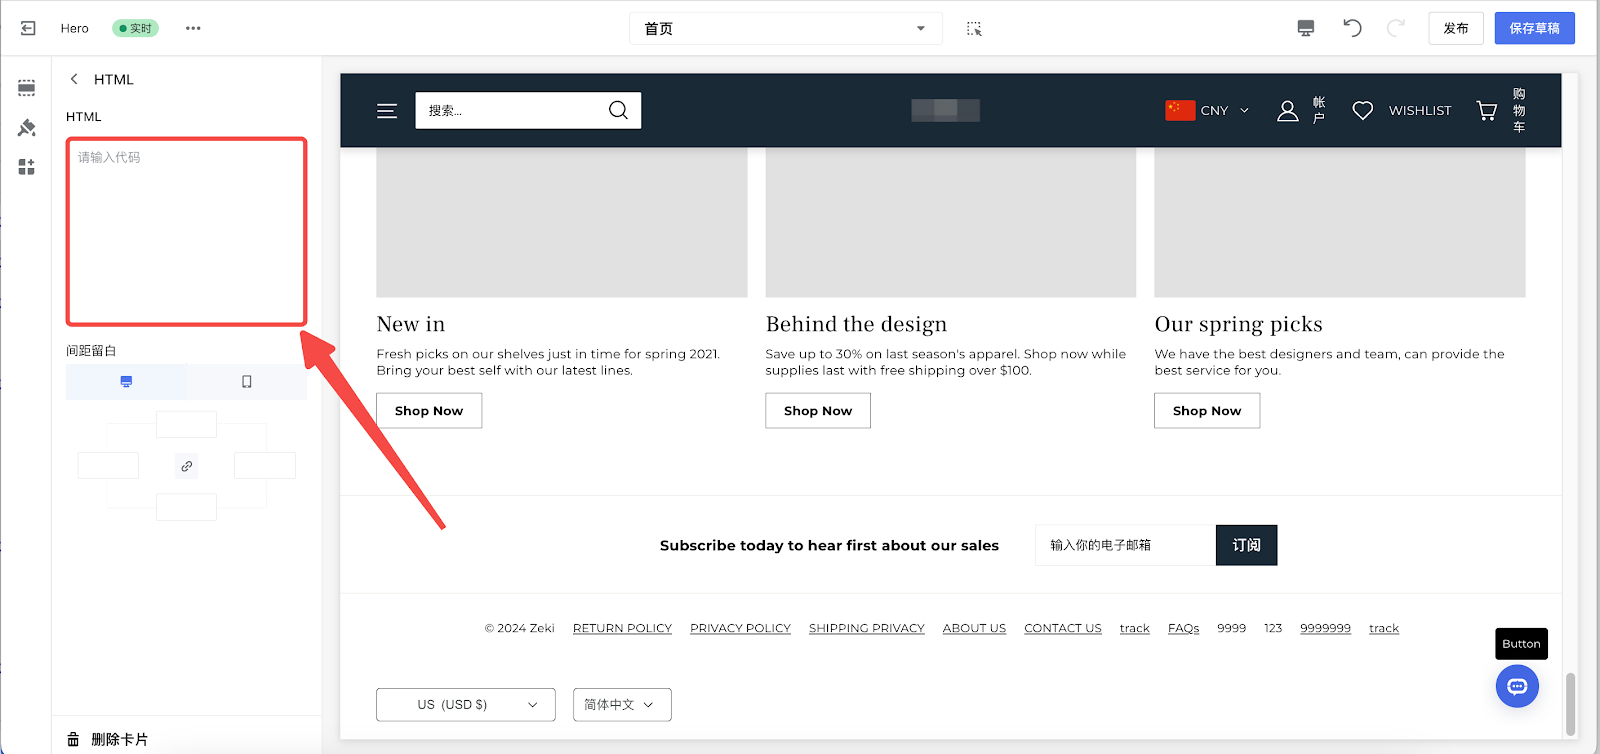
4. 添加完成后,点击已添加的HTML卡片,编辑内容。
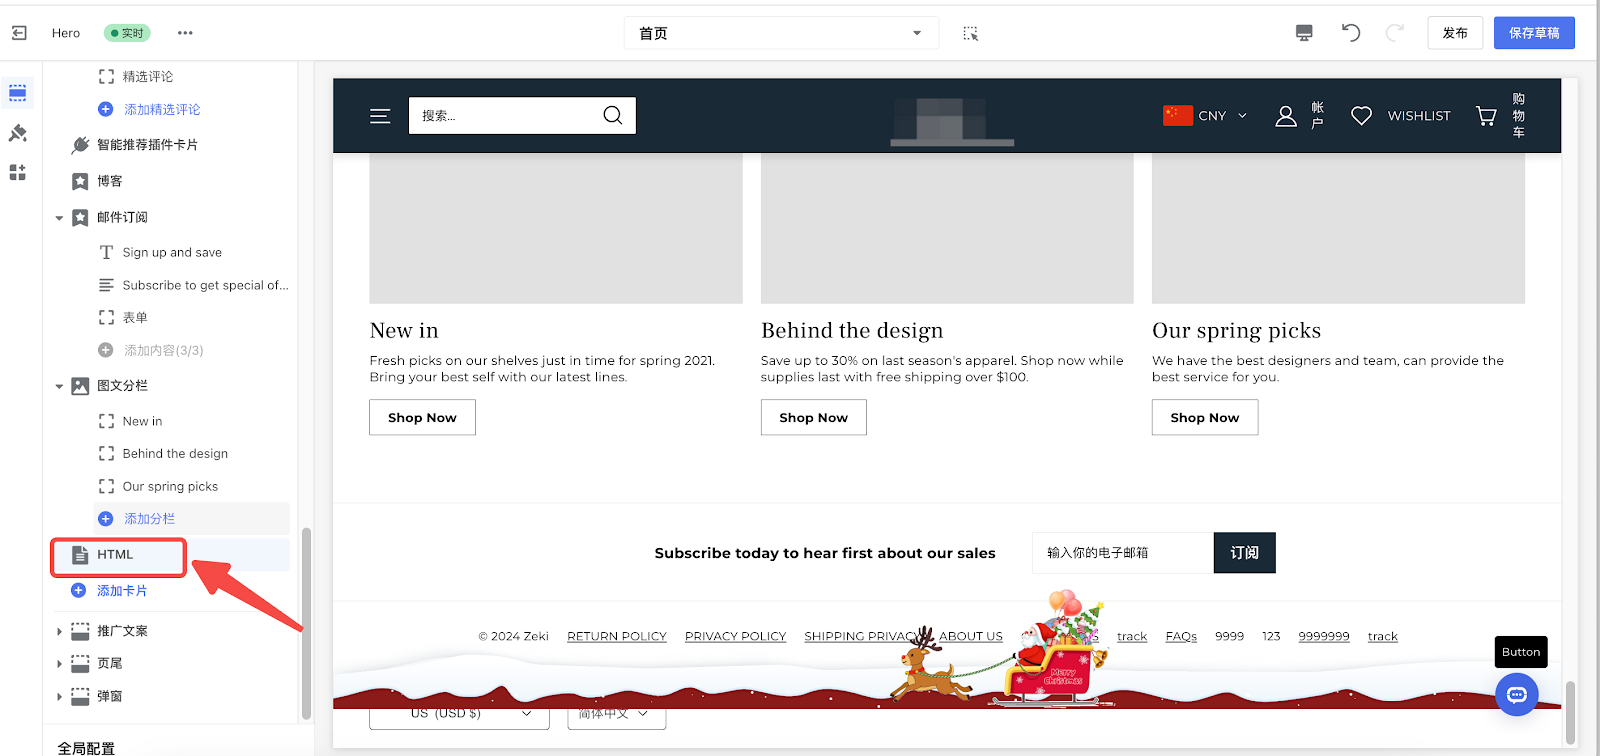
5. 添加代码


评论
请登录写评论。