
Your store navigation menus are essential for creating a seamless customer experience and supporting your overall content strategy. Clear, structured website navigation helps customers locate what they need quickly and confidently as they move through your Shoplazza store. The more intuitive your navigation, the smoother the shopping journey, increasing the likelihood that customers complete their purchase.
Default menus
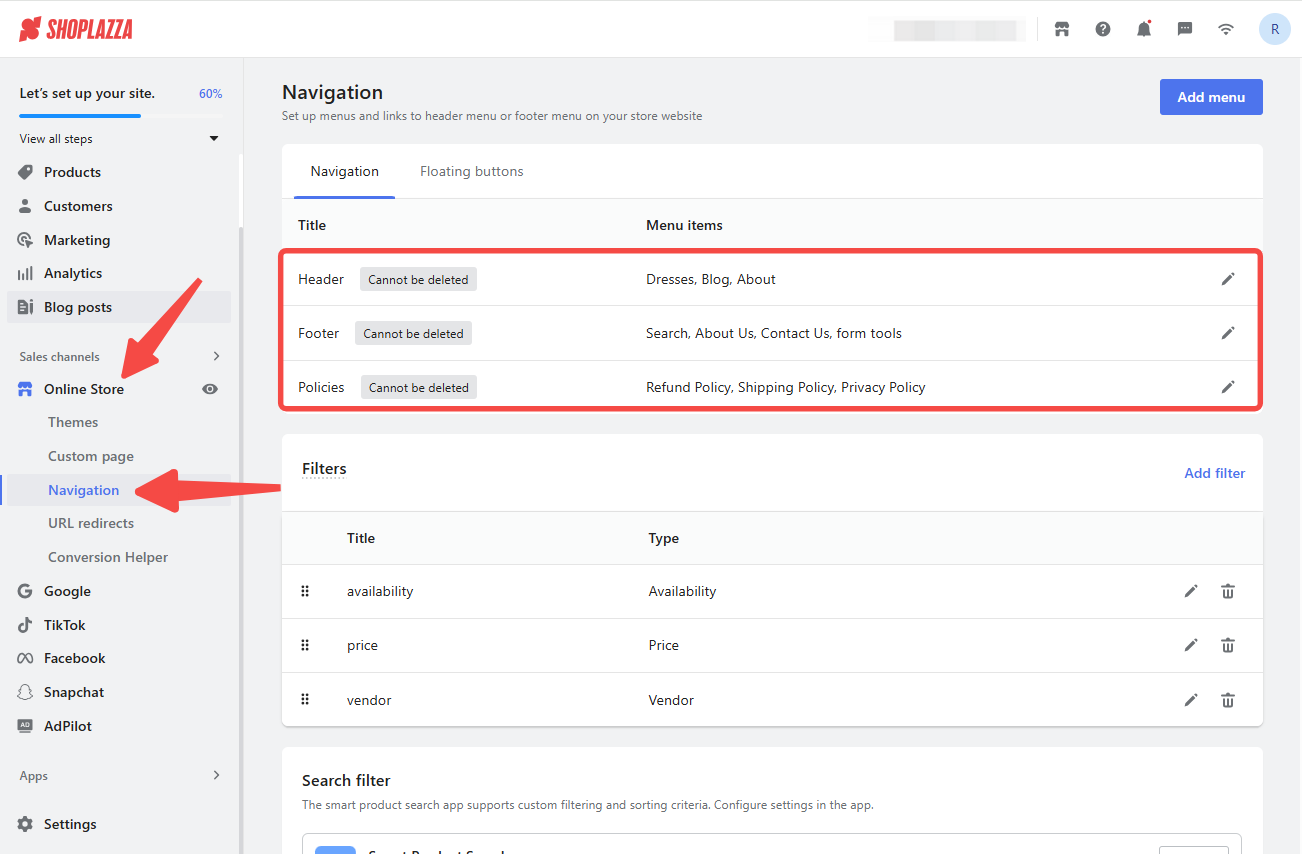
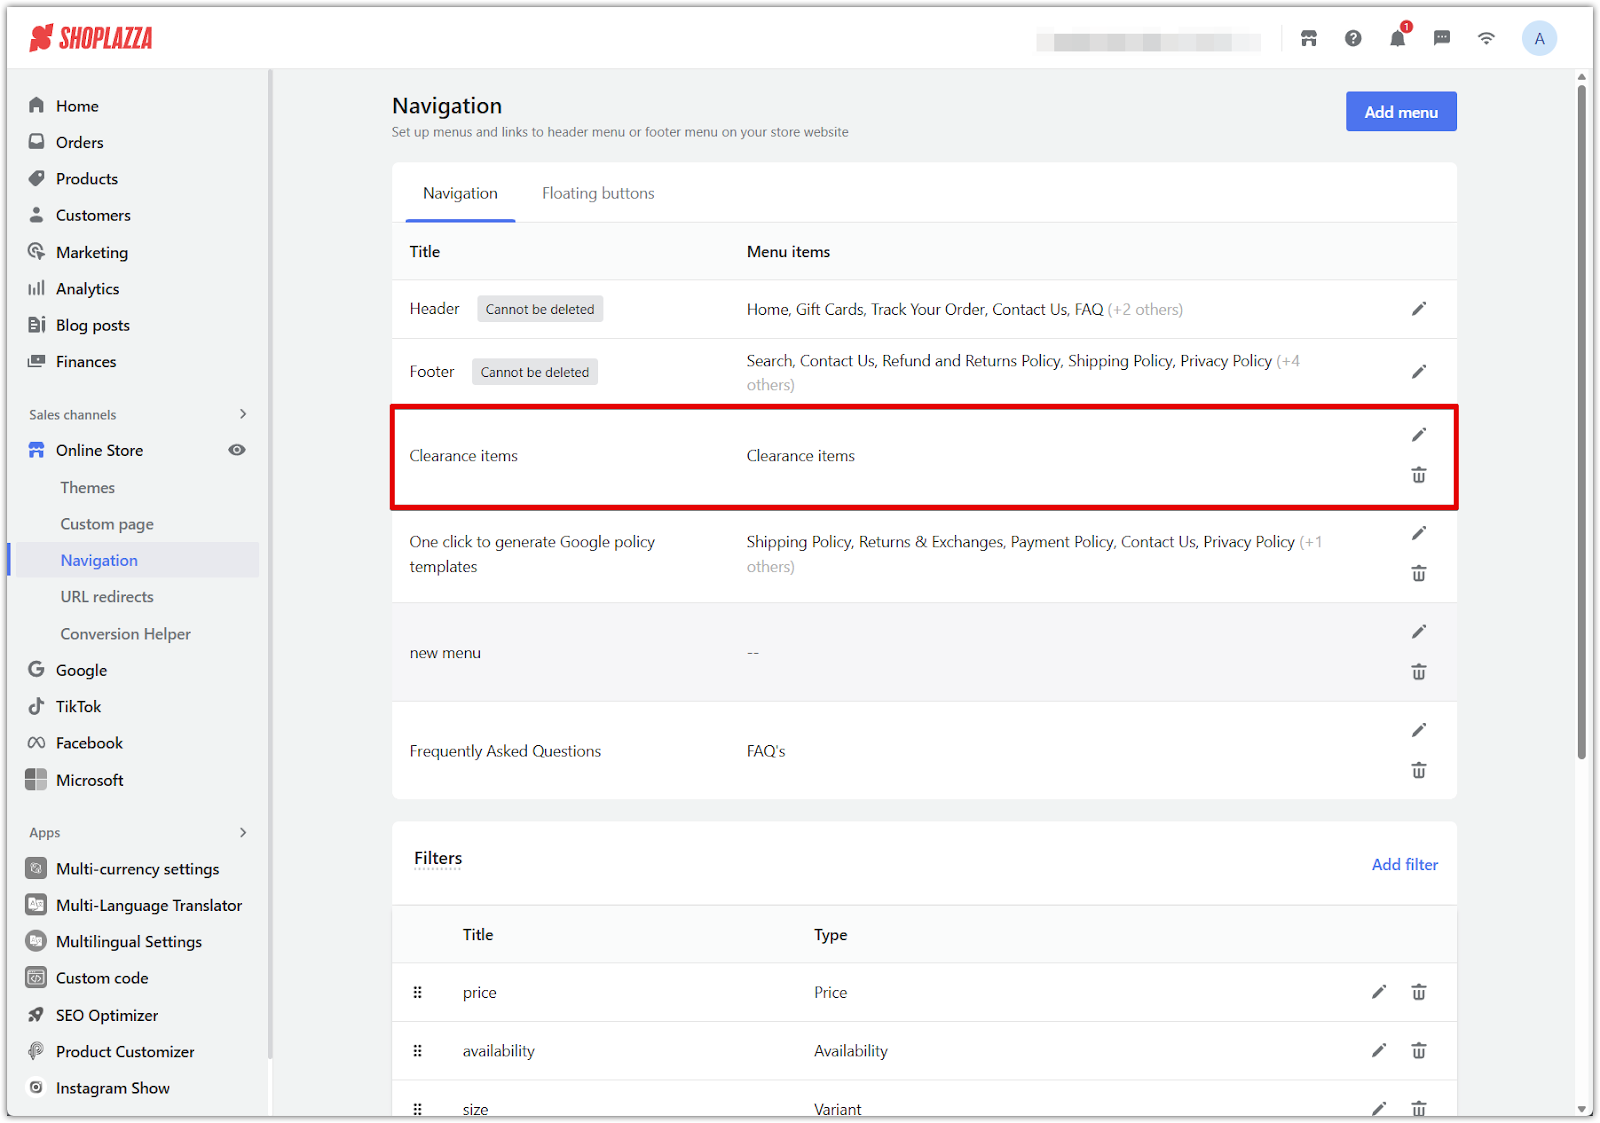
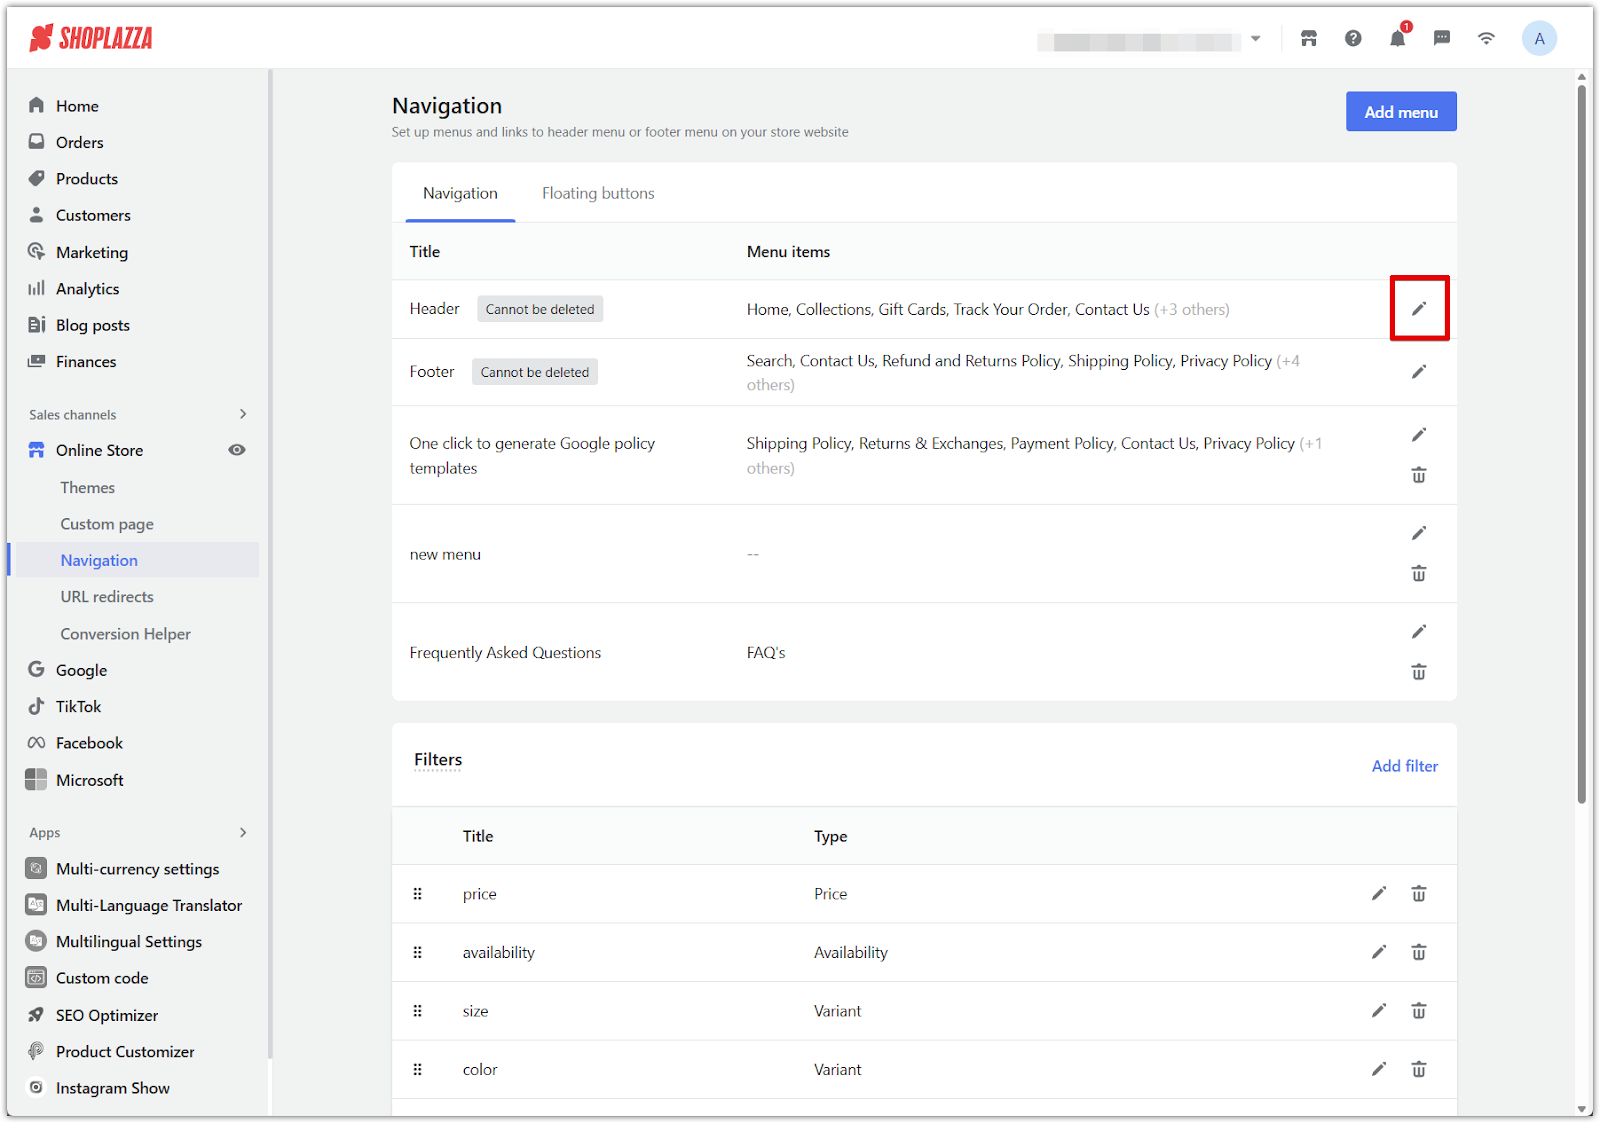
In the default Shoplazza theme template, your online store comes with three built-in navigation menus, found under the Navigation tab in your admin. These menus are essential parts of your storefront and cannot be deleted, but you can fully customize the menu items to match your store needs.
- Header menu: The Header menu appears at the top of every page. It serves as a key touchpoint for brand recognition and helps customers quickly access important areas such as your home page, collections, gift cards, order tracking, and contact information.
- Footer menu: The Footer menu is located at the bottom of each page and typically contains essential links such as store policies, contact details, and social media accounts, helping customers find important information easily.
- Policies menu: This dedicated menu is designed to house legal and transactional documents like your Privacy Policy, Return Policy, Shipping Policy, and Terms of Service. These links are often required for transparency and compliance, especially during checkout.
Creating a new navigation menu
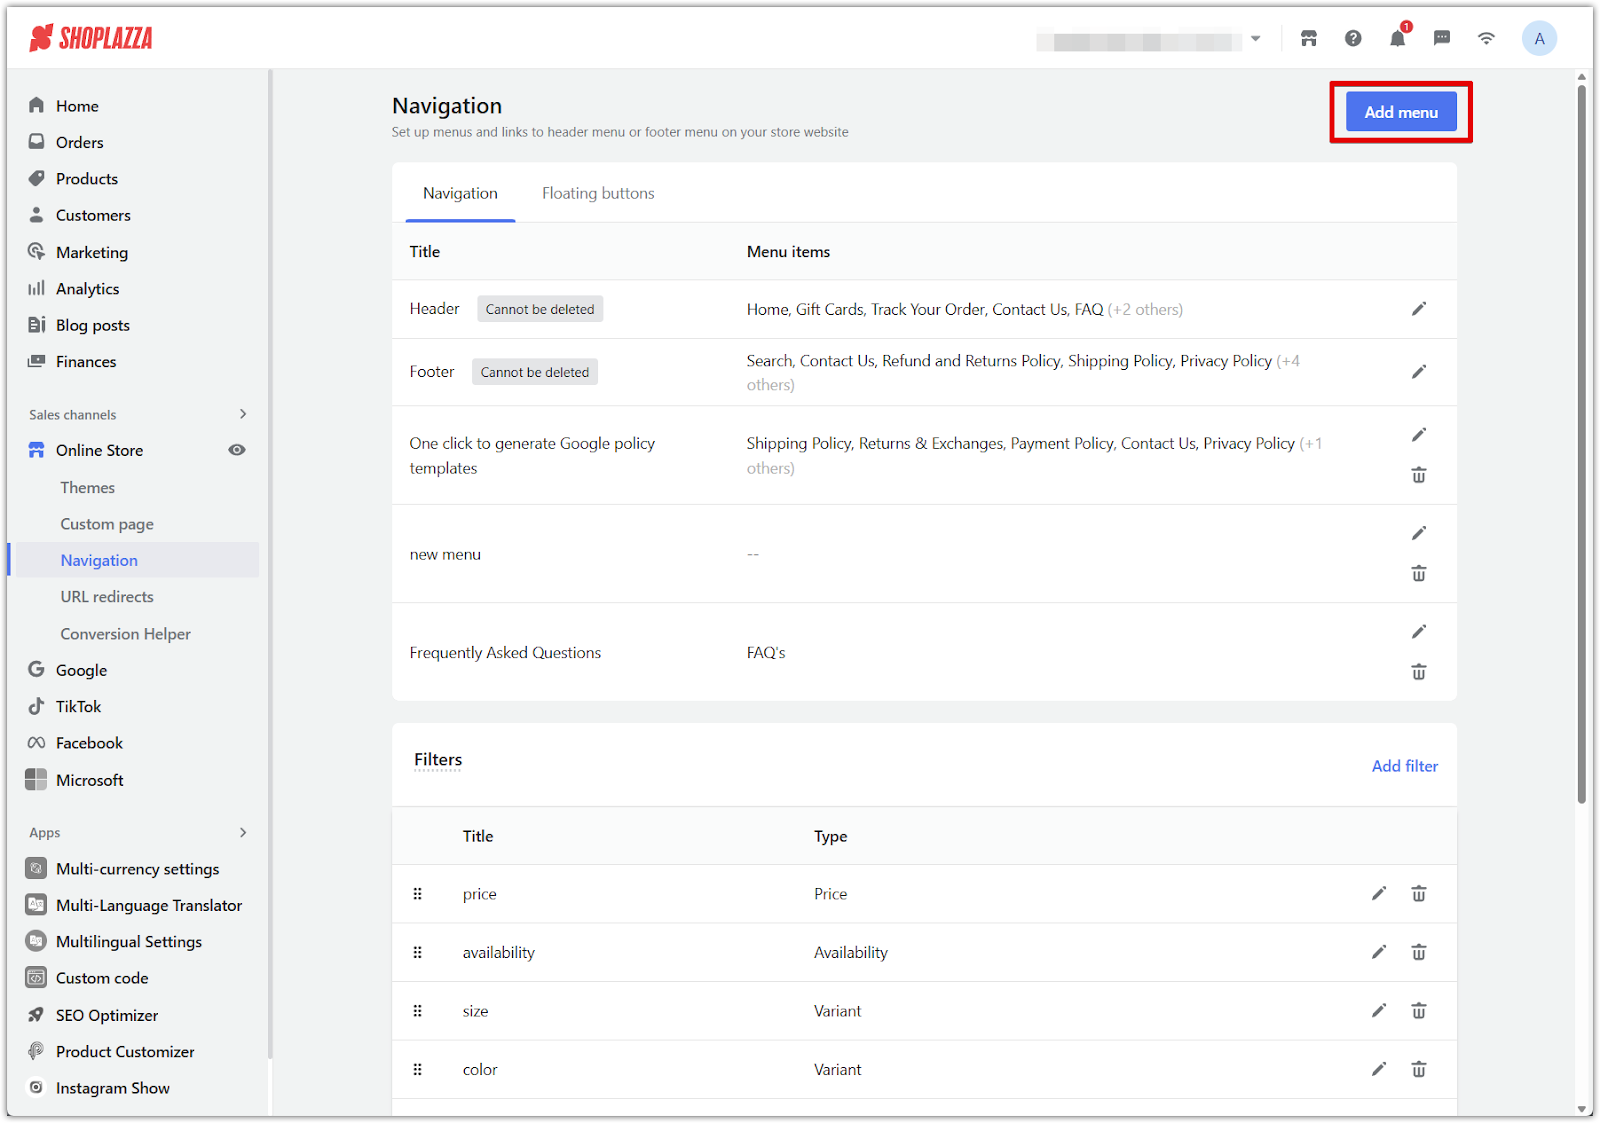
Create a brand-new navigation menu directly from the Navigation settings.
1. Click Add menu: In the Navigation tab, use Add menu to create a new navigation list.
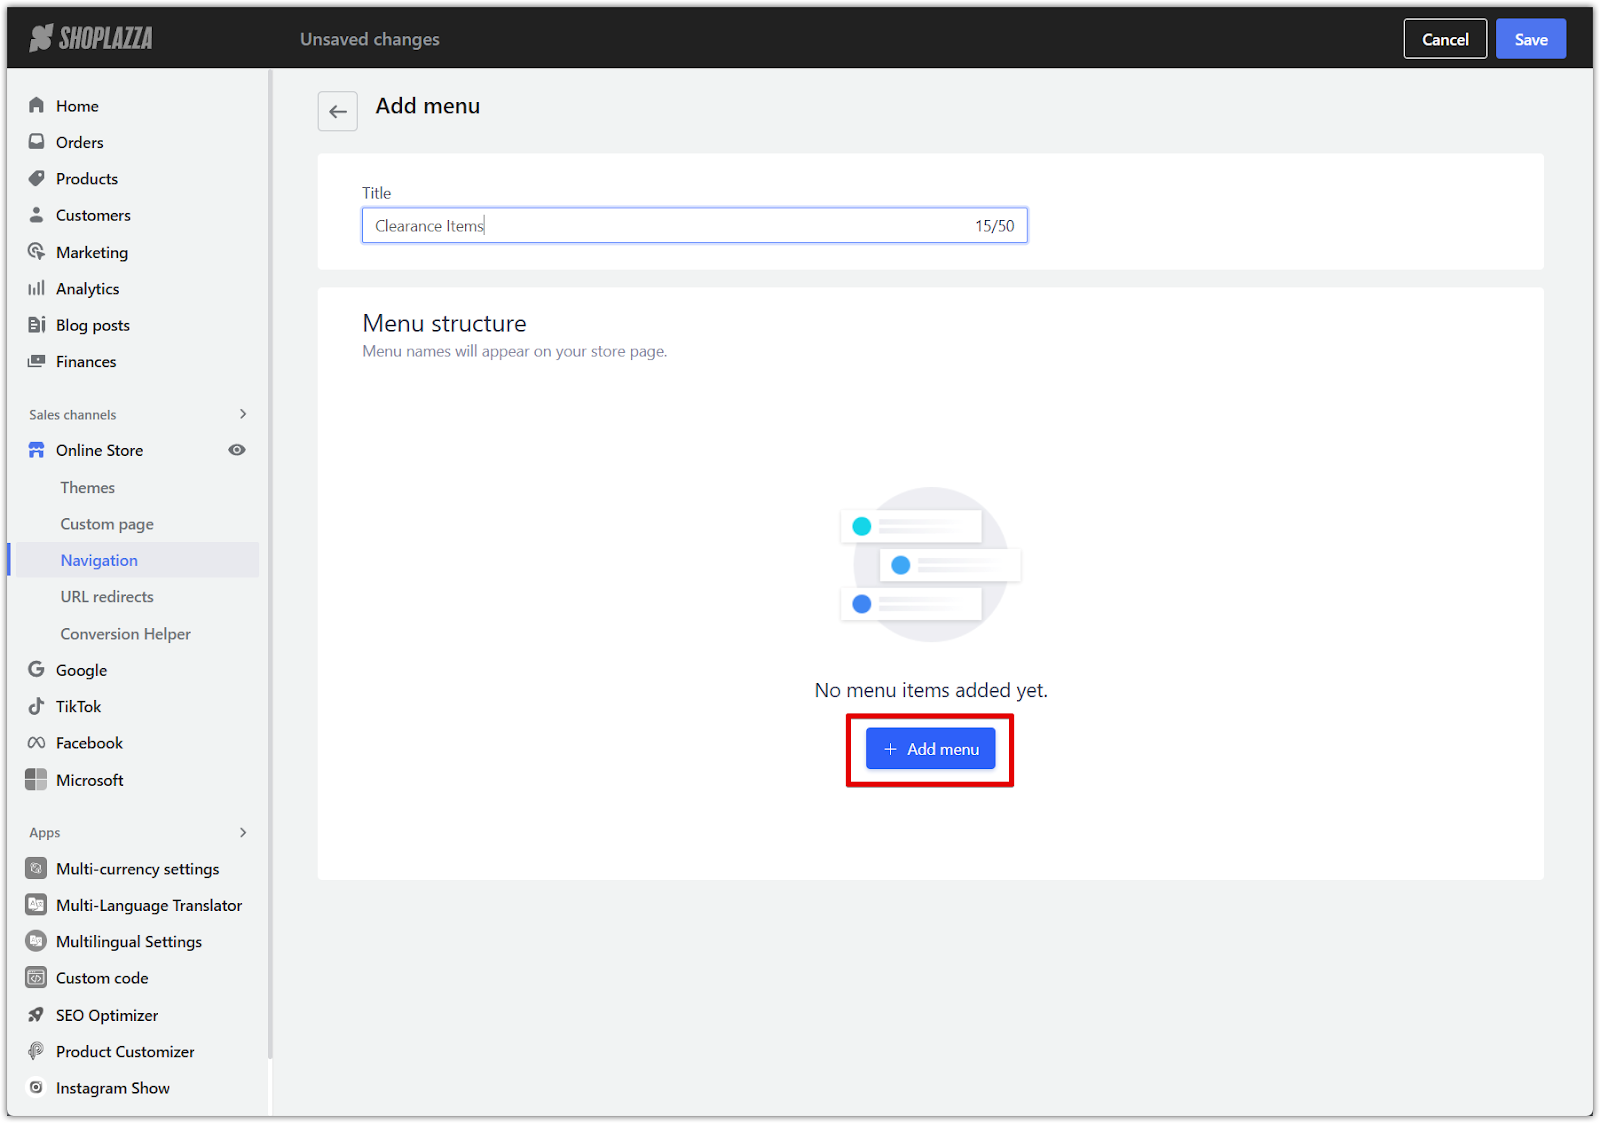
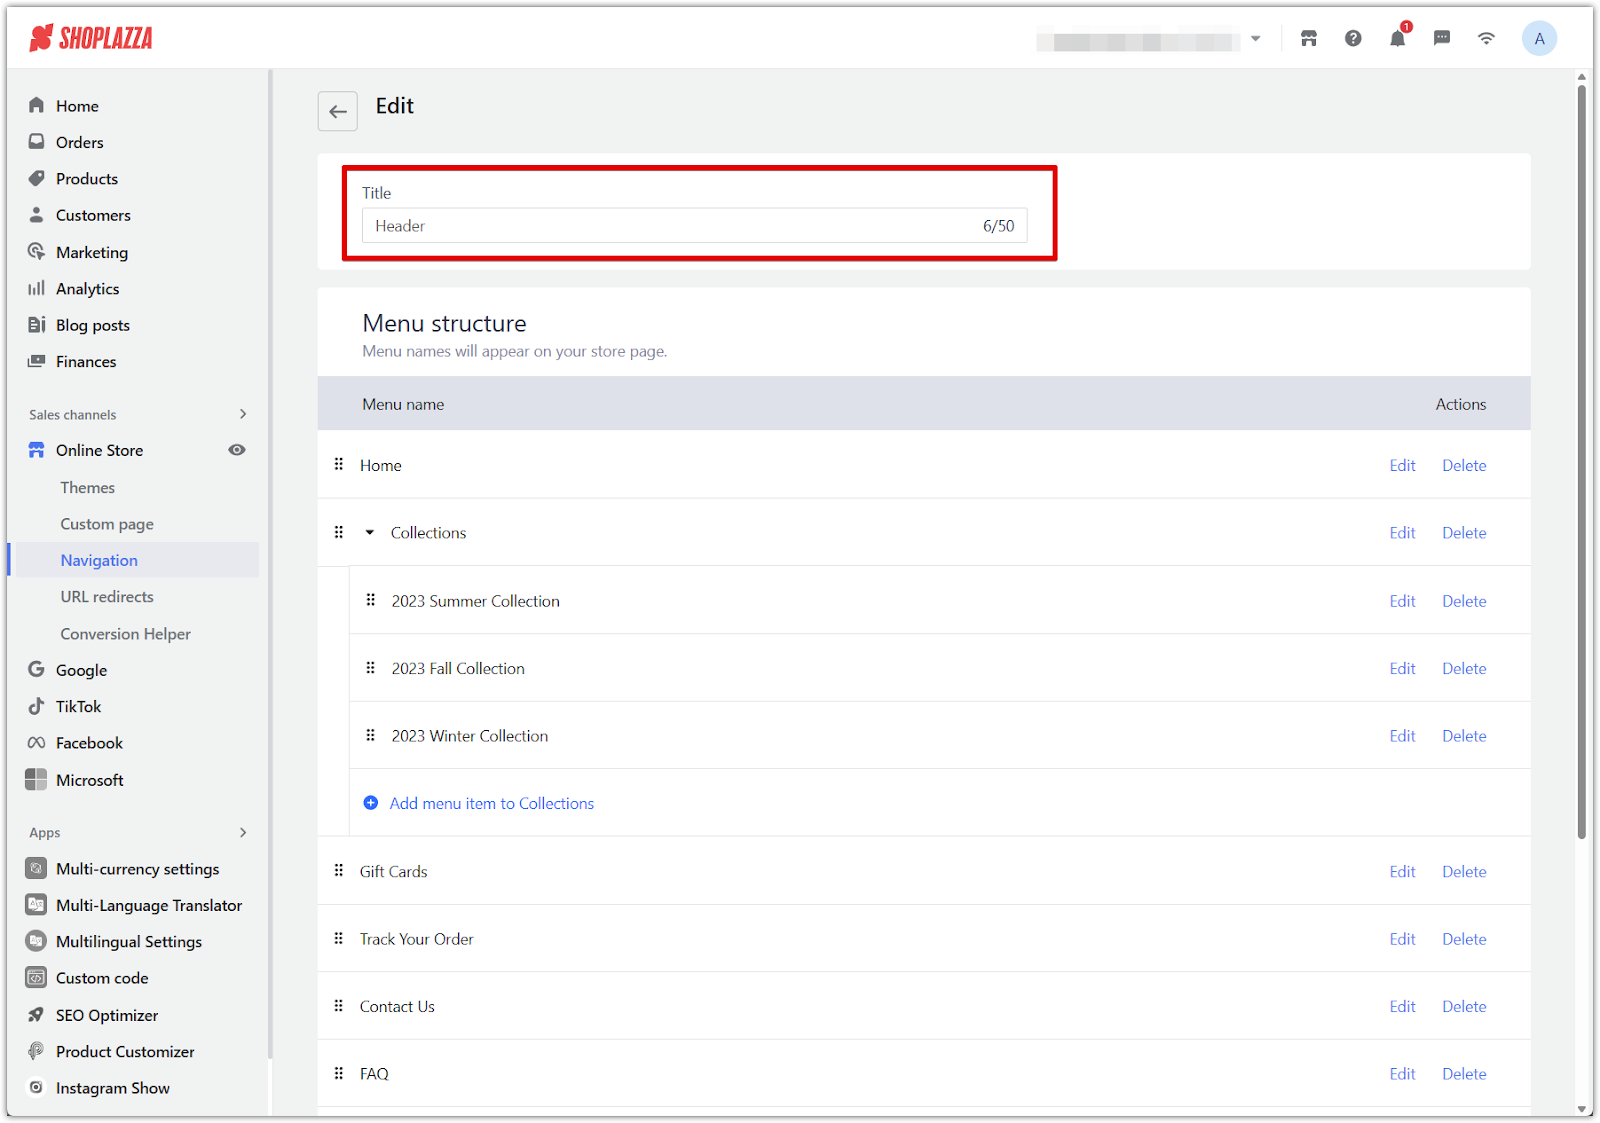
2. Enter a menu title: Provide a clear and recognizable name for your new menu. The title will appear on your storefront, so choose a name that matches its purpose.
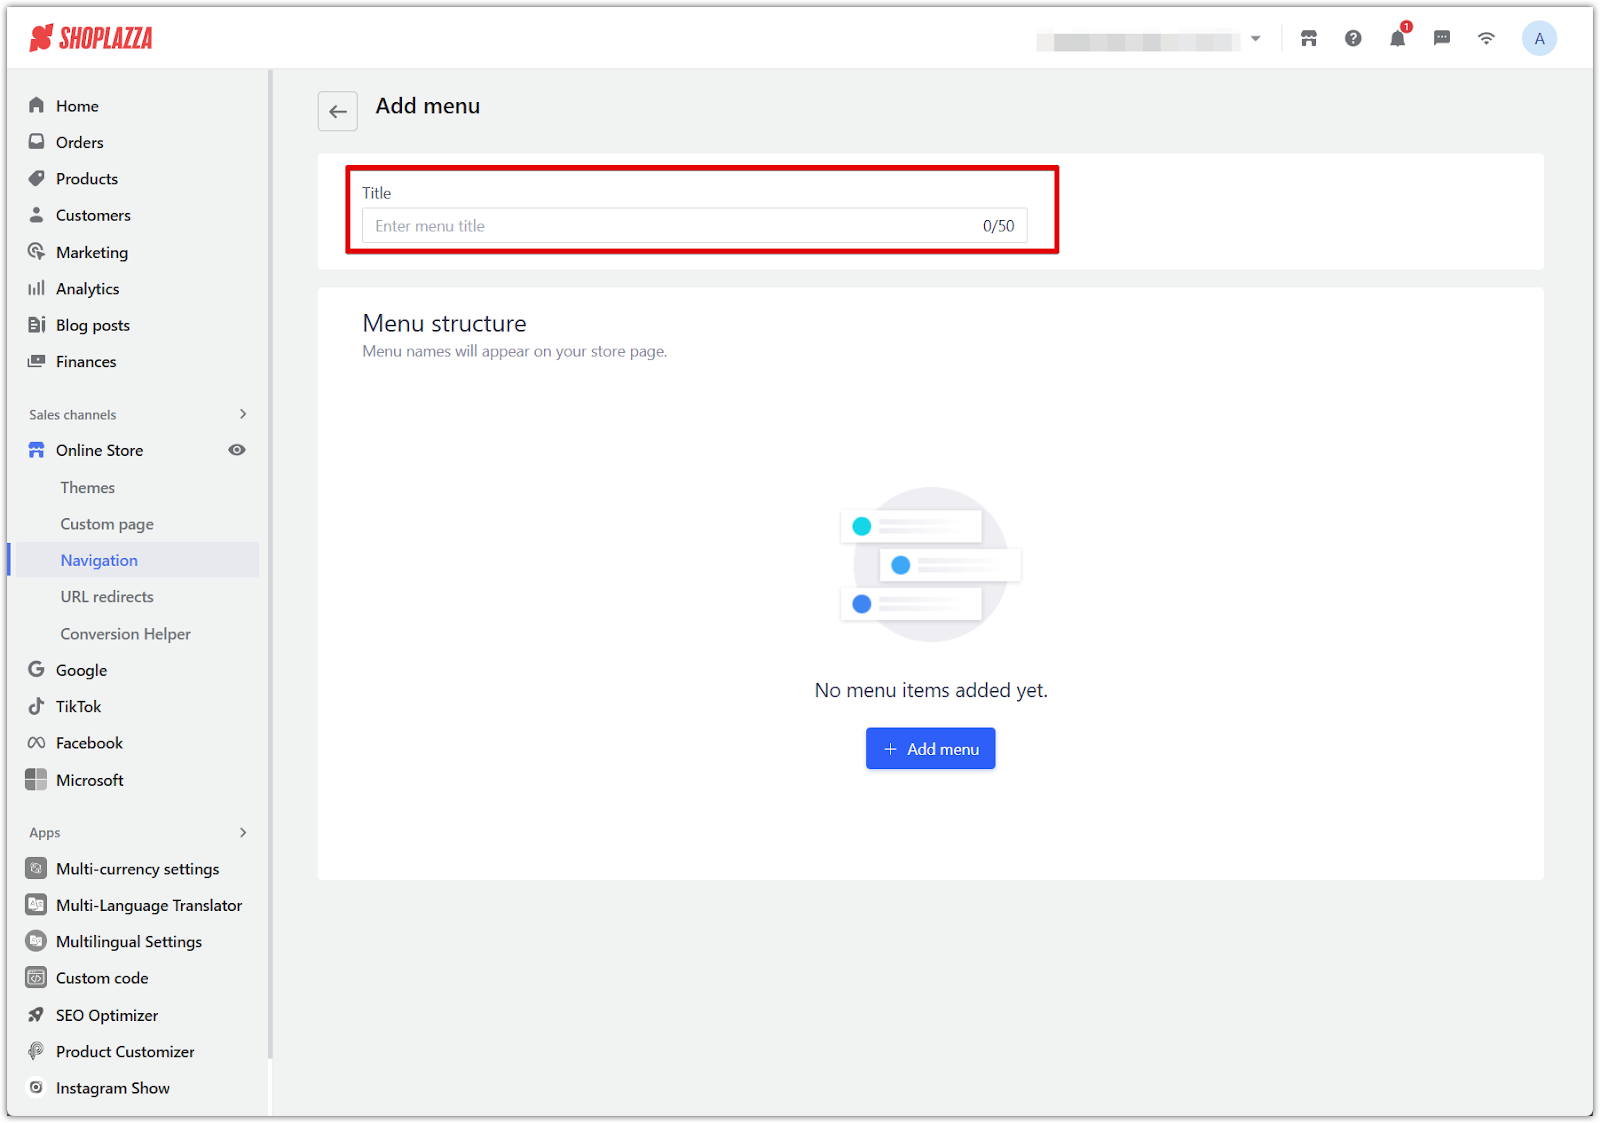
3. Add menu items: Click Add menu item to start adding links under your new menu. You can add links to collections, blogs, product pages, or custom pages.
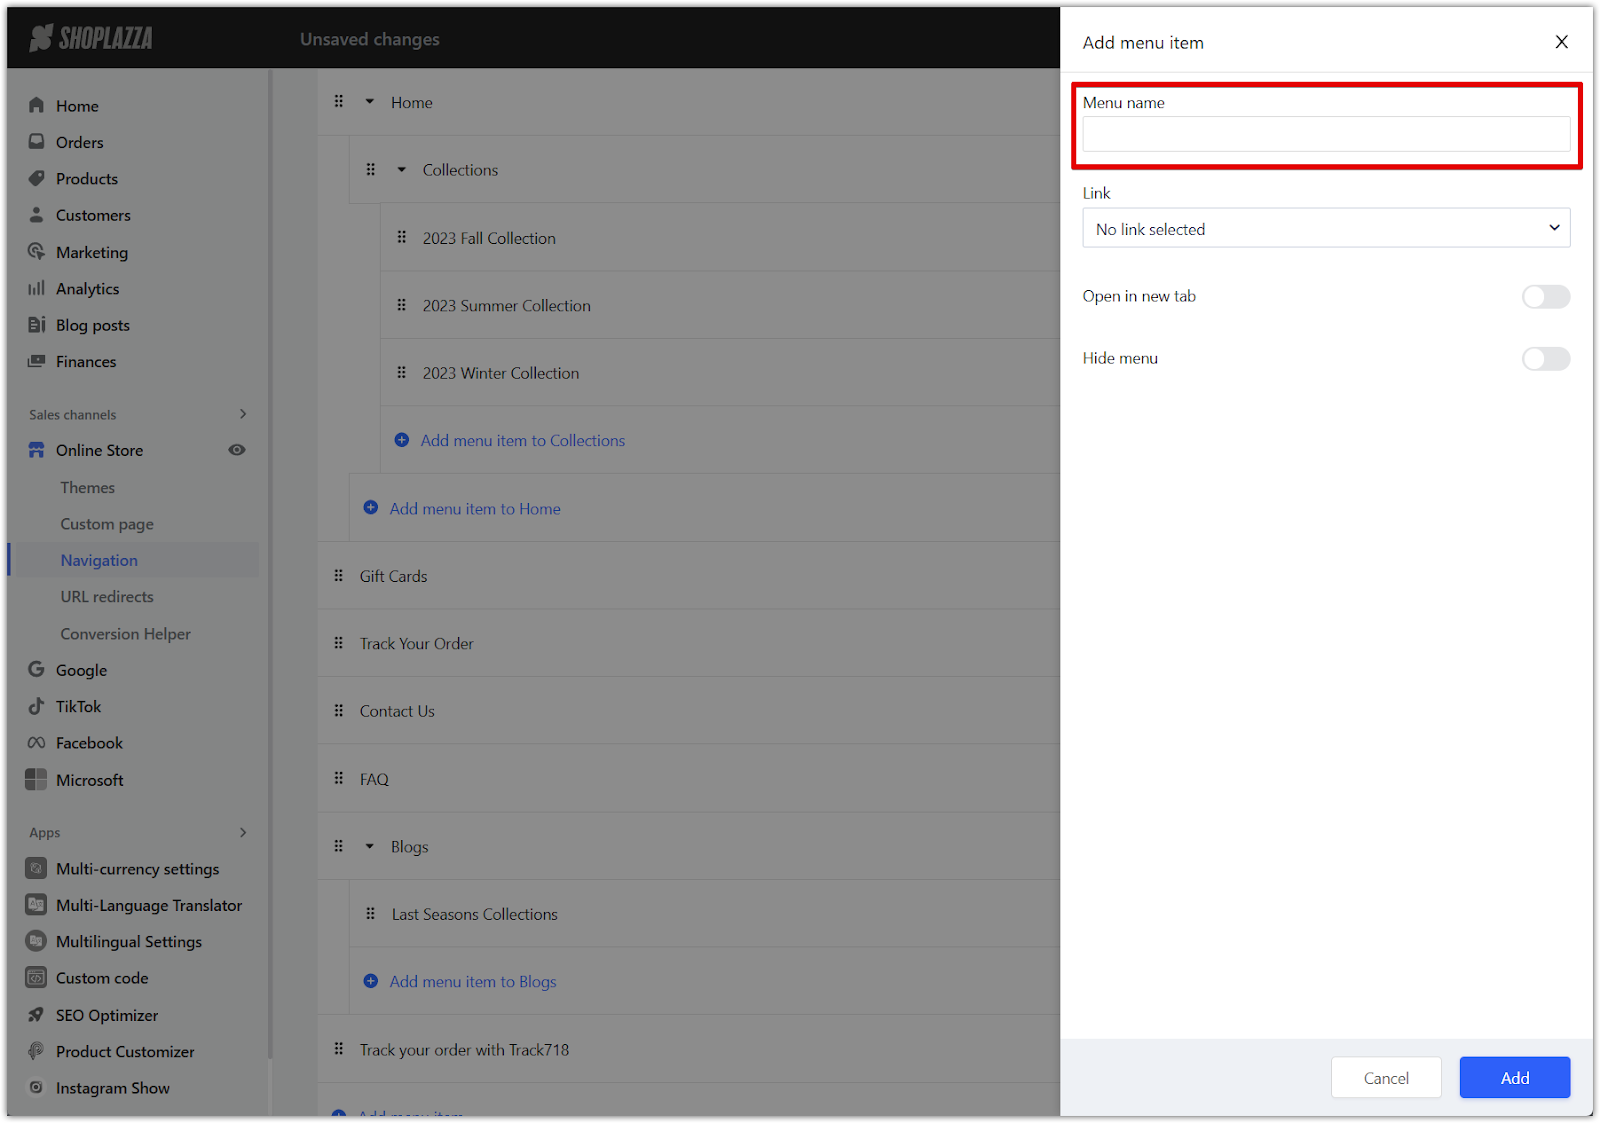
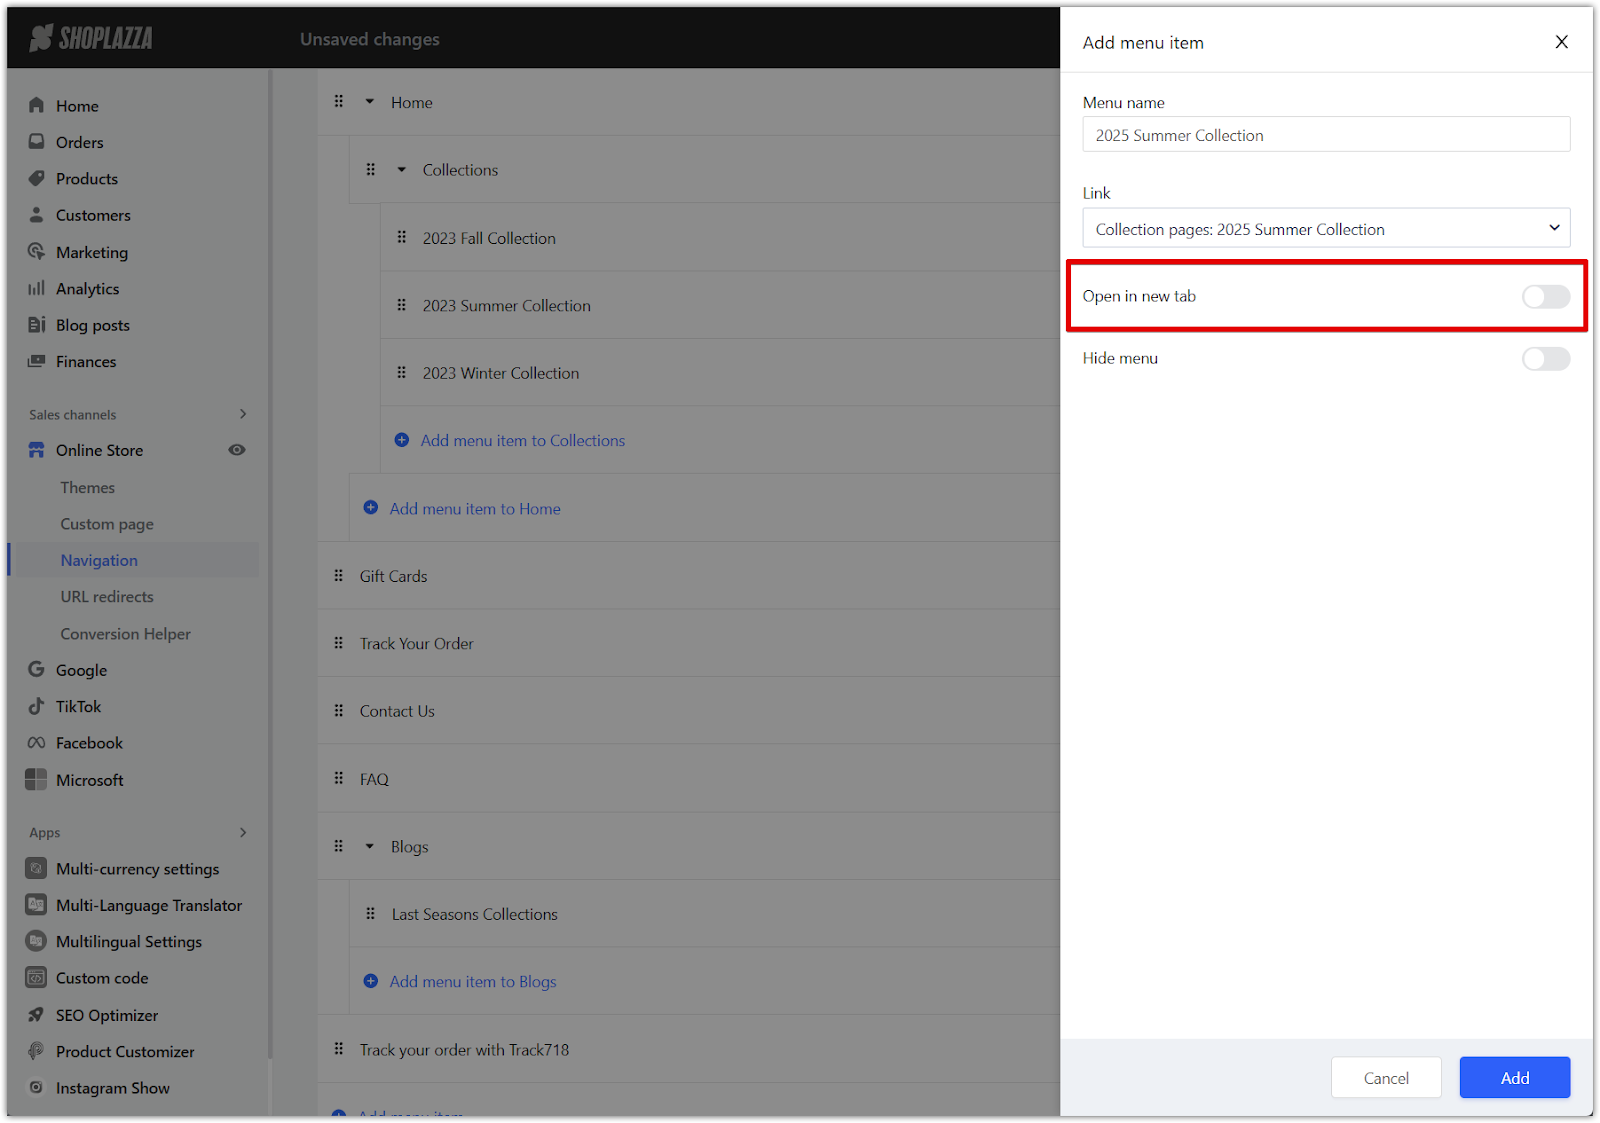
4. Fill in menu item details: Enter a menu item name, assign a link destination, and adjust settings like opening in a new tab or hiding the item if needed.
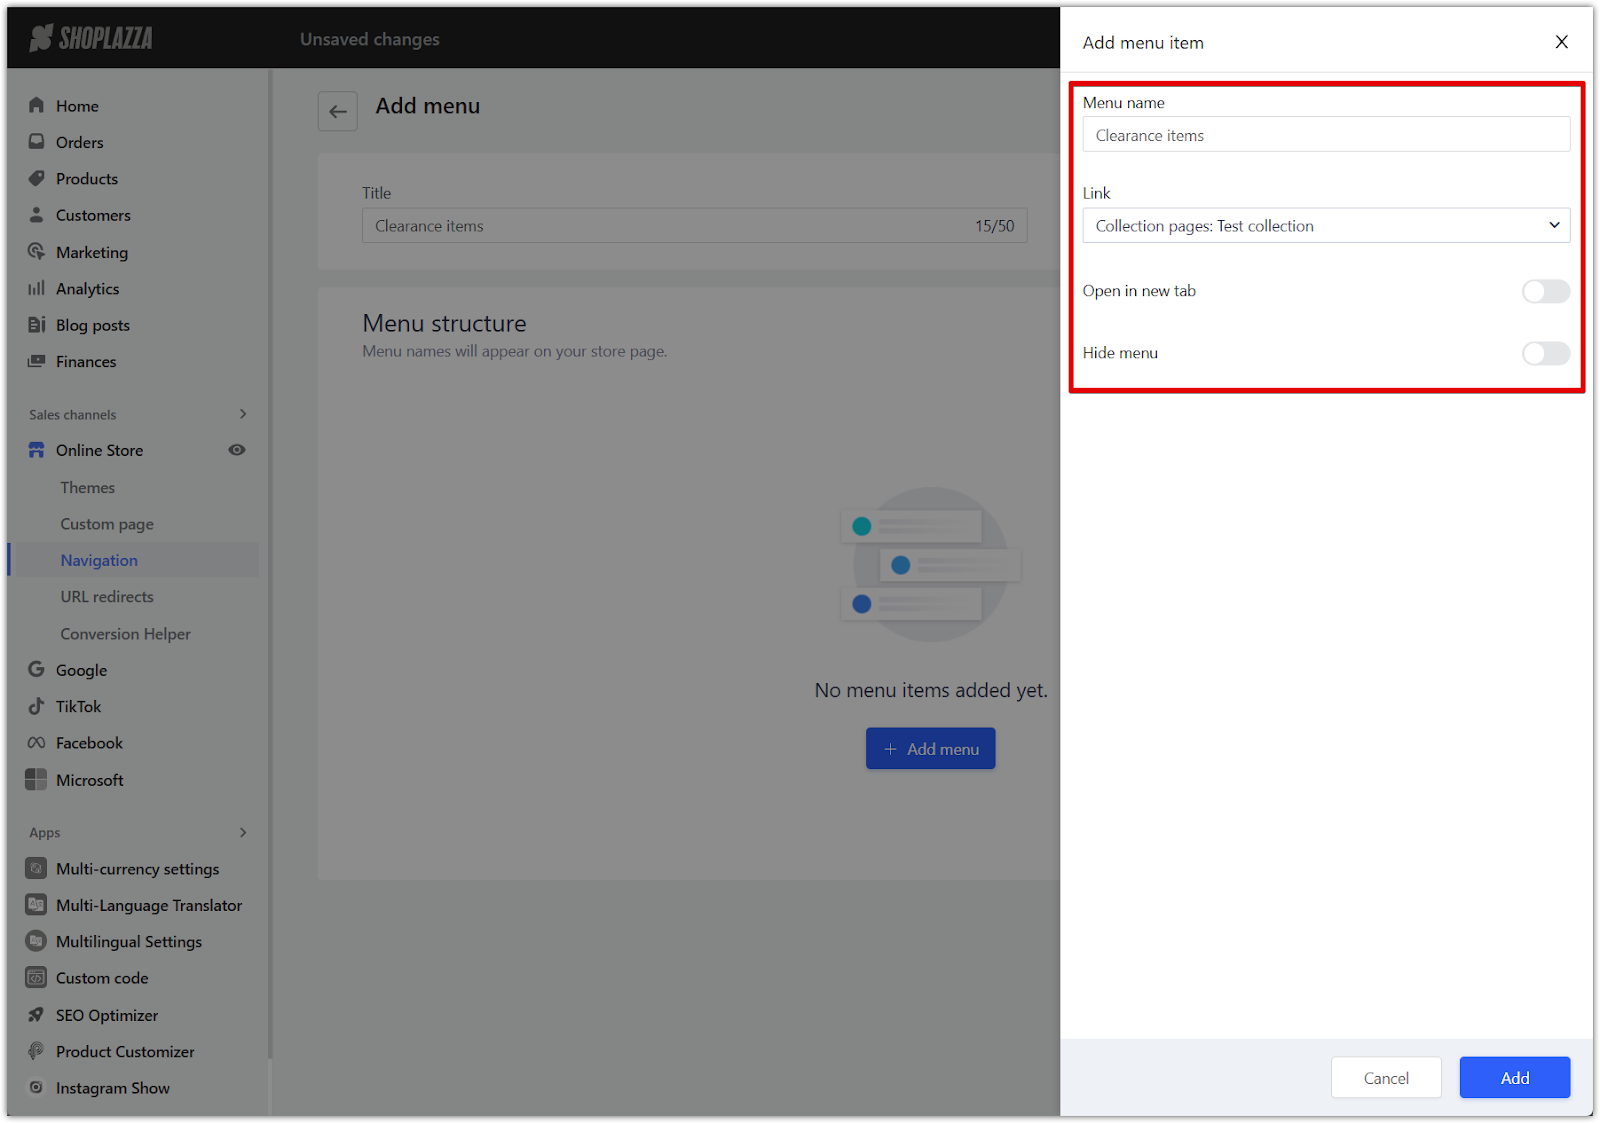
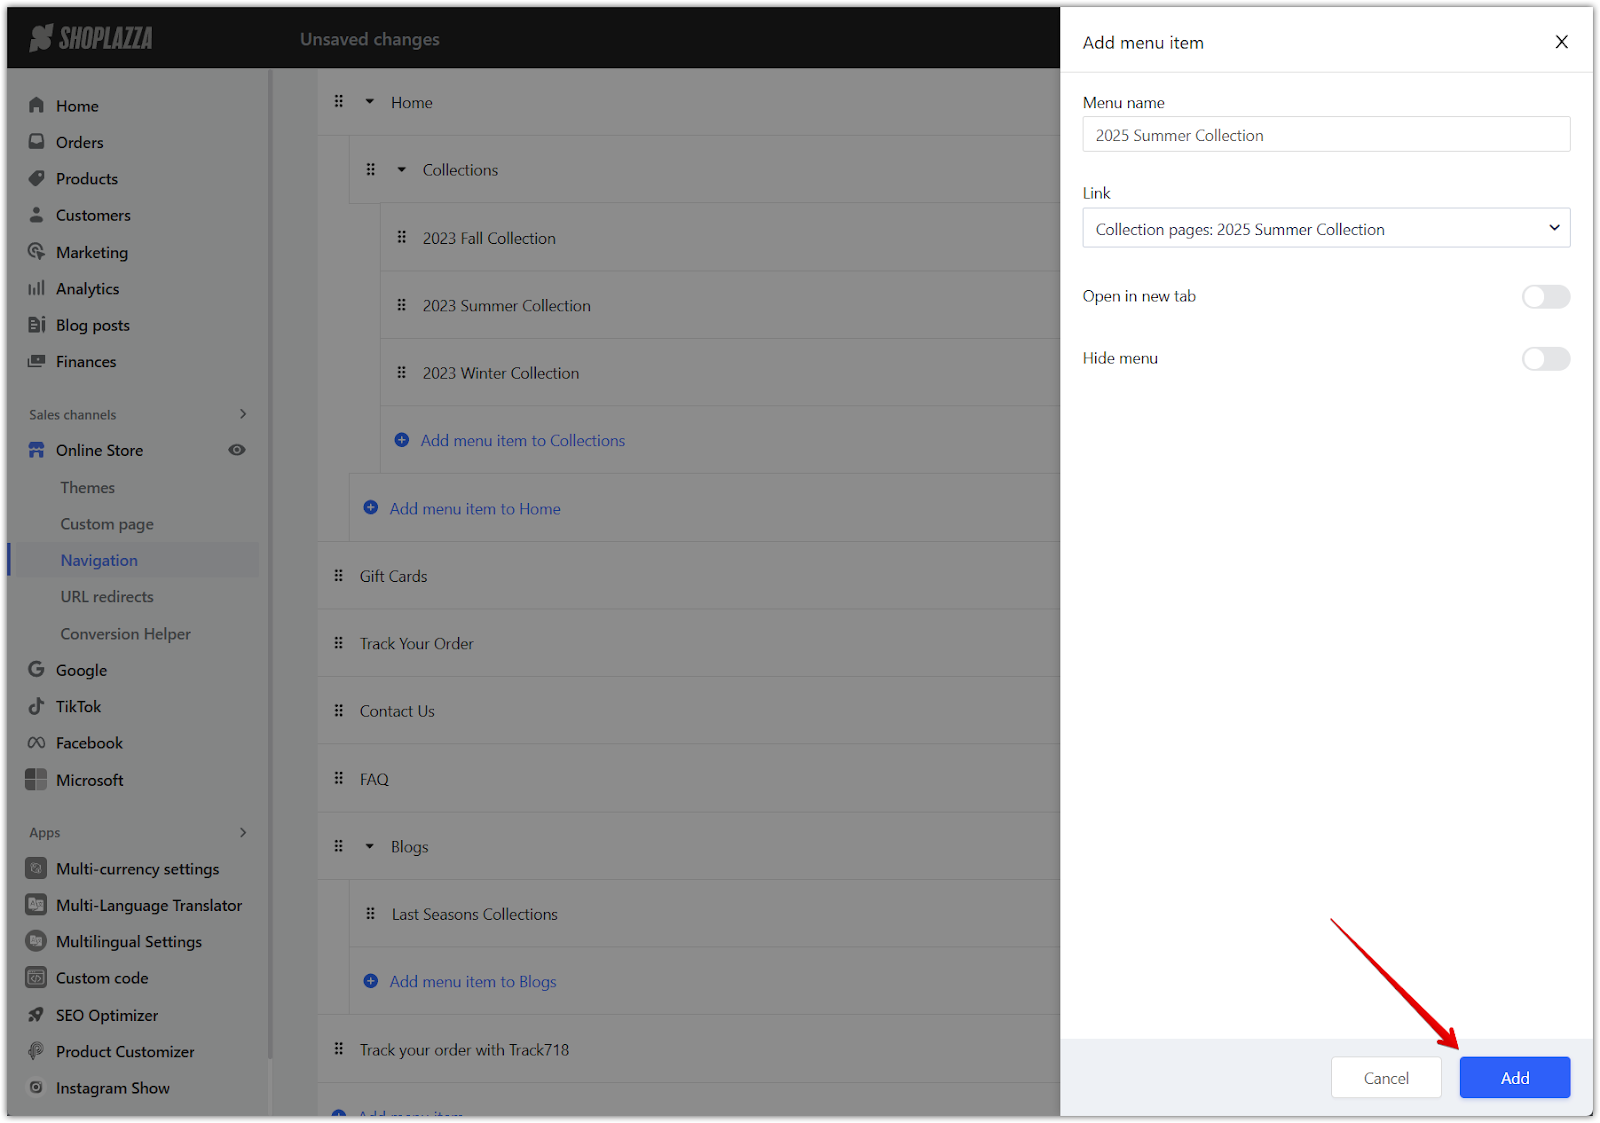
5. Select Add to confirm the menu item: After filling out the details for each menu item, click Add to include the item in the menu.

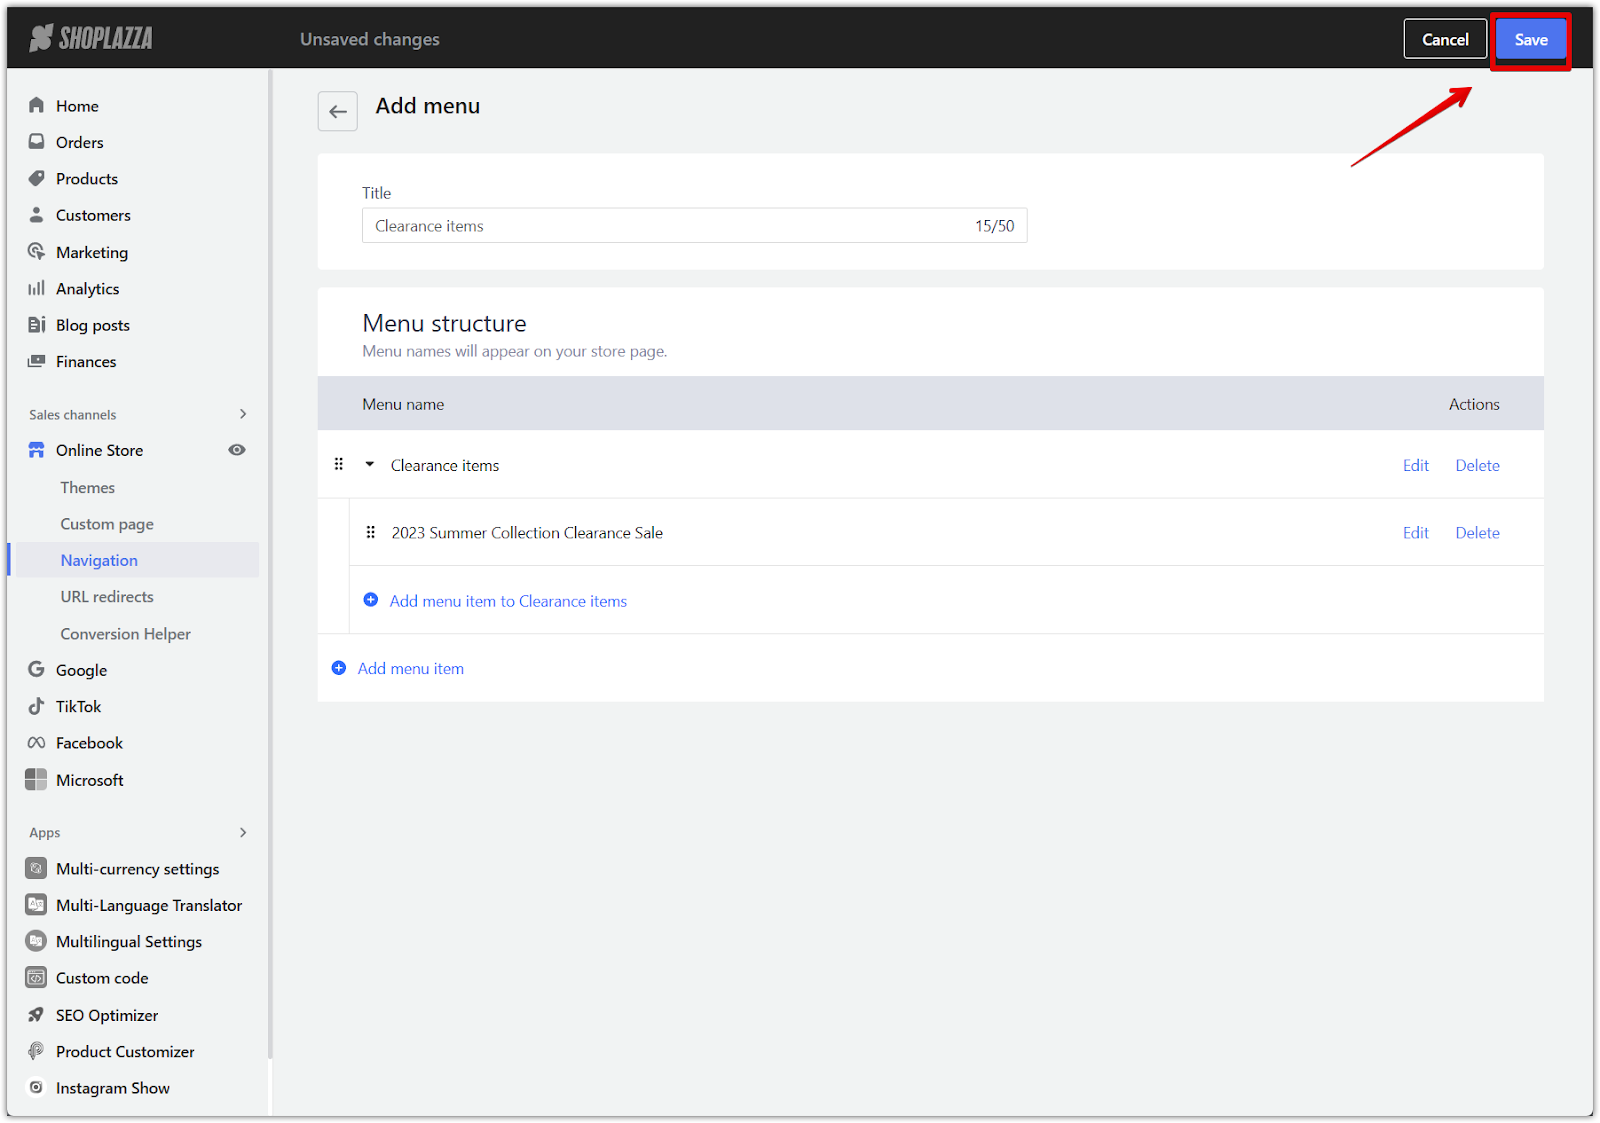
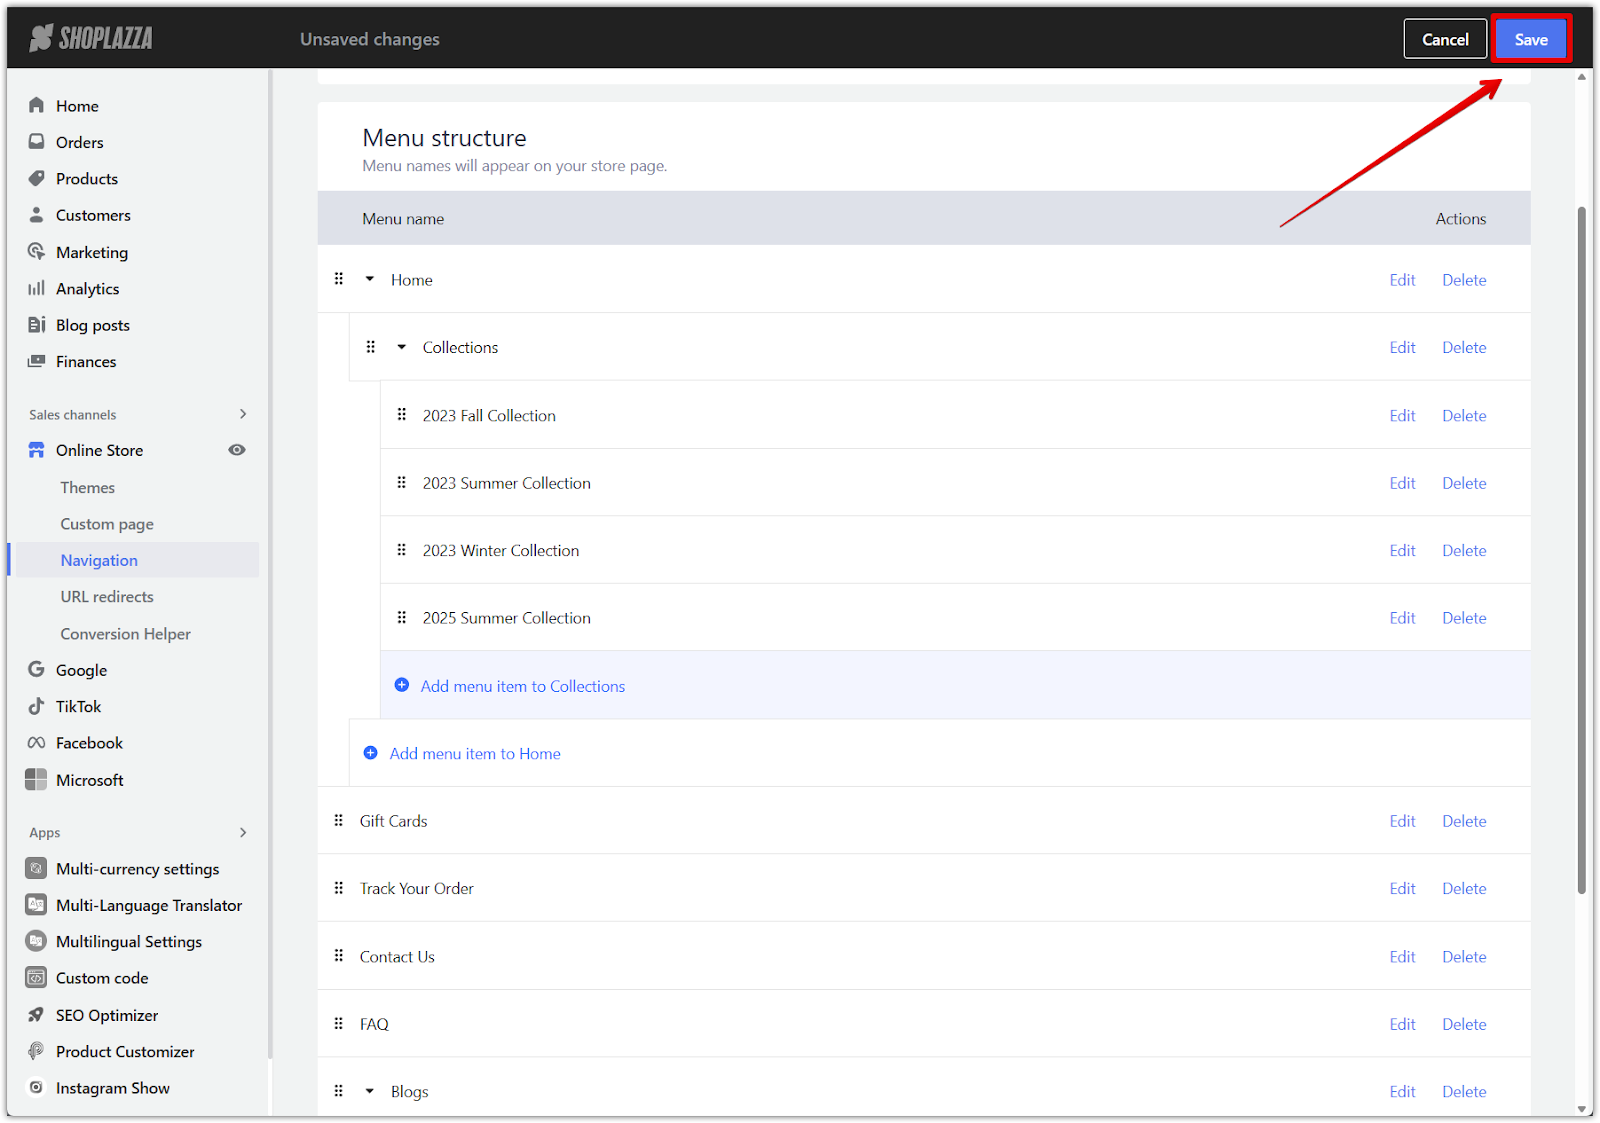
6. Save your menu: Once all items are added, click Save in the top-right corner to publish the new menu to your navigation list.
Organizing and editing menu items
After creating or selecting a menu, use the following options to manage its content and structure.
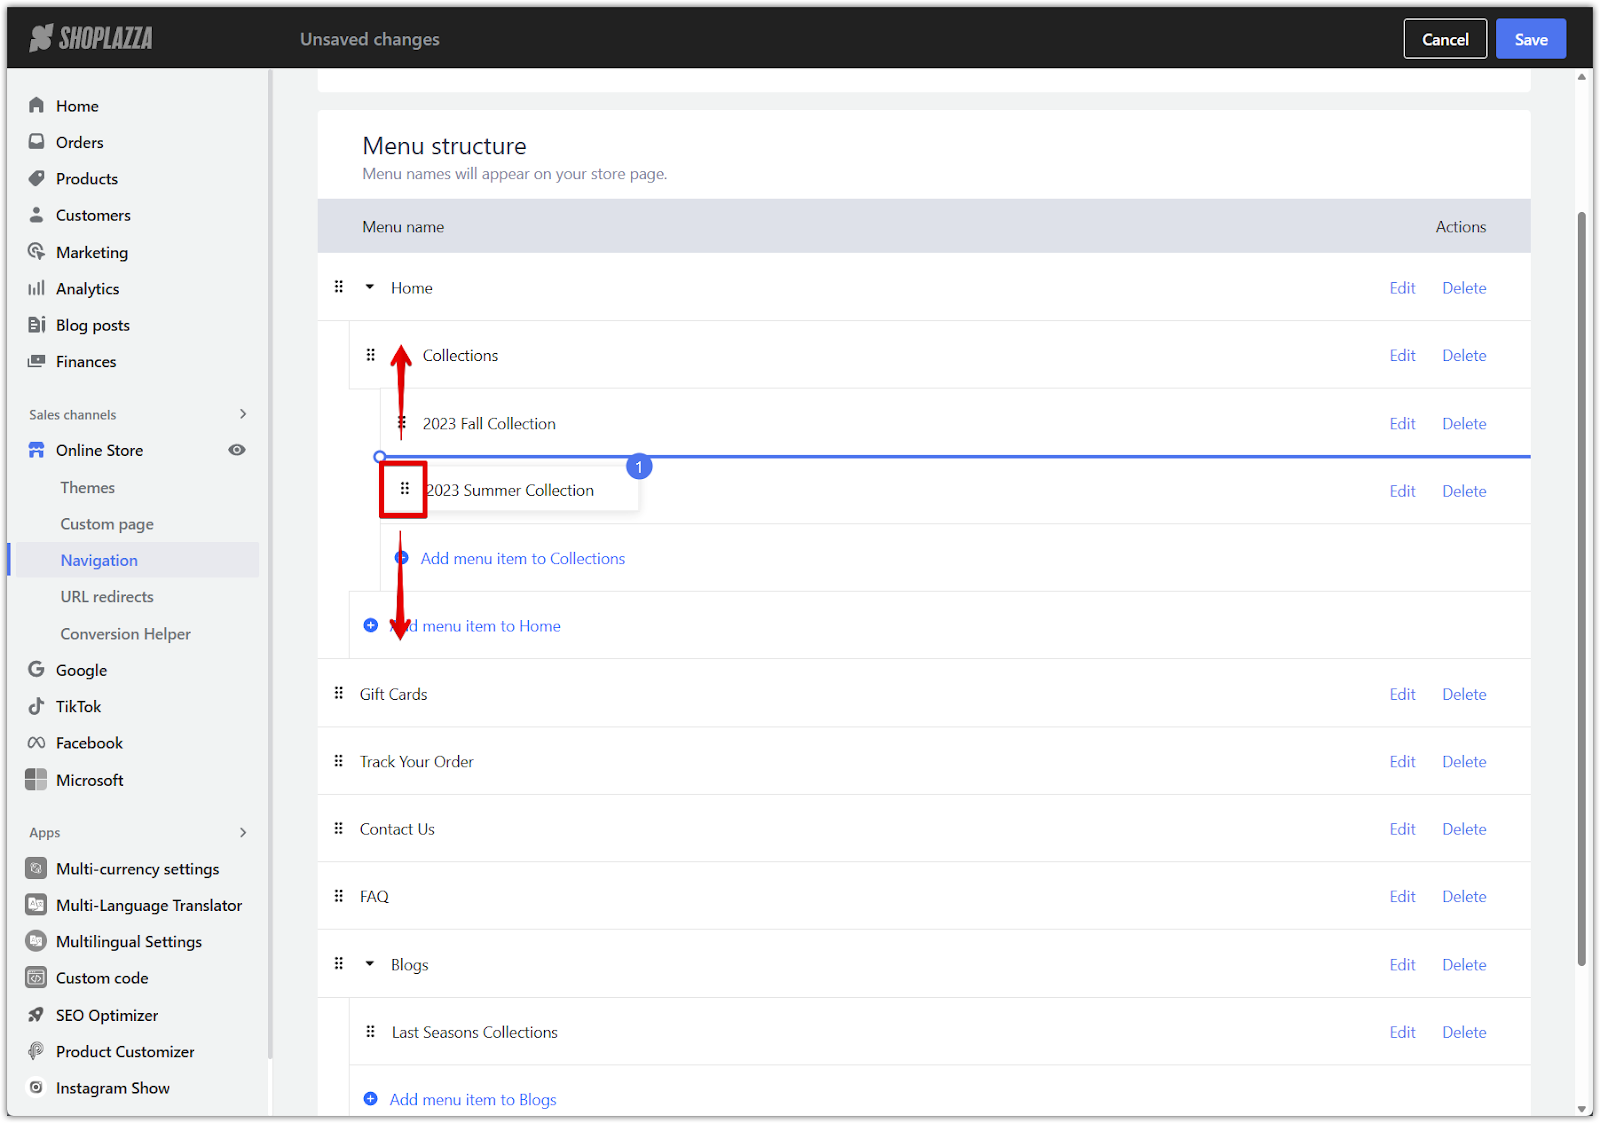
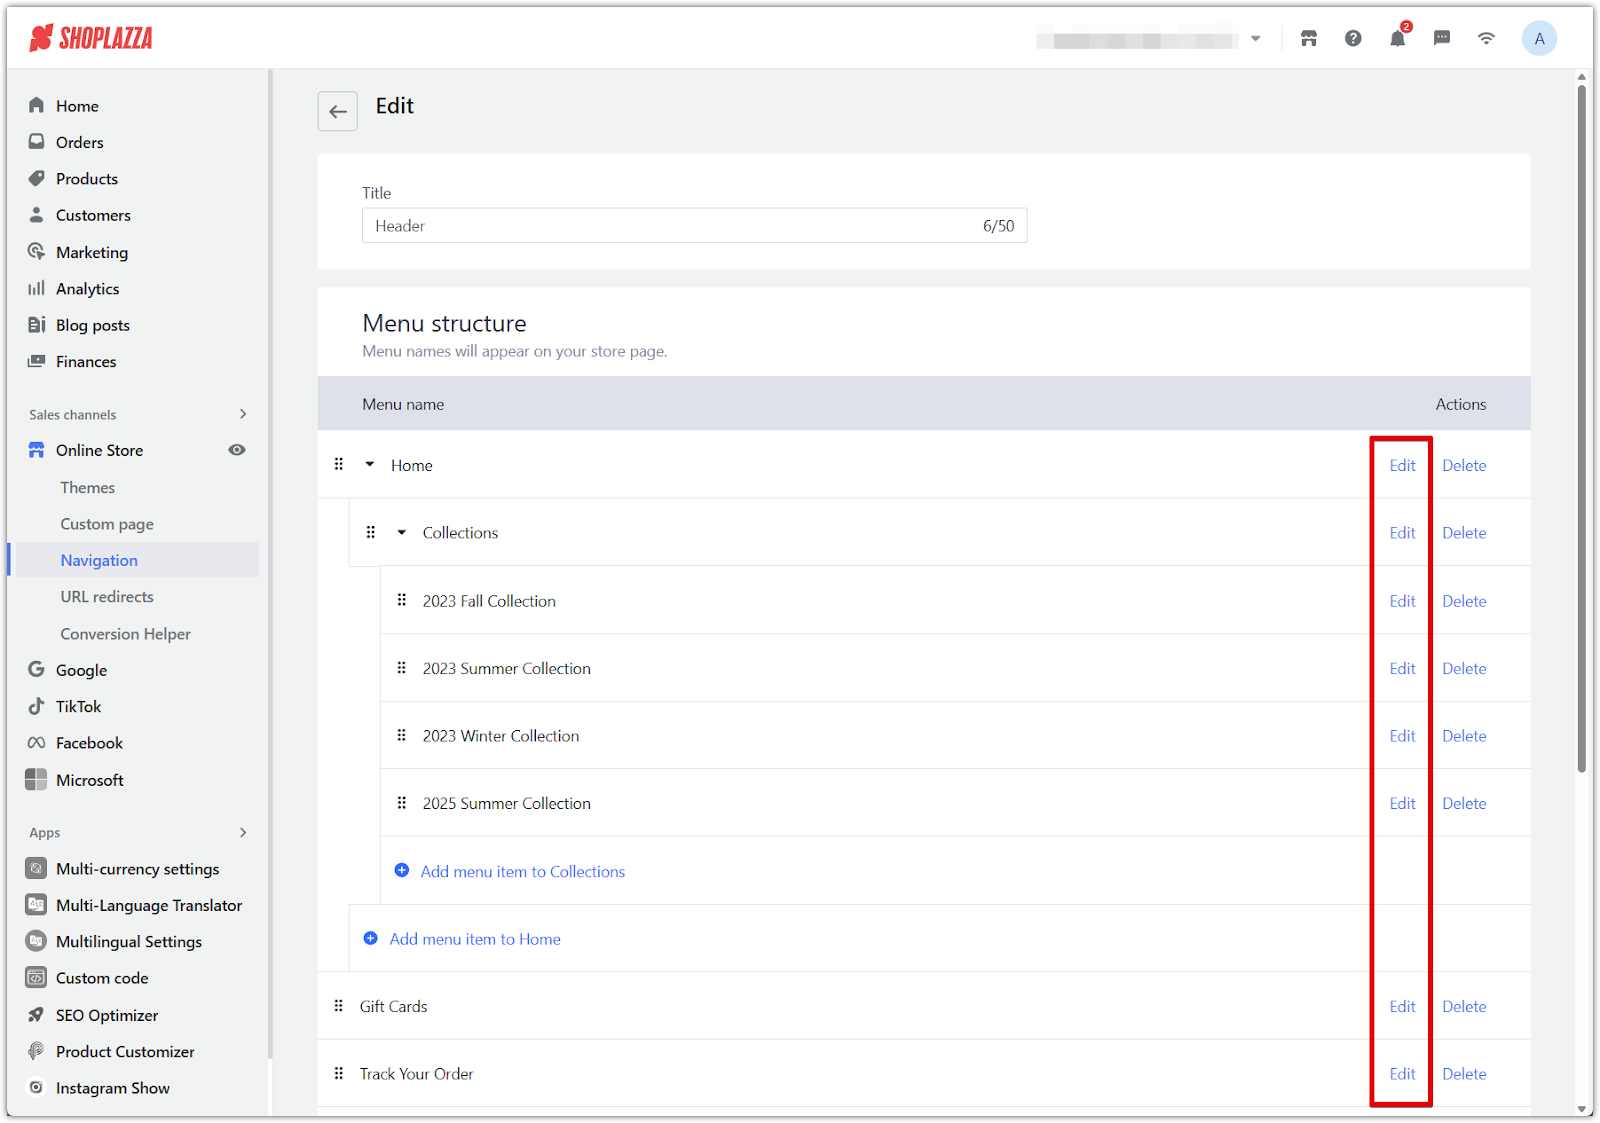
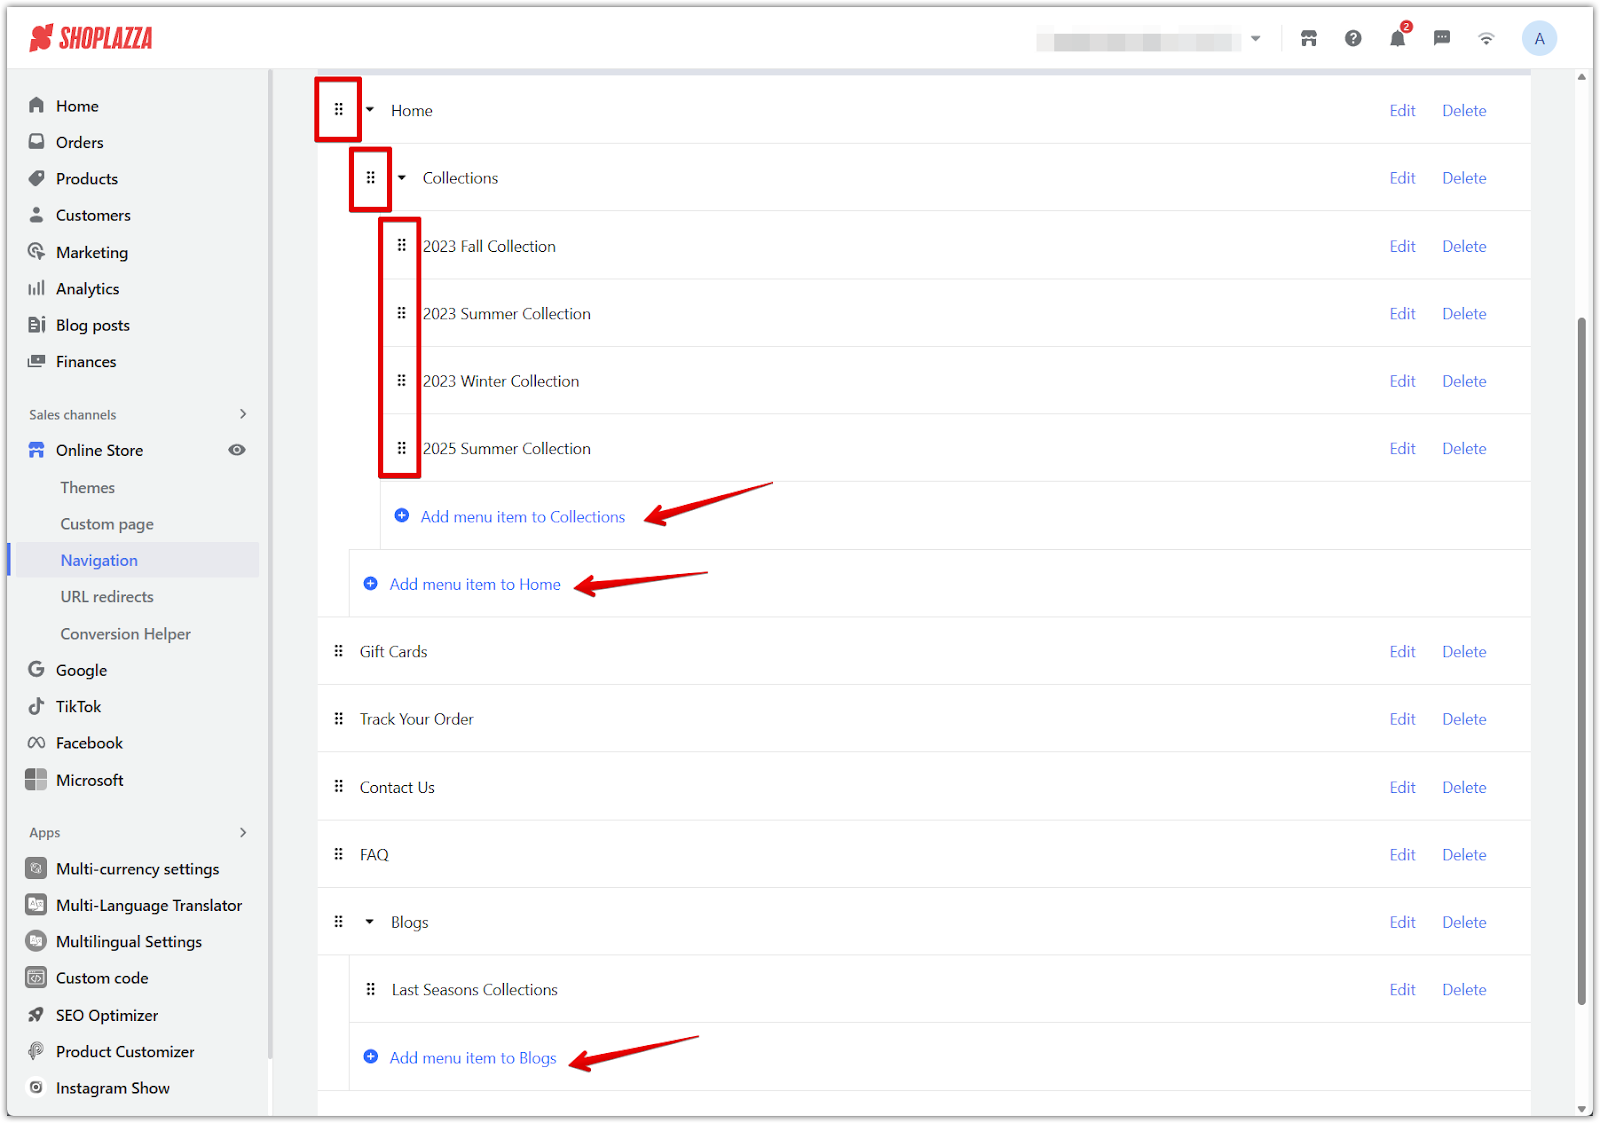
1. Organize menu items: Drag and drop menu items left or right to create a three-level hierarchy. For example, Home (first level) > Collection (second level) > 2023 Summer Collection (third level).
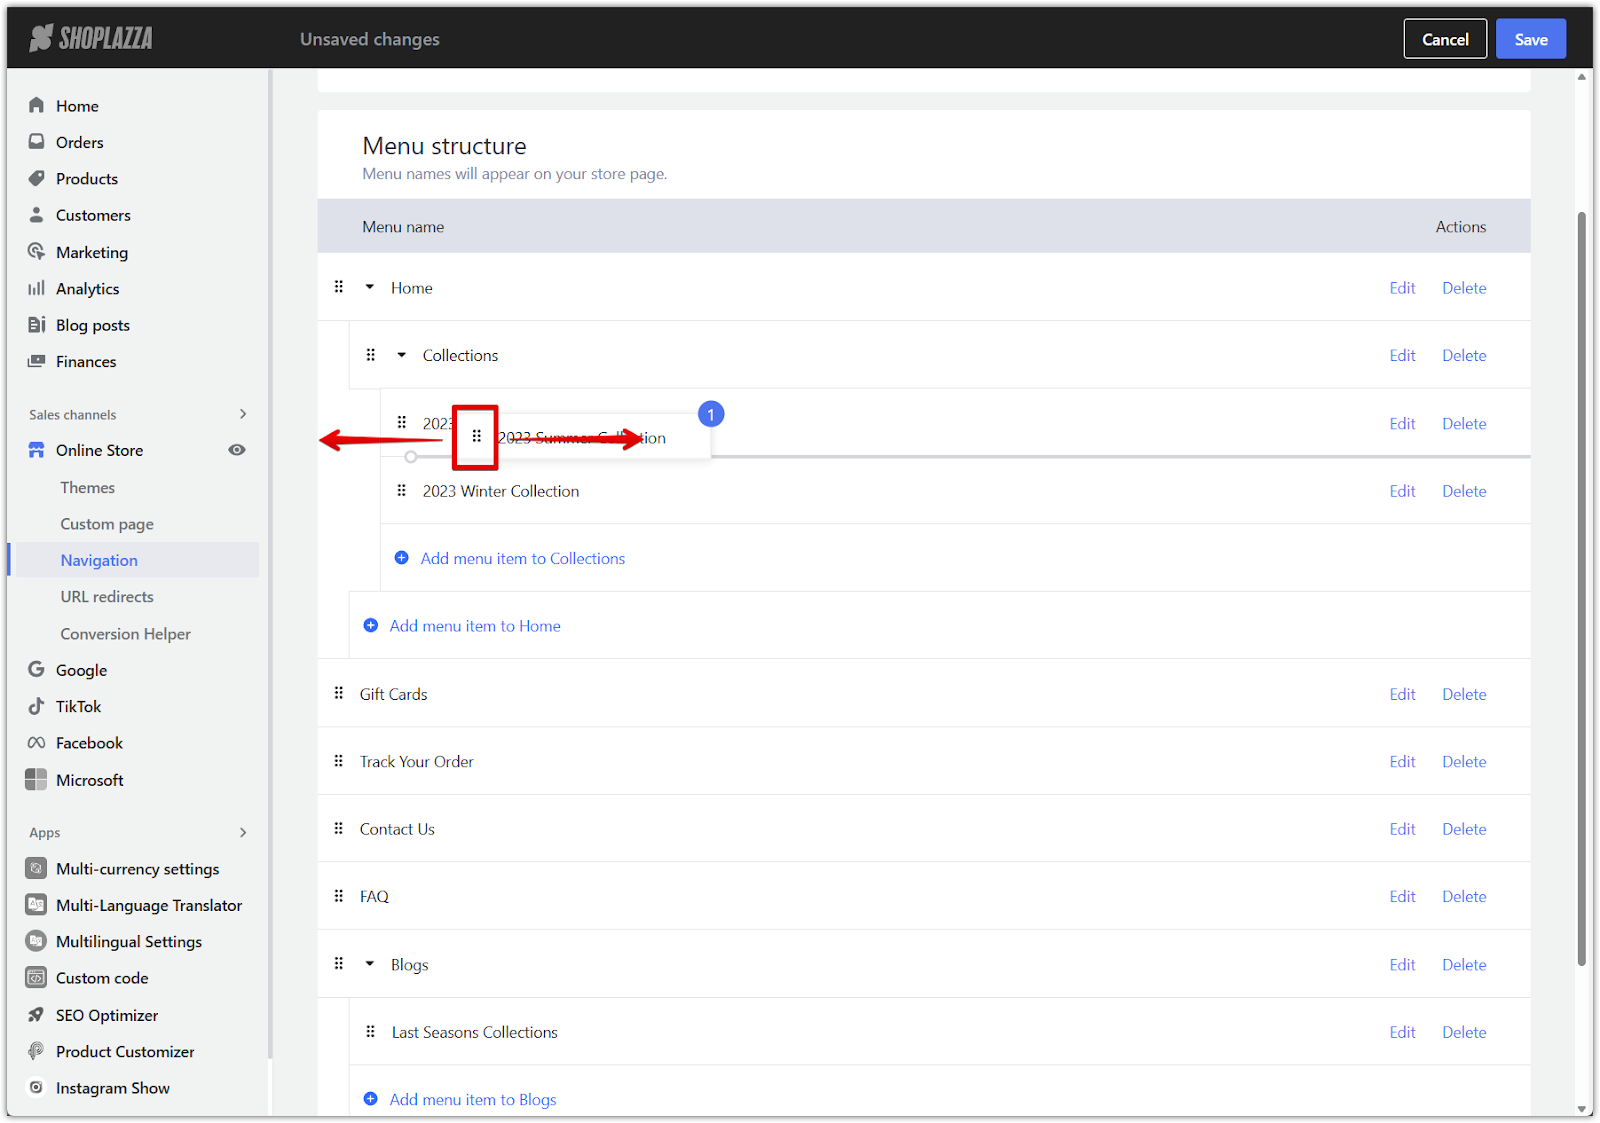
2. Rearrange menu items: Drag menu items up or down to rearrange their display order.
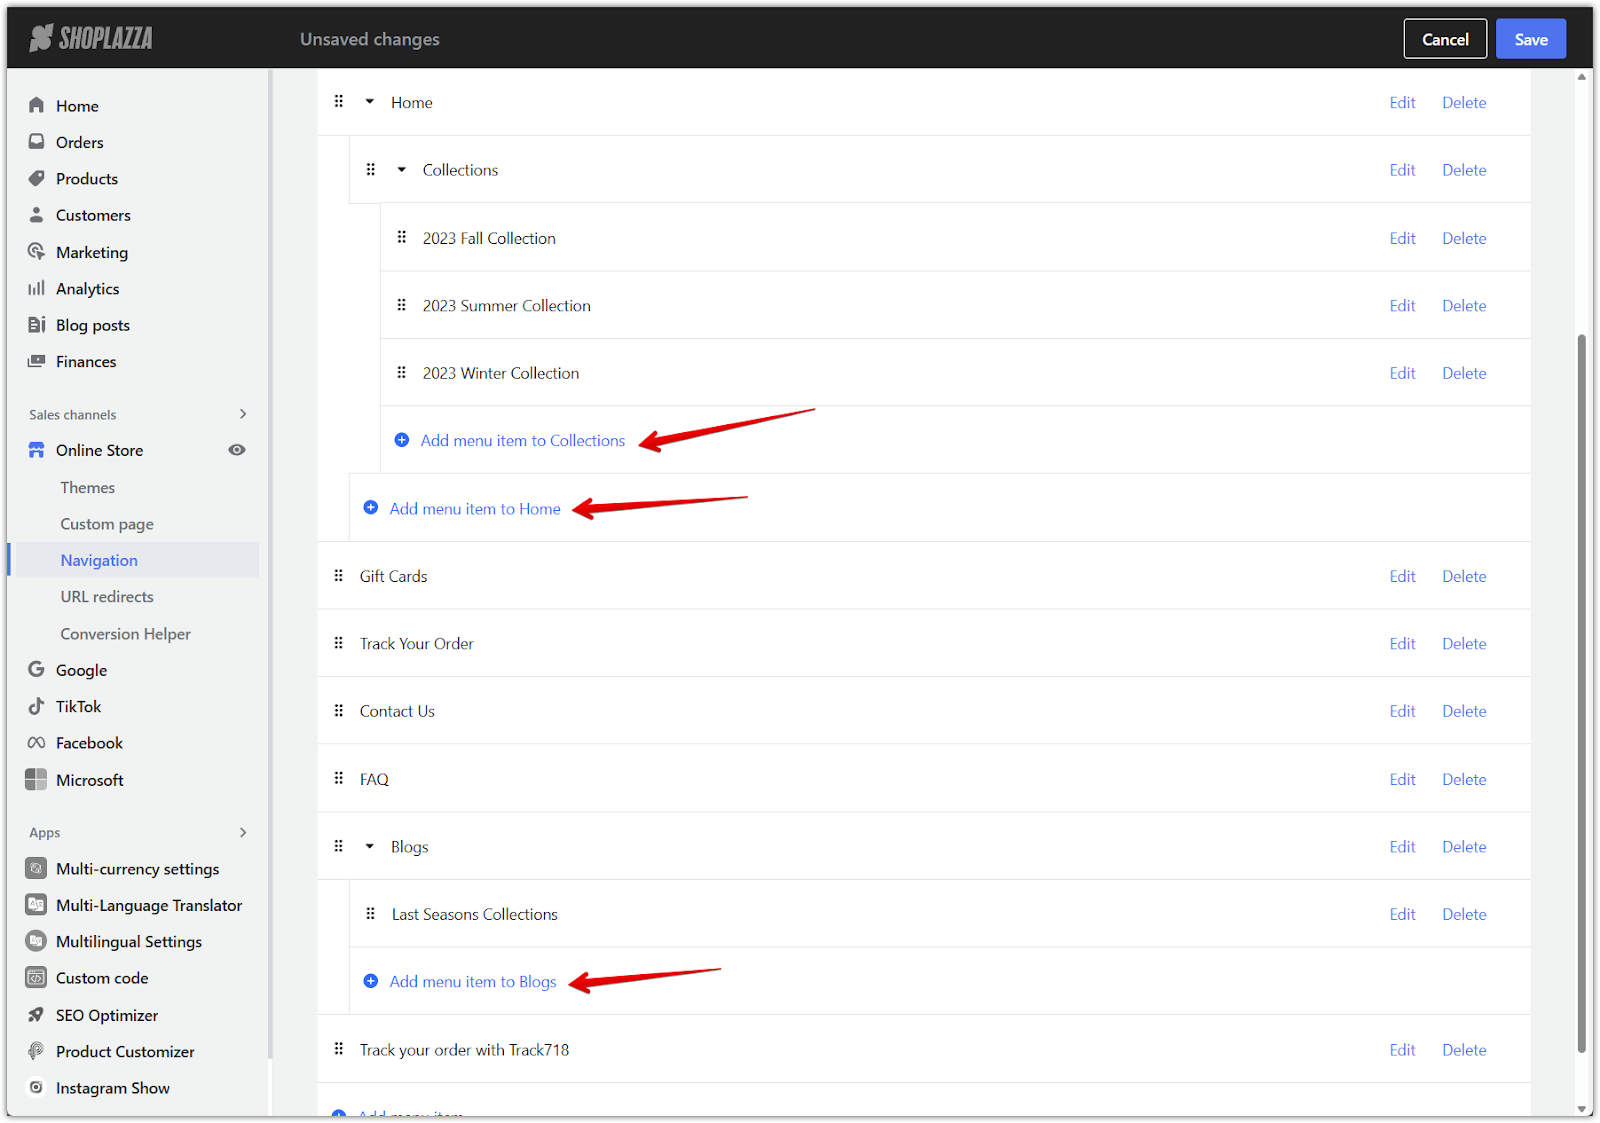
3. Add new menu items: Click Add menu item either under an existing menu group or at the bottom of the list to create a new link within the navigation.
4. Name the new menu item: Enter a clear name for the menu item, such as "2025 Summer Collection" under a "Collection" menu.
5. Assign a link destination: Choose the page destination from the Link dropdown menu, such as Collection pages or Custom pages.
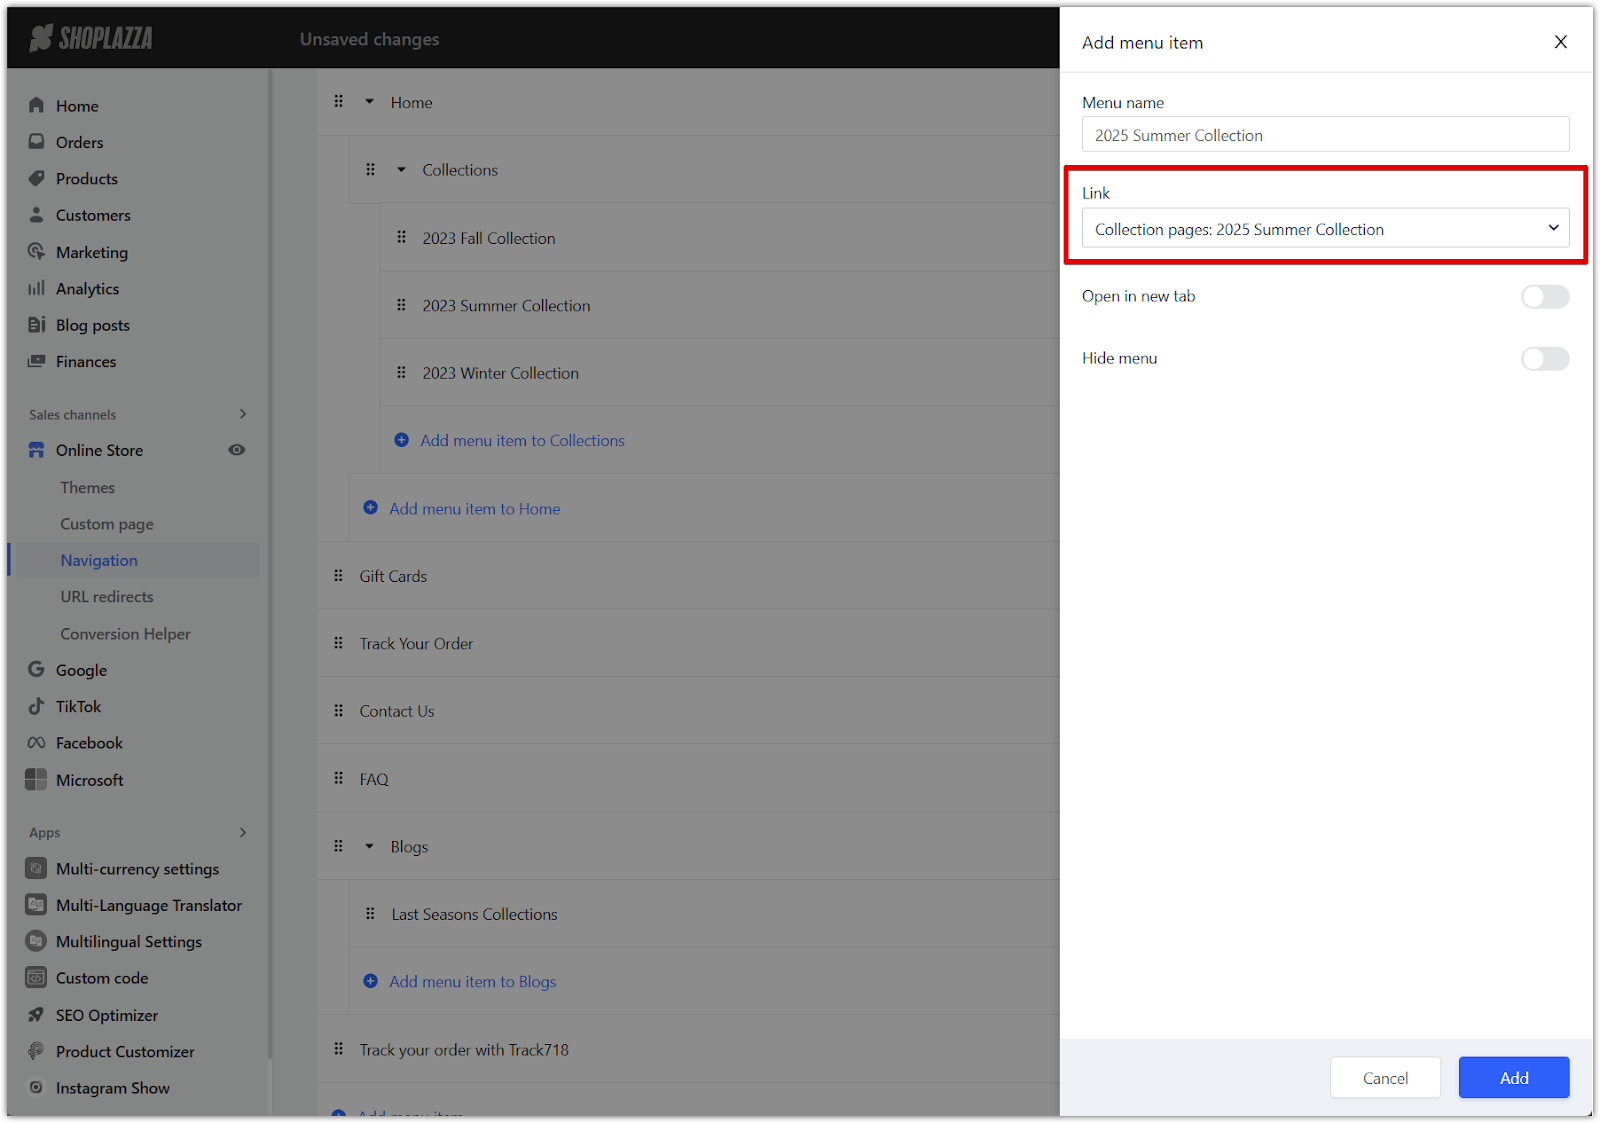
6. Set link behavior: Decide whether the link opens in the same tab or a new browser tab.
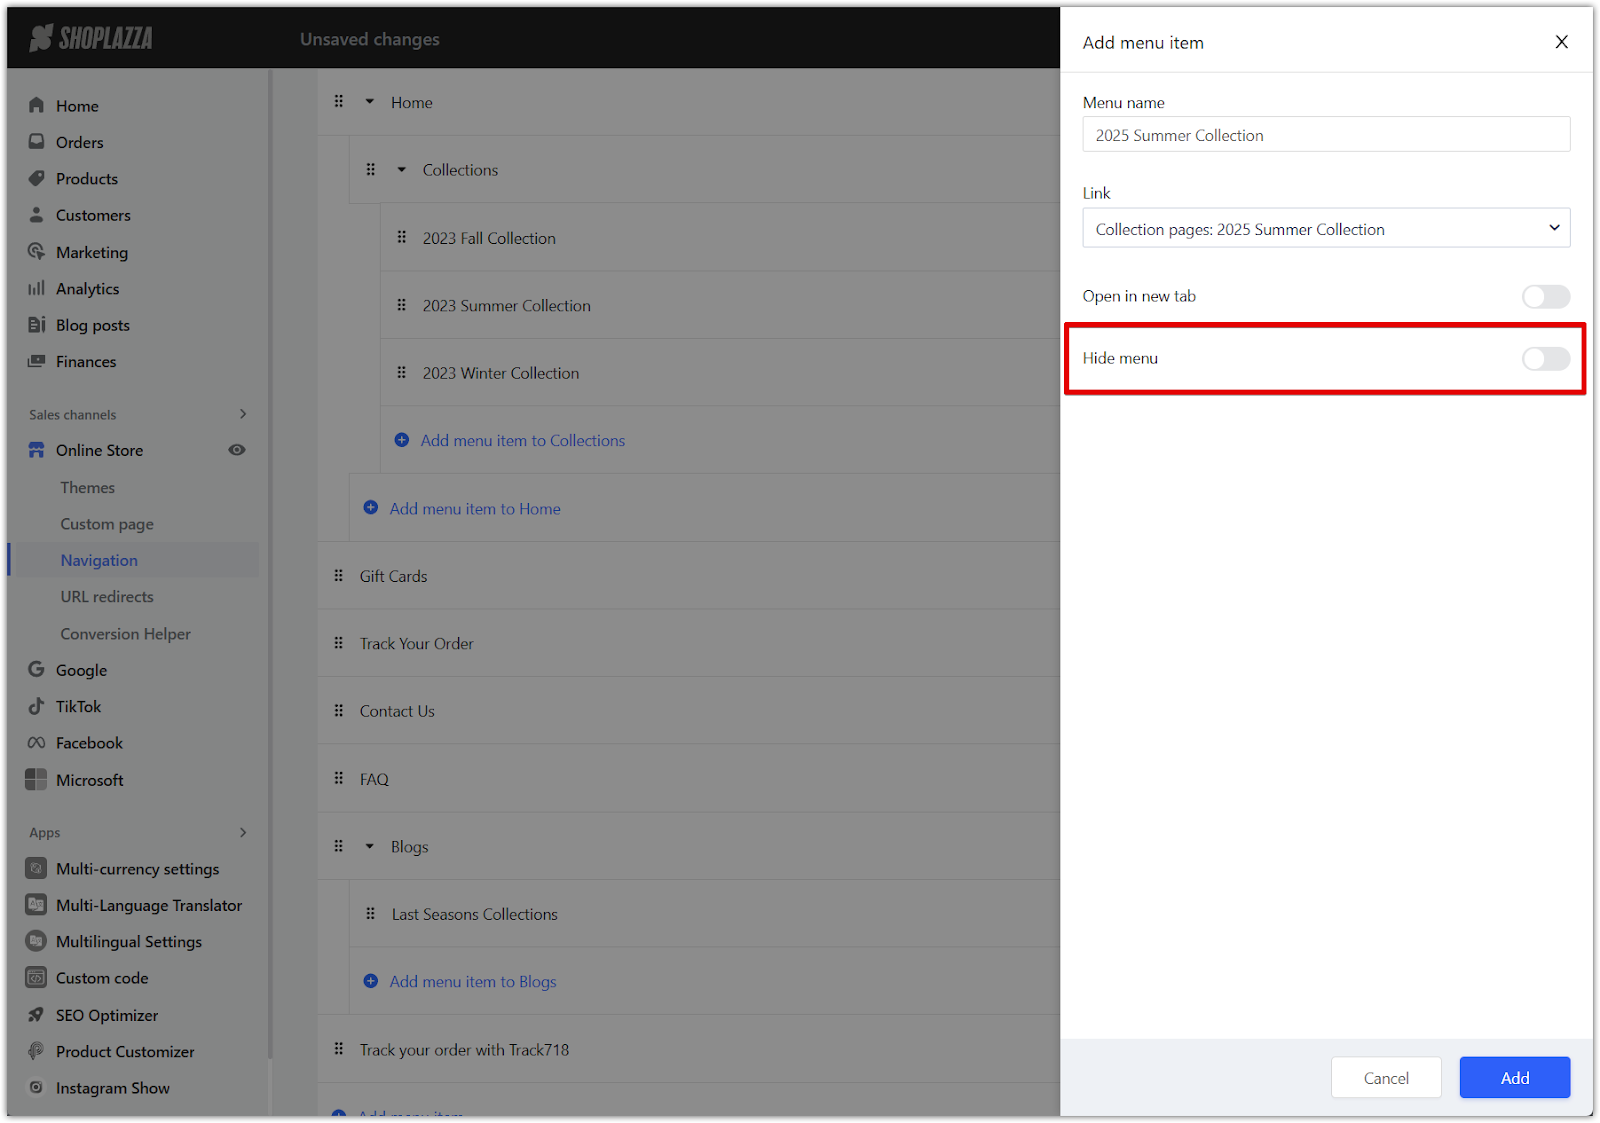
7. Hide menu items if needed: Toggle on the option to temporarily hide a menu item and its sub-items from your navigation.
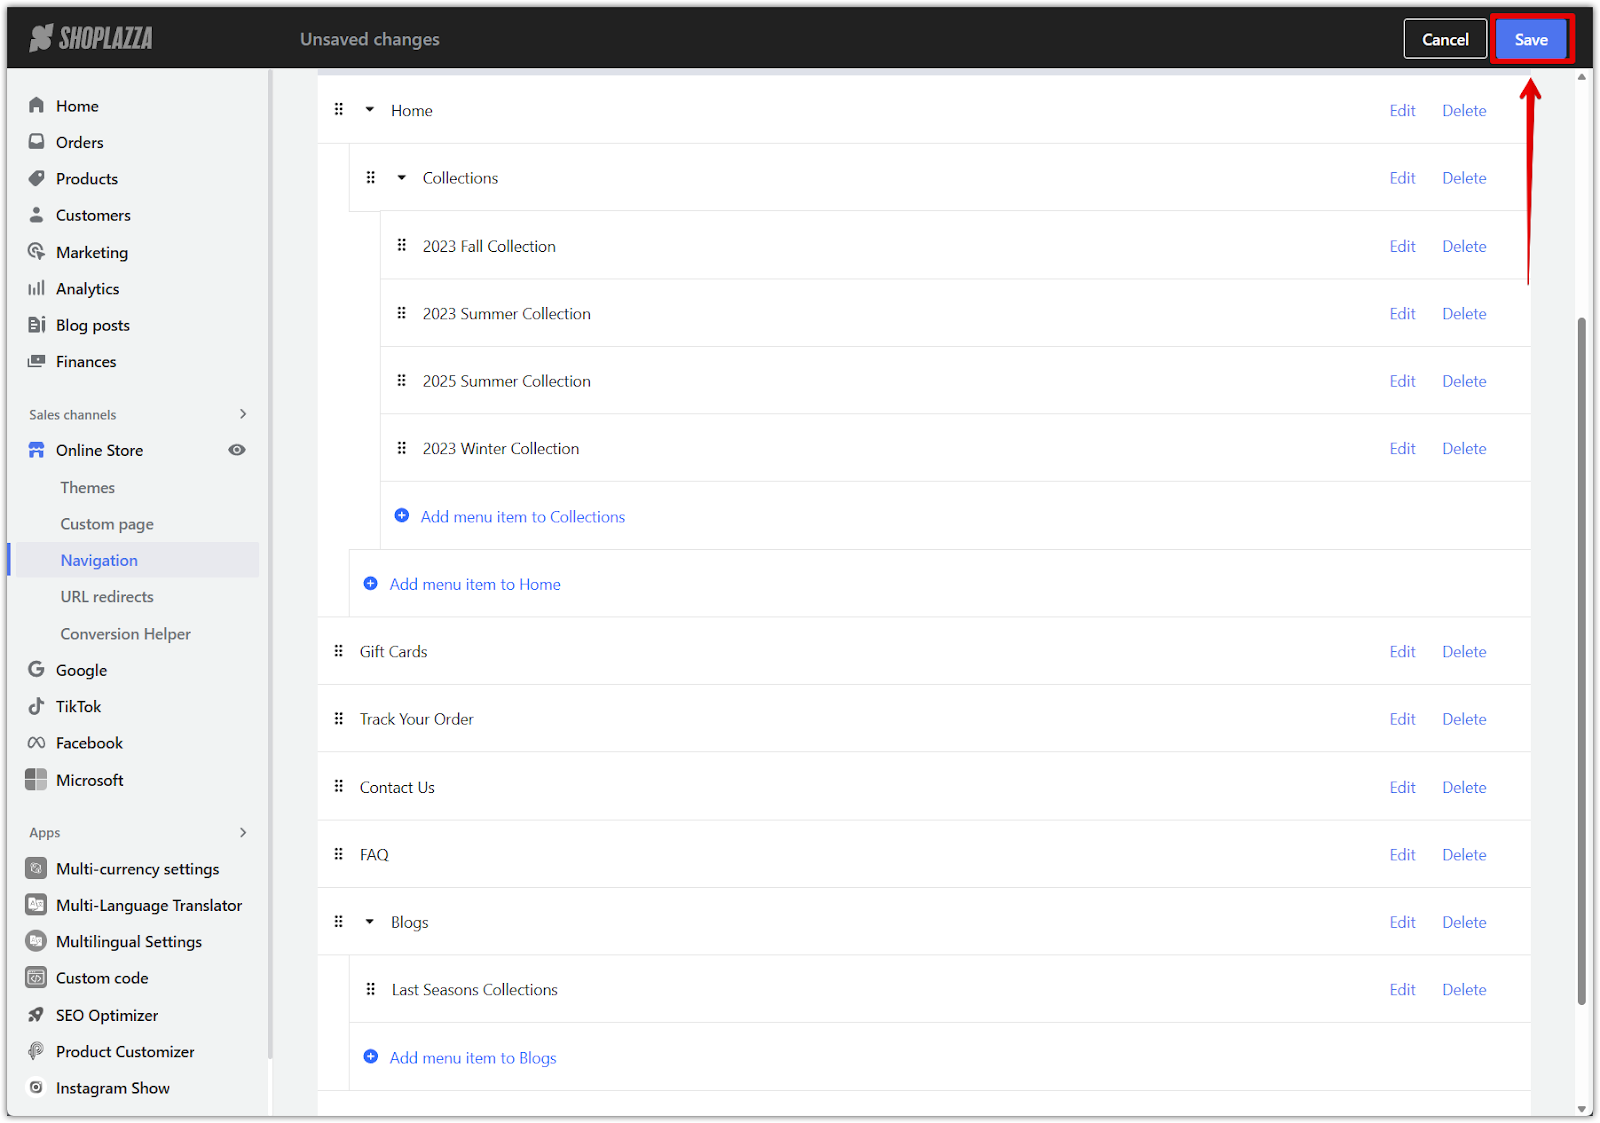
8. Click Add to finalize the menu item: After completing the fields, click Add to save the new menu item to your list and Save your update.
Accessing and editing existing menus
Edit existing navigation menus from the Navigation tab in the Shoplazza Admin.
1. Go to Navigation settings: From your Shoplazza Admin, go to Online Store > Navigation and ensure you are in the Navigation tab.

2. Select a menu to edit: Click on any existing menu, such as the Header or Footer menu, to start editing.
3. Edit the menu name: Change the menu name to something meaningful if needed for easier management.
4. Edit existing menu items: Use the Edit option beside any menu item to change its name, link destination, or behavior.
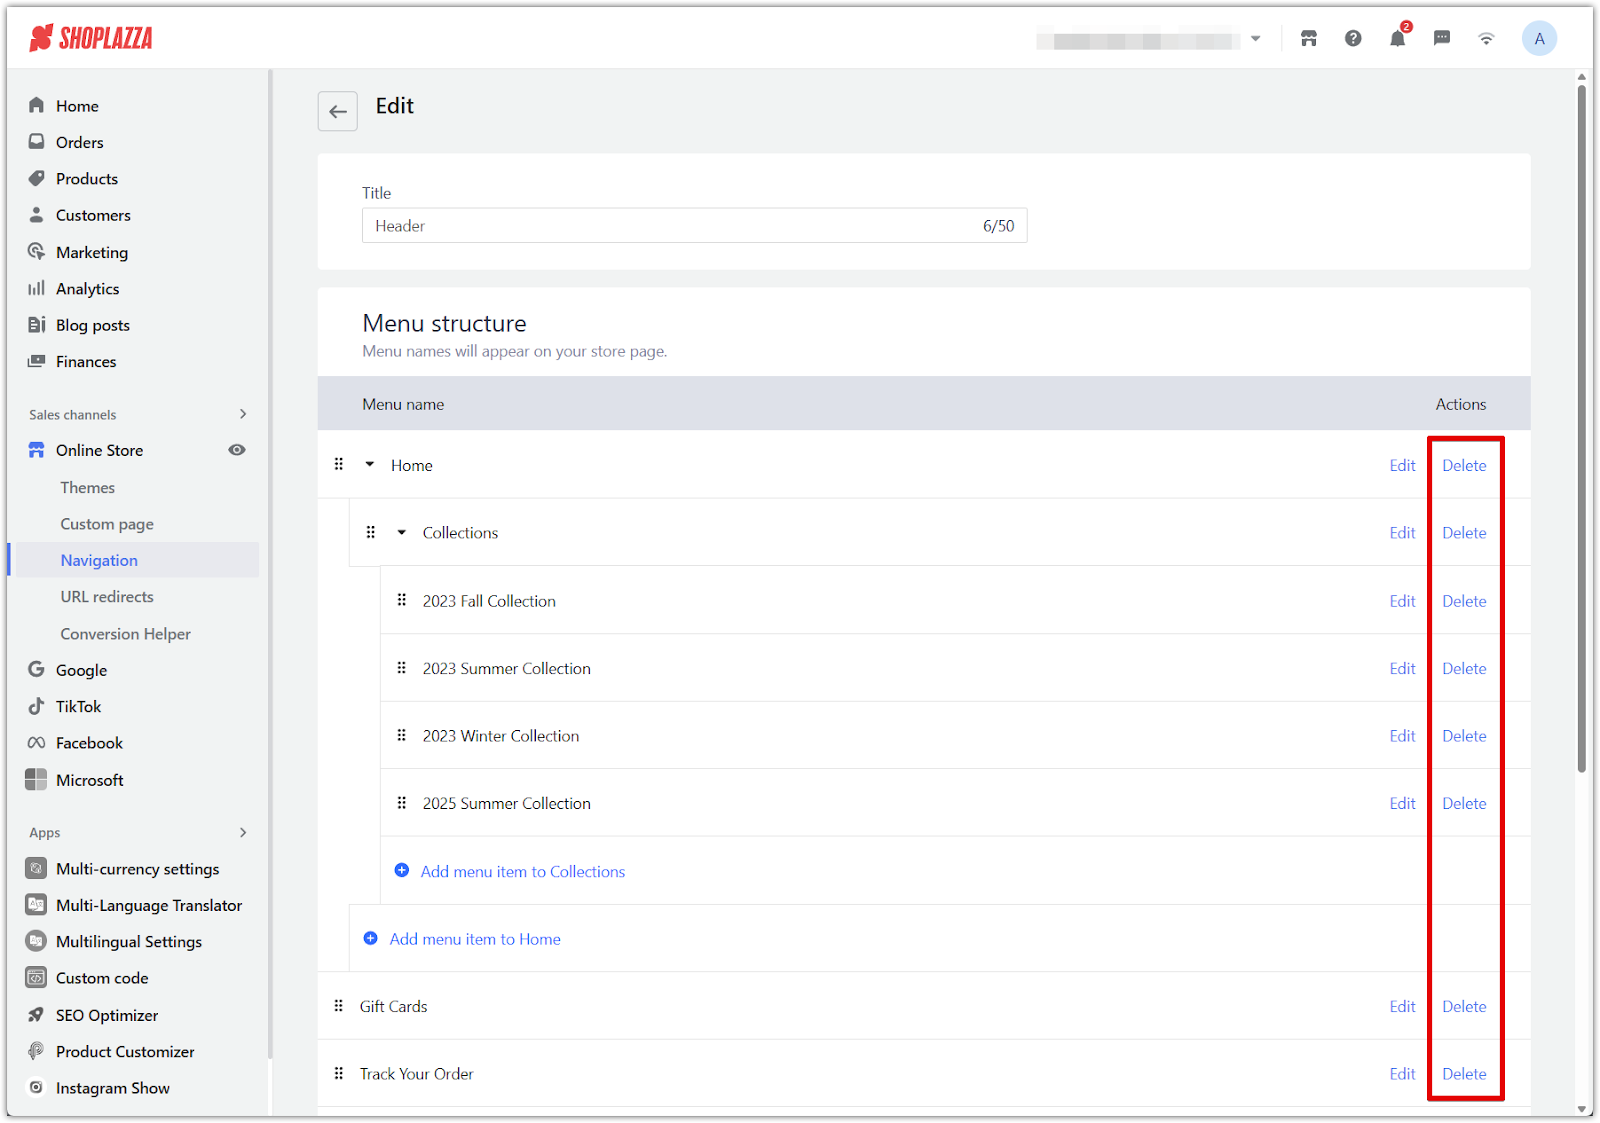
5. Delete items as needed: Remove items by clicking Delete next to them.
6. Add new items or reorganize: Follow the same steps as outlined in the next section to add or move menu items.
7. Click Save: Apply all changes by clicking Save at the top of the menu editor.
Preview the final navigation structure
After saving your navigation menu, the final layout appears as a dropdown under the main menu title on your storefront. For example, hovering over a menu like Home may reveal subcategories such as Collections, with nested links like "2023 Fall Collection" or "2023 Summer Collection". These items reflect the exact structure configured in the Navigation tab.
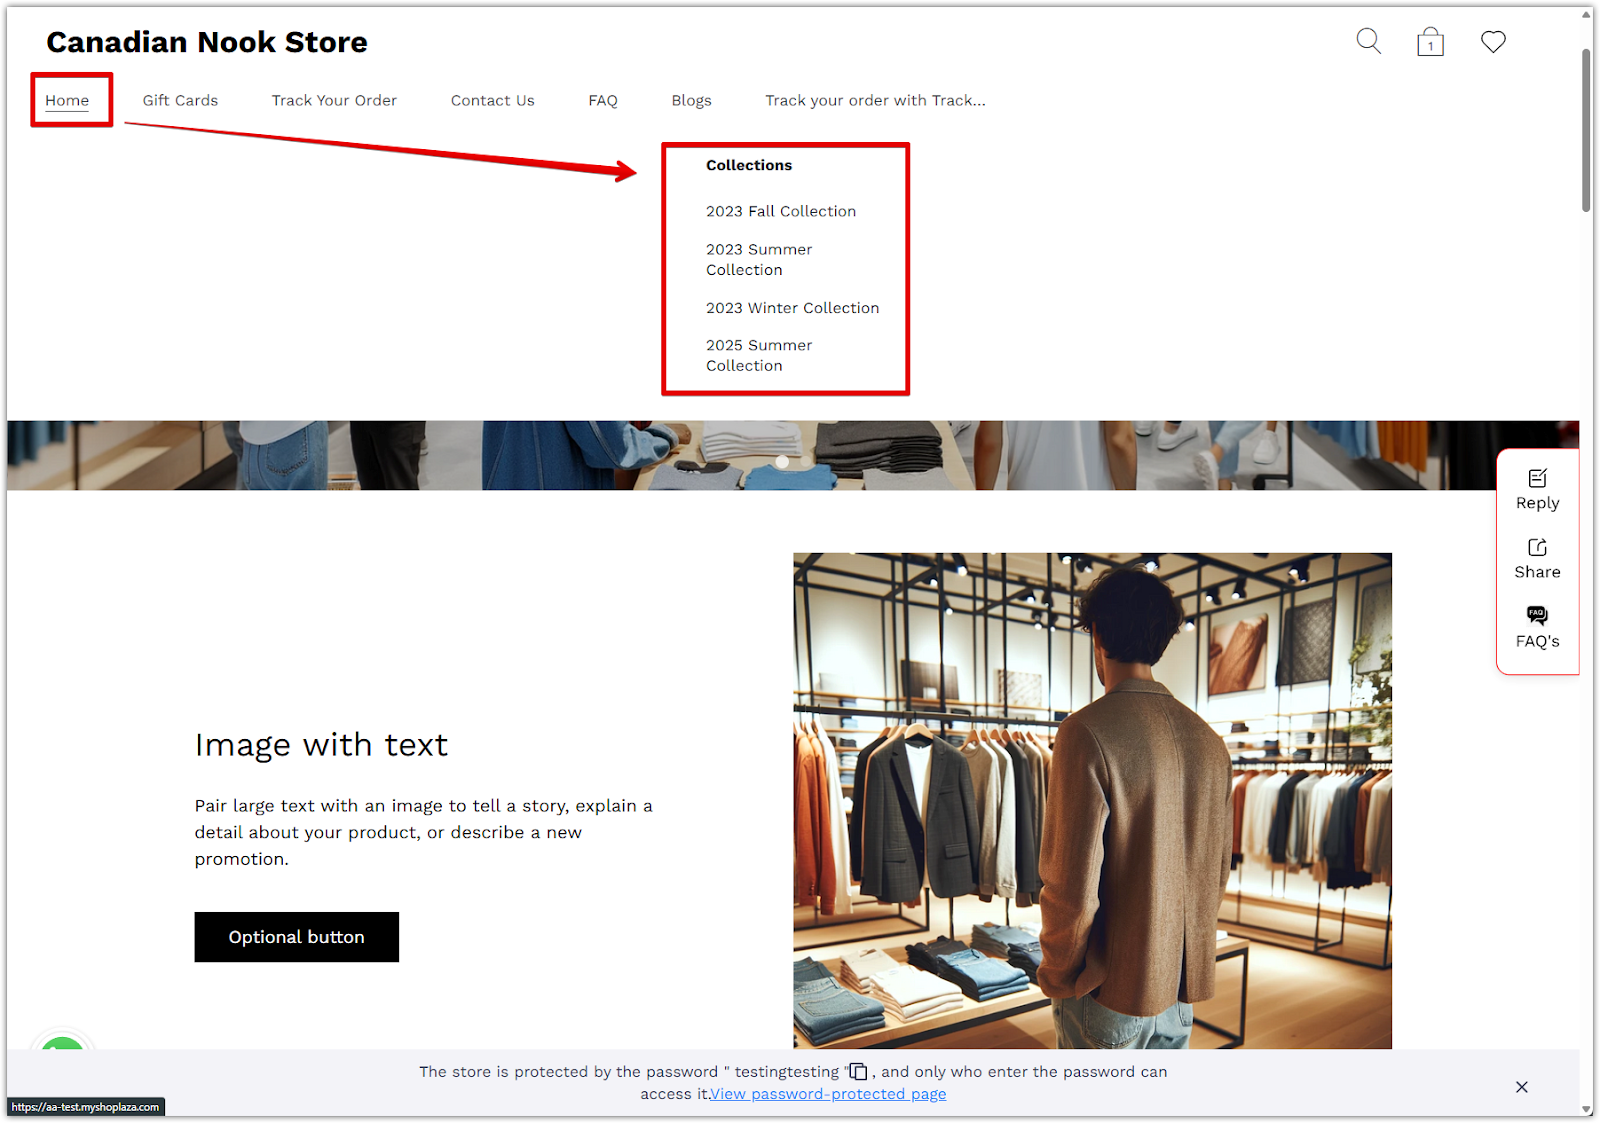
Clear, organized navigation menus ensure customers can explore the store with ease. Custom menus and structured navigation improve discoverability and streamline the shopping experience across the Shoplazza store.


Comments
Please sign in to leave a comment.