
Showing virtual sales information on your product pages helps build customer confidence by highlighting the popularity of your products. This strategy can increase trust in your brand and drive sales. When using virtual sales, it’s important to be as accurate as possible to maintain credibility and trust with your customers. Here’s how to set up and customize virtual sales display for various themes in your store.
Setting up virtual sales volume for products
This section walks you through adding and editing virtual sales volume for your products to display accurate and relevant sales data.
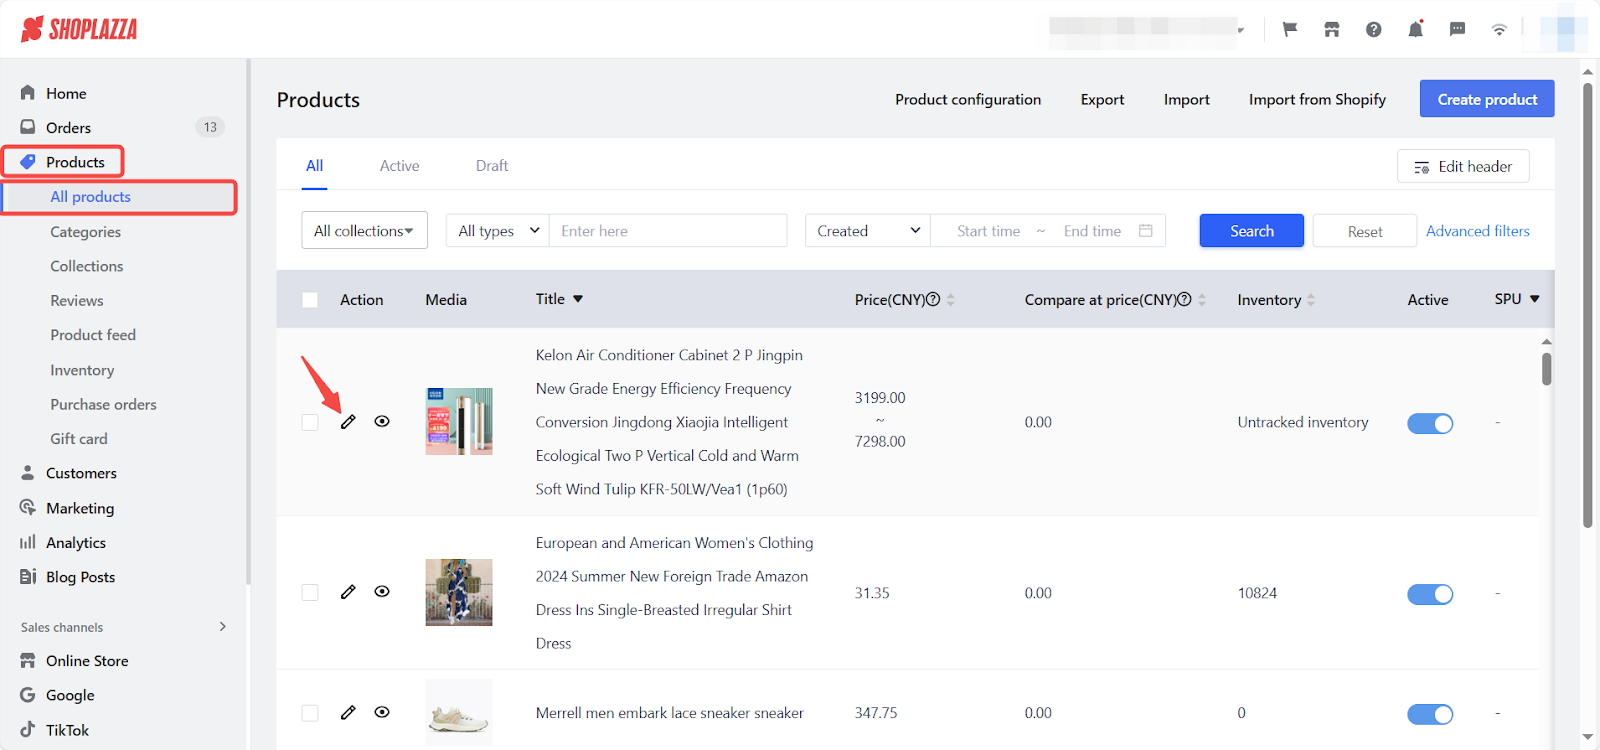
1. Enter the product editing page: Log into your Shoplazza admin, click Products > All products to access the Products page. Choose the product you want to edit, then click the edit icon.
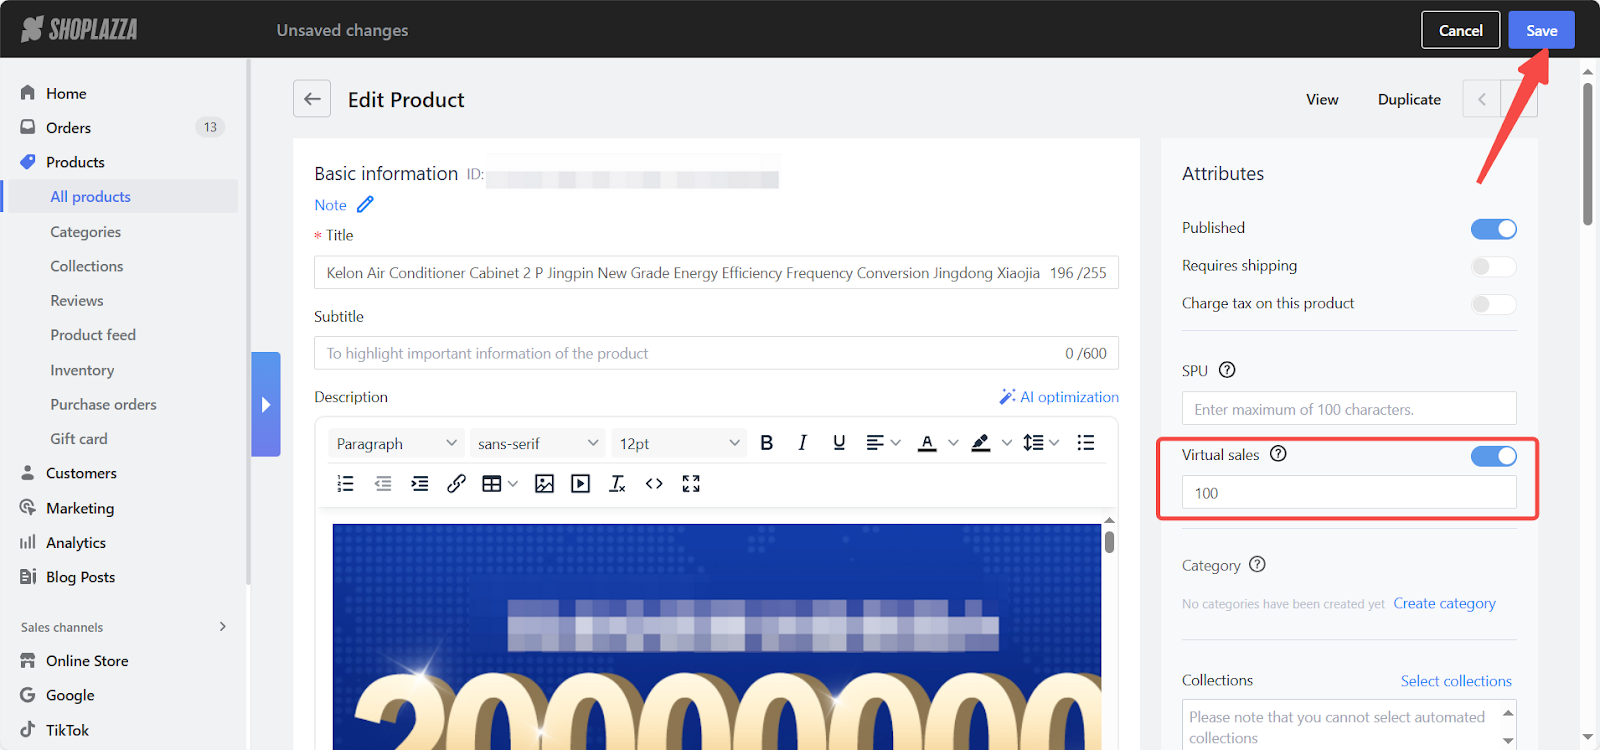
2. Set virtual sales volume: On the Edit Product page, enter the desired Virtual sales volume and enable the feature. Be sure to use figures that are as accurate as possible to reflect genuine interest in your products. Click Save in the upper right corner to update your changes.
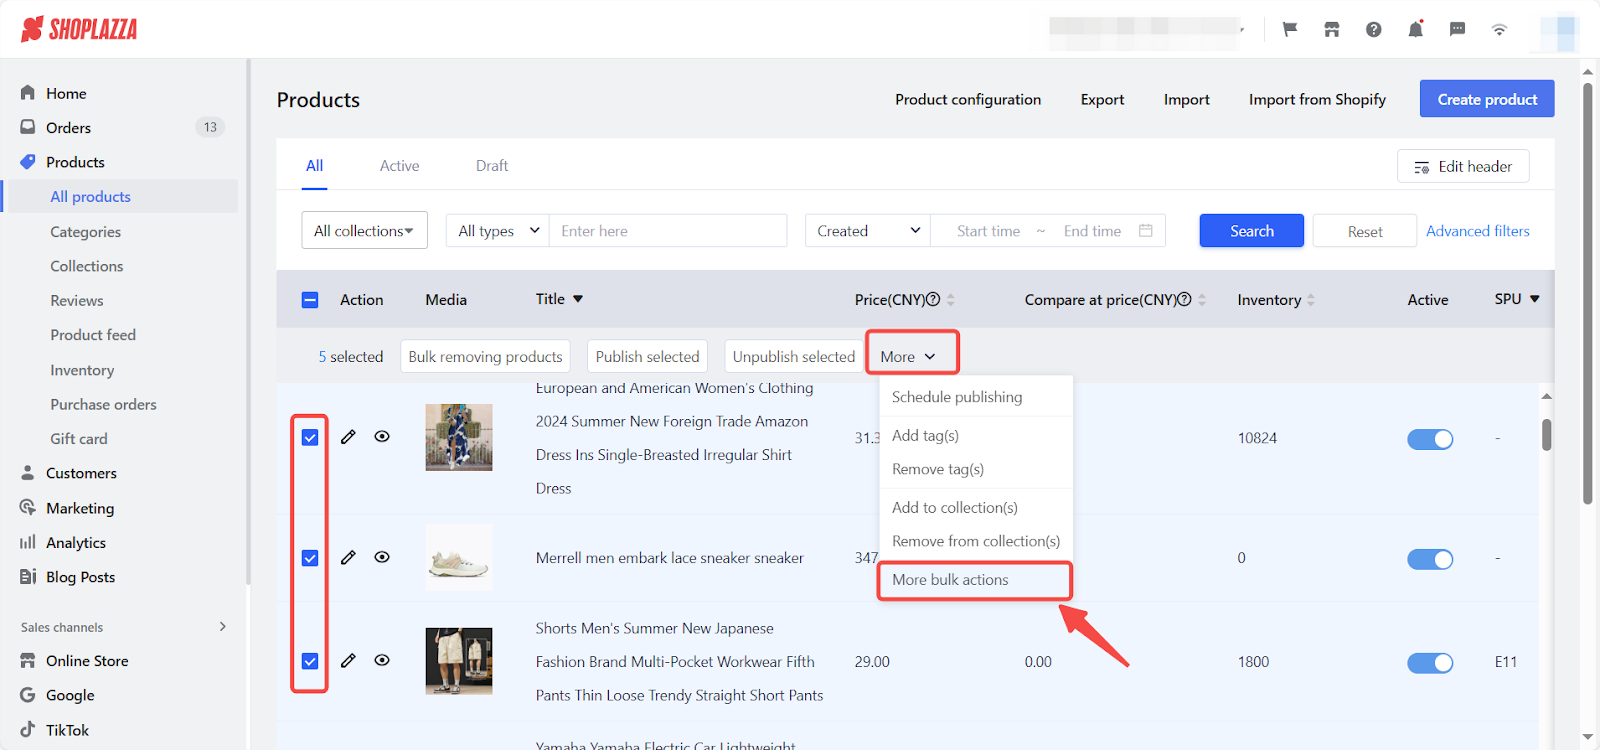
3. Access to bulk settings: Select the products on the Products page to configure virtual sales for multiple products. Click the drop-down button next to More and choose More bulk actions from the menu.
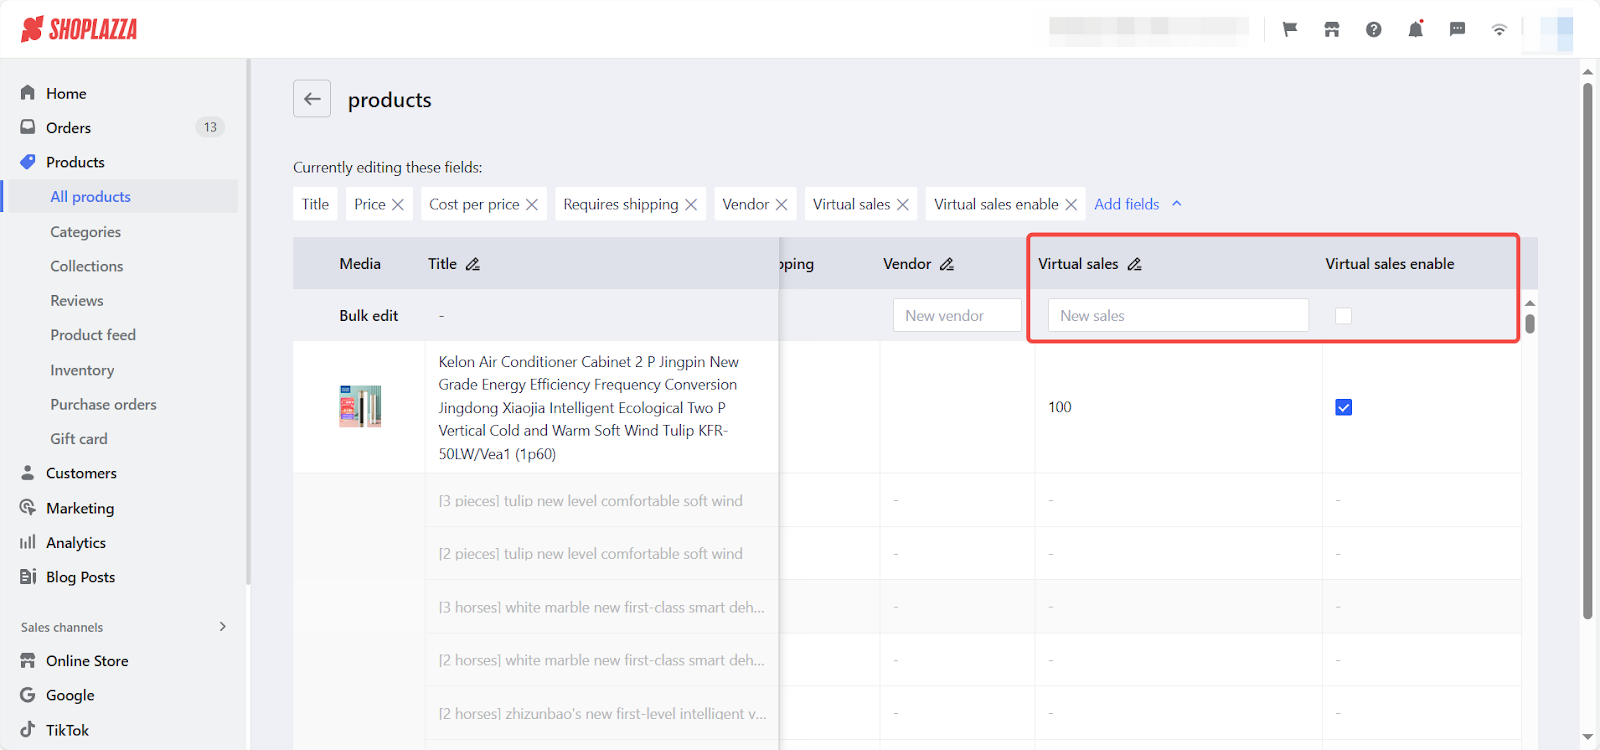
4. Add the required fields: Click the drop-down button next to Add fields, and select Virtual sales and Virtual sales enable from the menu.
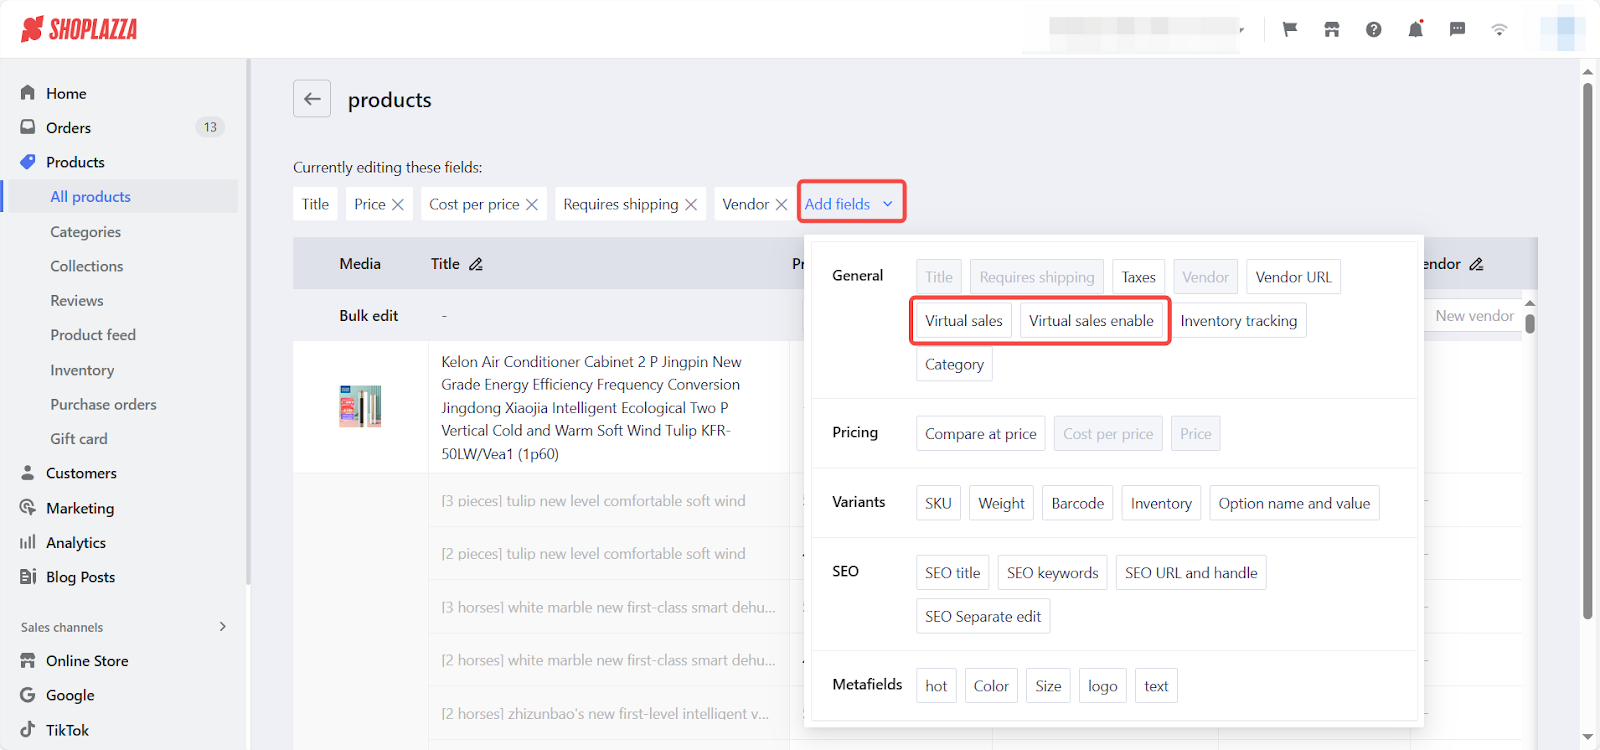
5. Perform bulk editing: Locate the added fields in the product list and set the values in bulk.
For themes Farida, Bamboo, Nova 2023, Hero, Morning, Night, Moon and, Sweet
These themes require adding a Sales block to display virtual sales information.
1. Access theme editor: Log into your Shoplazza admin, click Online Store > Themes > Customize, and open the theme editor.

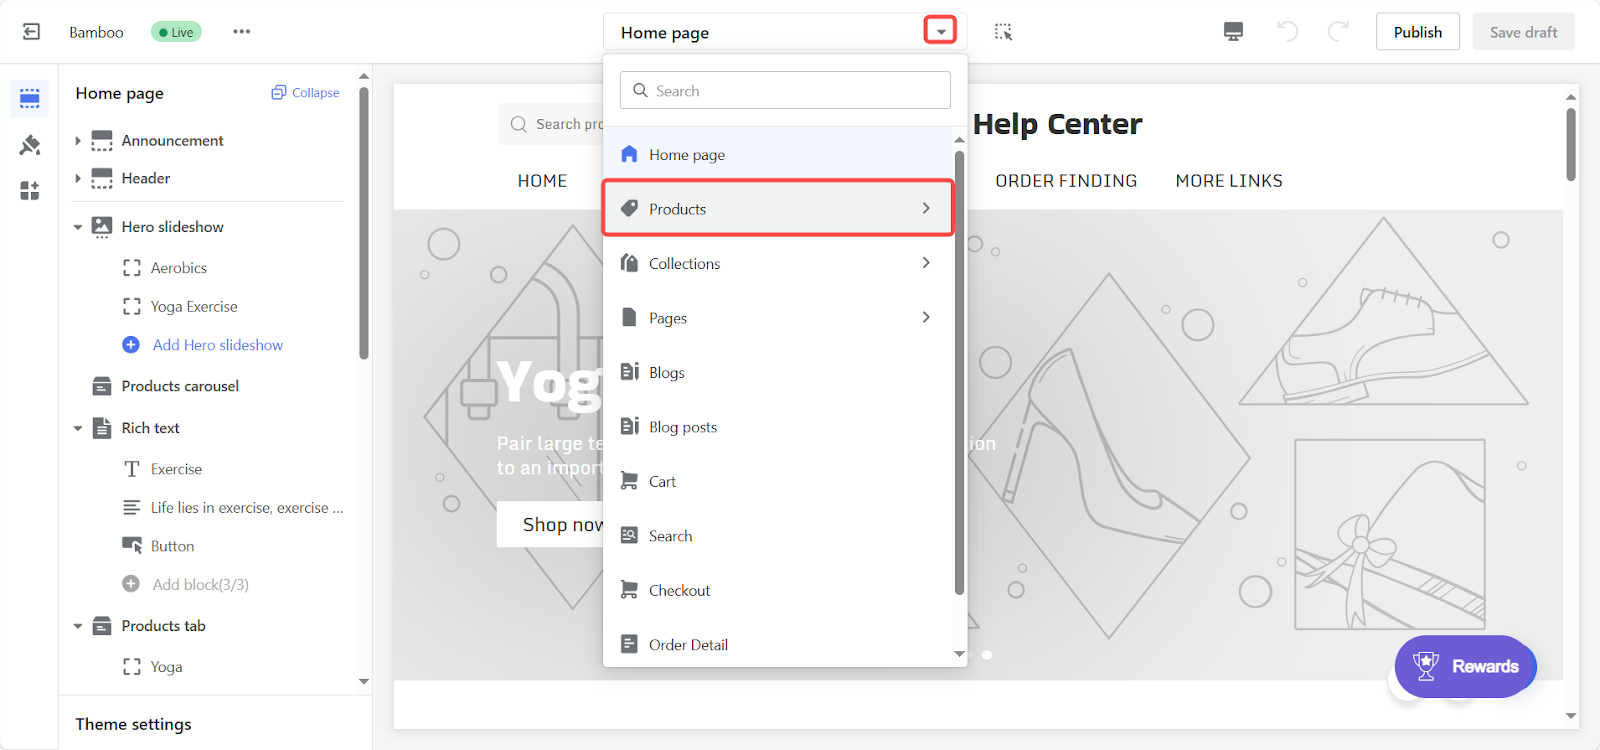
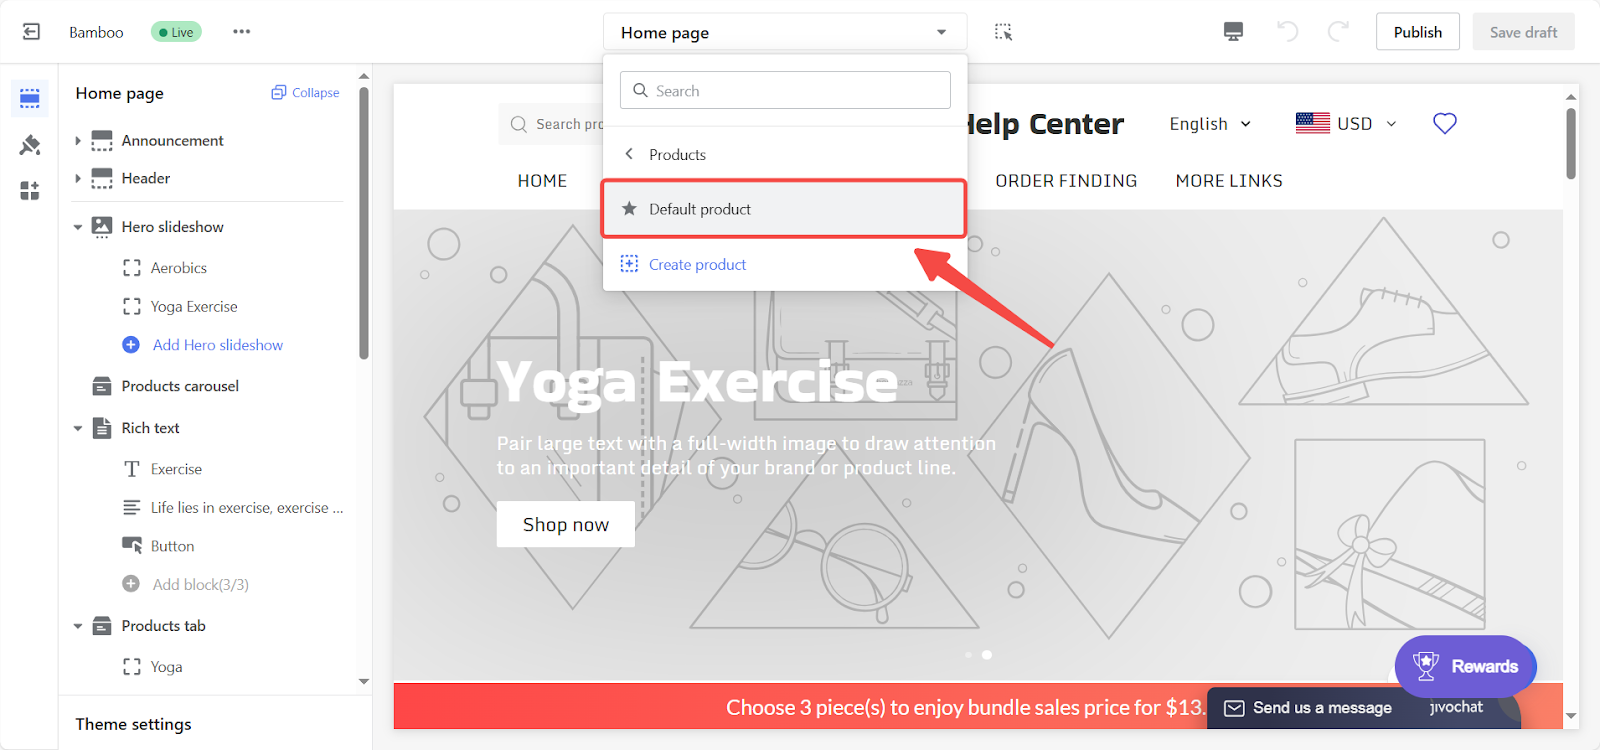
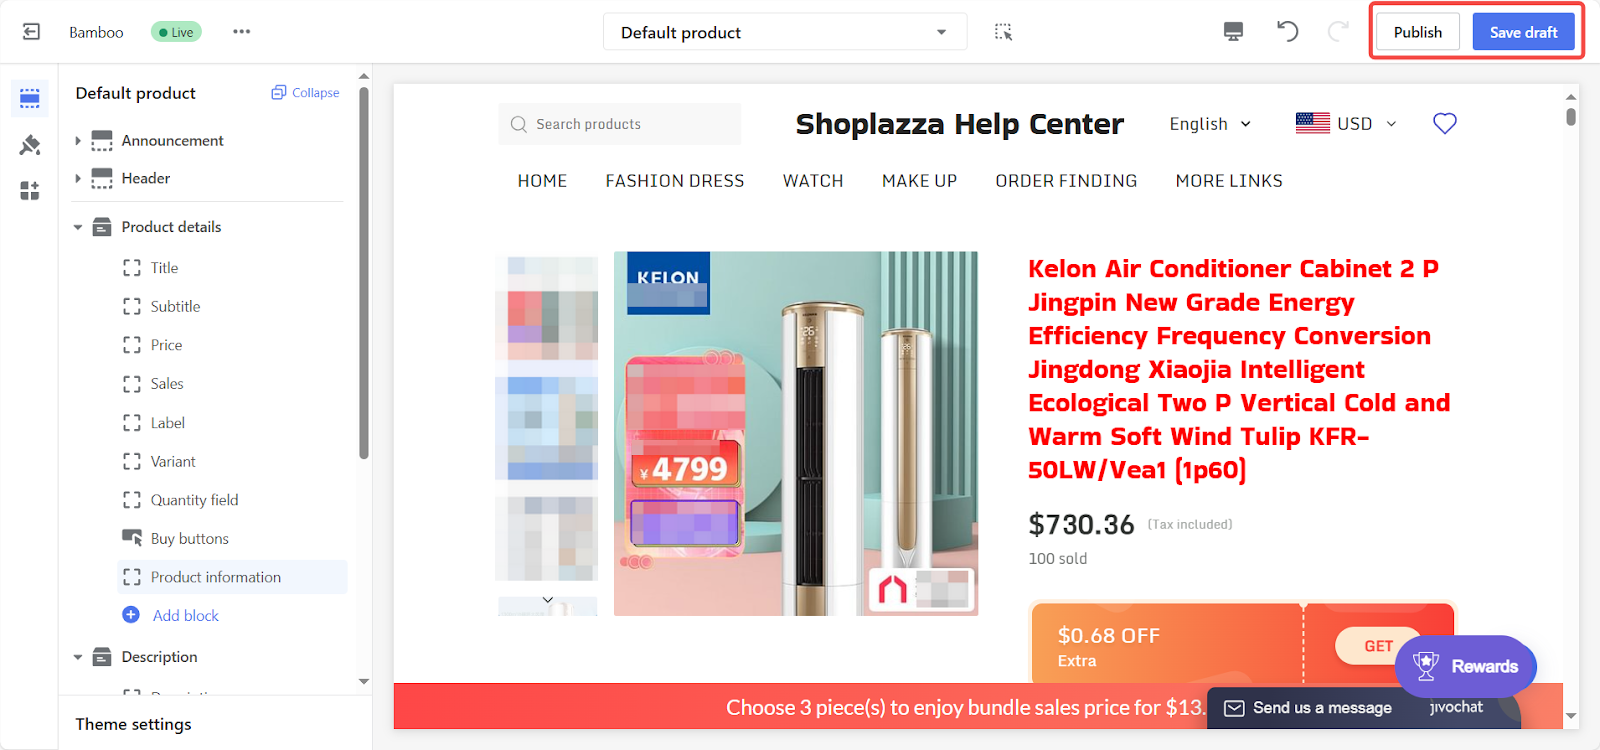
2. Switch to default product page: Click the drop-down button next to the Home page, then select Products > Default product from the menu.
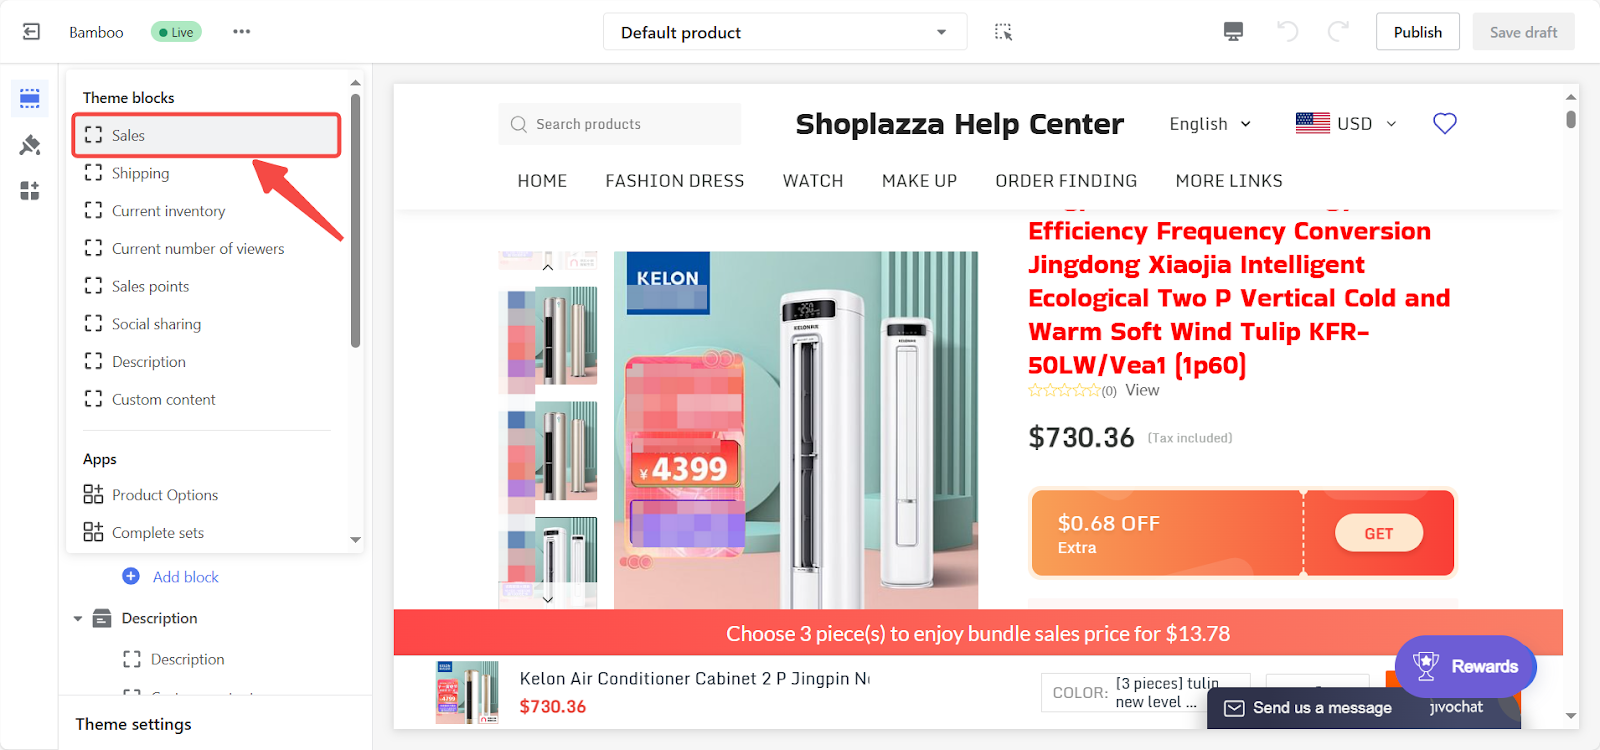
3. Add theme block: Locate the Product details card in the left sidebar, click Add block, and select Sales to enable virtual sales display.
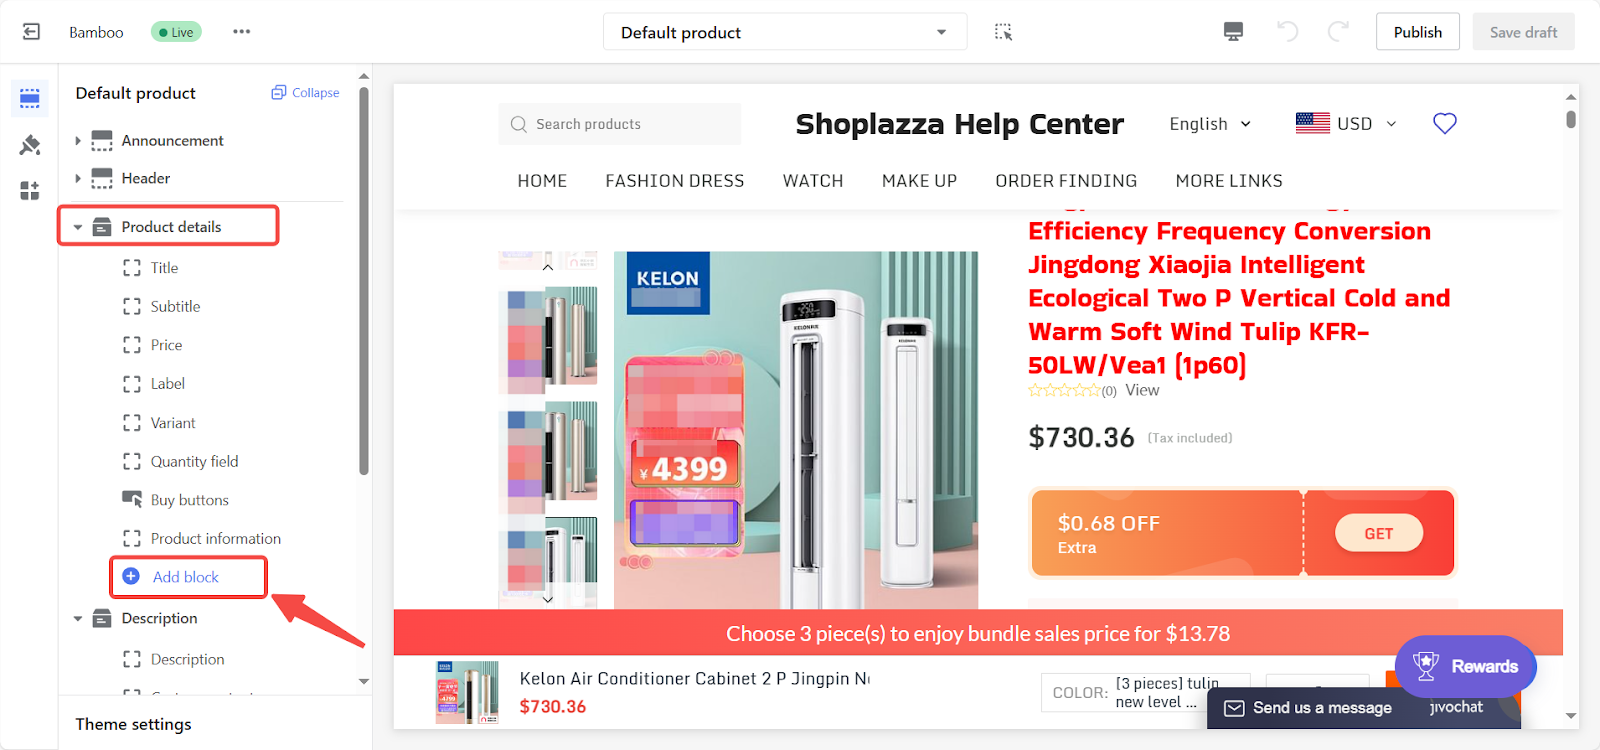
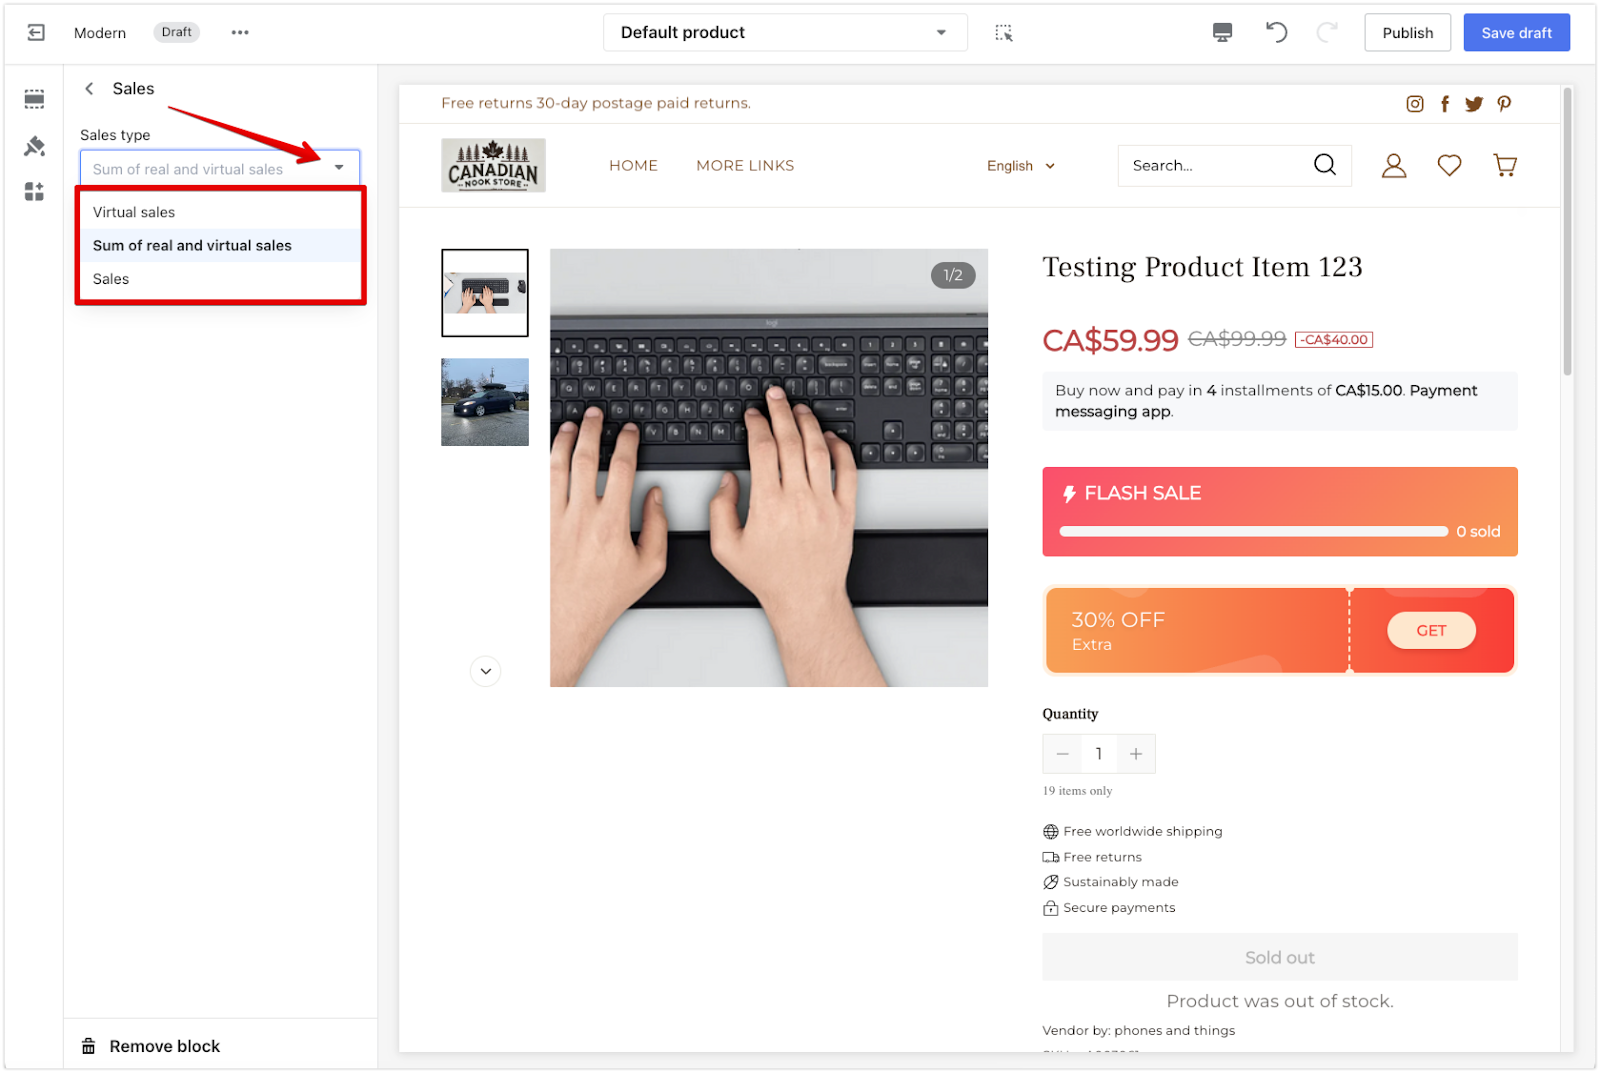
4. Configure virtual sales settings: Click the Sales block title to open configuration options where you can set the type of sales information to display, such as virtual sales or the sum of real and virtual sales.
5. Adjust block position: Long-press the drag button on the right side of the Sales block to move and adjust its position as needed.

For themes Wind, Geek, Eva, Flash, Impress, Elegant, Christmas, Halloween, Boost, Life Style, OnePage
These themes have pre-added the Price and Sales block, simplifying the setup process.
1. Access theme editor: Log into your Shoplazza admin, click Online Store > Themes > Customize to start.

2. Switch to default product page: Click the drop-down button next to the Home page, then select Products > Default product from the menu.
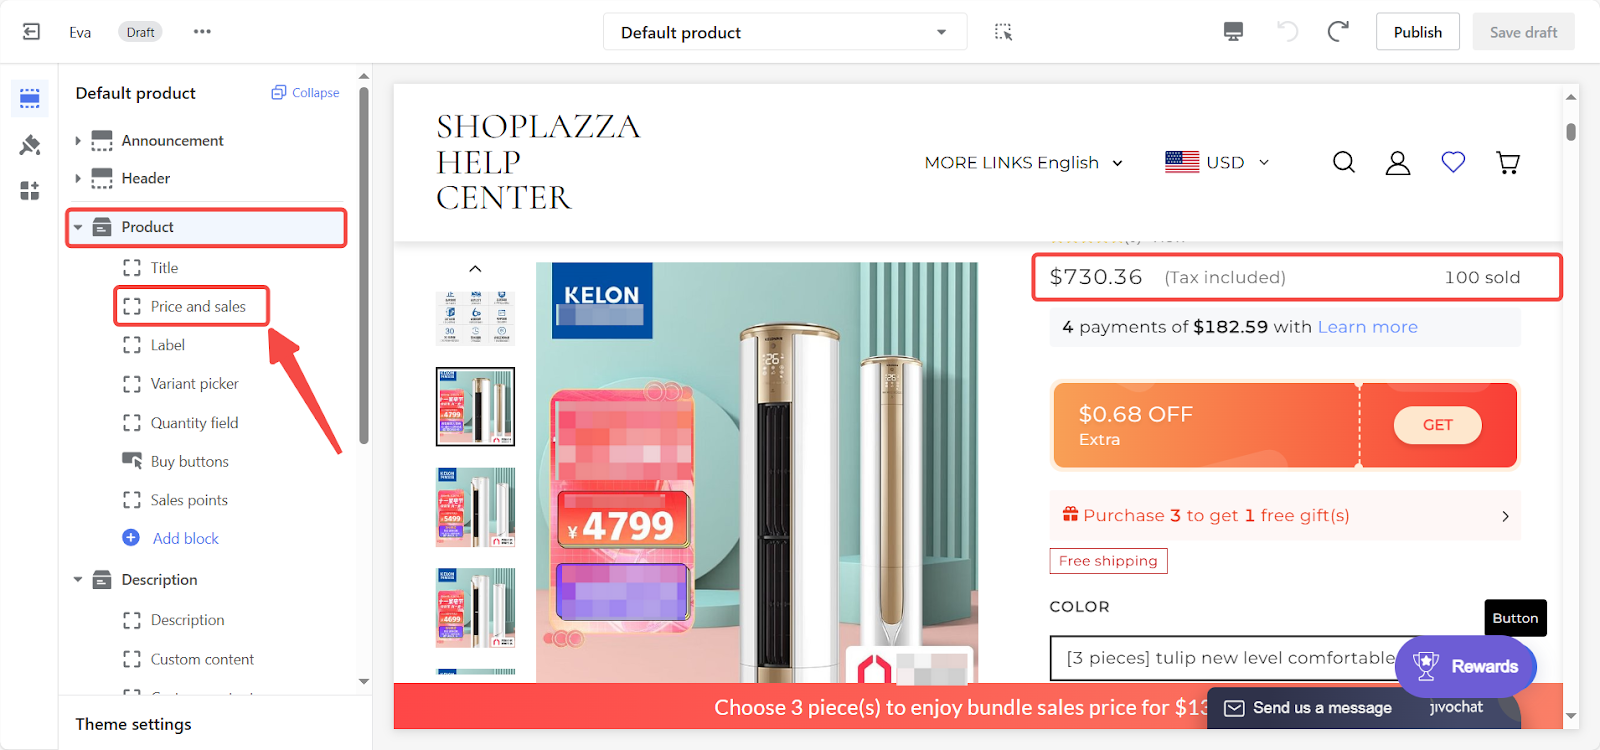
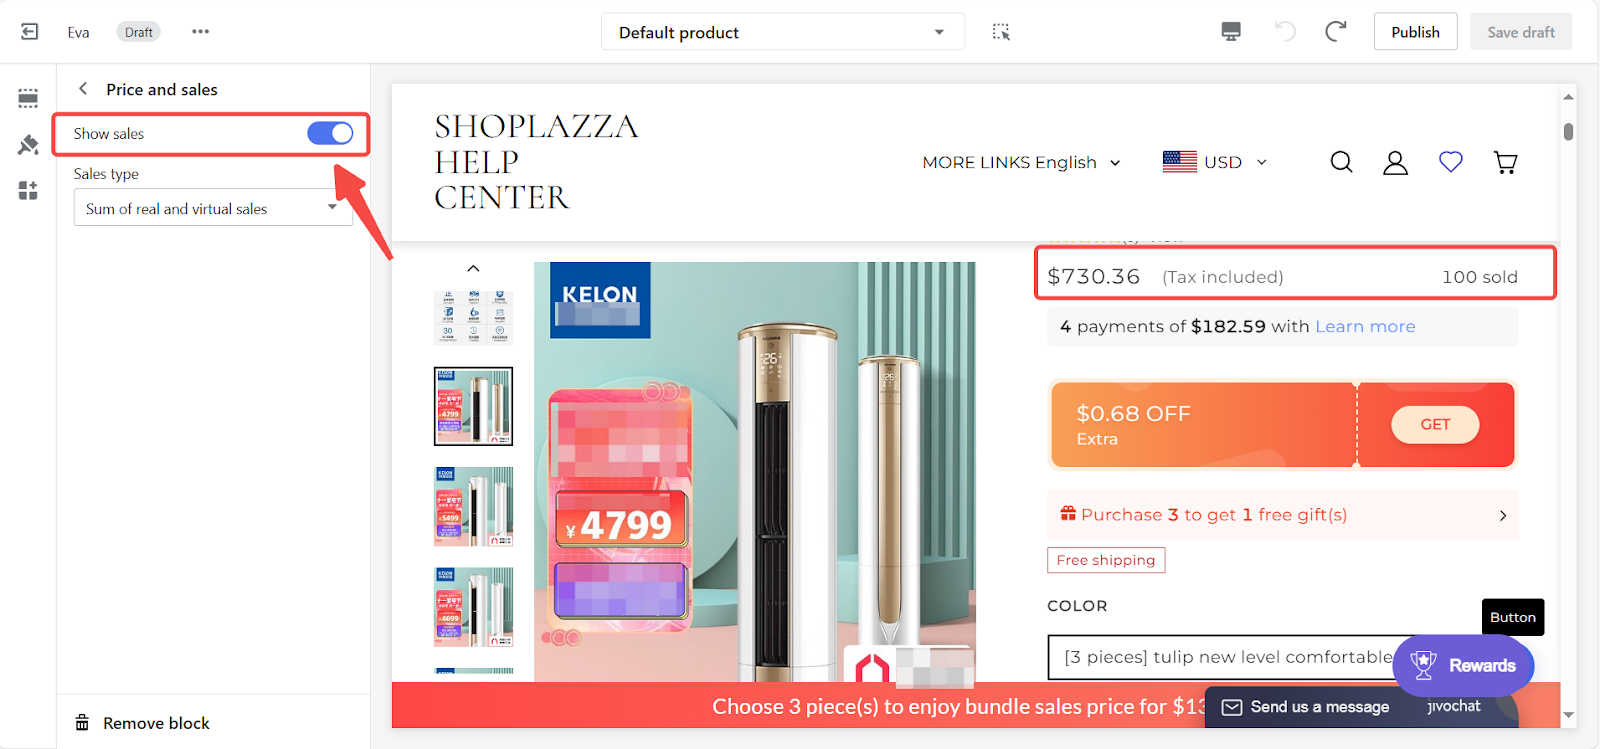
3. Enable show sales button: Click Product Price and sales in the left card list, then turn on the Show sales button to display the virtual sales and click Save draft or Publish.
For themes such as Pluto, Mars, Jupiter, Uranus, Venus, Amazing - Buy on Amazon
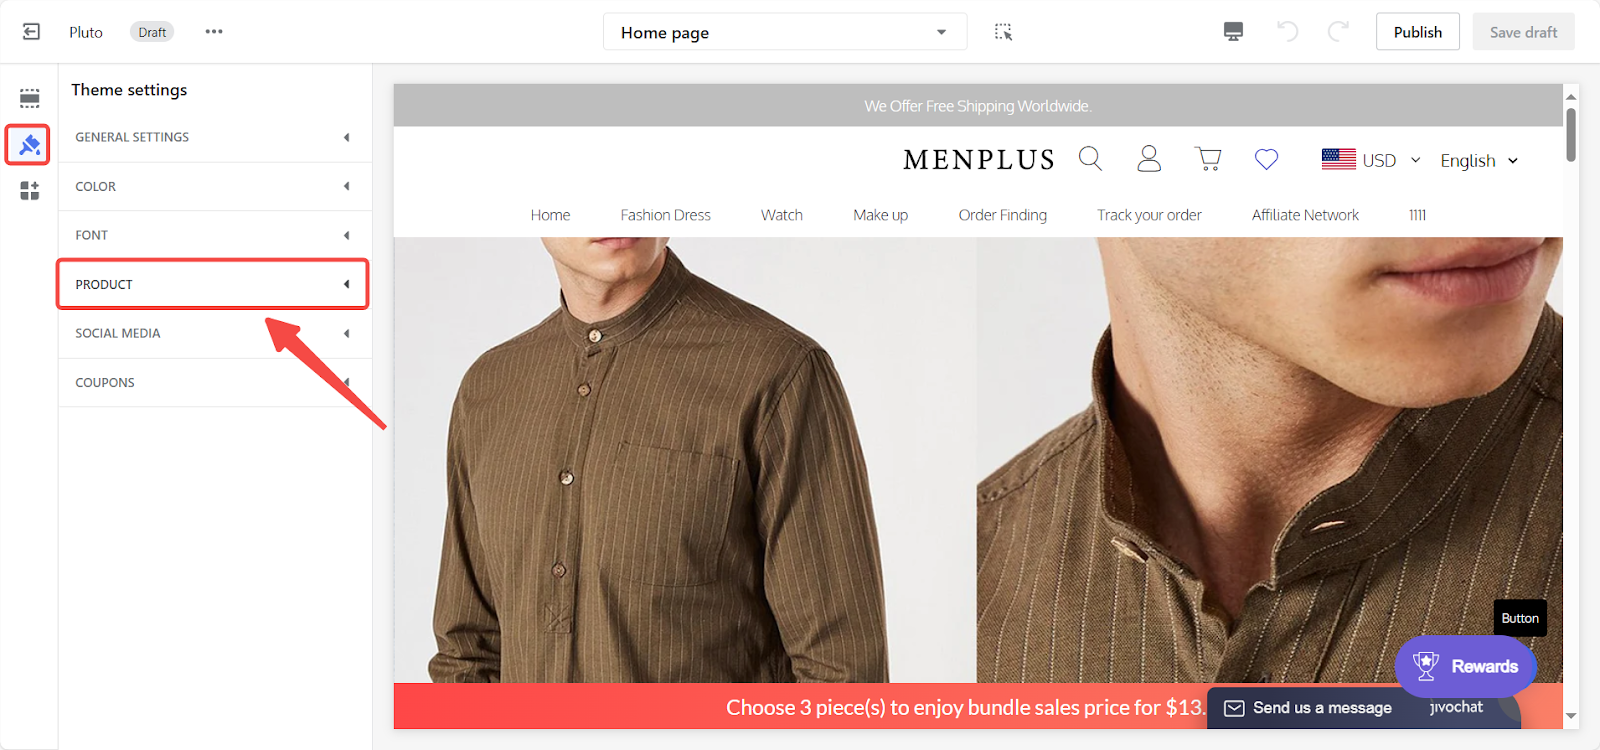
1. Access theme editor: Log into your Shoplazza admin, click Online Store > Themes > Customize, and open the theme editor.
2. Switch to default product page: Click the drop-down button next to the Home page, then select Products > Default product from the menu.
3. Enable sales volume button: Click the theme settings icon, select the PRODUCT section, and toggle on the Sales volume button to display sales data.
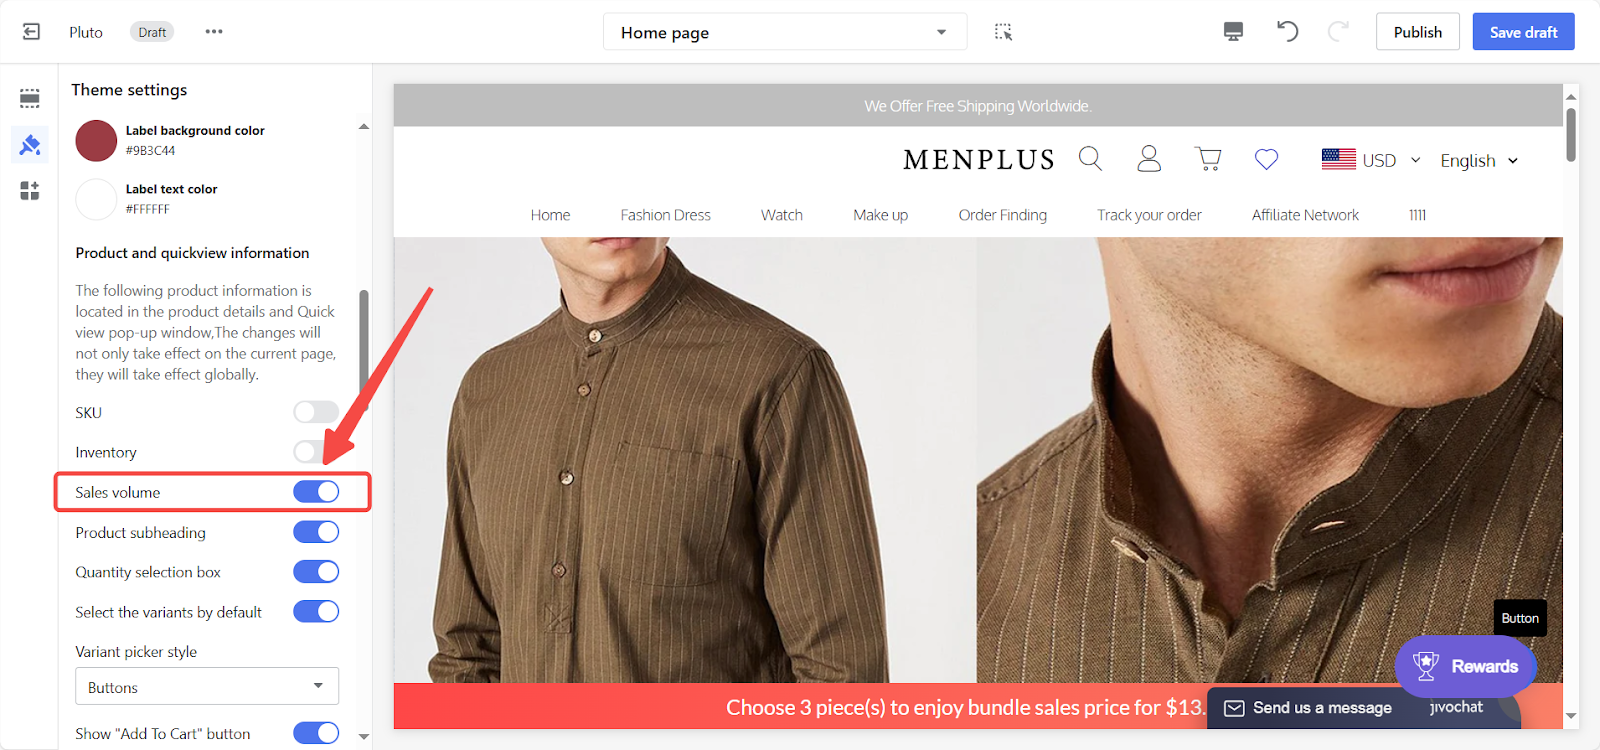
4. Save your edits: Once the settings are adjusted, click Save draft or Publish at the top right to finalize your changes.
Following this guide will help you set up virtual sales quickly, enhance your product pages, and encourage customer purchases while maintaining transparency and trust.


Comments
Please sign in to leave a comment.