
This article provides a comprehensive guide to managing your accessories list. It enables you to provide customers with clear and organized information about the items they need for successful product assembly and use. This not only enhances their experience but also helps reduce confusion and potential returns.
What is an accessories list?
The accessories list is a checklist for managing and assigning individual products to complete a task. For example, if you sell a computer desk, this list can provide information on the tools needed for installation, such as screws, wrenches, and glue.
Note
The items in your accessories list are for reference only and cannot be linked to a product in your store.
Adding your accessories list section
This section outlines how to add an accessories list to your product page, allowing customers to find the information they need easily.
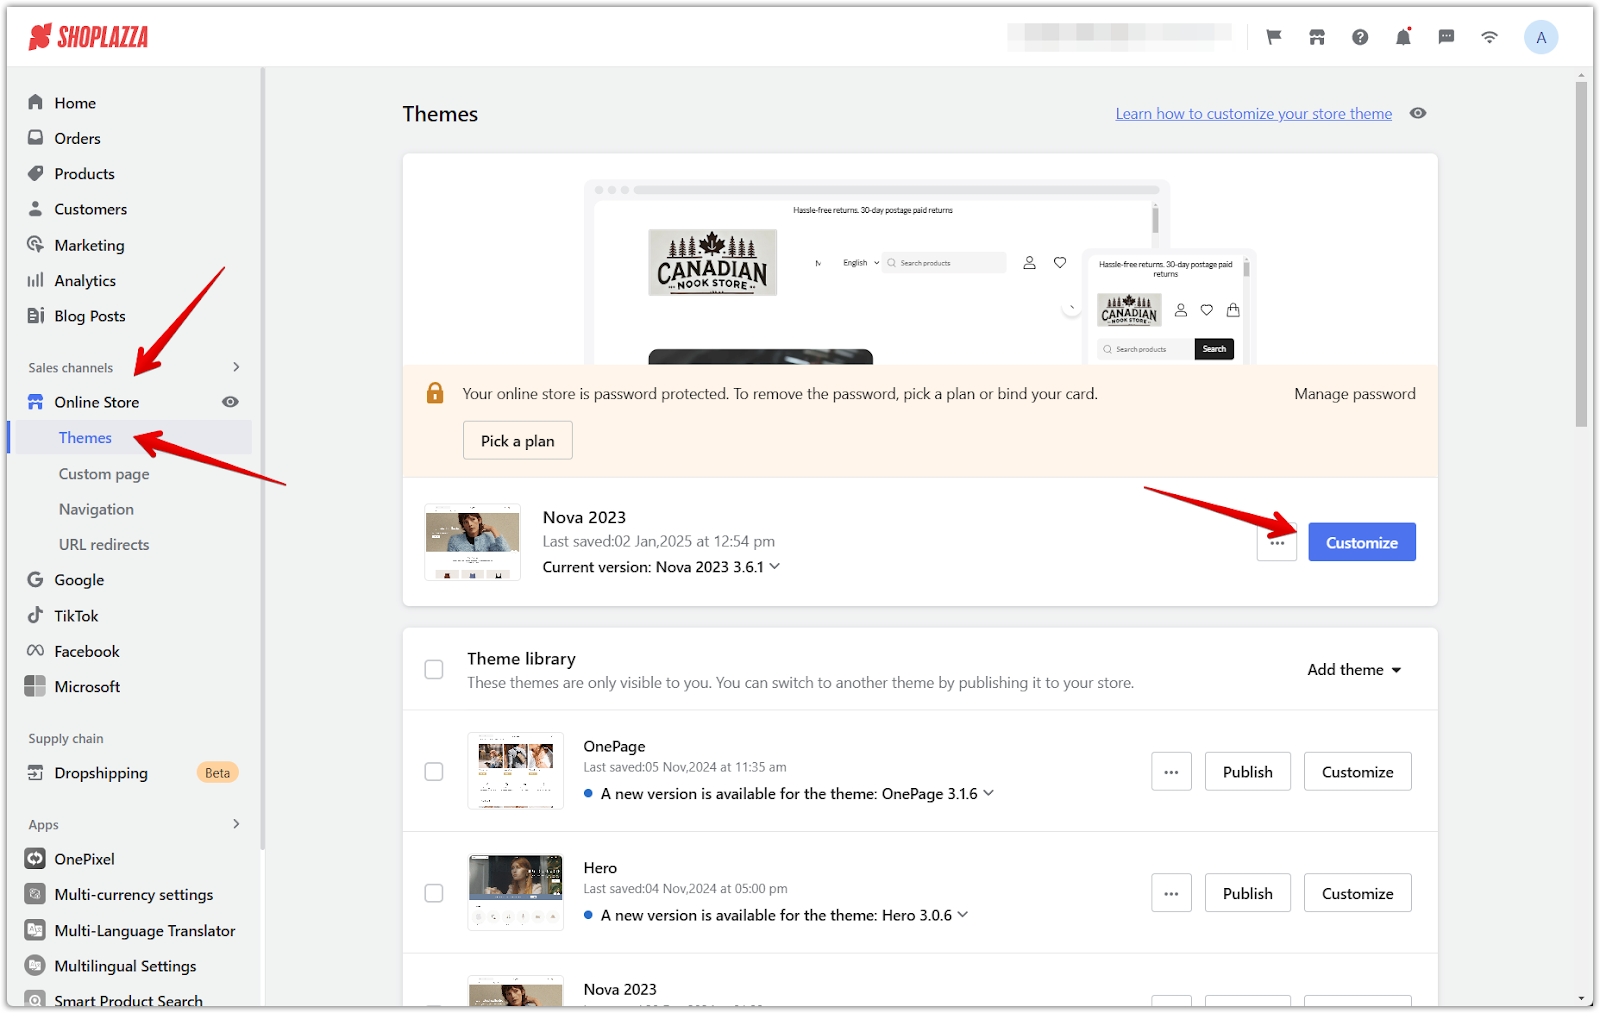
1. Access the theme editor: From your Shoplazza admin, go to Online Store > Themes. Click the Customize button.
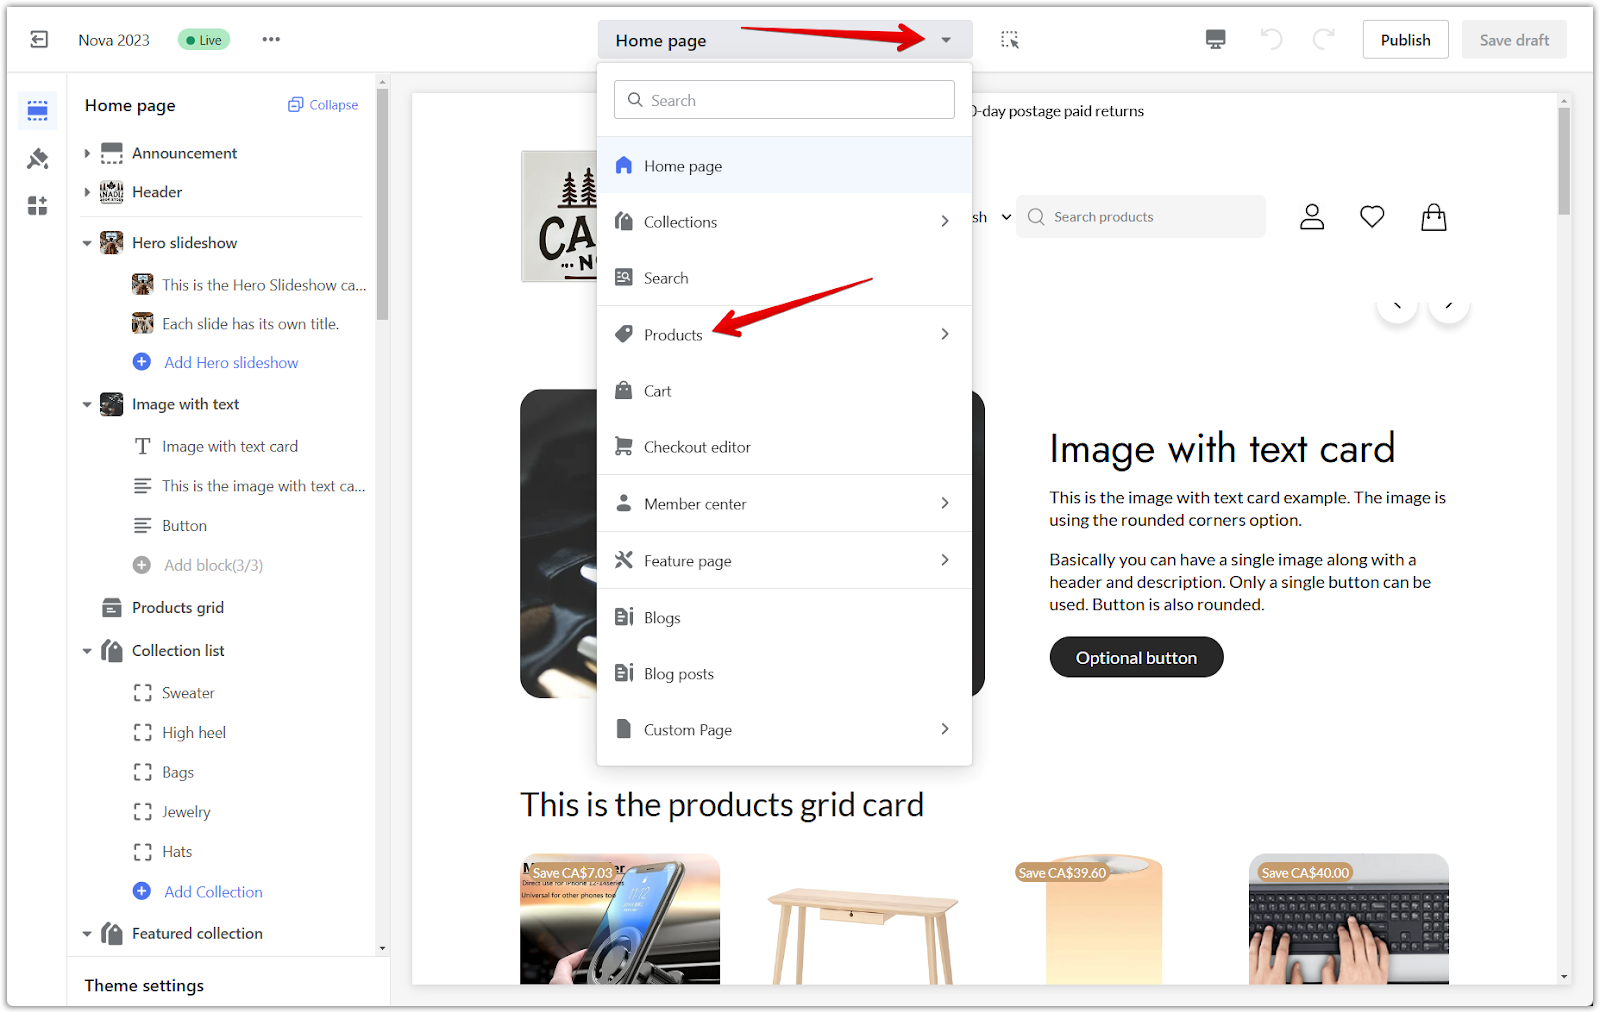
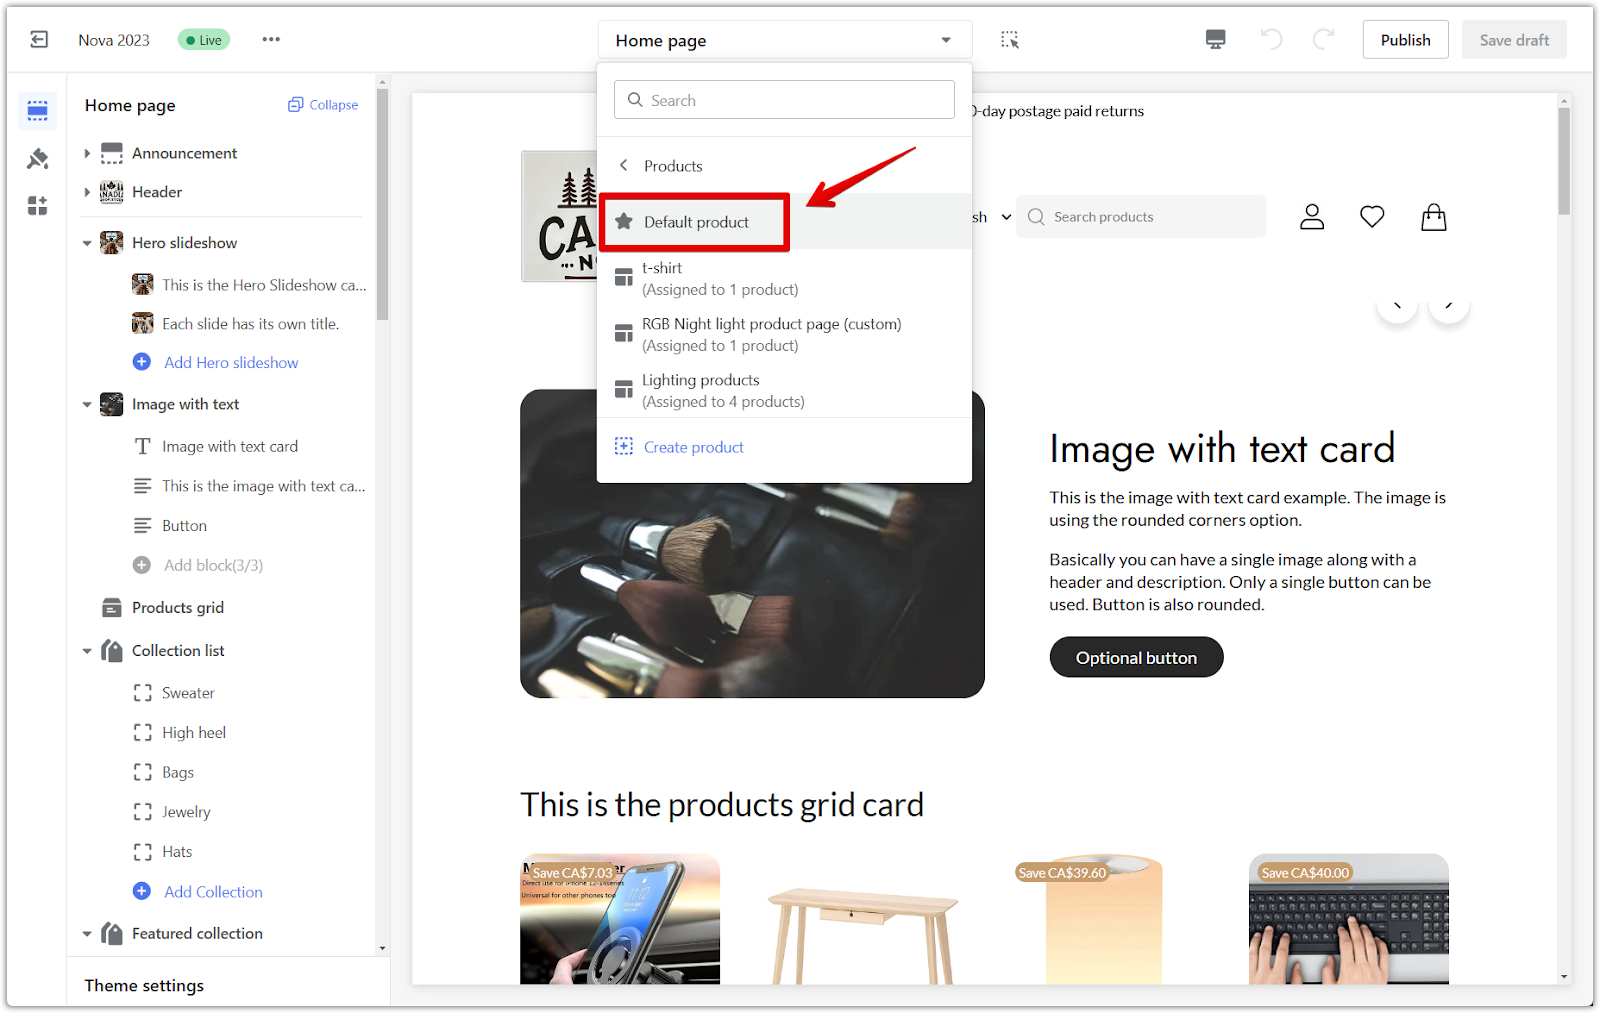
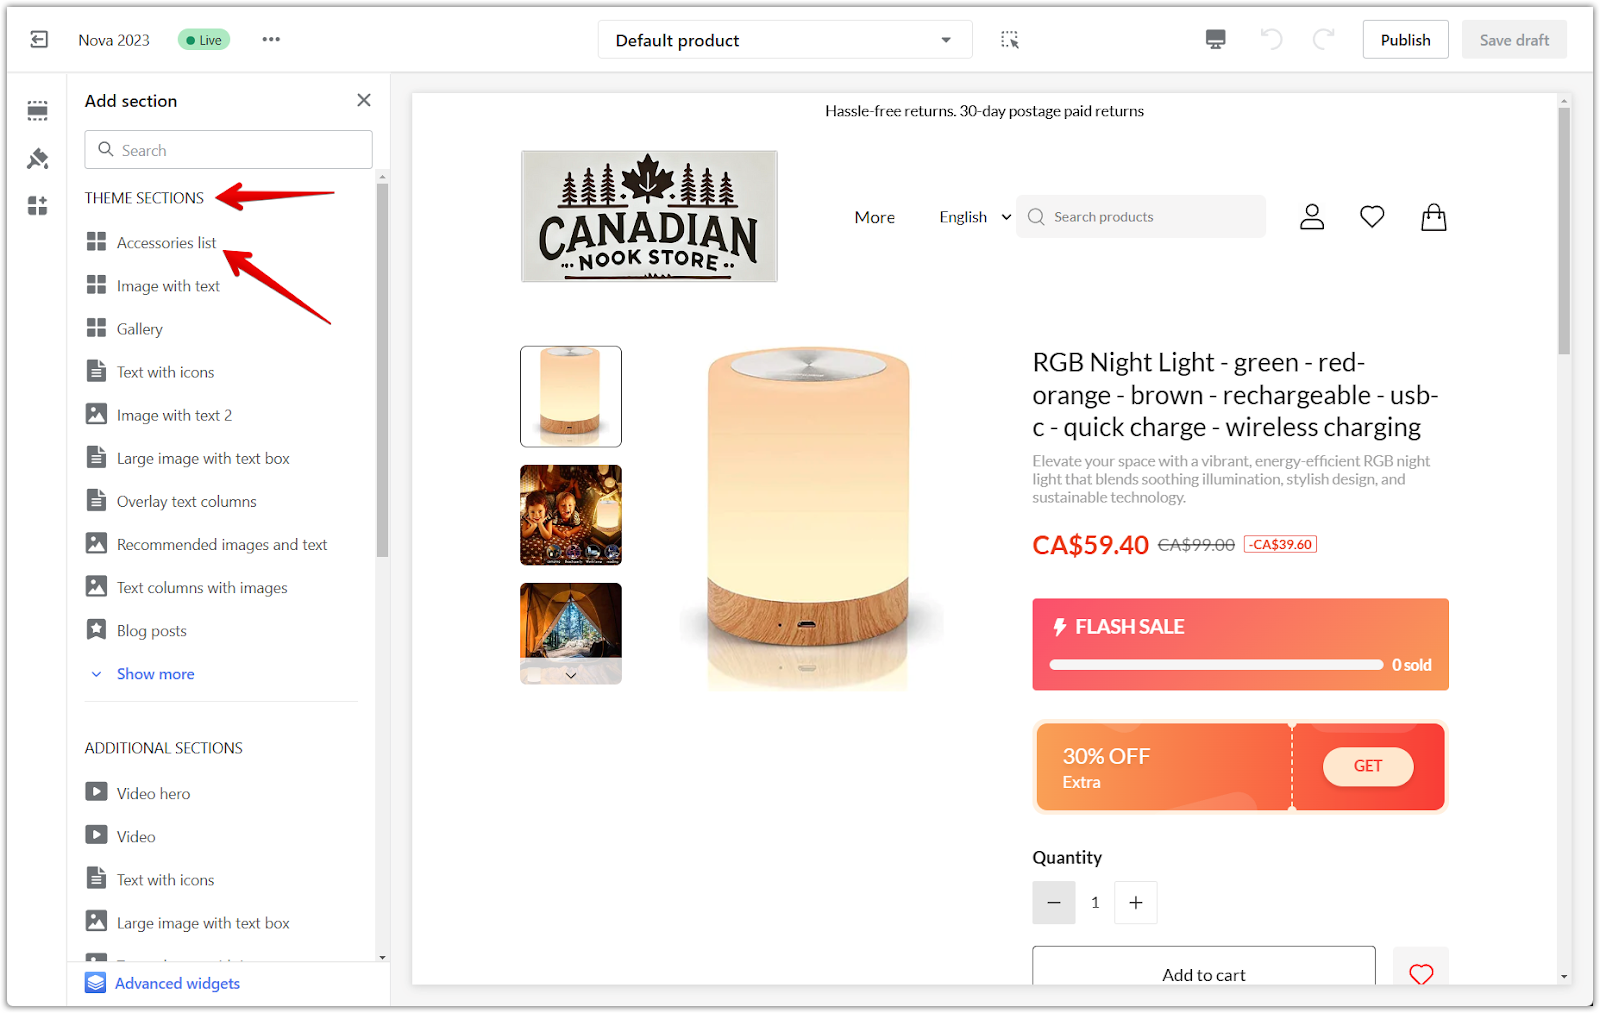
2. Navigate to the product page: Once in the theme editor, select the Product page from the drop-down menu at the top center of your screen. Scroll down and click Add section.
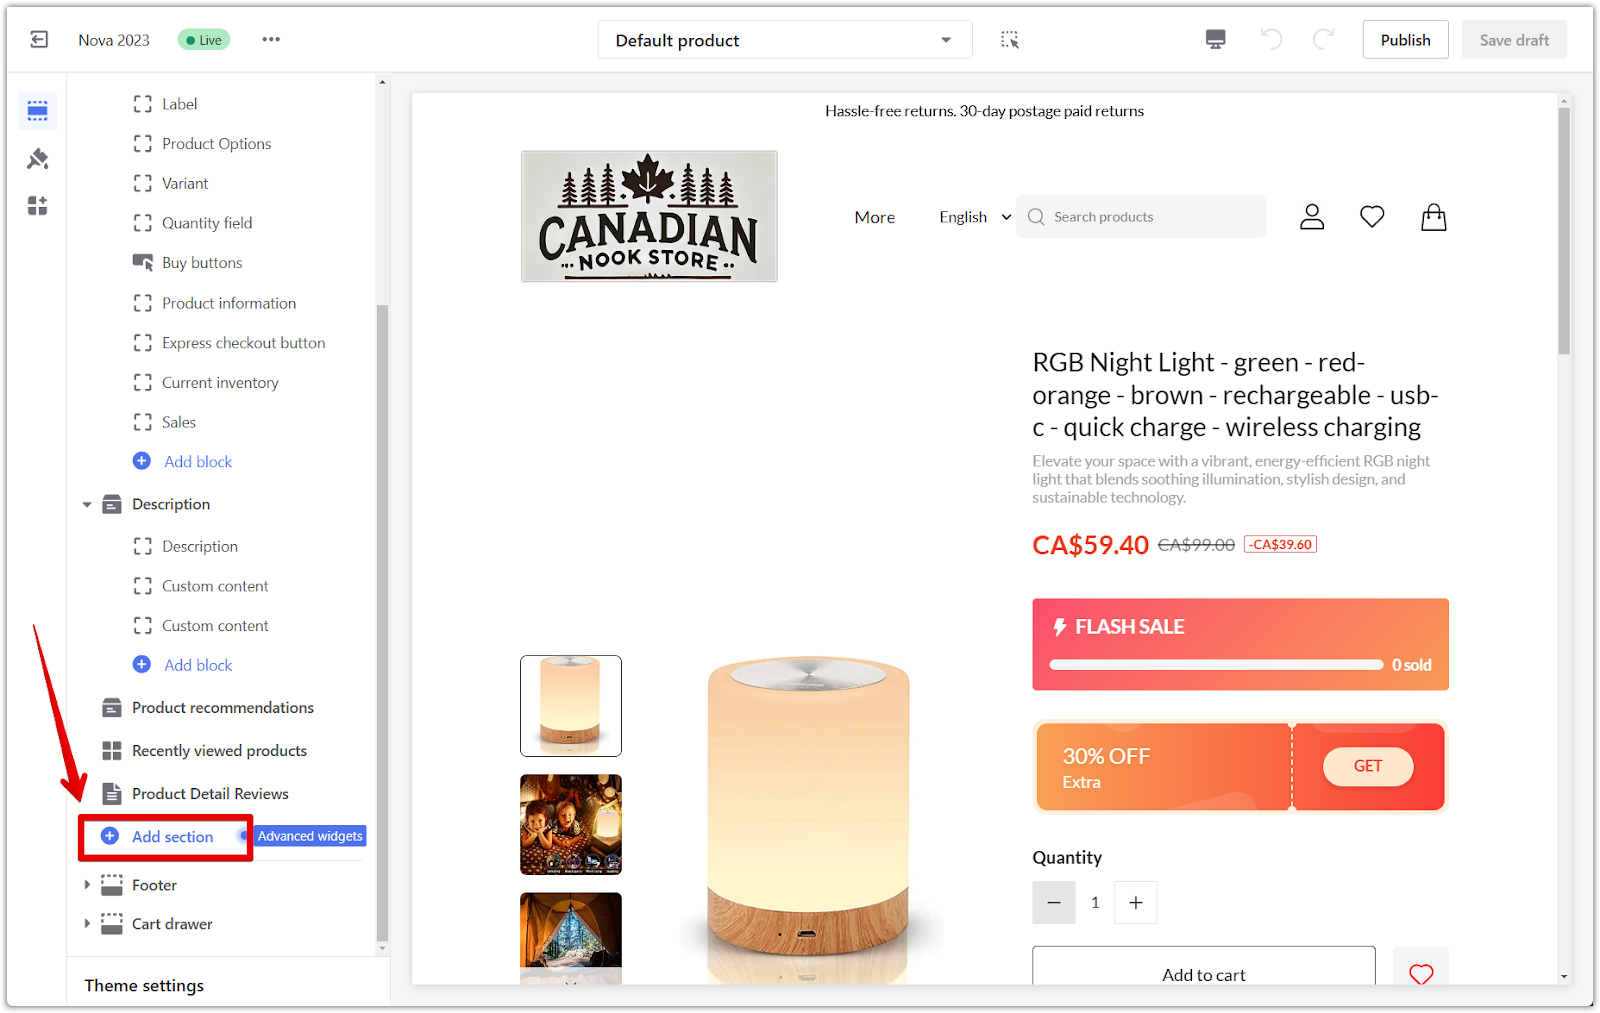
3. Add the accessories list section: Select the Accessories list section under the Theme sections.
Setting up your accessories list section
This section guides you through the initial setup of your accessories list, including naming and product display options.
1. Name your list: Click on the section title, and under Title, enter a name for your list.
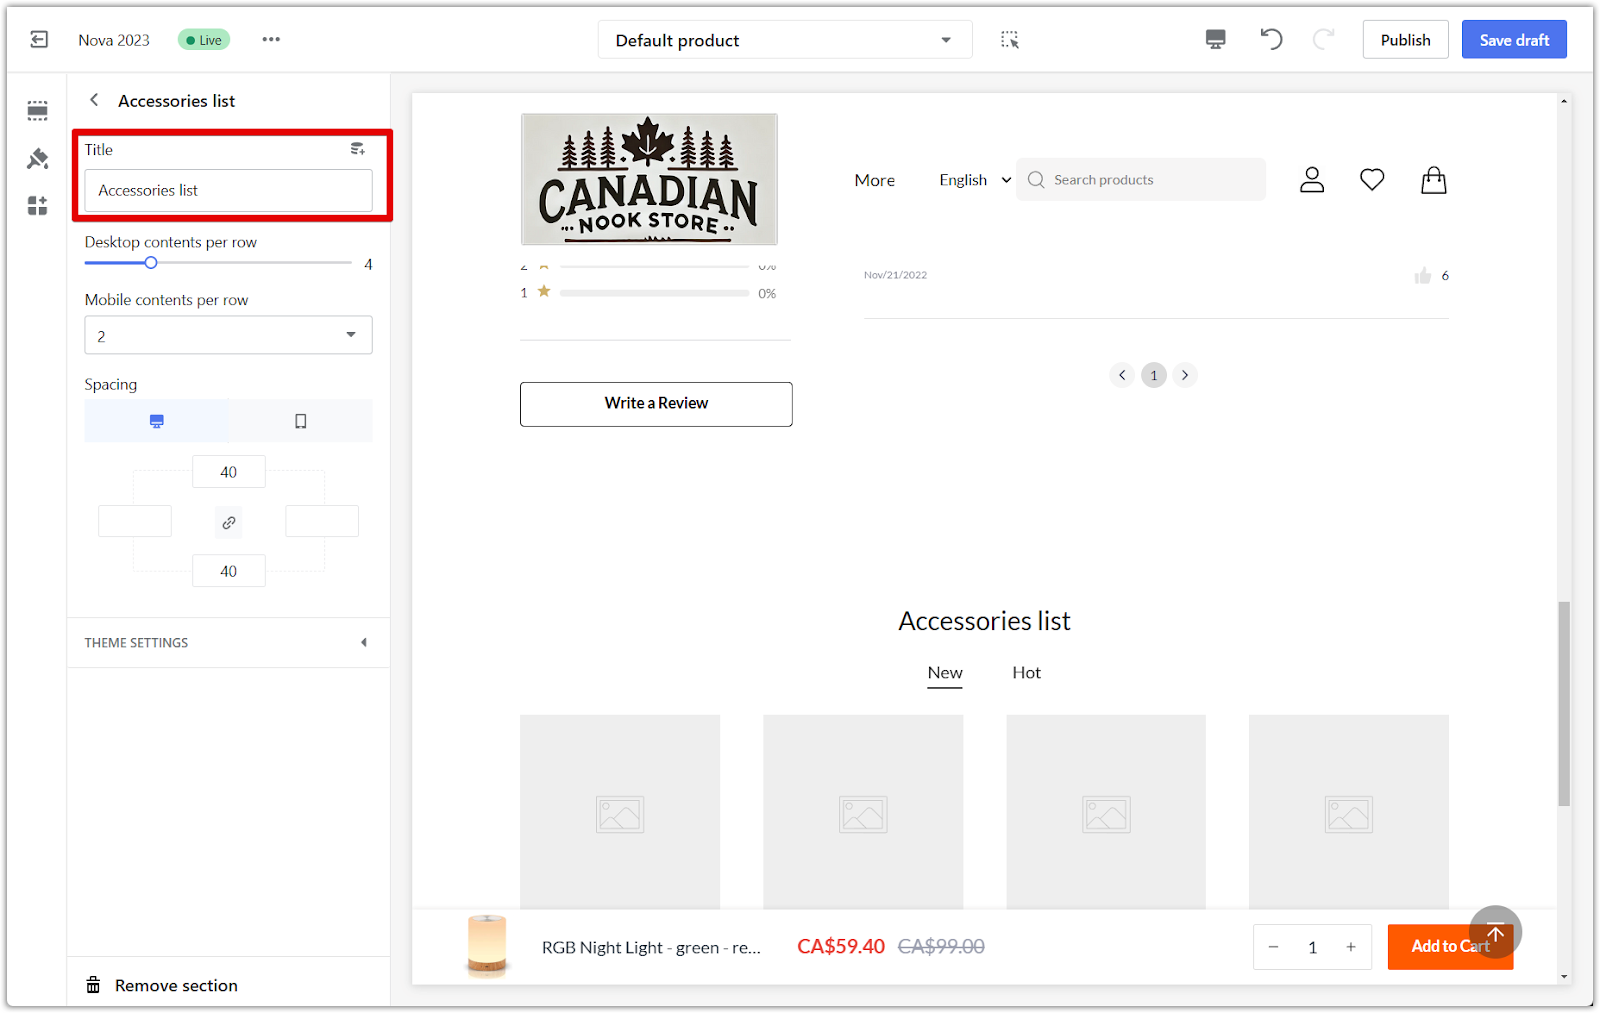
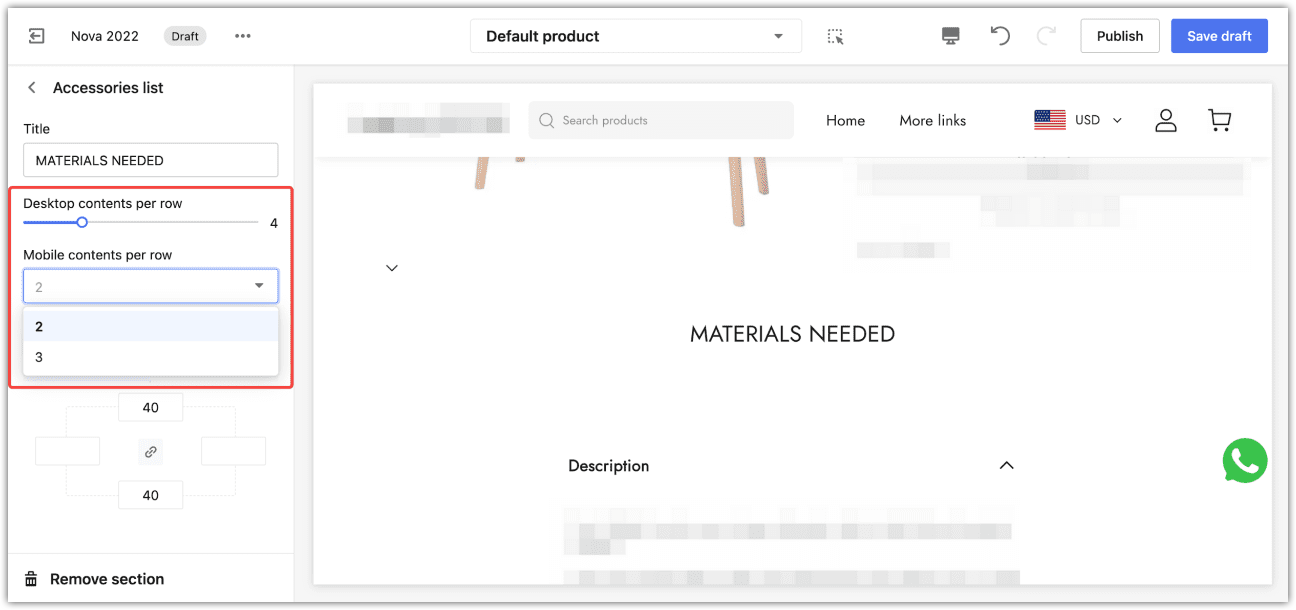
2. Adjust product display: Adjust the maximum number of products displayed per row on desktop and mobile.
Spacing
This section explains how to adjust the spacing around your accessories list section for optimal visual appeal.
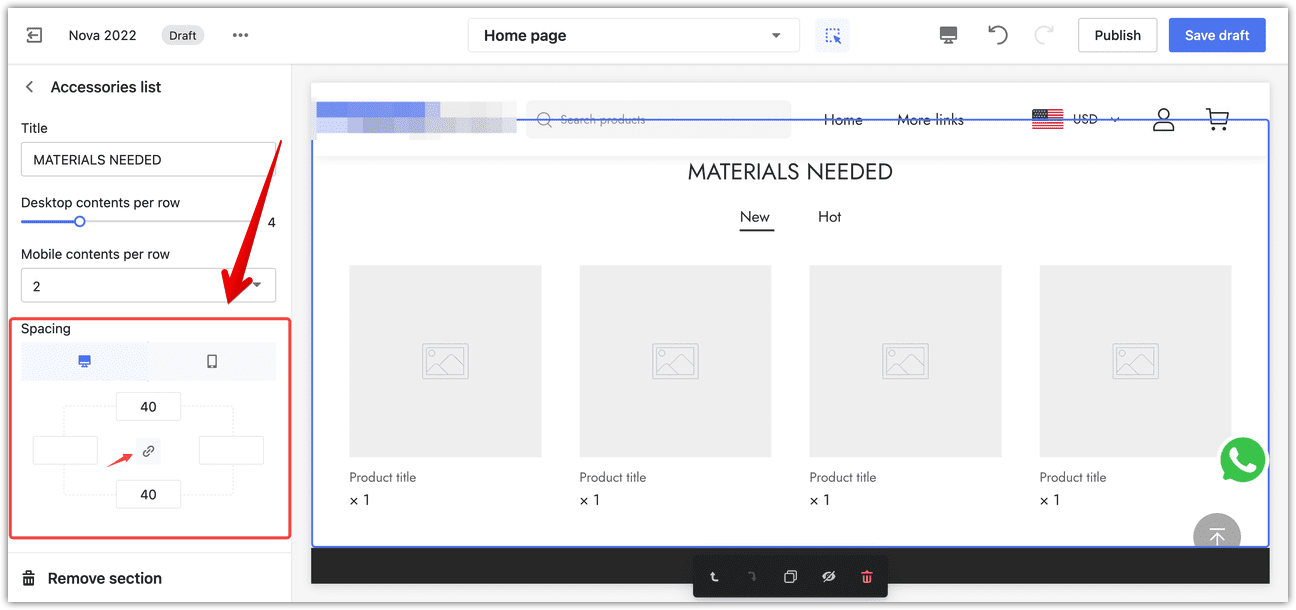
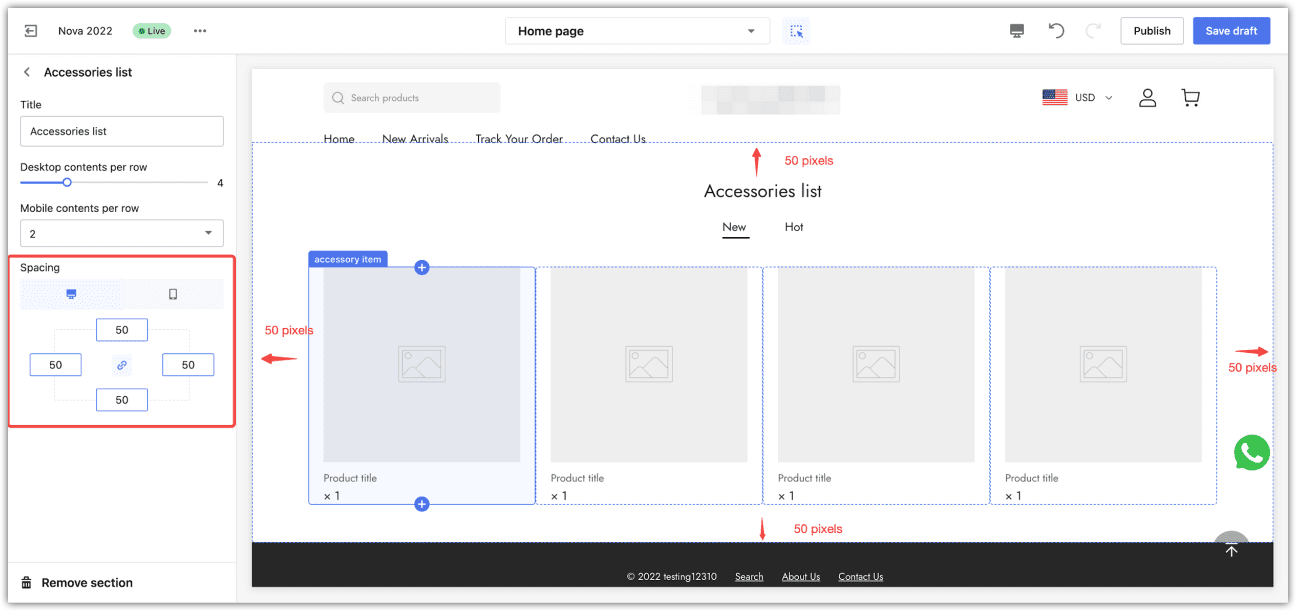
1. Adjust padding: The padding editor generates extra space around the section. Activate the linkage icon and type a number (in pixels) in any of the four columns to add padding. For more precise control, manually adjust each input by disabling the linkage icon in the center.
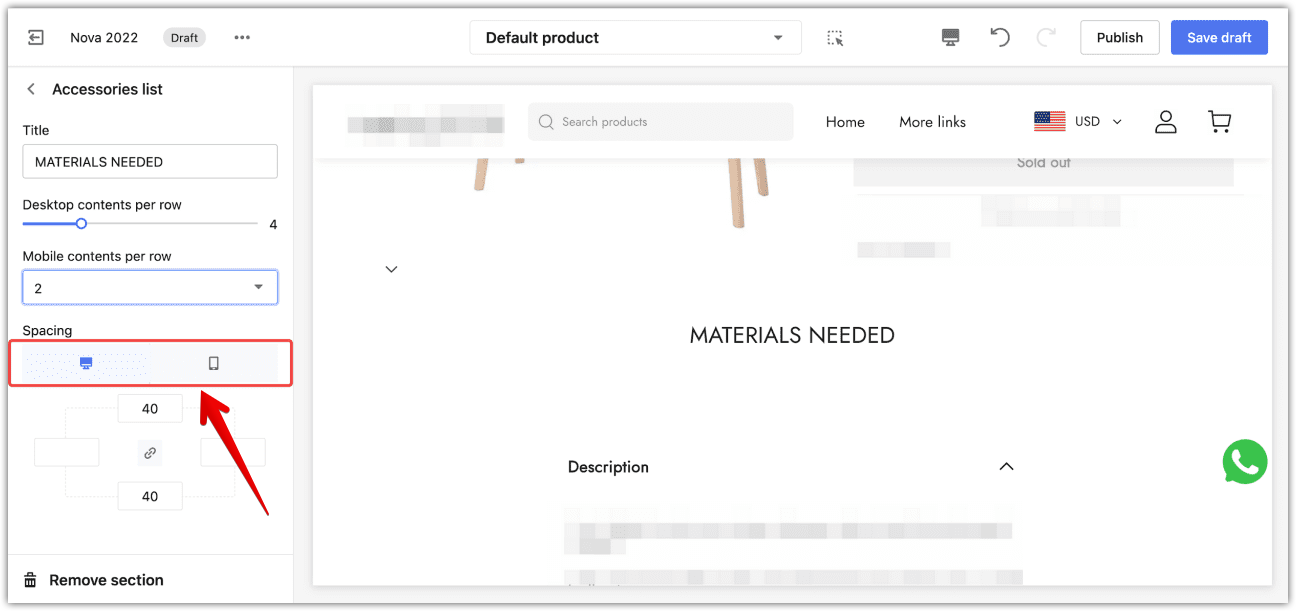
2. Preview spacing: Choose to preview the spacing on desktop or mobile.
Editing your checklist
This section provides step-by-step instructions for editing your accessories checklist, including adding and removing products, incorporating images, and managing product details.
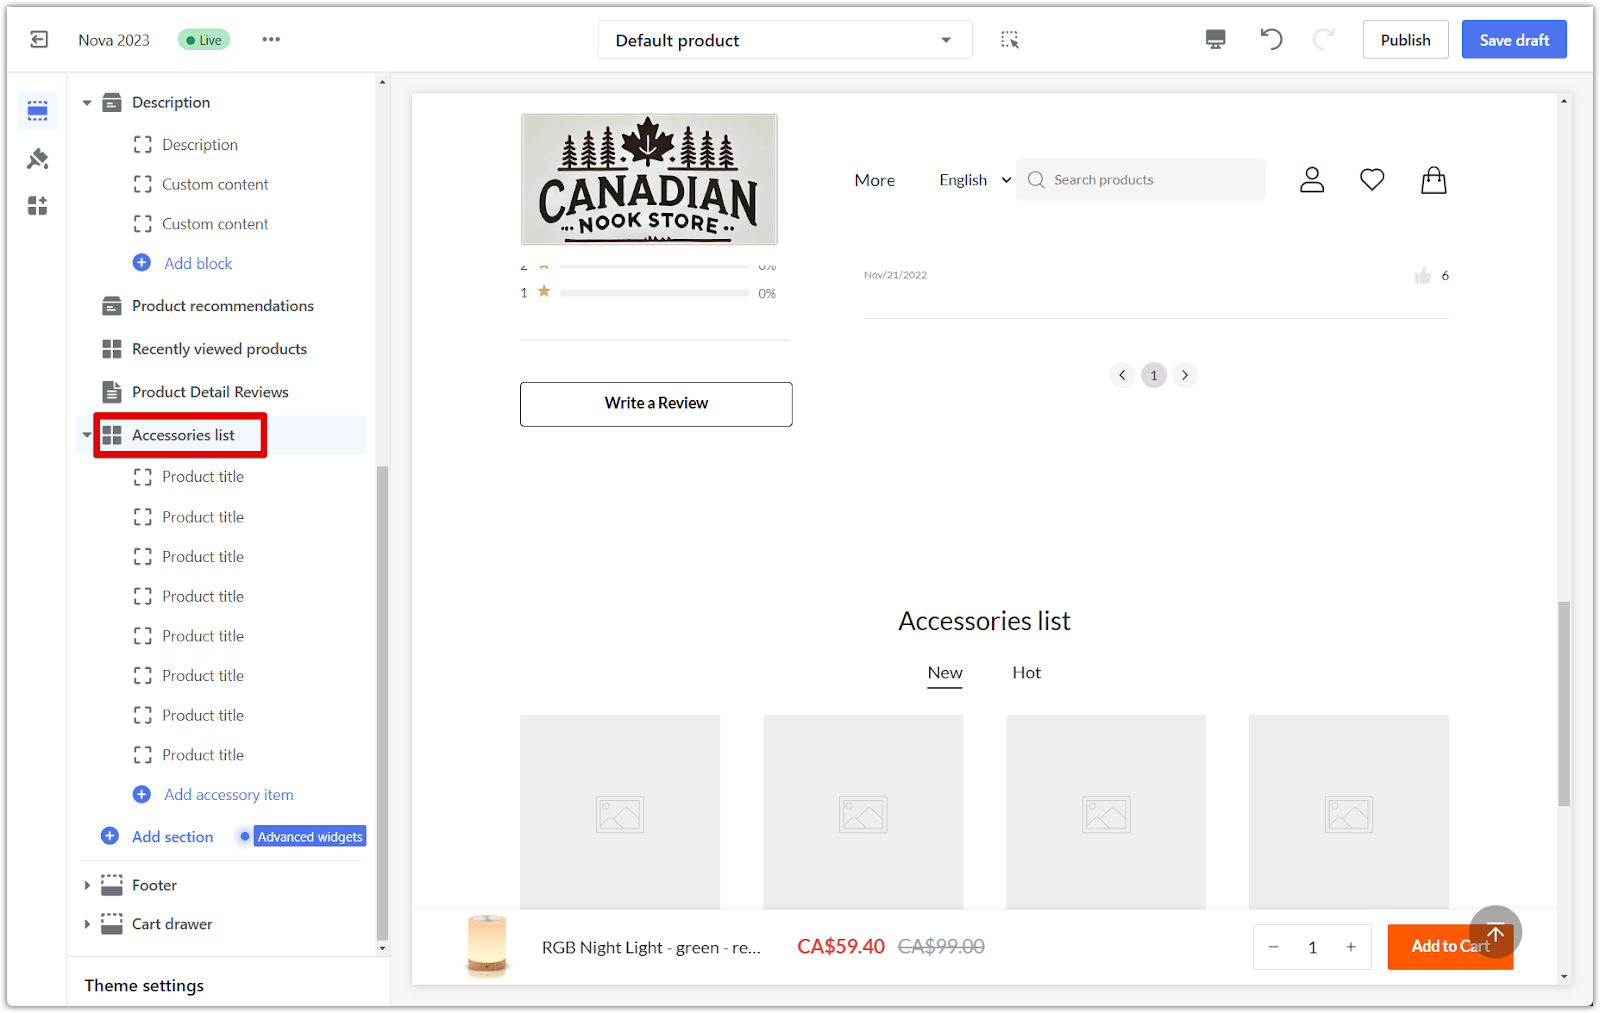
1. Access product details: Go back to the Accessories list section and click on each Product title to edit its properties.
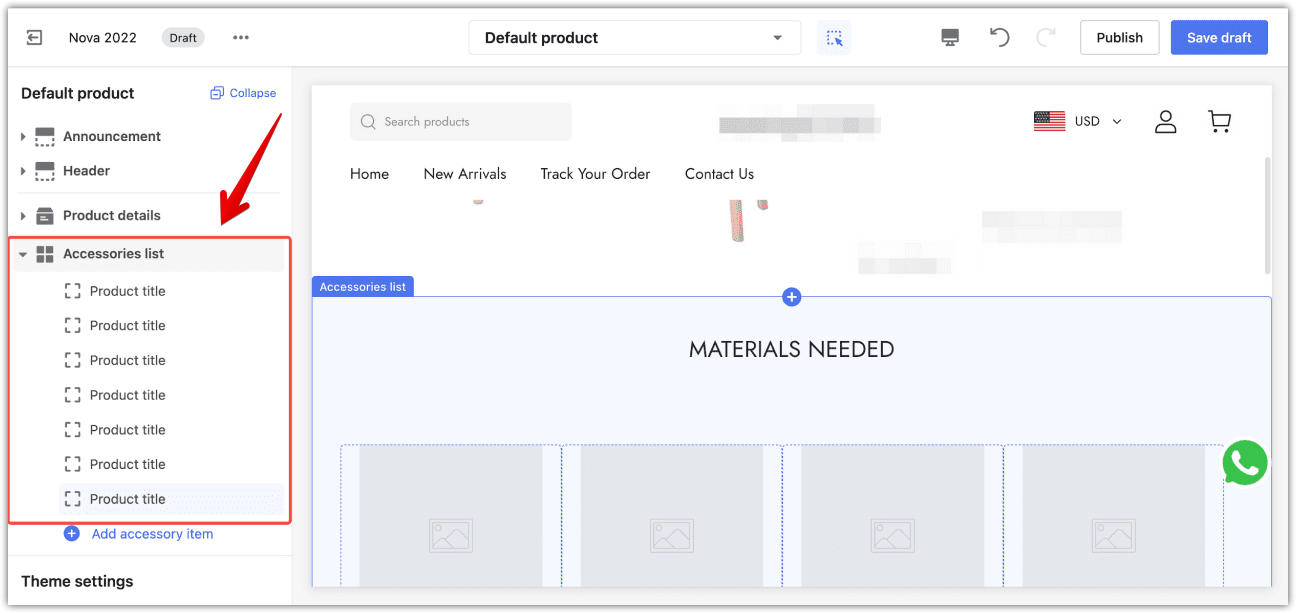
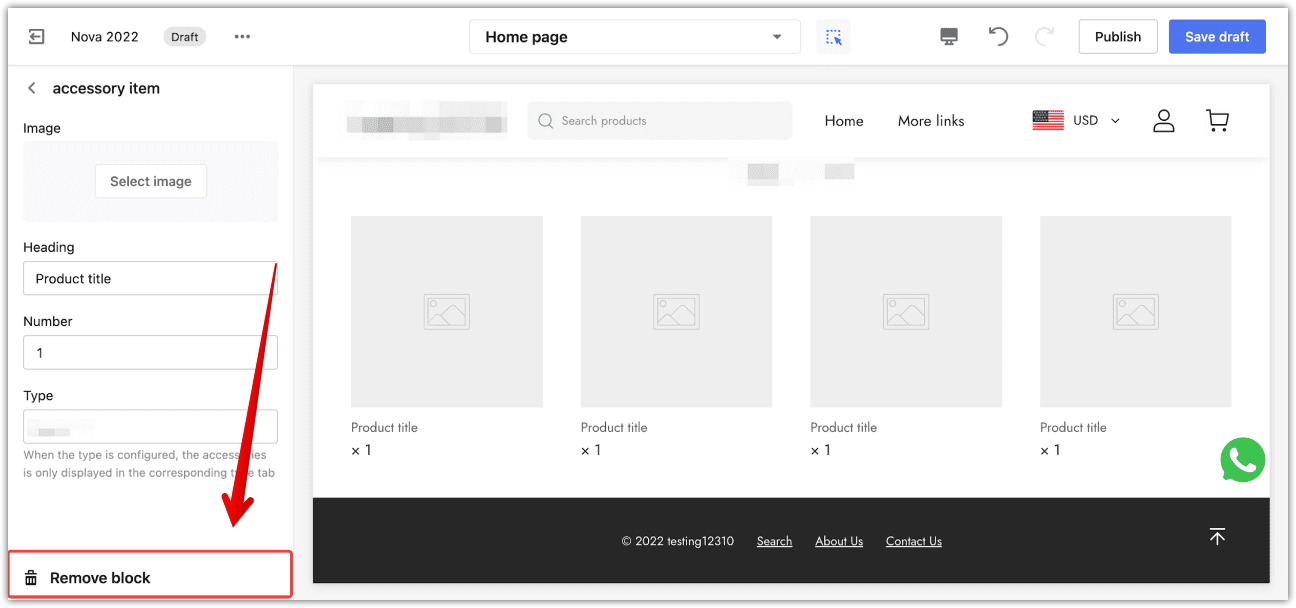
2. Manage product blocks: The Accessories list section adds seven products by default. To delete a block, click on the product title and click on the Remove block button to delete a product block.
3. Add Product Images: Add an image to your product by selecting Select image. Upload the image you want to use. Previously uploaded images will be available here.
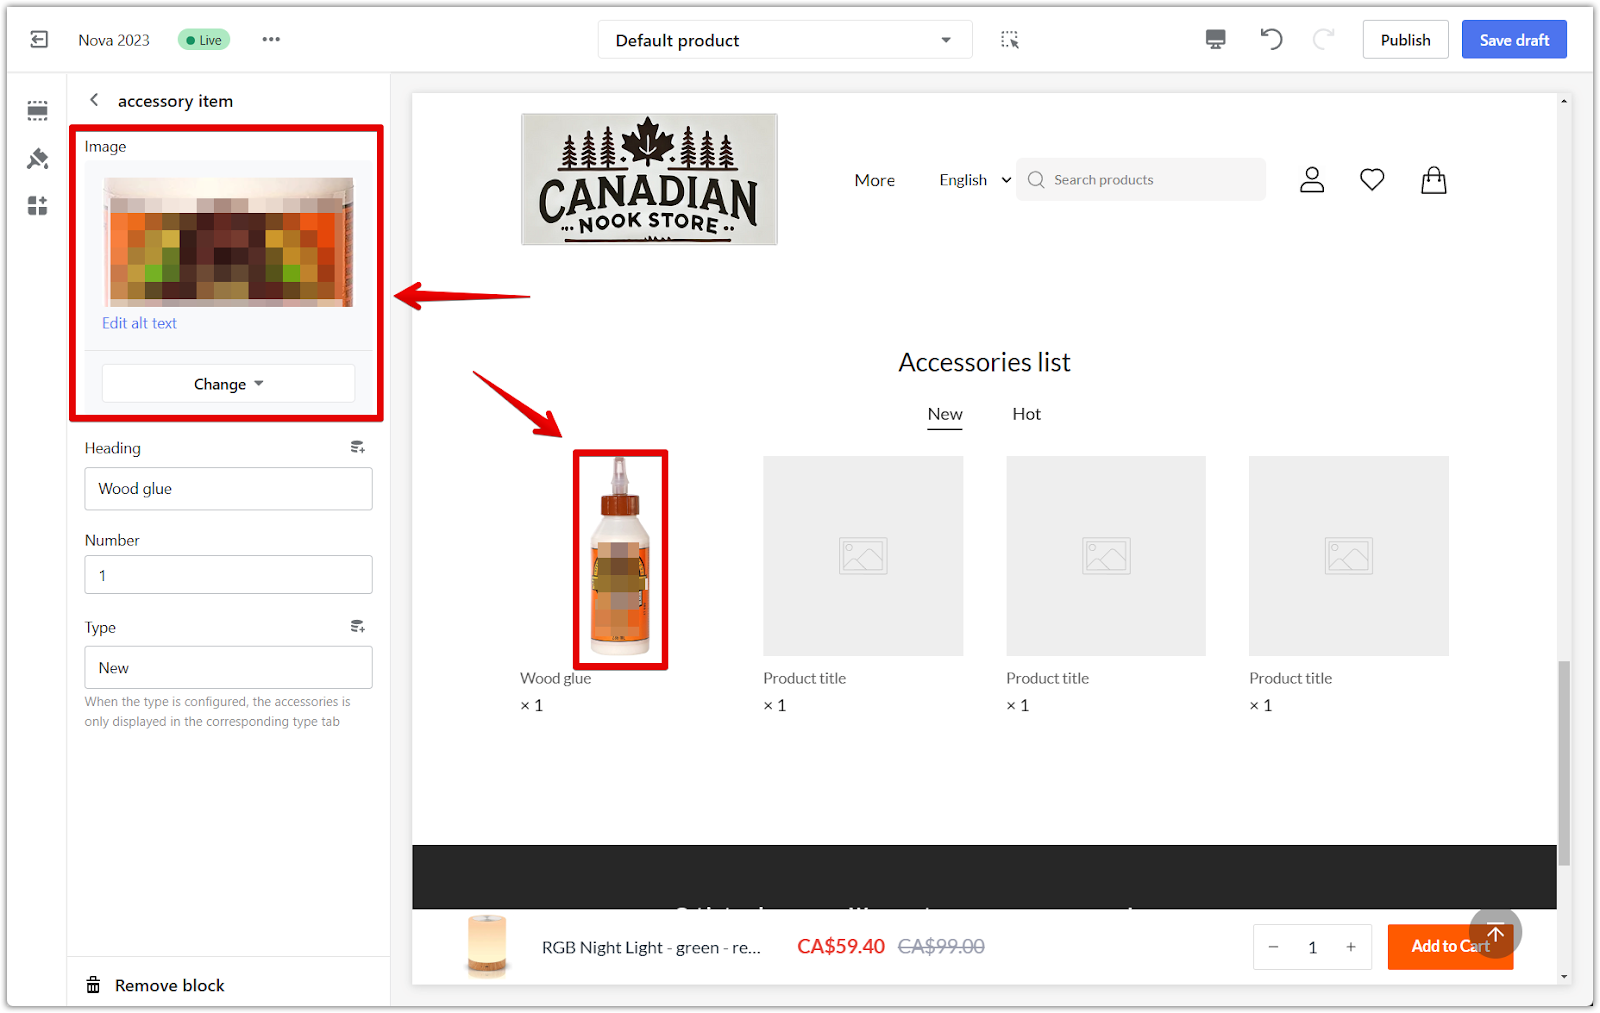
4. Edit Product Details: This section allows you to customize the information displayed for each product.
- Heading: Add a description of the product.
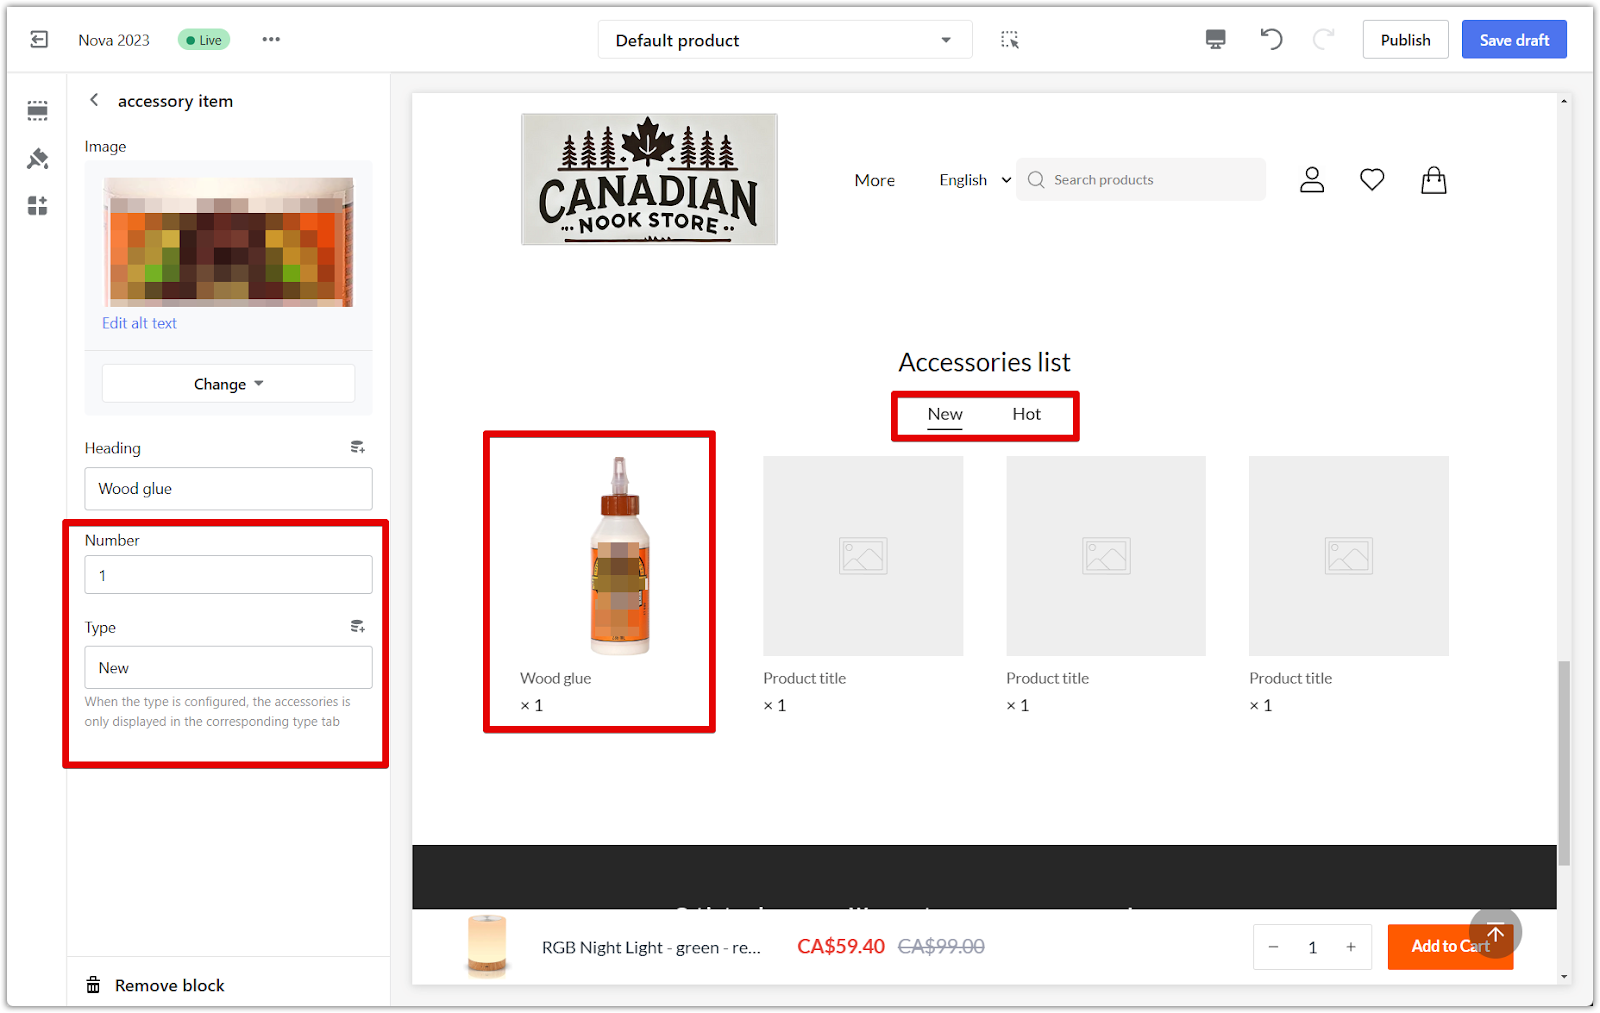
- Number: Suggest how many of the same products customers should prepare.
- Type: Use the same type name to create a new title for this list or group products under an existing checklist.
Note
If you add categories (Type), ensure the spelling matches for each product. You must have at least two types to categorize and sort items.
By following these steps, you can effectively manage your accessories list, giving customers a clear and organized understanding of the items they need. This improves their overall experience and reduces potential confusion and returns, contributing to greater customer satisfaction.


Comments
Please sign in to leave a comment.