
Floating buttons provide a convenient way to guide customers to key areas of your store without cluttering your main navigation. You can configure up to eight shortcut buttons under the Floating buttons tab, each linking to a different page. They appear along the side of your Shoplazza storefront, giving customers quick access to promotions, collections, blogs, or support pages, helping improve the overall shopping experience.
Accessing the Floating buttons settings
Configure Floating buttons before they appear on the storefront. Follow these steps to access the settings:
1. Go to Navigation settings: From your Shoplazza Admin, go to Online Store > Navigation.
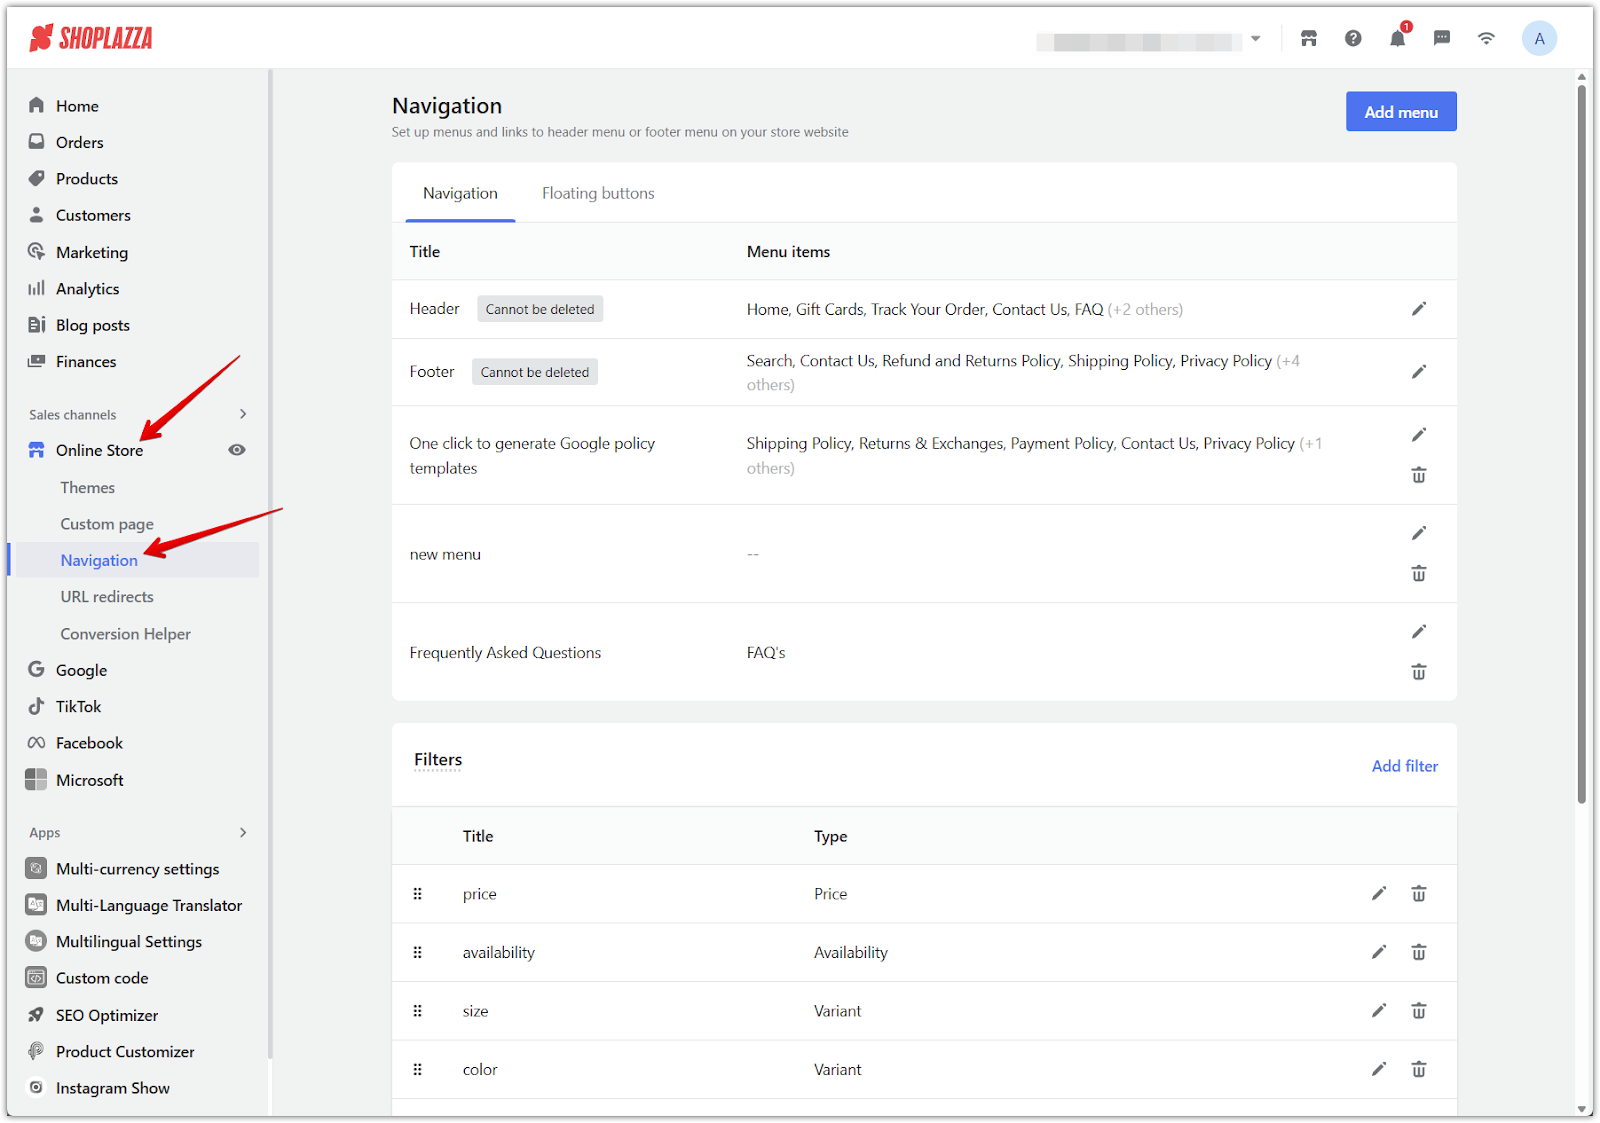
2. Click the Floating buttons tab: At the top of the page, click Floating buttons to switch views.

Note
After setting up your Floating buttons, you must enable them in your theme settings to make them visible.
Configuring floating button settings
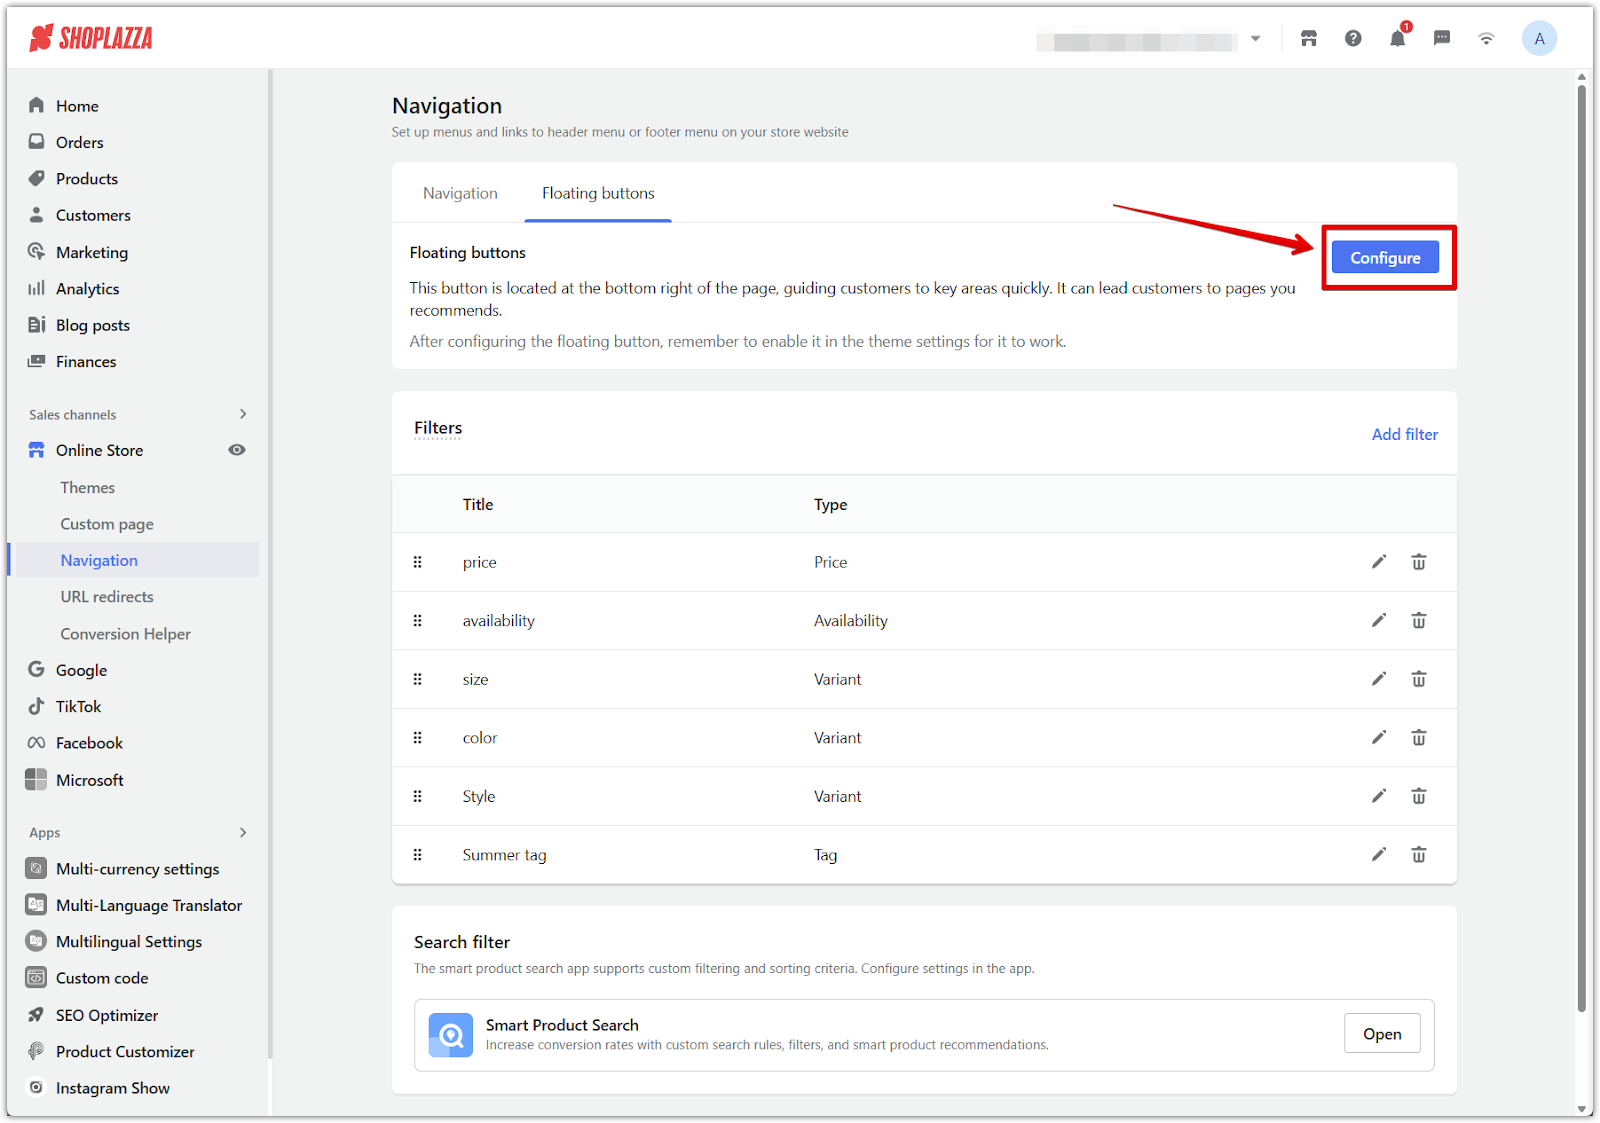
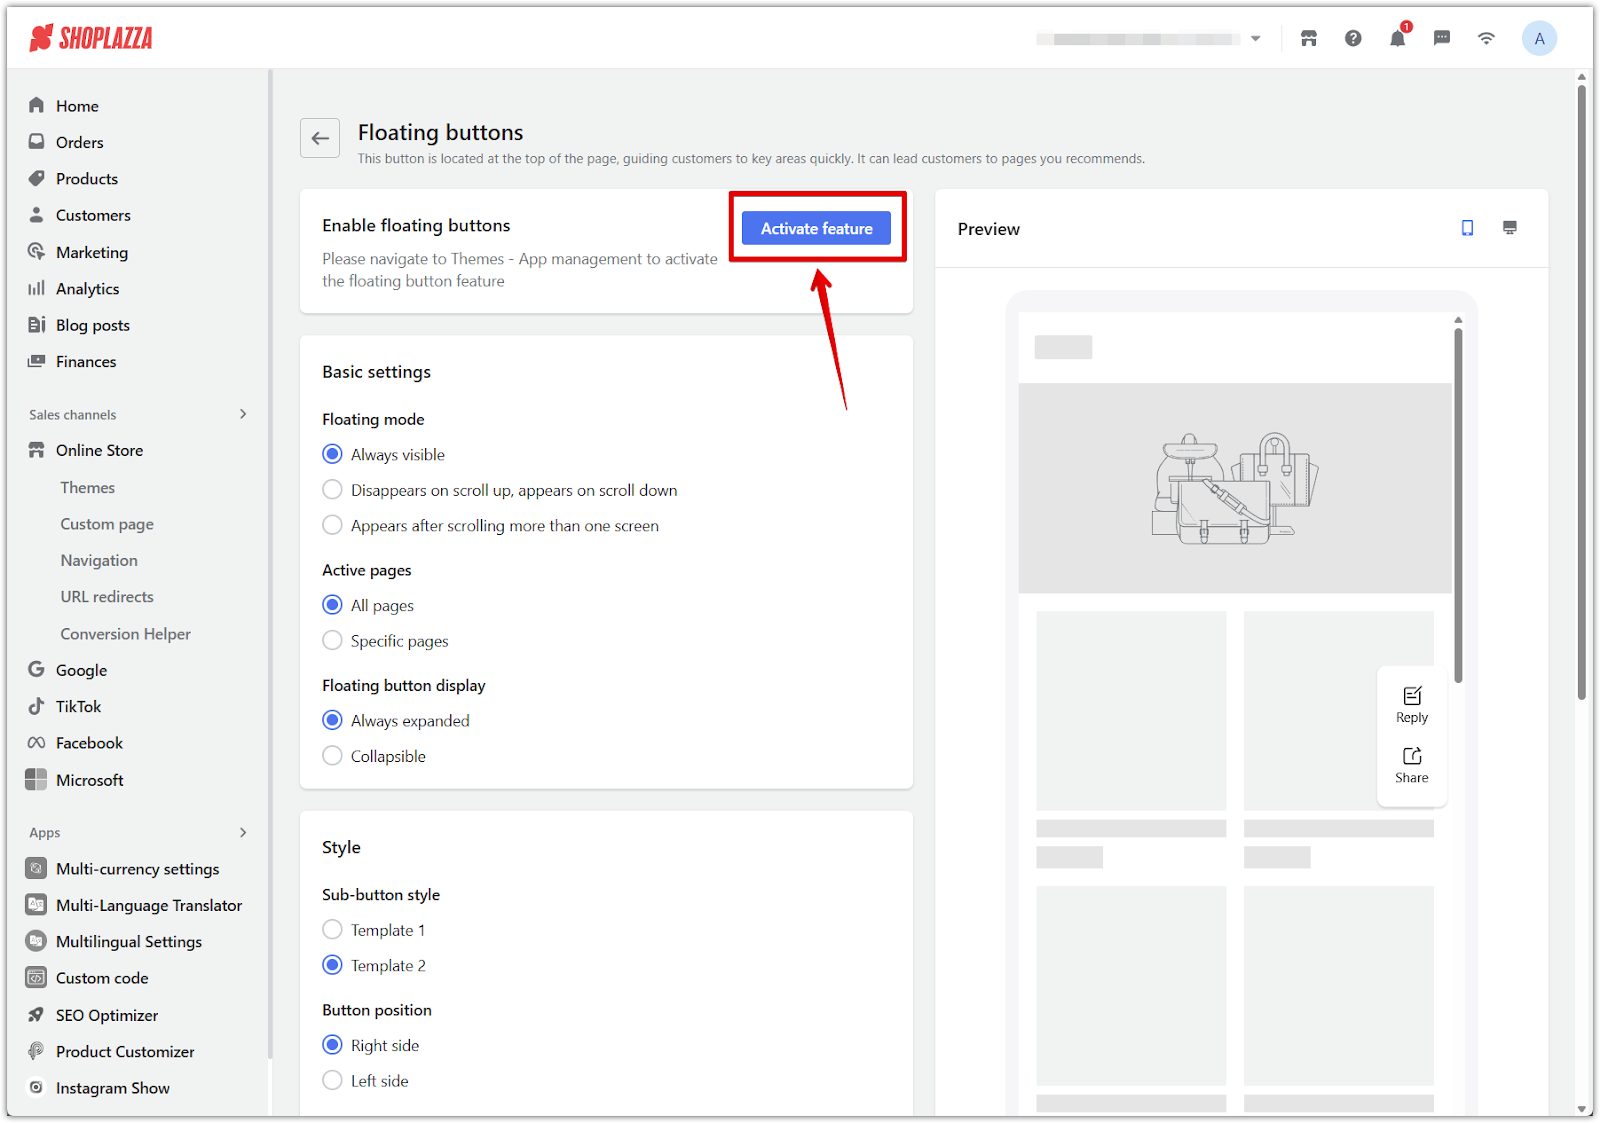
In the Floating buttons tab, use the settings panel to define how and where your buttons will appear.
1. Click Configure to open the Floating buttons settings: In the Floating buttons tab, click Configure to access the floating button settings panel.
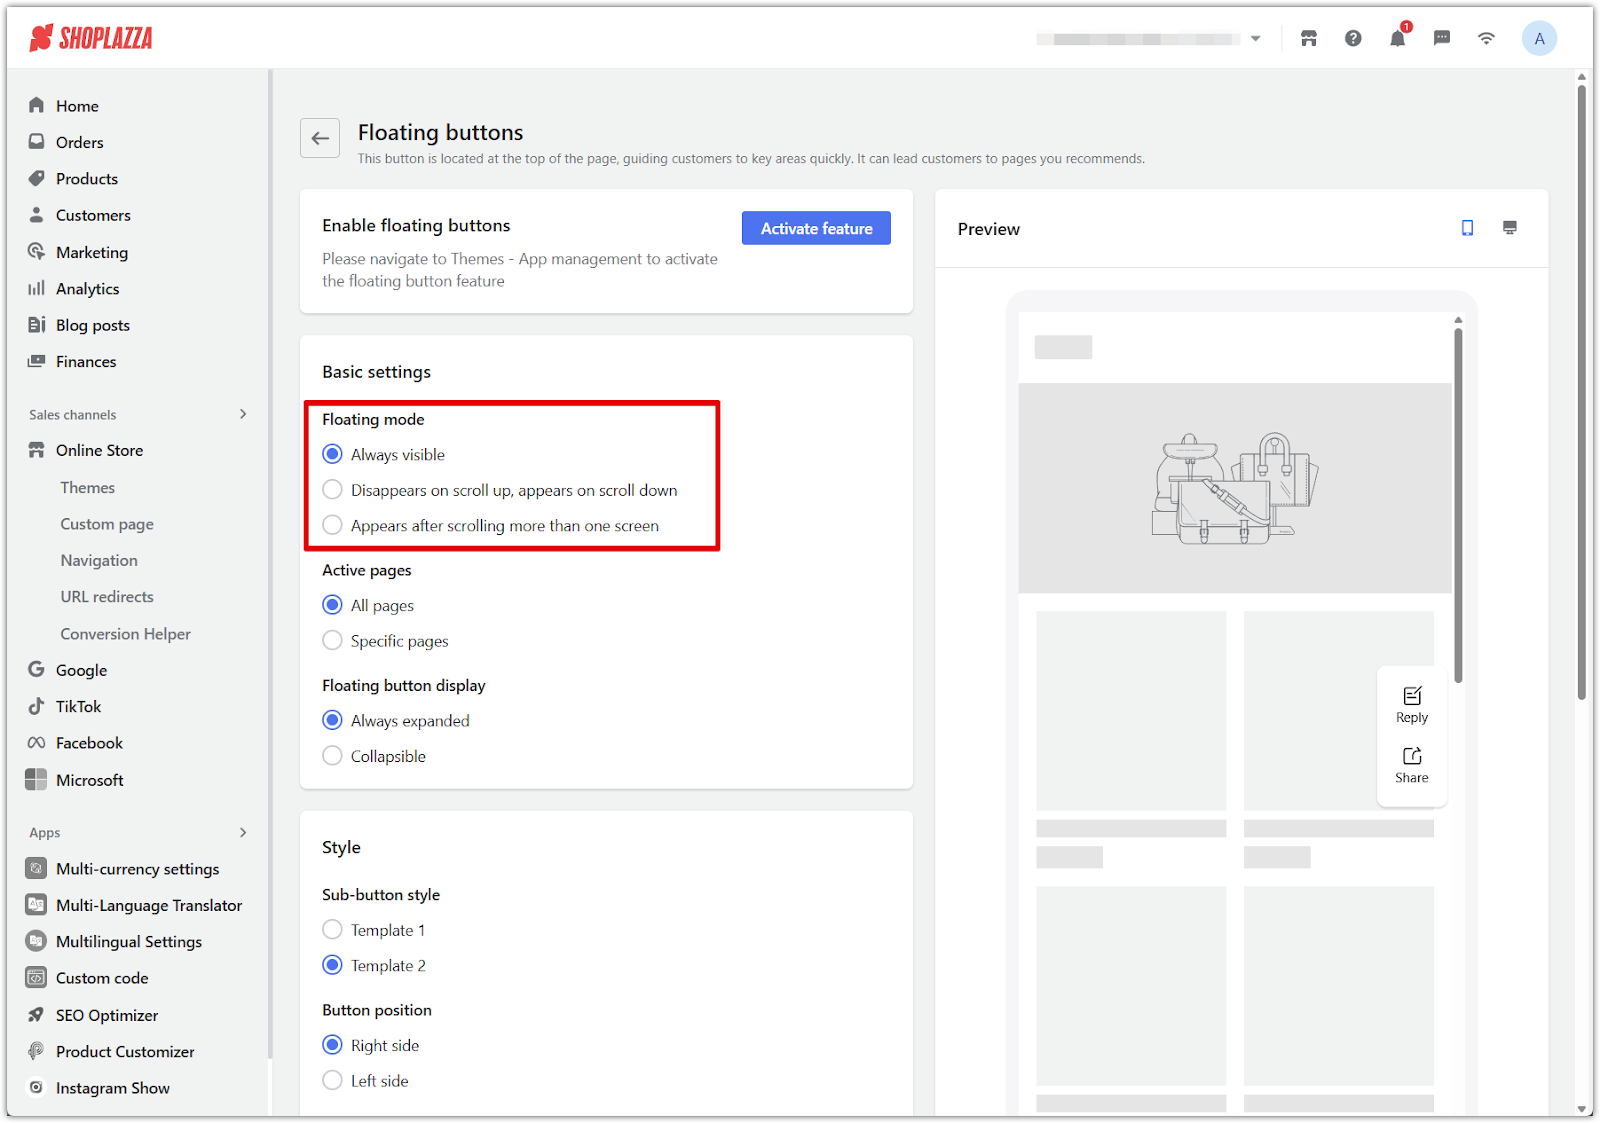
2. Set the floating mode: Choose when and how the floating button appears. Options include always visible, disappearing on scroll up, or appearing only after scrolling past one screen height.
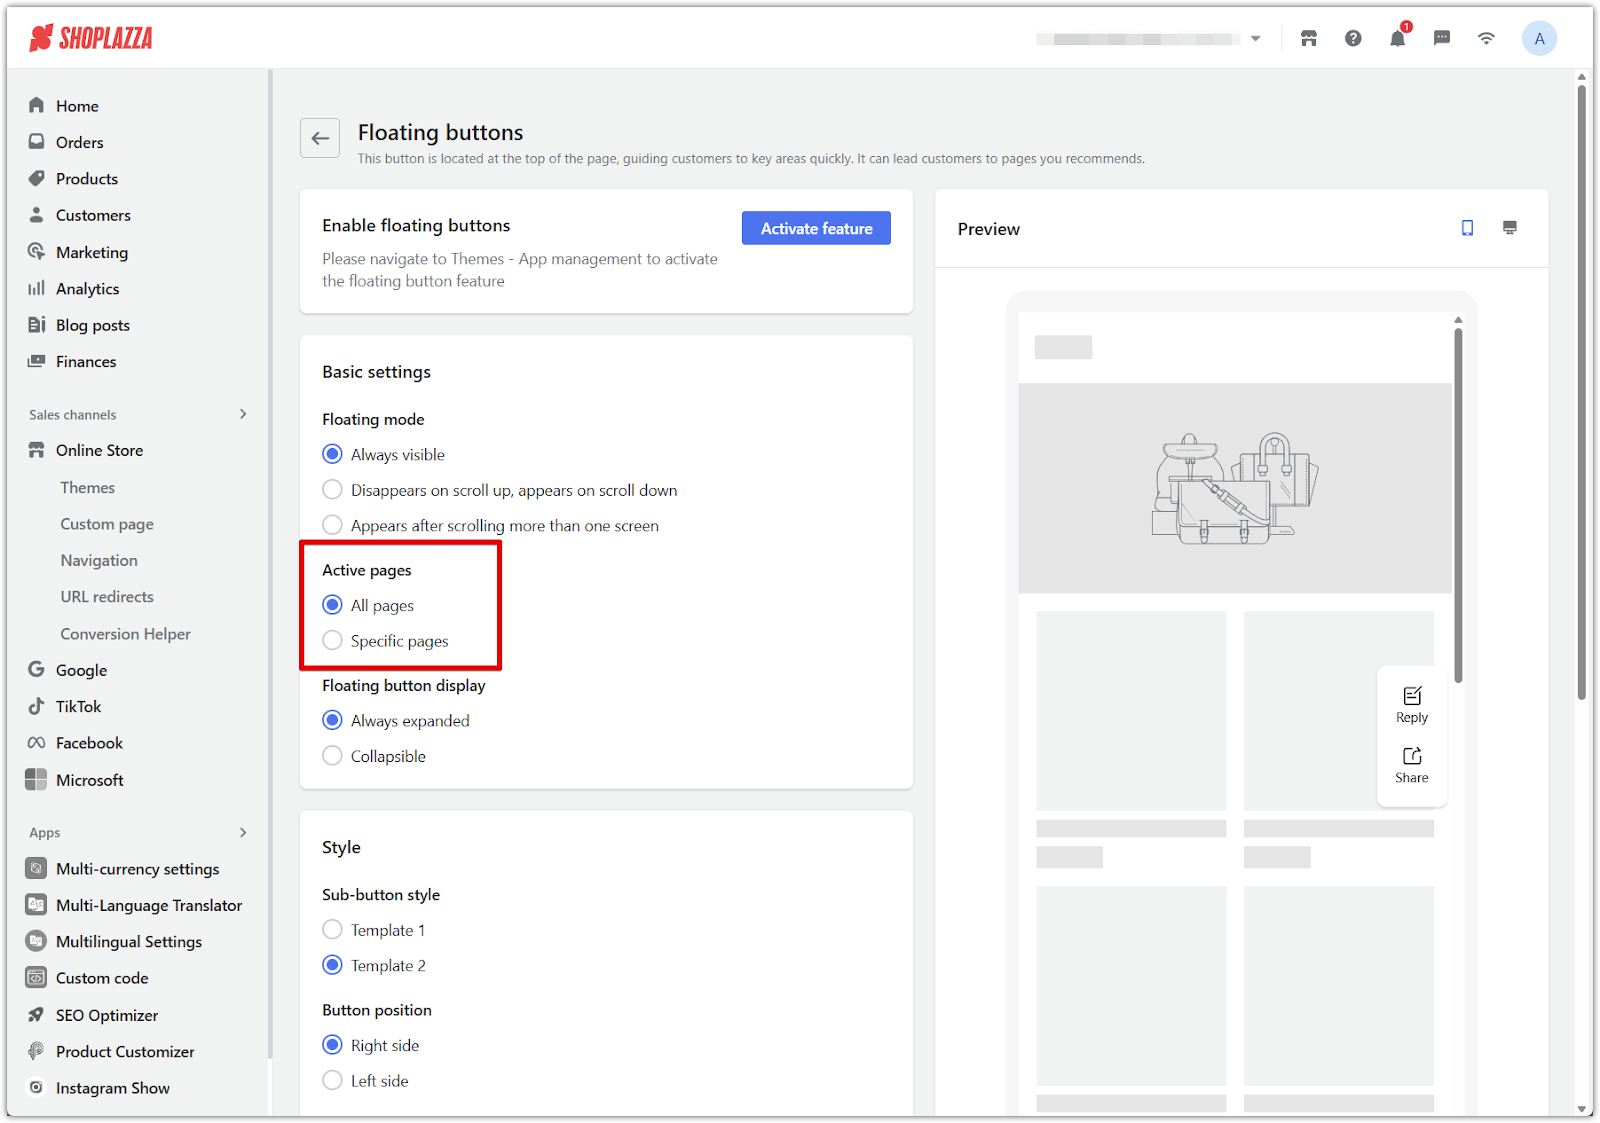
3. Choose the active pages: Decide if the floating button should display across all pages or only on specific ones.
4. Adjust floating button display: Choose to keep the buttons always expanded or collapsible, depending on your preferred layout.

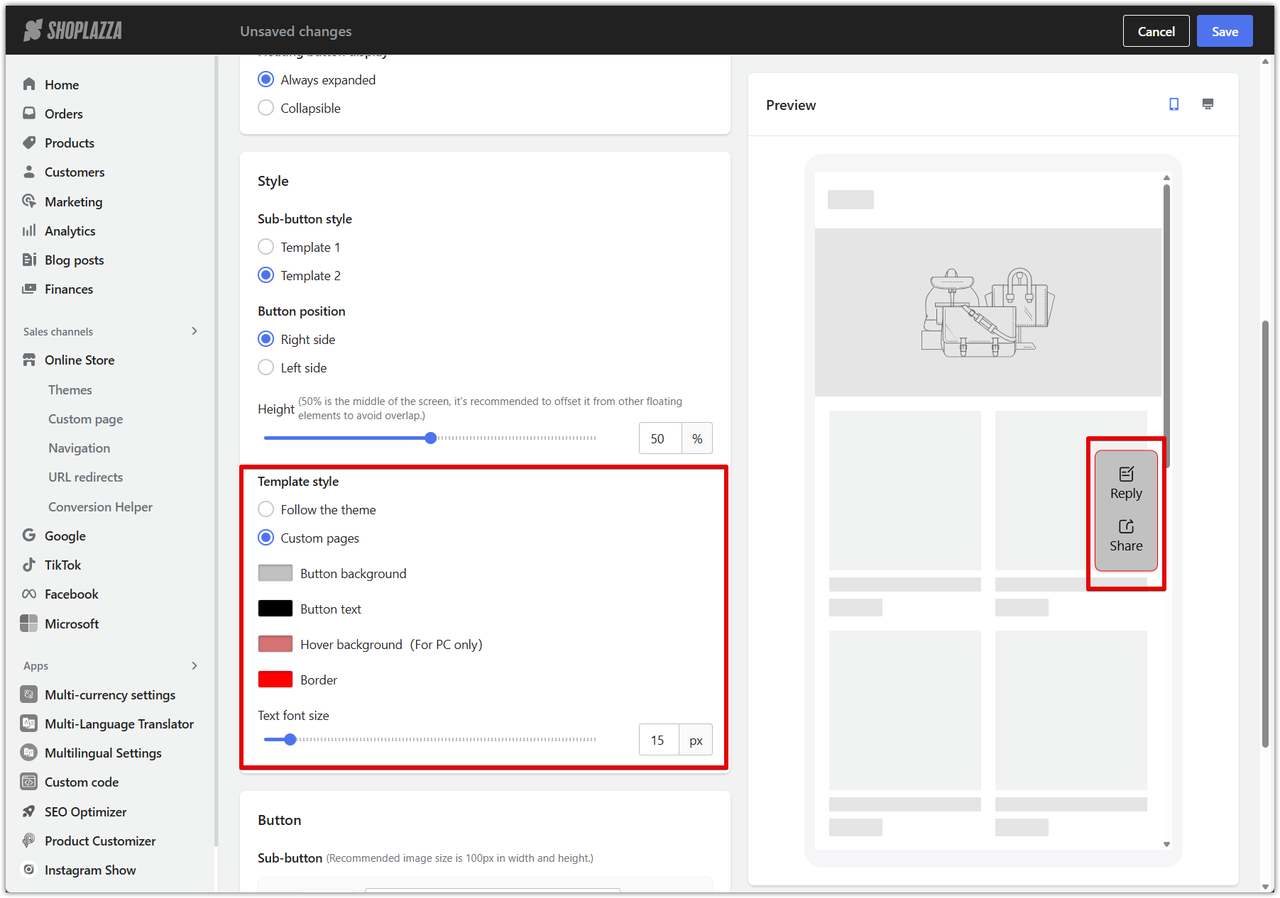
Customizing style and position
Adjust the look and feel of floating buttons to match your store’s branding.
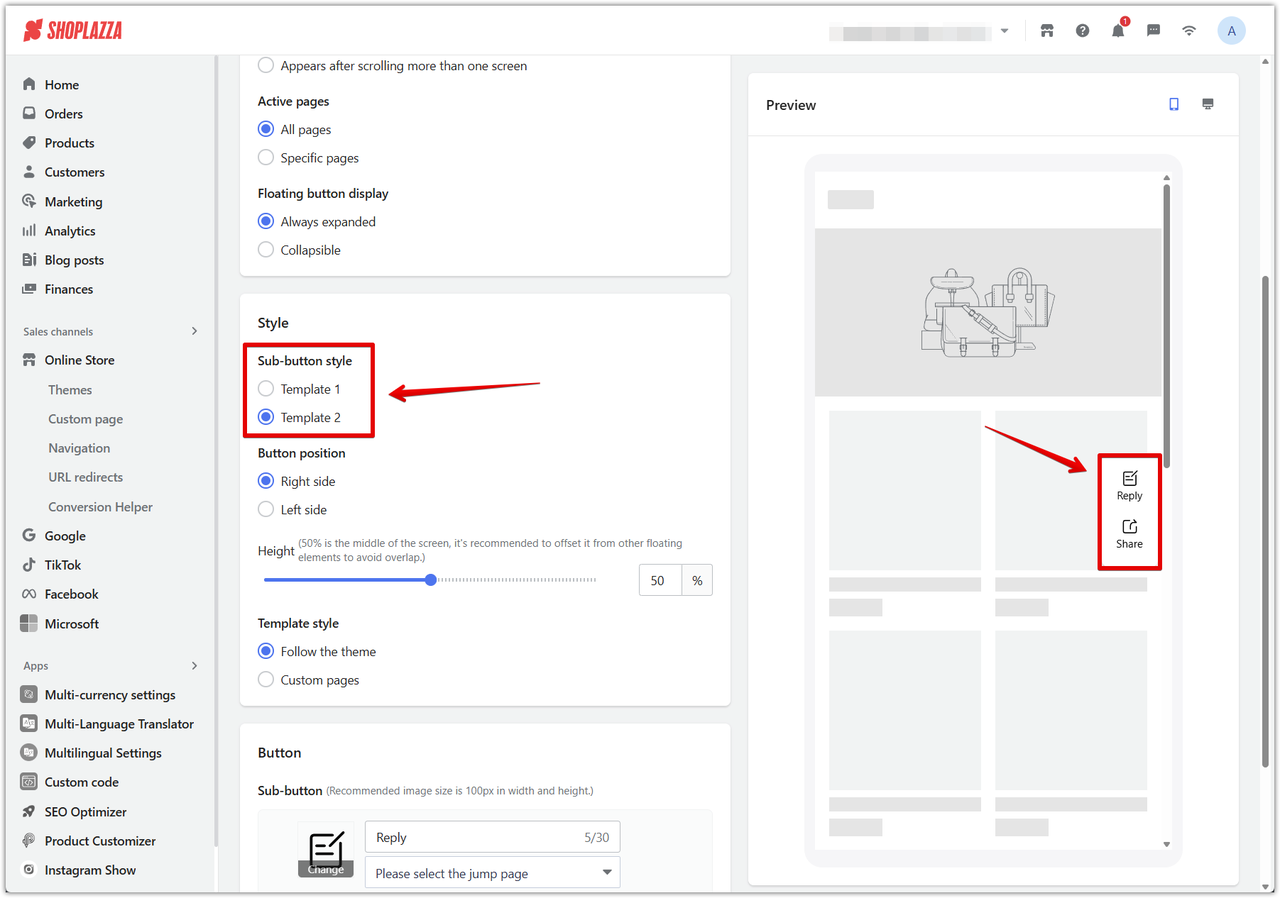
1. Select the button style: Choose between Template 1 or Template 2 for the button design.
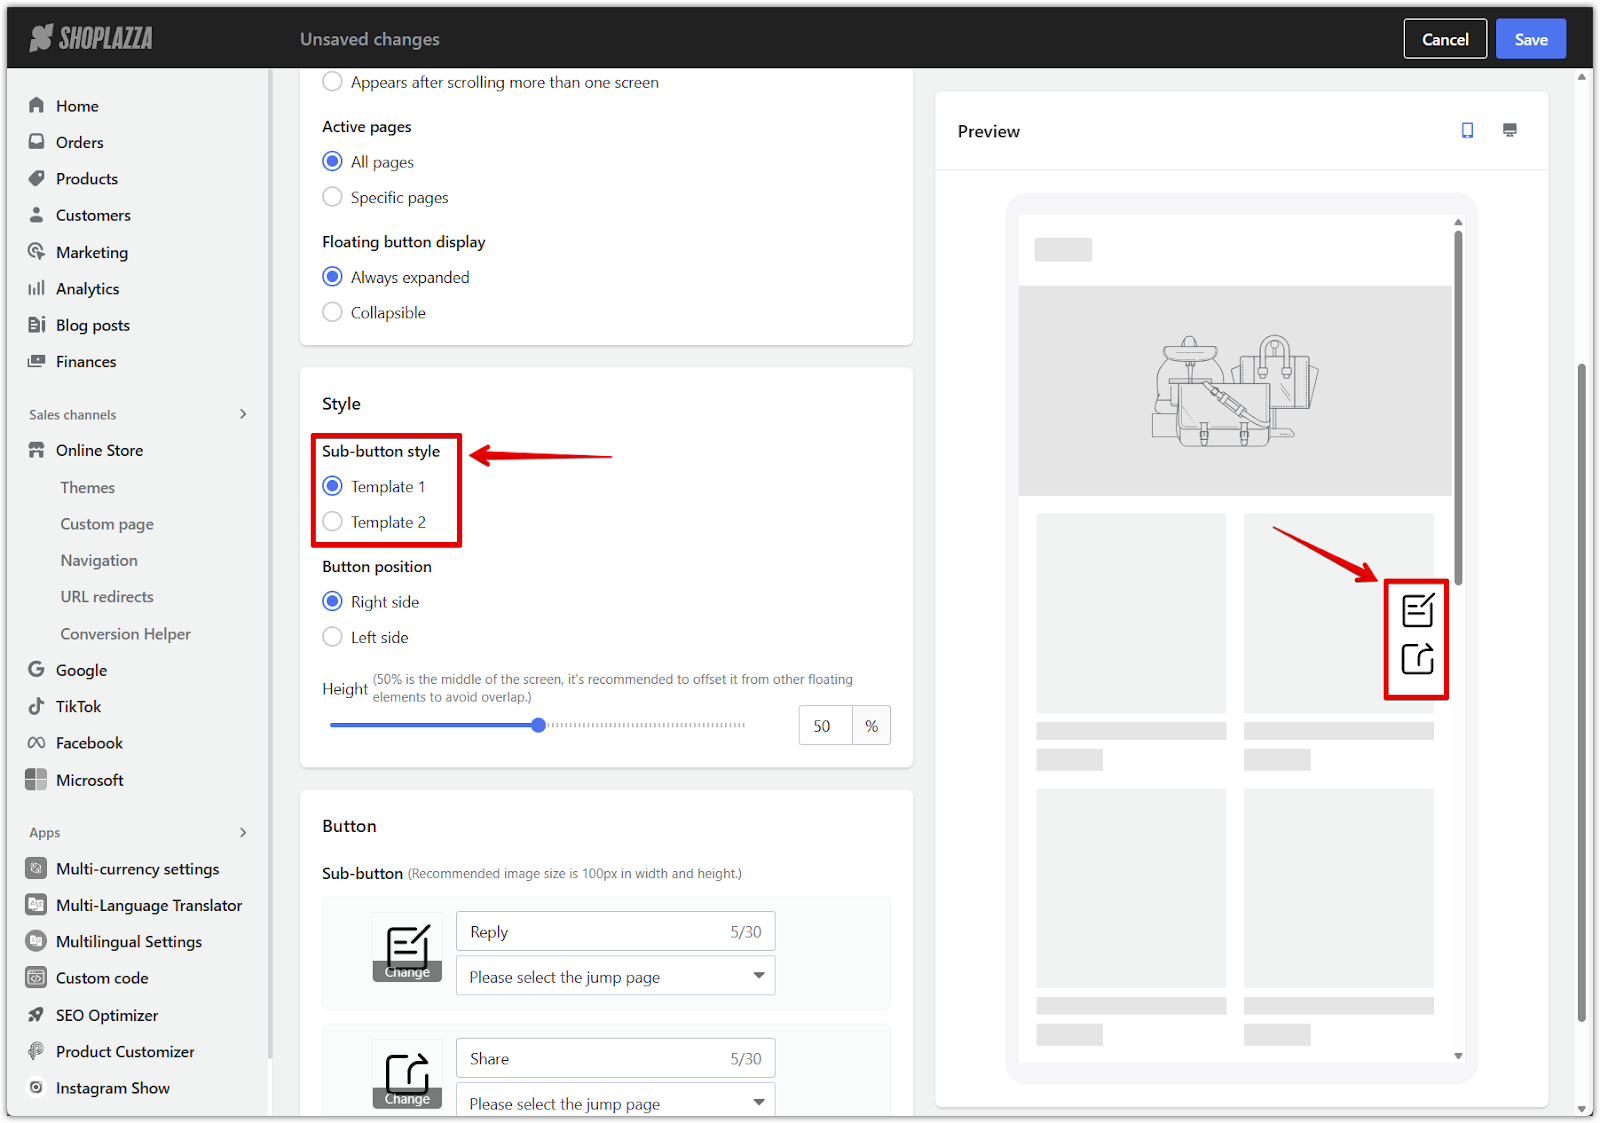
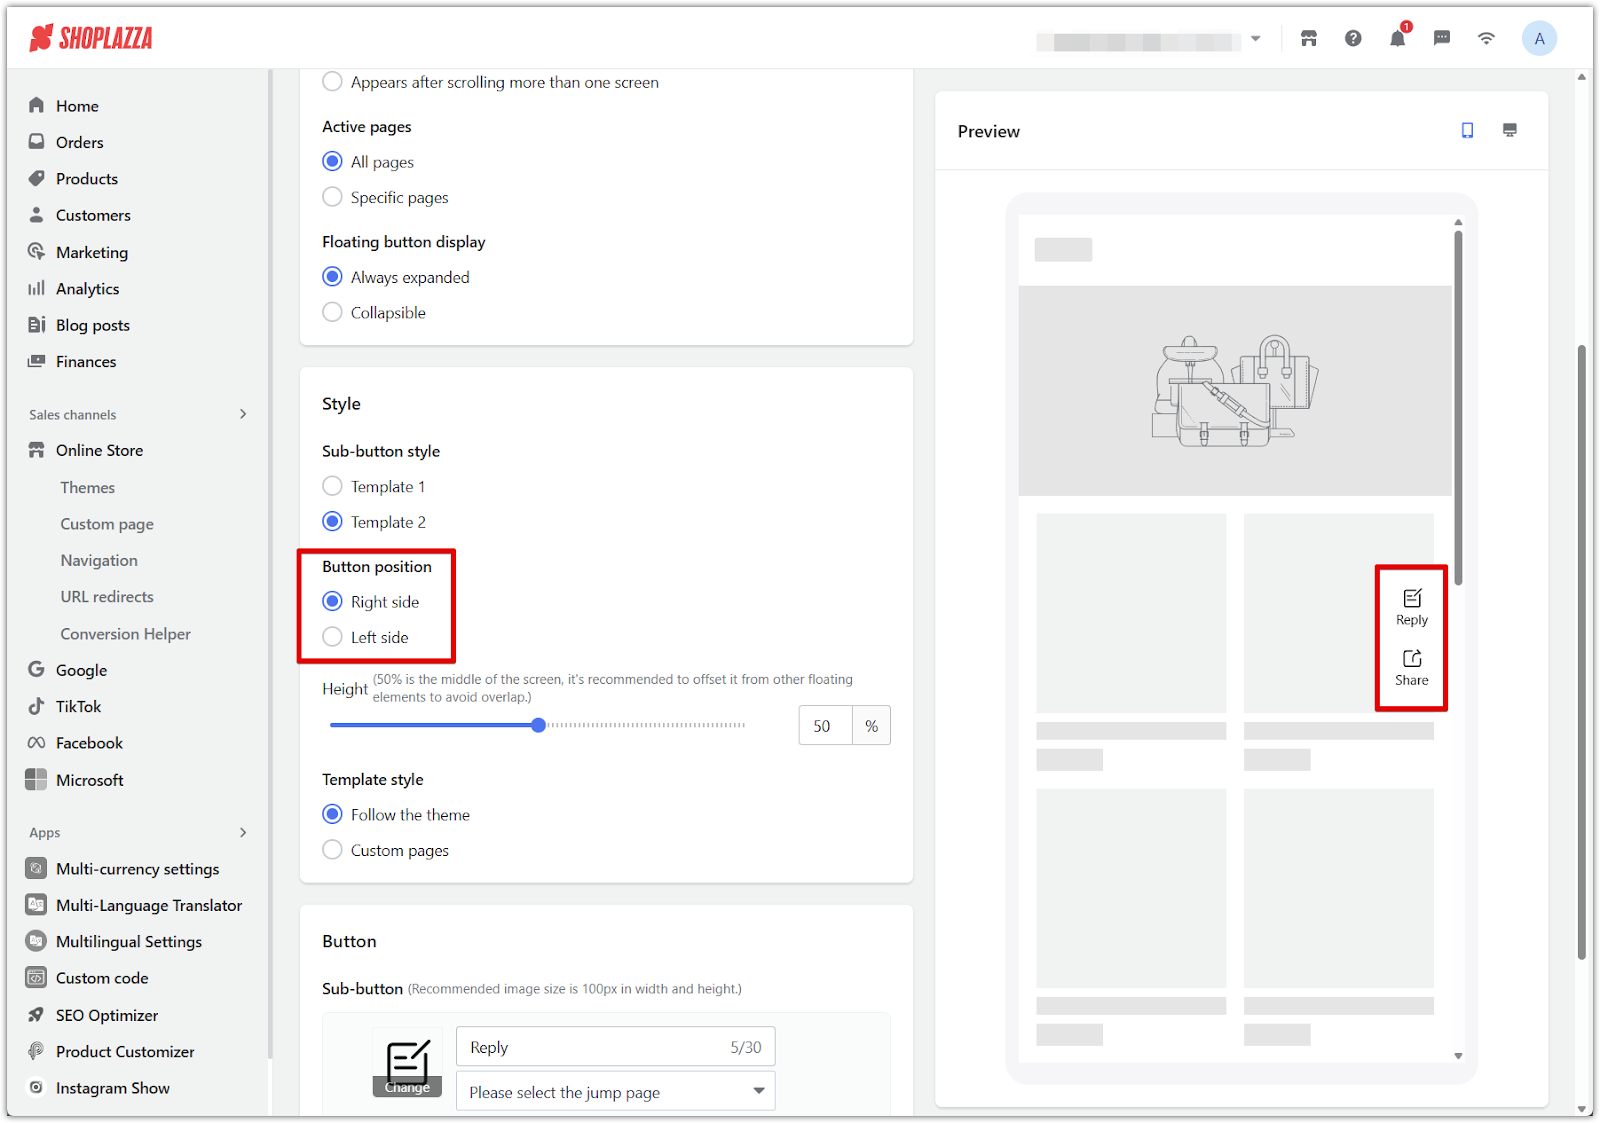
2. Choose button position: Select whether the floating buttons appear on the right or left side of the page.
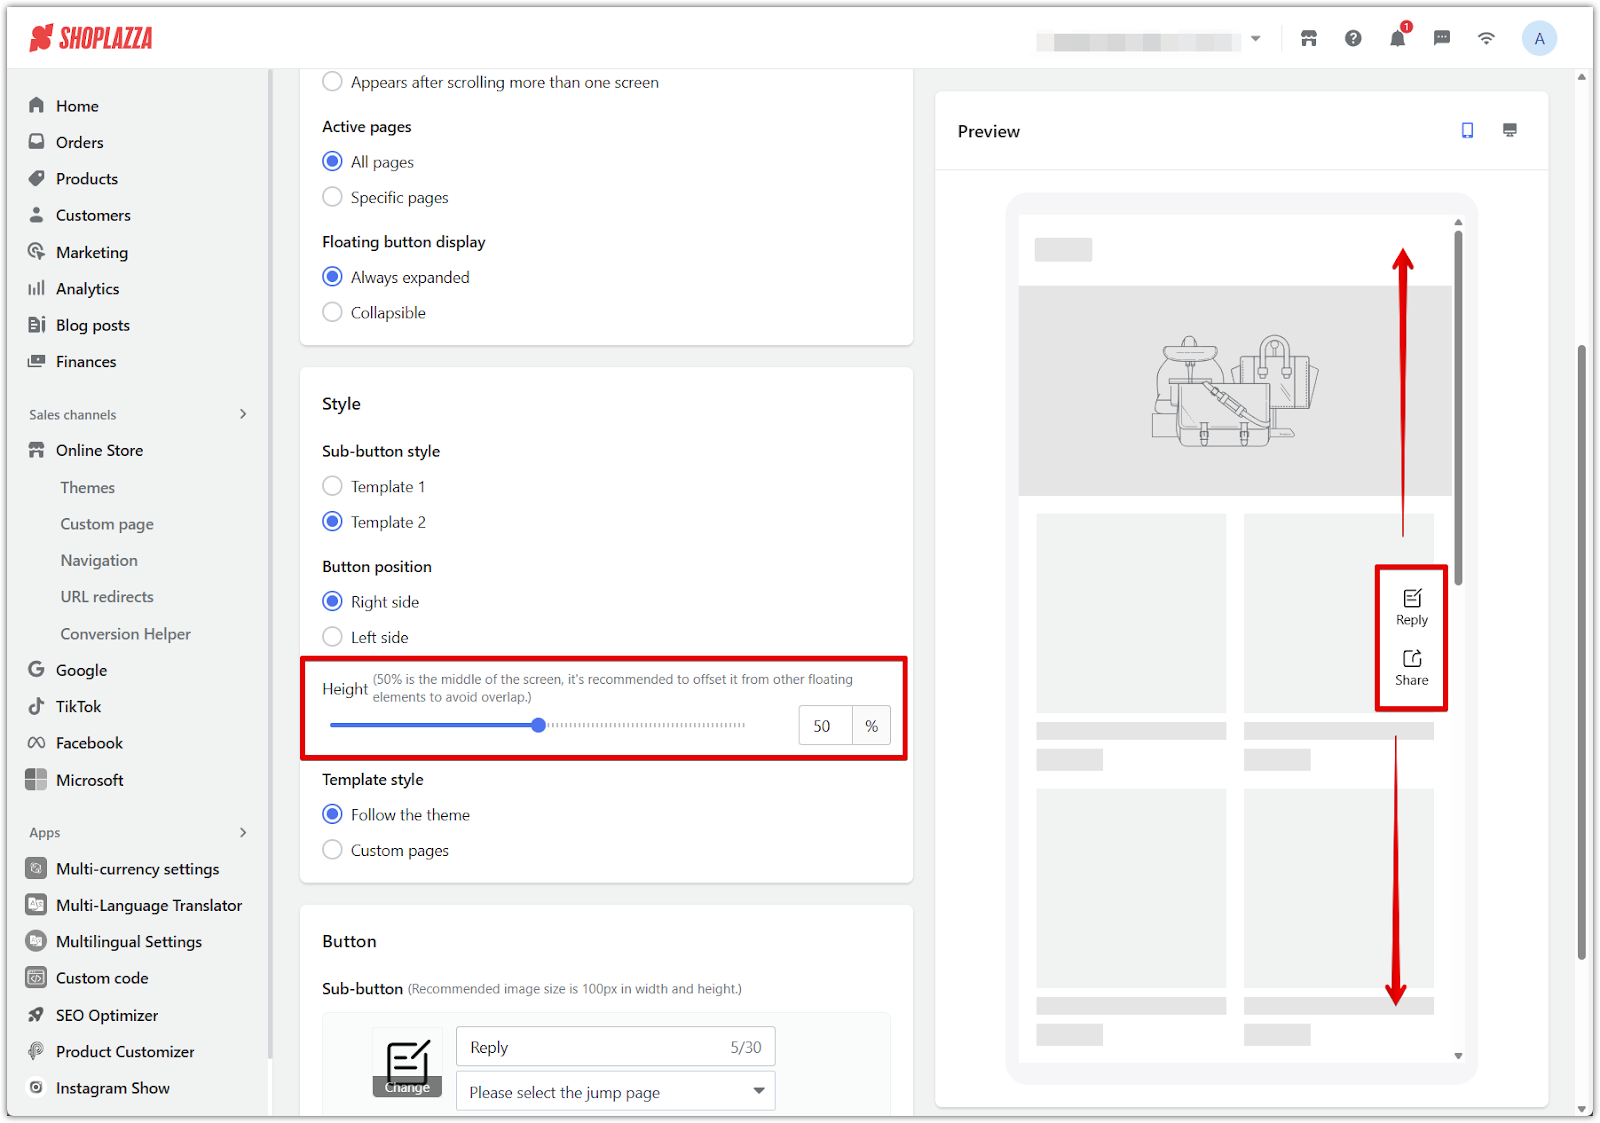
3. Set vertical placement: Adjust the button's height on the screen to avoid overlap with other elements.
4. Select a template style: Choose to follow your store's theme styling or use a custom layout.

Adding floating buttons
Add up to eight independent floating buttons to the storefront. Each button acts as its own shortcut link and is displayed separately along the side of the page. Although the admin settings refer to these as sub-buttons, they are not grouped under a main button.
1. Add a new button: Click Add button to insert a new floating shortcut.
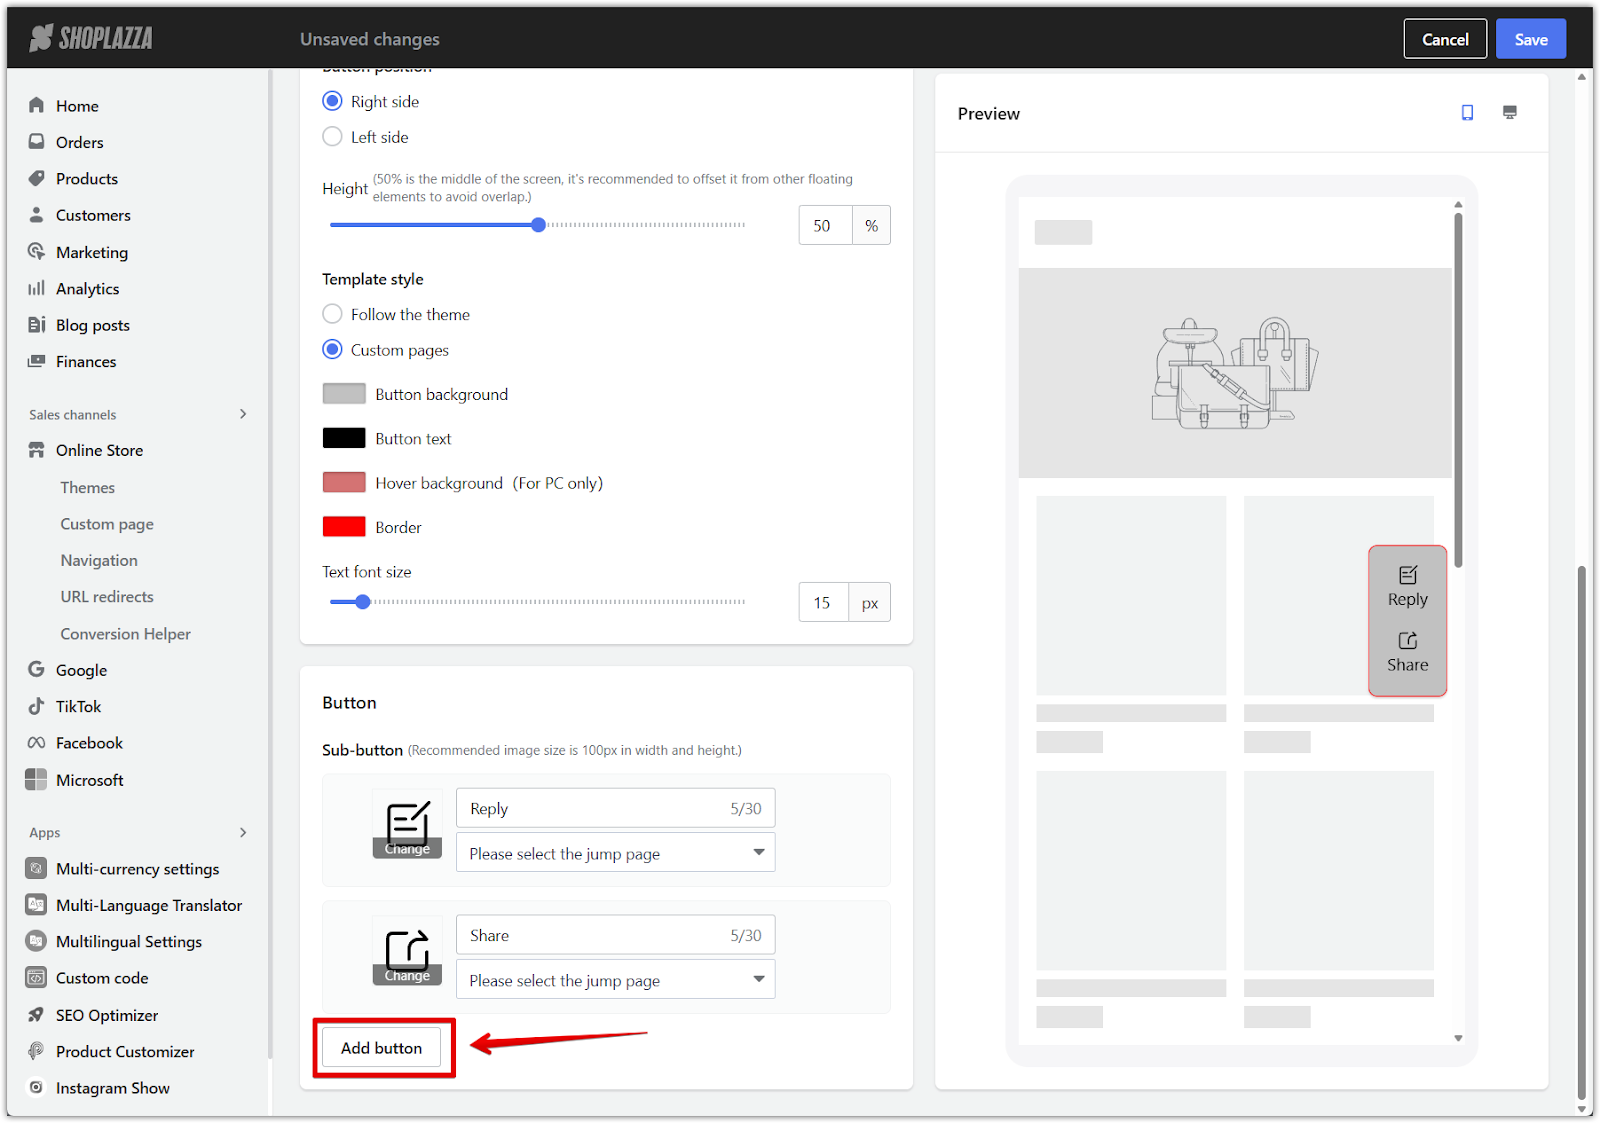
2. Upload an icon: Upload an image sized 100px by 100px for the best display quality.
3. Enter a button name: Give each button a simple and recognizable name like "News," "Reply," or "Share."
4. Assign a destination page: Link each button to a specific destination page, such as a collection, product page, or blog.
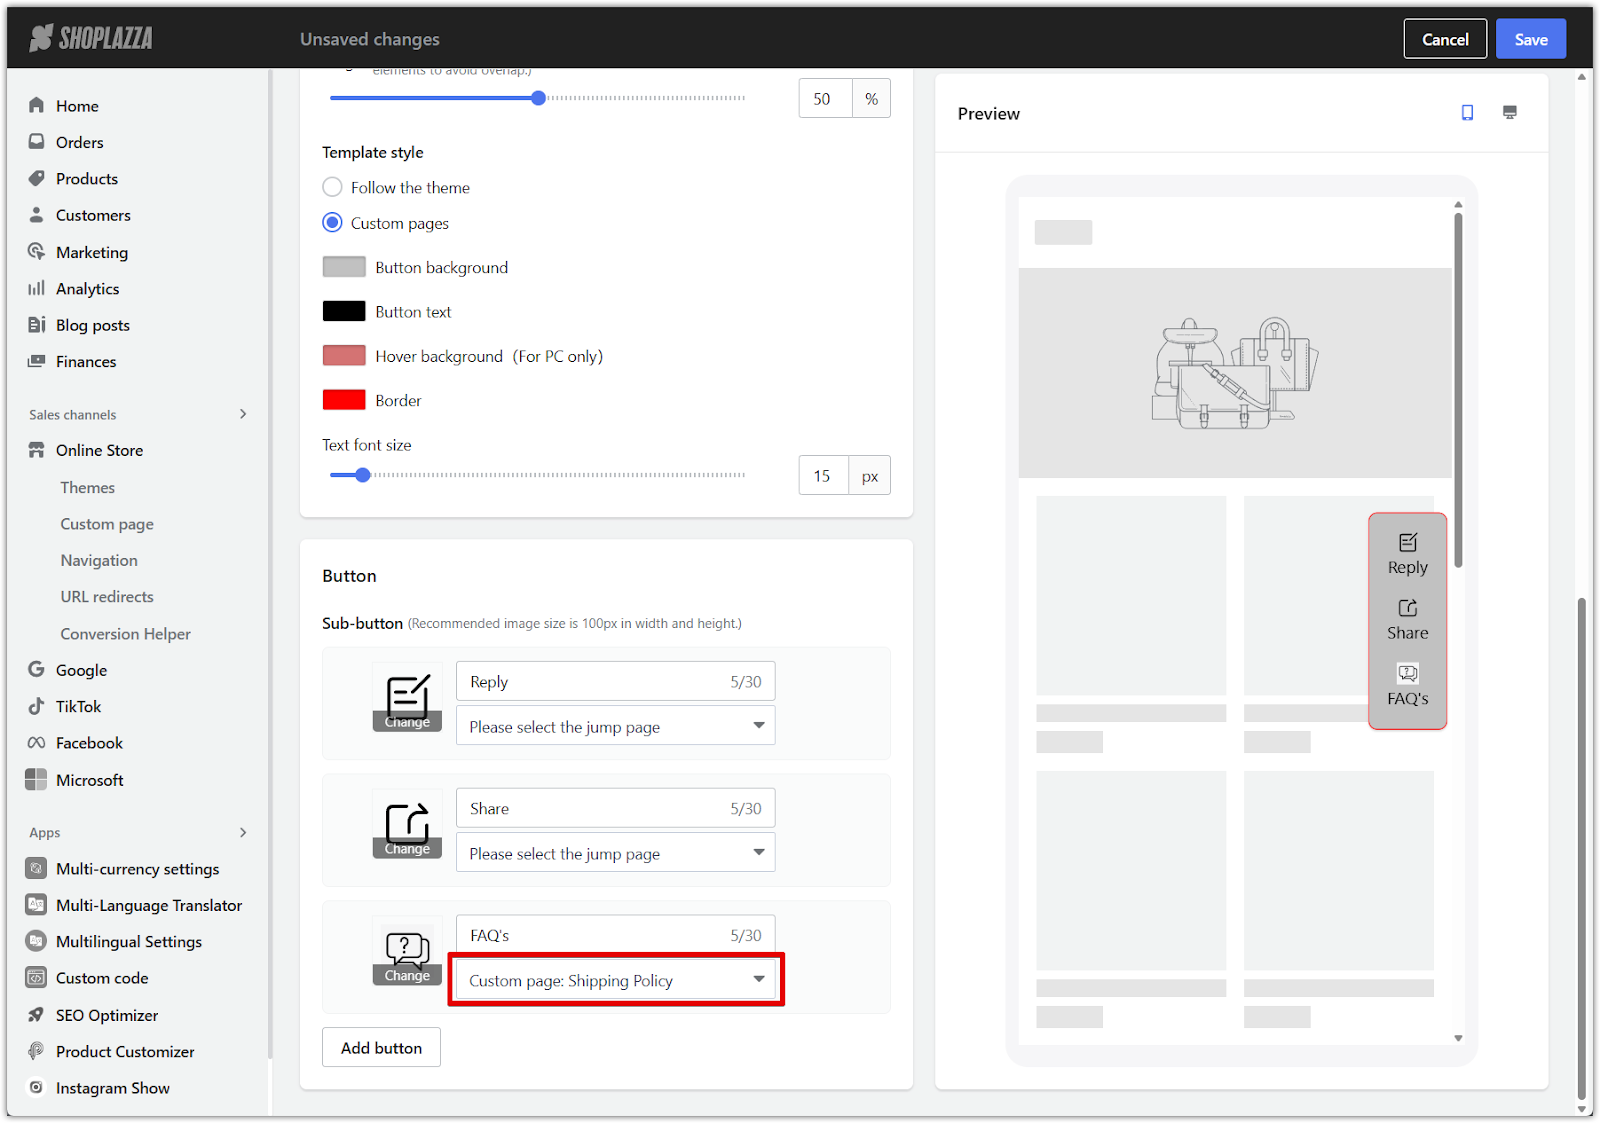
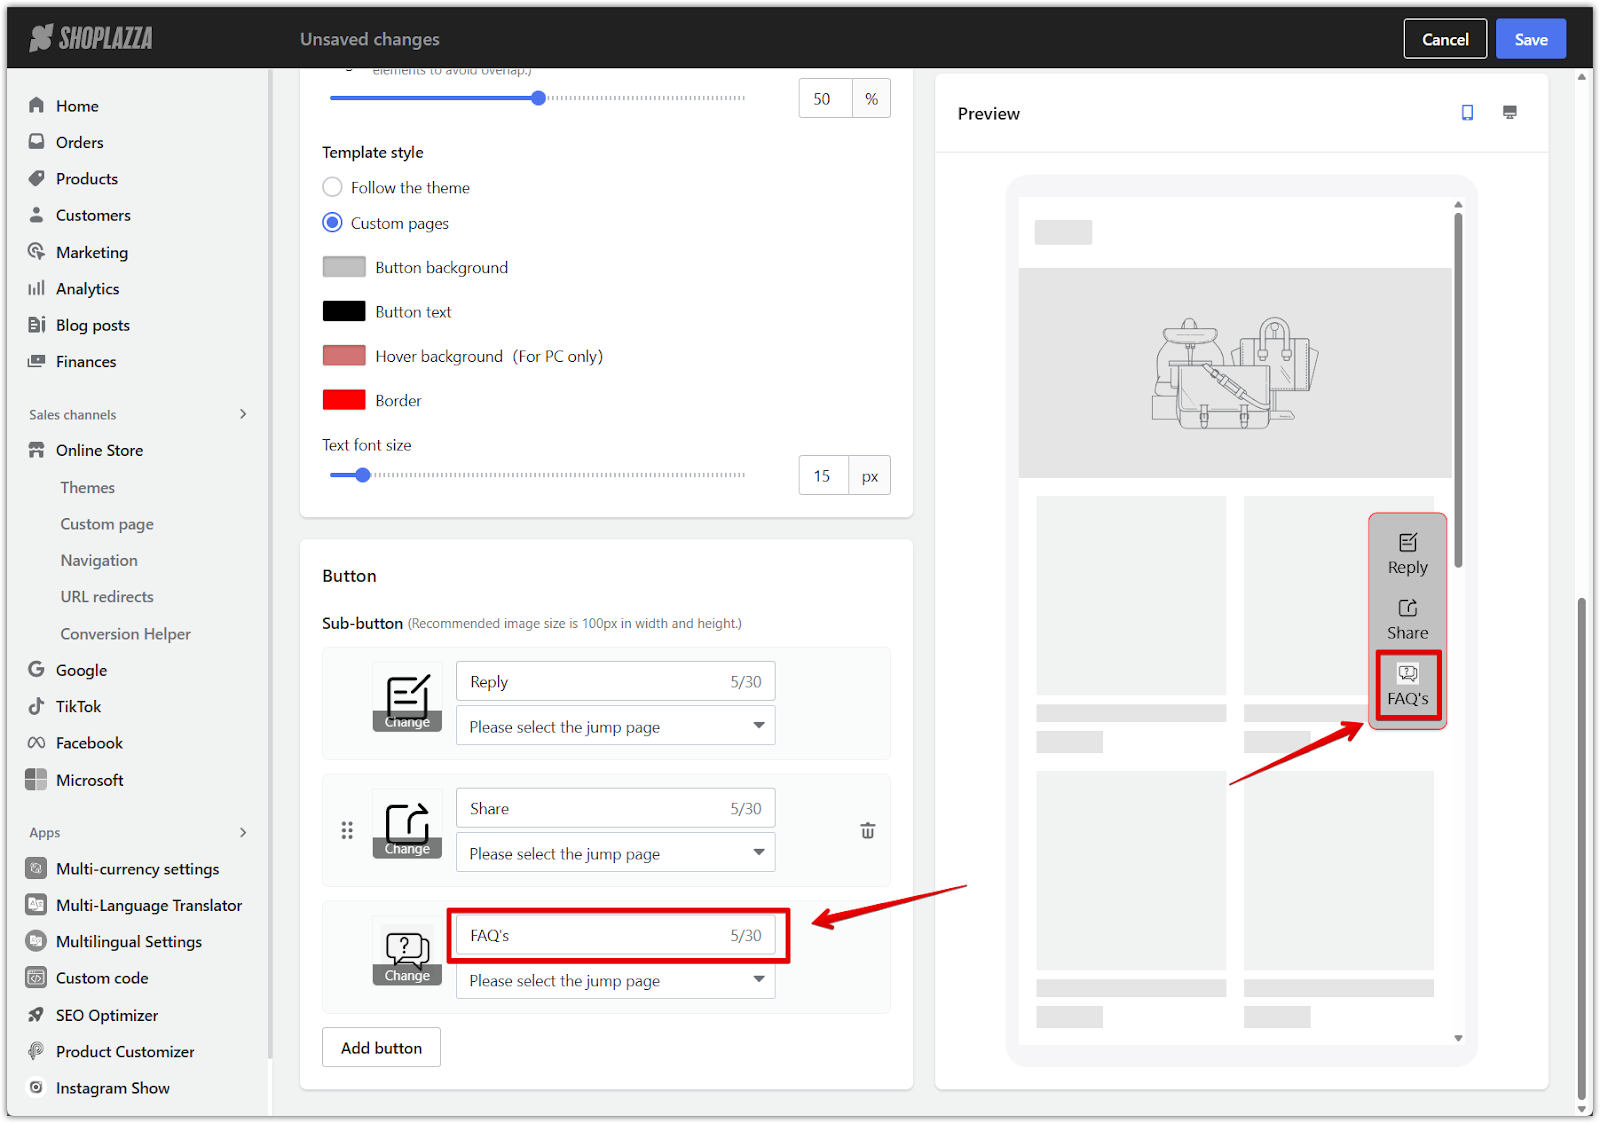
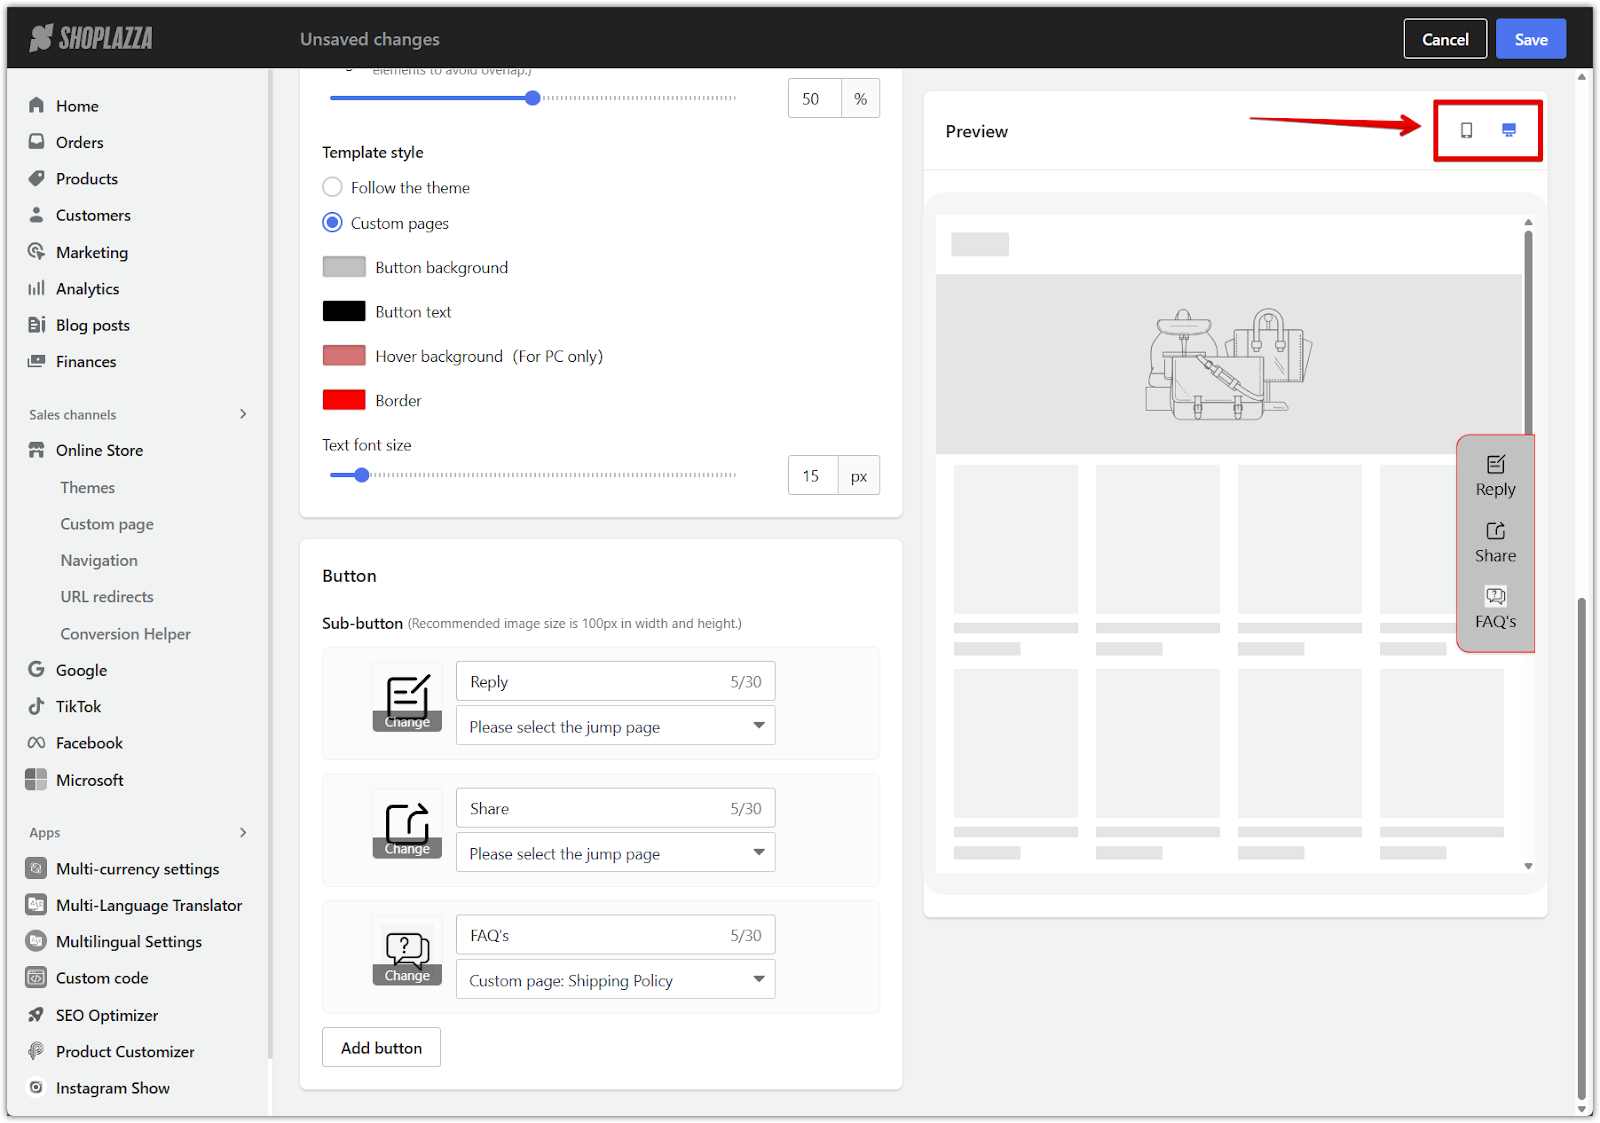
5. Preview the floating buttons: Review your configuration in the preview panel to ensure the buttons appear correctly on both desktop and mobile views.
Enabling Floating buttons in your theme
After configuring the Floating buttons feature, enable it in your theme settings, then publish your theme to make the changes live.
1. Activate the feature during setup: When you click Activate feature, you will be automatically redirected to the theme editor. Click Confirm to enable it.
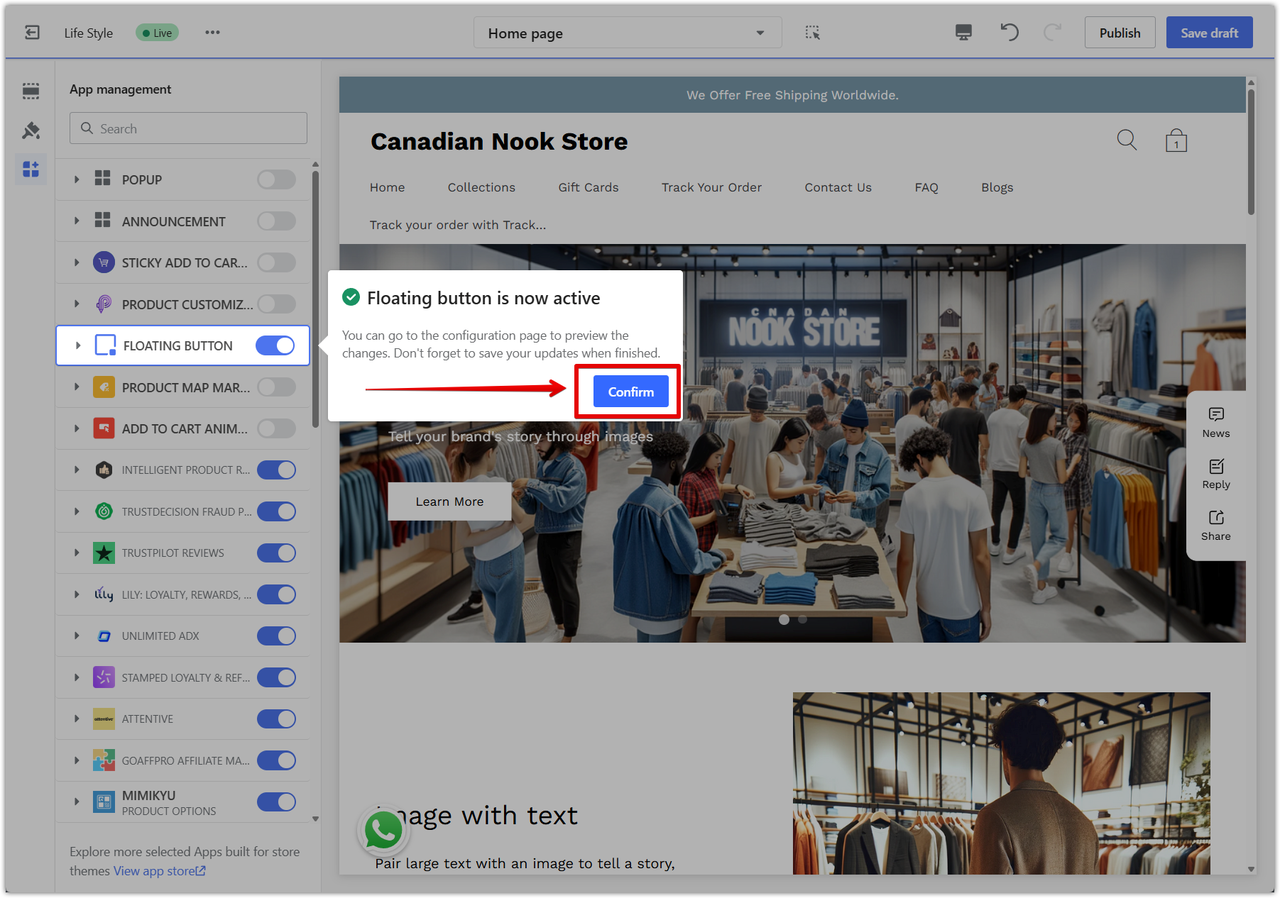
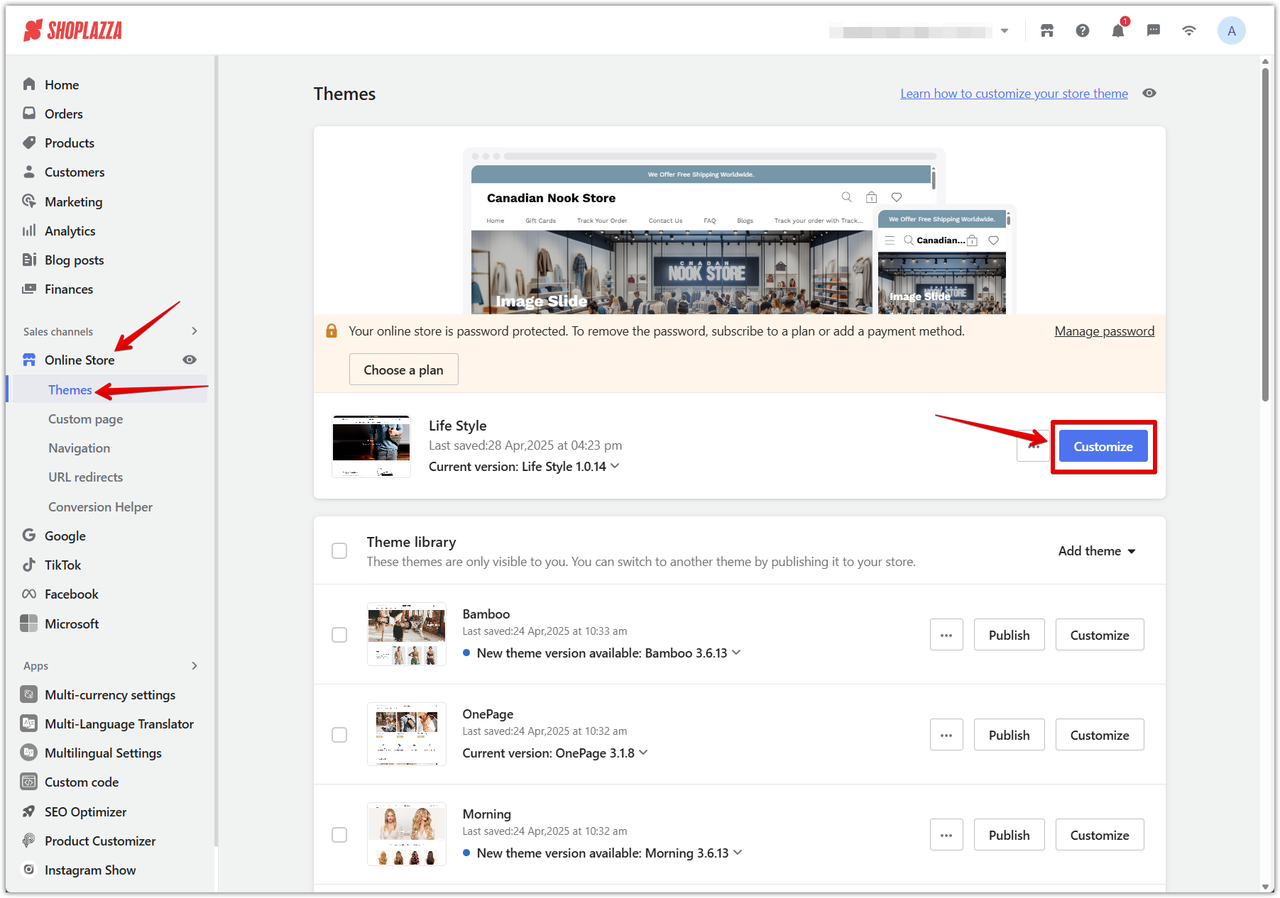
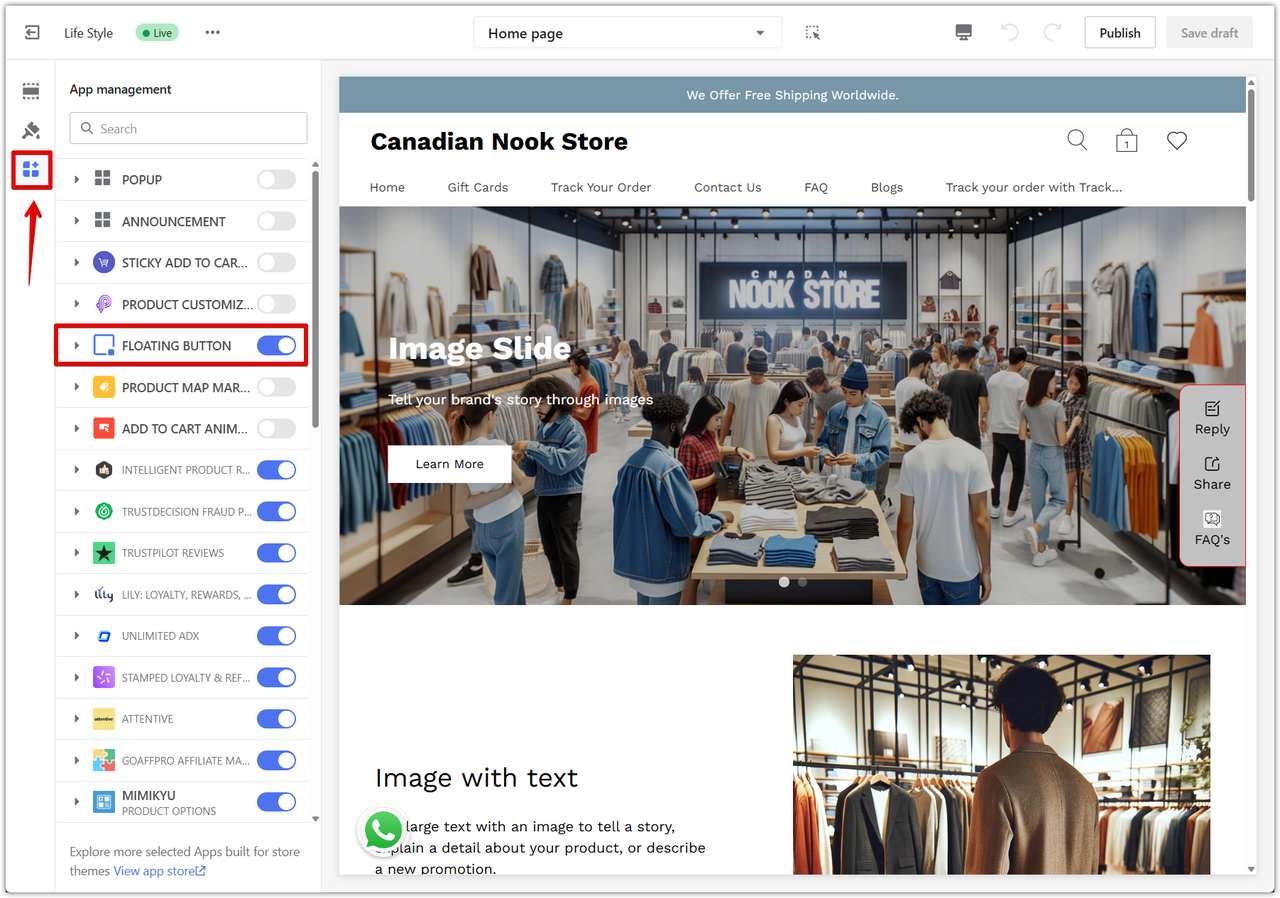
2. Manually enable later if needed: If you need to enable Floating buttons at another time, go to Online Store > Themes > App management, find Floating button, and toggle it on.
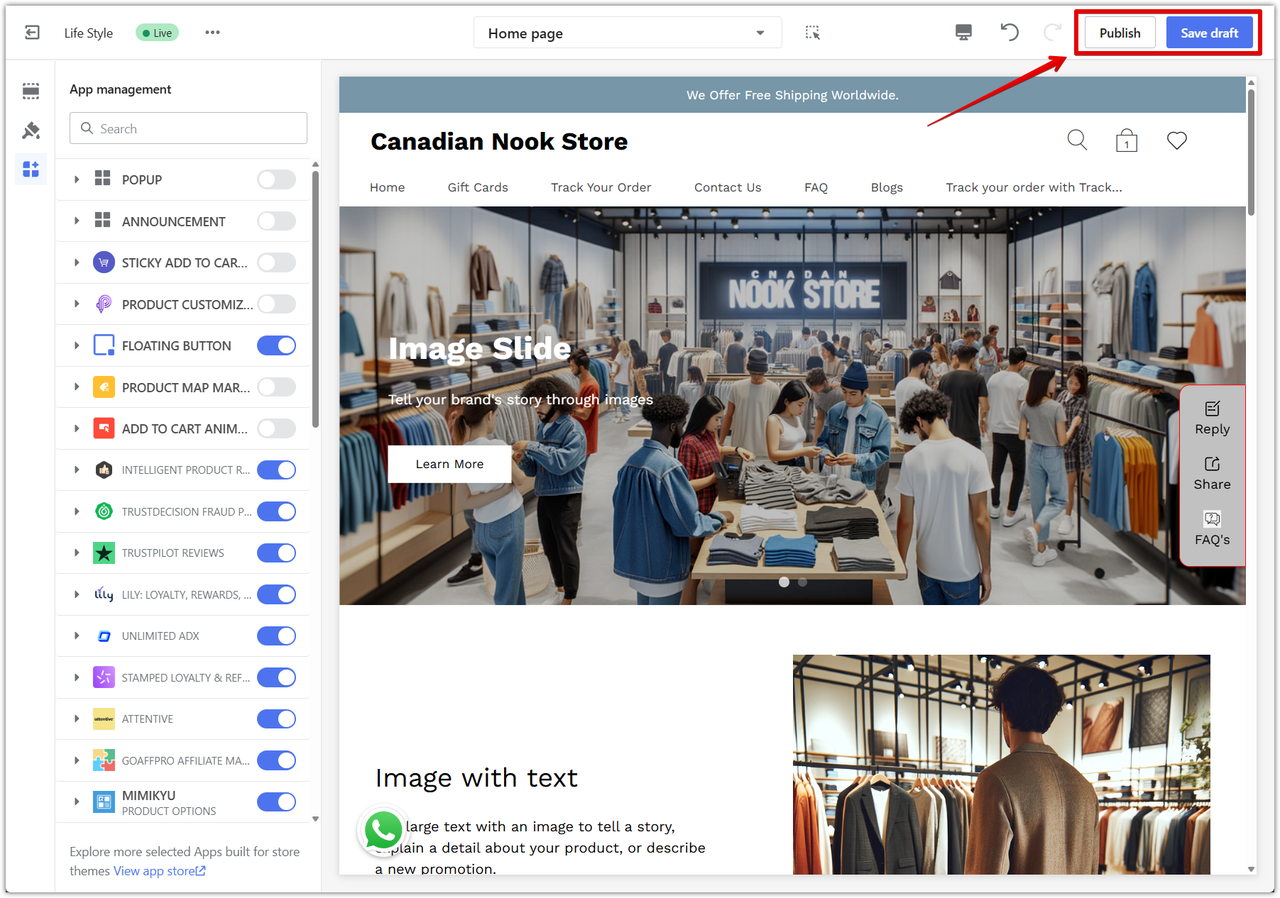
3. Save and publish: Save your changes and publish your theme to make the floating buttons visible to customers.
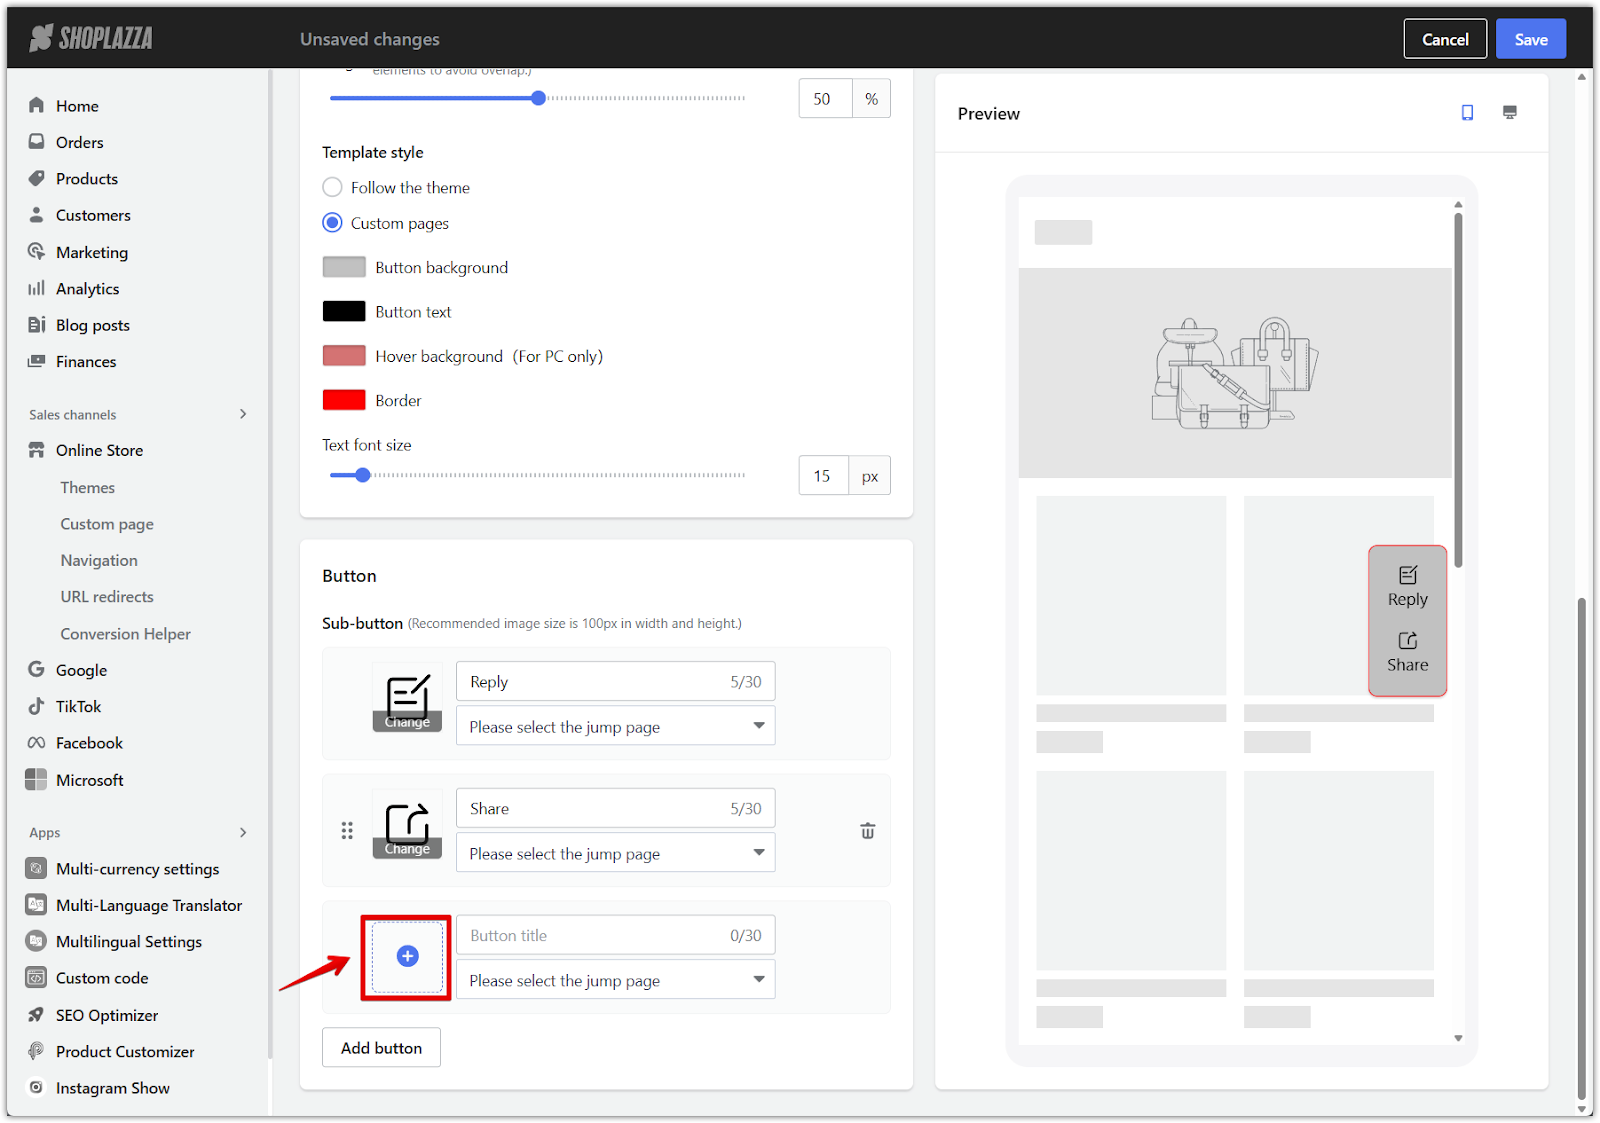
Preview the final result
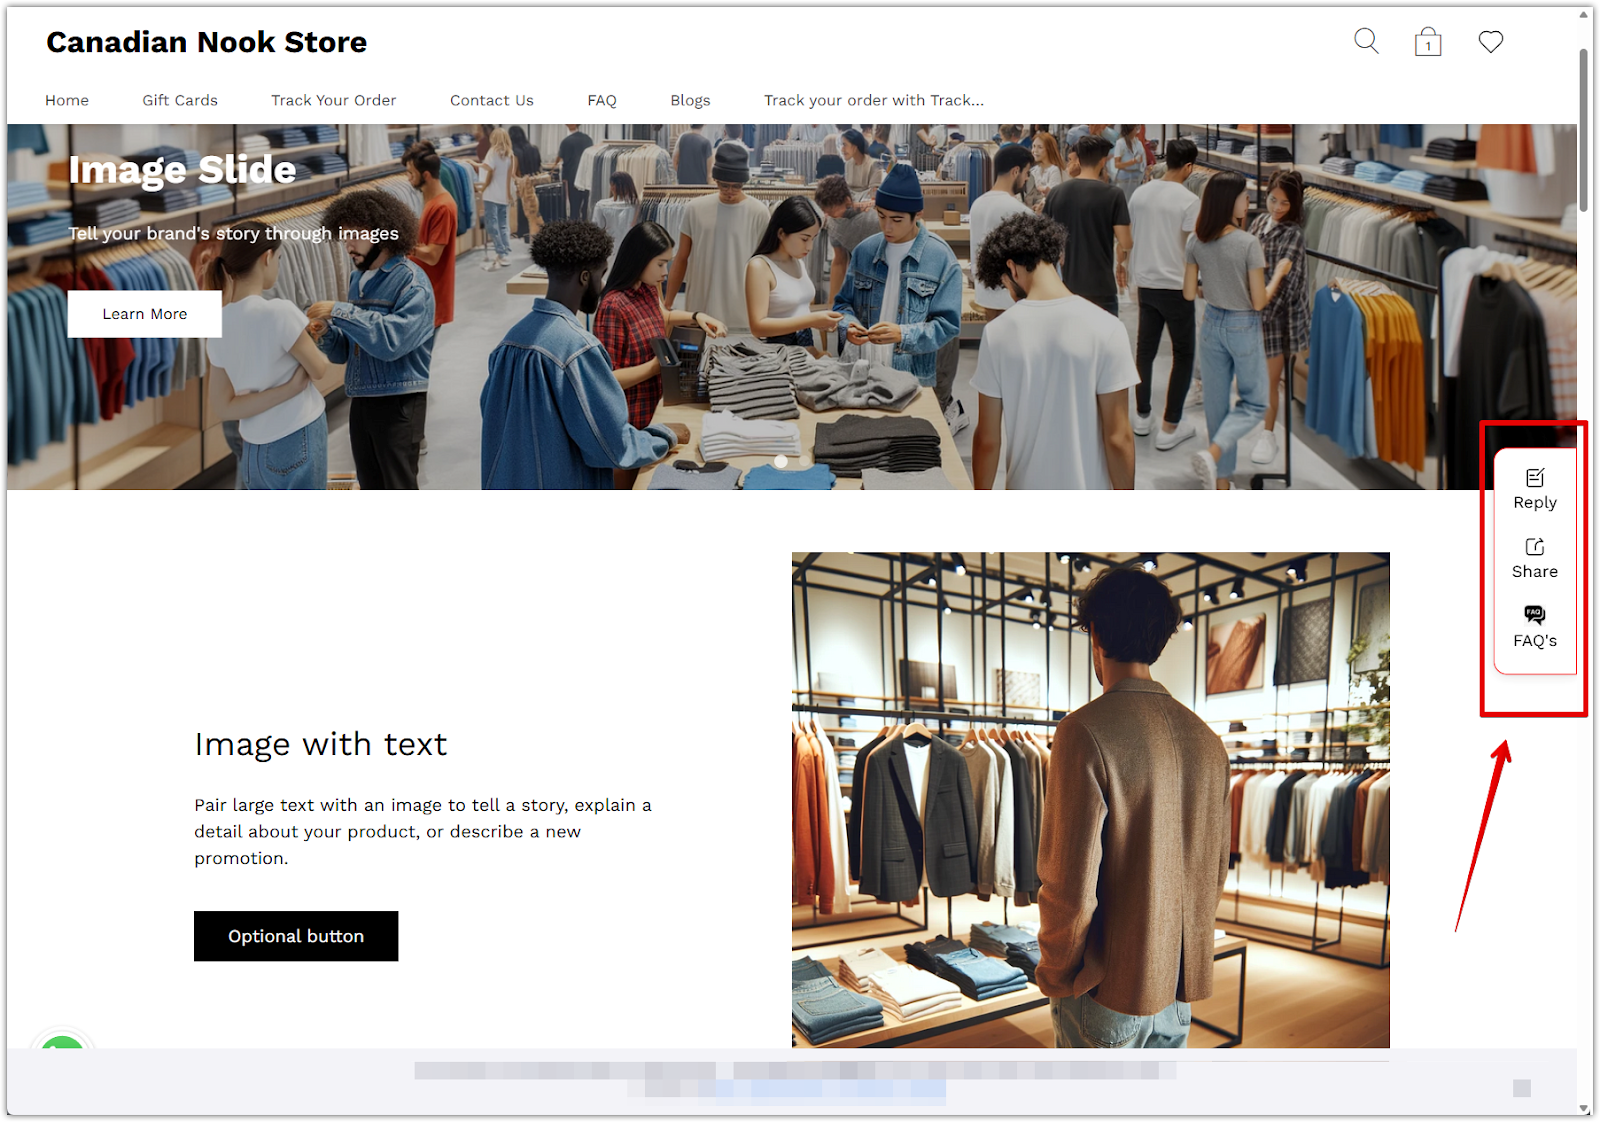
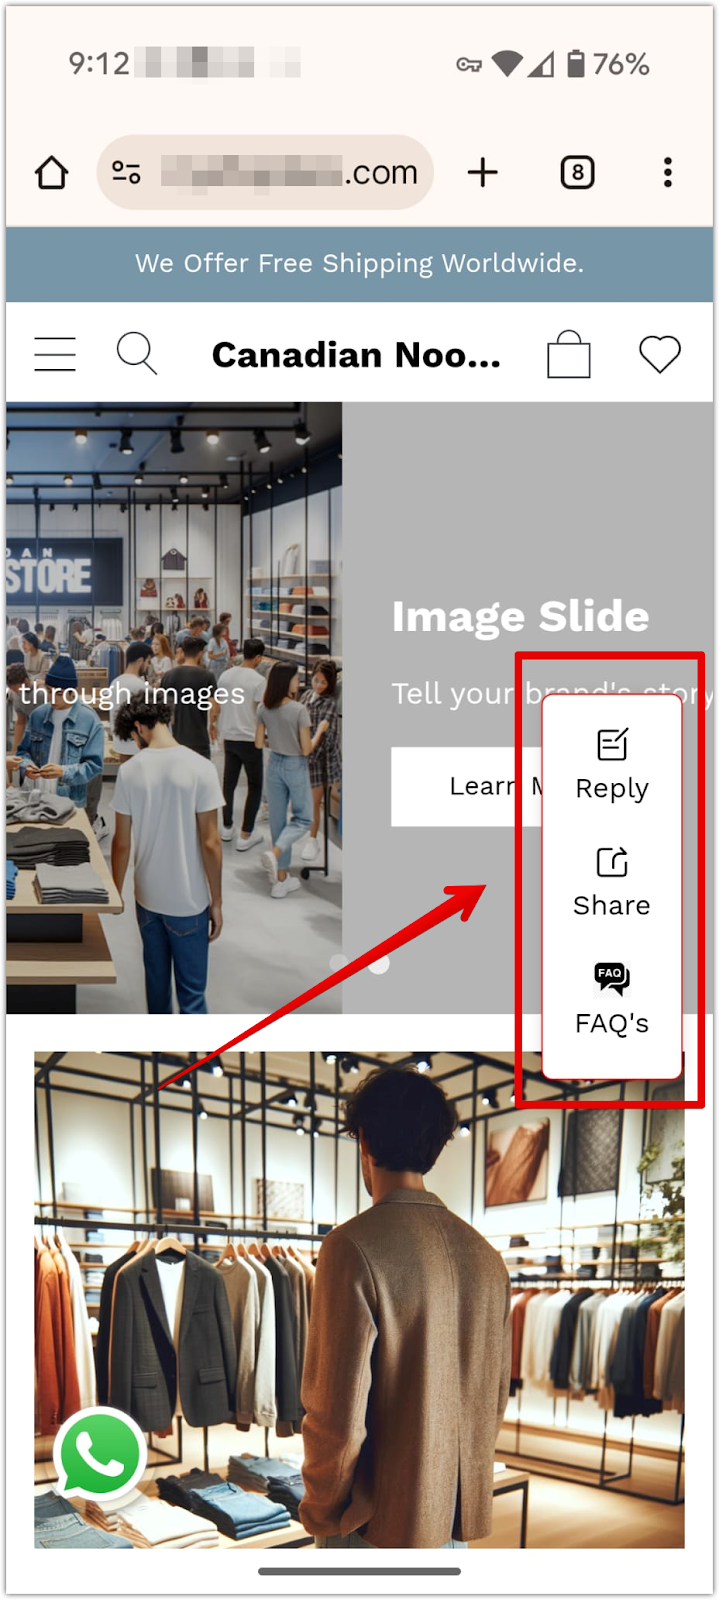
Once the Floating buttons are published, they will appear on the storefront as a vertical stack along the edge of the screen. Each button is displayed with its assigned icon and label, providing customers with quick access to frequently used pages such as contact forms, blogs, or featured collections.
For example, the final result may show a floating stack of labeled buttons like "Reply," "Share," and "FAQ's" on the right-hand side of the screen, visible on both desktop and mobile views.
Floating buttons provide a fast, user-friendly way to direct customers to key areas of your store. Whether you're promoting a collection or improving access to contact pages, these buttons help streamline navigation and enhance the browsing experience.


Comments
Please sign in to leave a comment.