
A custom footer layout improves site navigation and enhances your store's professional appearance. With Shoplazza, you can configure footer menus to display in either a horizontal layout (ideal for single-row navigation) or a vertical layout (great for organizing content in stacked columns). This flexibility supports clearer structure and easier access to key pages like store policies, contact information, and support links.
This guide explains how to display and manage both footer menu styles in the Shoplazza theme editor, helping you build a layout that complements your brand and improves user experience.
Note
All themes support vertical footer menus except Boost. In the Pluto theme, use the Menu Link block to display menus in stacked columns.
Setting up a horizontal footer menu
The horizontal layout is the default style in most themes. It allows one menu to display across the bottom of your store in a single row.
1. Create or update your footer menu: Go to Online Store > Navigation. Locate the default Footer menu or click Add menu to create a new one.
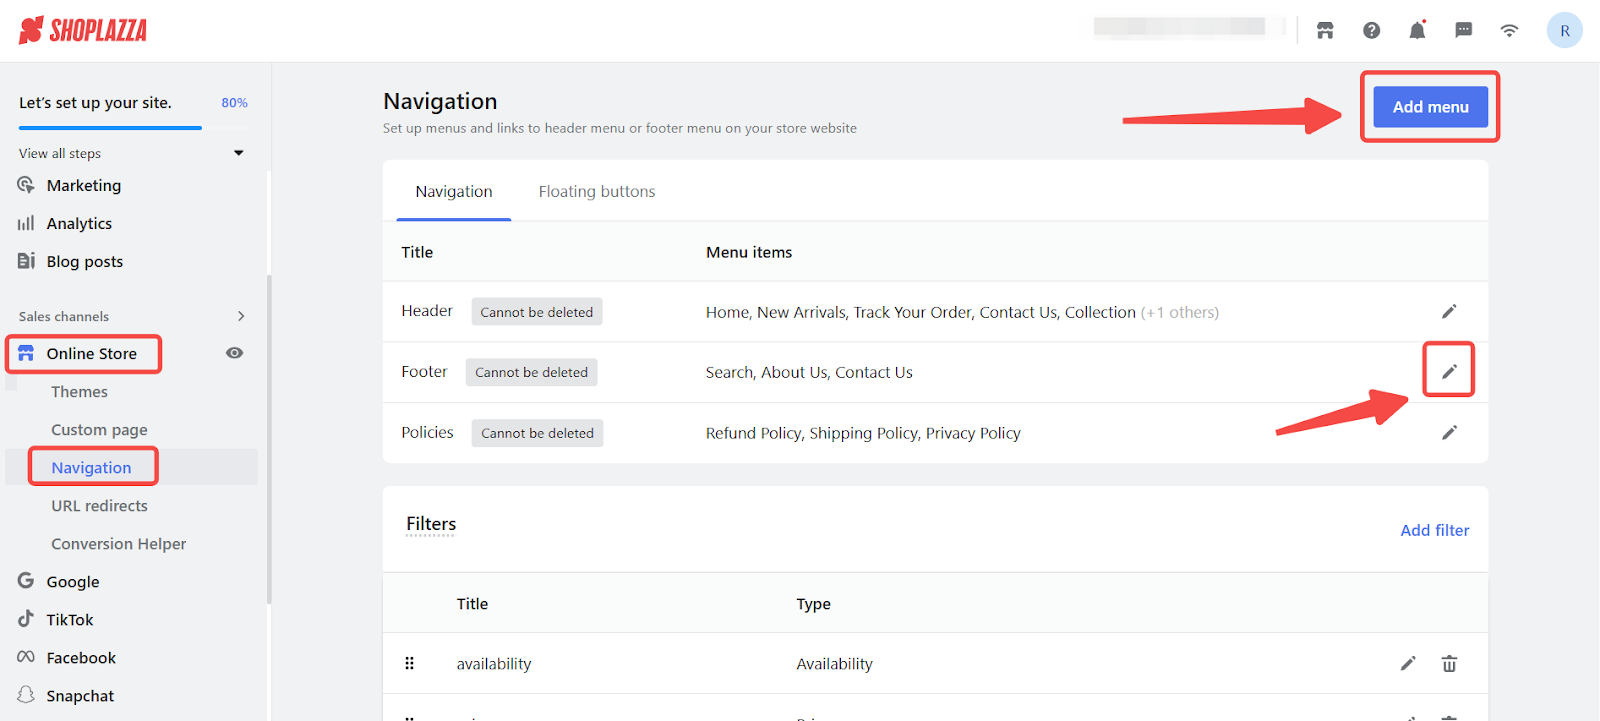
2. Add menu items: Add the links you want to display, such as About Us, Contact, or Terms of Service. Click Save when finished.
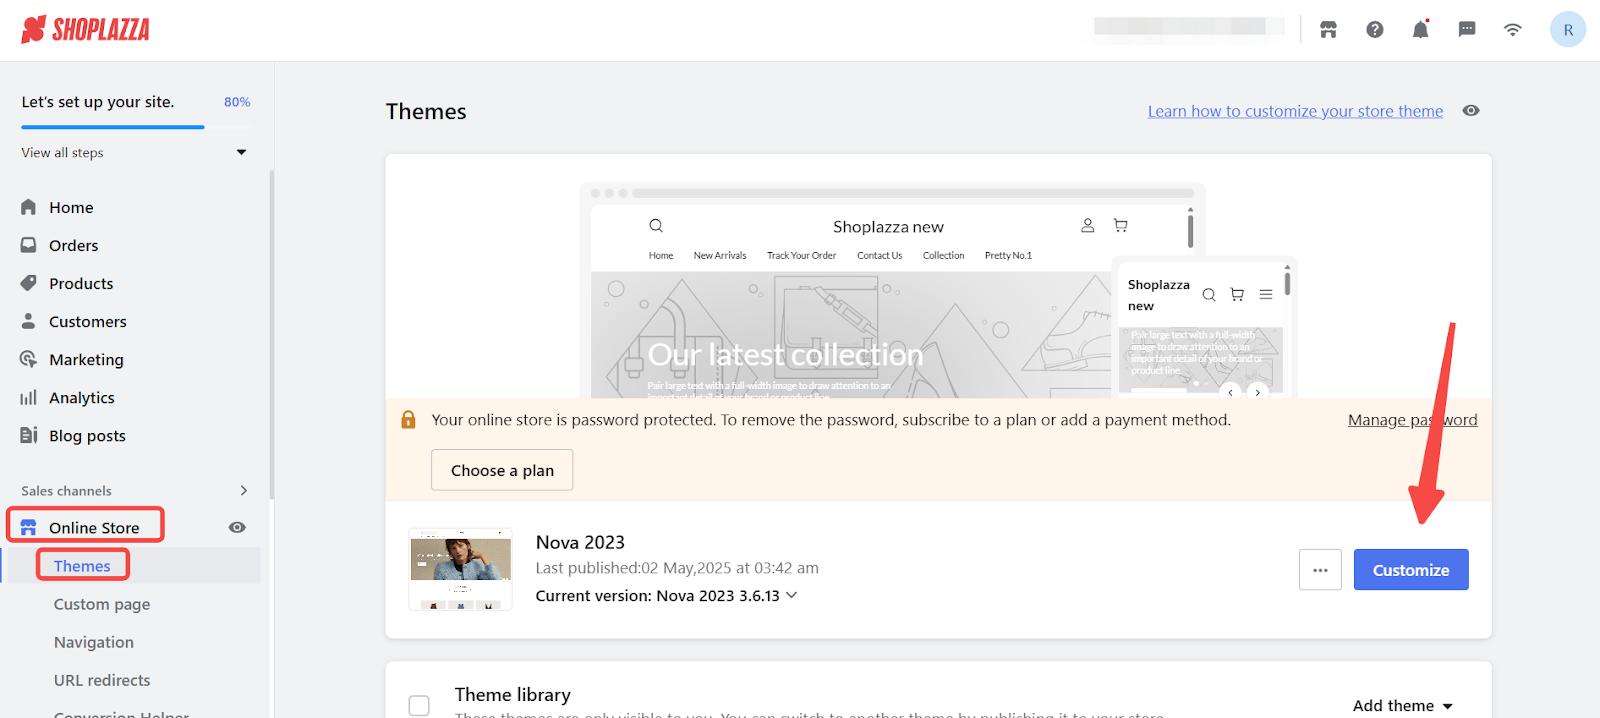
3. Open the theme editor: Go to Online Store > Themes, choose your theme, and click Customize. Scroll down to find the footer section.
4. Link the menu to your footer: Connect your created menu to the footer section so it displays correctly on your storefront layout.
- If using the default footer layout: The menu you created will automatically display in a horizontal row.
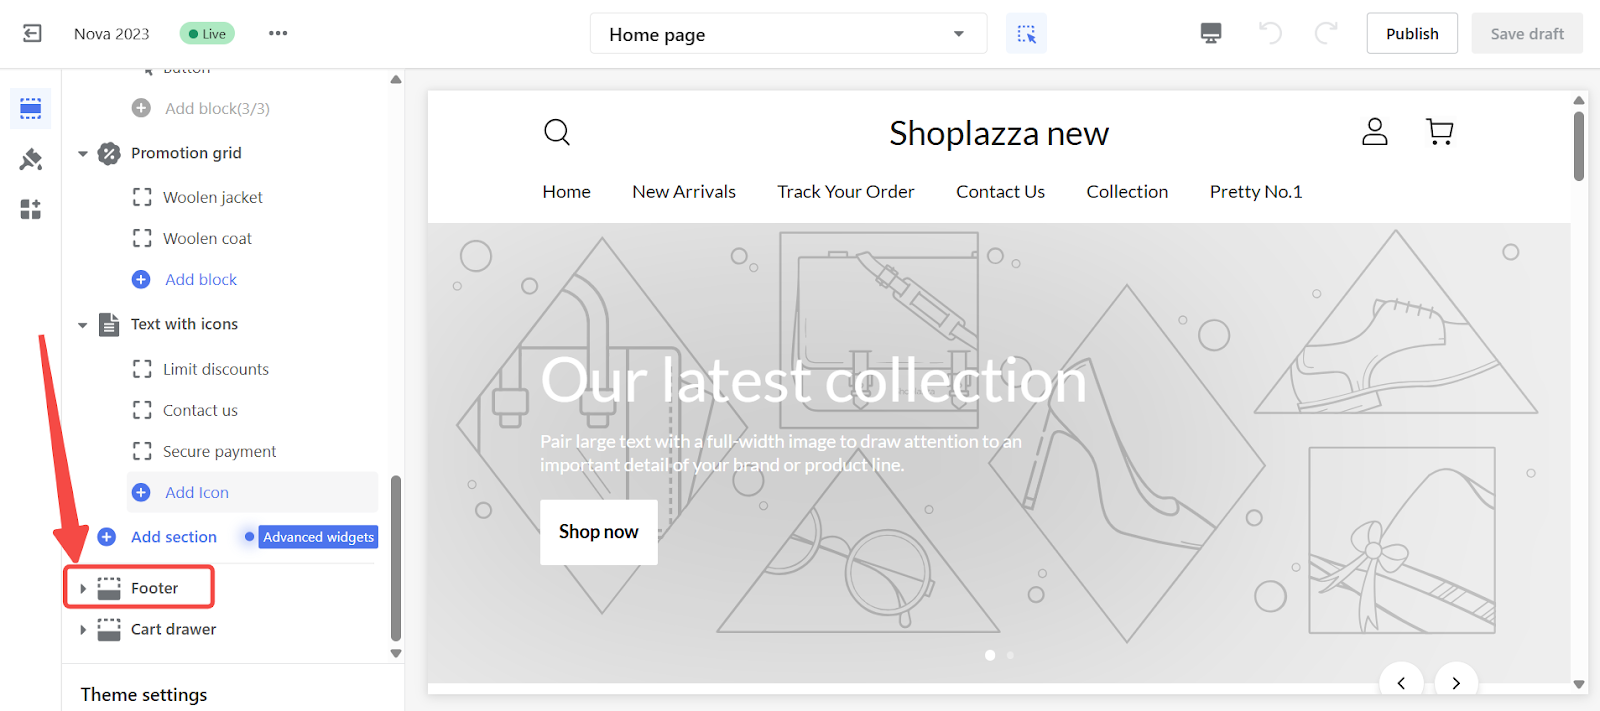
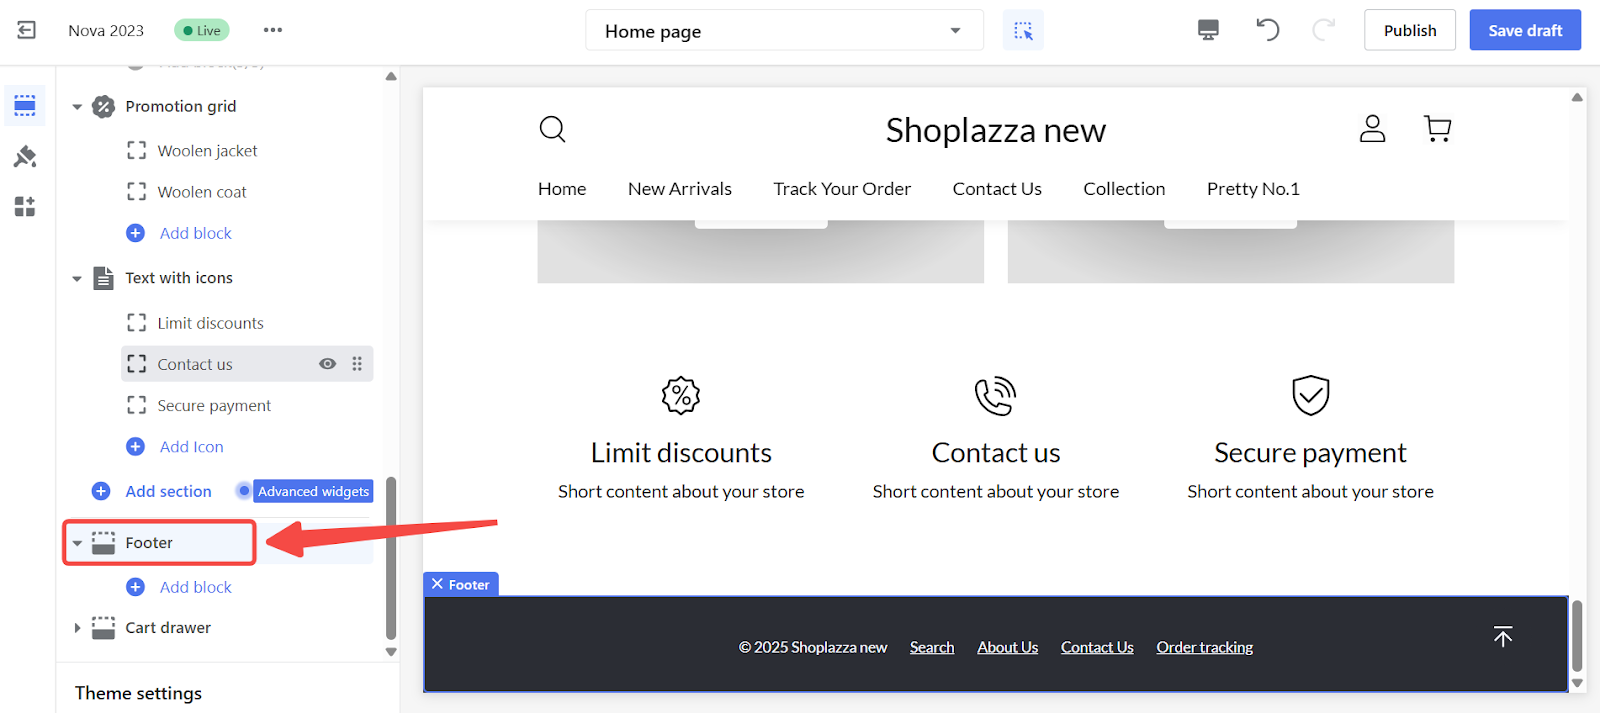
- If you're using a custom footer layout: Click the Footer to open the editor.
- Scroll to the Policy menu section and click Change menu.
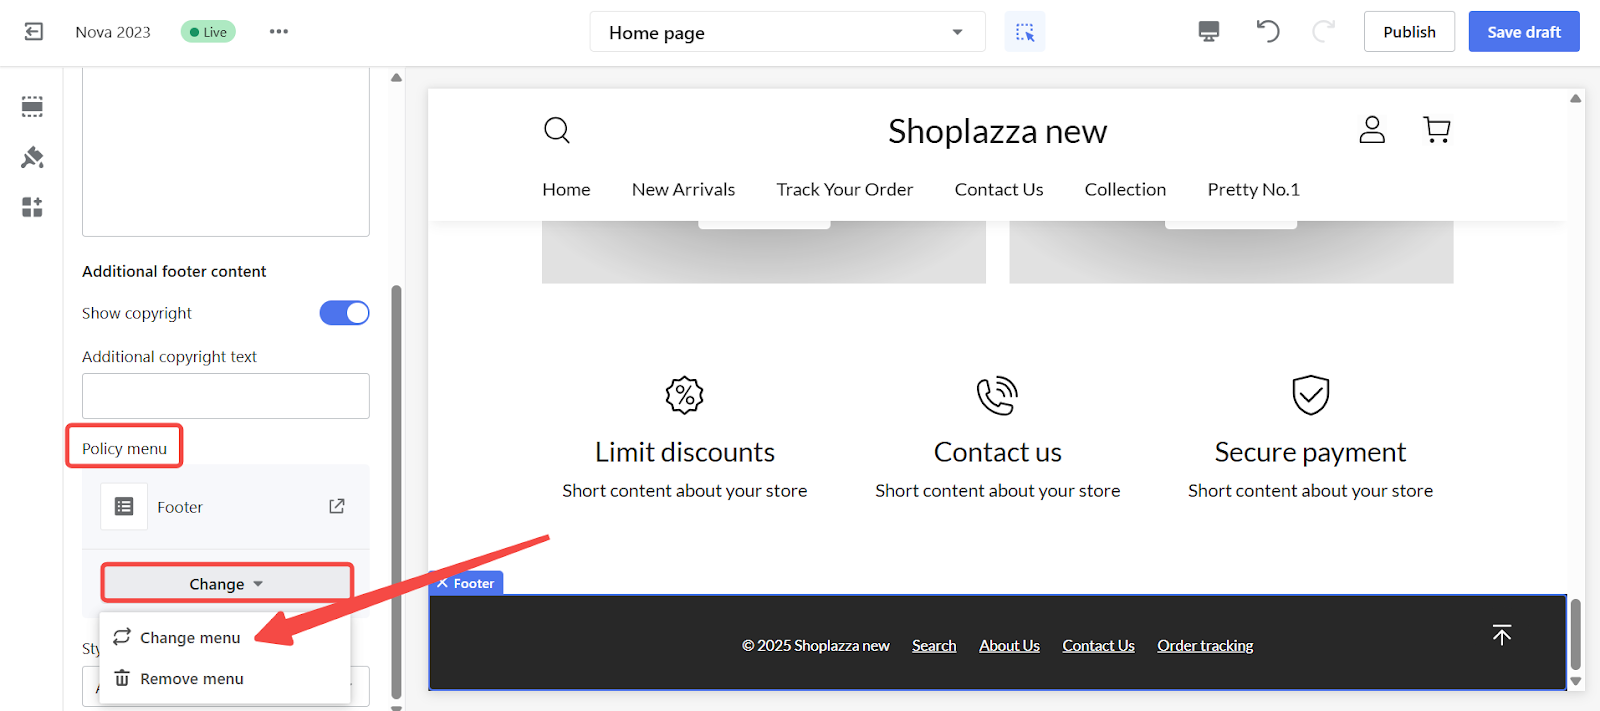
- Select the correct menu from the dropdown list.
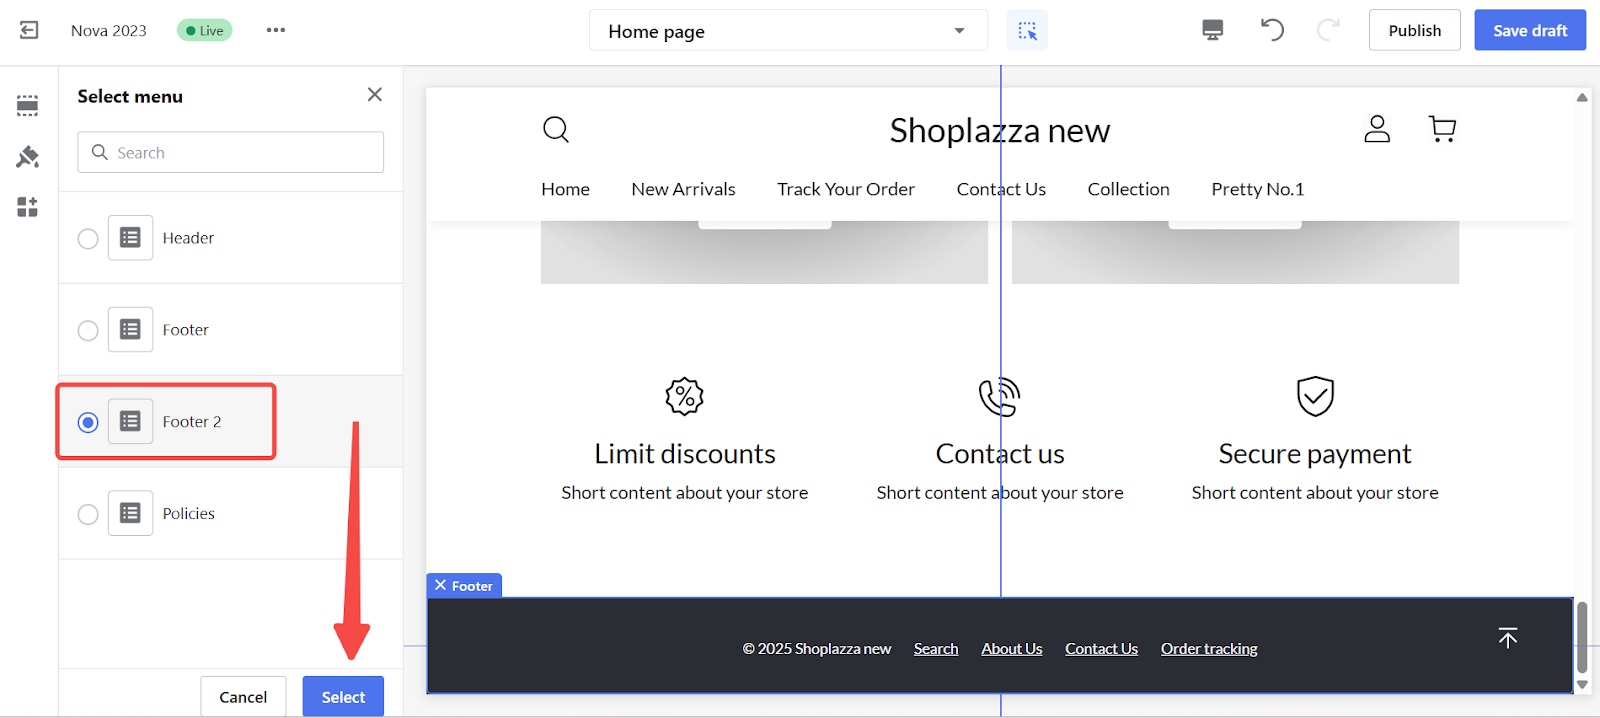
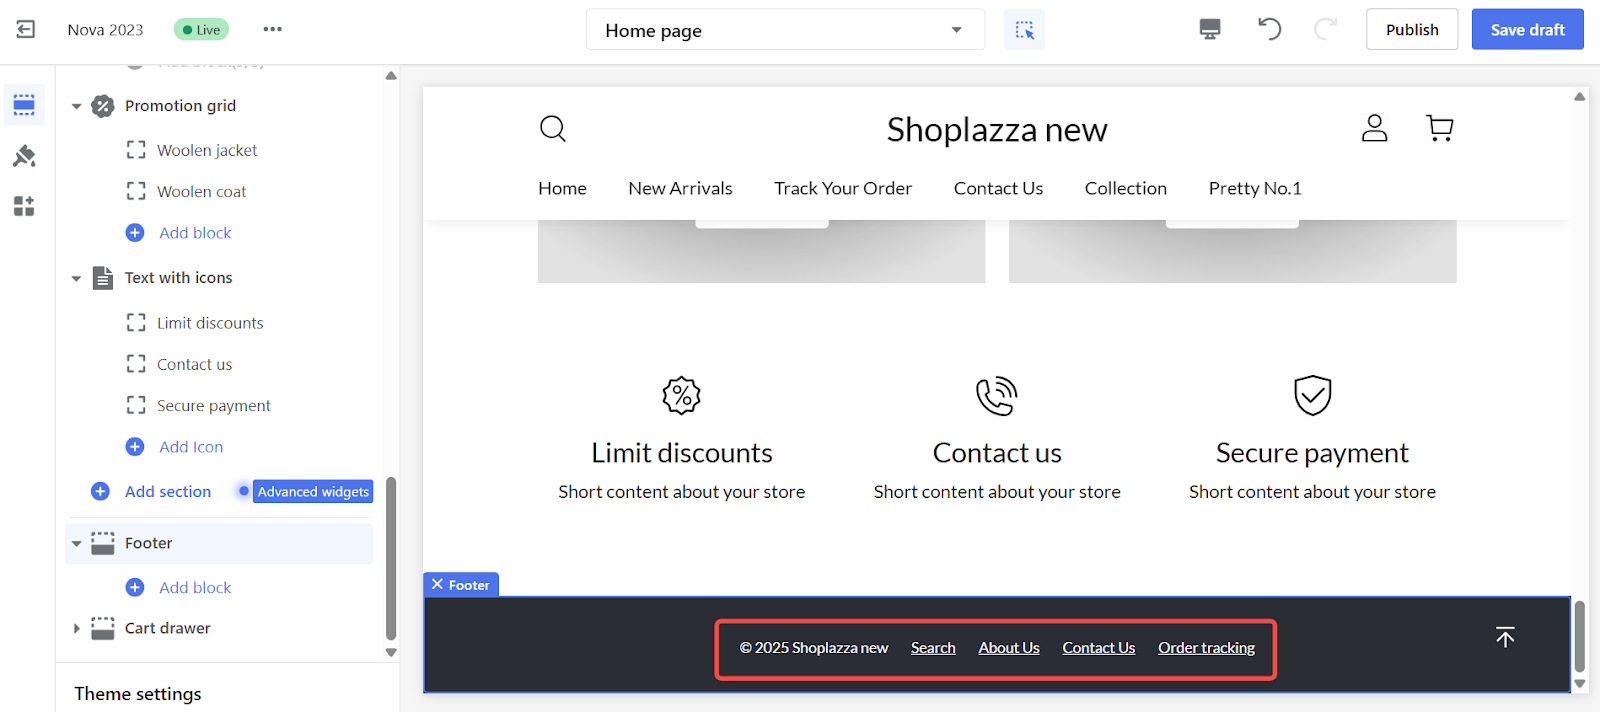
- The menu will appear horizontally at the bottom of your storefront.

Setting up vertical footer menus
Vertical layouts allow multiple footer menus to be stacked in columns, ideal for showcasing different content categories. This is especially useful for larger stores with diverse content.
Note
The Boost theme does not support vertical footer menu configurations. However, all other themes support this feature. In the Pluto theme, the block is labeled Menu Link, which enables you to display vertical footer menus in stacked columns.
1. Create a new footer menu: Go to Online Store > Navigation and click Add menu.

2. Name the menu and confirm: Enter a name (e.g., Blog, Help Center, or Policies), then click Add menu.

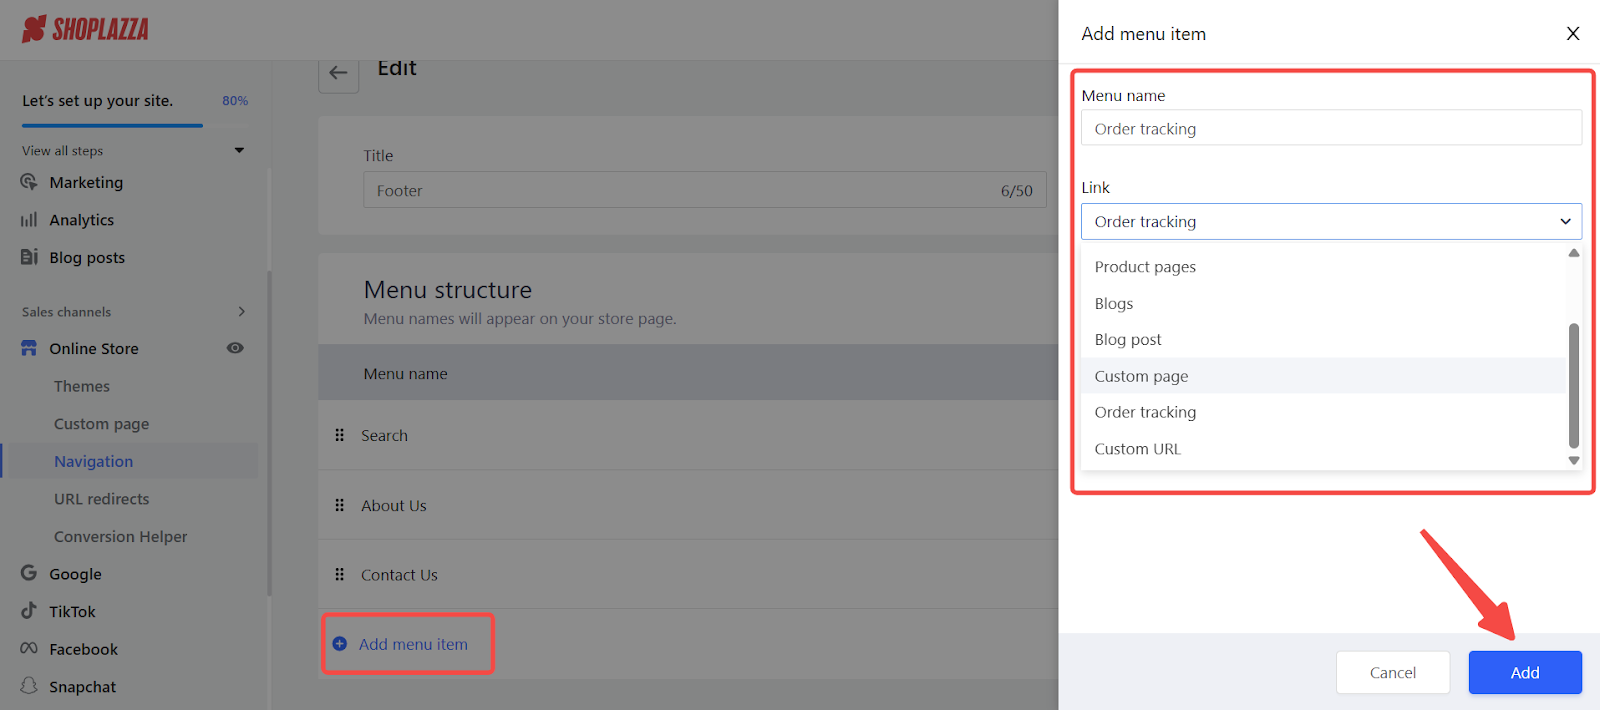
3. Add menu items in the pop-up: In the pop-up window, enter each item name and link. Add multiple items as needed.
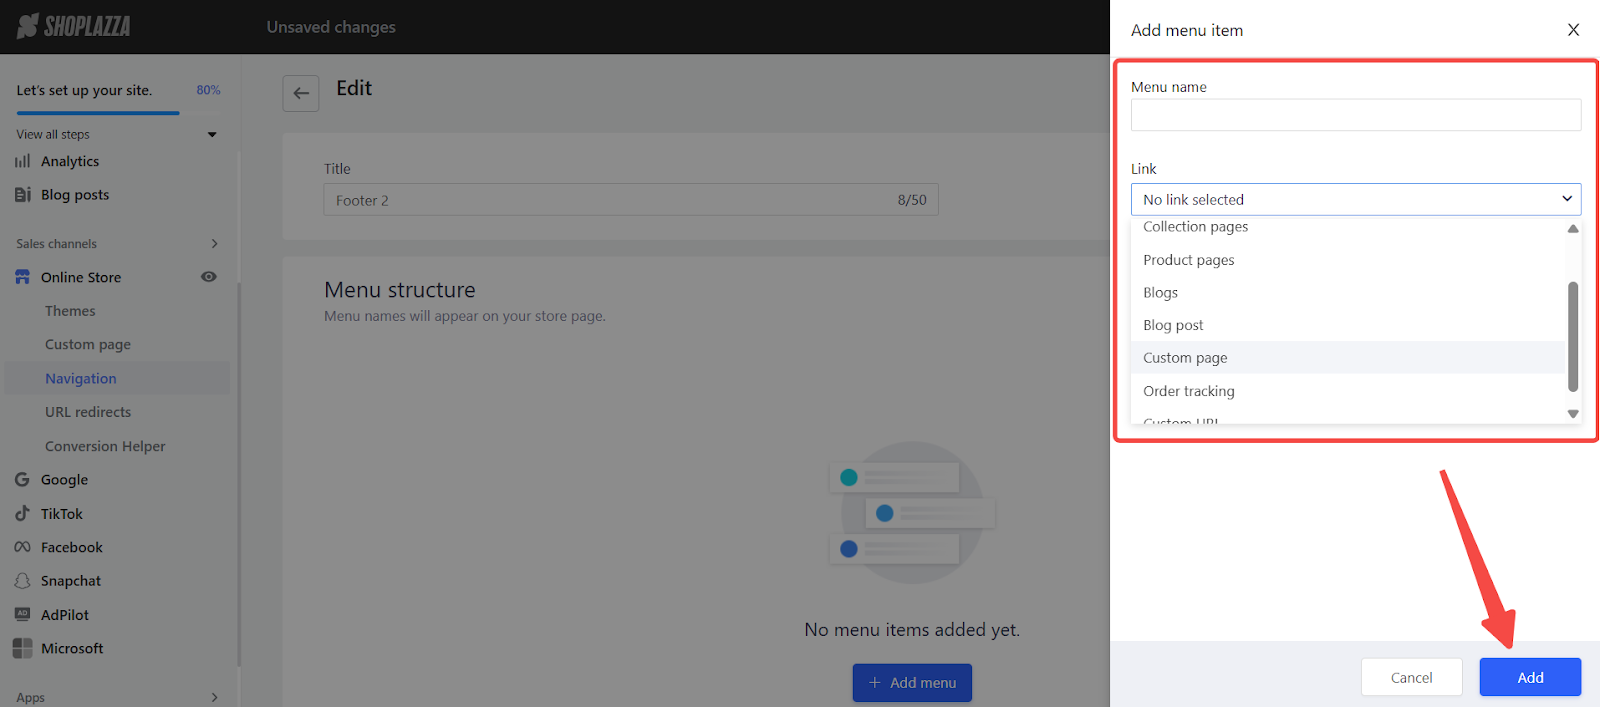
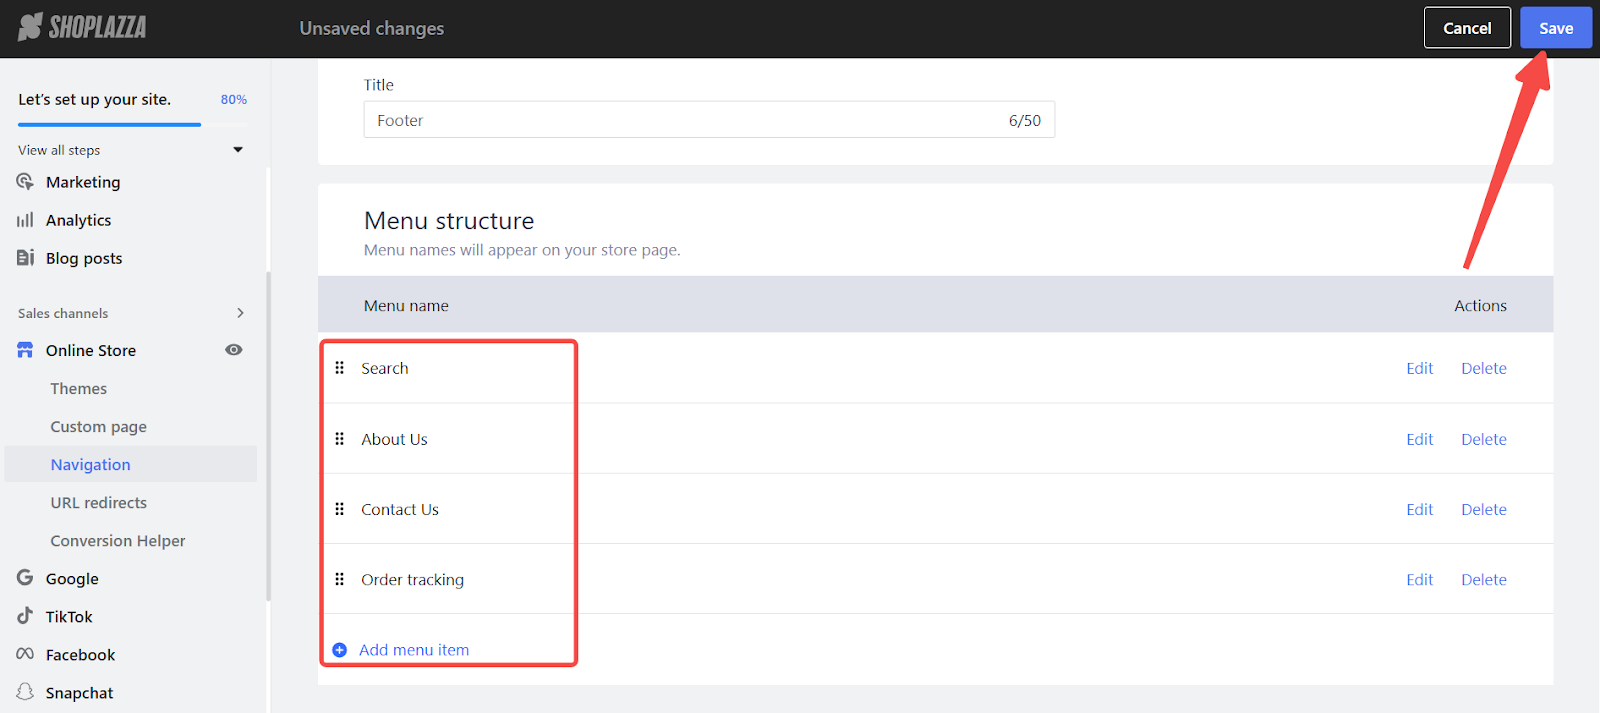
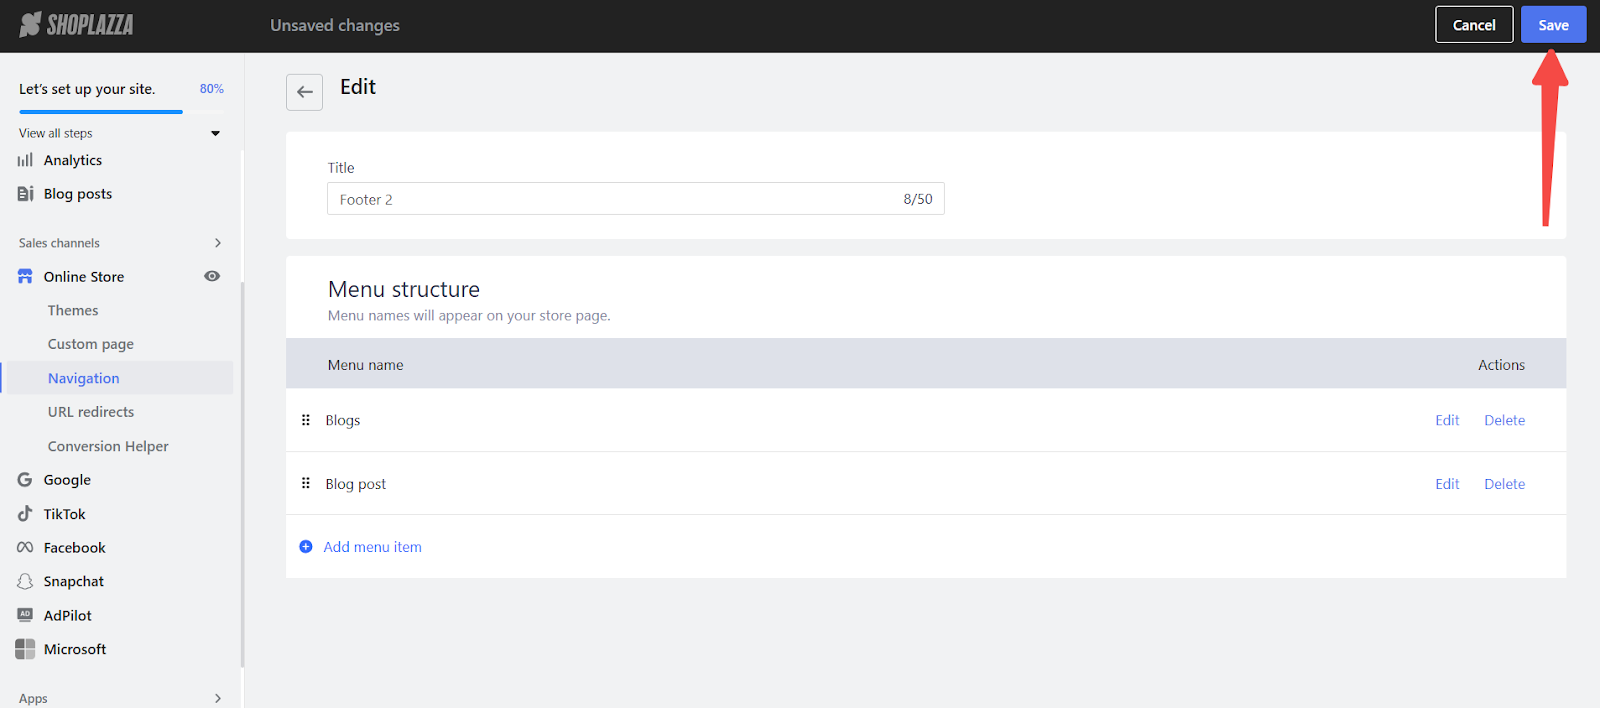
4. Save the menu: Once all items are added, click Save to complete the setup.
5. Open the theme editor and access the footer: Go to Online Store > Themes > Customize. Scroll to the footer section and click Add Block.
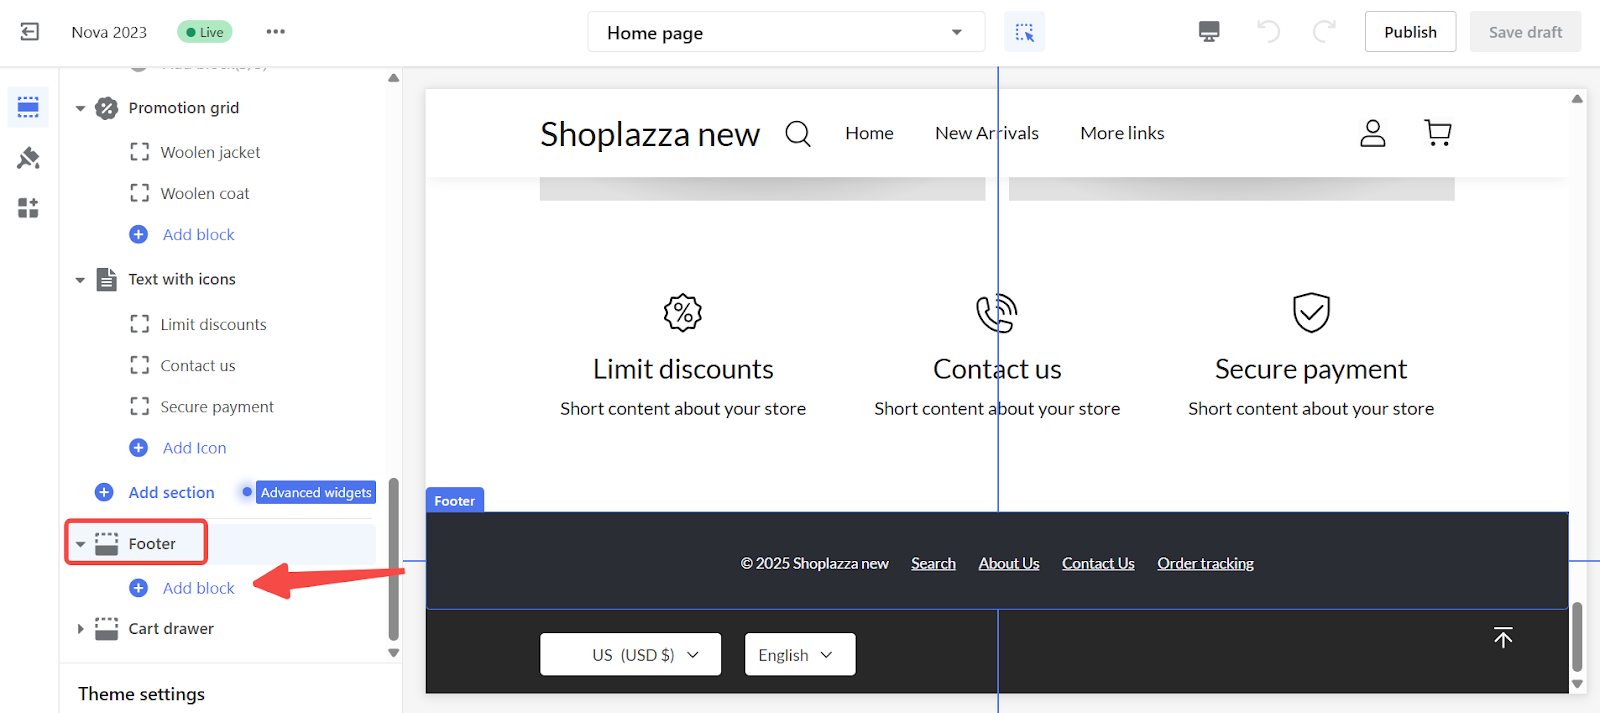
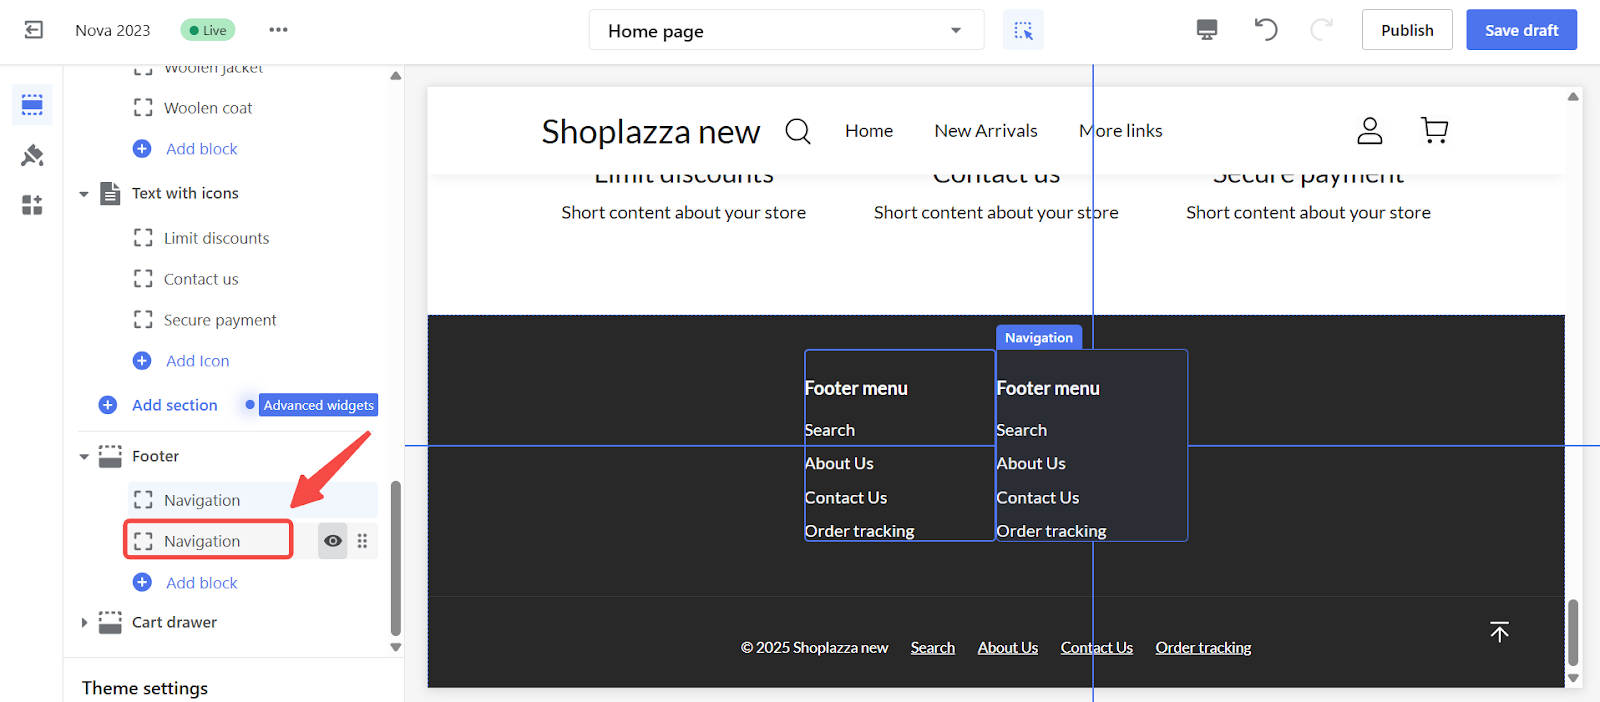
6. Insert navigation menu blocks: Select Navigation to add a new menu block to the footer.

7. Add more menu blocks as needed: Insert additional Navigation blocks to display multiple menus vertically.

8. Assign menus to each block
By default, new blocks use the original footer menu.
- Click the block to edit.
- Update the block title (e.g., Blog, Support).
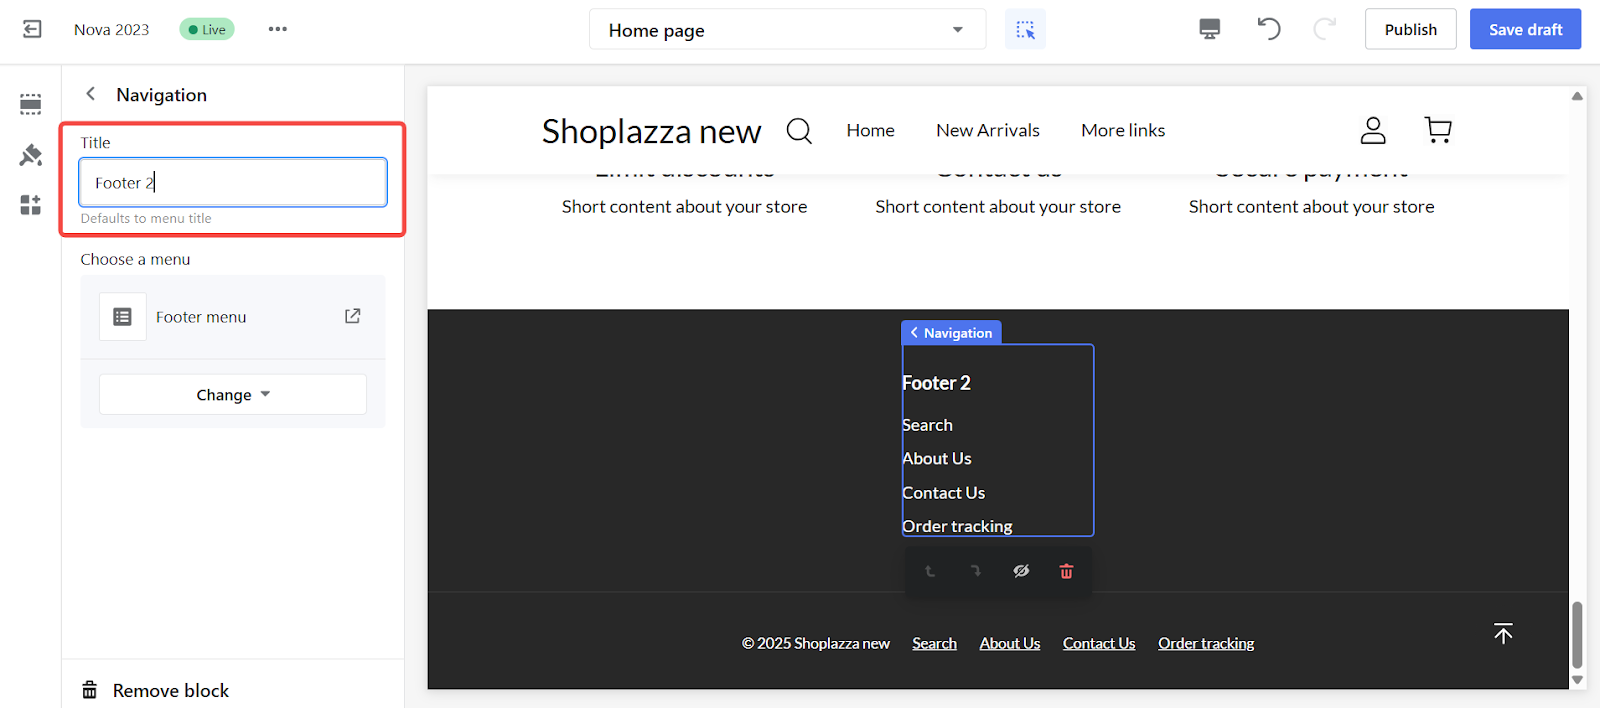
- Click Change under Choose a menu, then select the menu you created (e.g., Footer 2).
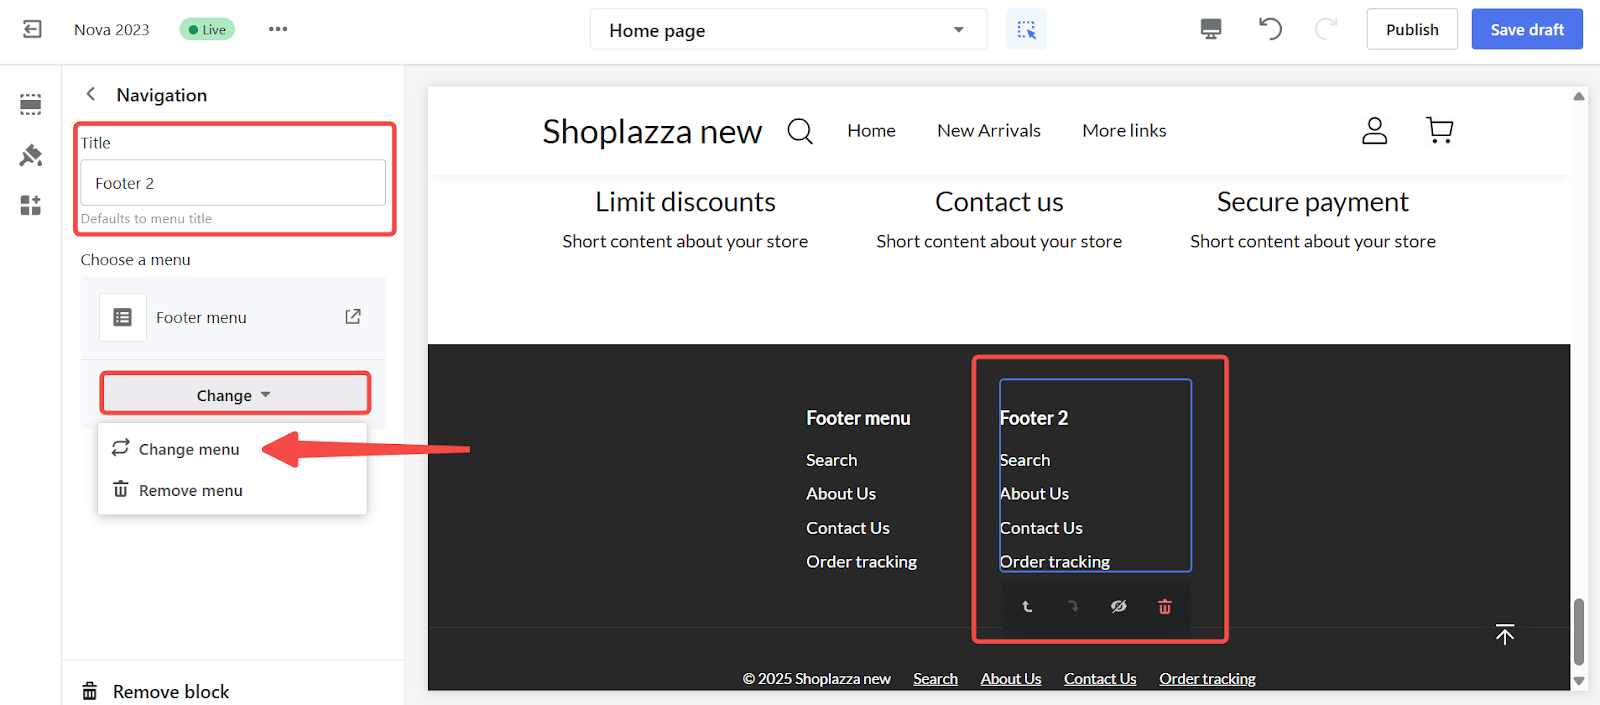

- The footer preview will update instantly to reflect the selected menu.

Manage your footer layout preferences
Choose to display horizontal menus, vertical menus, or both in your footer to meet your layout needs.

Remove the default horizontal footer menu
If you prefer a vertical-only layout, remove the horizontal menu in just a few steps:
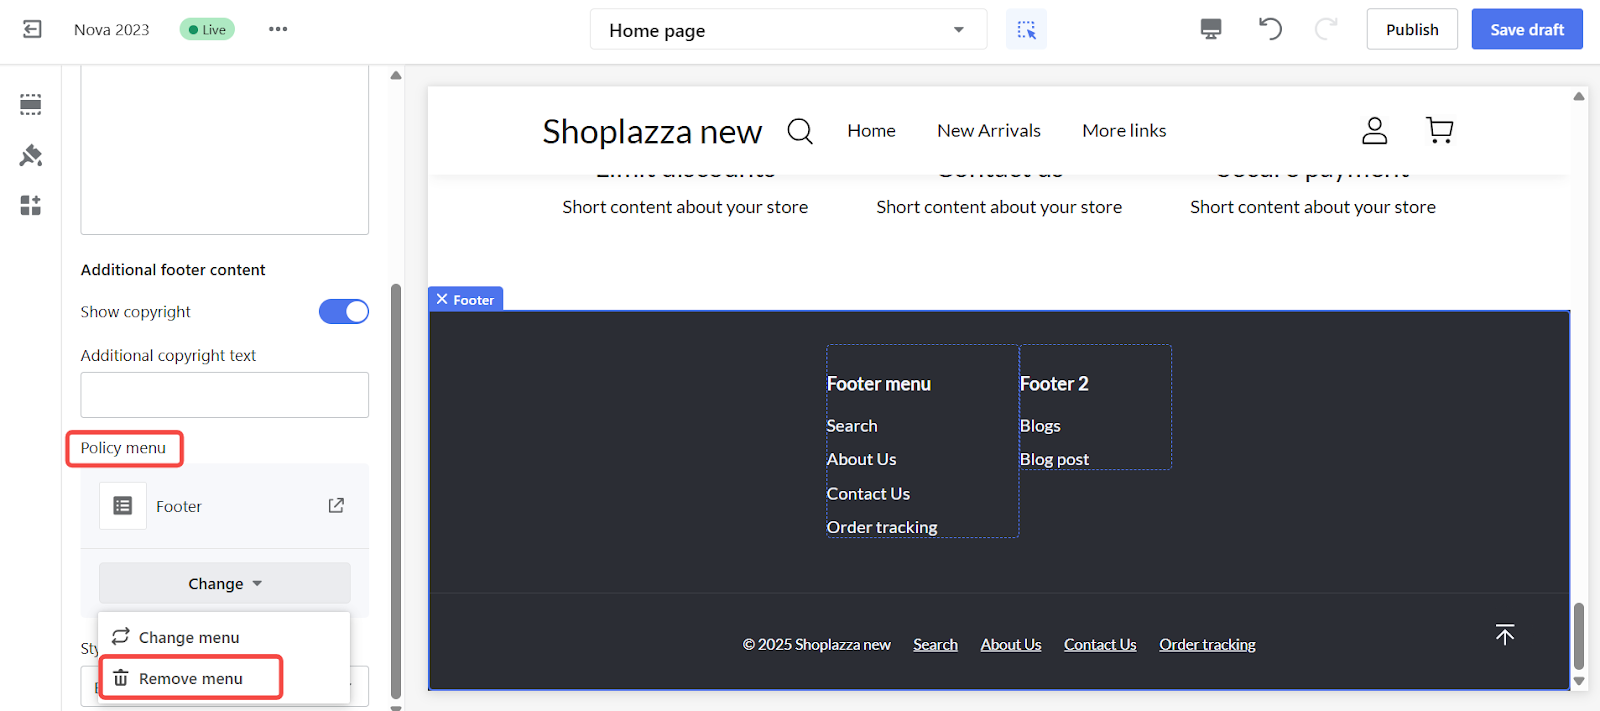
1. Click the Footer: In the theme editor to open the settings panel.

2. Unlink the menu: Scroll to the Policy menu section and click Remove menu to disconnect the horizontal menu from your layout.

A flexible footer layout supports better navigation and helps highlight key store information. Whether you're linking to store policies, blog content, or customer service pages, a clear footer keeps your visitors engaged at every step. Refer to the full guide on the Footer section for more configuration tips.


Comments
Please sign in to leave a comment.