
Creating custom pages for your online store offers a great way to showcase your brand, policies, contact details, and more. Tailor your website's content to meet specific needs and goals, delivering clear information through an engaging interface. This enhances user experience, strengthens brand image, and supports your business objectives. Follow these steps to create and integrate custom pages into your Shoplazza store:
Creating a custom page
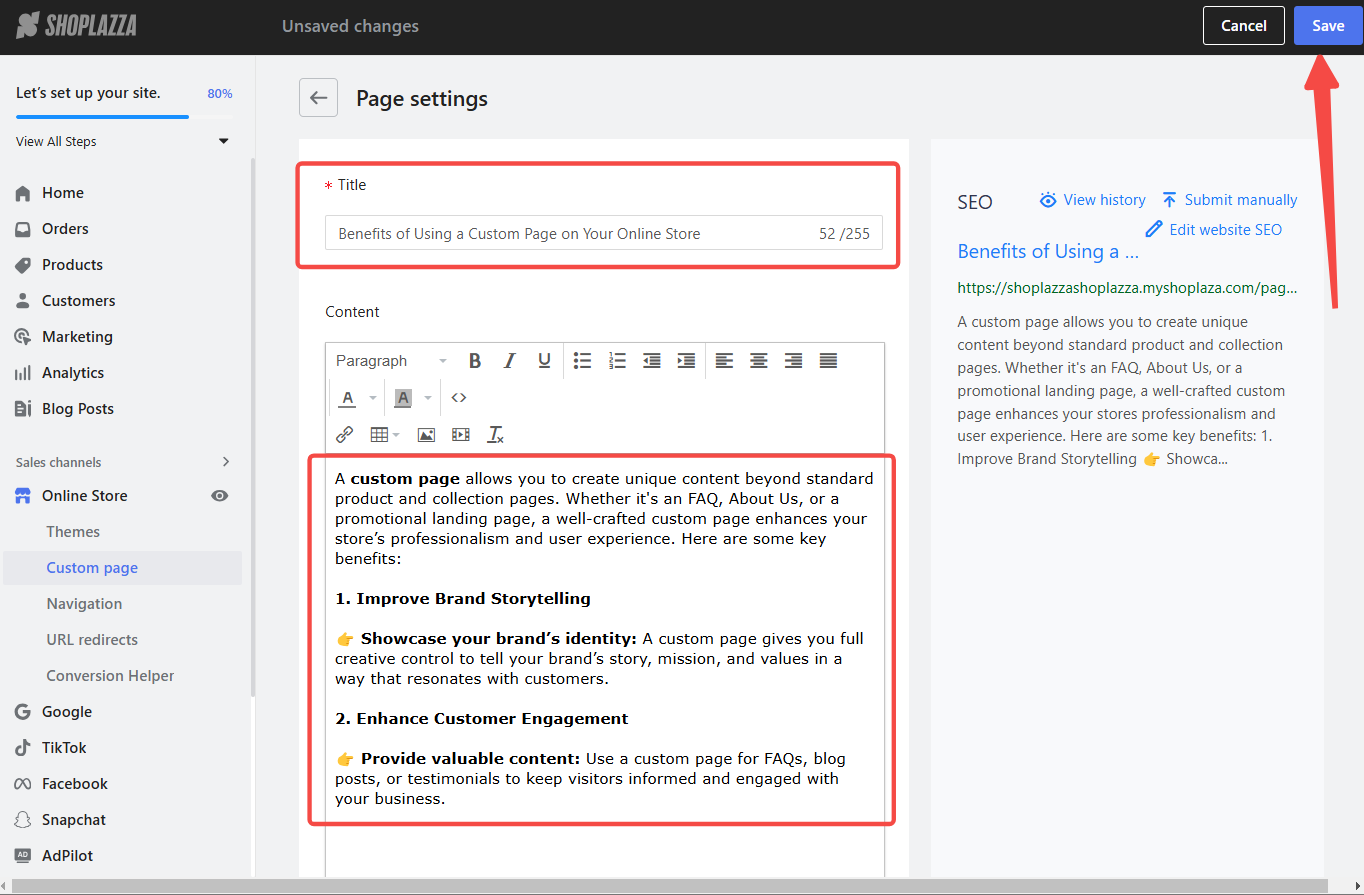
1. Create a new page: Log in to your Shoplazza admin, go to Online Store > Custom Page, and click Add Page.

2. Configure page details: Enter the title and content for your new custom page. Click Save to create the page.
Integrating Custom Pages into your store's navigation menu
Once you've created a custom page, it's important to make it easily accessible to visitors. Adding it to your store’s navigation menu ensures that customers can quickly find the information they need.
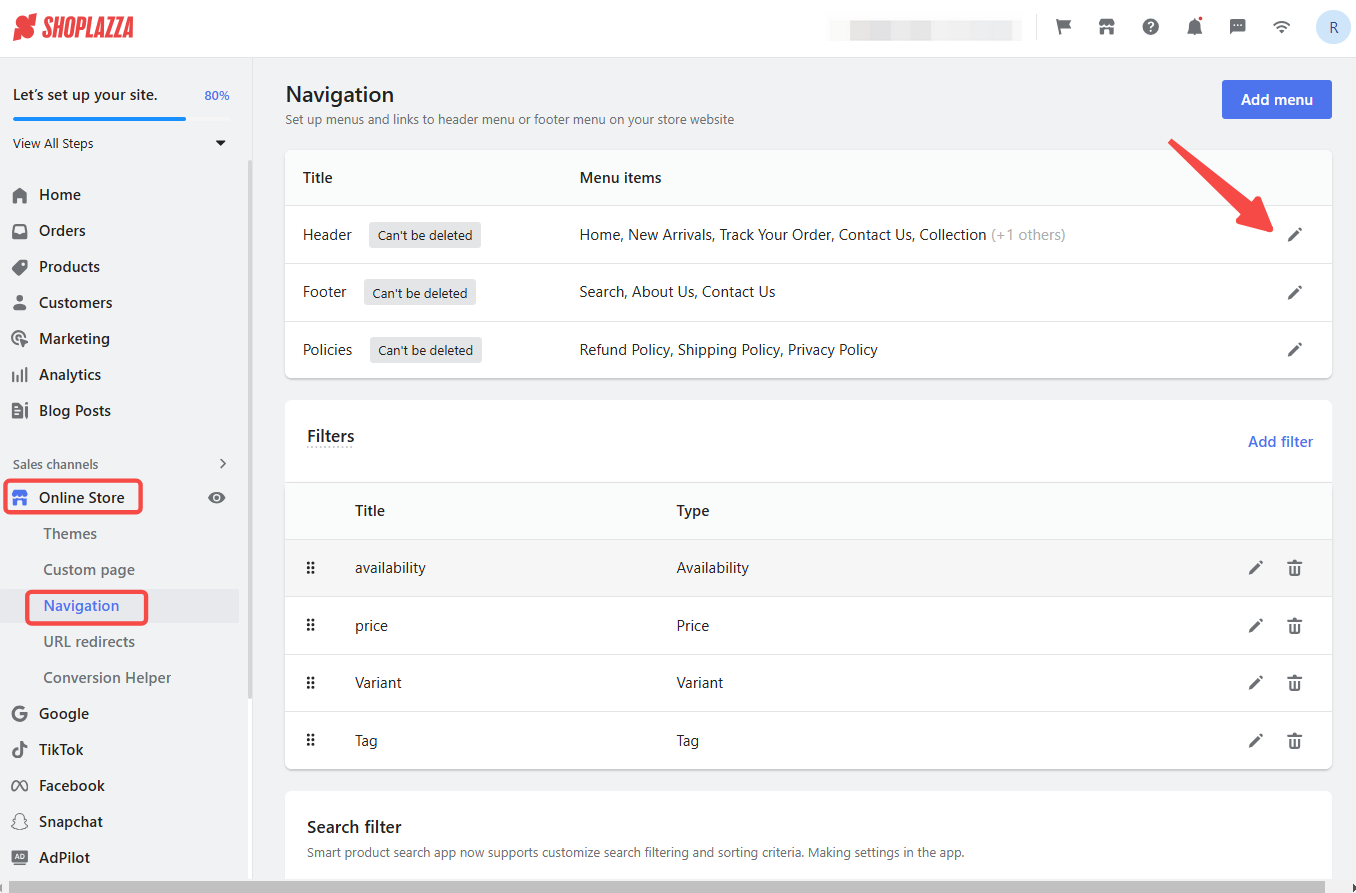
1. Access navigation settings: Go to Online Store > Navigation. Choose either the header or footer menu where you want to add the custom page, then click the pencil icon to edit.
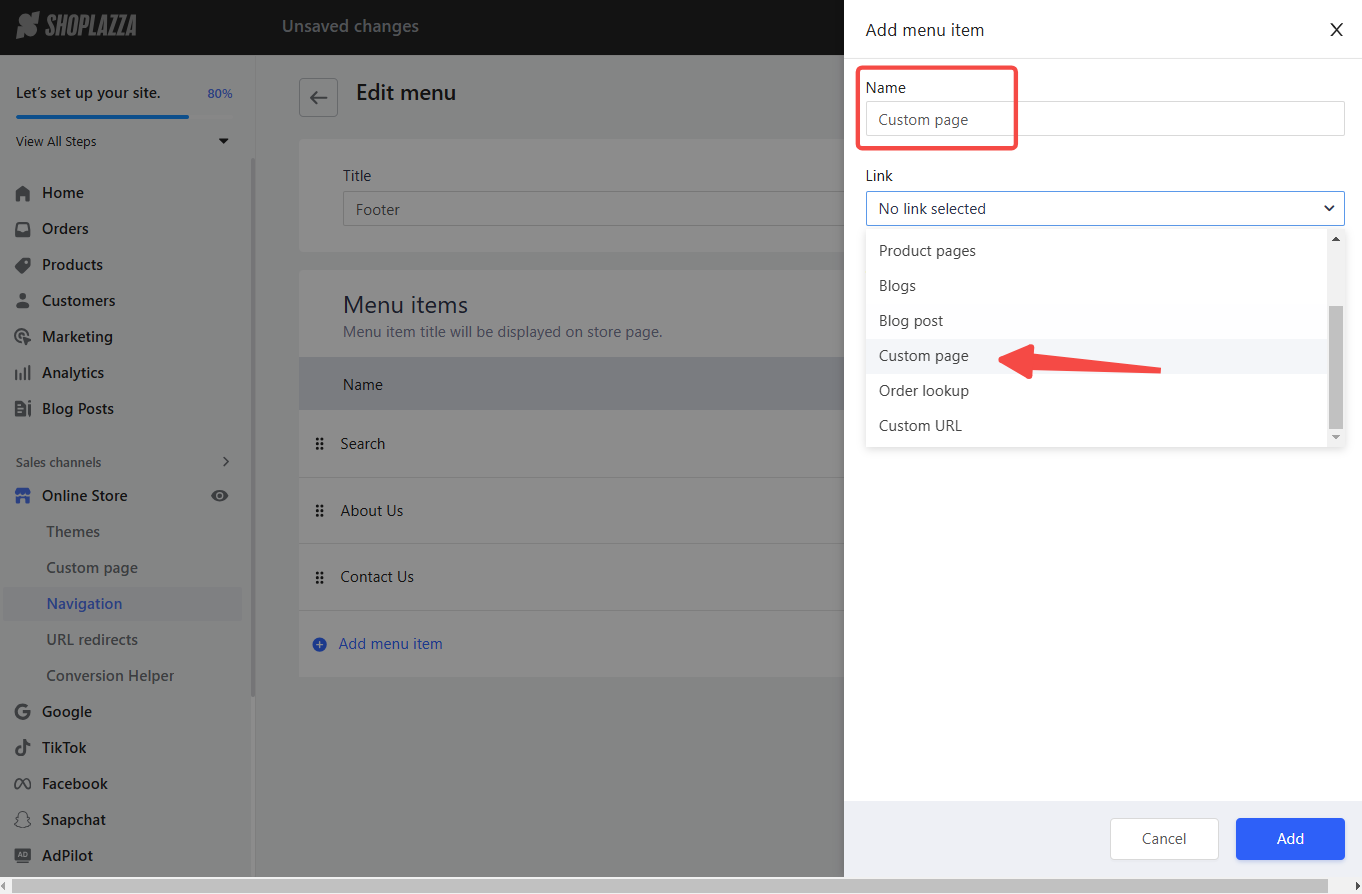
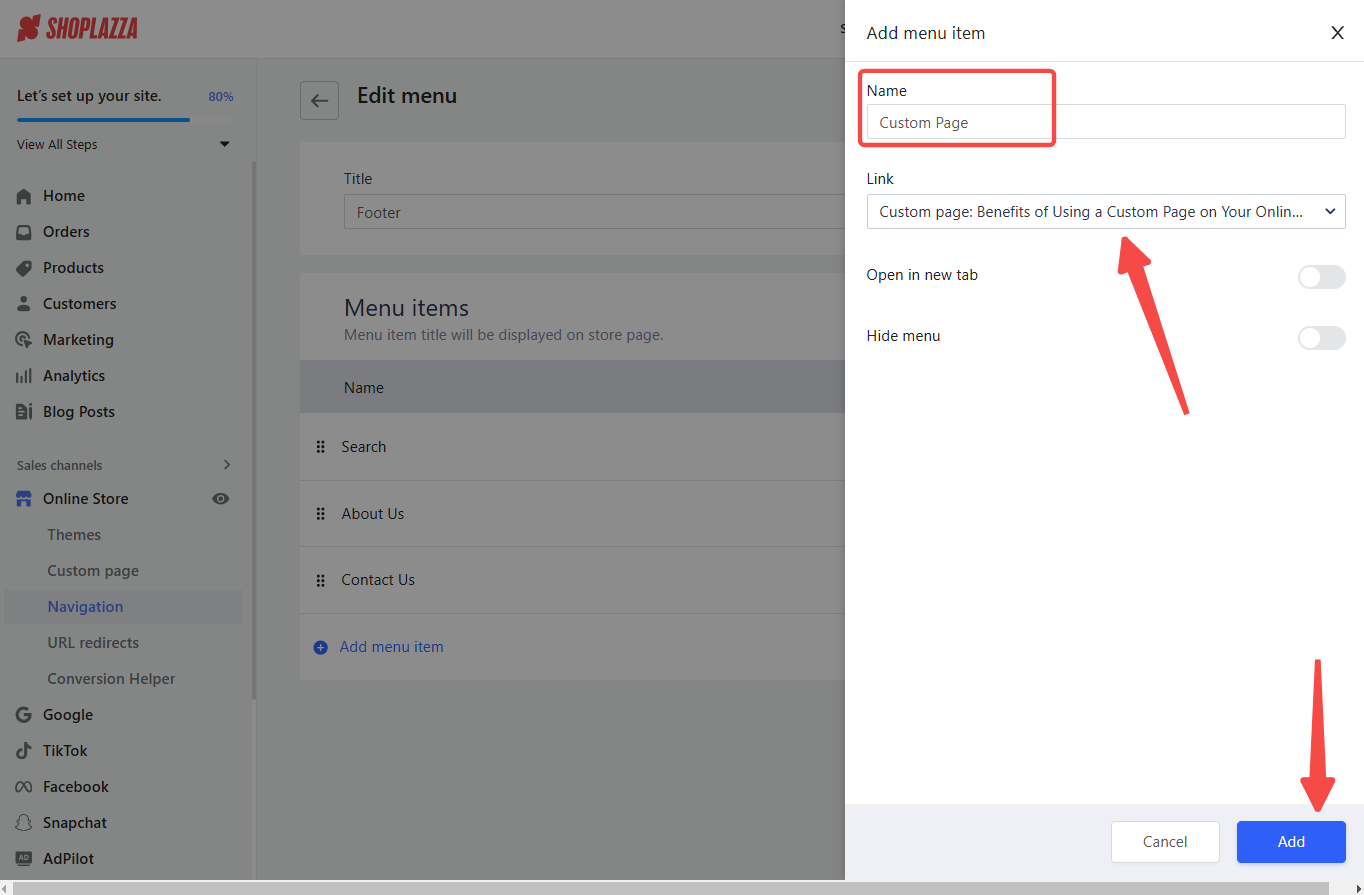
2. Add a menu item: Click Add menu item, enter a name, then click the dropdown menu and select Custom Page.

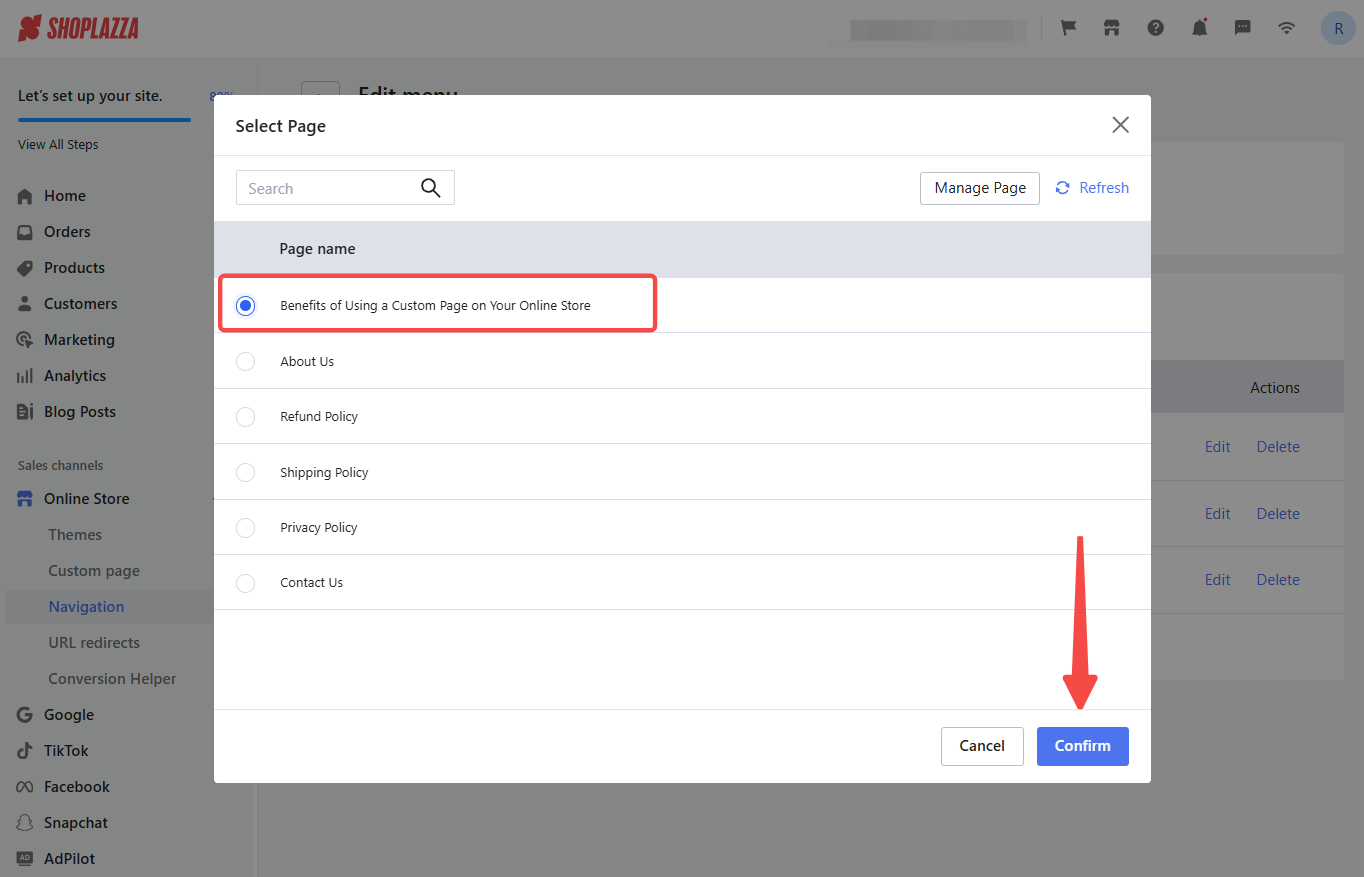
3. Select the custom page: In the pop-up window, choose the page you want to add, then click Confirm.
4. Review and add: Double-check the details, then click Add.
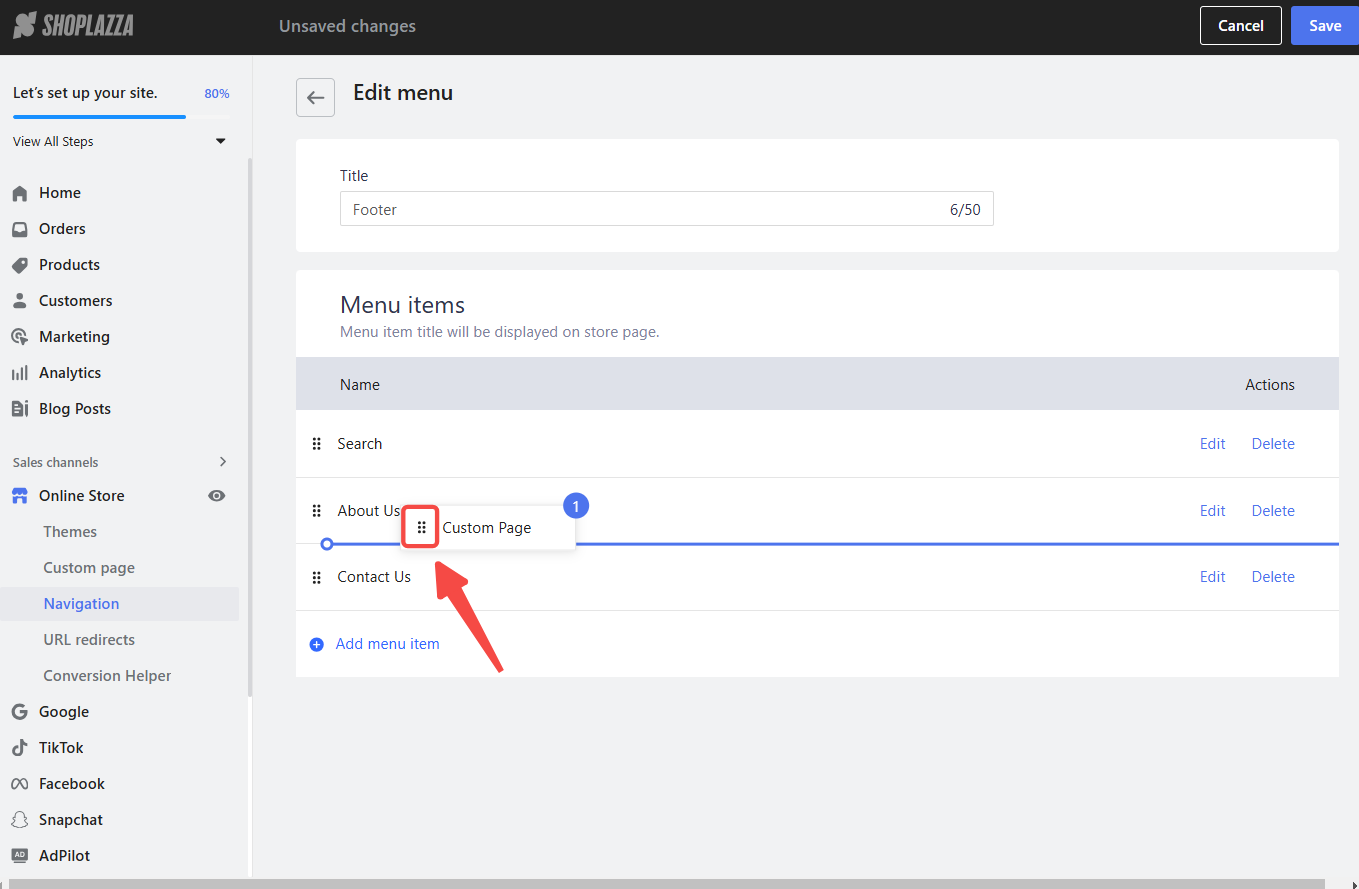
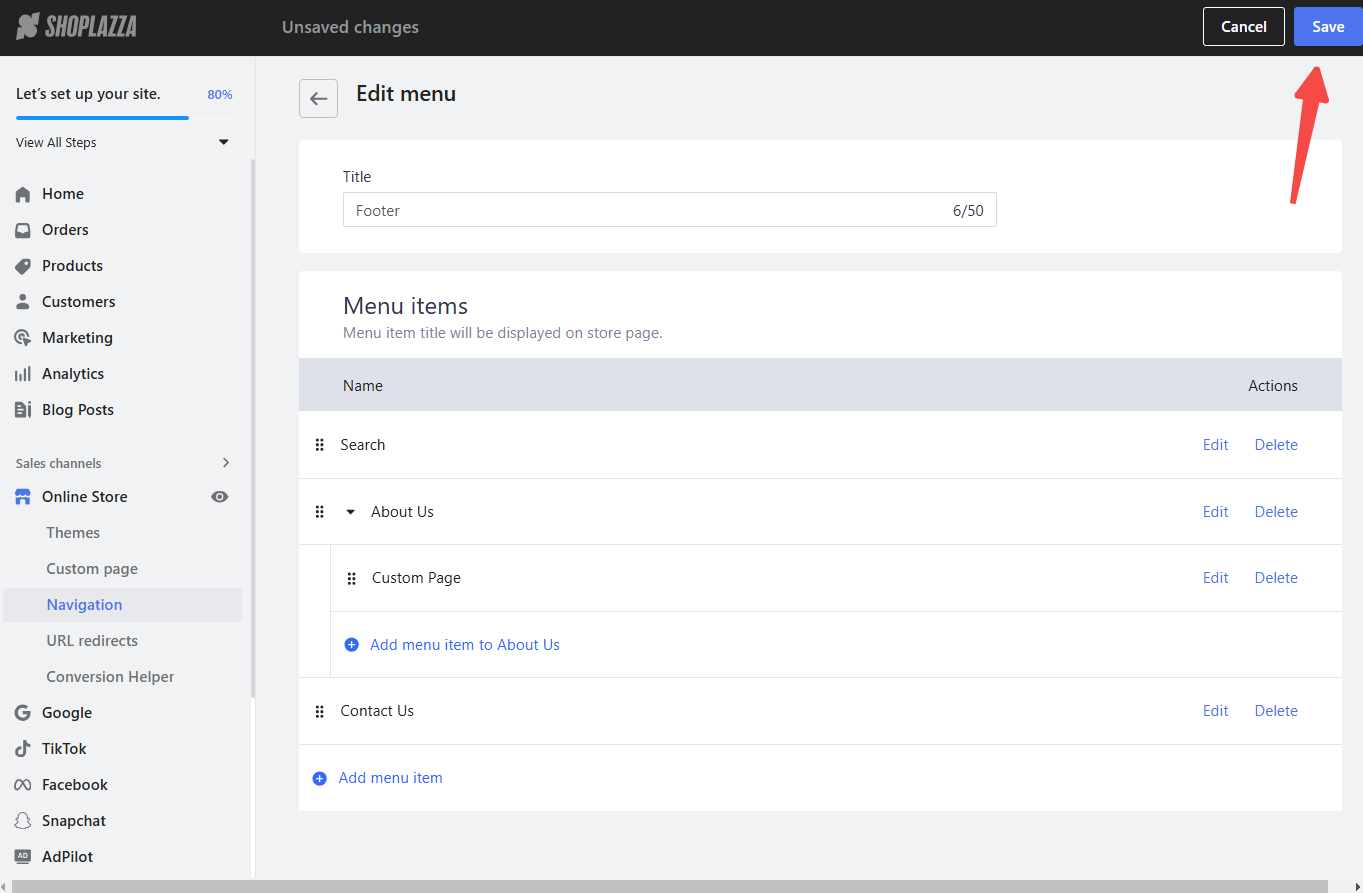
5. Arrange and save: Once the menu item is added, click and drag it to your desired position in the menu. Click Save to finalize the changes.
Custom pages offer flexibility in designing your online store's content. By following these steps, you can create dedicated pages for various purposes, improving the overall user experience and promoting your brand effectively.


Comments
Please sign in to leave a comment.