
Facebook Pixels are powerful tools that allow you to track visitor behavior on your website, optimize your advertising campaigns, and ultimately increase your sales. Adding Facebook Pixel to your Shoplazza store enables you to gain valuable insights into how your audience interacts with your site and use that data to make informed marketing decisions. One Pixel makes this process simple, letting you easily manage your Pixels with just a few steps. This guide will walk you through everything you need to get started, from installing the One Pixel app to adding your Facebook Pixel ID and ensuring it’s set up correctly for accurate event tracking.
Installing the OnePixel app
To start using OnePixel, you’ll first need to install the app in your Shoplazza store. Here’s how you can do it:
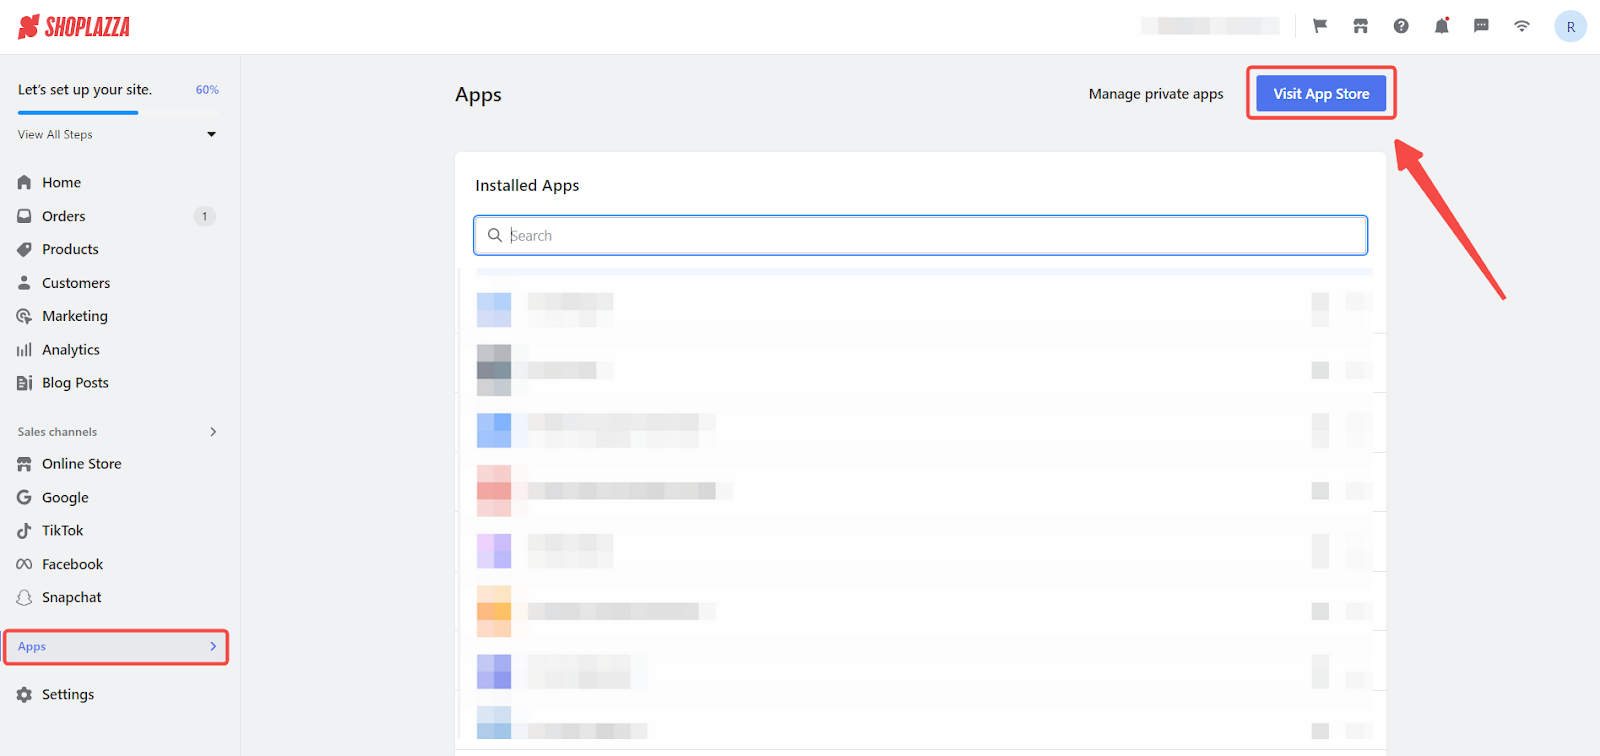
1. Access the App Store: Access the App Store by navigating from your Shoplazza Admin > Apps, and clicking Visit App Store.
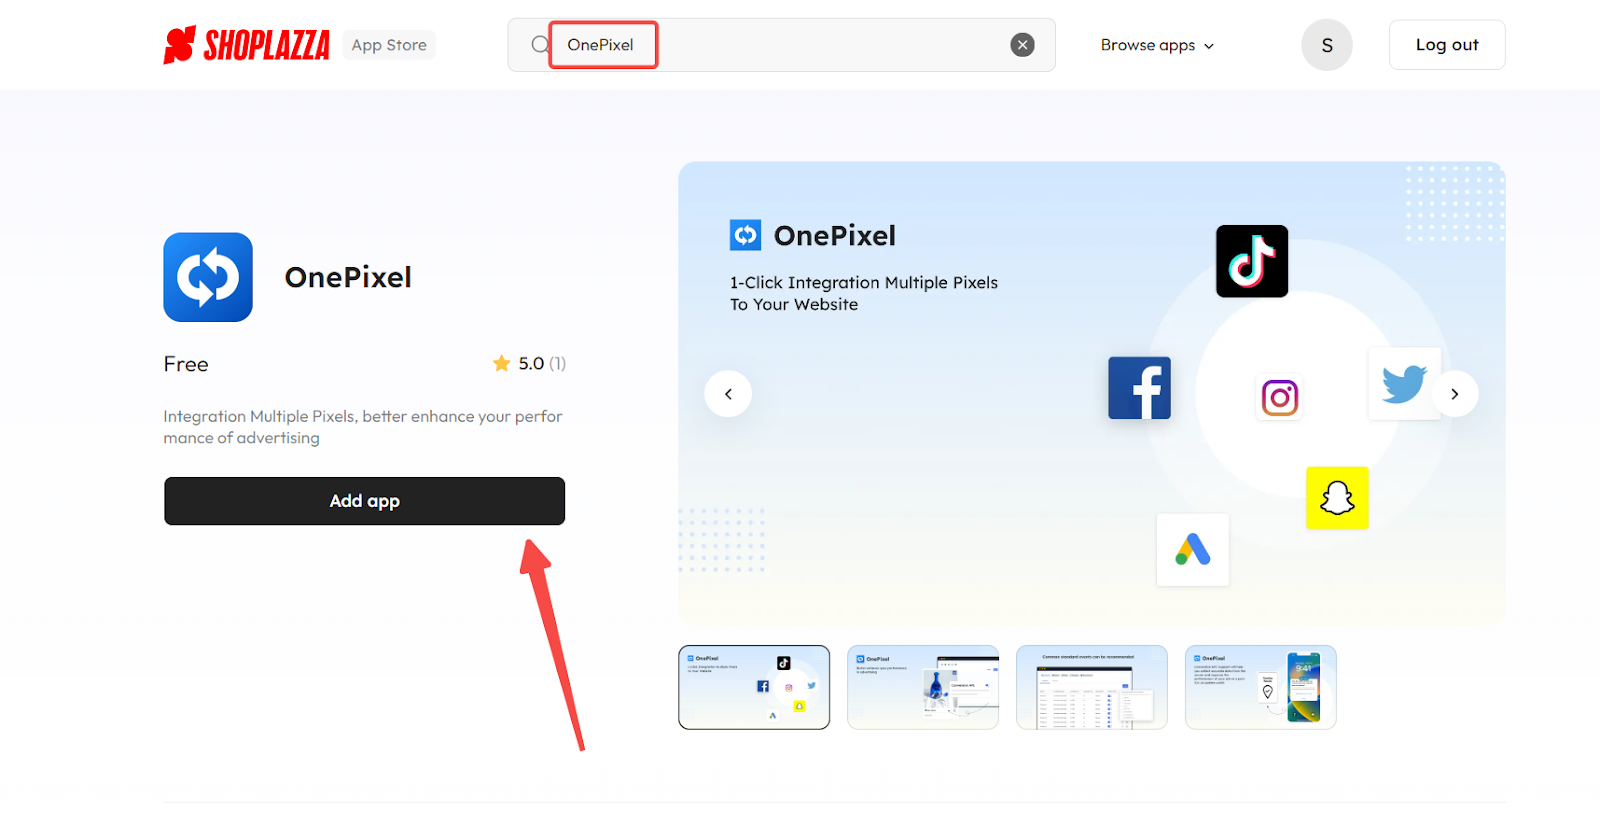
2. Find the app: Find the One Pixel app by entering the app name “One Pixel” in the search box and clicking on Add app.
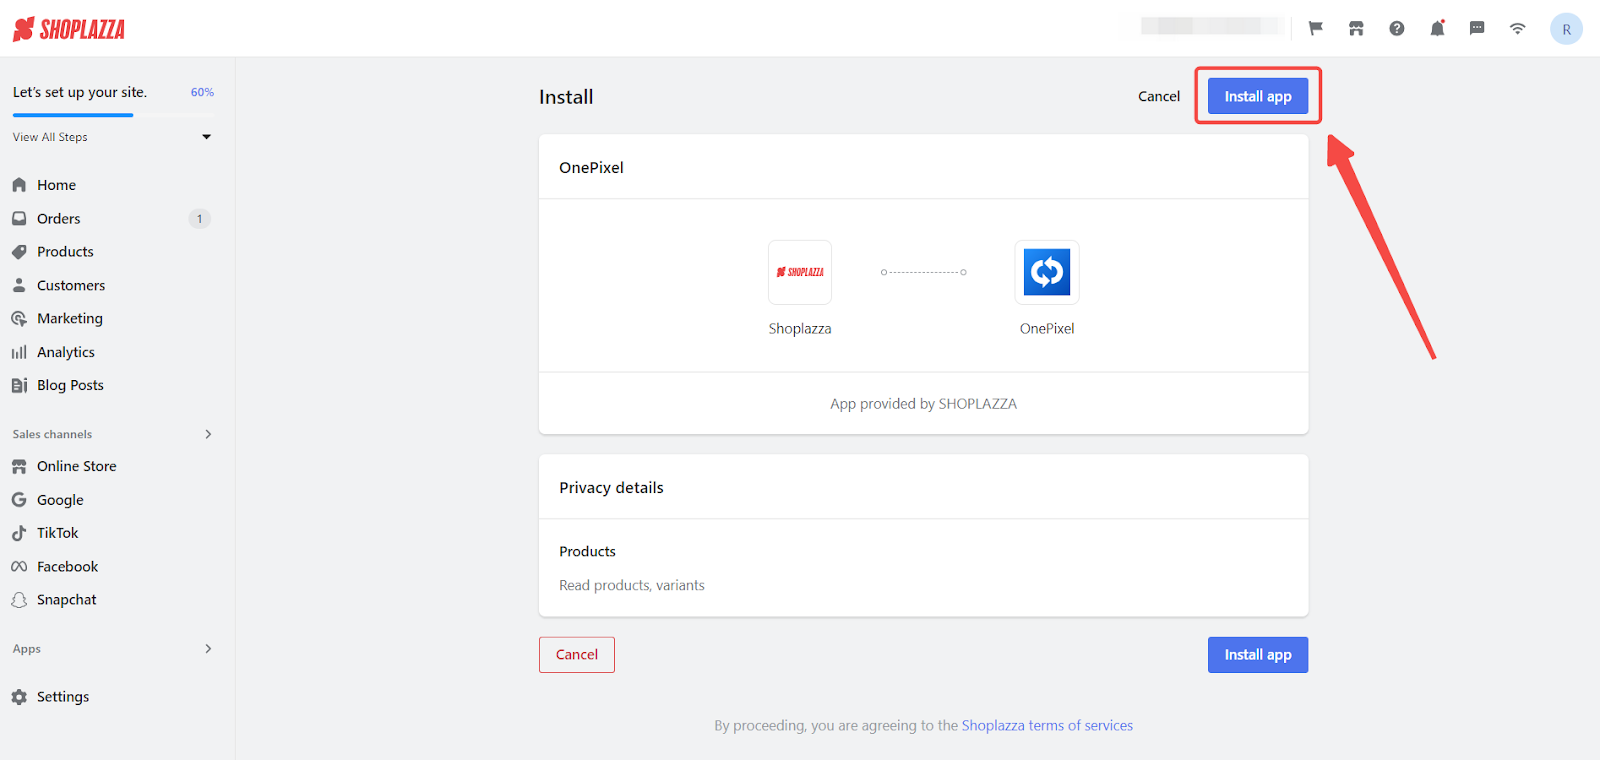
3. Install the app: Install the One Pixel app by clicking Install app to complete the app installation.
Setting up your Facebook pixel ID
Once the OnePixel app is installed, the next step is to obtain your Facebook Pixel ID, which is essential for tracking and optimizing your Facebook ad campaigns. Follow these steps:
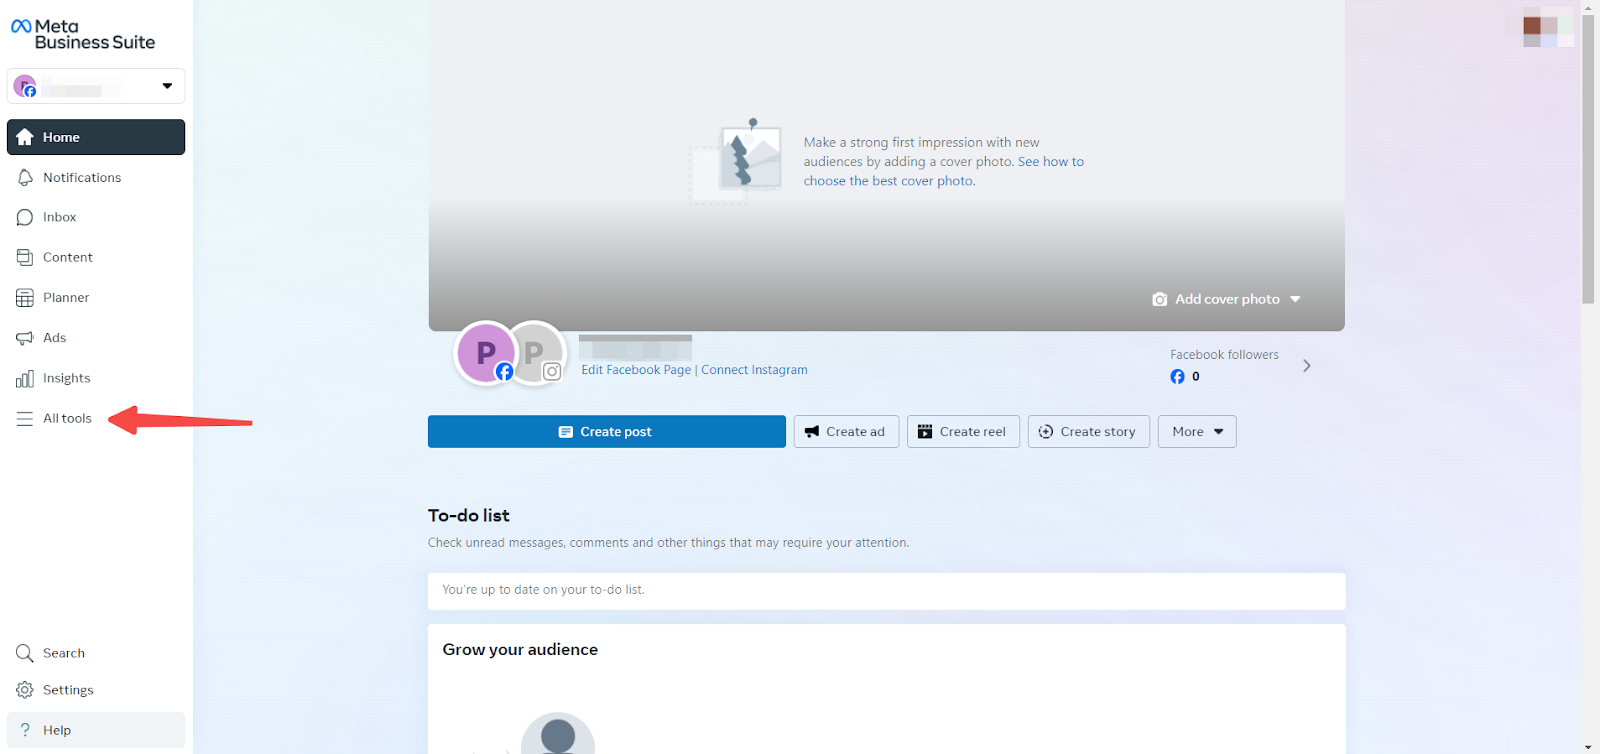
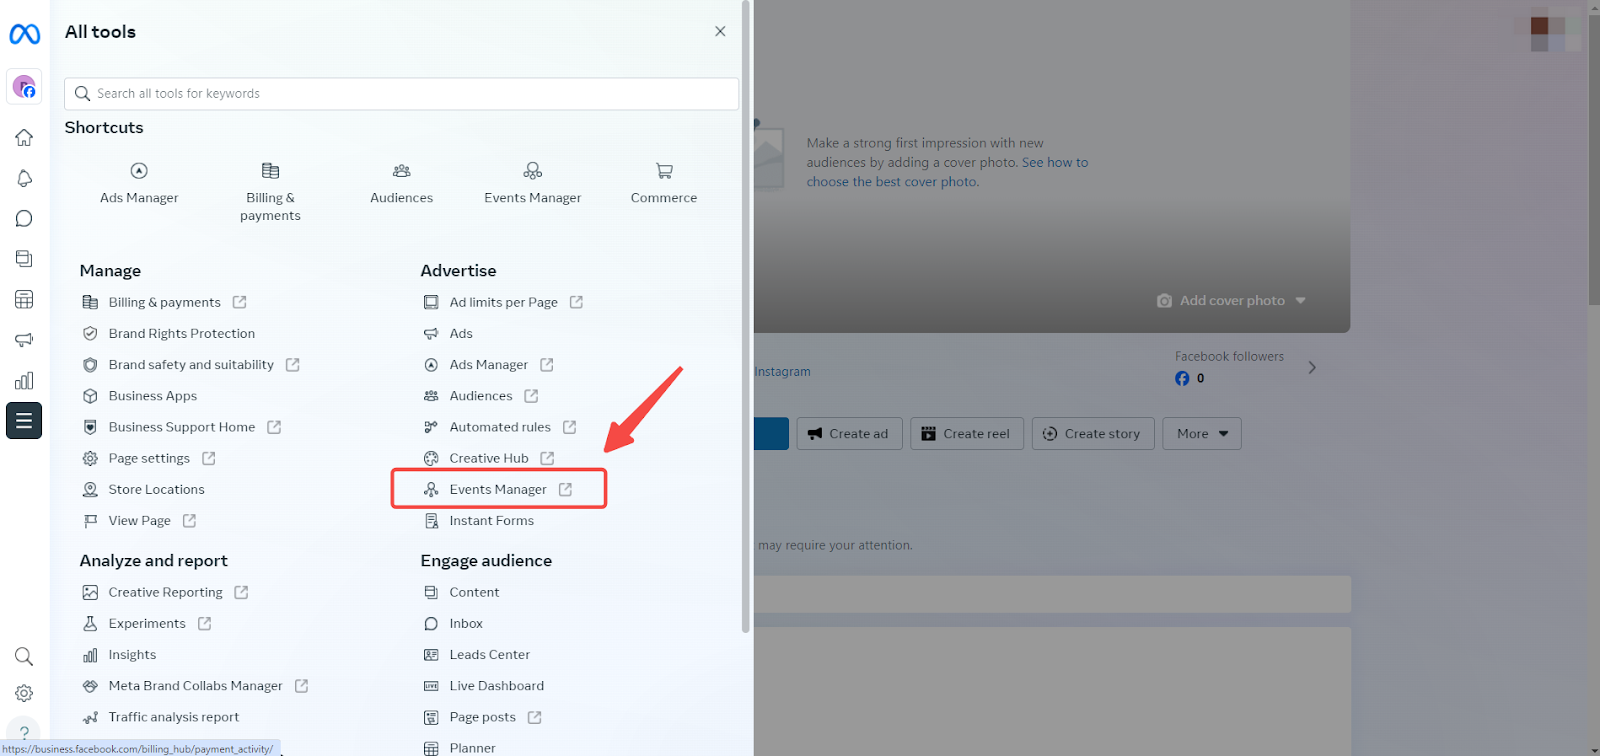
1. Navigate to your Facebook Business Manager: Retrieve your Pixel ID by logging into your Facebook Business Manager . Then, click All Tools.
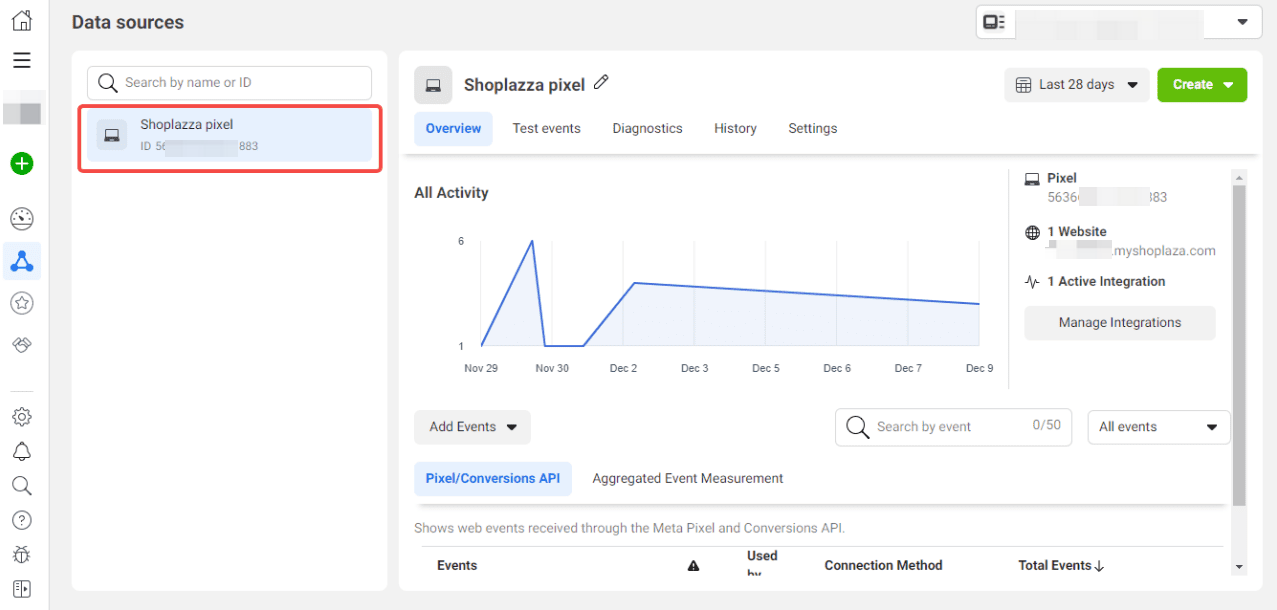
2. Access the Pixel ID: Access the Pixel ID by going to the Events Manager under the Advertise section. Take note of your pixel ID for later use.
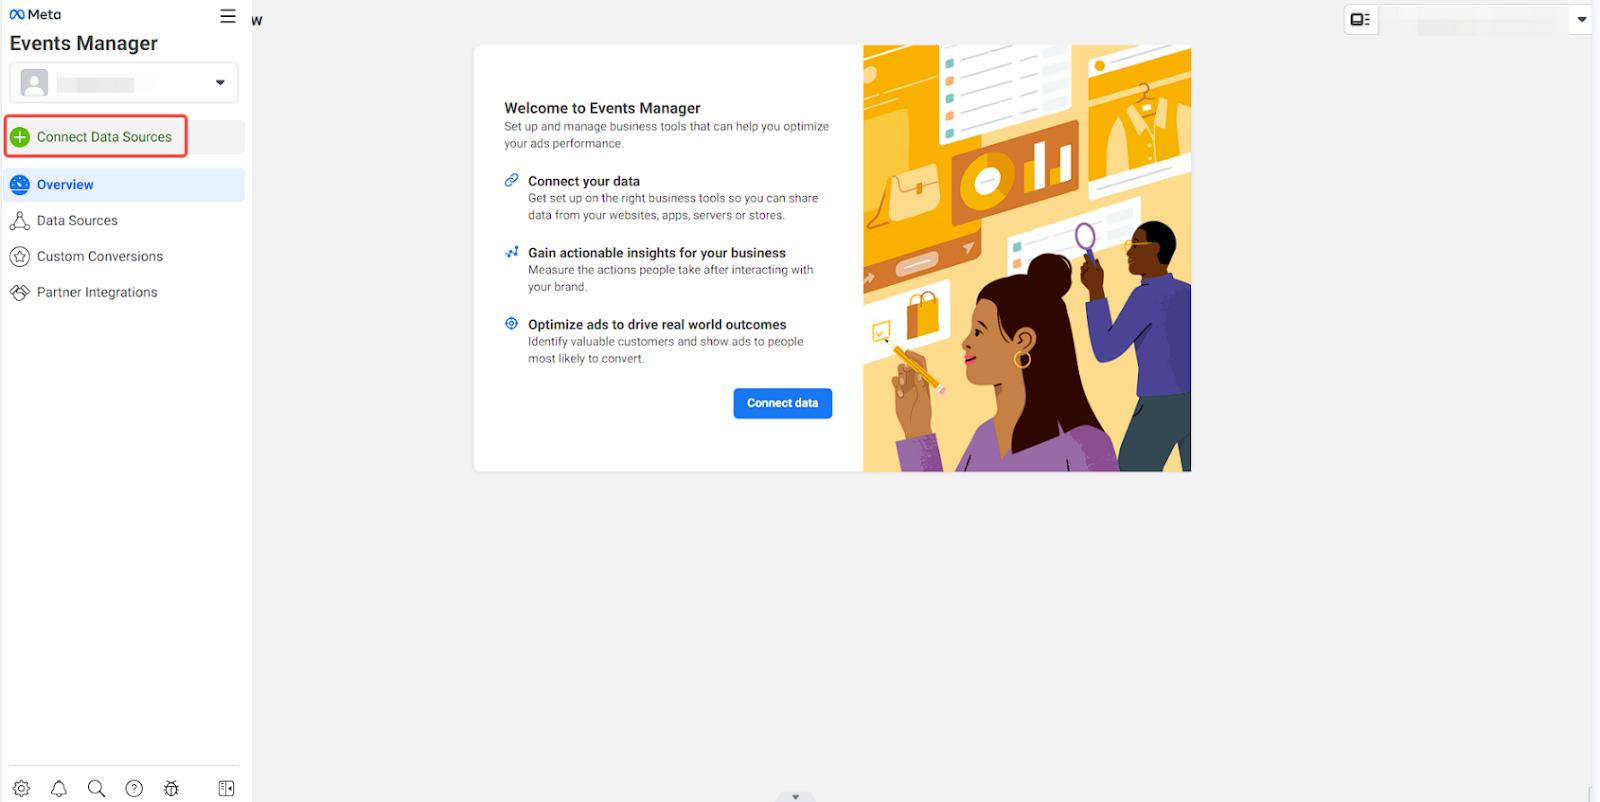
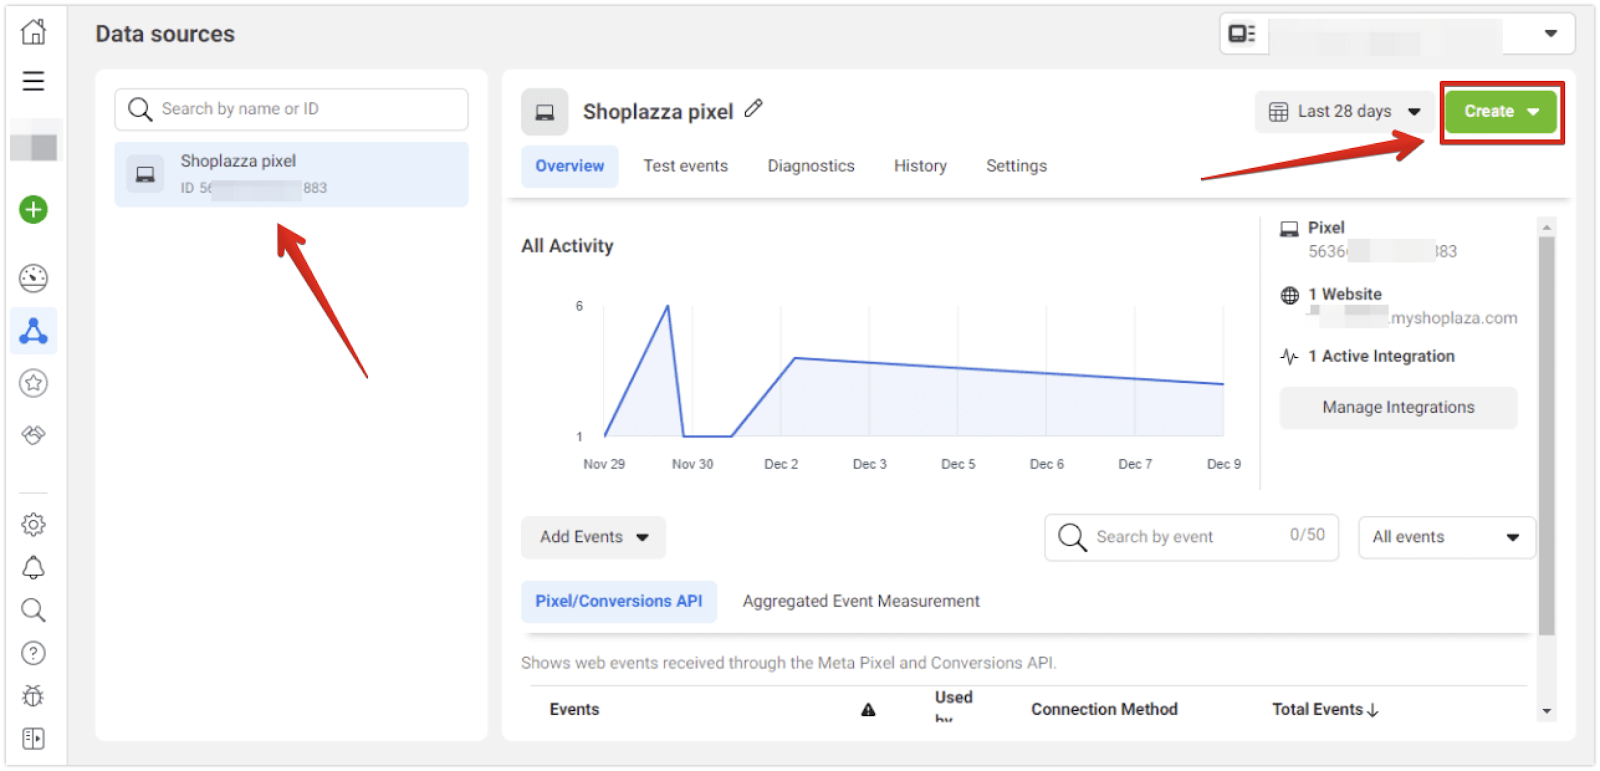
3. Connect the data source: On the Events Manager page, click on Connect Data Sources to create your Facebook Pixel.
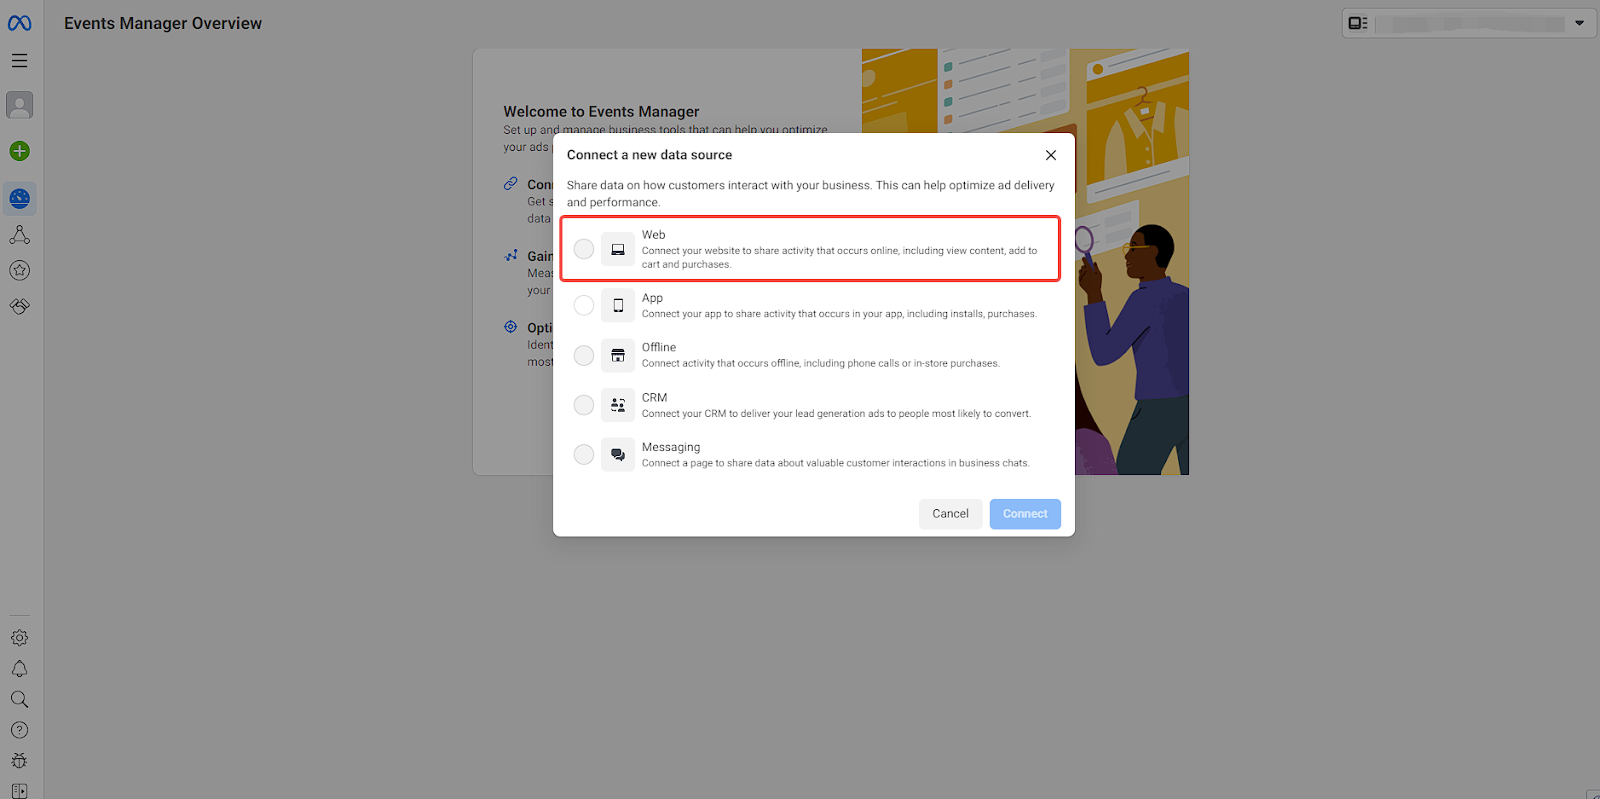
4. Choose Web as your data source option: When you click on Connect Data Sources, you will have to choose Web to connect your store website and share activities that occur online.
5. Connect your Shoplazza store: For the last step, choose your Shoplazza pixel and click on the Create button in the top right corner of the page.
Adding the Pixel ID in Shoplazza
After obtaining your Facebook Pixel ID, you’ll need to add it to your Shoplazza store to start tracking events. Here’s how:
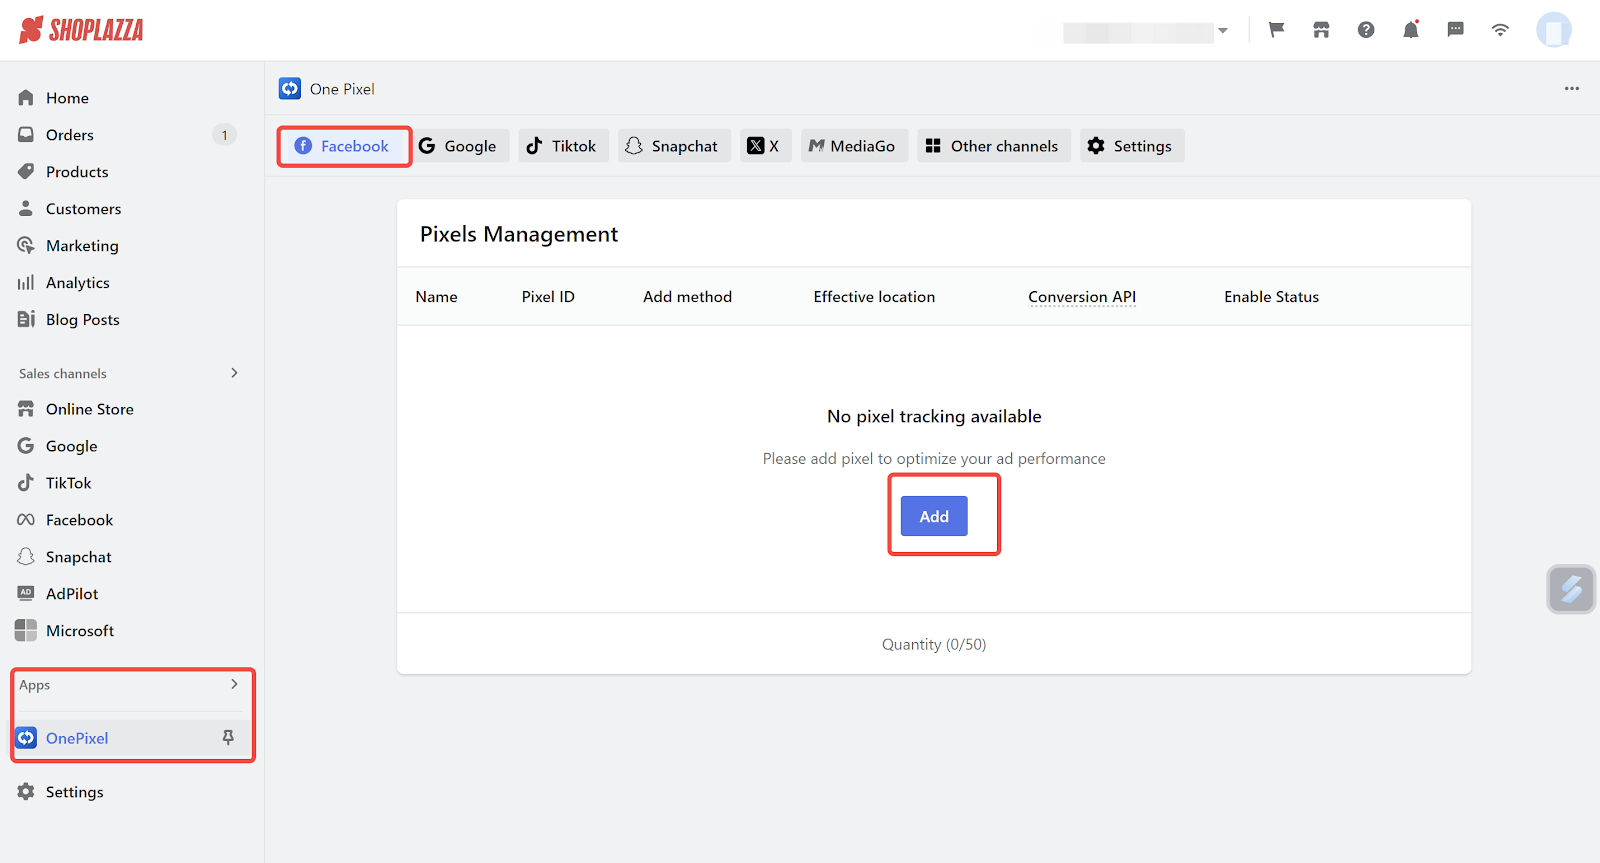
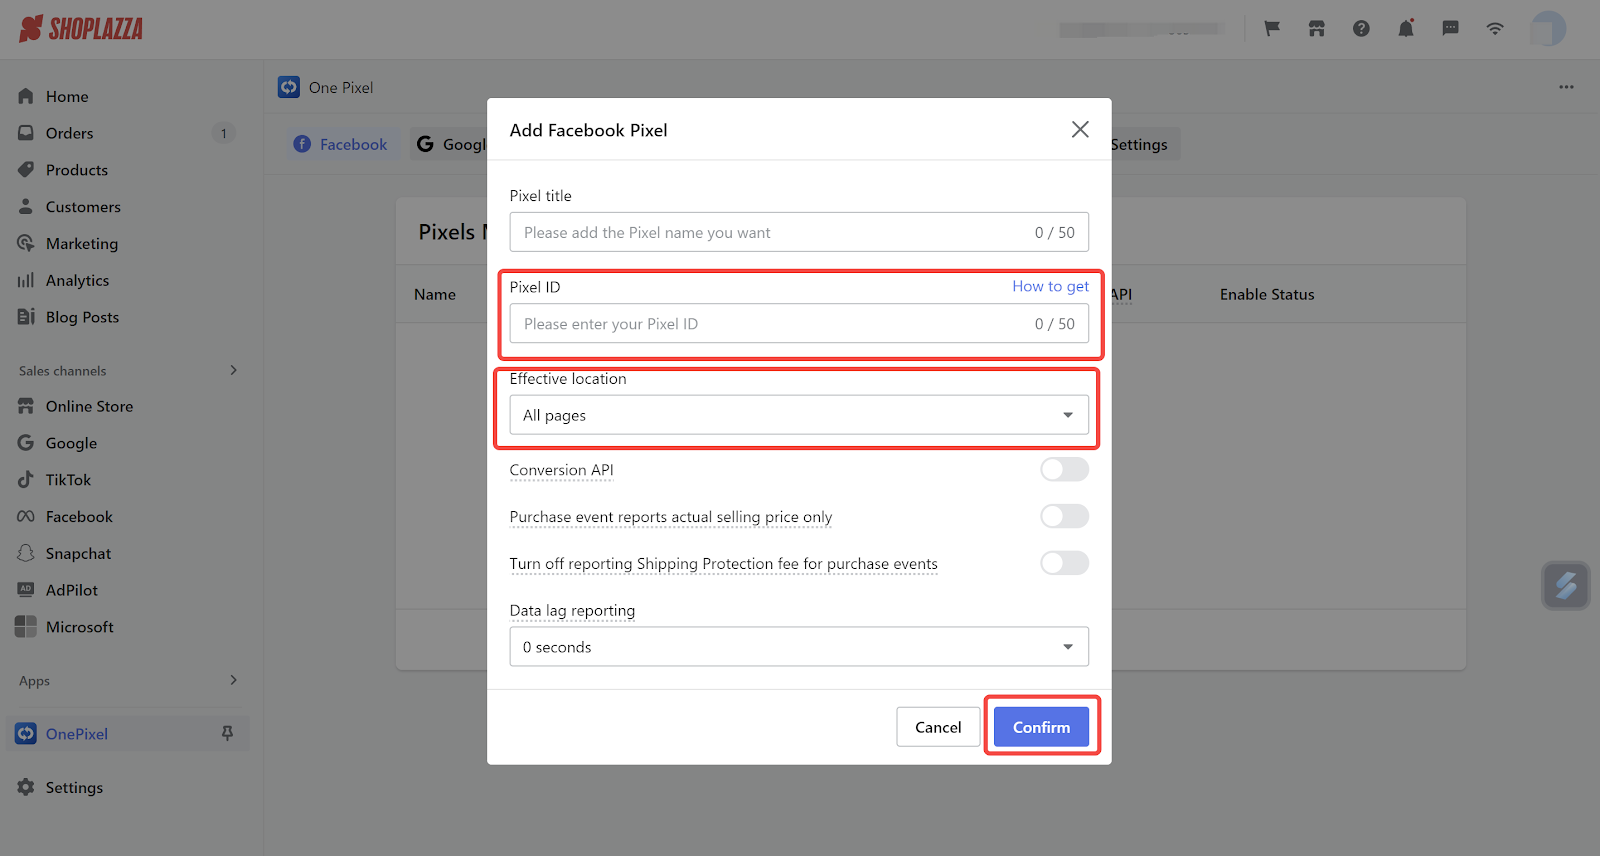
1. Connect your Pixel ID to OnePixel: Referencing back to your Pixel ID, go to your Shoplazza Admin > Apps > OnePixel > Facebook. Click Add, enter your Pixel ID, and click Confirm. Choose whether the ID will apply to all products or to specific product collections.
Verifying Event Reporting
Finally, it’s important to ensure that your Pixel is reporting events accurately. This step helps confirm that your setup is working correctly:
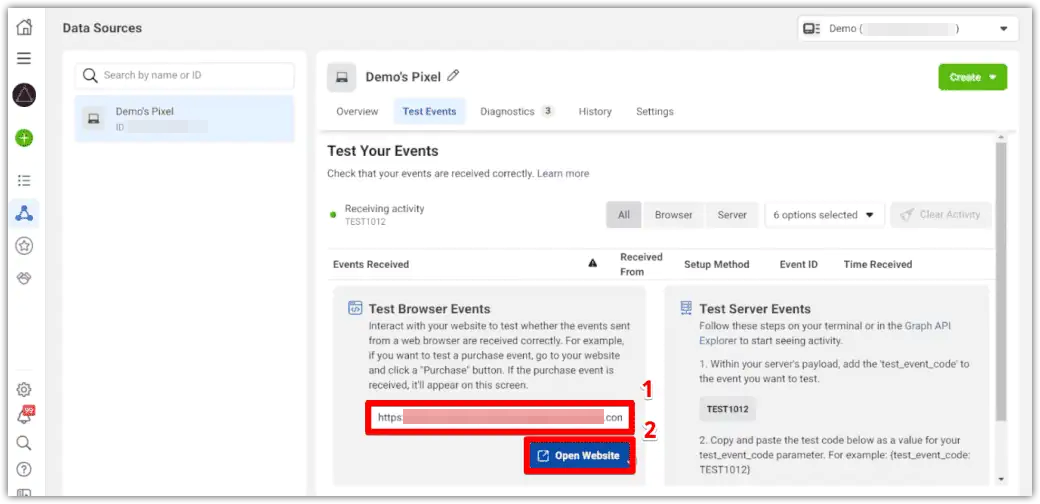
1. Verify Event Reporting: Verify event reporting by going to your Event Manager > Test Events. This will help ensure that events are reported accurately.
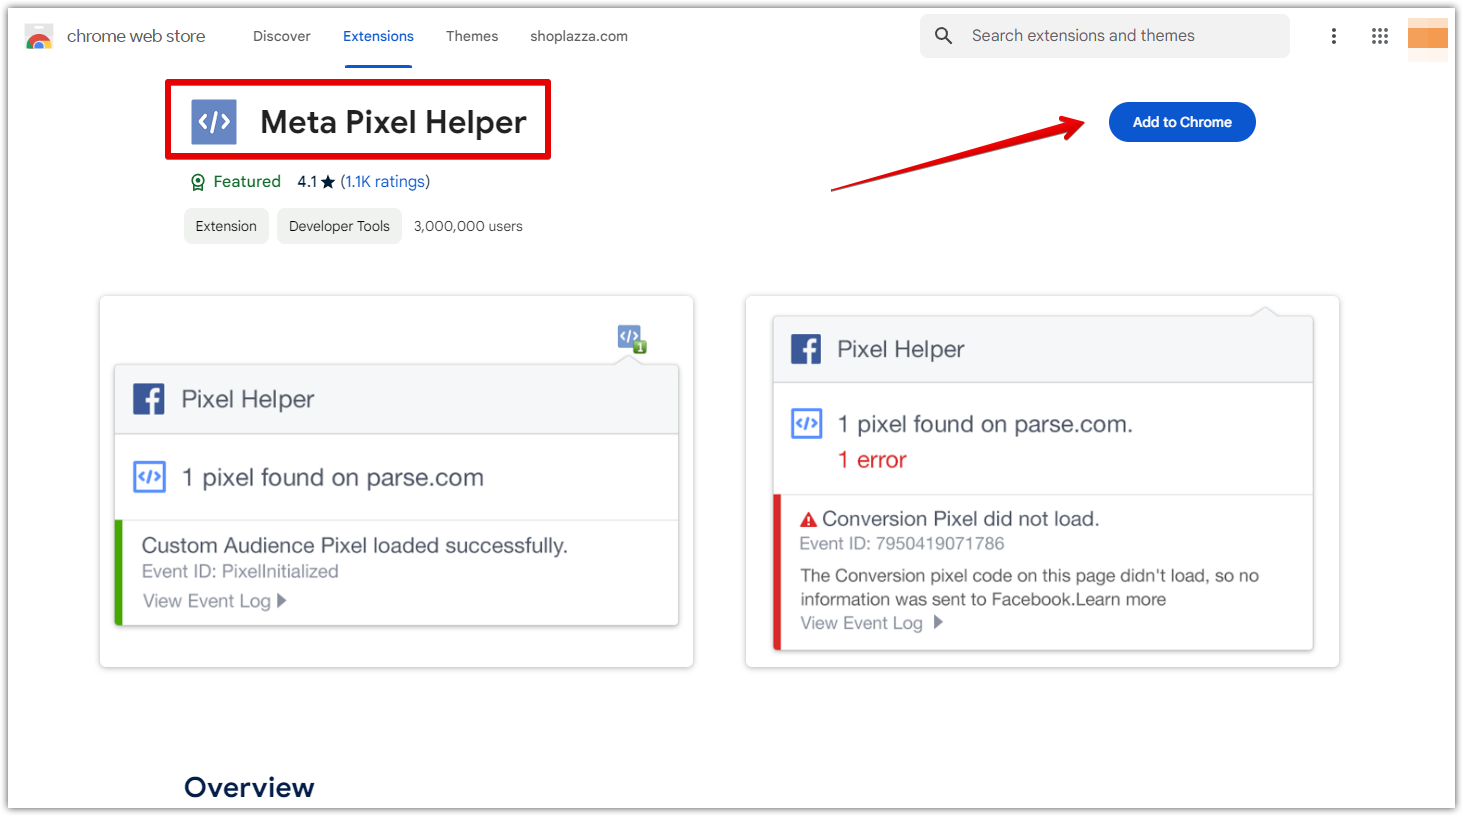
2. Quickly check if the Pixel is successfully installed on your website by downloading the Meta Pixel Helper extension from the Chrome Web Store. Beginners can also visit the Facebook Business Help Center for more information on using Facebook Pixel.
Understanding how Facebook Pixels work in Shoplazza
When you’re setting up Facebook Pixels, there are a few key points to consider to make sure you’re tracking the right data in the right way.
- Global Pixel: This Pixel tracks all activity across your entire website. It reports standard events (like page views, purchases, or add-to-cart actions) back to your connected Facebook account. This is great for getting a broad overview of how people are interacting with your site.
- Specific Product Collection Pixel: Sometimes, you might want to focus on a particular set of products or pages, like a specific collection of items. The Specific Product Collection Pixel lets you track events only on those pages. This way, the data sent to Facebook is more targeted, allowing you to optimize ads for that specific collection.
- Purchase Event Reporting Amount: By default, the Pixel reports the full amount of each purchase, including the product price, shipping, and taxes. However, you have the option to adjust this so that only the product price is reported. This flexibility can be useful if you’re analyzing different aspects of your sales data.
- Global Pixel Delayed Data Collection: Not every visitor to your website is a potential customer. The Global Pixel can be configured to delay data collection for users who quickly leave your site without engaging (often within a few seconds). This helps ensure that the data you collect focuses more on those who are genuinely interested, giving you a clearer picture of customer behavior.
Properly setting up your Facebook Pixel in Shoplazza is key to leveraging the full power of Meta’s advertising tools. By understanding how to configure and customize your Pixel, you can gain deeper insights into your audience, optimize your marketing efforts, and drive better results for your business. Remember to regularly review and refine your Pixel setup to keep your data as accurate and useful as possible. Learn more about using Facebook pixel events to create campaigns and track conversions at the Facebook Help Center .


Comments
Please sign in to leave a comment.