
Banners are a great way to inform your customers about important updates or offers. They're perfect for showcasing things like free shipping, discount codes, and promotional events. In this article, we’ll guide you through the simple process of creating your own banners, ensuring you effectively communicate with your website visitors.
Steps
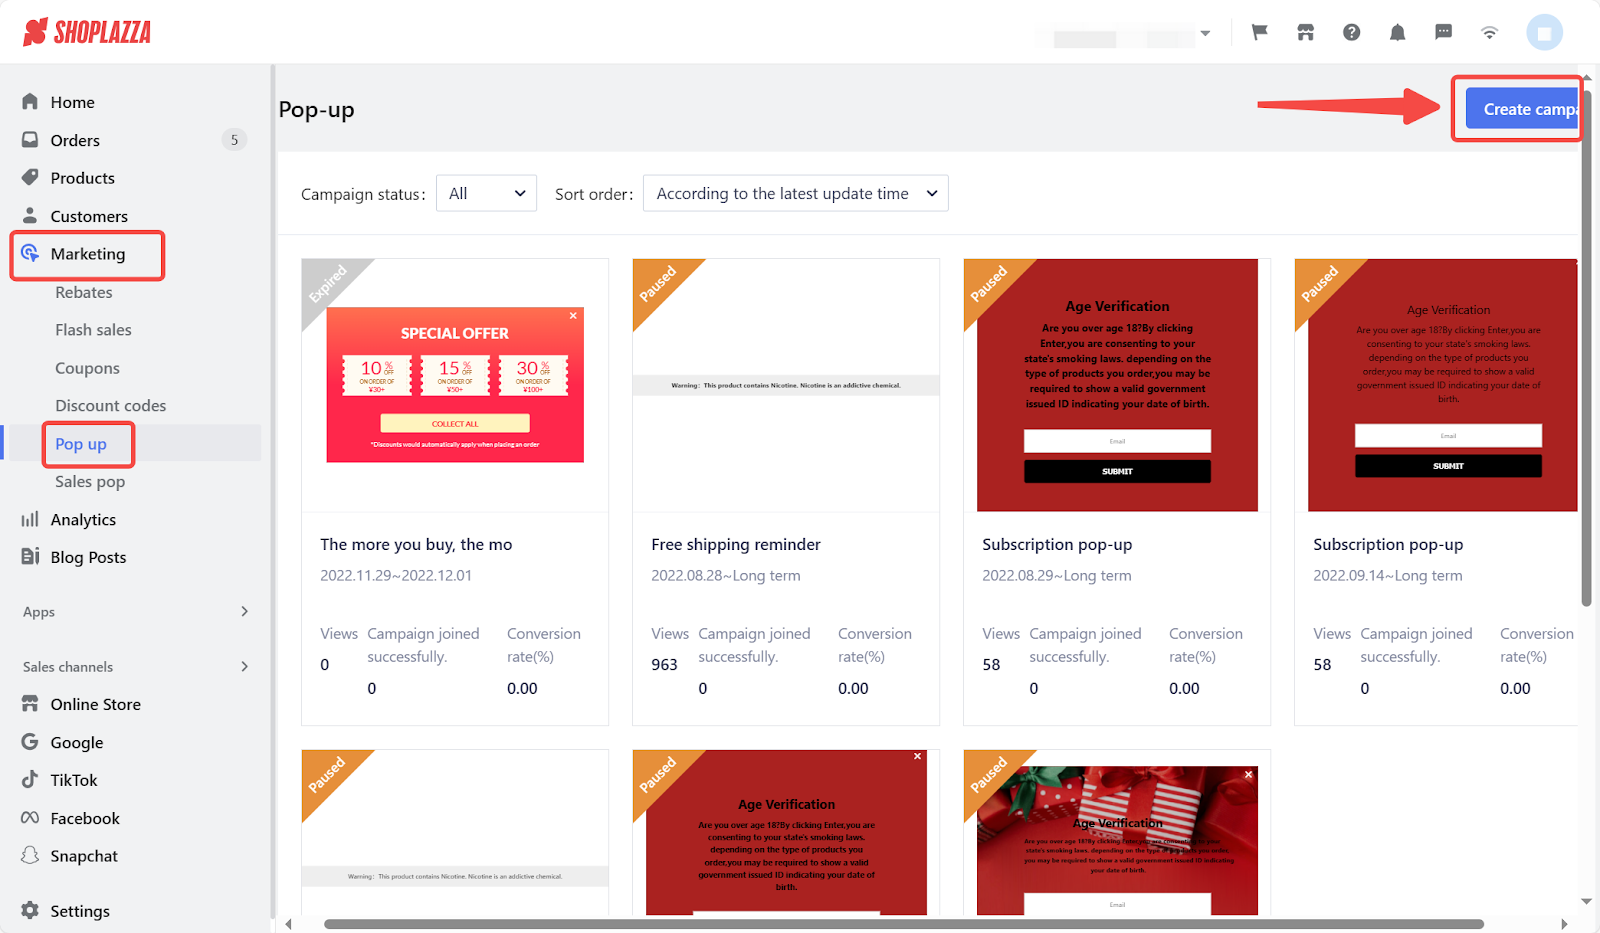
1. From your Shoplazza Admin > Marketing > Pop up, click Create campaign.
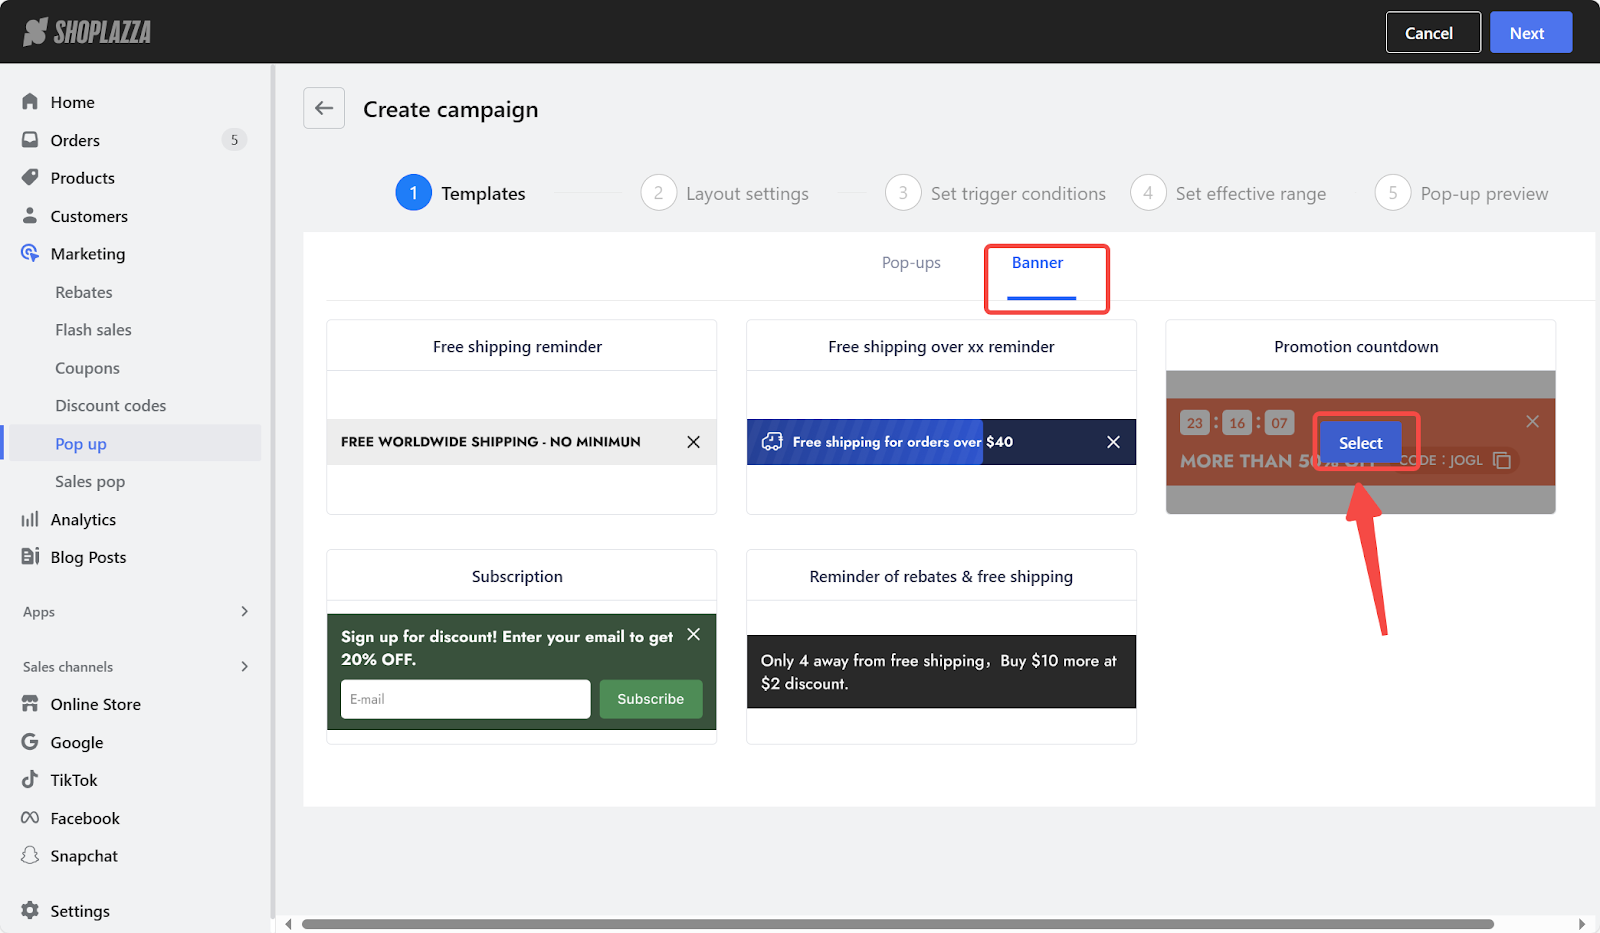
2. Switch to Banner and Select a banner template that you want to use.
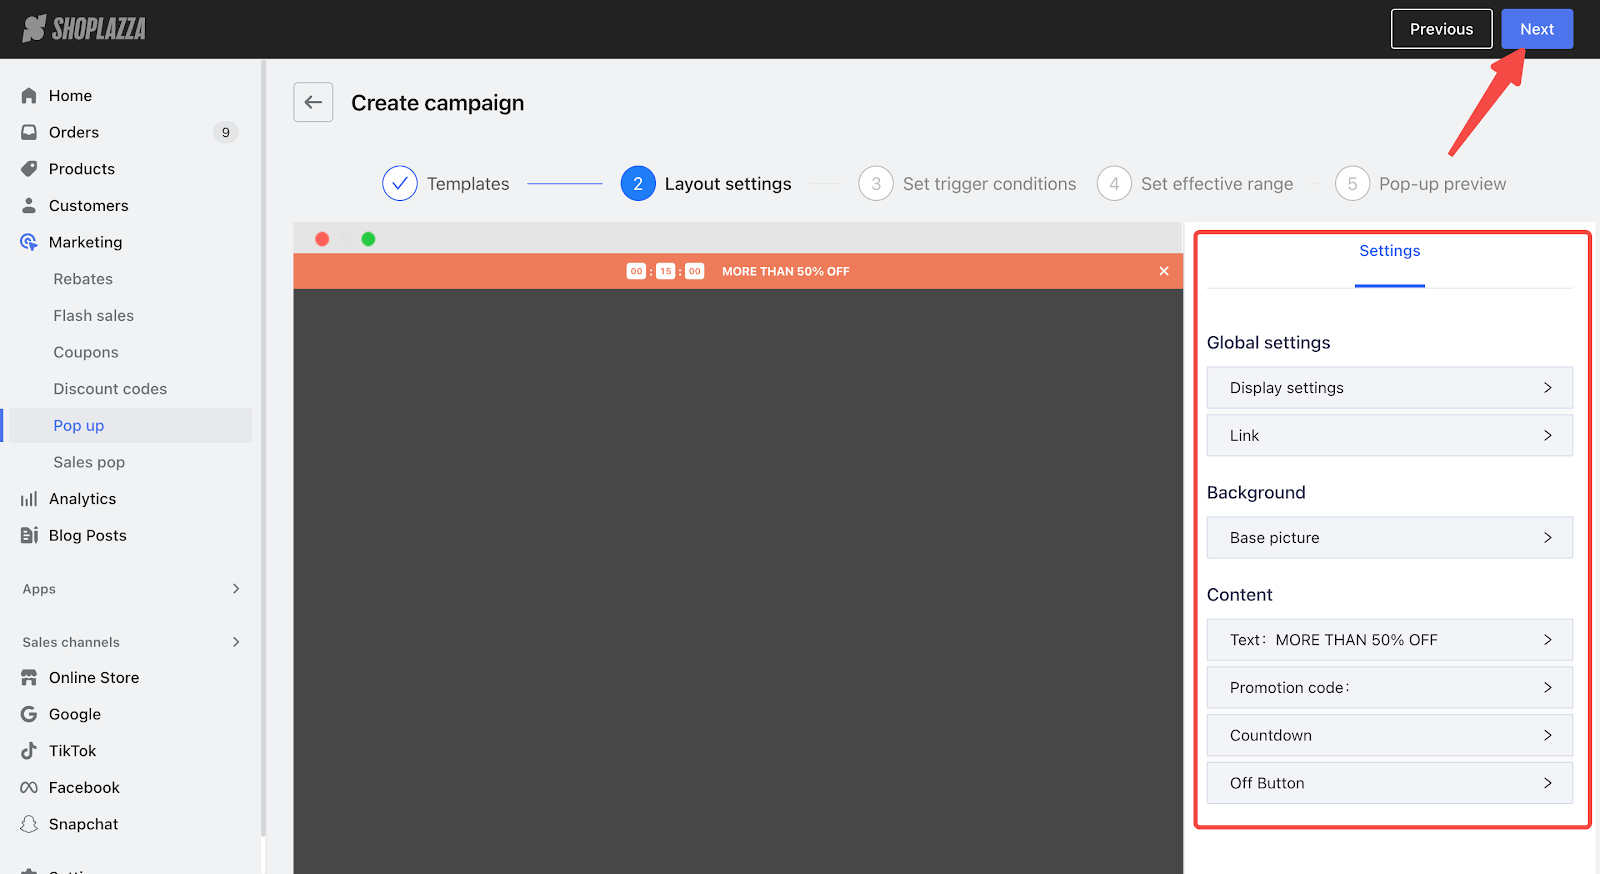
3. On the Layout settings page, you can make the following changes to your banner. When you finish editing, click Next.
-
-
Global settings
- Display settings
-
Global settings
- You have the option to set displays for Desktop and mobile, Mobile only, or Desktop only.
- Banner display can be positioned on top of the page, at the bottom of the page, or below the navigation bar.
- You can also choose to fix the display position.
-
- Link
-
- Redirect customers to a custom page you set up by clicking the banner.
-
Background
- You can change the background color or upload a picture on your banner to complement your store's website theme.
-
Content
- Under the content section, you can customize your banner by changing the text type and editing the content.
- You can select a discount code and its background color.
- Choose the countdown type and the color.
- The off button can set the display as Hide.
-
Background
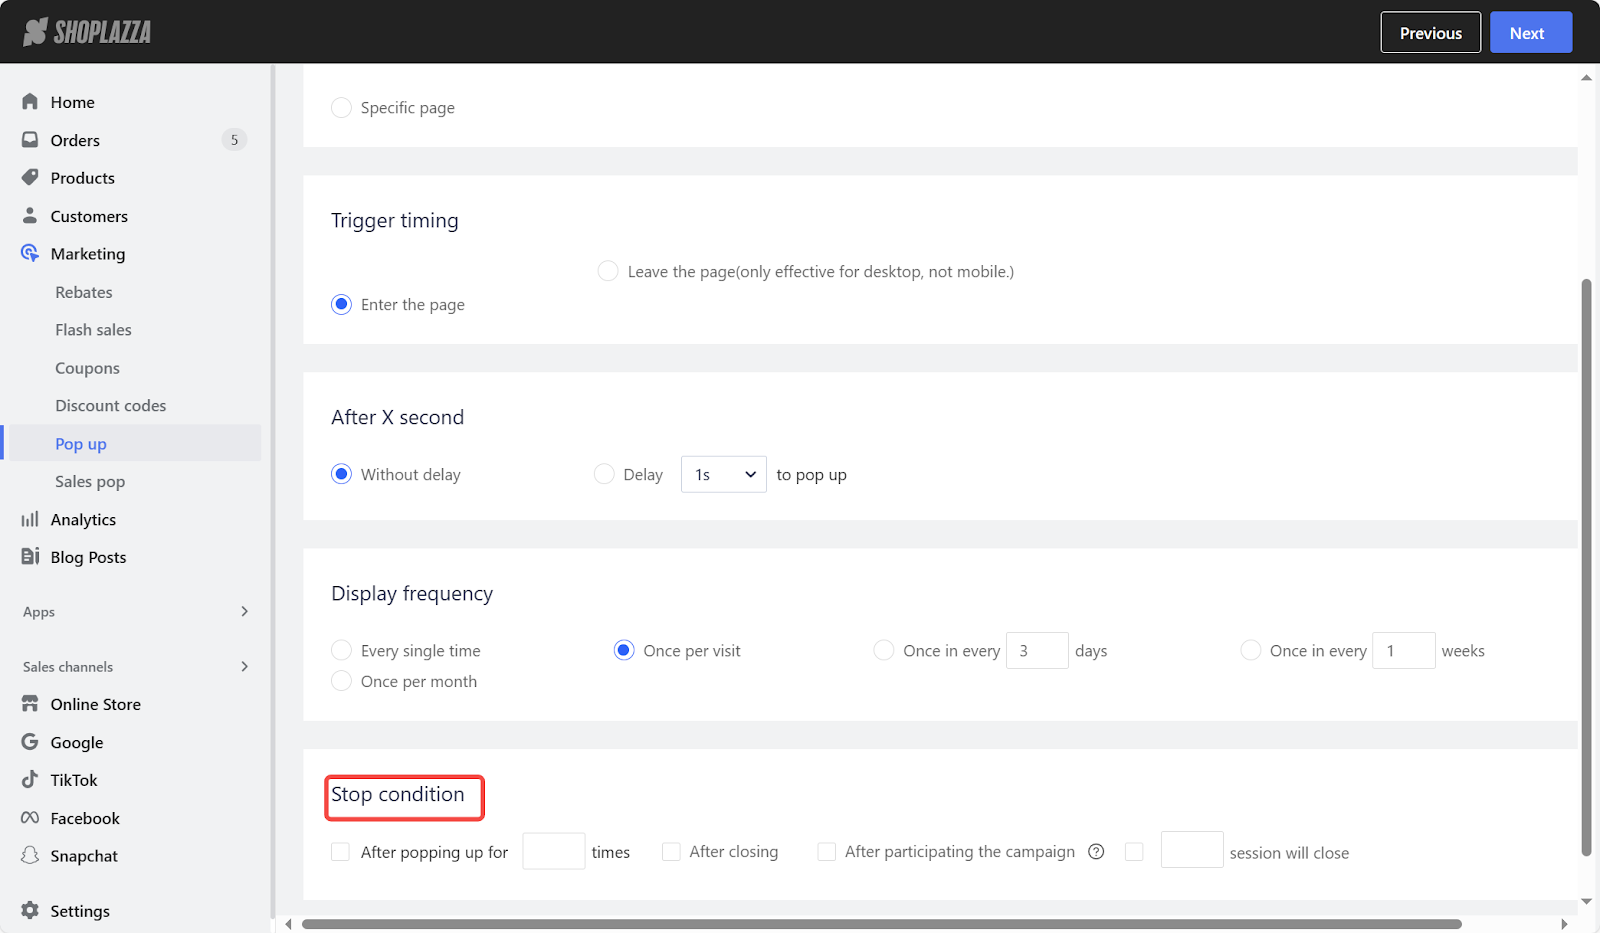
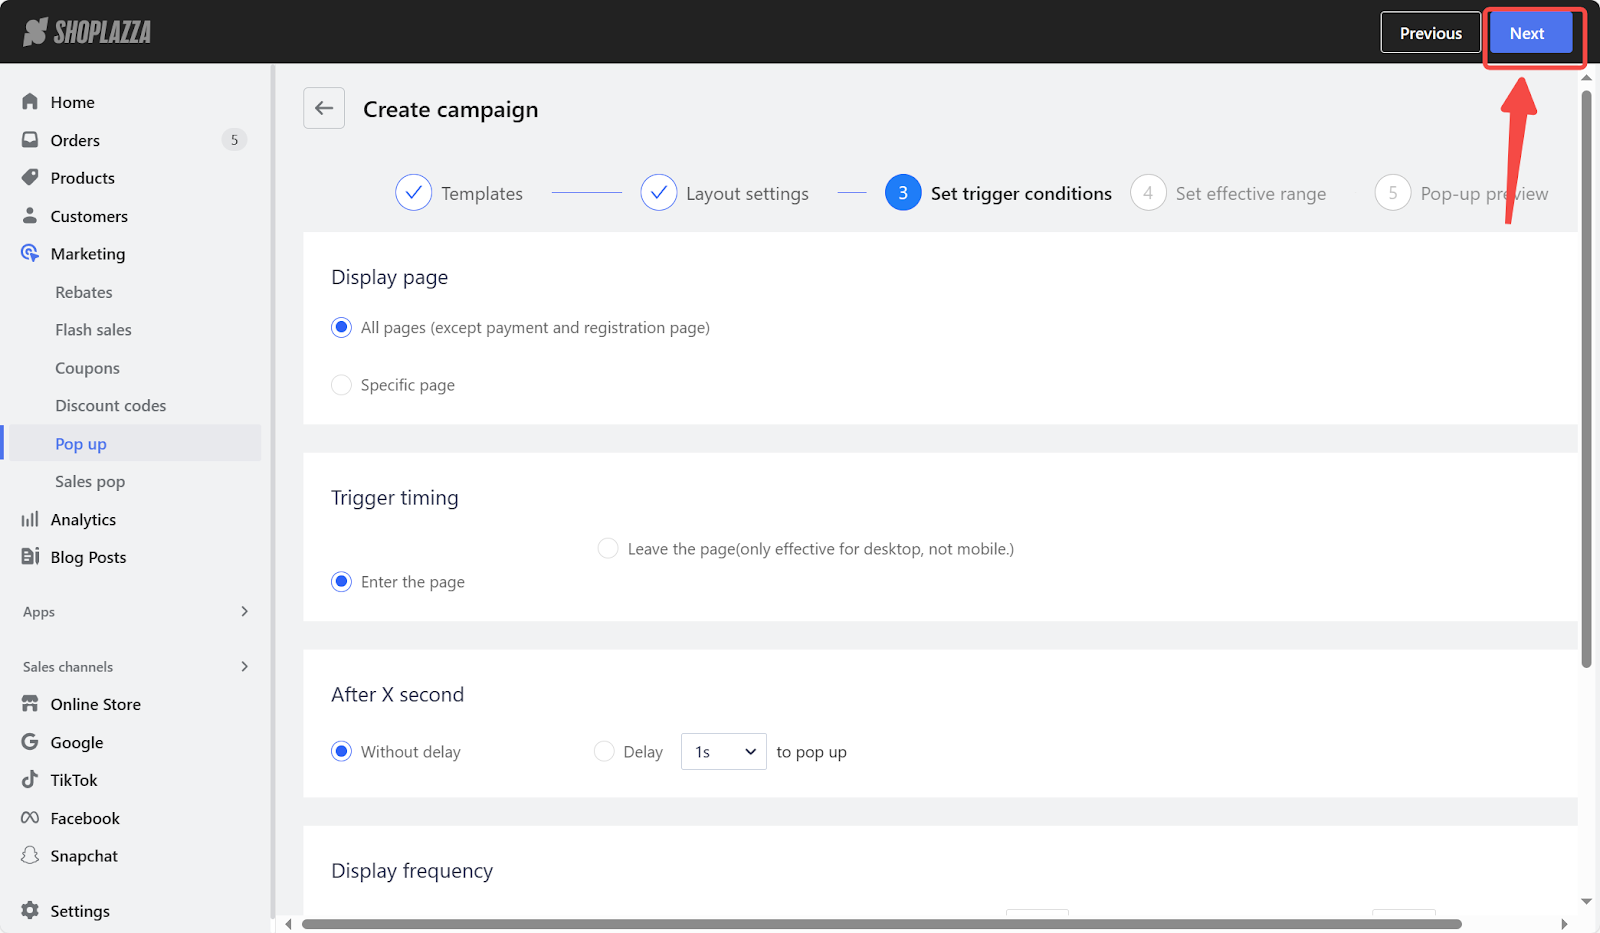
4. On the Set trigger conditions page, you can complete the following settings:
- Display Page: Banner page display can be selected to show All pages (excluding payment and registration pages) or a Specific page. Specific pages can be set by page type (Home, Collection details, Product details, Cart, Flash sale promotion, Coupon code activity, and others) or by page URL. You can add a maximum of 10 URLs, including or equal to the URL of the page. The settings can be generated on both pages simultaneously as an option.
- Trigger time: Trigger time can be set as Enter the page, meaning the banner will pop up when the user lands on the page.
- After X second: The delay time can be set as Without delay or Delay (time) to pop up and is disabled by default when the trigger timing is Leave the page.
- Display frequency: Display frequency can be set as Every single time, just once, times per day, times per week, or Once per month.
- Stop conditions: Stop conditions can be set as After poping up for certain times, After closing, and After participating in the campaign.

5. Click Next to set up an effective range.
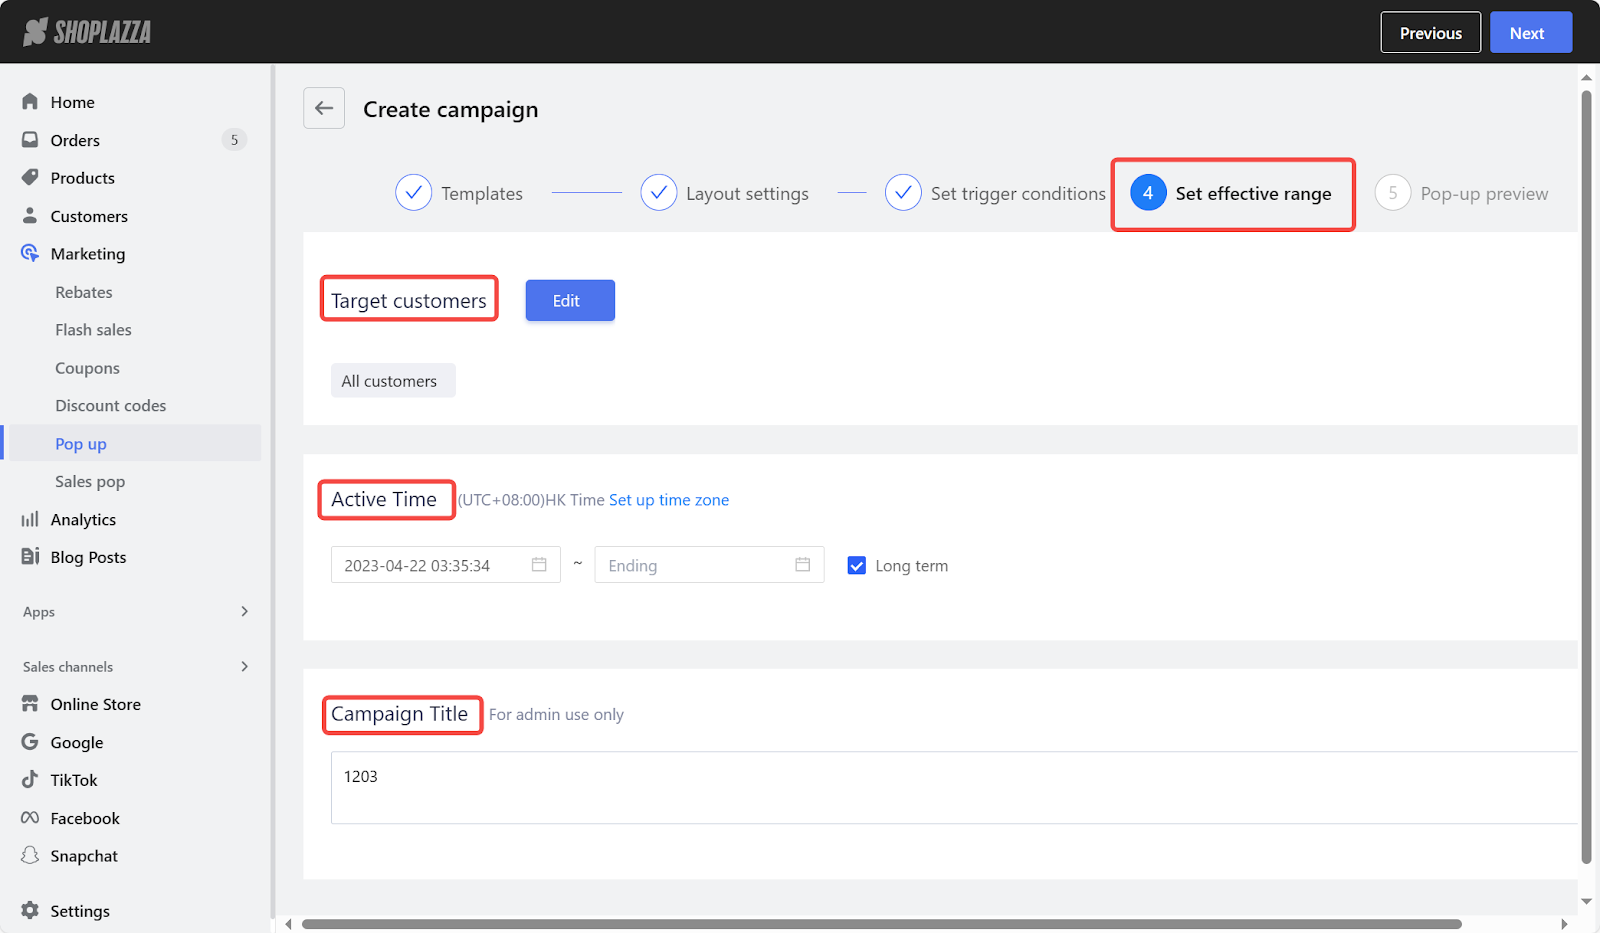
6. On the Set effective range page, you can complete the following settings. When you finish editing, click Next to preview the Pop-up banner.
- Target customers: Select All customers or click Edit to set your target customers.
- Active time: Select the time range for your banner to be displayed. You can also set up the campaign as long-term effective.
- Campaign title: This is only used for the admin page and will not be displayed to users.
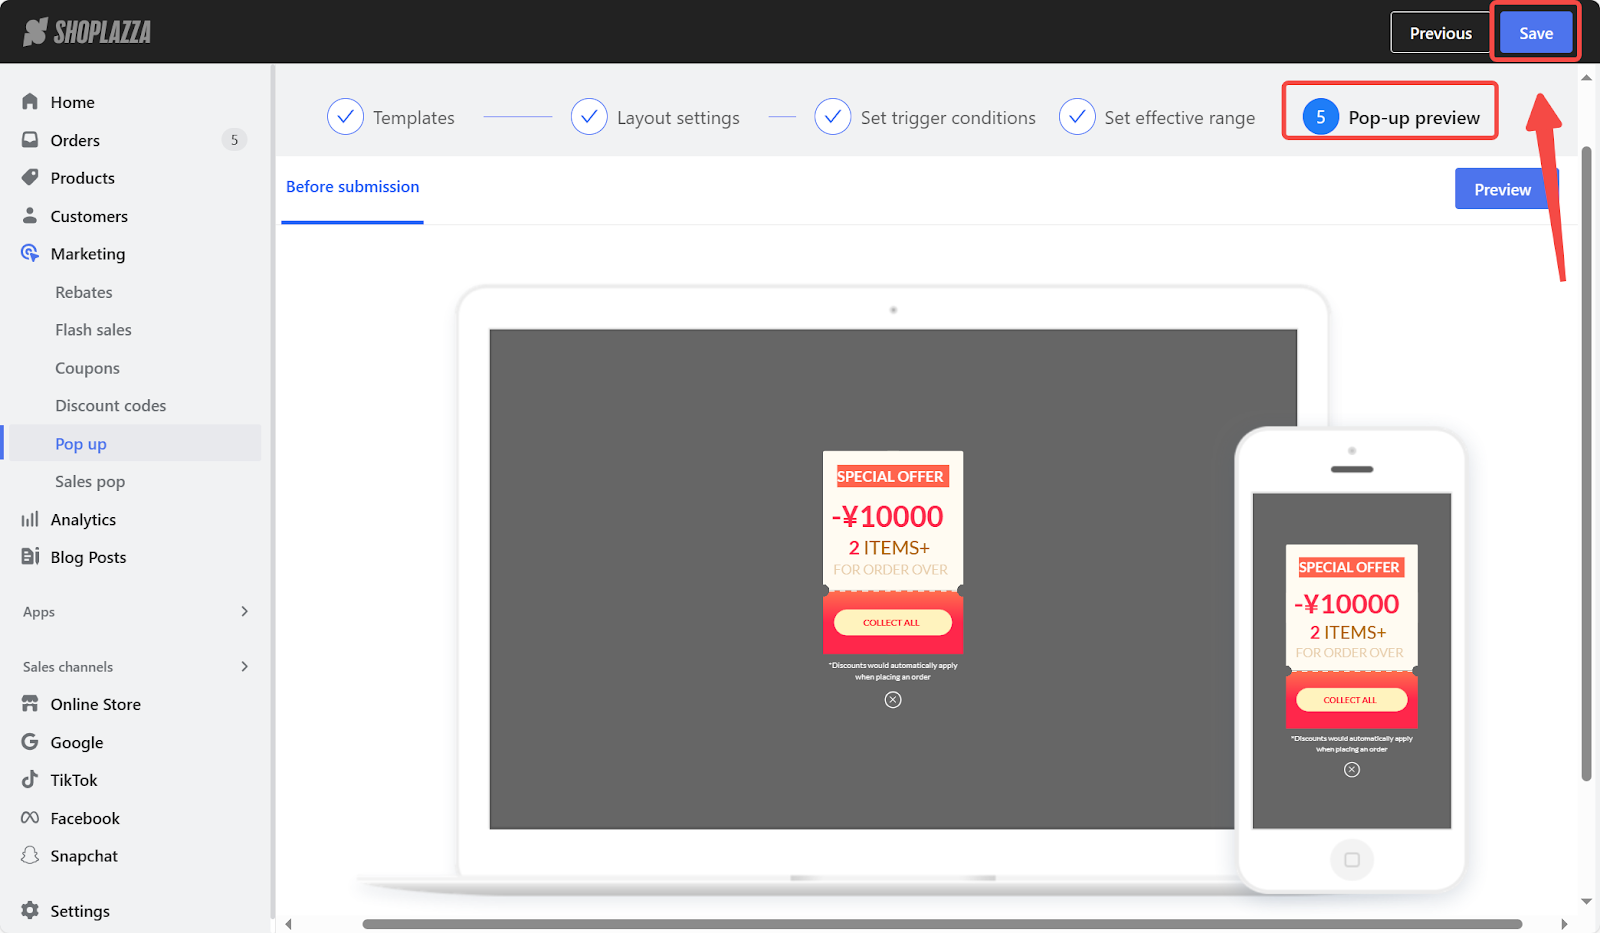
7. After previewing the banner, click Save to complete the process.
8. On the Pop-up main page, you will be able to see the performance of your banner campaign.
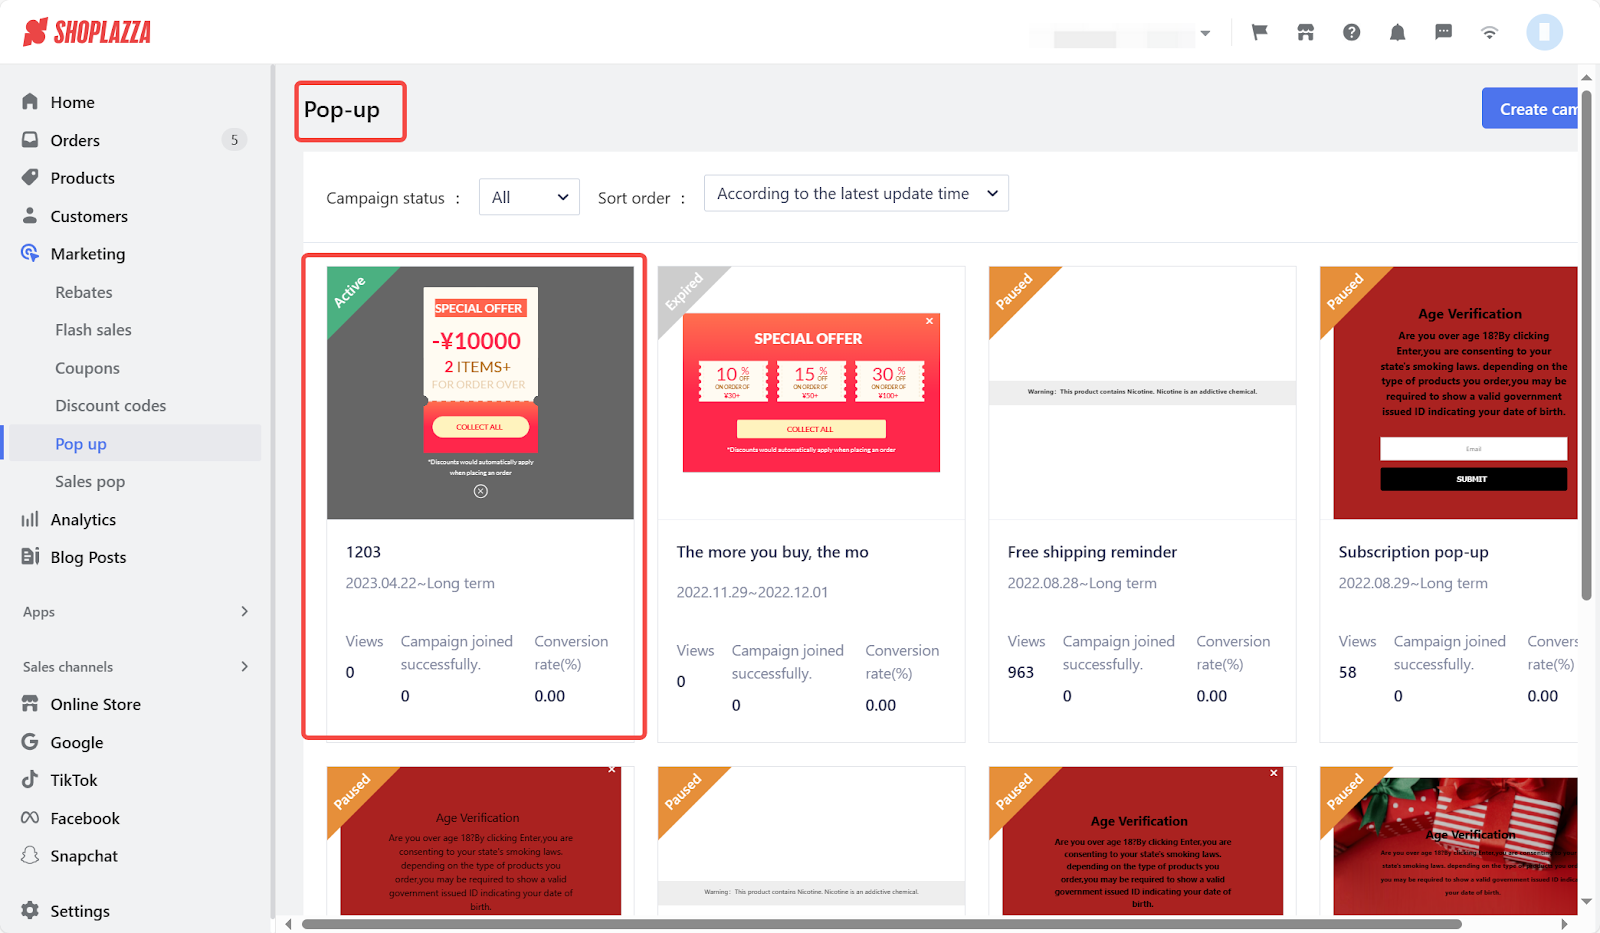
After creating Banner pop-ups, you can promote products and encourage visitors to make a purchase. With high conversion rates, Banner pop-ups can effectively convert visitors into customers.


Comments
Please sign in to leave a comment.