
Because your homepage is often the first point of contact with your store, careful design is essential. This guide will show you how to personalize your homepage, covering everything from header and footer customization to arranging the main page content. This guide assumes you are already familiar with the basics of the Shoplazza theme editor. If you need a refresher, please review our guide to A Guide to the Shoplazza Theme Editor.
Accessing the Theme Editor
1. Open theme editor: In your Shoplazza Admin, click Customize to access the theme editor. This will open the theme editor interface, where you'll find all the tools and options for customizing your homepage.

Announcement Bar
This section covers customizing the announcement bar at the top of your Shoplazza store. This is a good place to highlight promotions, shipping information, or other important updates.
1. Expand announcement bar: Click the dropdown arrow beside the title to expand the announcement bar section. Then click on the announcement block to edit the announcement text. If needed, set different text for PC and mobile. This allows you to tailor your message for different viewing experiences.
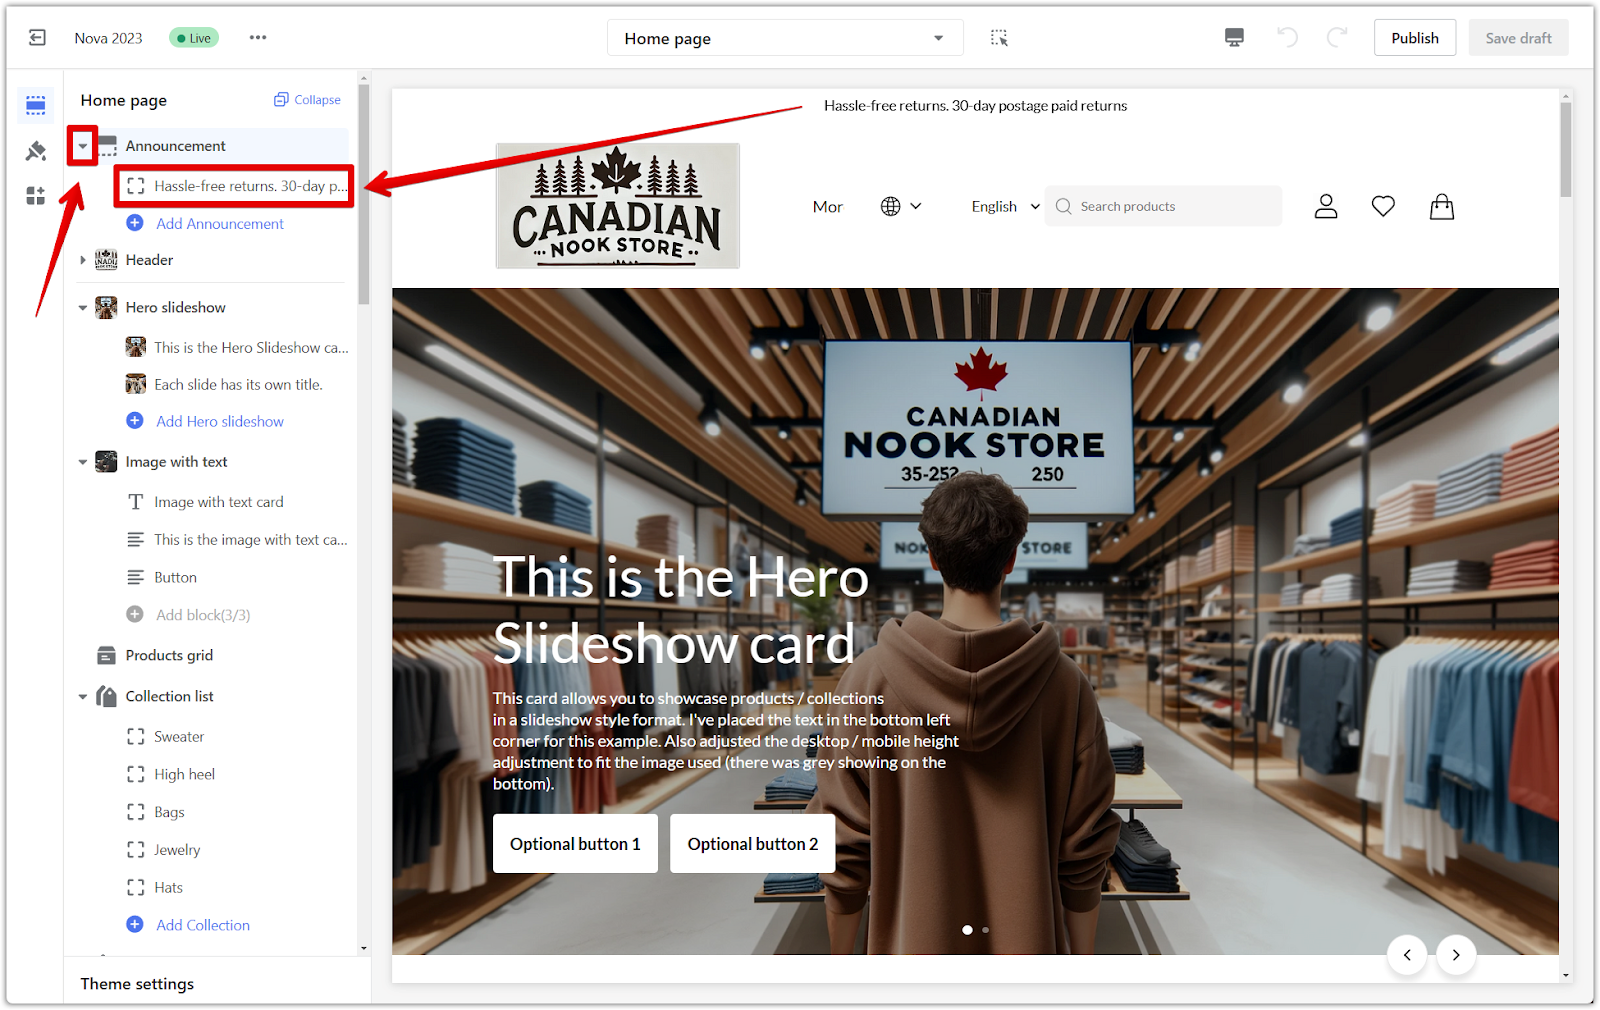

2. Add another announcement: Click Add Announcement to add another announcement. This feature allows you to display multiple announcements in rotation or highlight different aspects of your store.

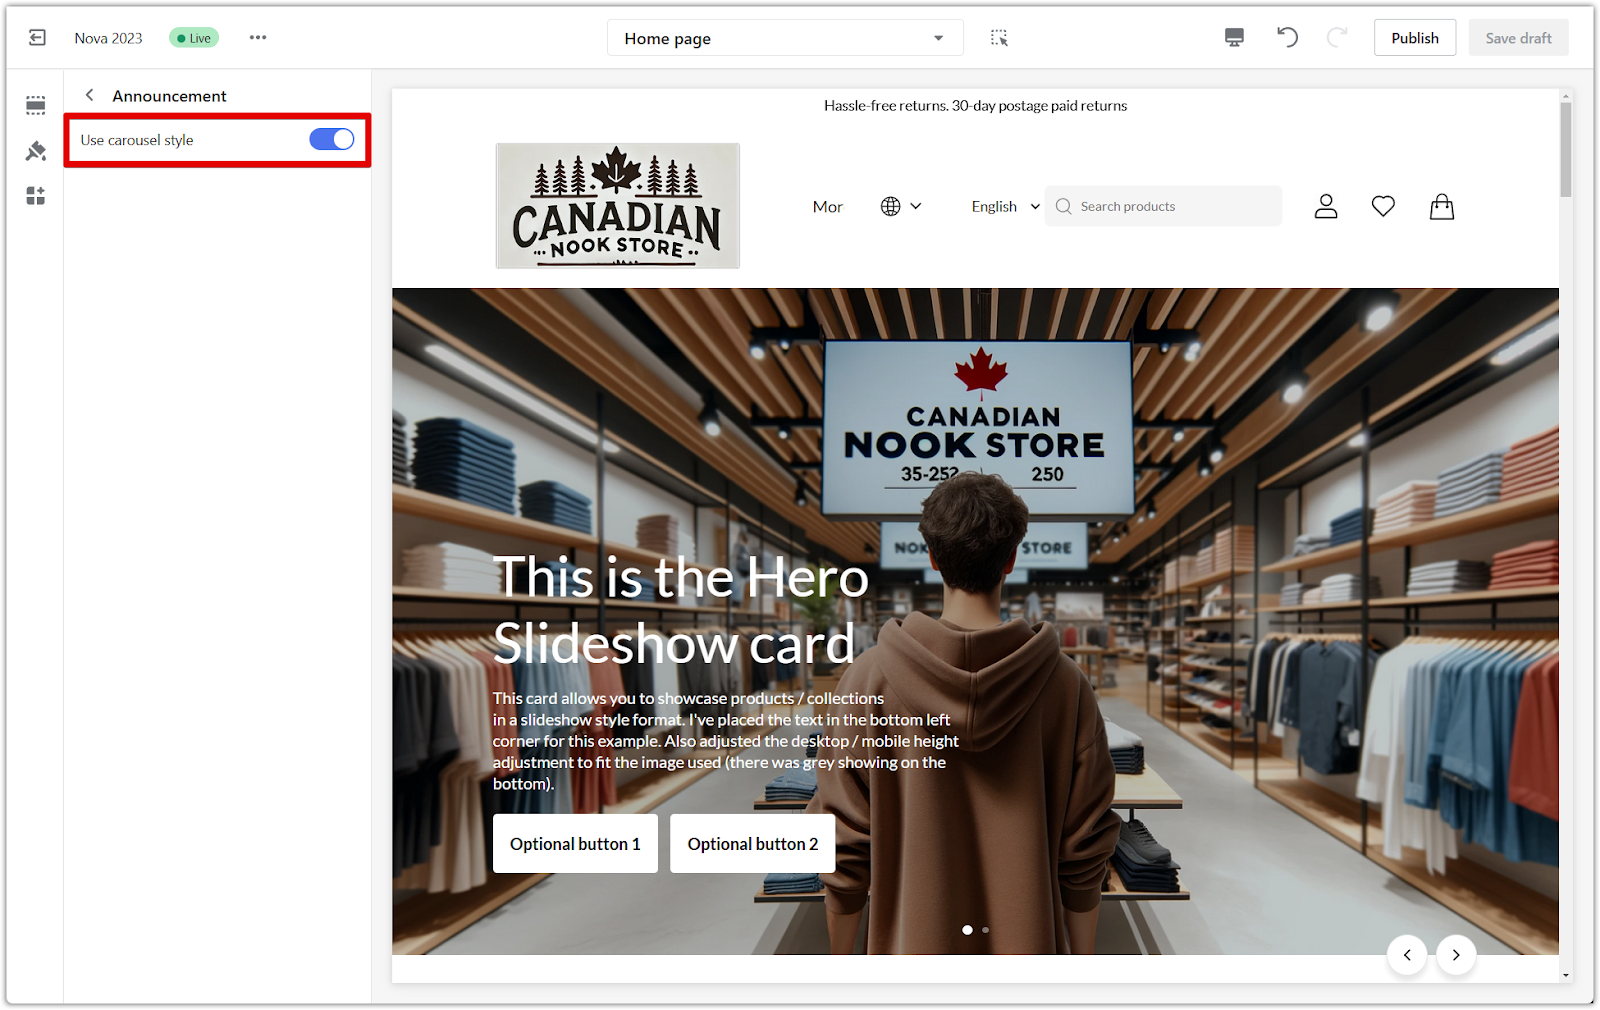
3. Configure announcement settings: Click the Announcement main title to configure the announcement settings, such as enabling the carousel style. This provides options to customize the appearance and behavior of your announcements.

Header Settings
Now that you're in the theme editor, you can begin customizing your homepage, starting with the header section. The header includes the announcement bar, logo, menu navigation, search box, cart, and the display position of the mobile multi-language and multi-currency app. The header is a prominent area of your homepage, so careful customization is key to making a strong first impression.
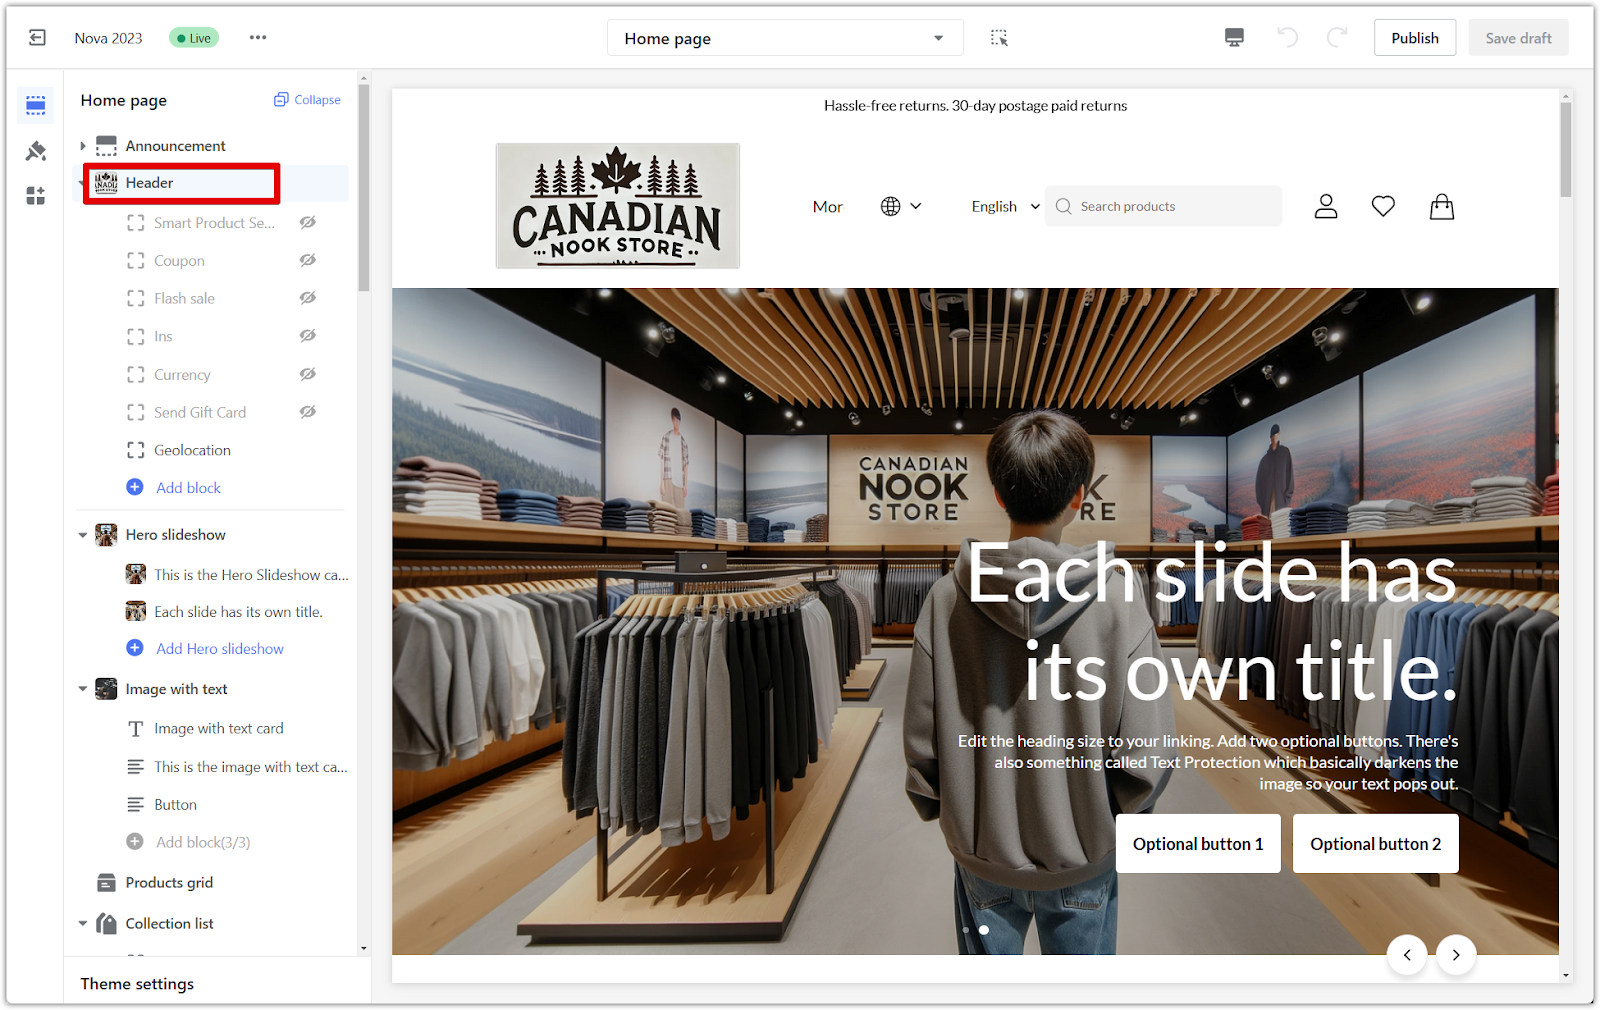
1. Access Header settings: Click the Header title in the theme editor sidebar to expand the header settings section.
2. Configure logo: Configure the PC and mobile logos and adjust their widths. Your logo is a key part of your brand identity, so ensure it's prominently displayed and appropriately sized. A well-placed and appropriately sized logo reinforces your brand and makes it easy for customers to recognize your store.


3. Select menu navigation: Select the navigation menu from the dropdown and configure menus for both PC and mobile (Online store > Navigation to modify and add menus). A well-organized menu makes it easy for customers to find the products and information they need. A clear and intuitive menu structure improves site navigation and helps customers quickly locate what they're looking for.
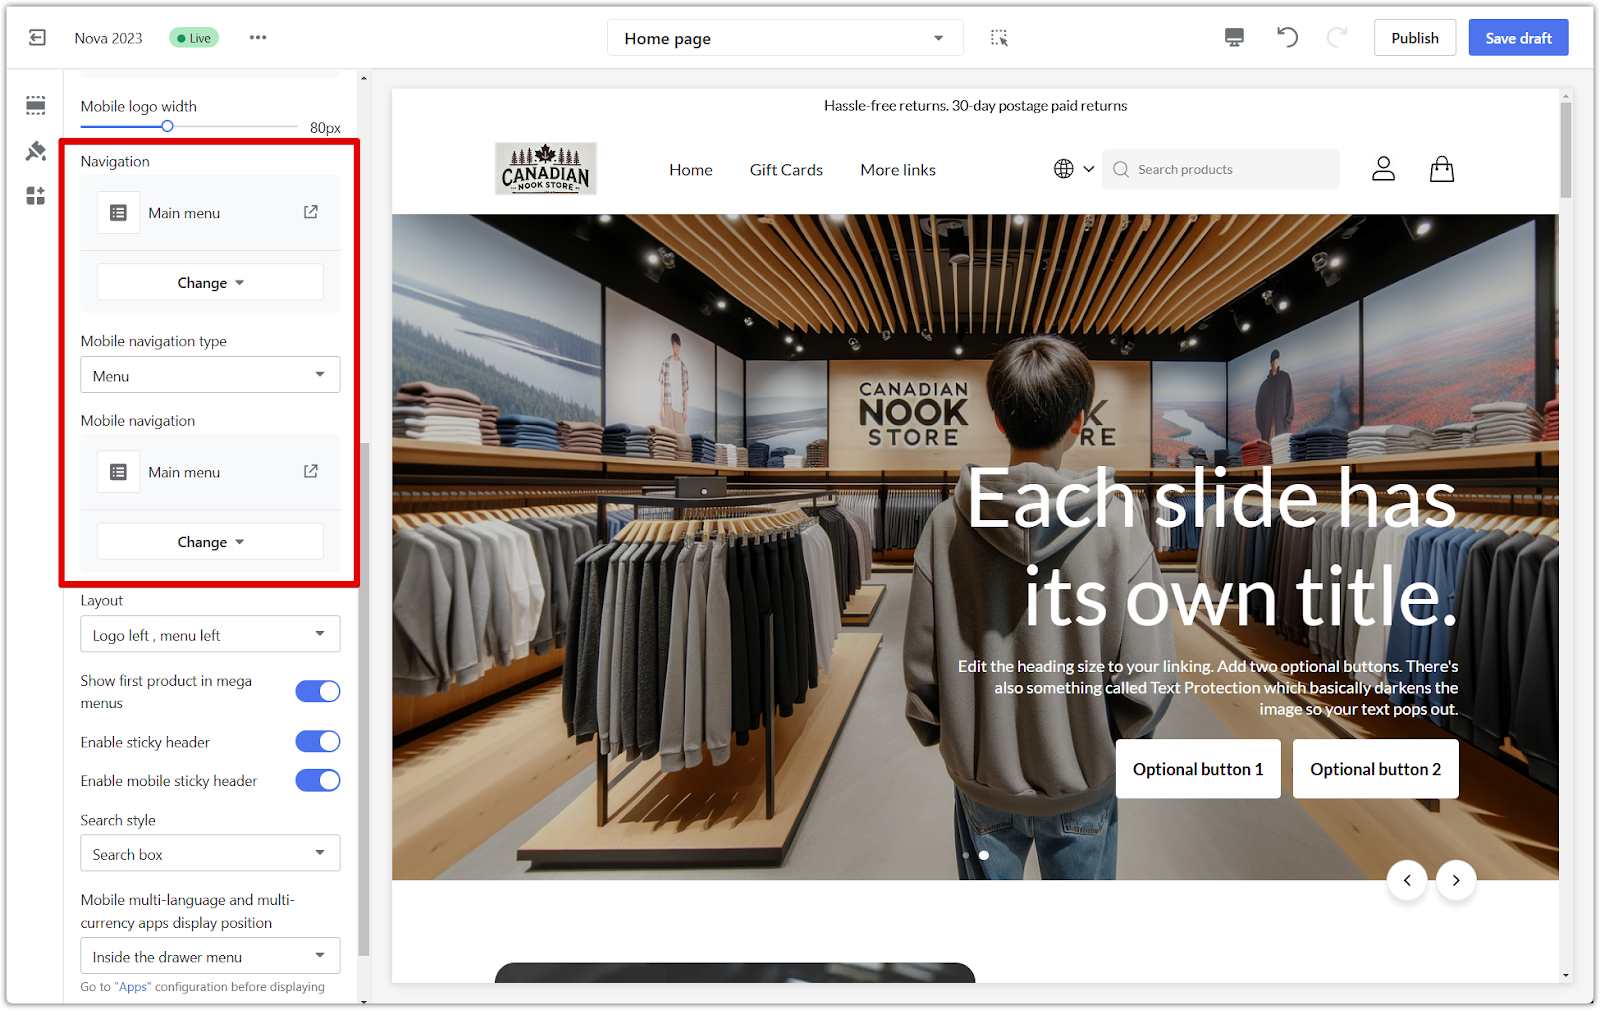
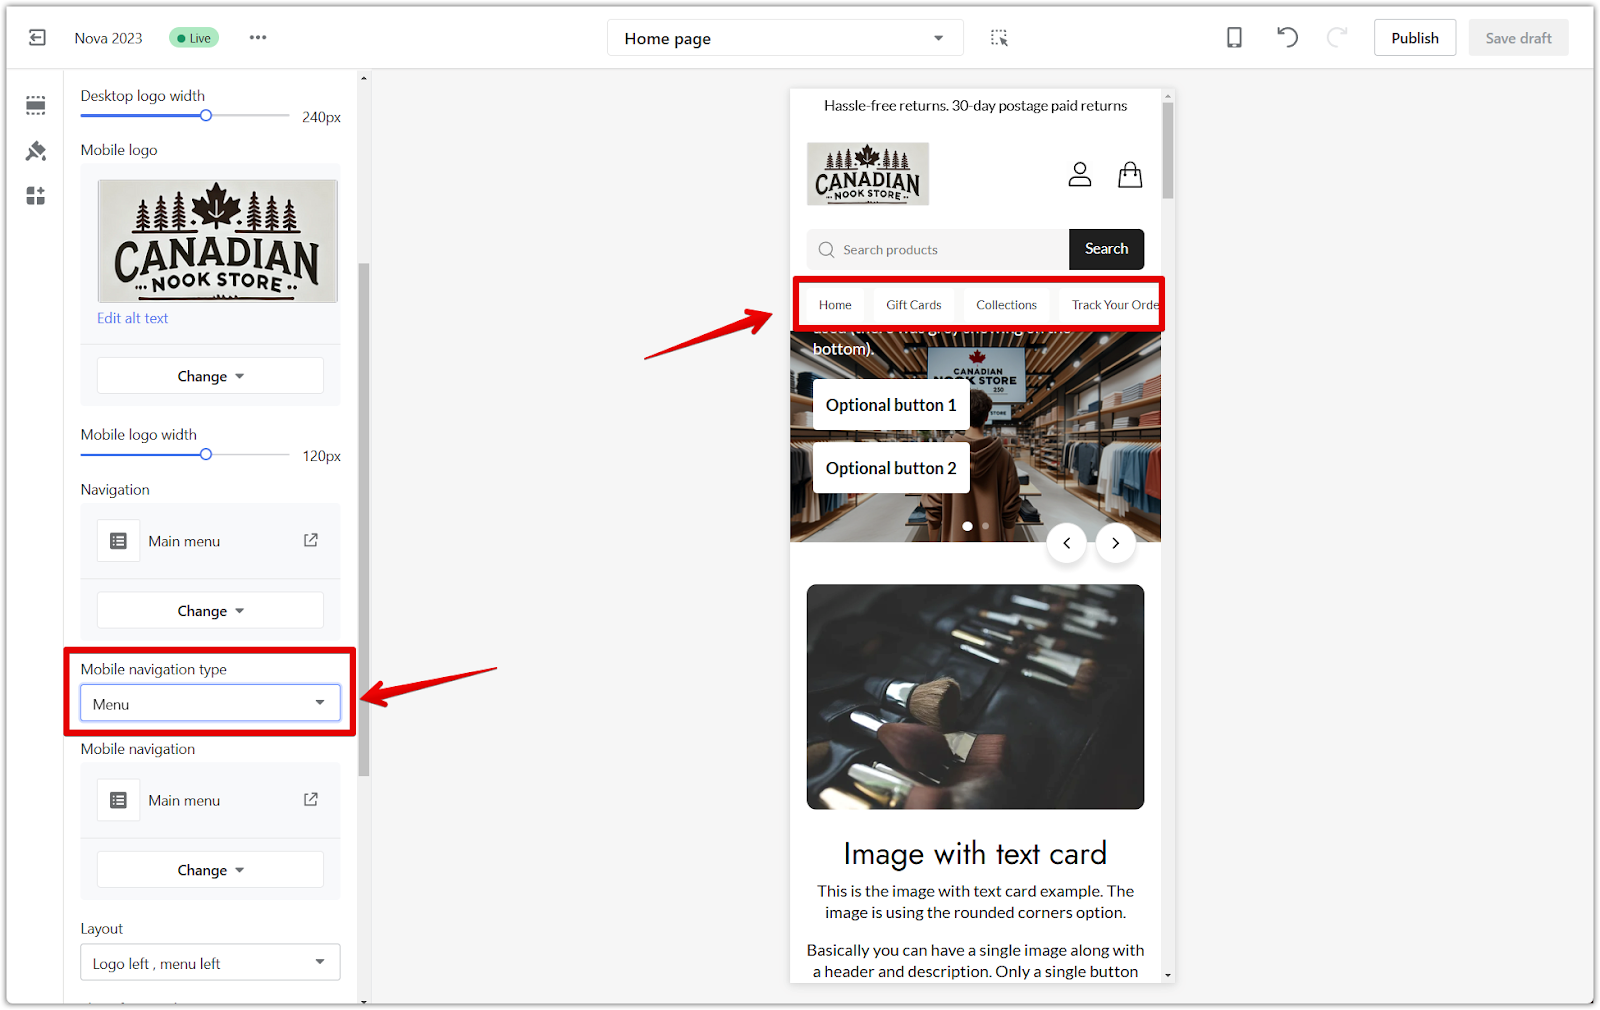
- Mobile menu navigation: Choose between Menu and Drawer menu types. When choosing the style of your mobile menu, consider the user experience on mobile devices.

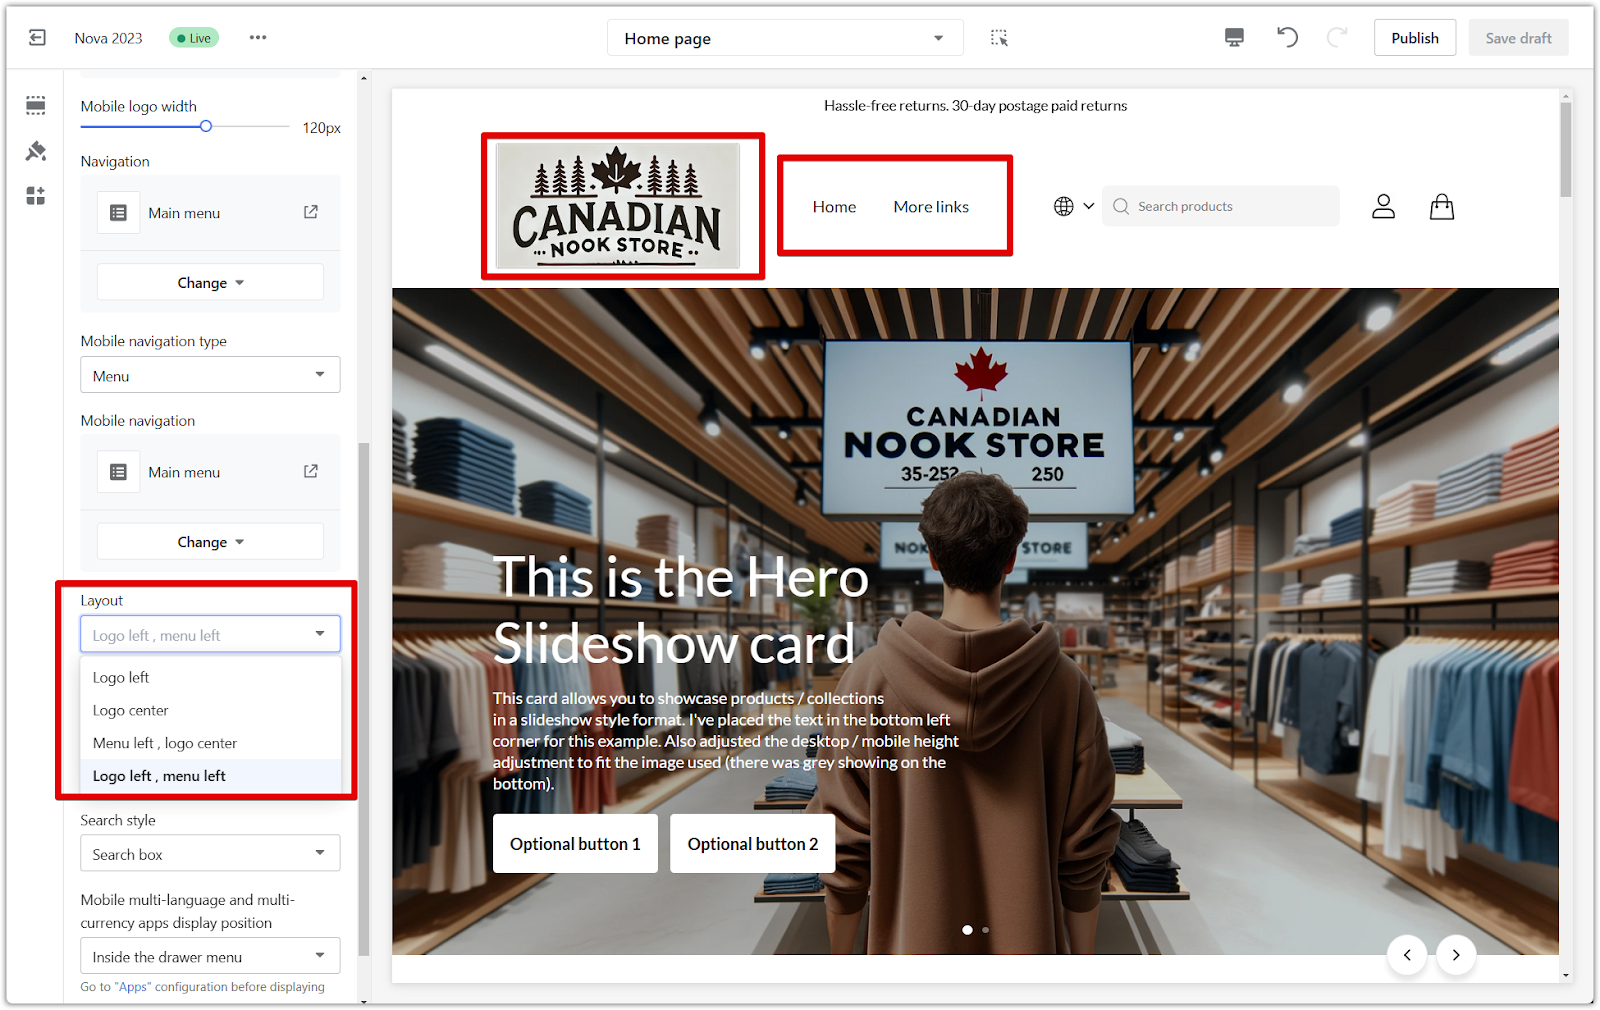
- Menu navigation layout: Set the menu navigation layout and logo (currently applies to PC only). This allows you to control the visual arrangement of these elements within the header.
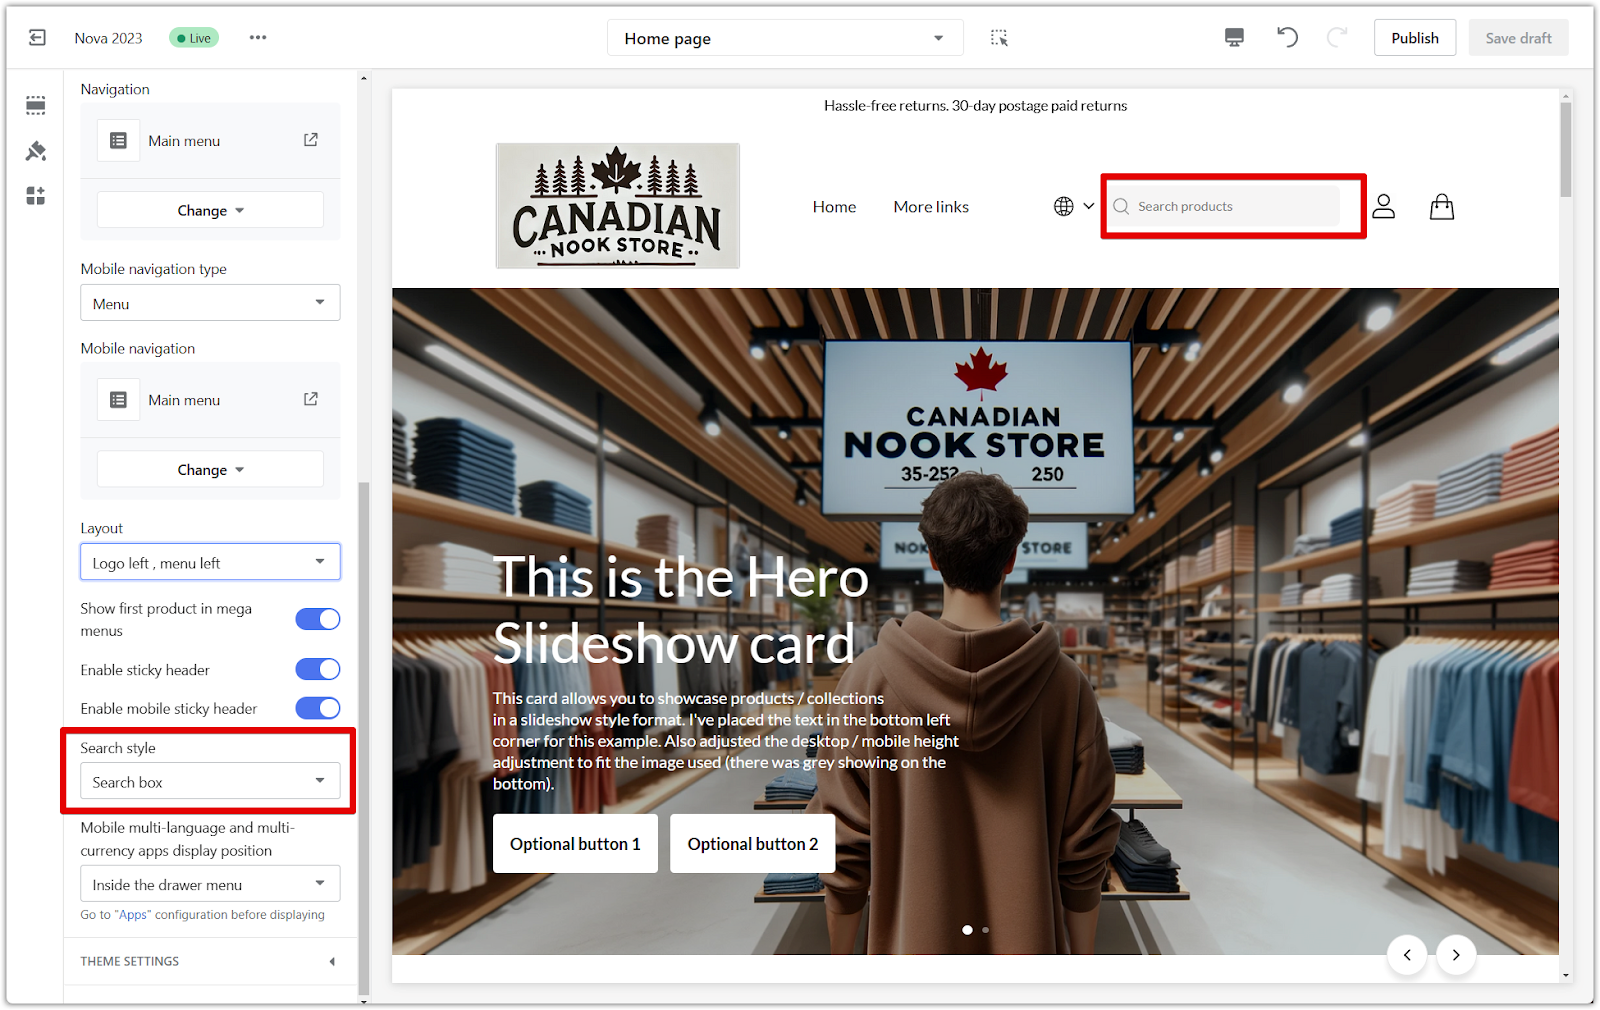
4. Display search style: Choose to display the Search box or Icon logo style. A prominent search bar empowers customers to find specific products or categories quickly.
5. Position mobile multi-language and multi-currency app: Choose to display it or place it in the side menu. Providing easy access to language and currency options enhances the shopping experience for international customers.

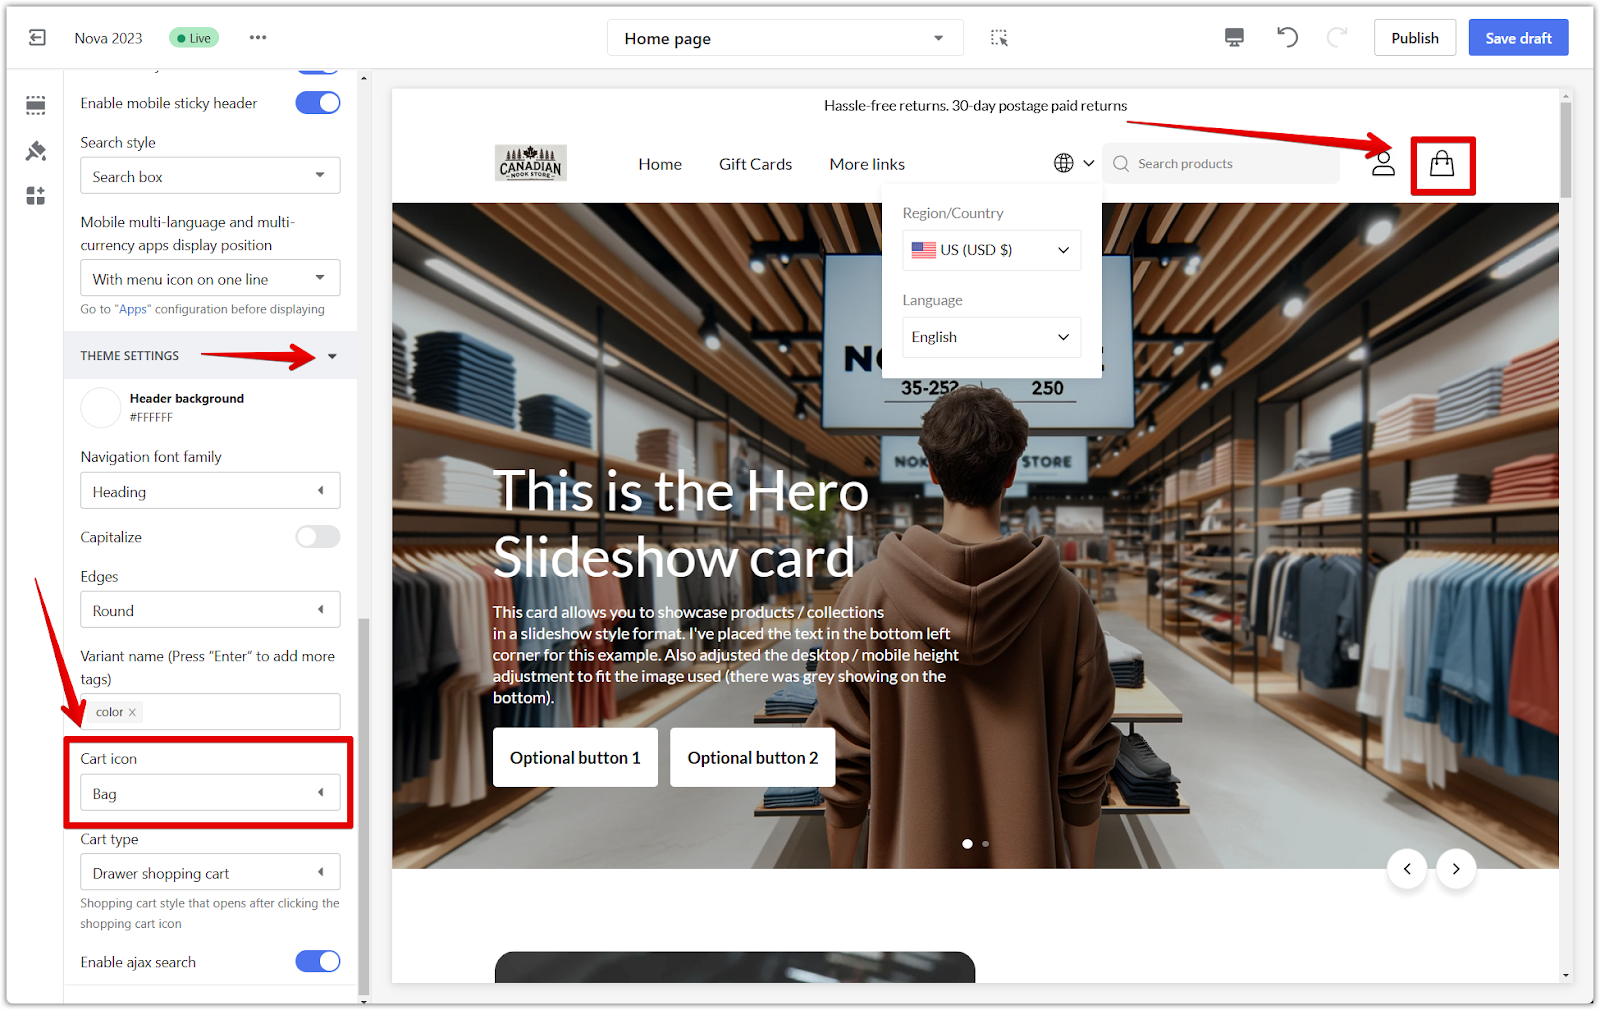
6. Change cart icon: Under Theme settings, change the icon style to Cart or Bag. A clear and recognizable cart icon makes it easy for customers to proceed to checkout.
Main Page Settings
The main page design is based on various cards, each with different layouts and designs. Add and customize them as needed to showcase your products and brand effectively.
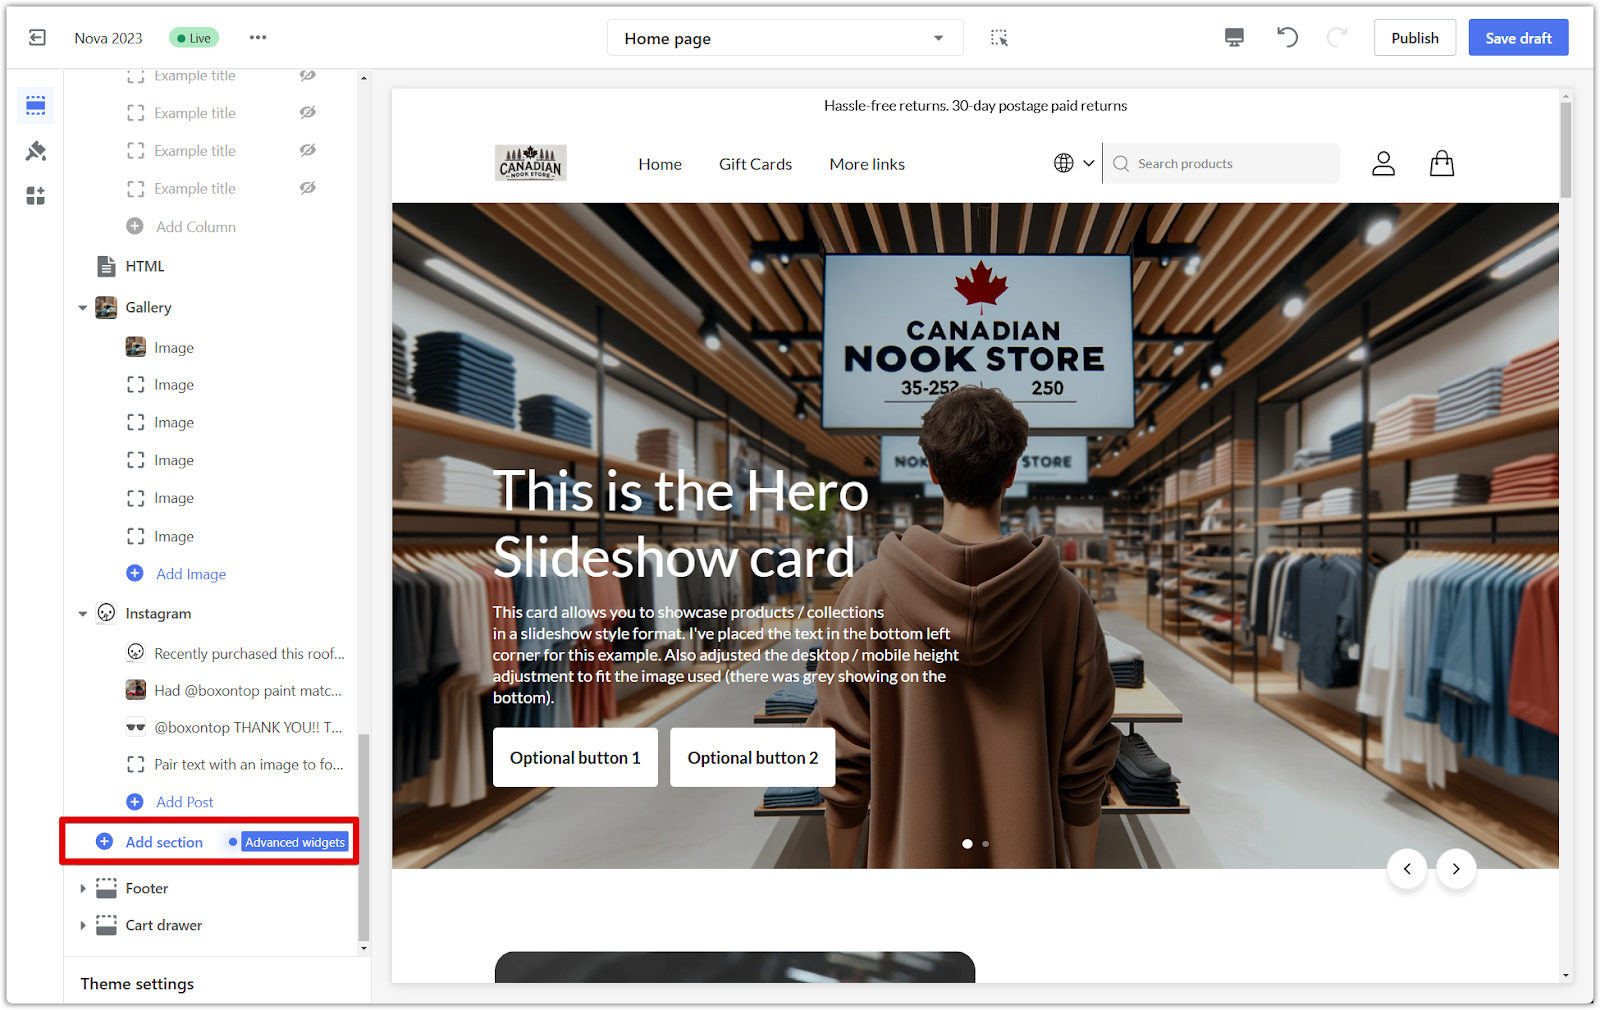
1. Add section: Click Add section, then search to view and add the necessary sections. Sections are the building blocks of your main page content, allowing you to display products, images, text, and other elements visually appealingly.
2. Customize section: After adding a section, click the title to set and design its content and appearance. Customize each section to fit your brand aesthetic and marketing goals.

Footer Settings
Configure two types of footer menu navigation. The footer is a valuable space for providing additional information and navigation options.
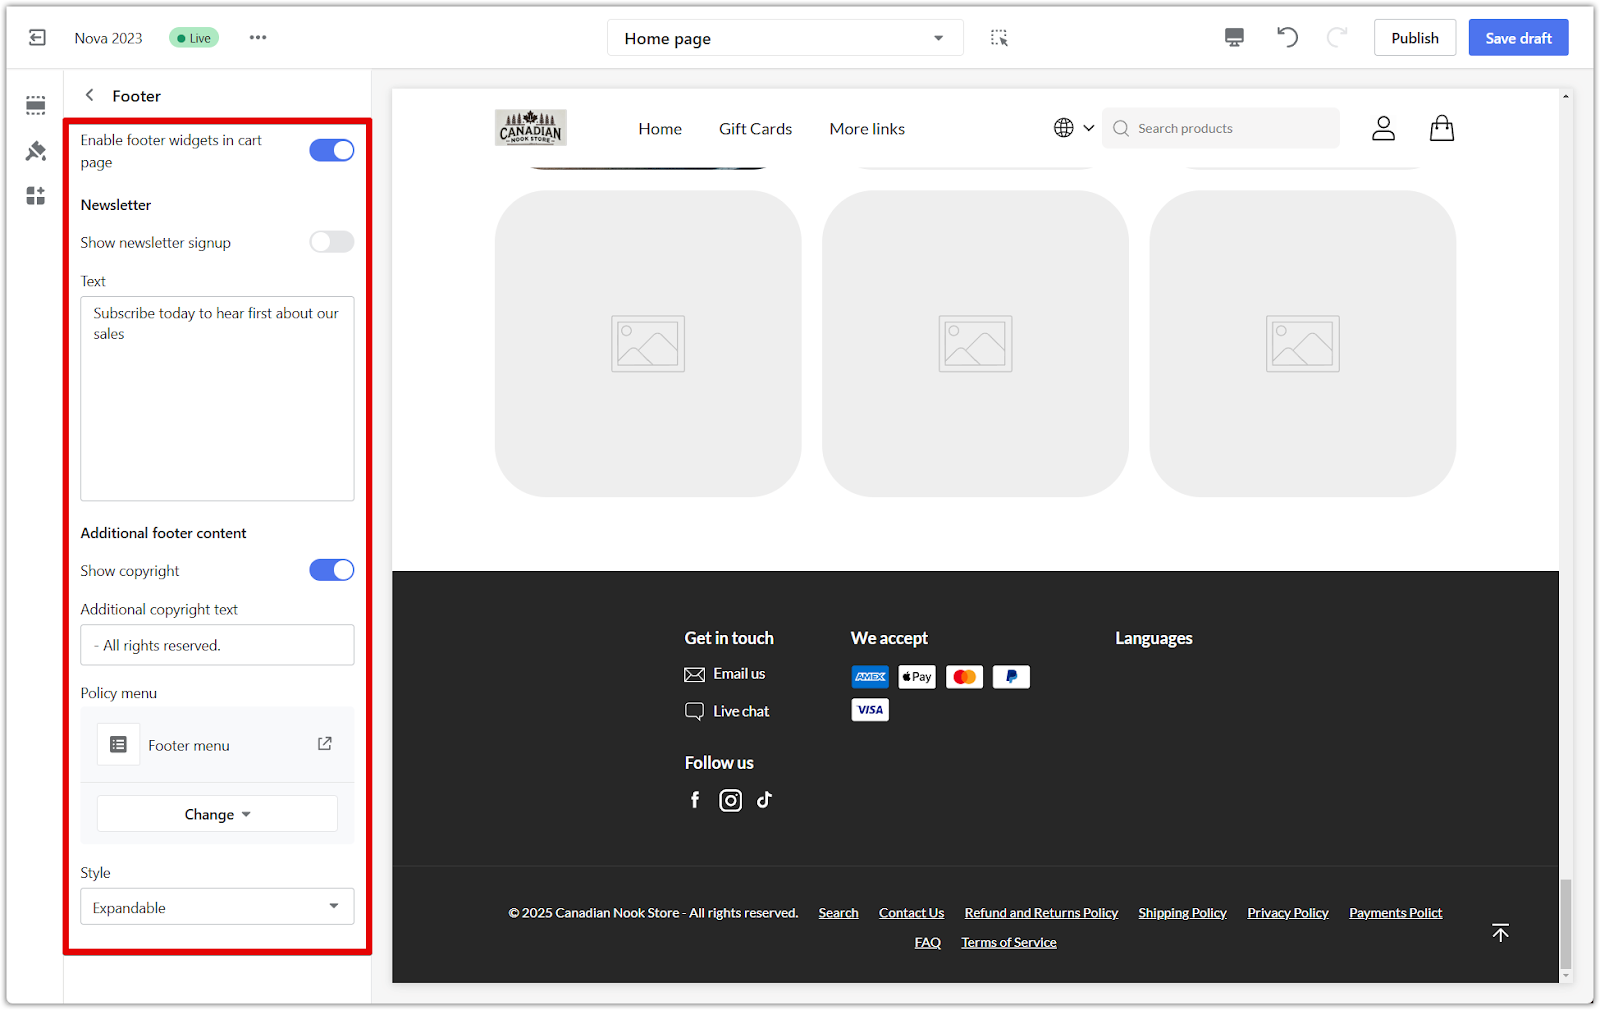
1. Configure footer: Scroll down the list and click the Footer title to configure email subscriptions, enable copyright, bind footer menus, and other settings. Use the footer to build your email list, protect your content with copyright information, and provide essential links to other pages on your site.

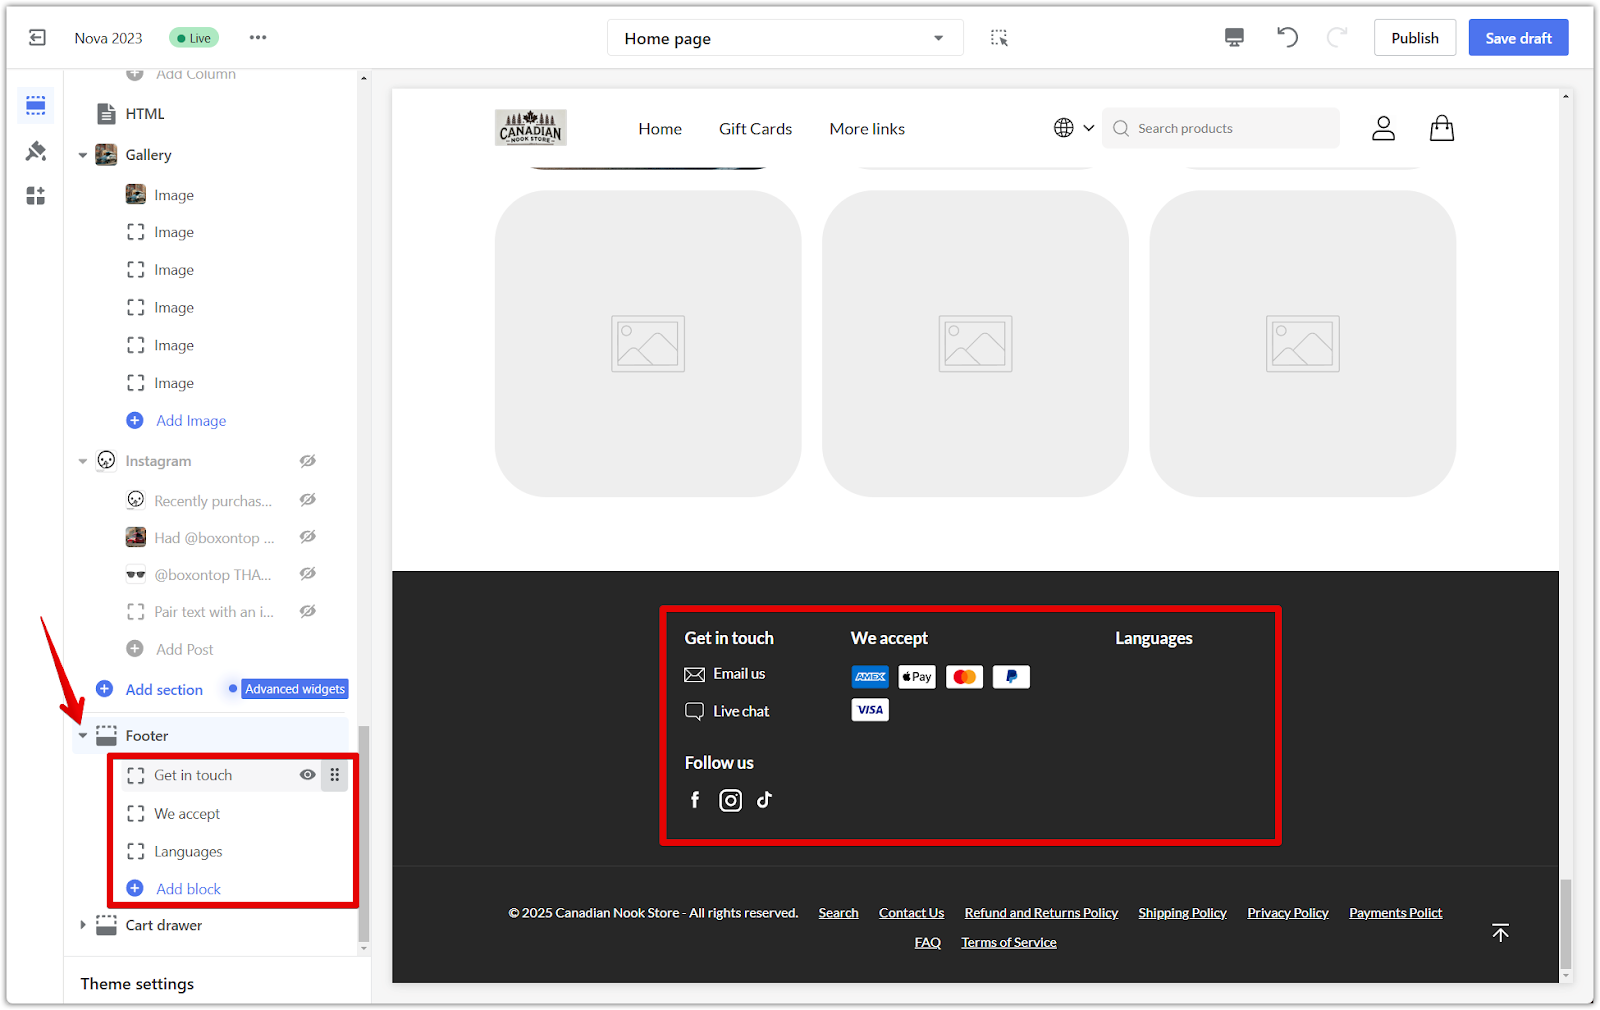
2. Add content to the footer: Click the dropdown arrow to configure footer menu navigation, contact and social media links, payment information, language options, and any required app cards. This allows you to create a comprehensive footer that provides customers with all the necessary information.
Your homepage is your store's storefront. By carefully customizing the header, main page, and footer, you can create a welcoming and engaging experience for your visitors. Remember to showcase your key products, highlight promotions, and make it easy for customers to navigate your site.


Comments
Please sign in to leave a comment.