
This guide shows how to manage Cash on Delivery (COD) orders in your Shoplazza admin, including canceling undelivered orders, issuing refunds without returns, and processing returns with refunds. Follow each step to keep your after-sales records accurate and complete.
Canceling a COD Order After Shipment but Before Delivery
If an order has already been marked as Fulfilled but the customer refuses to accept the delivery or declines payment, you can cancel the order directly from your Shoplazza admin.
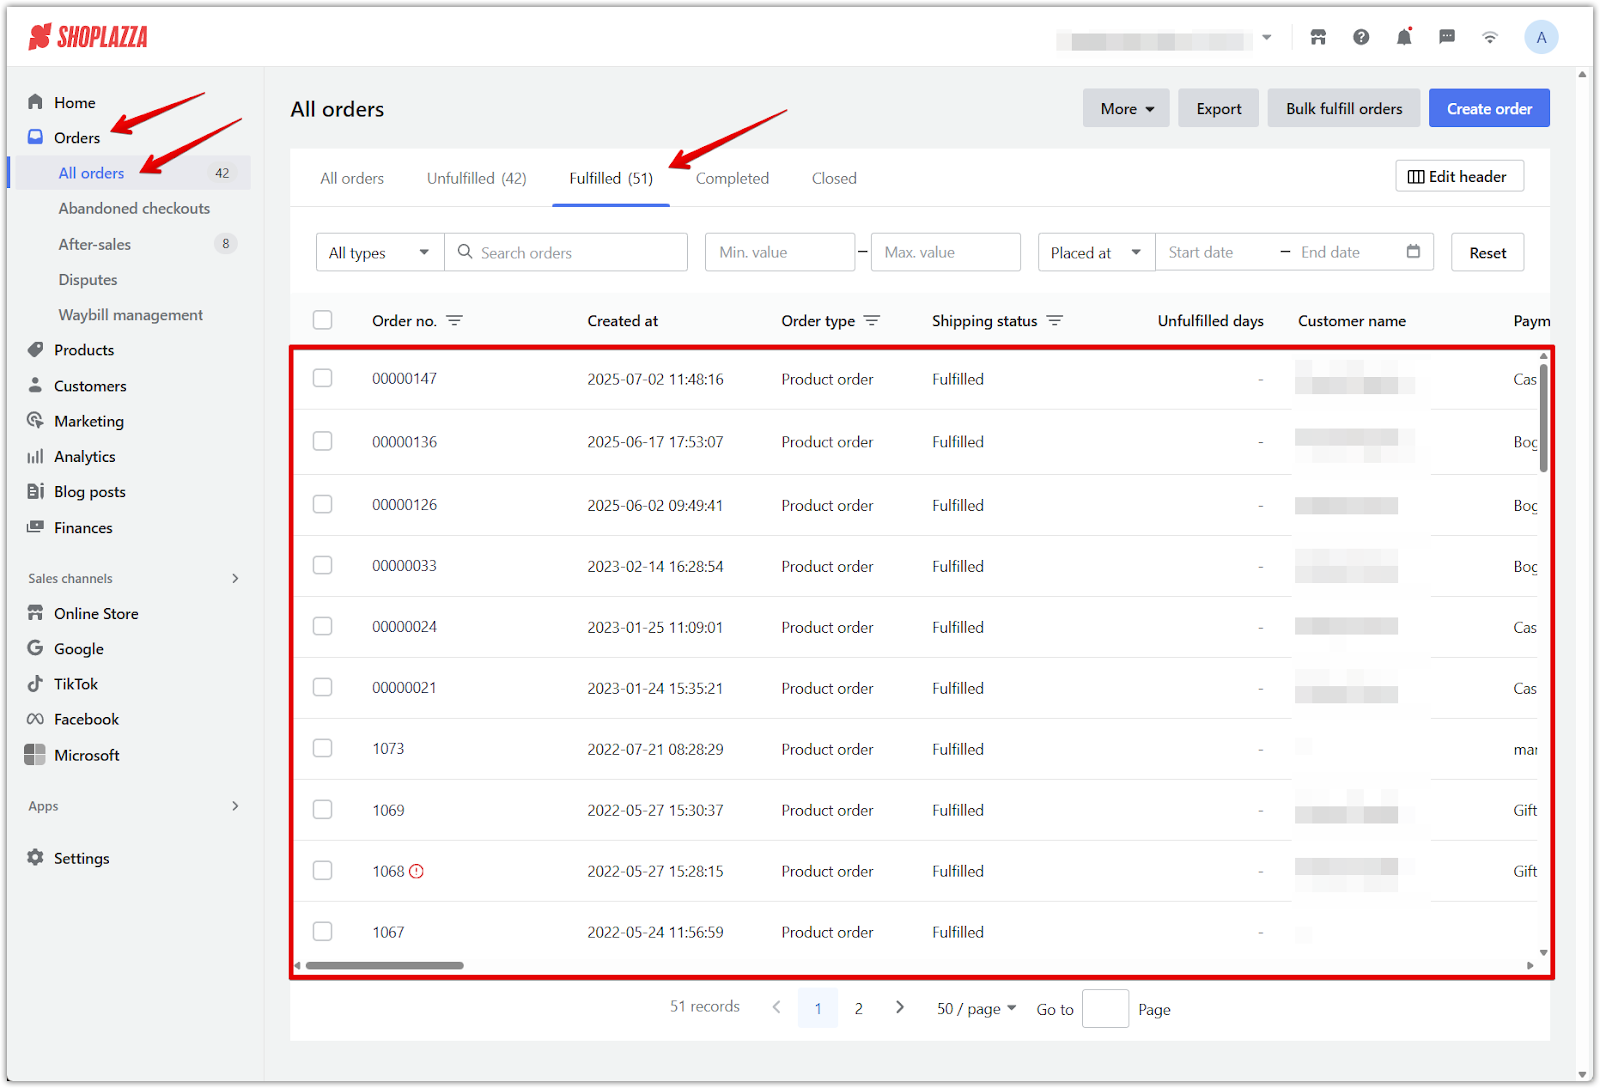
1. Access the order: Log in to your Shoplazza admin, go to Orders > All orders > Fulfilled and select the relevant COD order that was shipped to the customer.
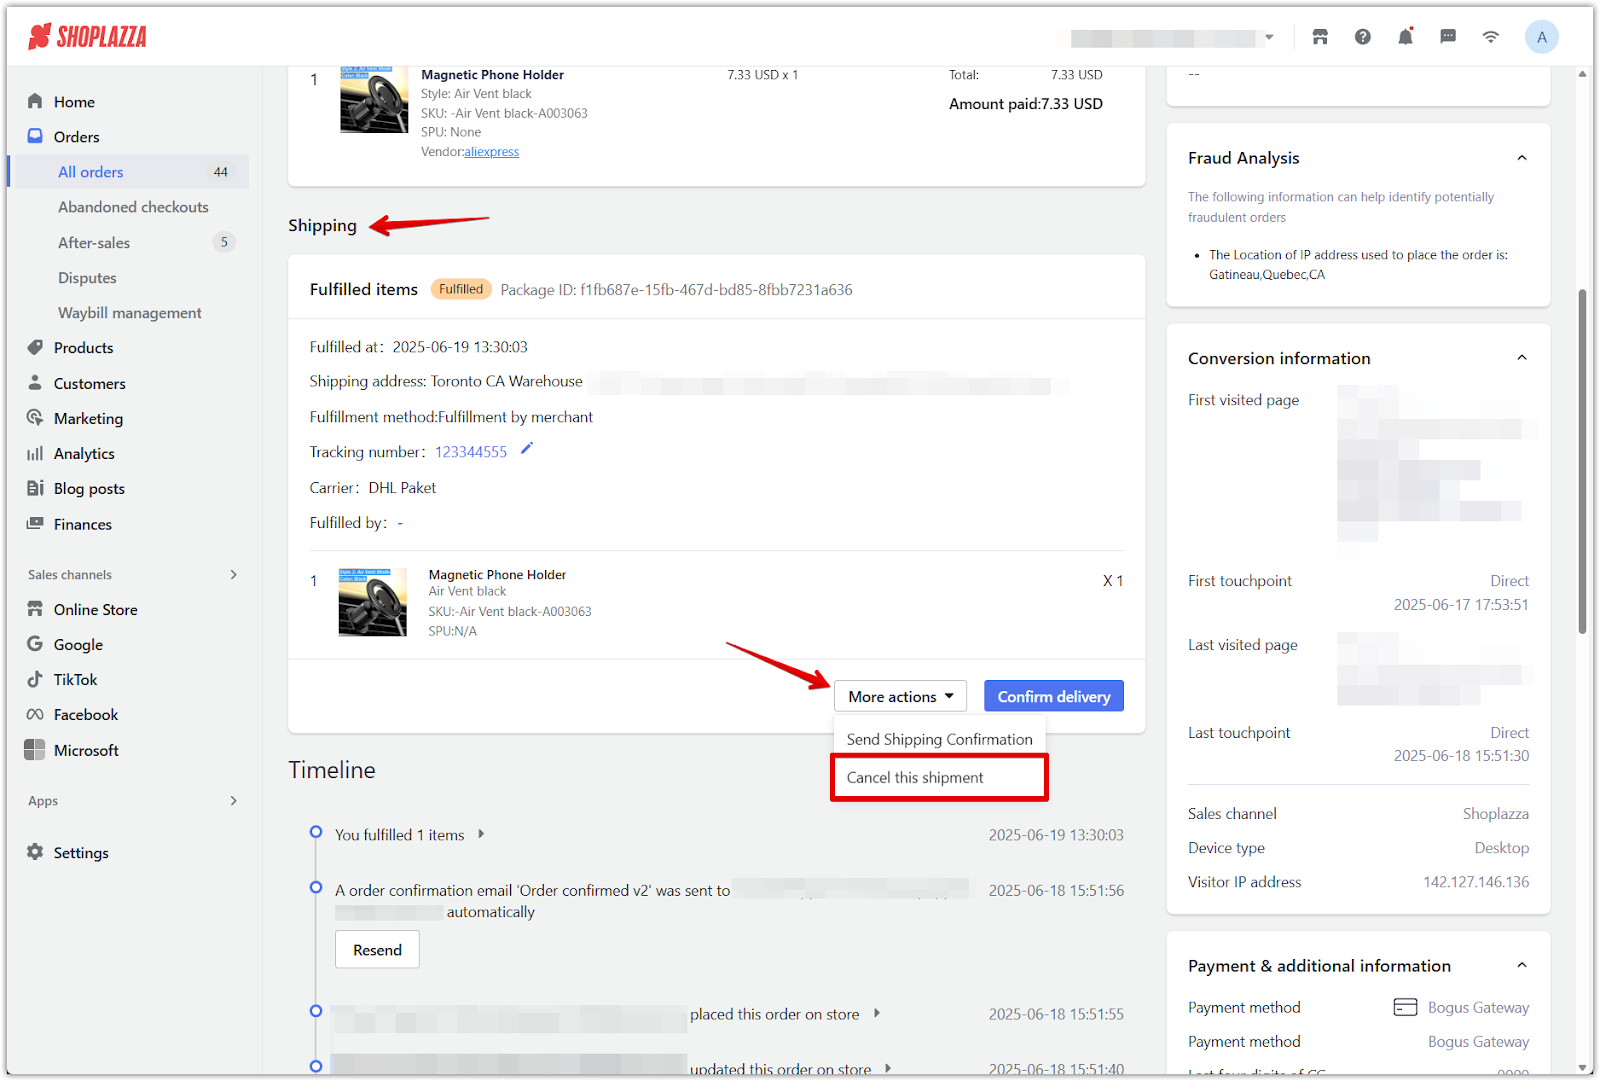
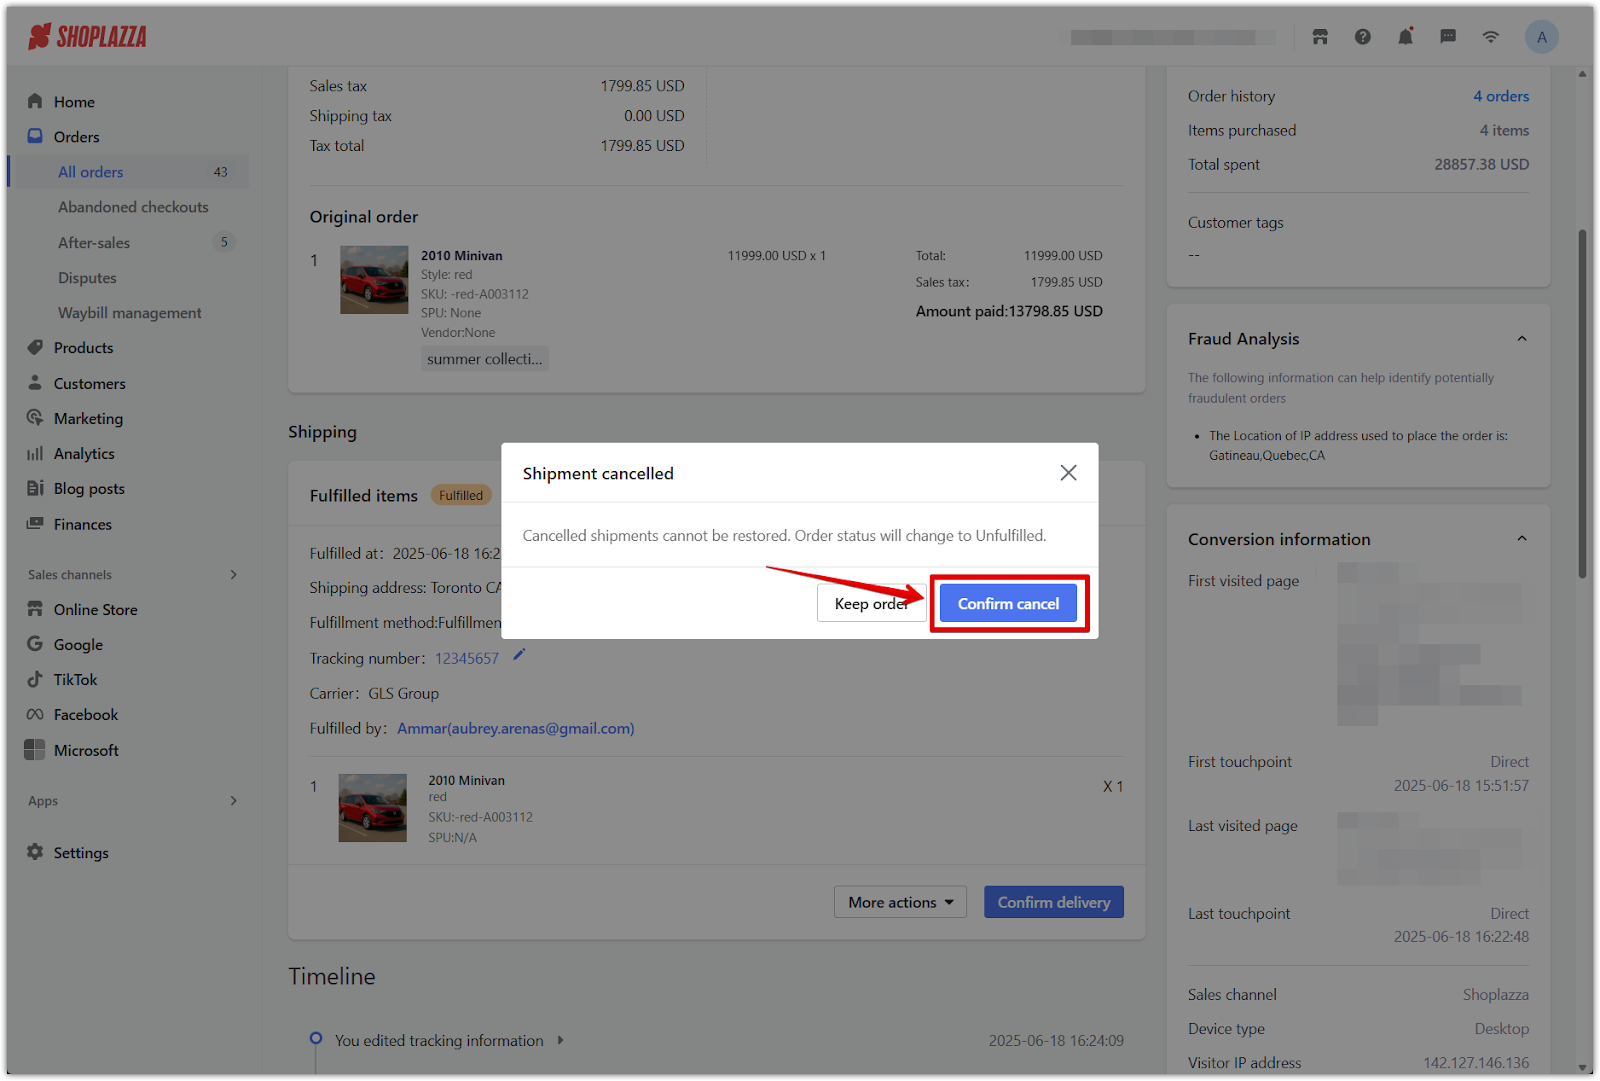
2. Cancel the shipment: On the Order details page, go to the Shipping section, click More actions, select Cancel this shipment, then click Confirm cancel. Once the shipment is canceled, the order will revert to Unfulfilled, allowing you to proceed with cancelling the order.
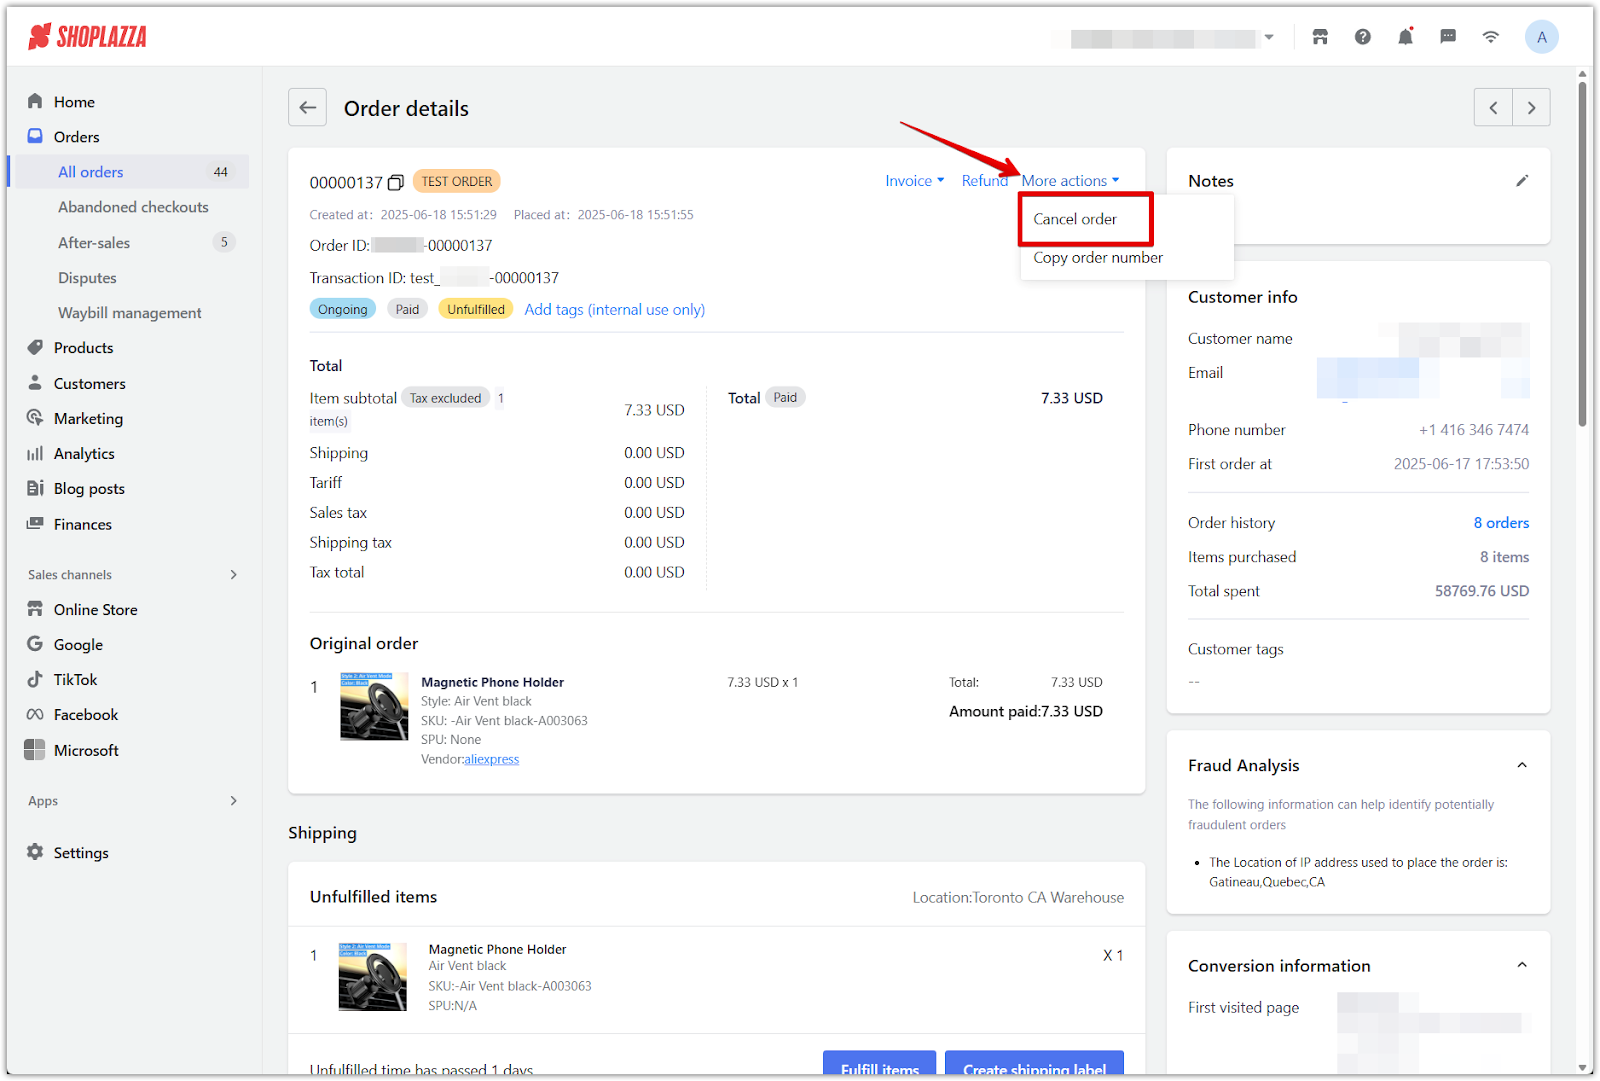
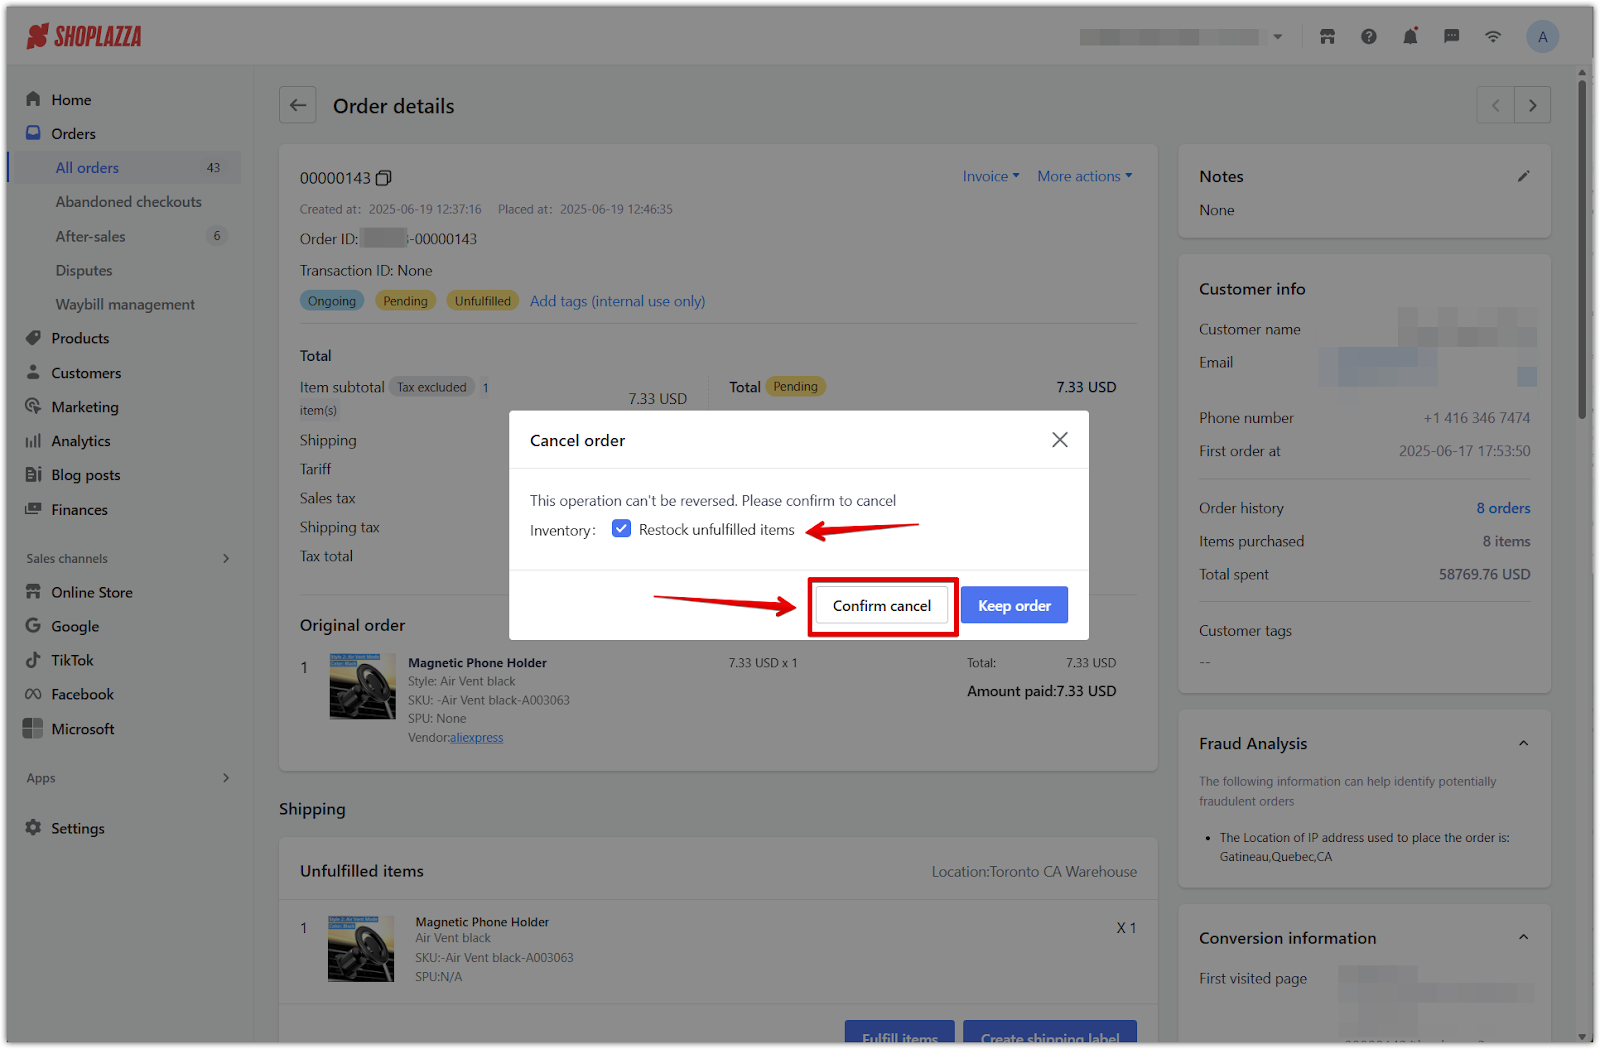
3. Cancel the order: In Unfulfilled status, click More actions again, select Cancel order, check Restock unfulfilled items, then click Confirm cancel to proceed.
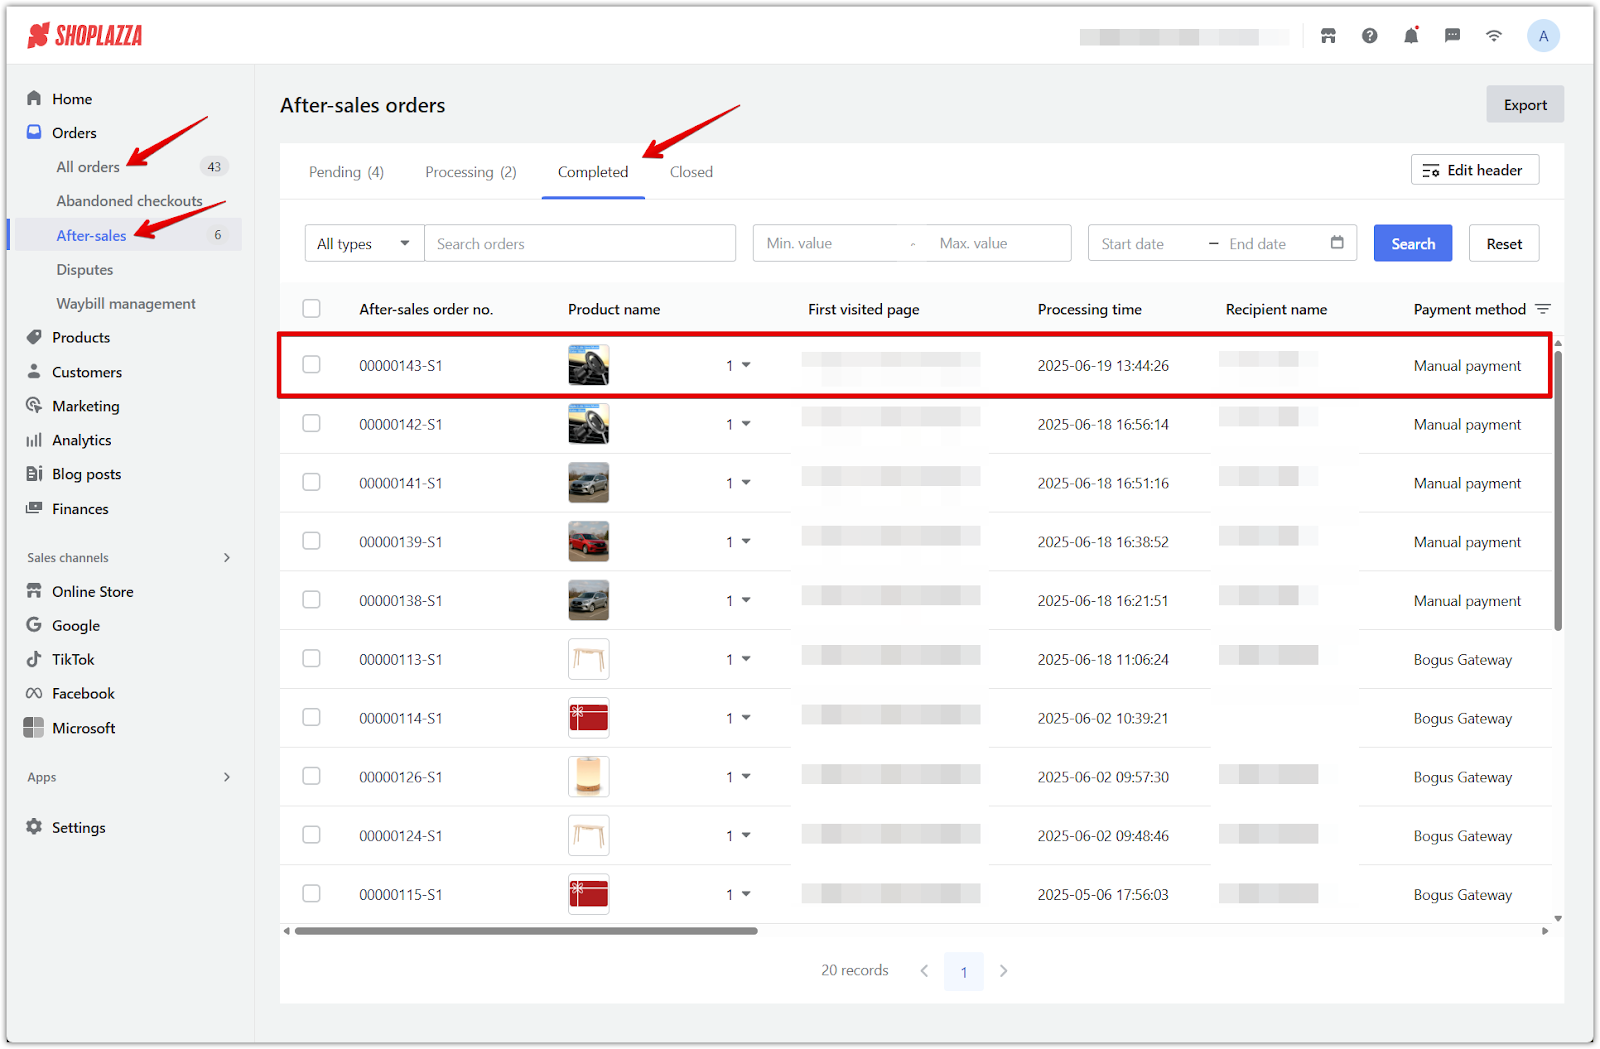
4. Check After-sales status: The order will now appear in Orders > After-sales under the Completed tab, confirming that the order was shipped but rejected at the door and no payment was collected.
Issuing a Refund Without a Return
If the customer is not required to return the item, the order must be in Paid status, which usually happens after the delivery is completed.
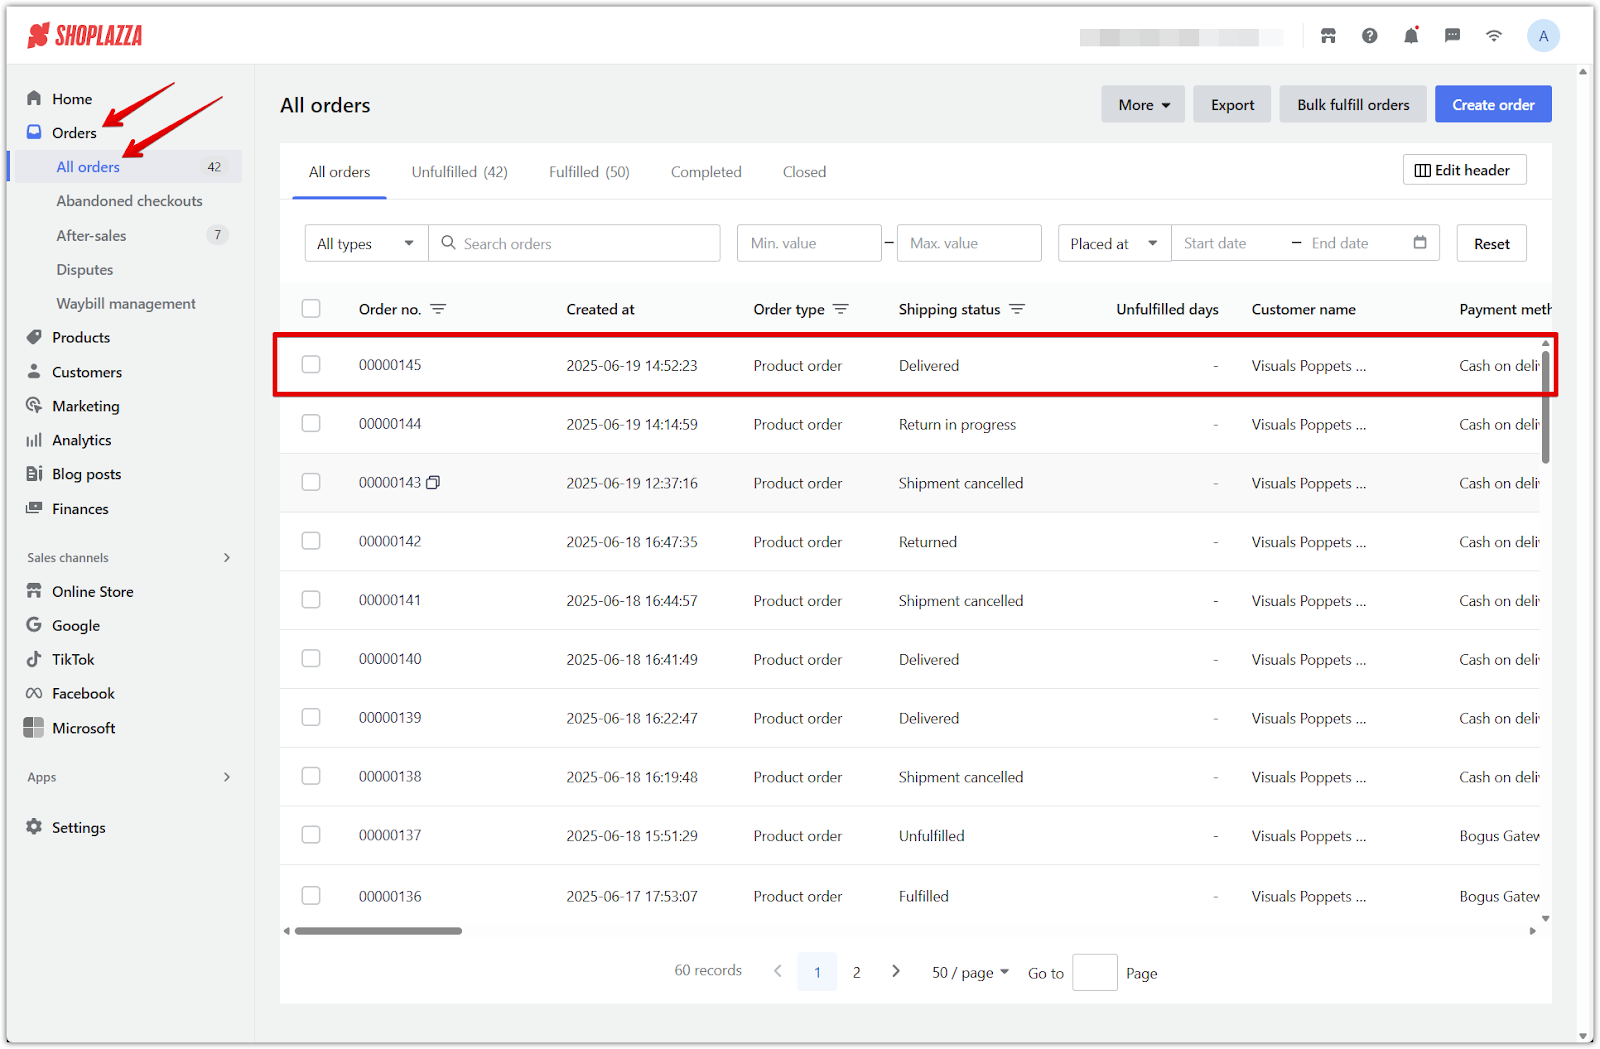
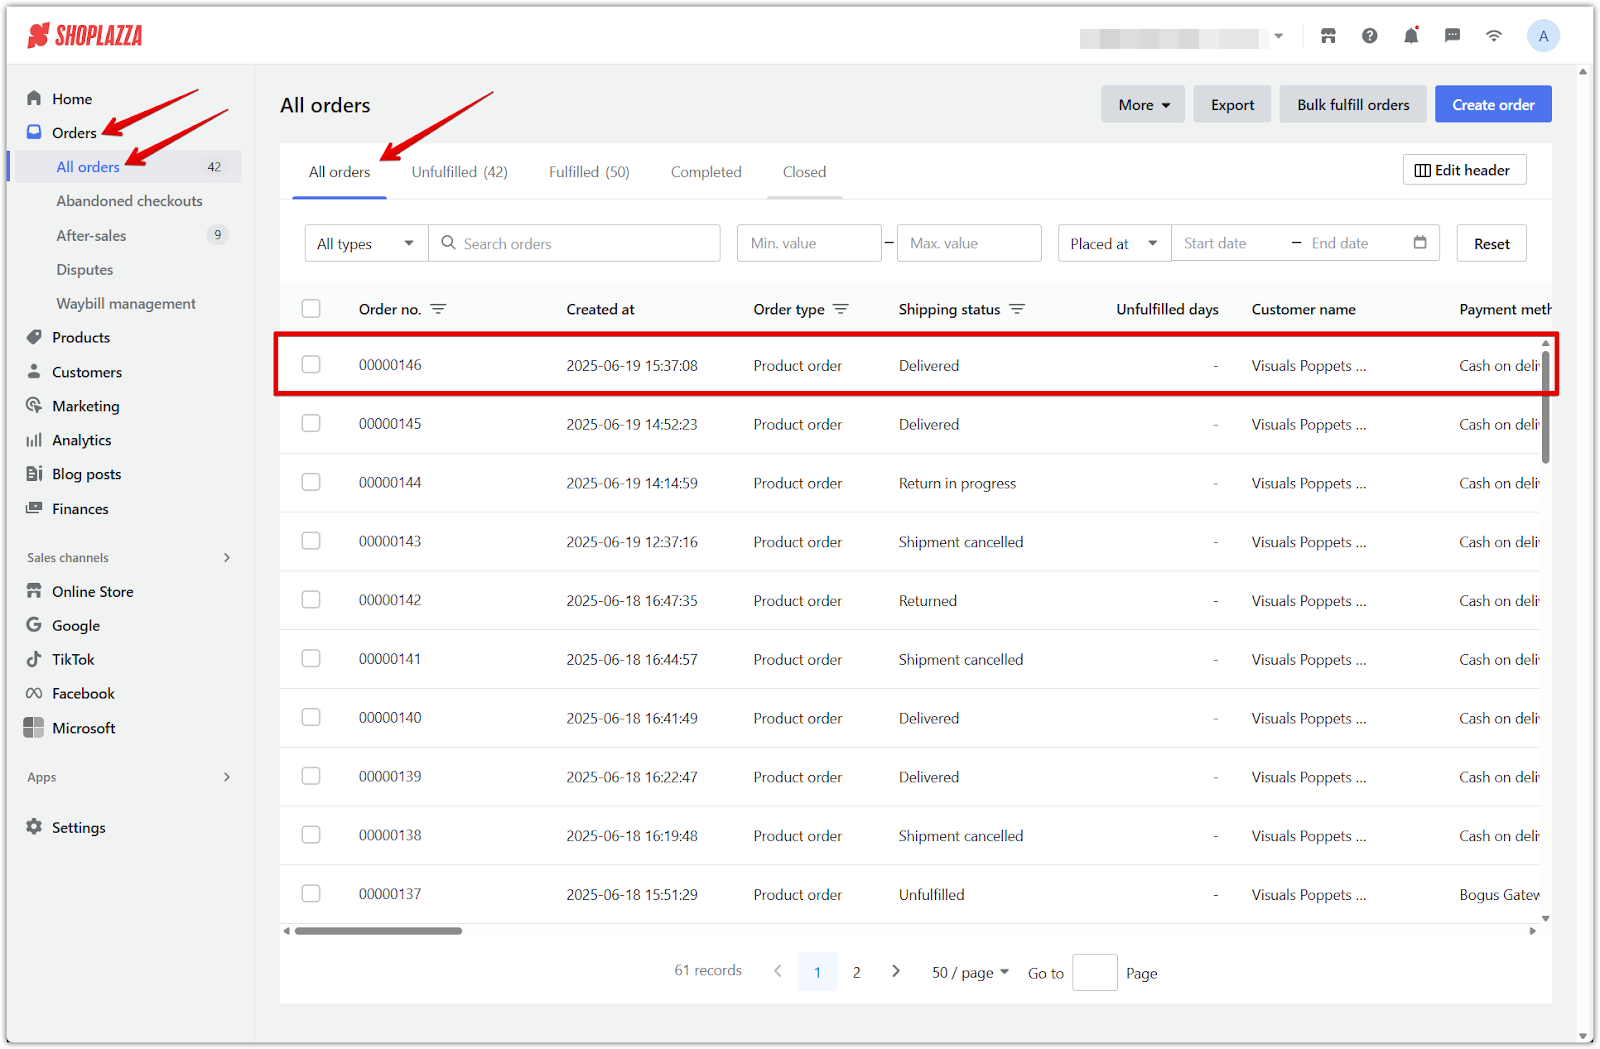
1. Locate the delivered COD order: From your Shoplazza admin, go to Orders > All Orders and find the relevant order marked as Delivered.
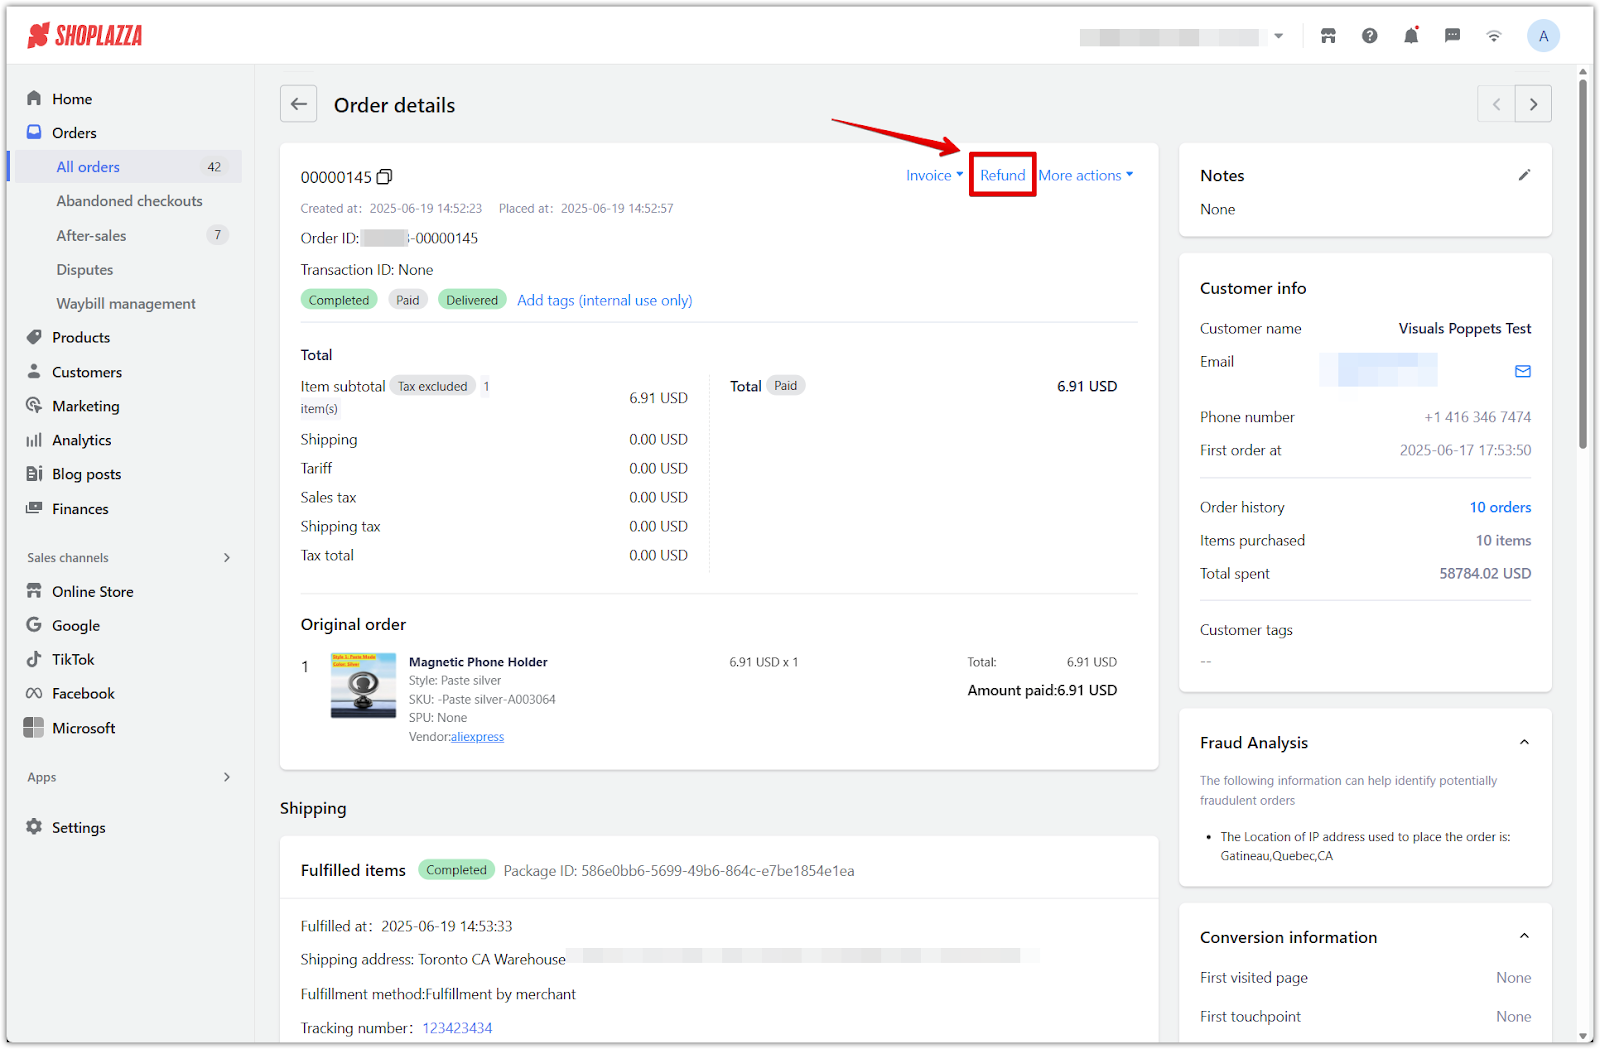
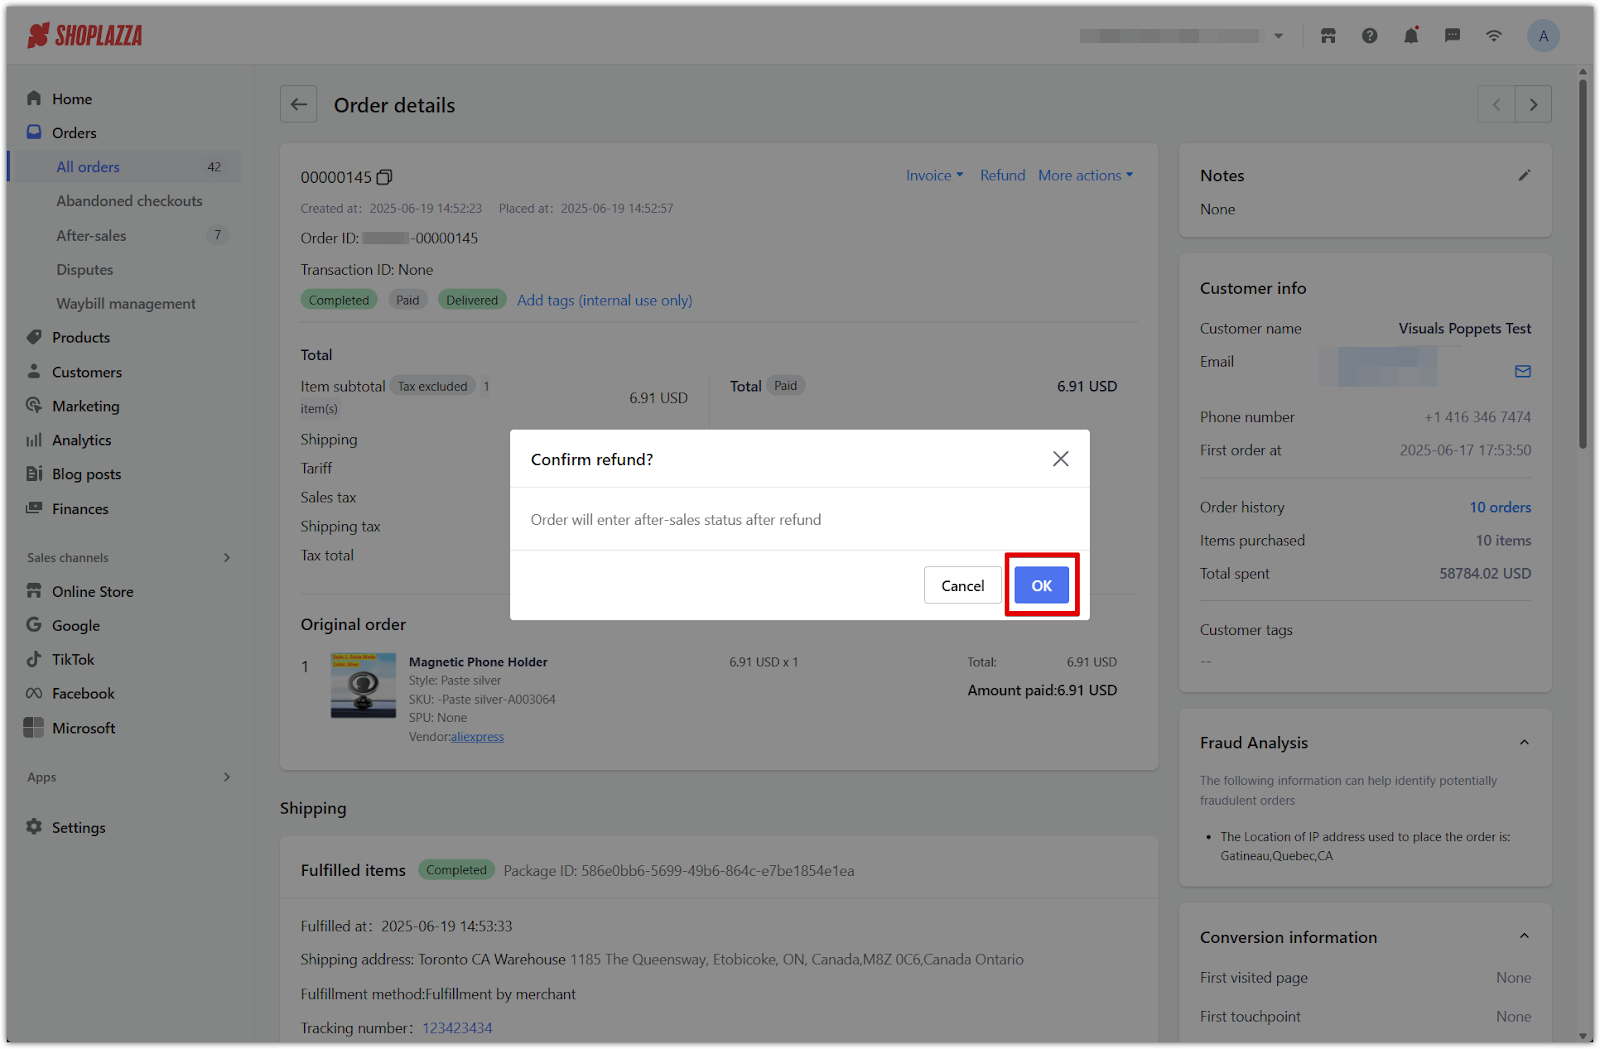
2. Open the order details and click Refund: In the order details page, click the Refund button in the top-right area to start the refund process.
3. Confirm the refund prompt: In the popup window, click OK to proceed. The order will enter after-sales status and redirect to the refund editor.
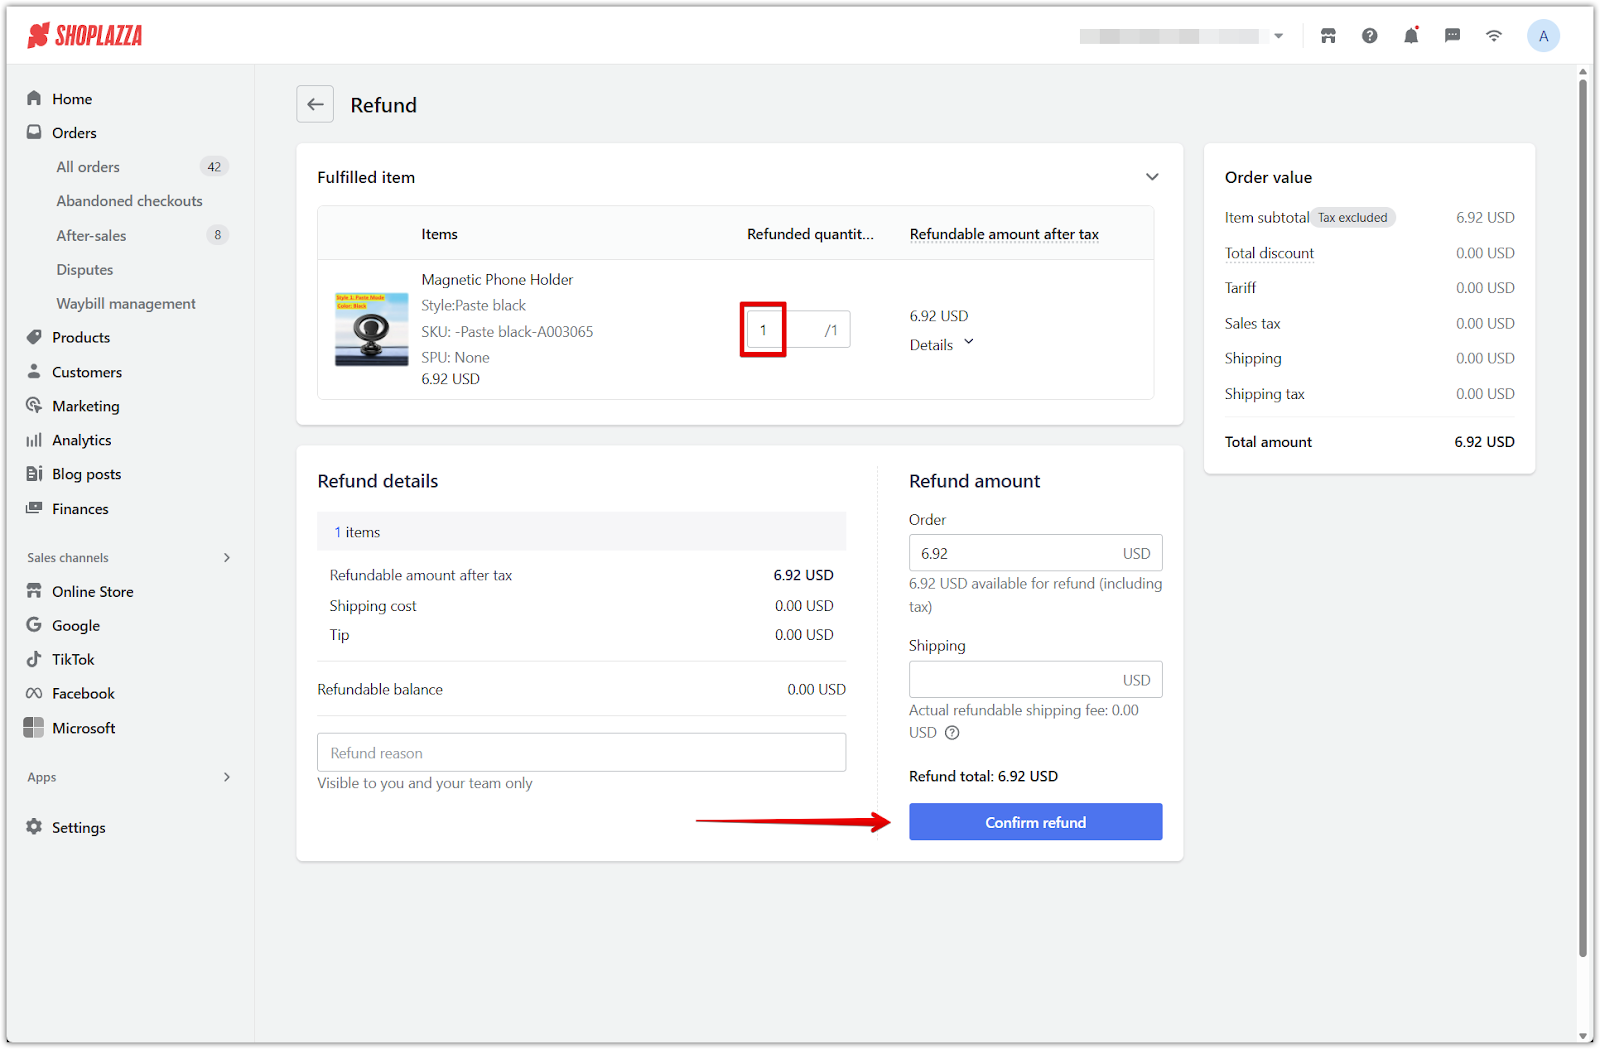
4. Enter the refund quantity or amount: To issue a refund without restocking or recording a return, leave the Refunded quantity at 0 and manually enter the refund amount in the Order section. Alternatively, set the quantity to match the fulfilled amount (e.g., 1/1) to auto-fill the refund. This method also does not trigger a return. After entering the amount, click Confirm refund.
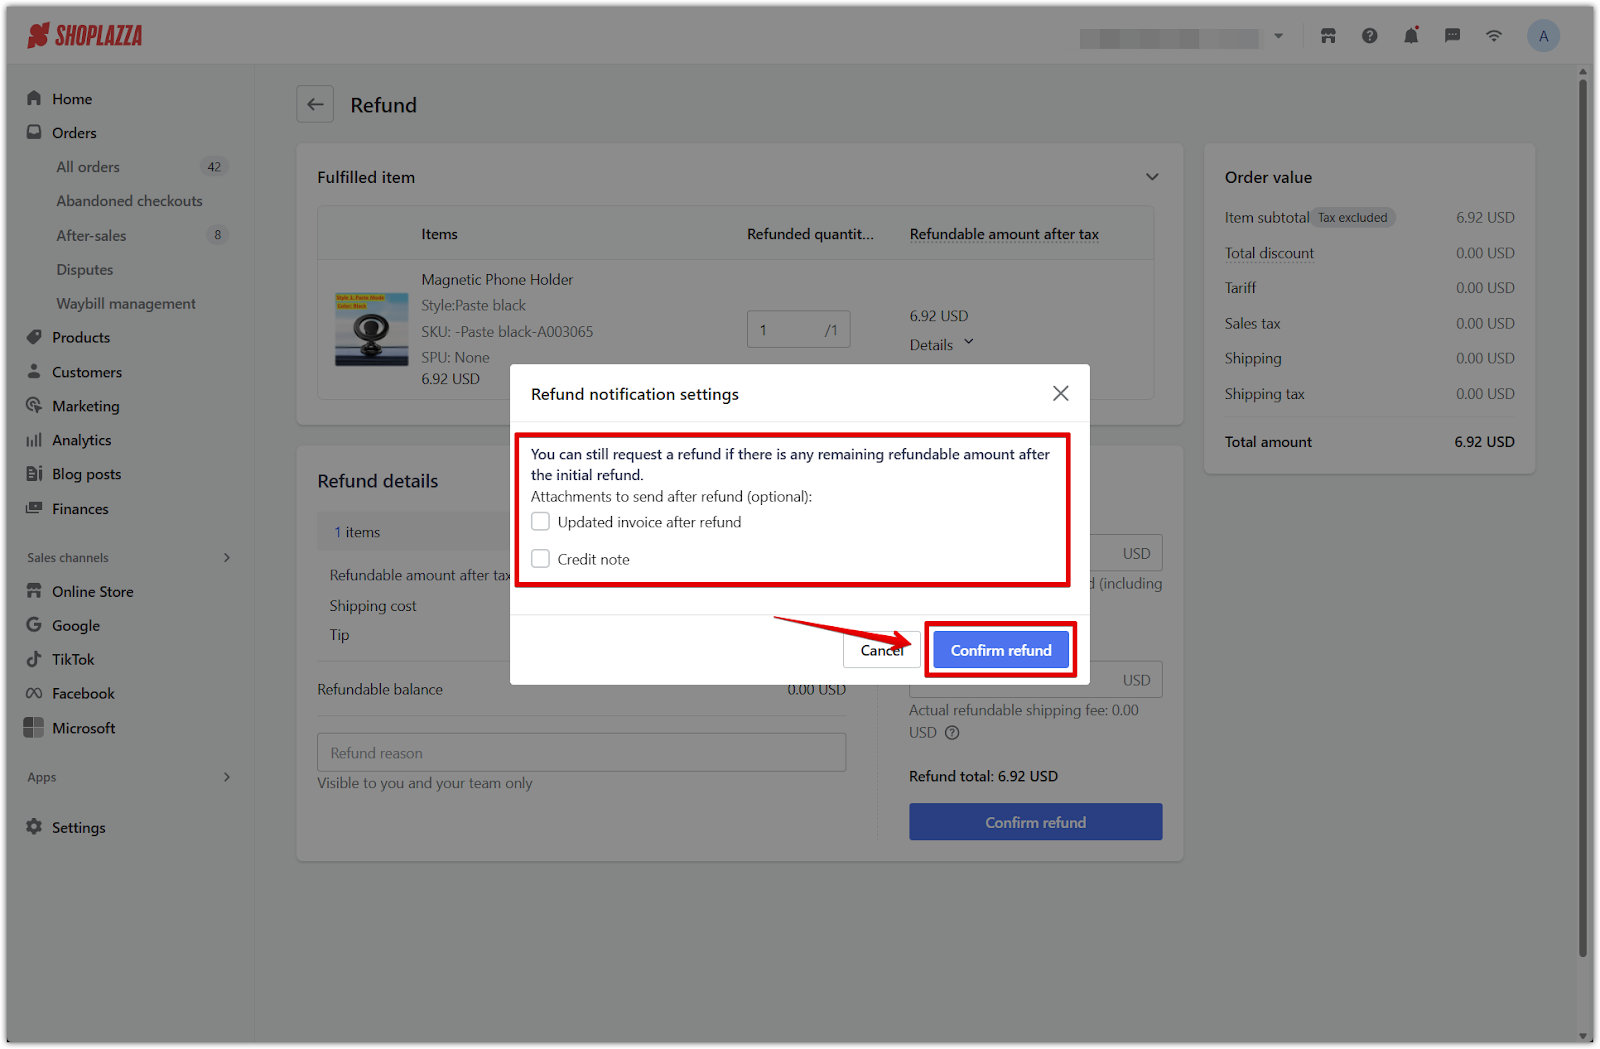
5. Set refund notification options: In the Refund notification settings popup, choose whether to include an updated invoice or credit note. Then click Confirm refund.
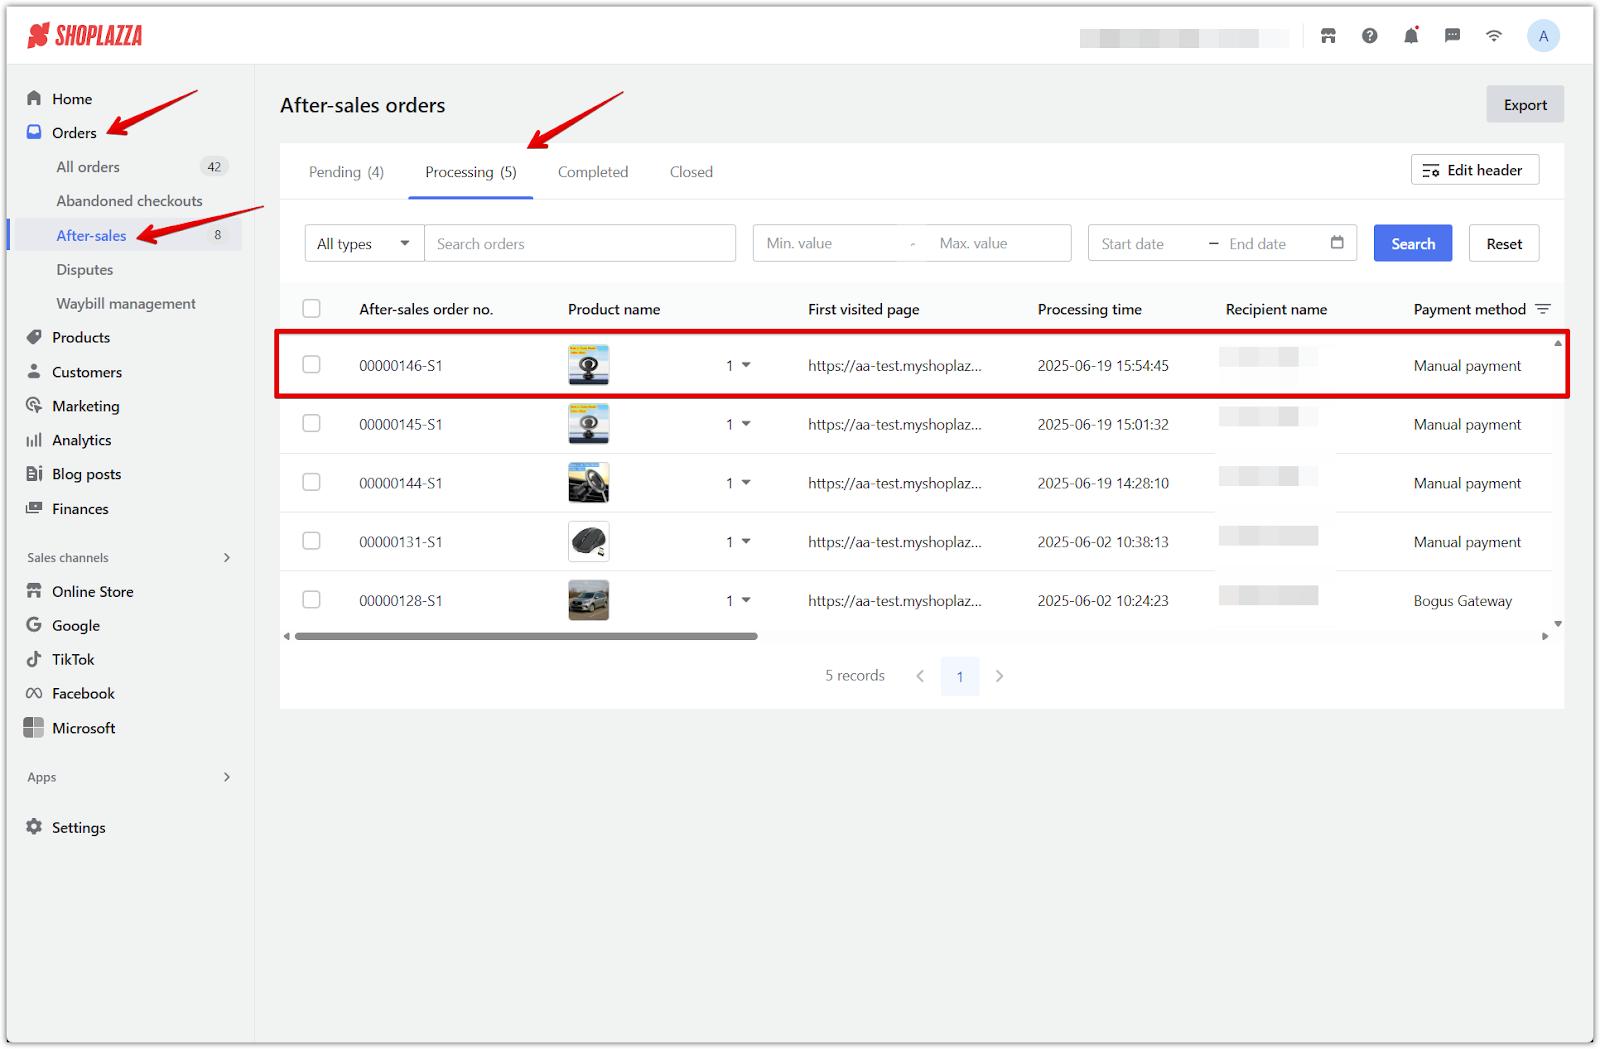
6. View refund status after confirmation: The order status now updates to Refund in progress and shows After-sales processing.

7. Finalize the refund in After-sales: Head to Orders > After-sales > Processing, open the related after-sales request, and click Refunded to complete the refund process. This updates the status to reflect that the refund is finalized and closes the after-sales case.

Returning Items and Processing Refunds
If the product is being returned, you’ll need to submit the return first before finalizing the refund. Begin this process from the original order in Orders > All orders.
1. Go to All orders and locate the order: From your Shoplazza admin, go to Orders > All orders and find the order marked as Delivered.
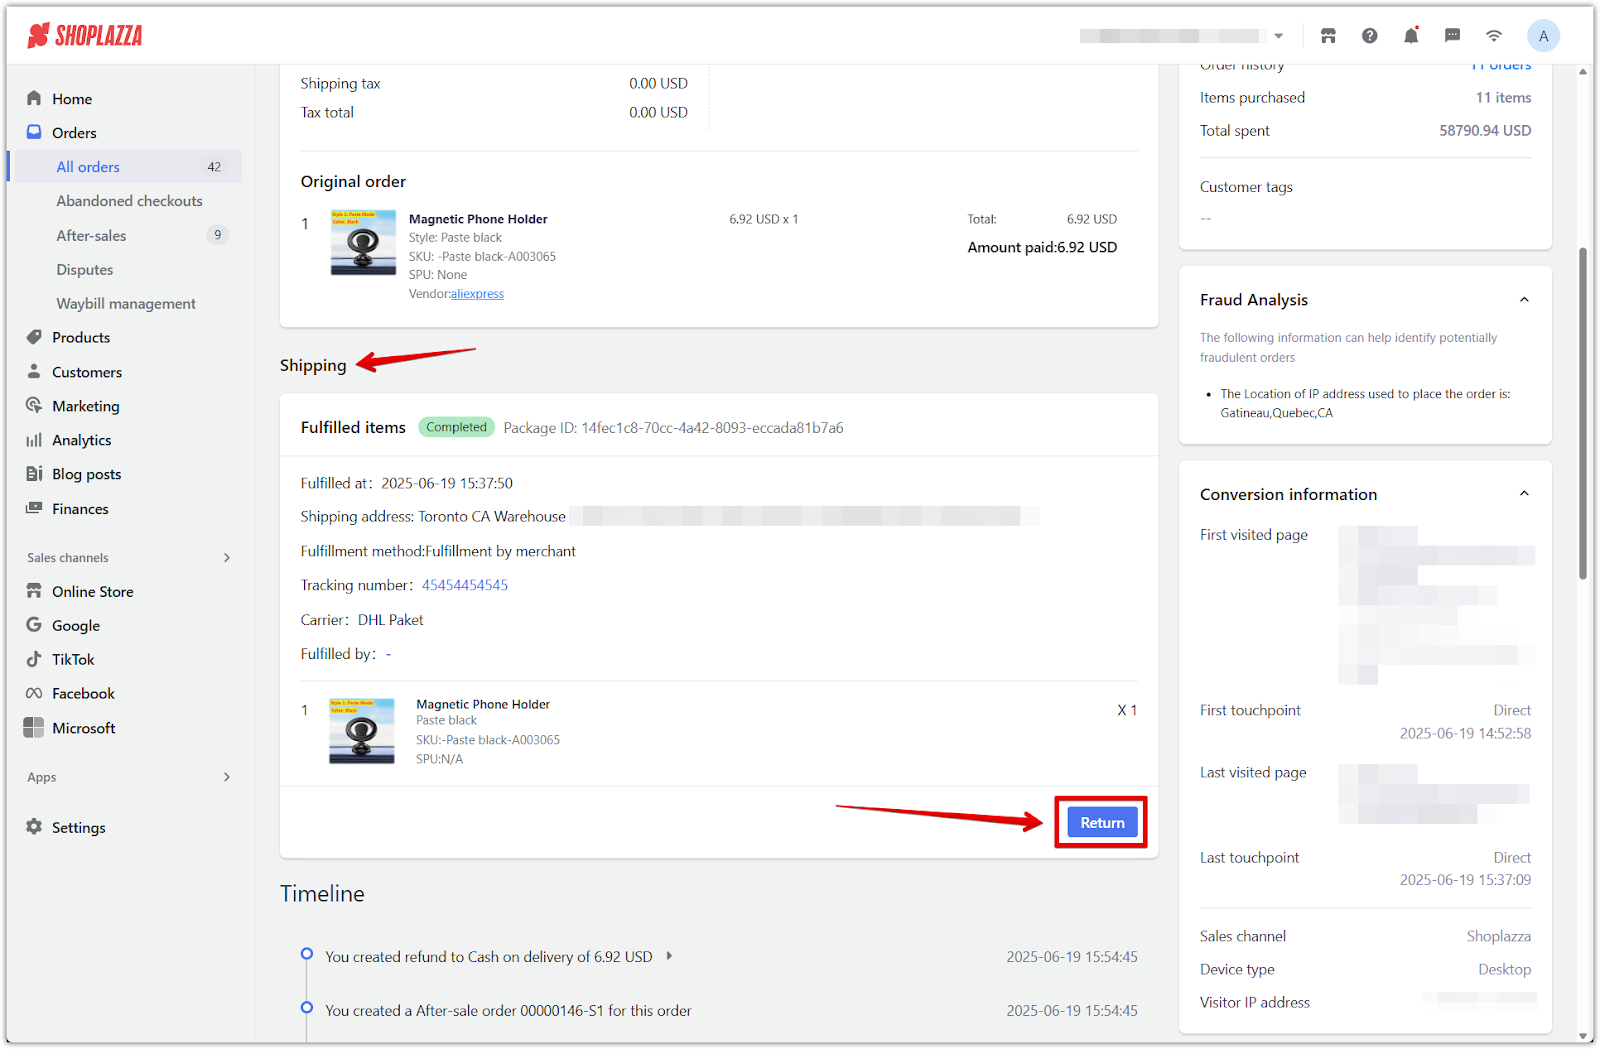
2. Open the order and click Return: Scroll to the Shipping section of the order details page and click the Return button next to the fulfilled item.
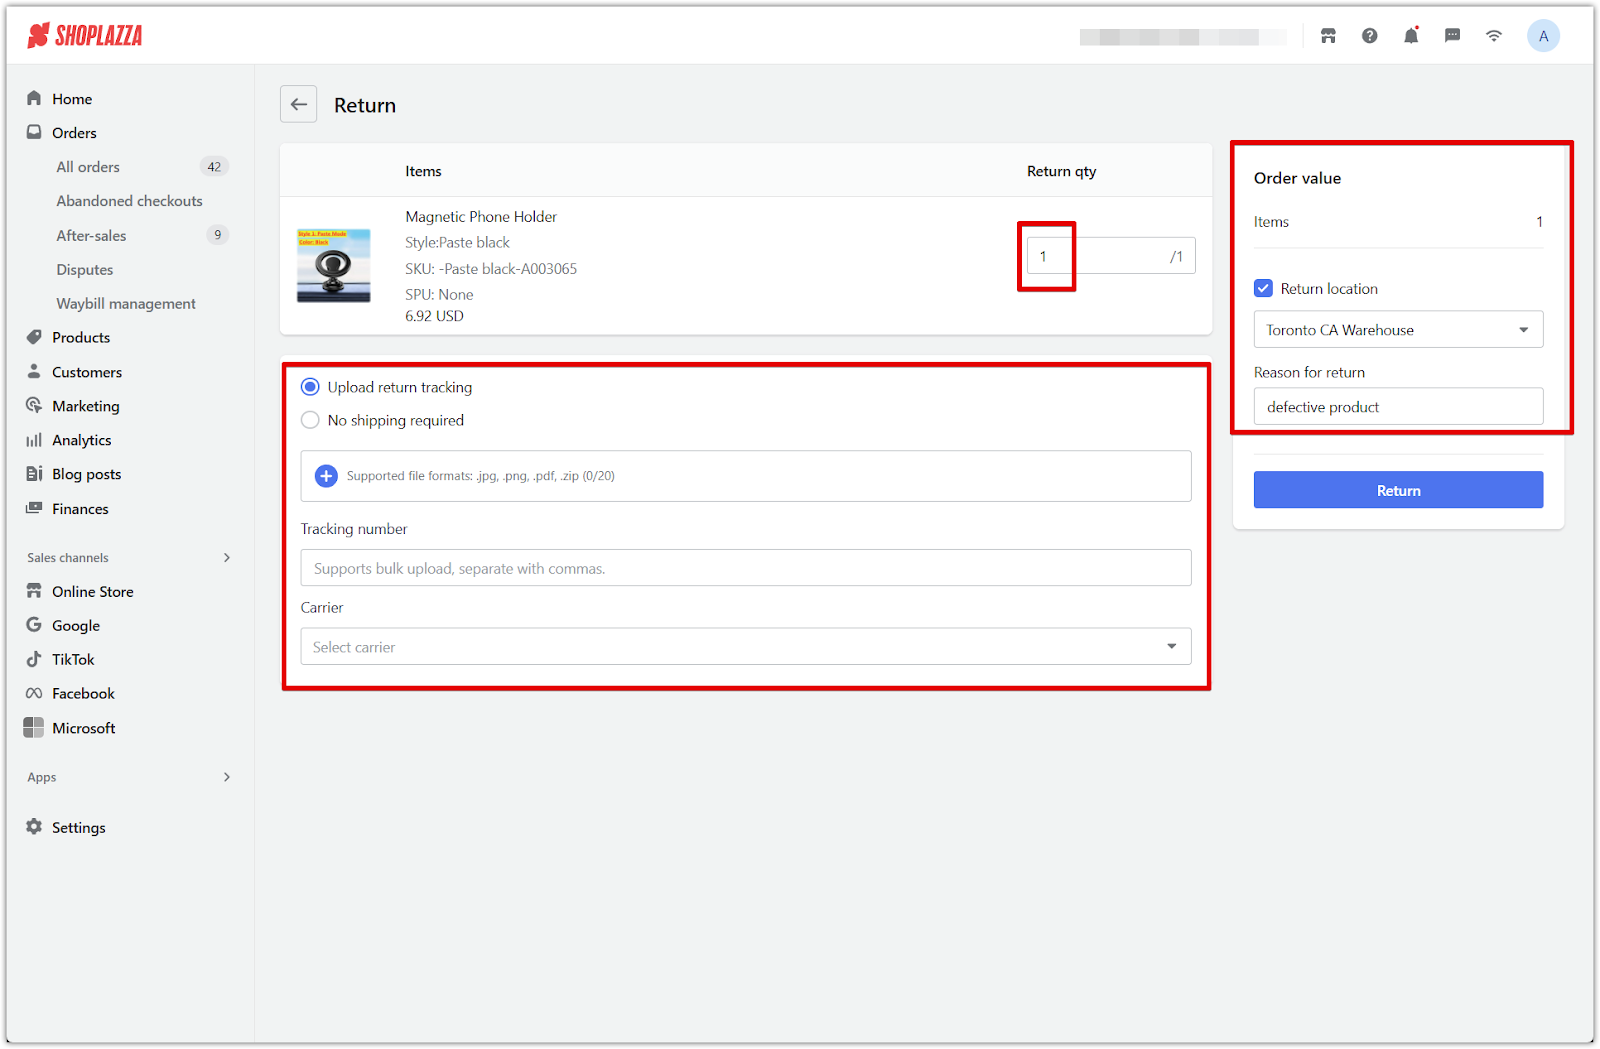
3. Enter return details: On the return submission page, enter the quantity being returned, select a return location, and provide a reason for return.
- For returns requiring tracking, enter the tracking number and select the carrier.
- If no shipping is required (e.g. the item was dropped off), select No shipping required instead.
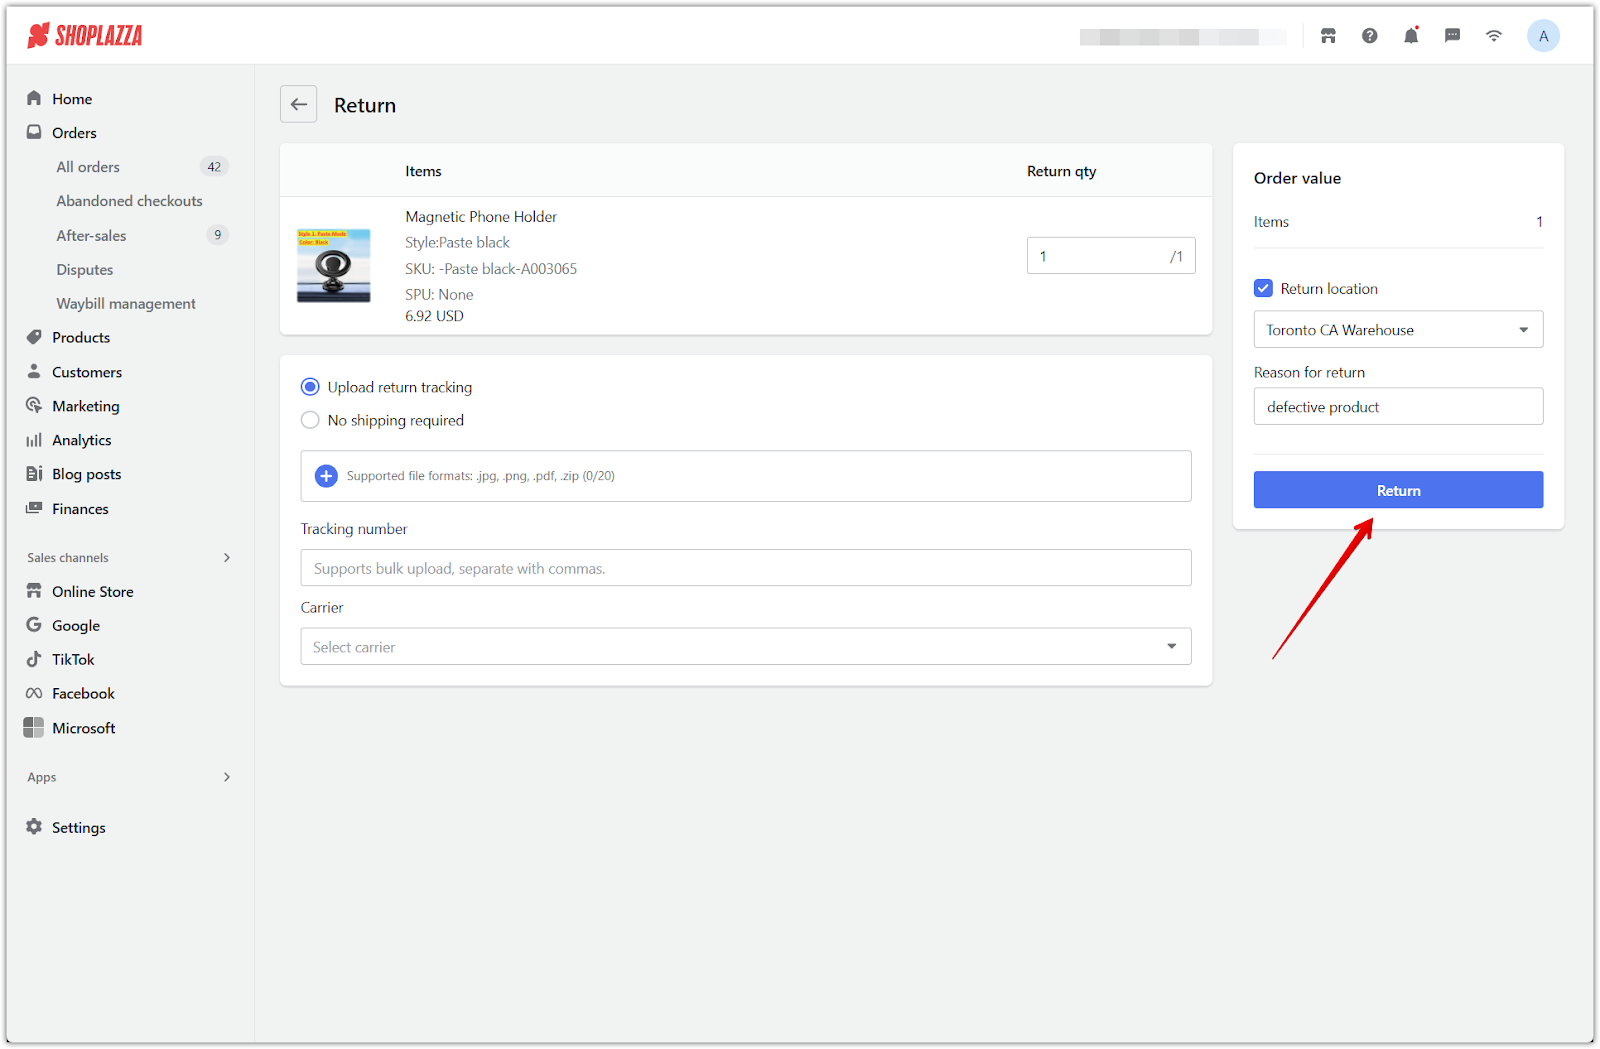
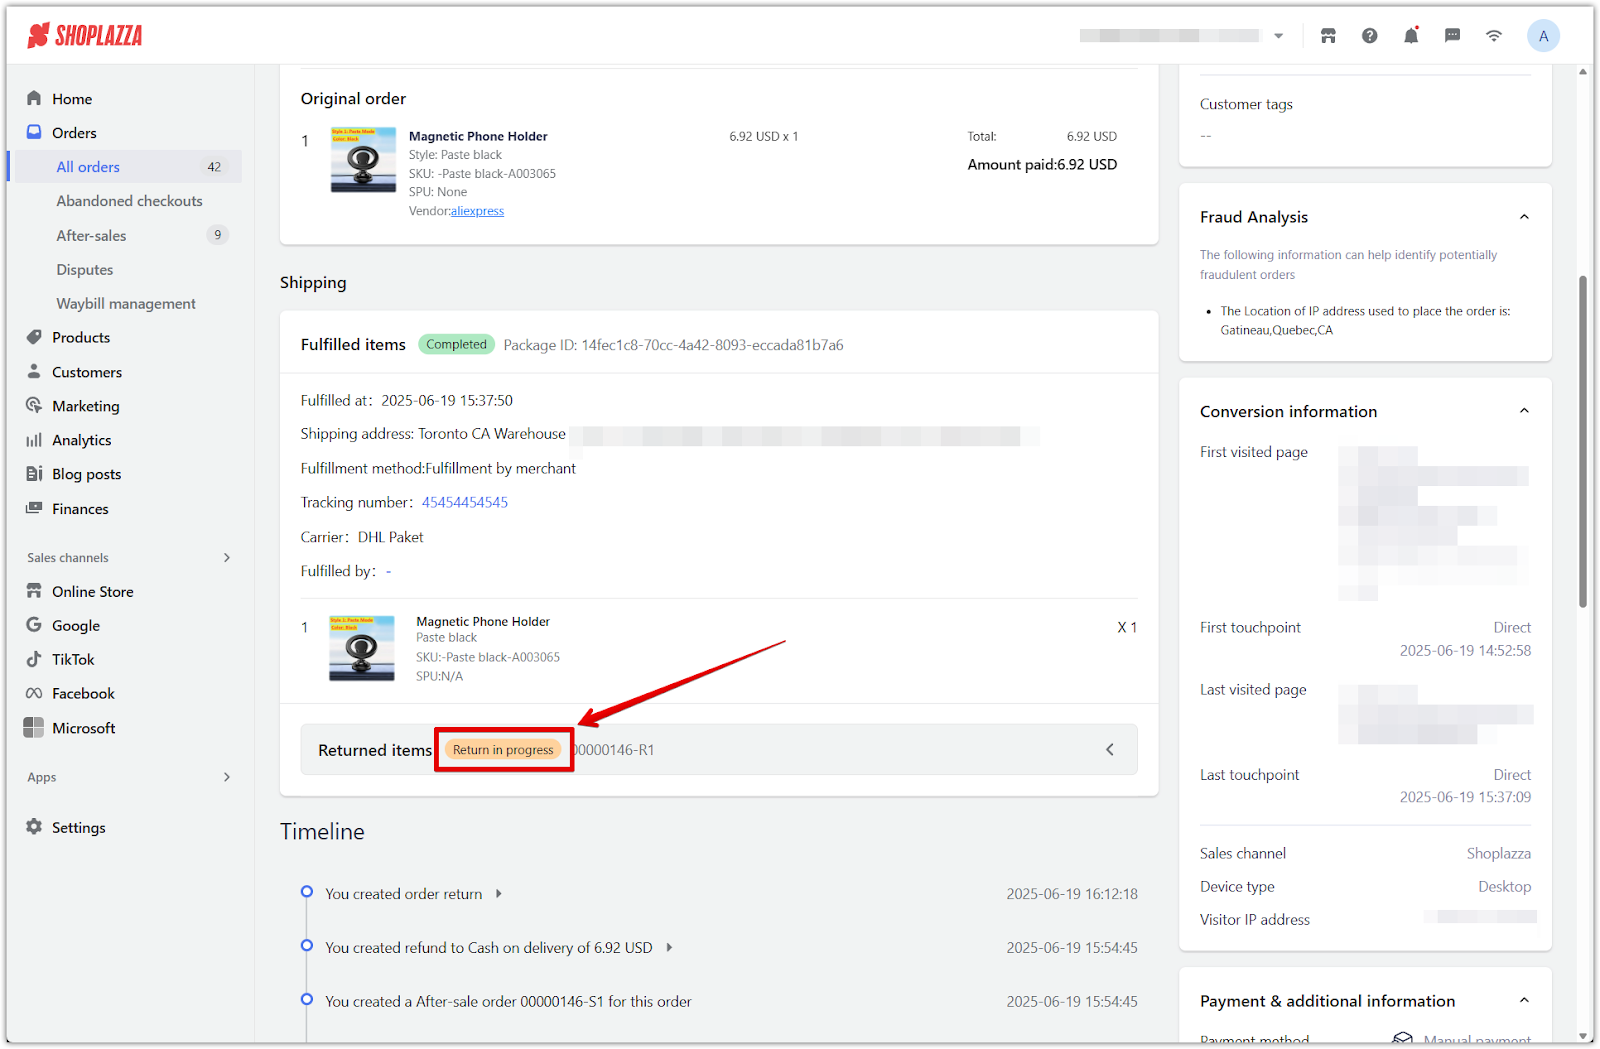
4. Submit the return: Click Return to submit the return request. The order will now show a Return in progress badge.
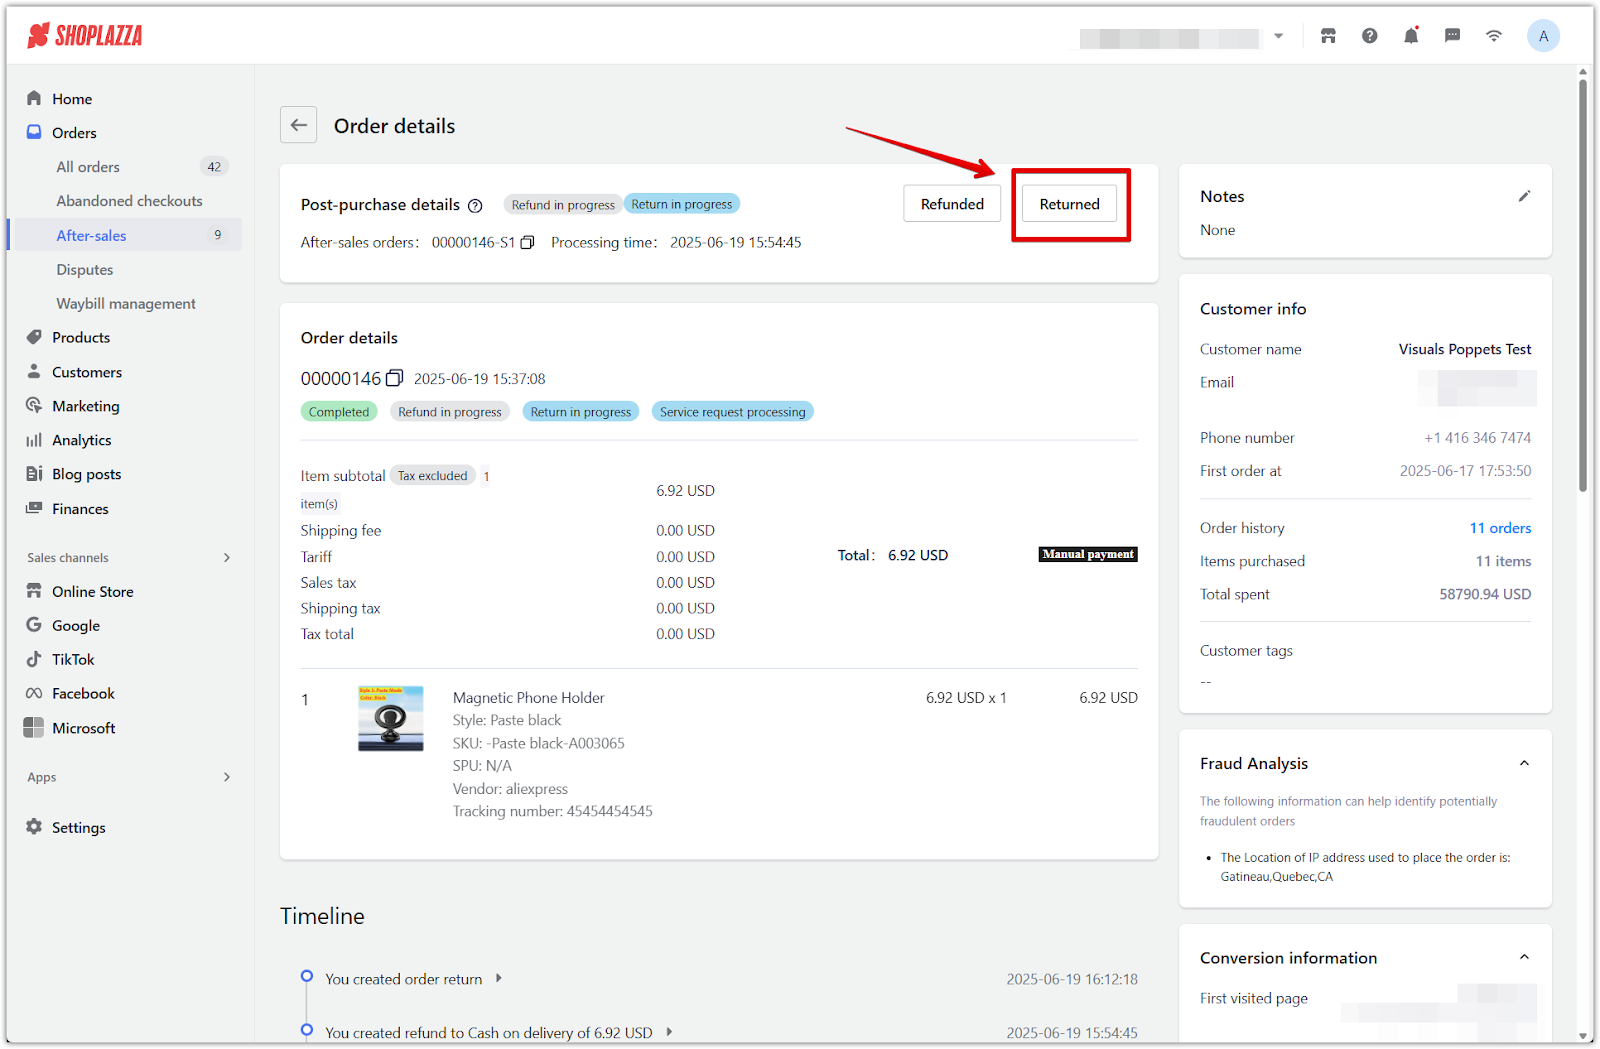
5. Finalize the return: Once the item is received, go to Orders > After-sales > Processing, open the after-sales record, and click Returned to confirm the return.
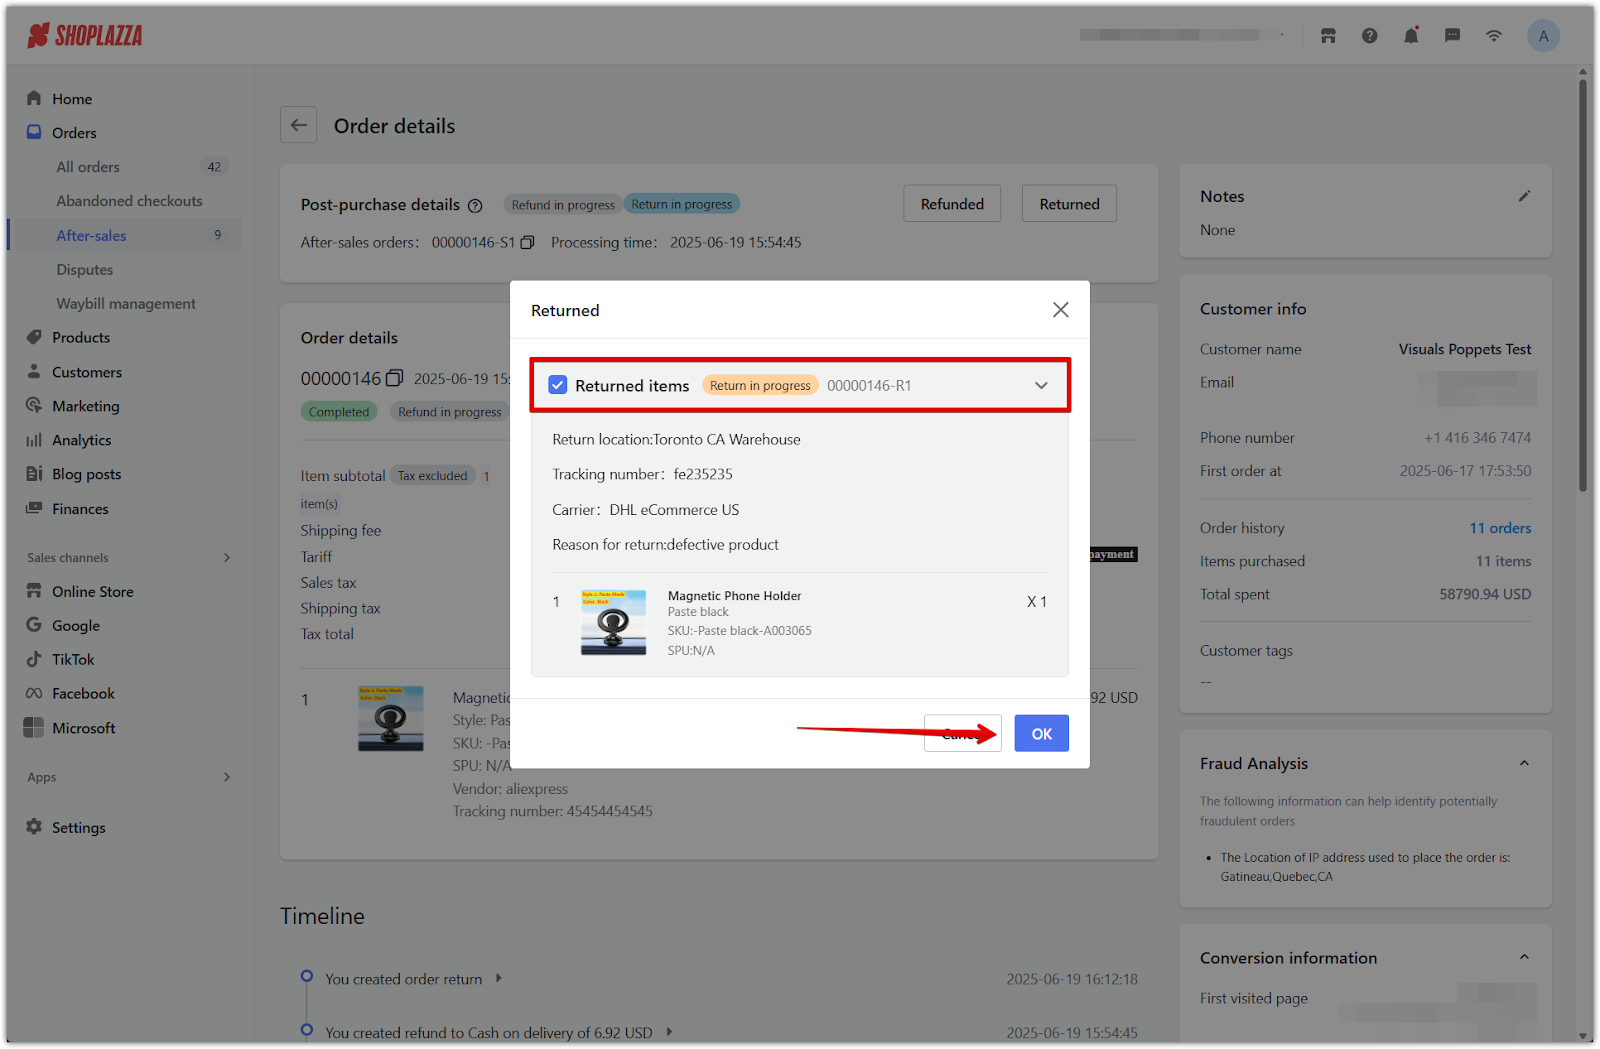
6. Confirm returned items: In the Returned pop-up, ensure the item is selected and all return details are correct, then click OK to finalize the return.
7. Click Refunded to complete the process: After confirming the return, click the Refunded button in the same After-sales record to finalize the refund.
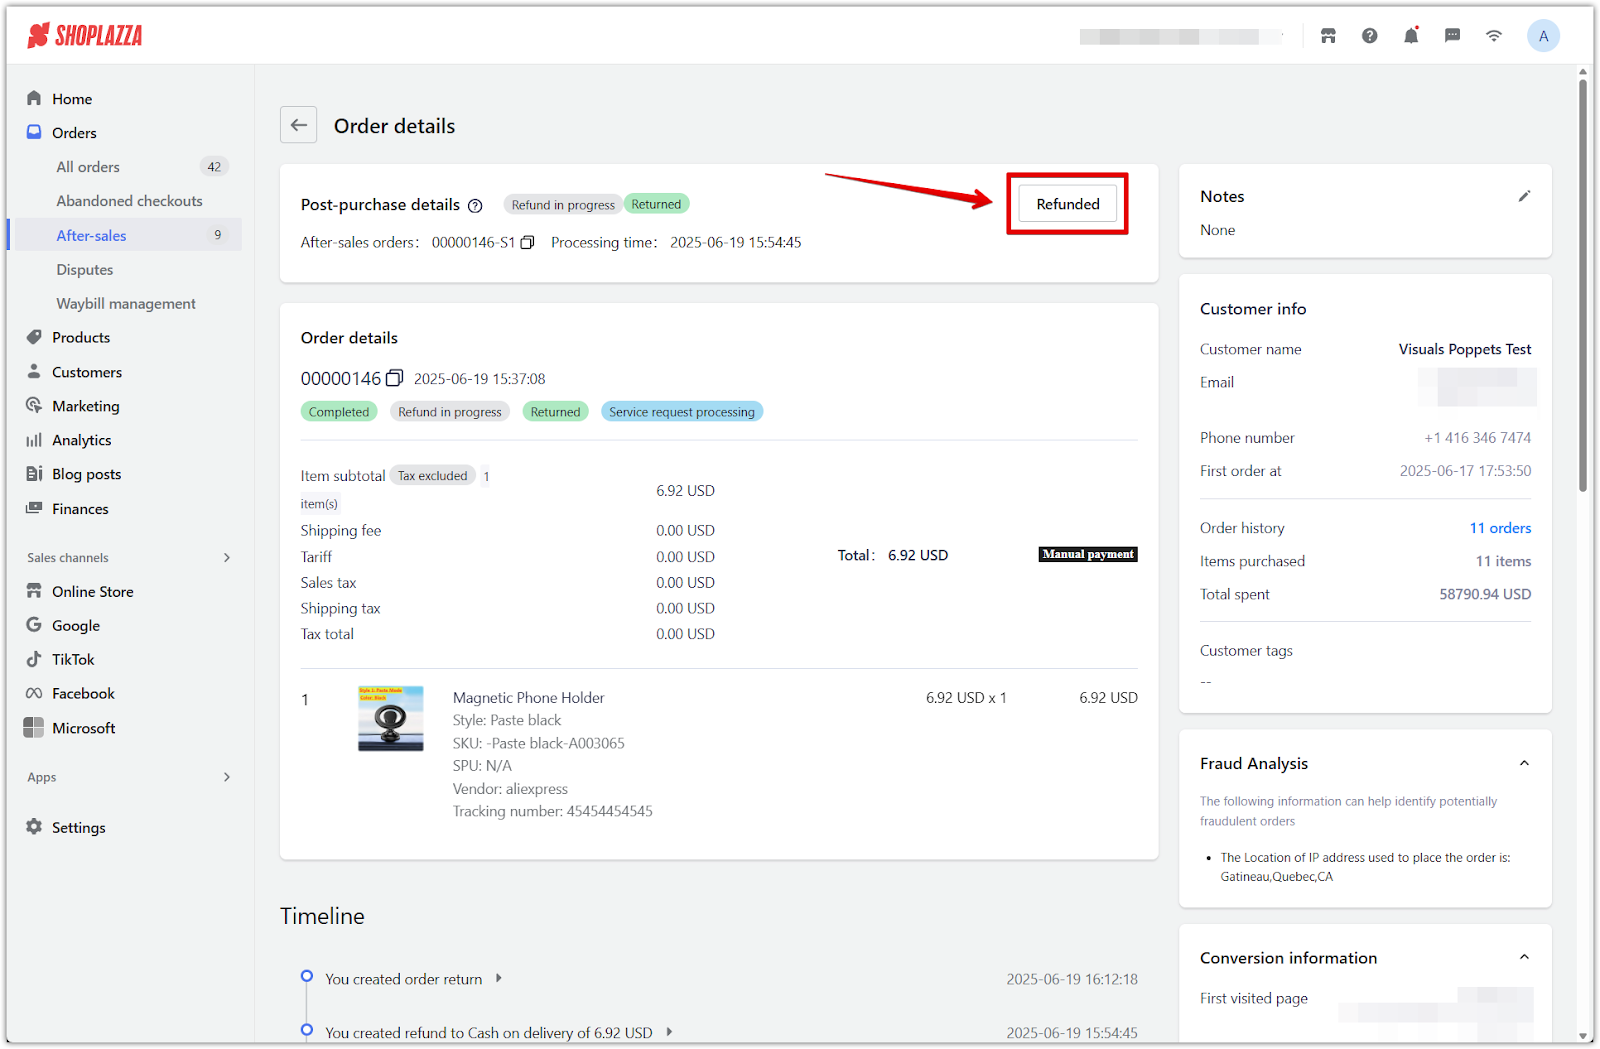
8. Verify order completion: Once both the return and refund are confirmed, the order status will update to Completed, Refunded, Returned, and Service completed.
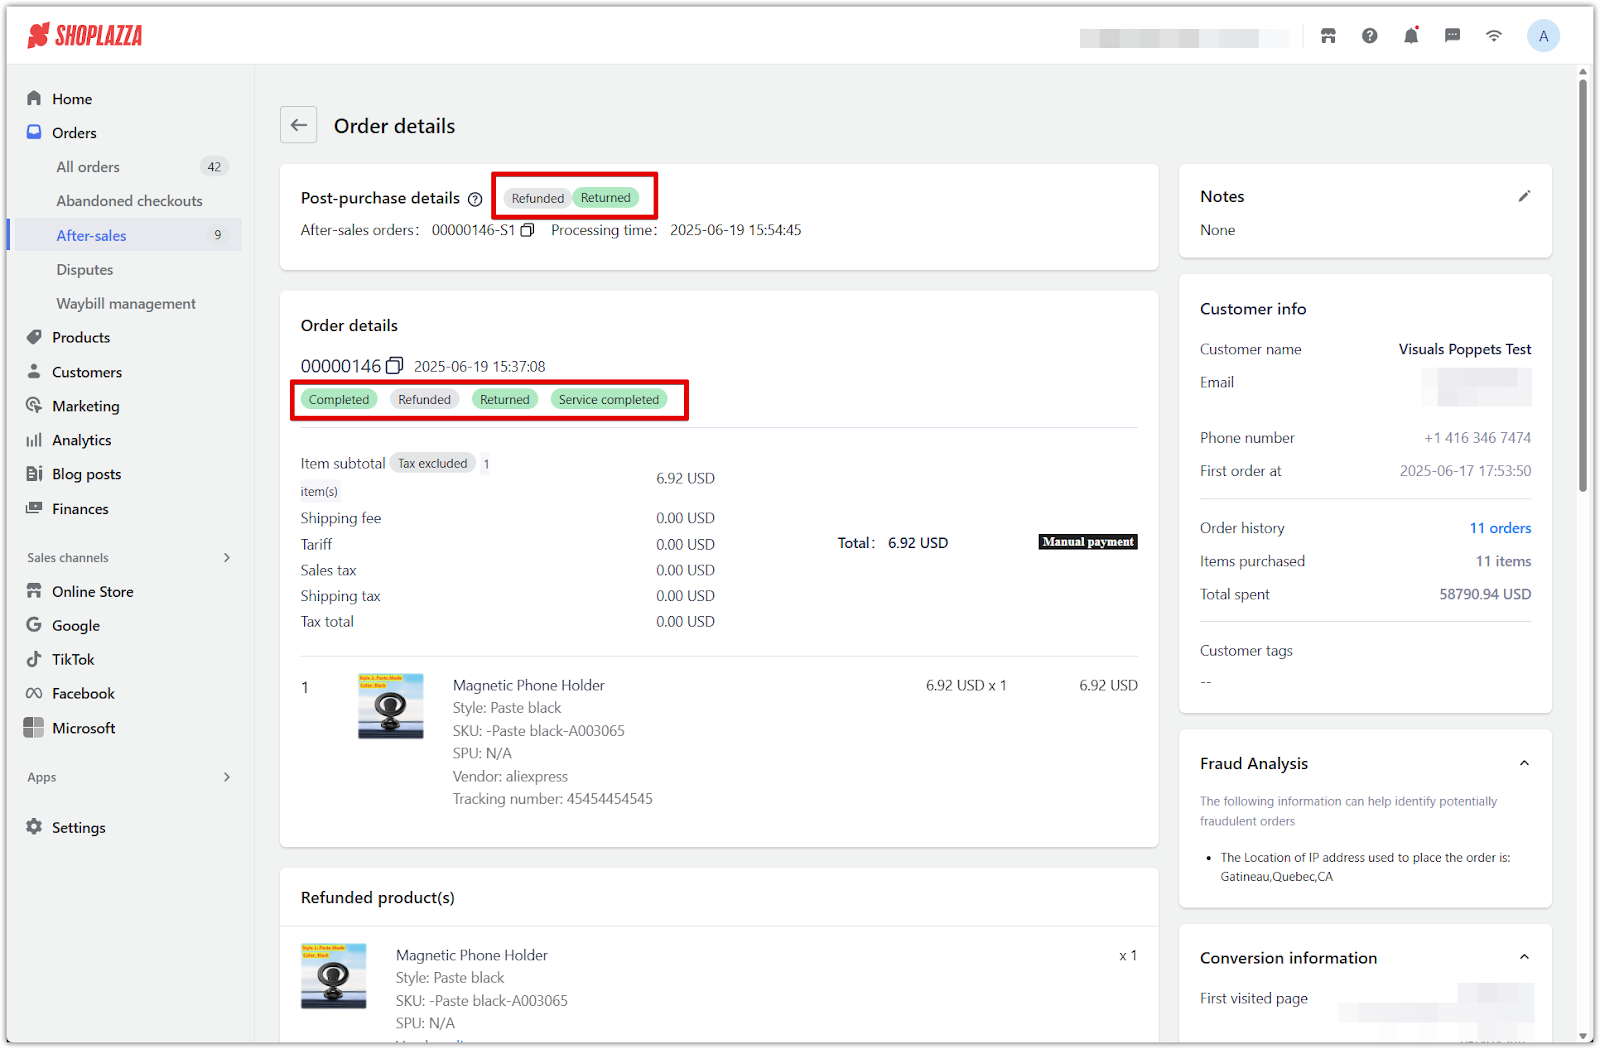
Handling both the return and refund properly ensures accurate service tracking and closes the order smoothly in your Shoplazza admin. Always confirm both actions to complete the after-sales workflow successfully.


Comments
Article is closed for comments.