Managing your customers effectively plays a key role in building a successful business. The customer management section provides a comprehensive overview of all your contacts, from email subscribers to regular customers, allowing you to shape marketing strategies and track customer engagement.
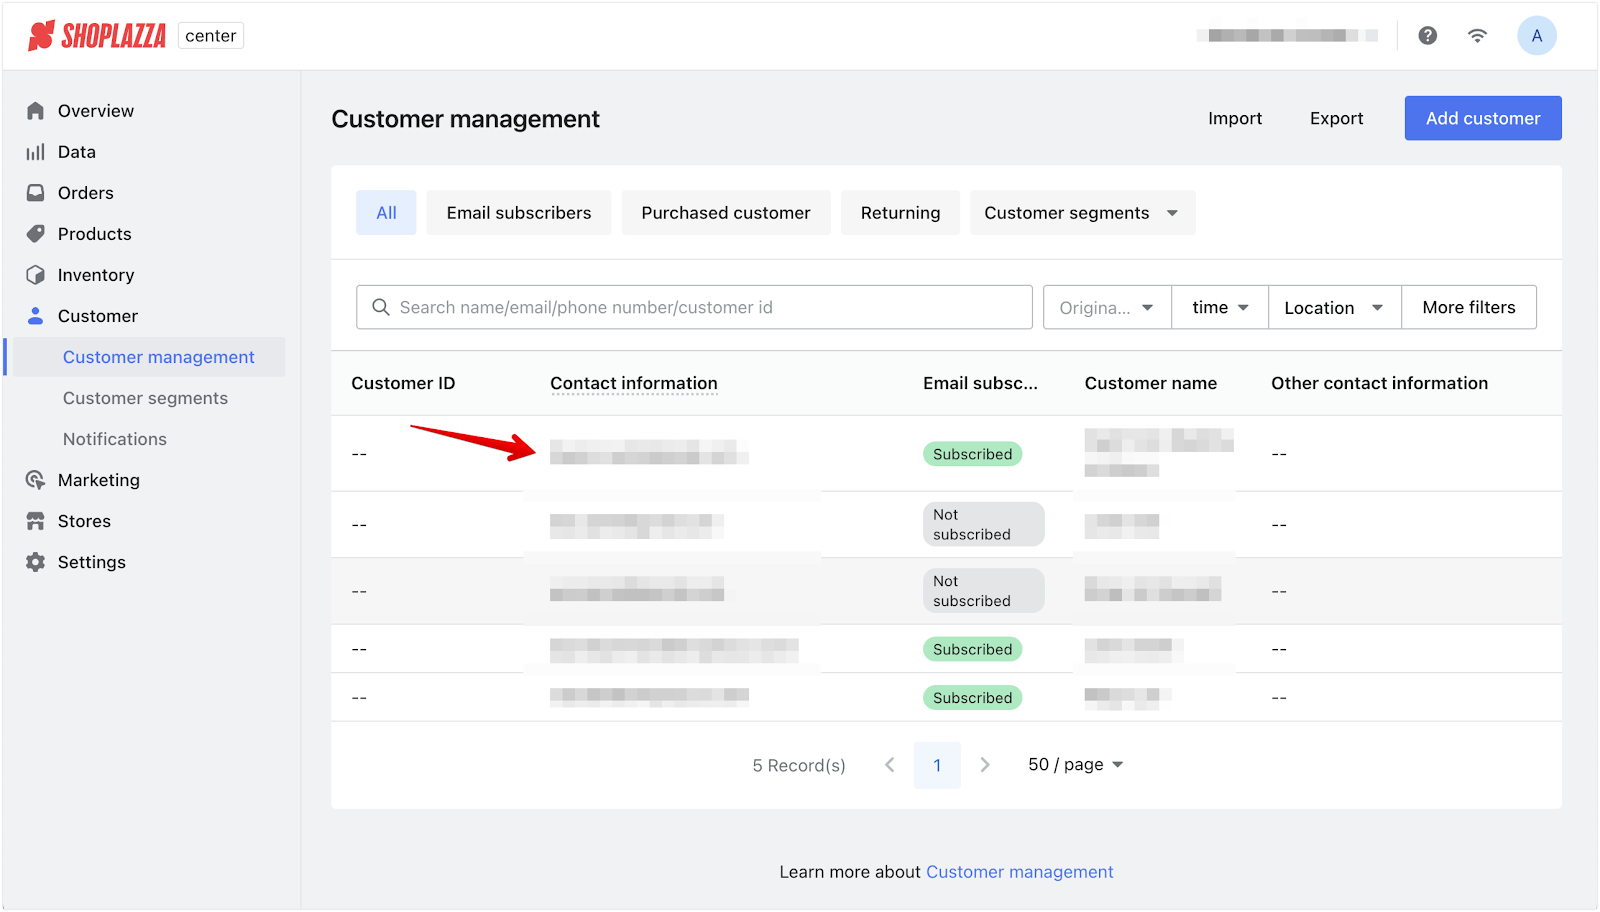
In your Shoplazza Center Admin, go to Customers > Customer management to view all customers and apply filters to refine your search.

Viewing and managing customer details
This section allows you to access and manage individual customer information, including their order history and address details. When a customer is created in the center admin, they must be assigned to a home store. This can be either an online store or a retail store. Customer information can be accessed from any retail or online store.
1. Viewing details: Click on the customer’s name to view their basic information, order history, and other details.
2. Customer overview tab: This tab allows you to edit customer information. However, the email address is permanent and cannot be modified.

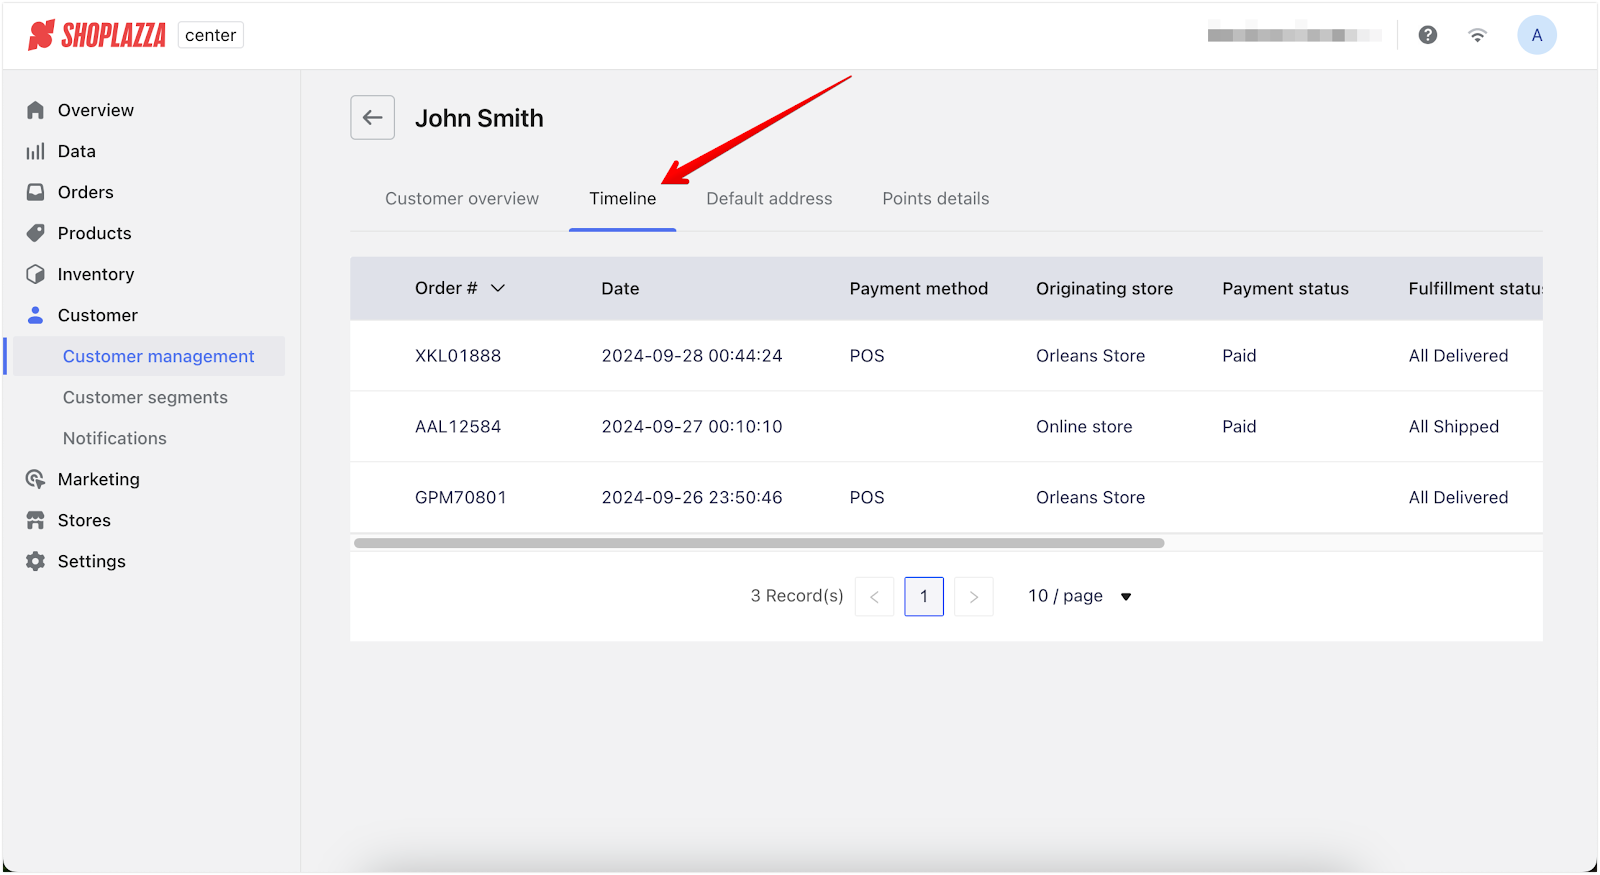
3. Timeline tab: This section displays the customer’s past orders.
4. Default address tab: The primary address used by the customer is marked with a blue icon in the top-right corner of this page.

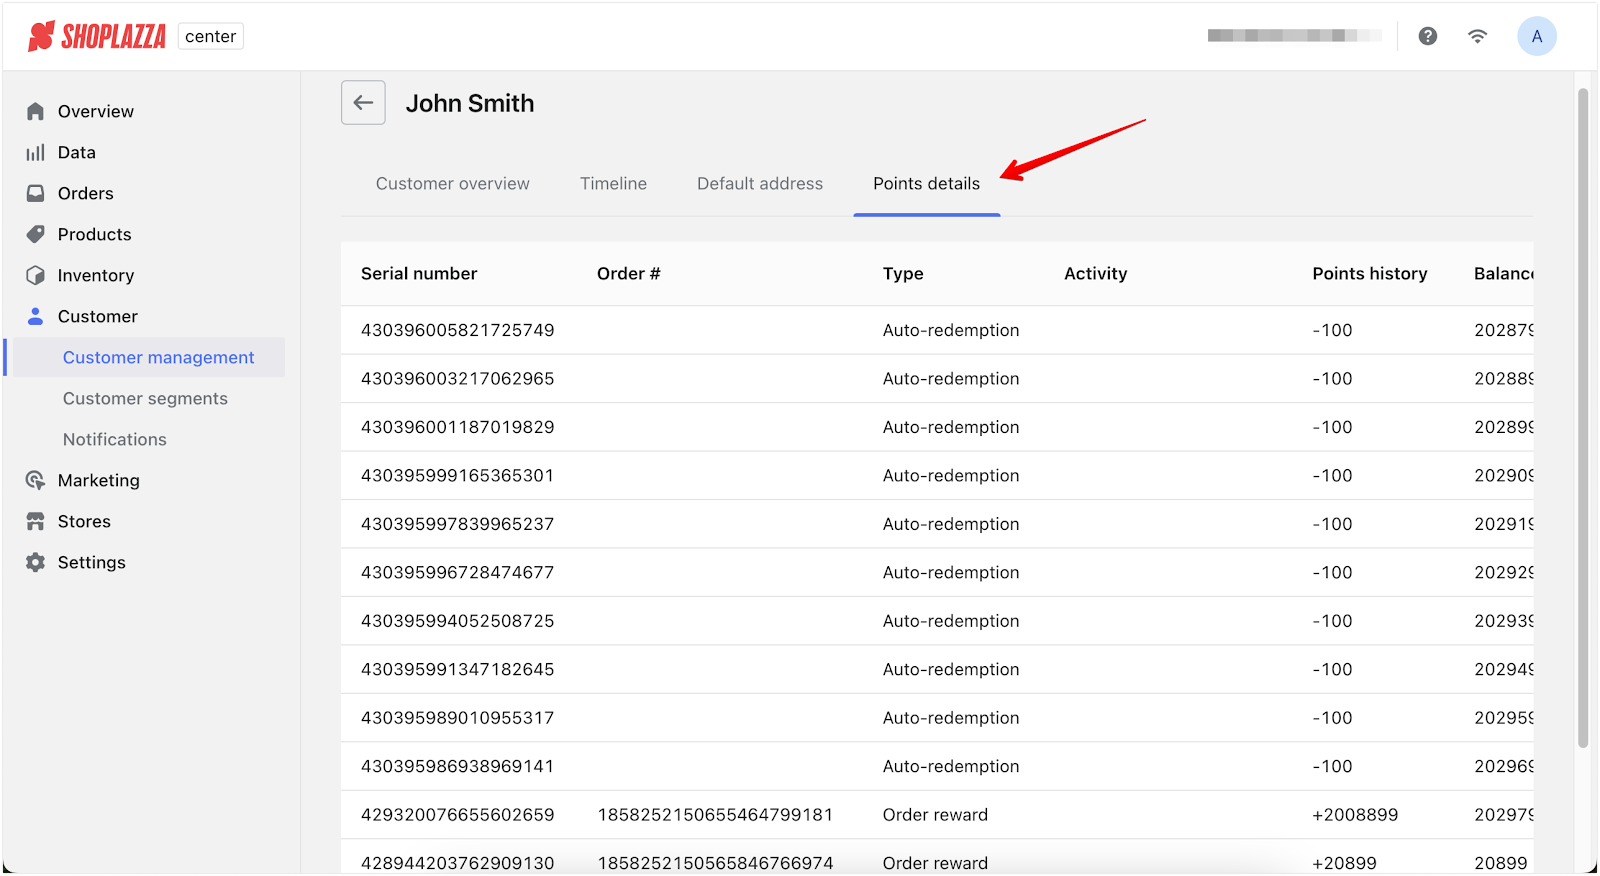
5. Points details tab: This tab displays the customer's points history, including points gained and used through activities such as auto-redemption and order rewards. You can track each transaction's balance, activity type, and order numbers.
Adding new customers
If you need to add new customers manually, this section guides you through the process of creating a new customer profile. When creating a customer, be sure to assign them to a home store, which can be either an online or retail store.
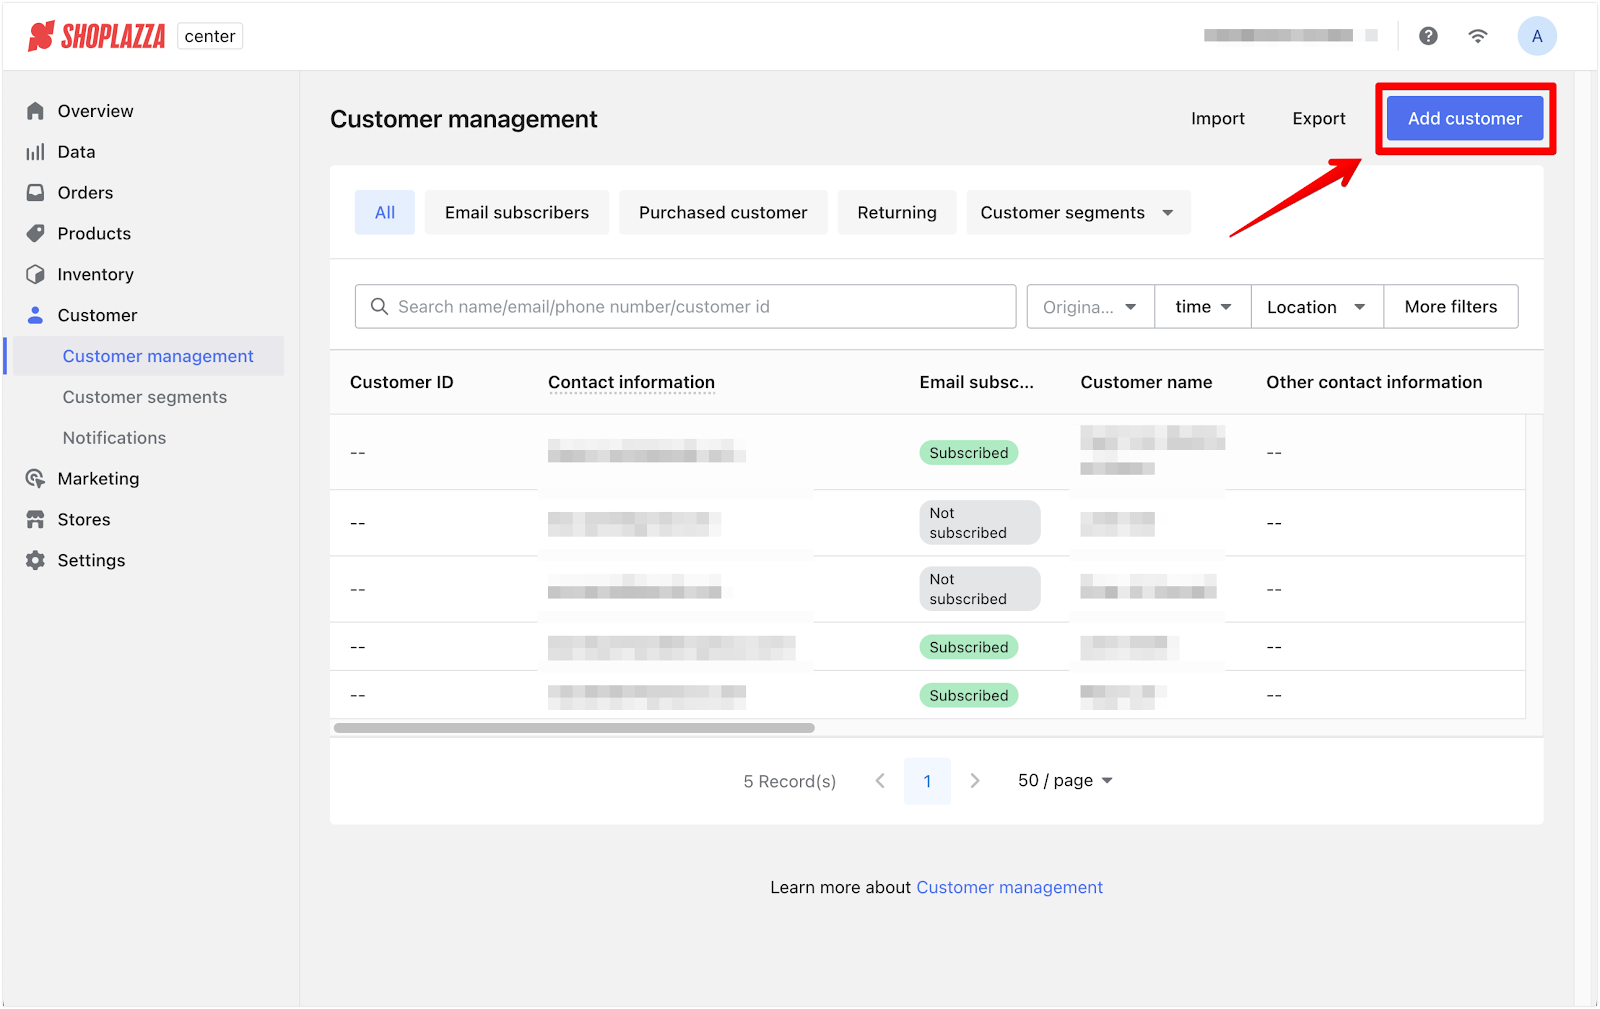
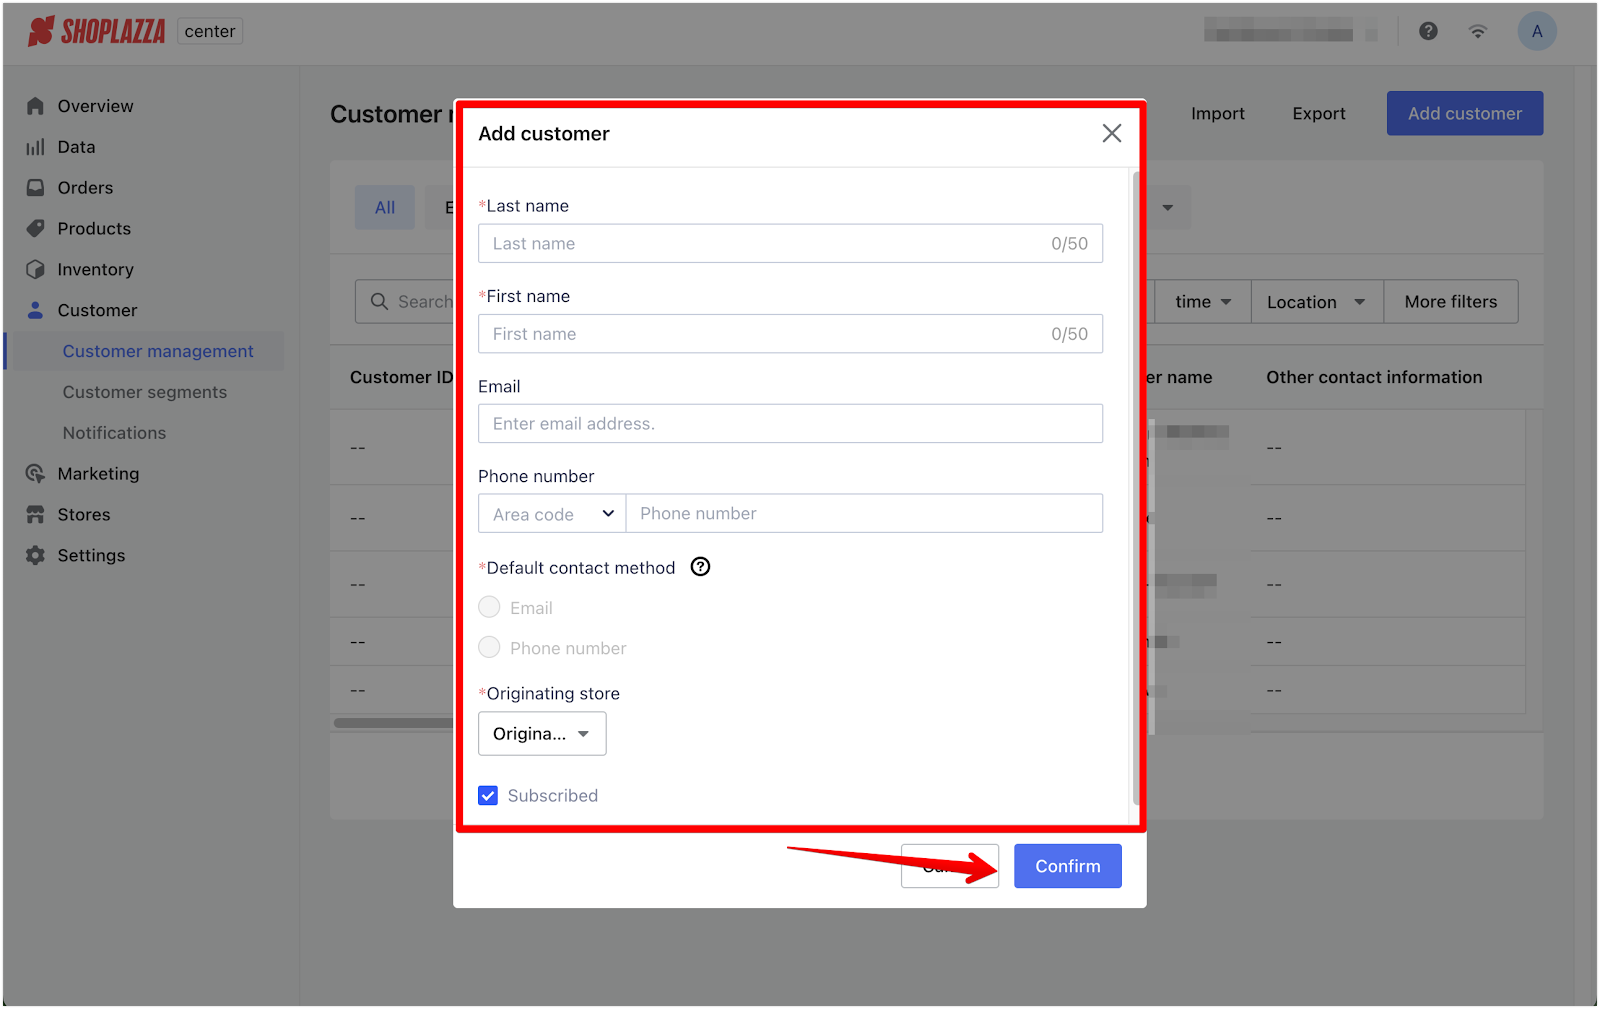
1. Add customer: On the customer management page, click the Add customer button.
2. Enter details: Complete the pop-up form with the customer’s details. Select one as the default contact method if both an email and a phone number are provided. Click Confirm to save.
Importing customer information
This section allows you to import multiple customer records at once using a file upload process. It ensures your data is properly formatted and organized.
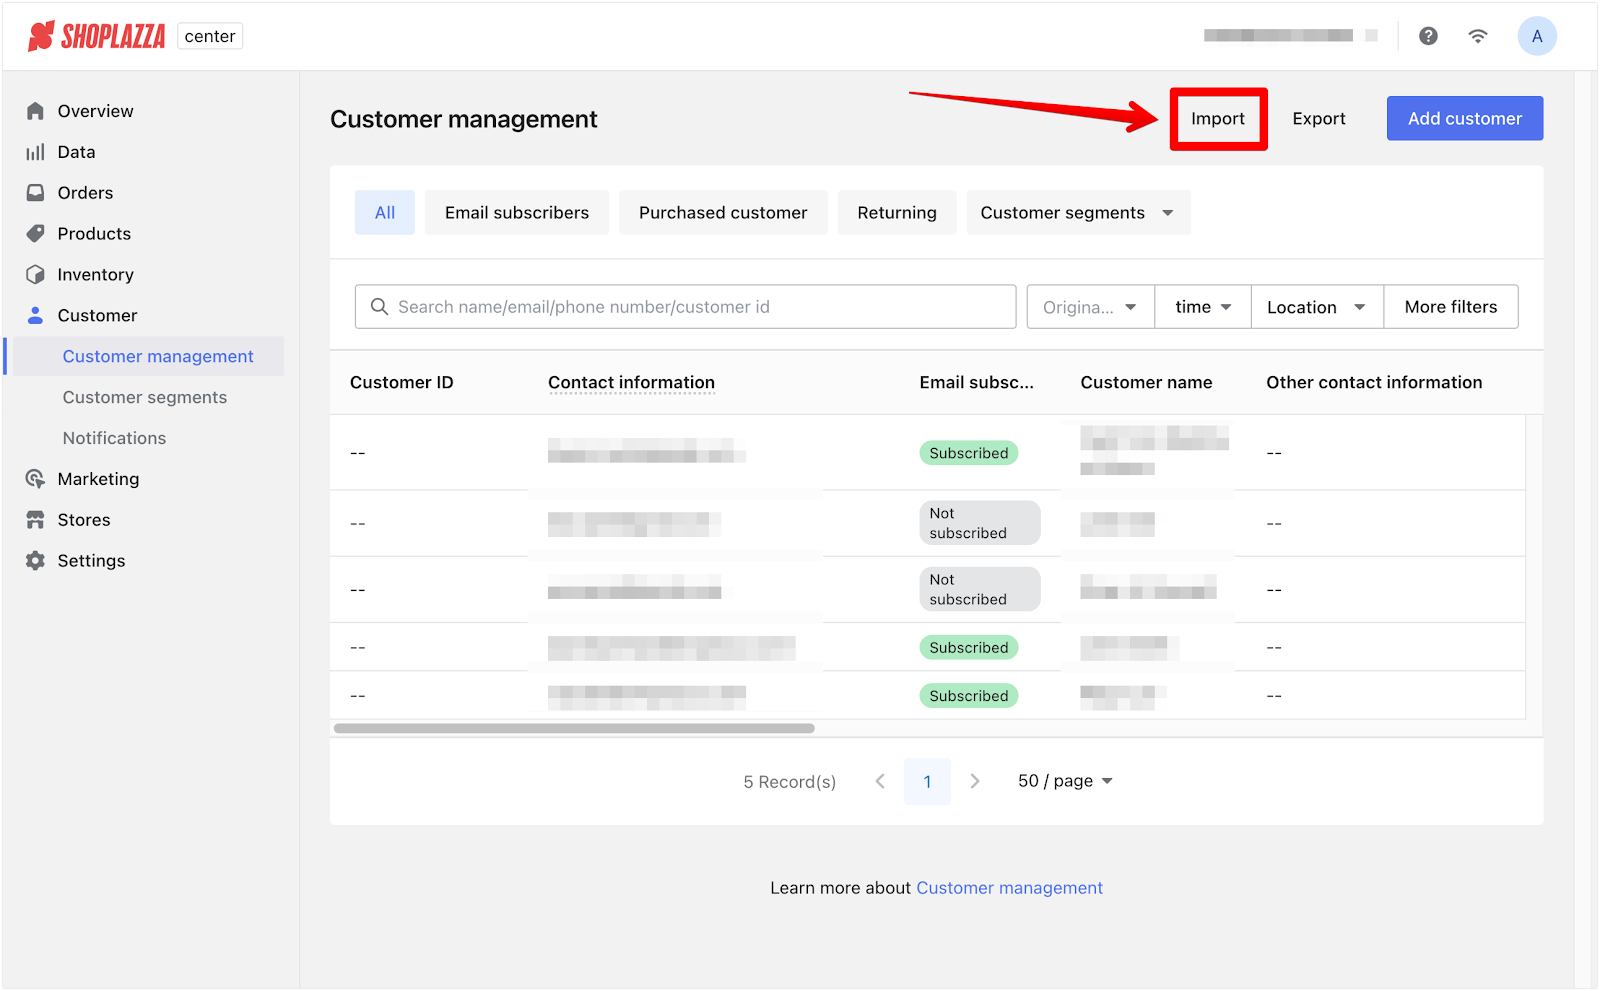
1. Download sample file: Click Import and download the sample customer template to understand how to format your data correctly. Use this template as a guide to fill out customer information.
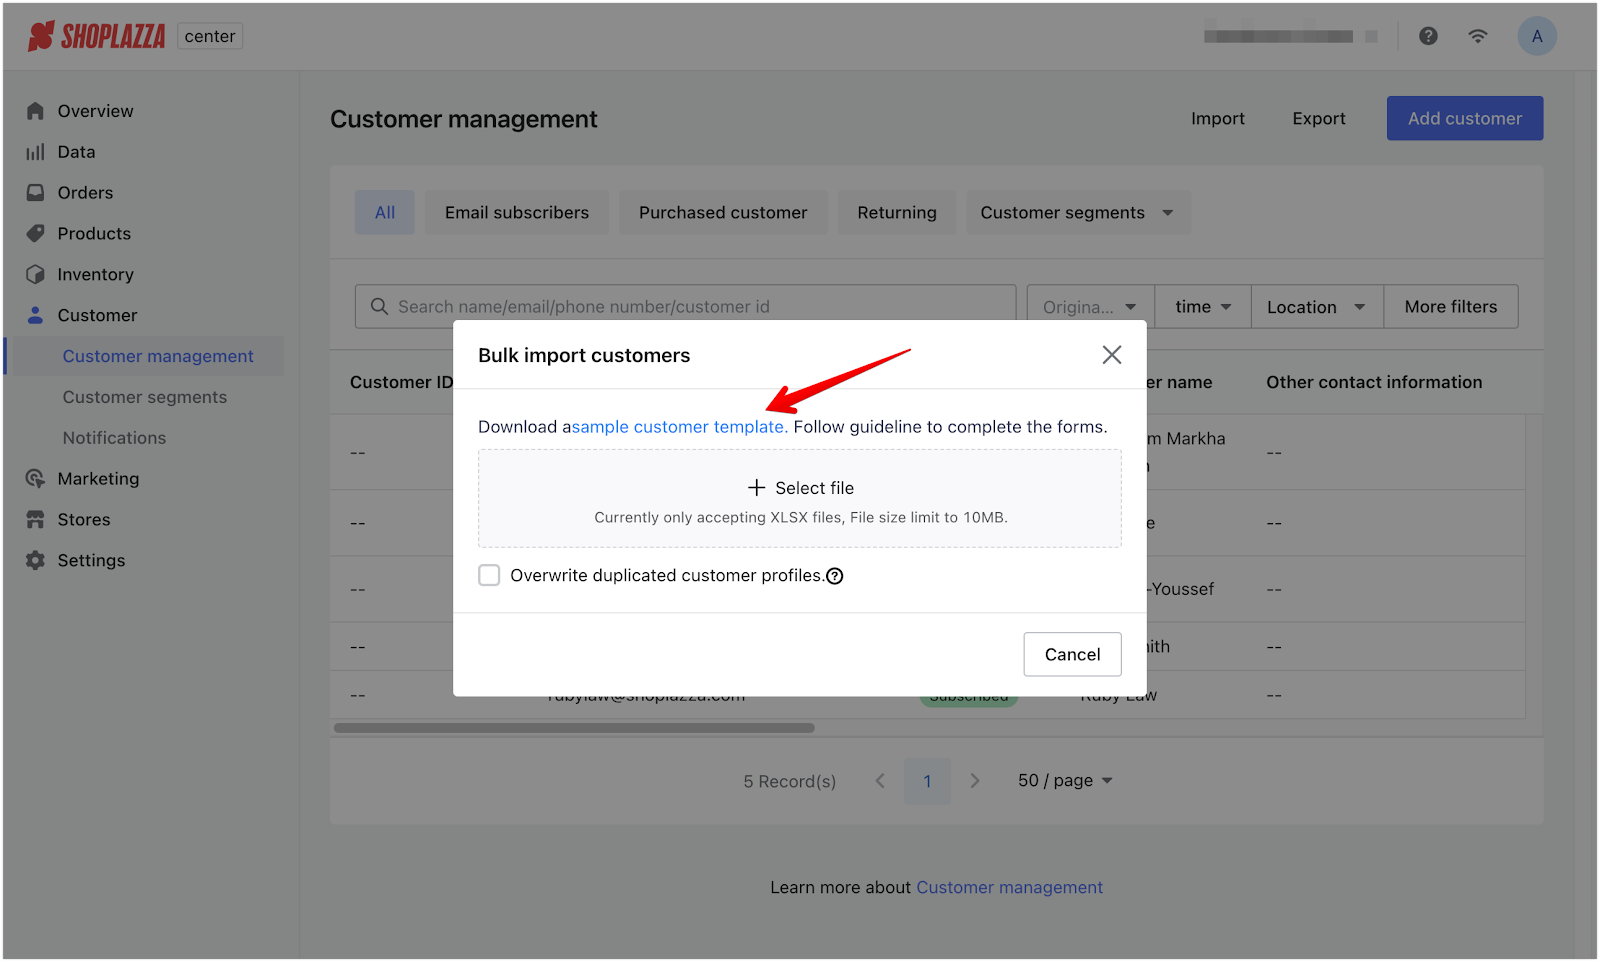
2. Upload updated file: After updating the file, click Select file to upload it back into the system. Ensure the file is in the accepted XLSX format and under 10MB.

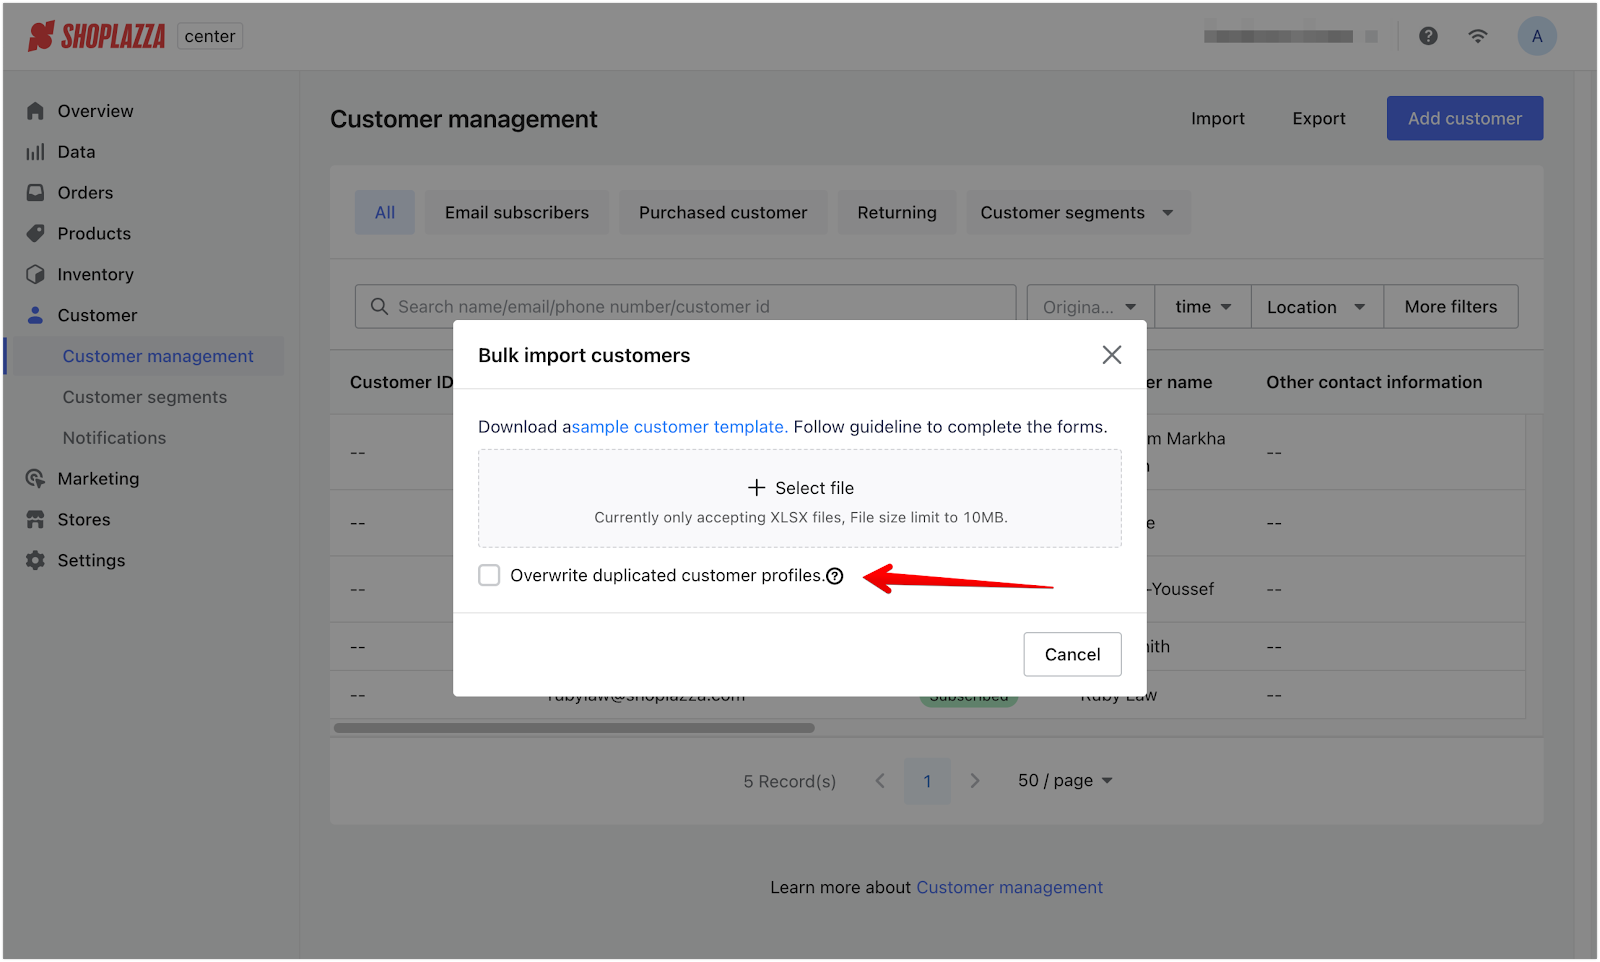
3. Overwrite duplicated customer profiles: If you check this option, any new customer profiles that match existing records will replace the old profiles with the updated information in your file. Leave this option unchecked to keep the original profiles without any changes.
Exporting customer information
If you need to back up or transfer customer data, this section explains how to export your customer information into CSV or Excel format.
1. Choose export type: Click Export on the customer management page. You’ll be prompted to select either the Customer list (which includes all customer details) or Export delivery address (which only exports the customer’s delivery address).

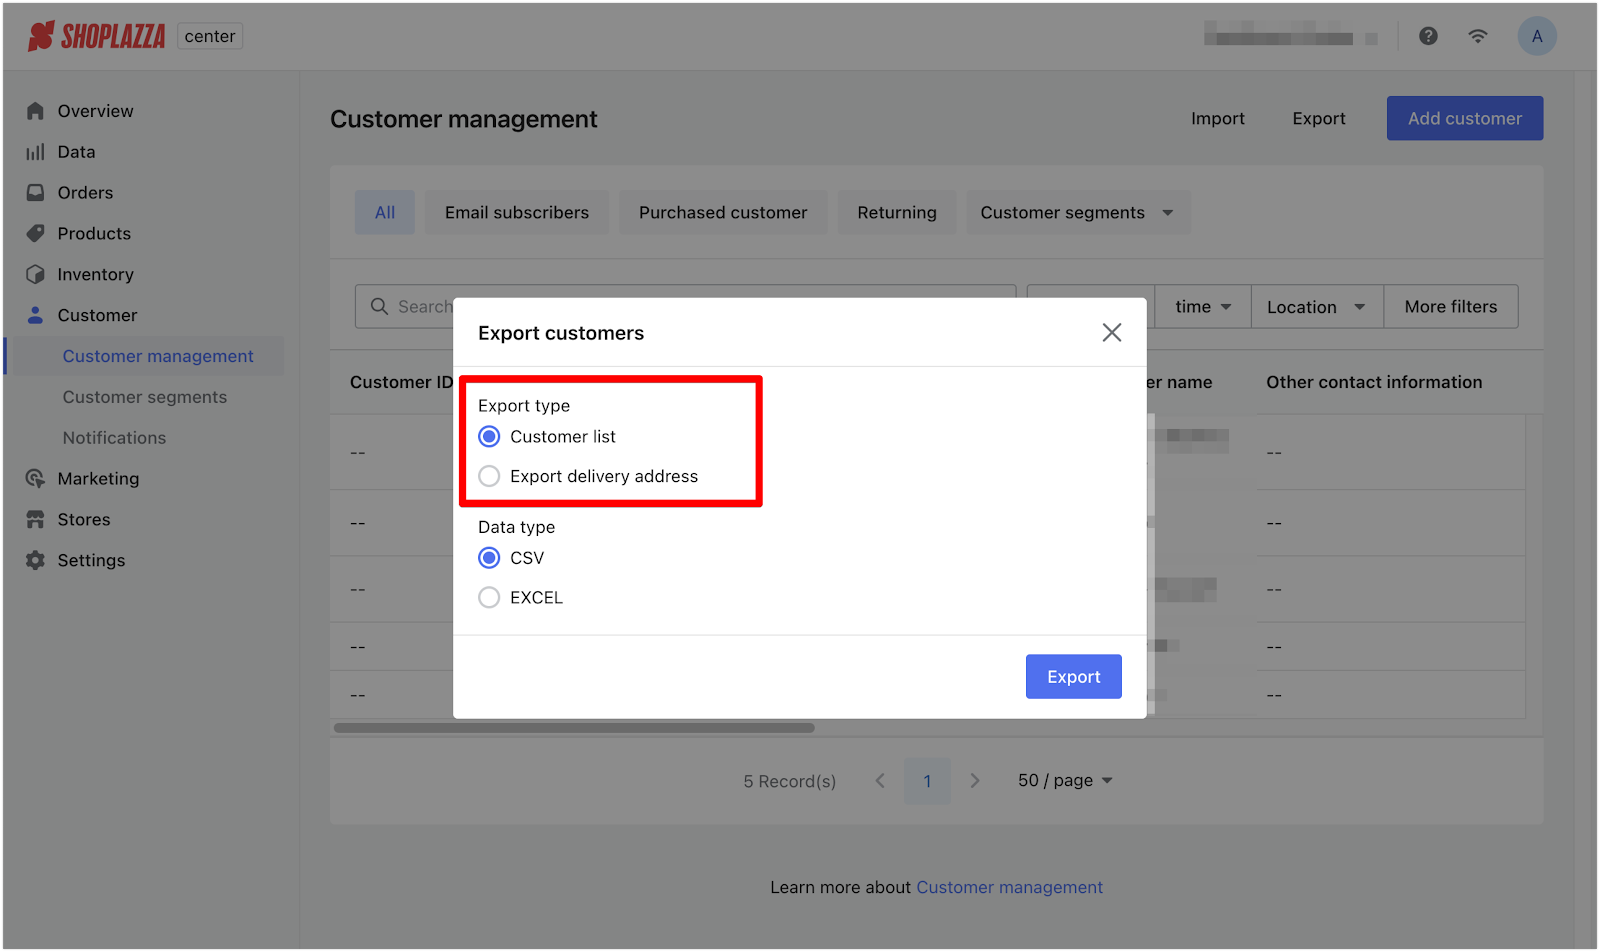
2. Select data type: Choose the file format for export: either CSV (recommended for simple data management and compatibility) or Excel (for more complex data handling and formatting options).

3. Export file: Once you've selected your export type and data format, click Export to download the file to your desktop.

This process ensures that your customer database remains organized, accurate, and easy to manage. With these tools, you can effectively handle customer information, streamline data management, and make informed decisions to support your business growth.


Comments
Please sign in to leave a comment.