
Closing your register at the end of the day is just as important as setting it up at the start. It ensures that all cash transactions are properly accounted for and any discrepancies are addressed. Here's a guide to help you close your cash drawer and finalize your day’s transactions:
Closing your cash drawer
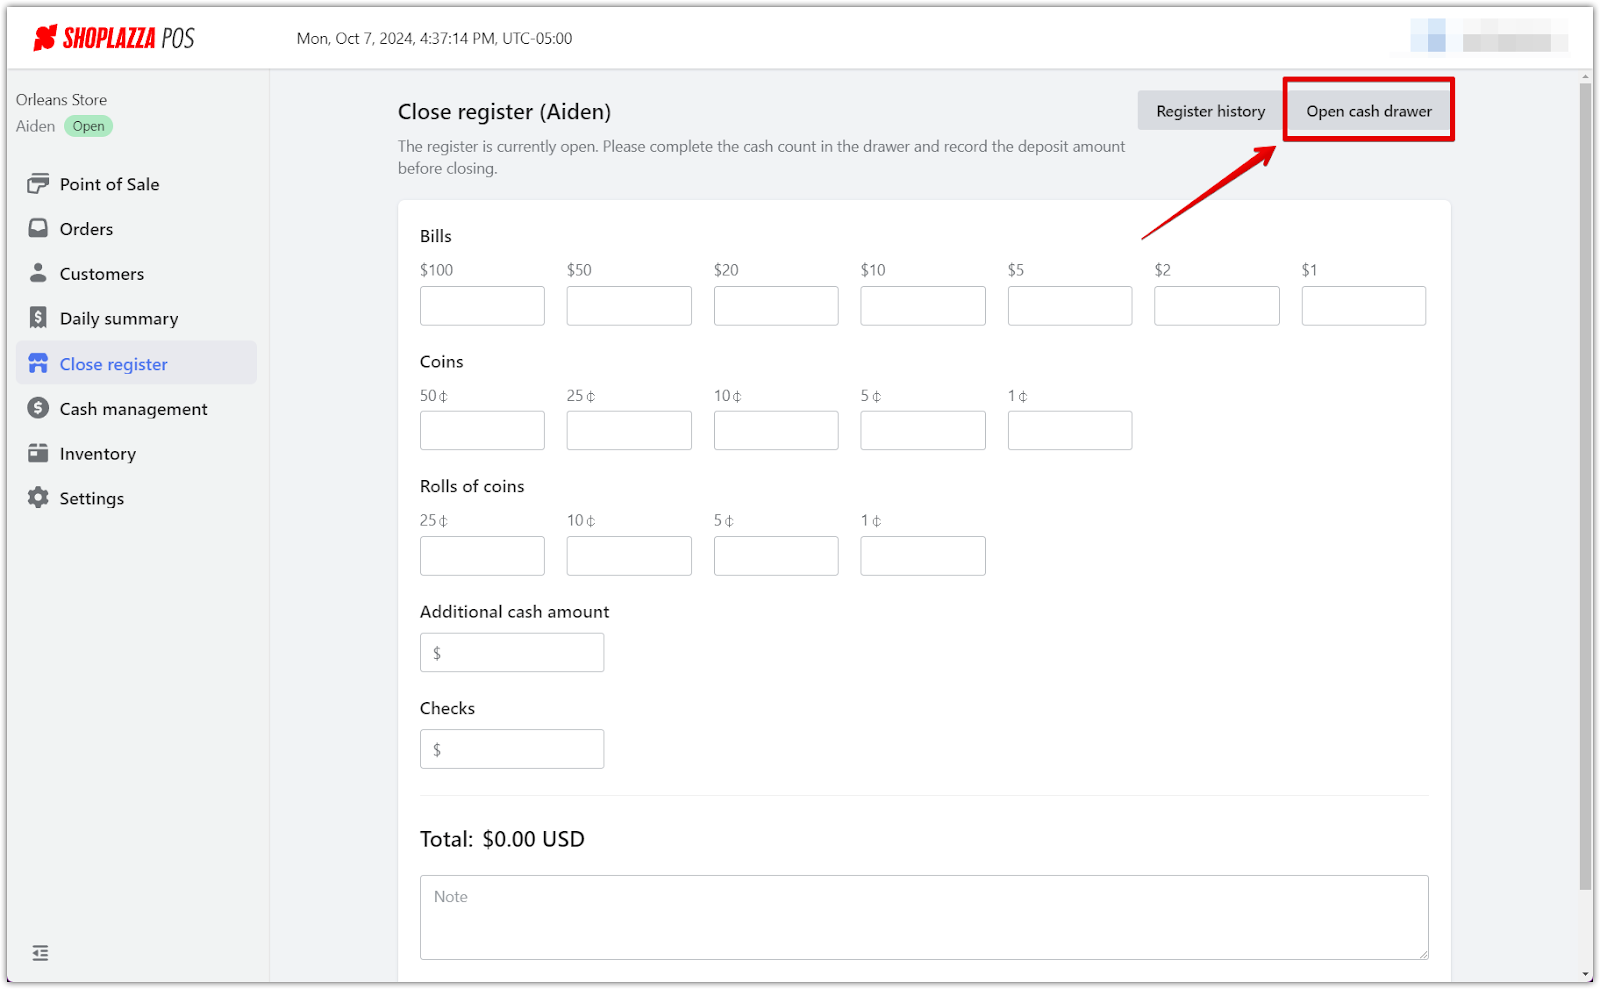
1. Closing the register: When you’re ready to close for the day, click on the Close register button, which will direct you to the Close register section, where you can begin the process.

2. Accessing the cash drawer: Once you're in the Close register section, click on Open cash drawer and select Safe drop from the dropdown. This option allows you to deposit excess cash into the store's safe safely.


3. Counting the cash: Once the drawer opens, you’ll count all cash, including checks. Enter the amounts for Bills, Coins, Rolls of coins, and checks in their respective fields. Ensure everything is accurate before proceeding.

4. Reviewing over/short details: After totaling the cash in your drawer, click on the Over/Short amount to view more detailed information about your count, including the starting amount, net cash flow, and any discrepancies. This will help you verify the closing amount and spot any issues.


5. Confirming and finalizing the deposit: After confirming the over/short details, click Close register. A pop-up will appear, prompting you to enter how much you deposit in Bills/Coins and Checks. Once filled out, click Confirm to complete the process, which will serve as your next shift's starting amount. After confirming the deposit, the system will finalize the closing. A receipt will be printed, and a file will be downloaded for reference, ensuring all cash-handling activities are logged and recorded.

Handling discrepancies
Just like during the opening process, discrepancies may occur when closing the register. It’s important to address any differences before finalizing the cash count:
1. Identifying discrepancies: After entering the cash amounts, the system will display the total counted amount and compare it to the last recorded total. If there’s a mismatch, you’ll see the Over/Short amount in the summary below the cash entry fields.


2. Reviewing the discrepancy: Review the amounts entered to check for any counting or input errors. Double-check all Bills, Coins, and Rolls of coins. If you find a mistake, correct the entry in the respective field.

3. Adjusting the discrepancy: If no error is found and the discrepancy remains, proceed with the discrepancy in place. Make a note in the Note field to explain any reasons for the difference, such as overages from the day or missing cash.

4. Finalizing with discrepancies: Once you’re ready, click Close register to proceed. The system will close the register with the discrepancy noted, and the amount will be logged for future reference. Ensure the Over/Short amount is indicated for reporting purposes.

Viewing register history
Keeping track of your register’s history is important for reviewing past transactions and resolving any cash discrepancies. The Register history feature allows you to easily view and download previous records for reference.
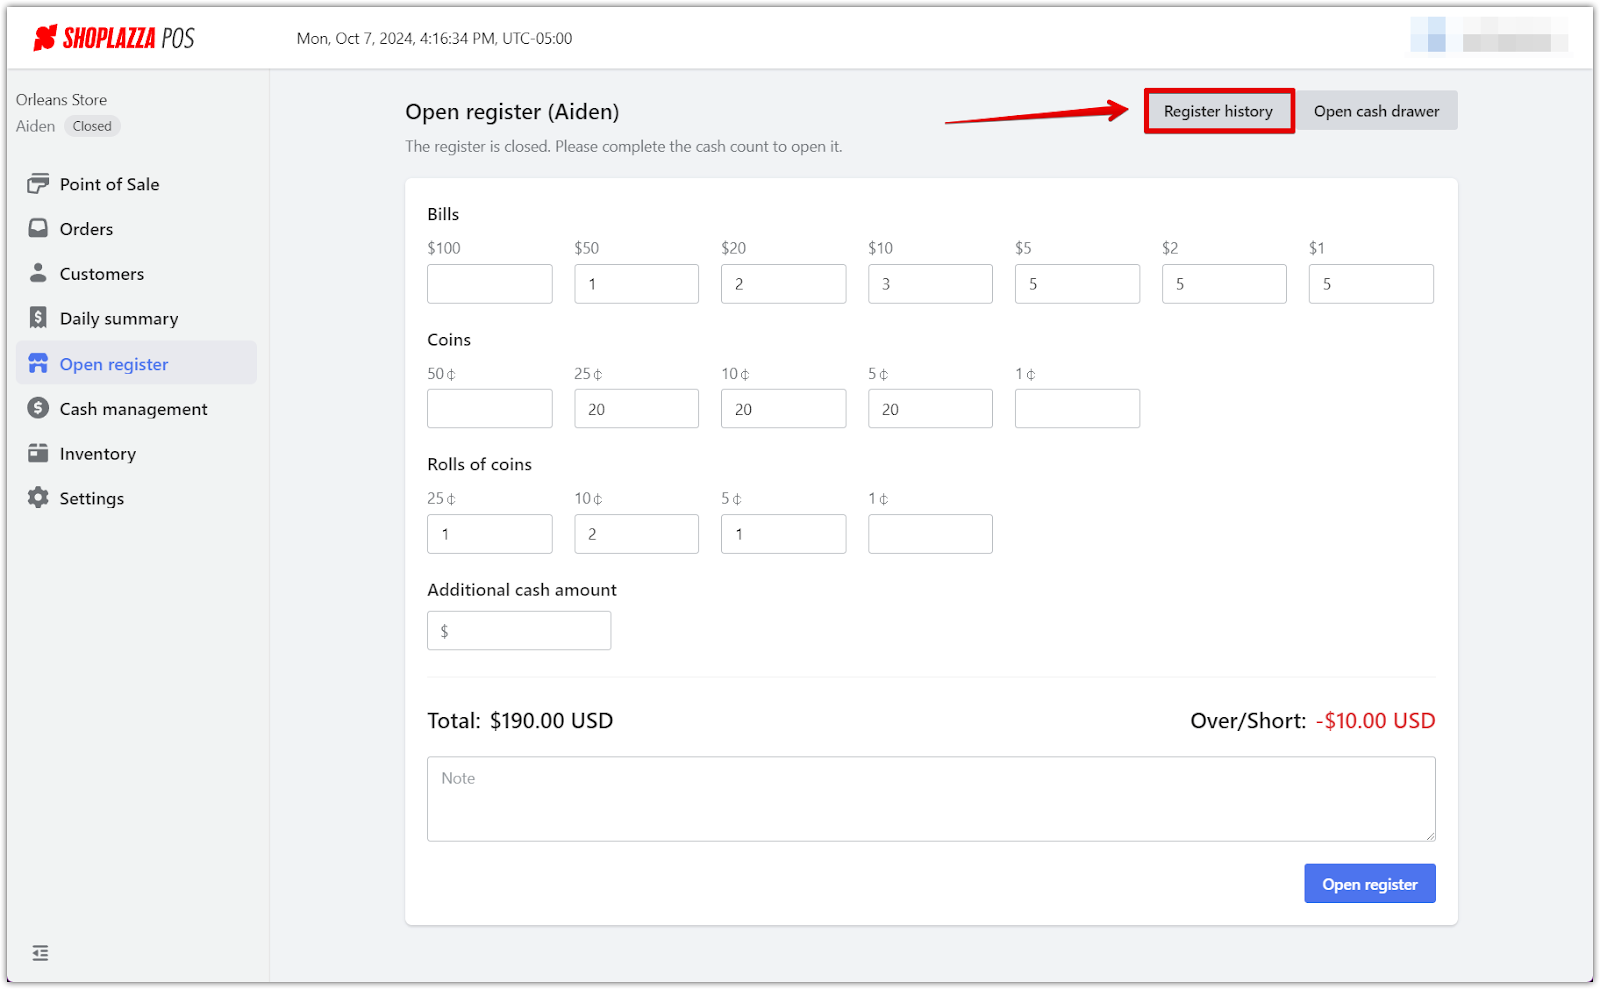
1. Accessing register history: Depending on the status of your register, the button will either be labeled Open register (if the register is closed) or Close register (if the register is open). In either case, you can access the Register history by clicking the corresponding button and then selecting Register history in the top-right corner of the page.
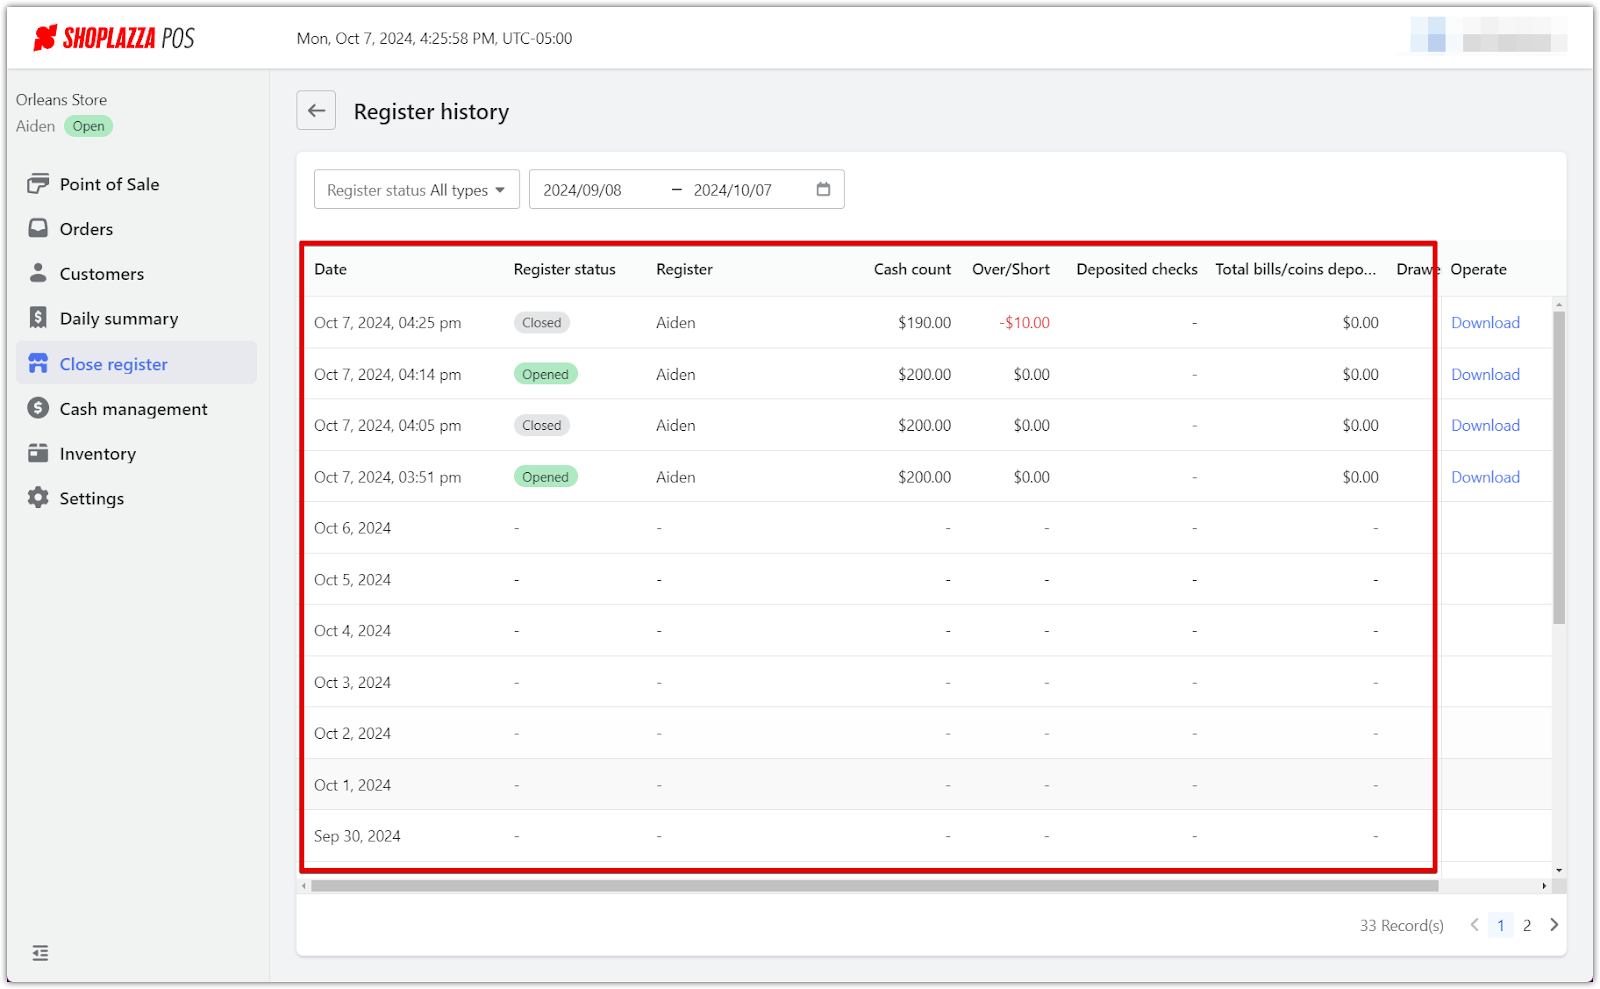
2. Viewing records: Once in the Register history section, you will see a detailed log of previous cash counts, including the register status, cash count totals, and any over/short amounts. This list allows you to identify discrepancies and quickly monitor register activity over time. You can filter by Register status and a specific date range.
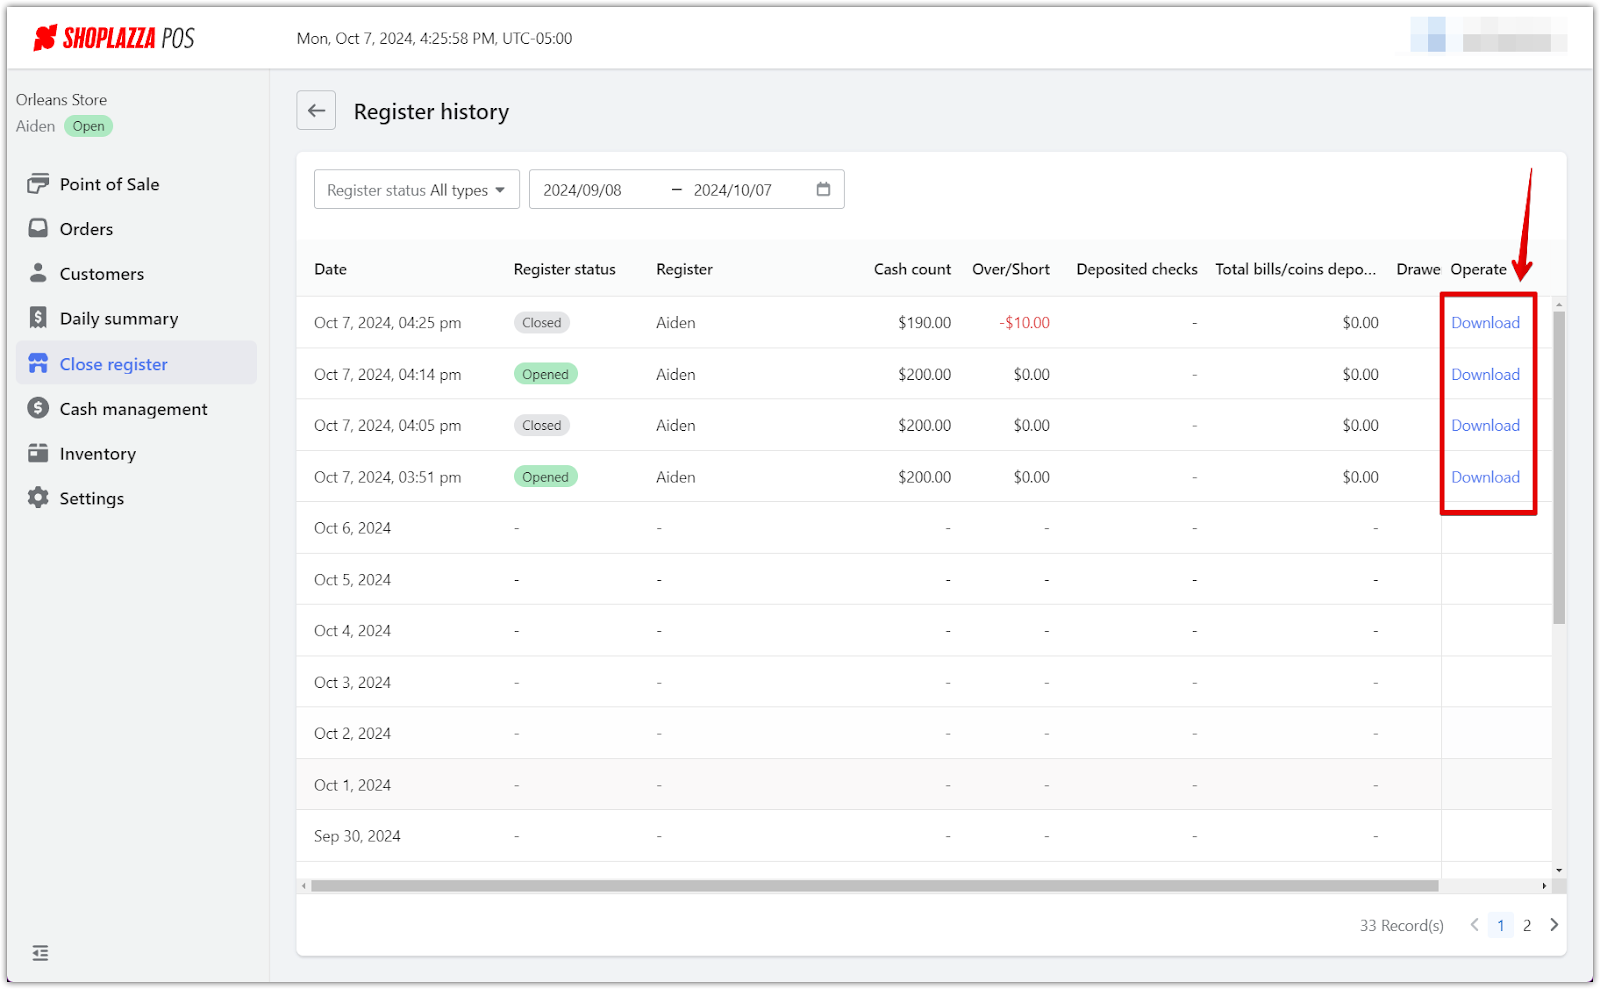
3. Downloading register reports: On the right side of each entry, there is a Download button that allows you to download individual register reports for further review or record-keeping. This ensures that all register data is securely stored and easily accessible when needed.
Opening cash drawer
The Open cash drawer function allows staff to open the cash drawer for specific reasons without initiating a transaction. This feature is important for managing cash flow during the day, whether for making change, conducting safe drops, or organizing the cash drawer.
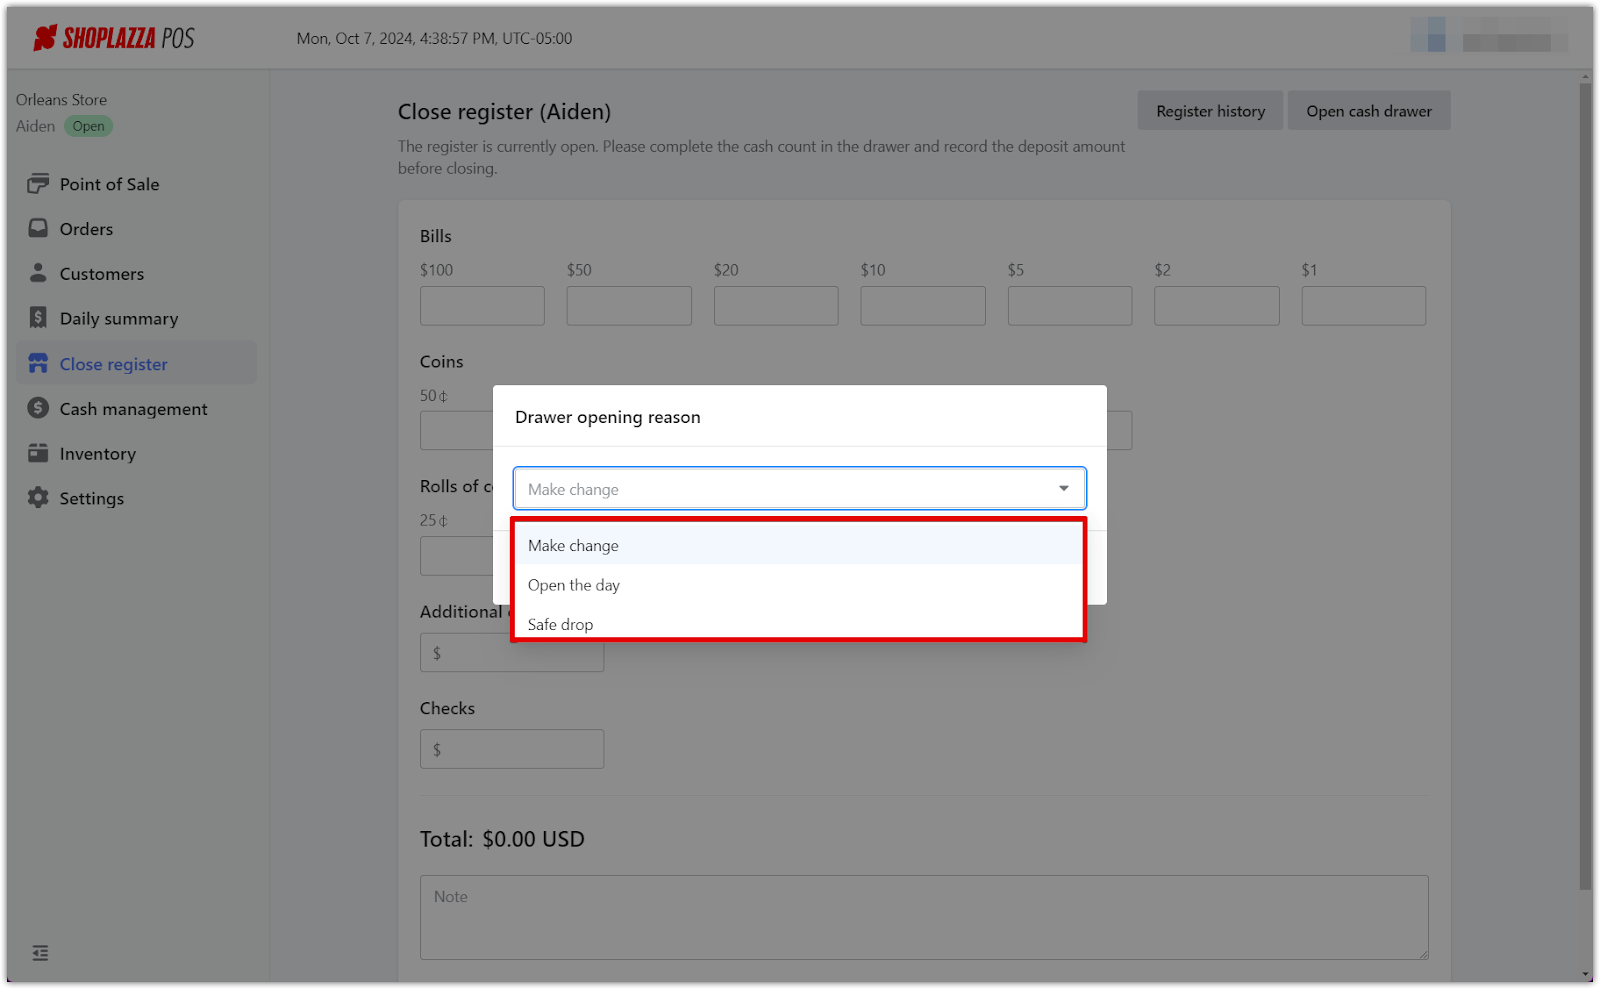
1. Reasons to open the drawer: When selecting Open cash drawer, you’ll be prompted to choose from one of the following reasons:
- Make change: Use this option when you need to break larger bills into smaller denominations for easier transactions.
- Open the day: This option is primarily meant for initiating cash handling at the start of the day. For other purposes, select the appropriate reason from the list.
- Safe drop: Choose this option when you need to remove cash from the drawer for a secure deposit into the store’s safe, ensuring that excess cash is safely managed throughout the day.
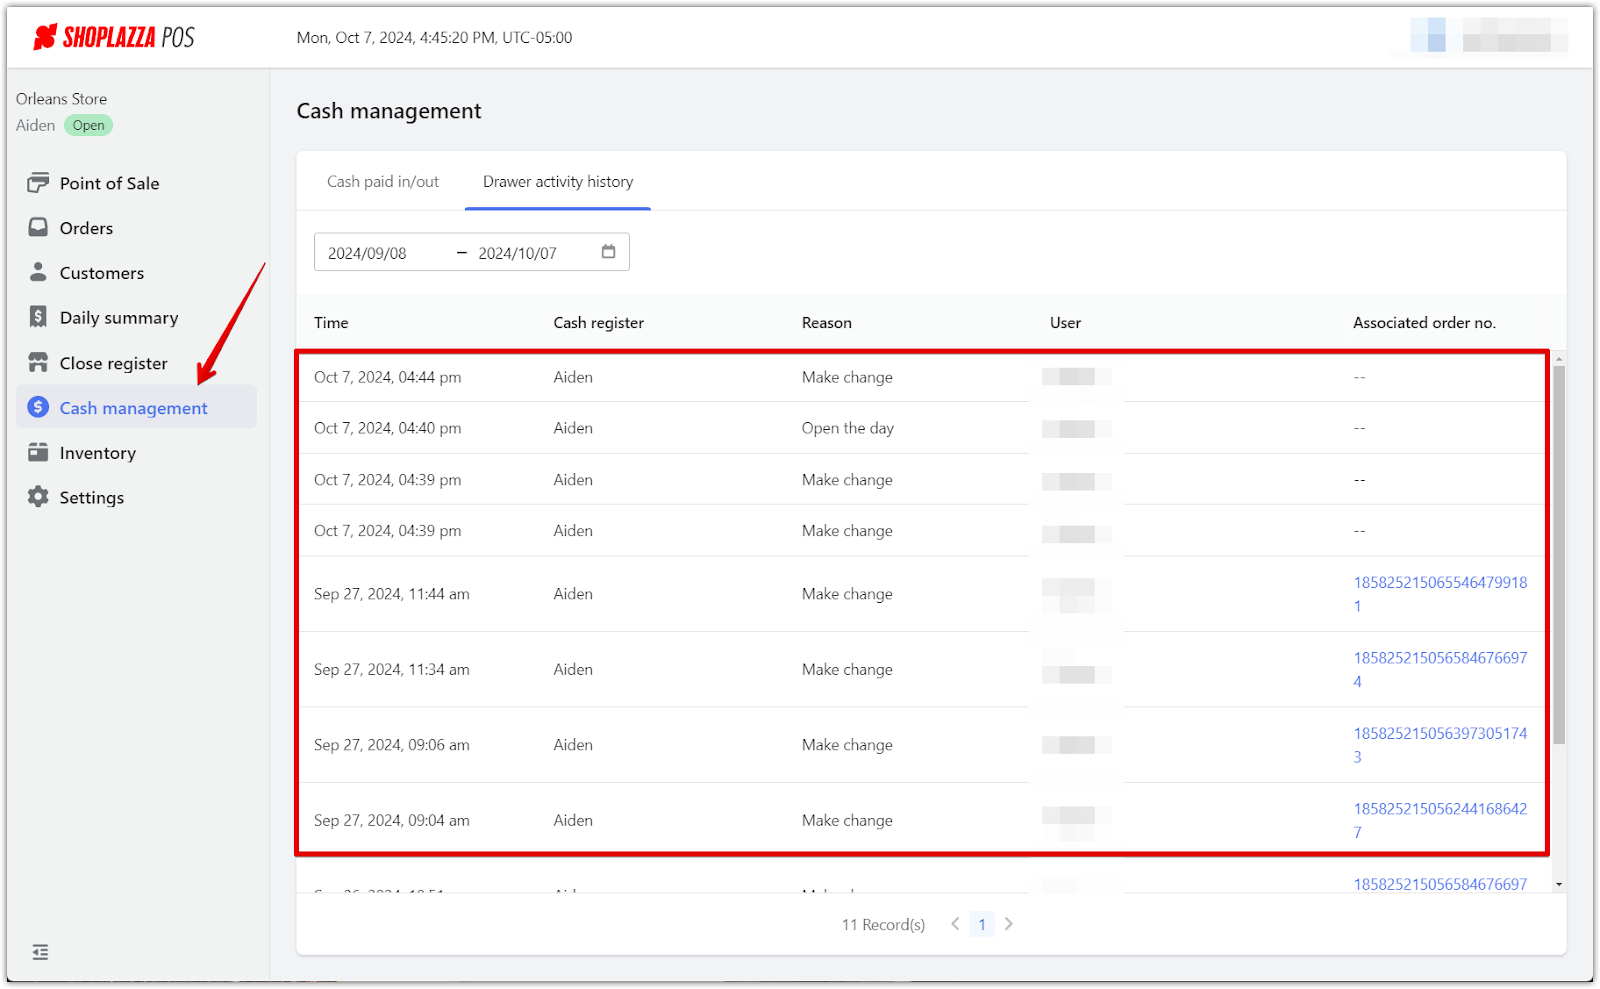
2. Tracking drawer access: Each time the cash drawer is opened using this function, it will be logged in the Cash management > Drawer activity history section. This ensures that all actions involving cash handling are recorded for future reference.
By following these structured steps, you guarantee that your register is closed with precision, paving the way for accurate financial management and seamless operations for the days ahead. This straightforward approach ensures that your store is always prepared for business, with every transaction accounted for accurately.


Comments
Please sign in to leave a comment.