
To comply with shipping providers and customs regulations, you'll often need to gather more customer information during checkout. This includes details like phone numbers or customs clearance codes. Setting up your checkout page to collect this extra information ensures smoother order delivery and caters to specific sales methods. This article will guide you through the setup process and show you the final result.
Configuring additional information
These steps will help you configure your checkout page to gather additional information.
1. Access checkout settings: Log in to your Shoplazza Admin and click Settings > Checkout Page.
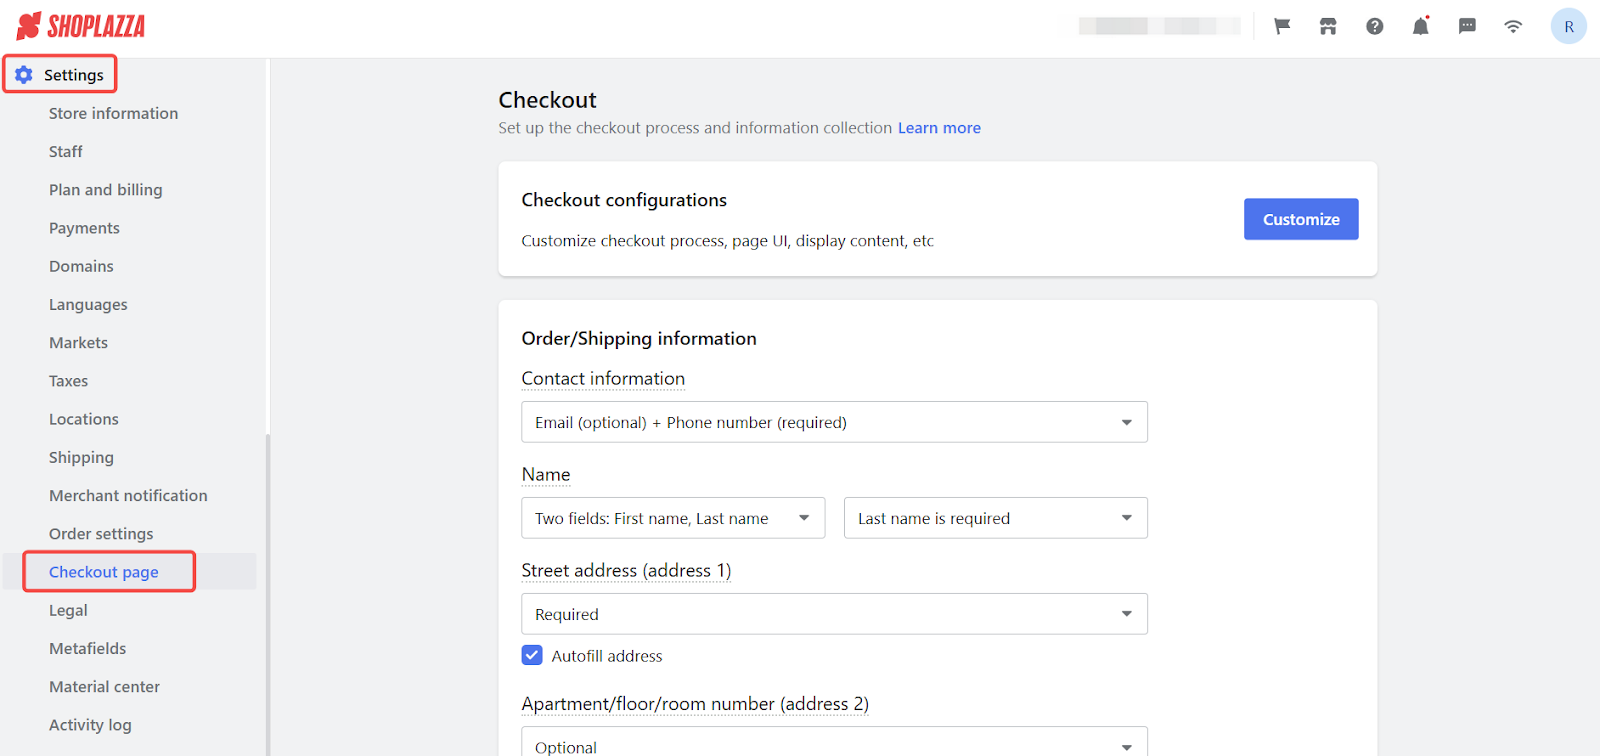
2. Find additional information settings: Scroll down to the Collect Additional Information section.
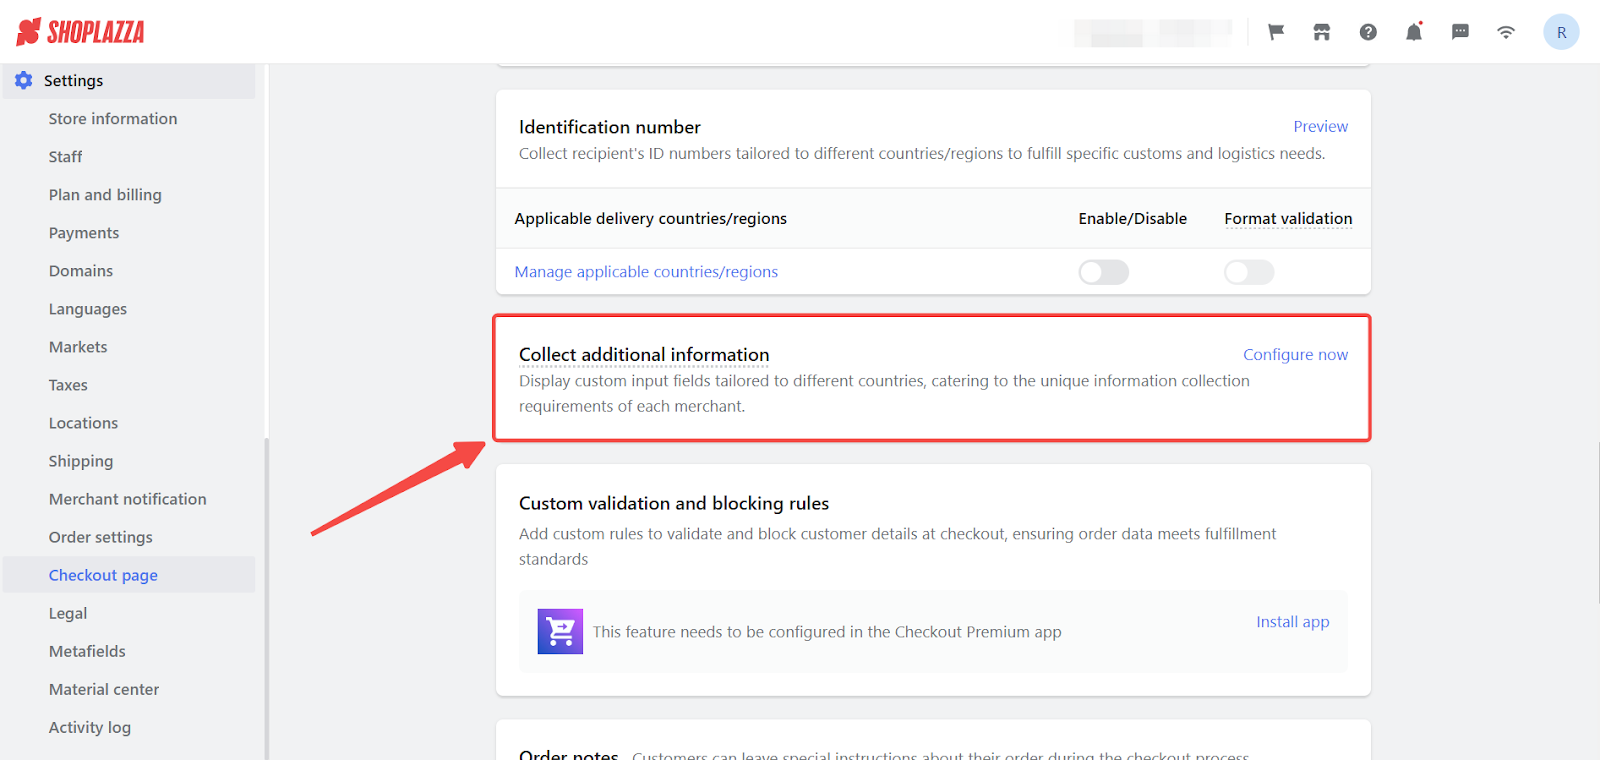
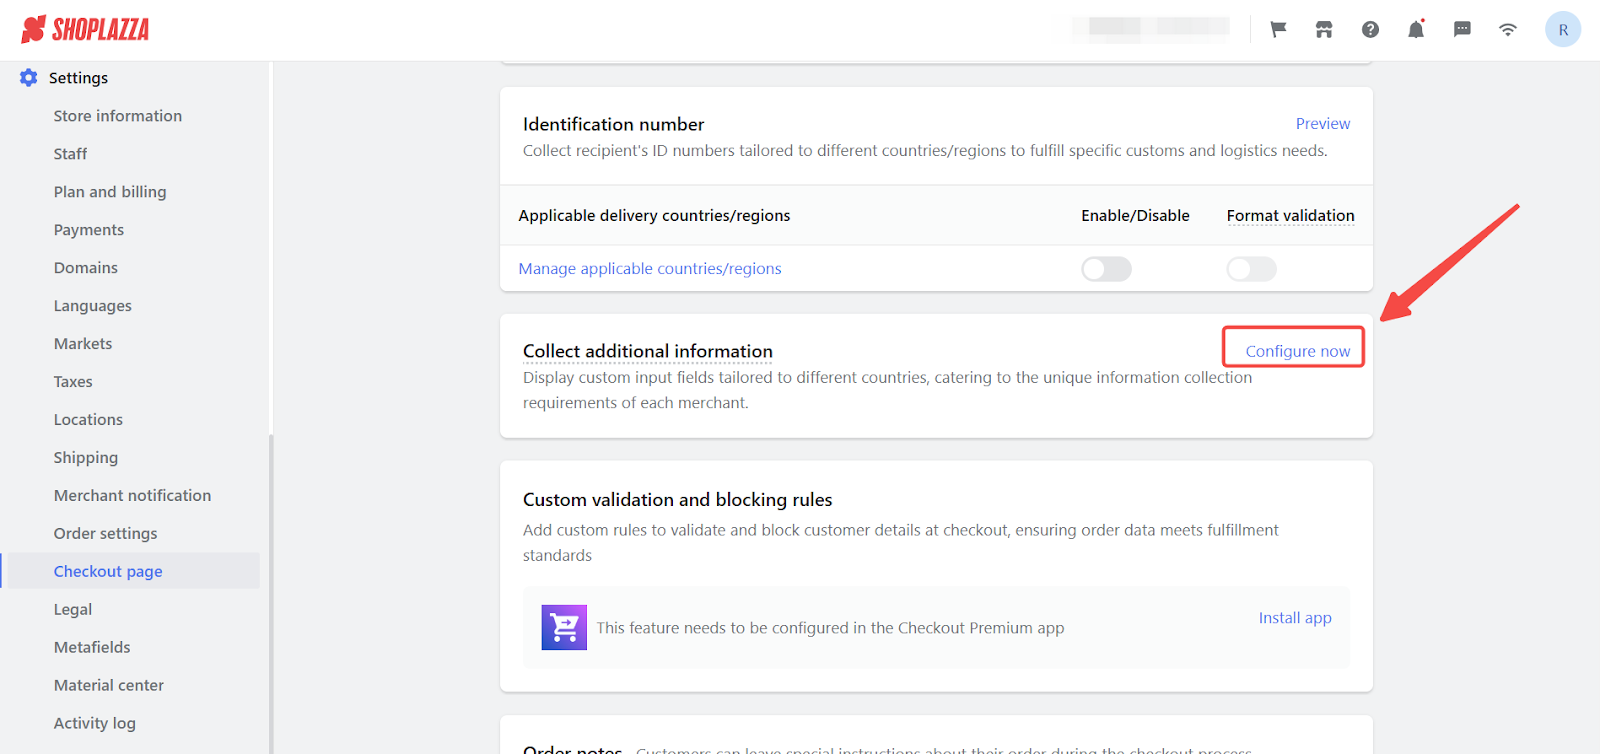
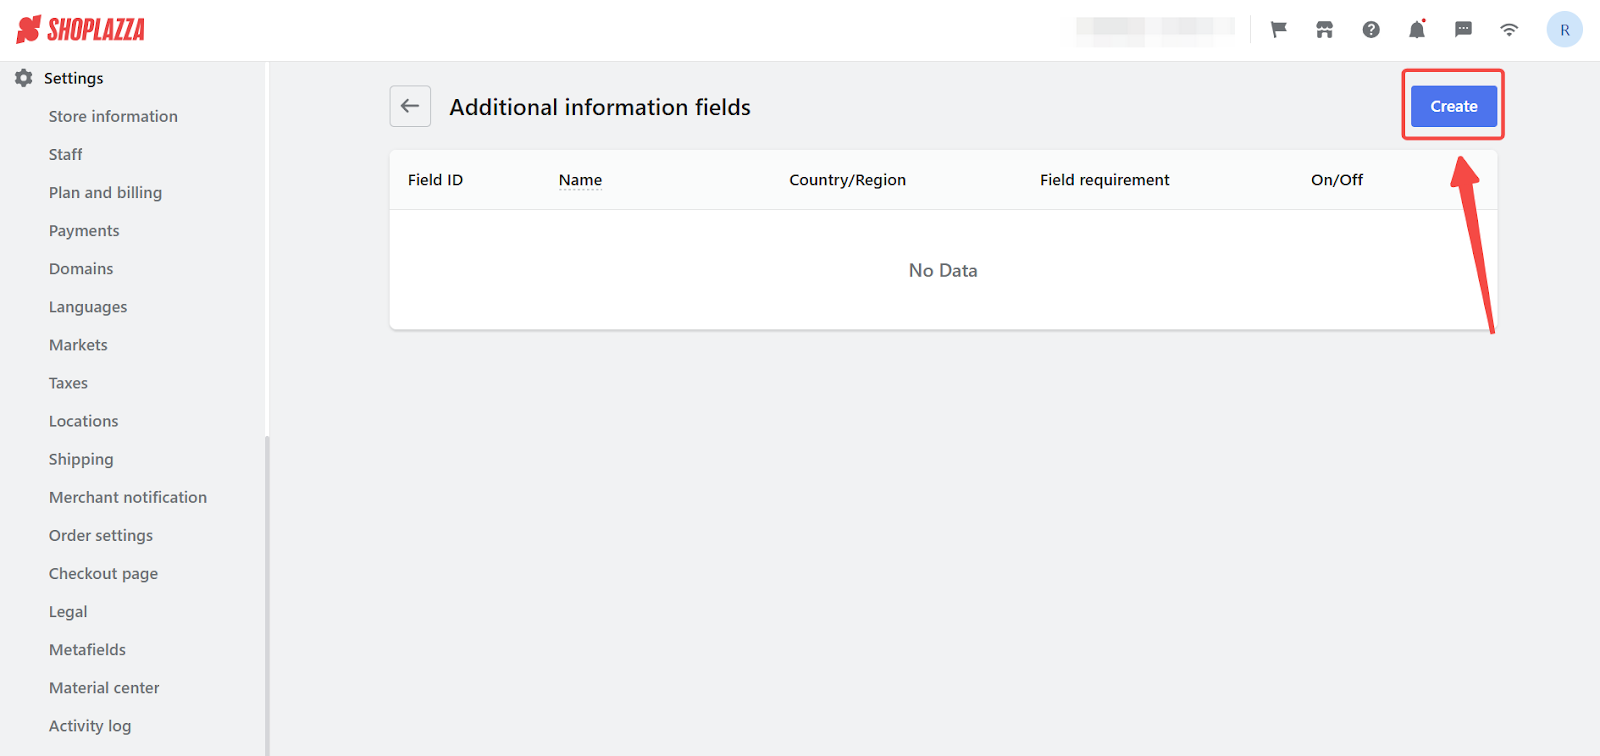
3. Start configuration: Click Configure now. On the next page, click the Create button.
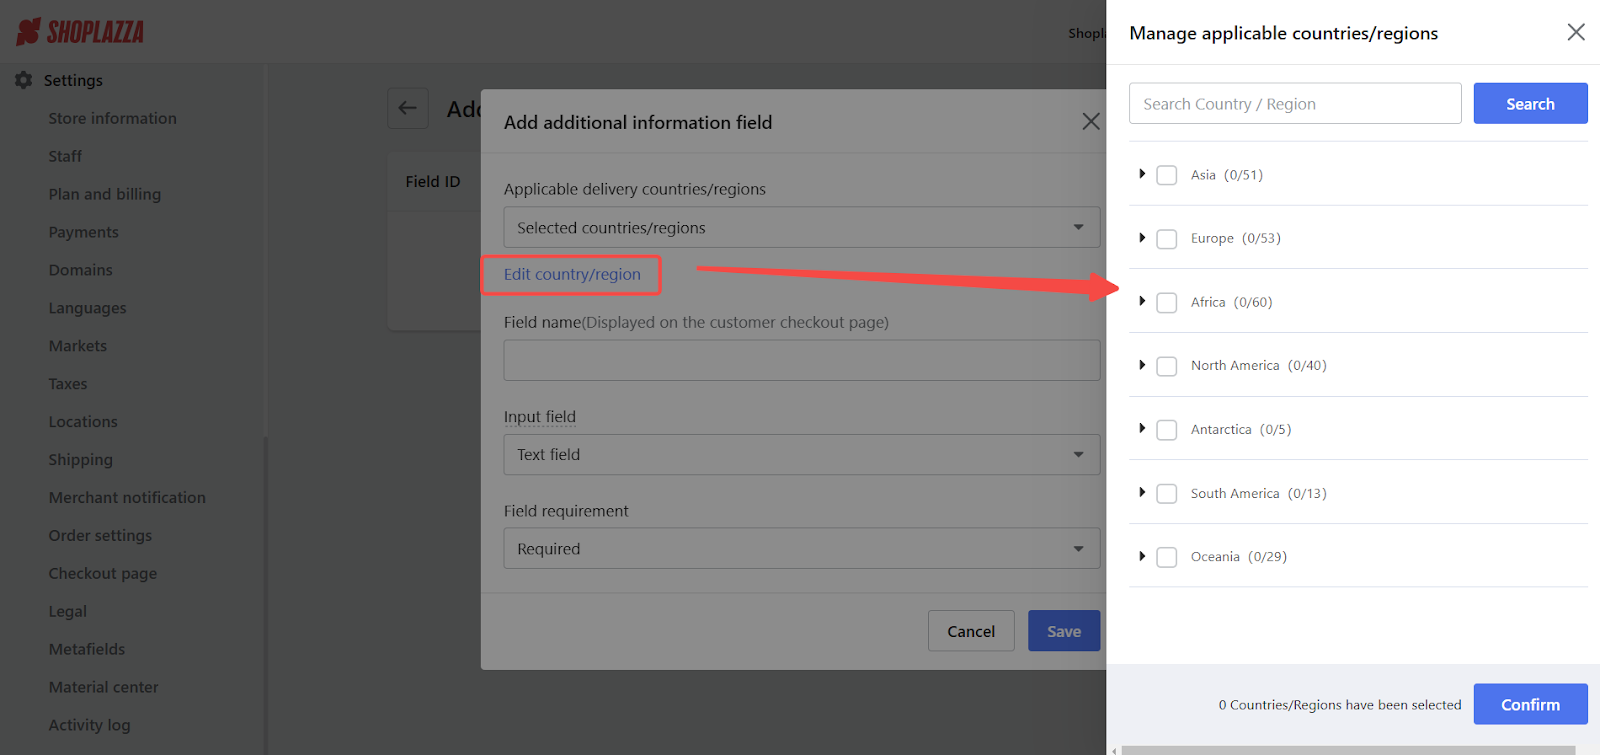
4. Set effective range: Choose between Selected countries/regions or All countries/regions.

- If you select Selected countries/regions, click Edit countries/regions to specify the countries or regions where this information will be collected.
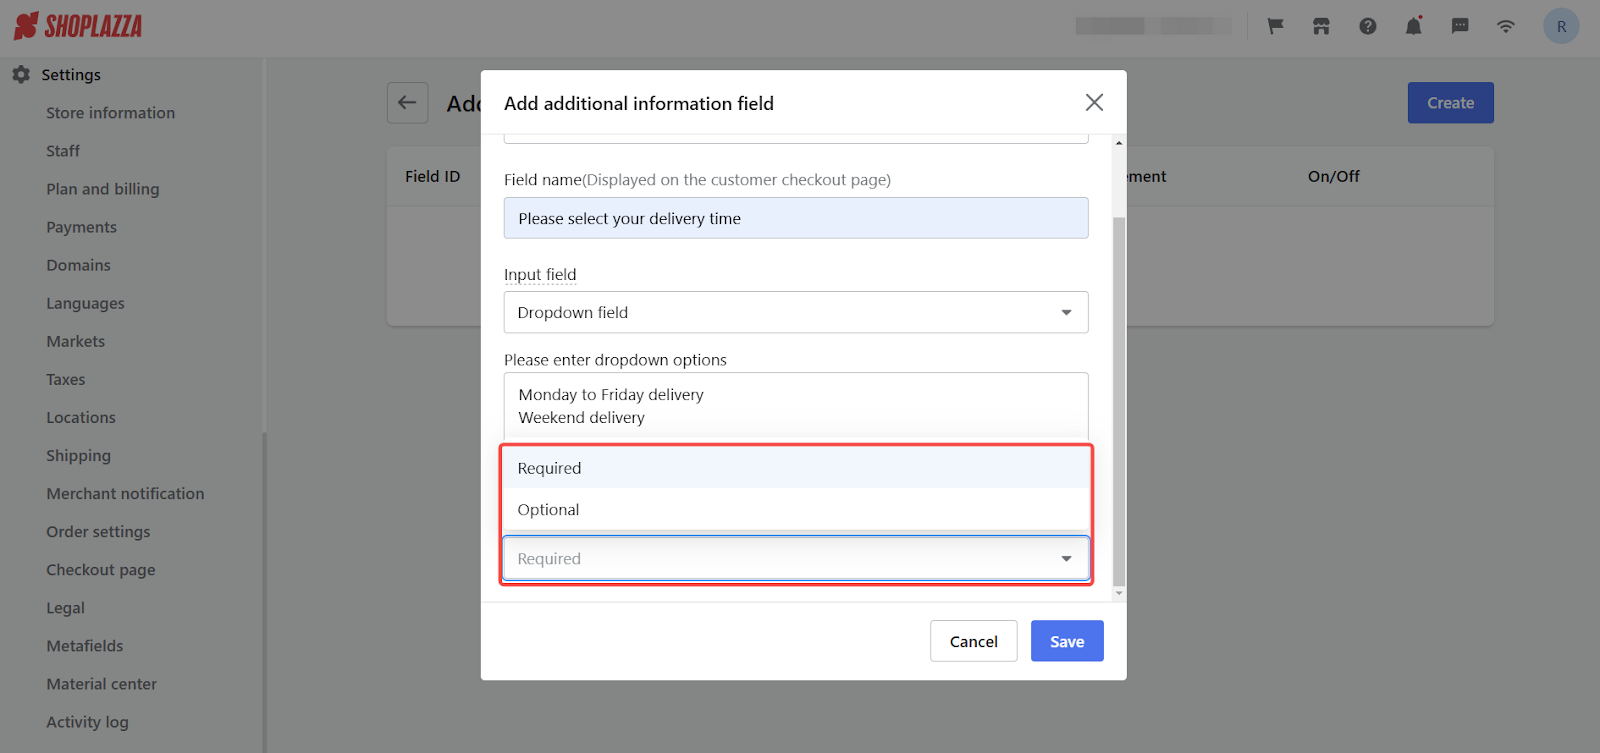
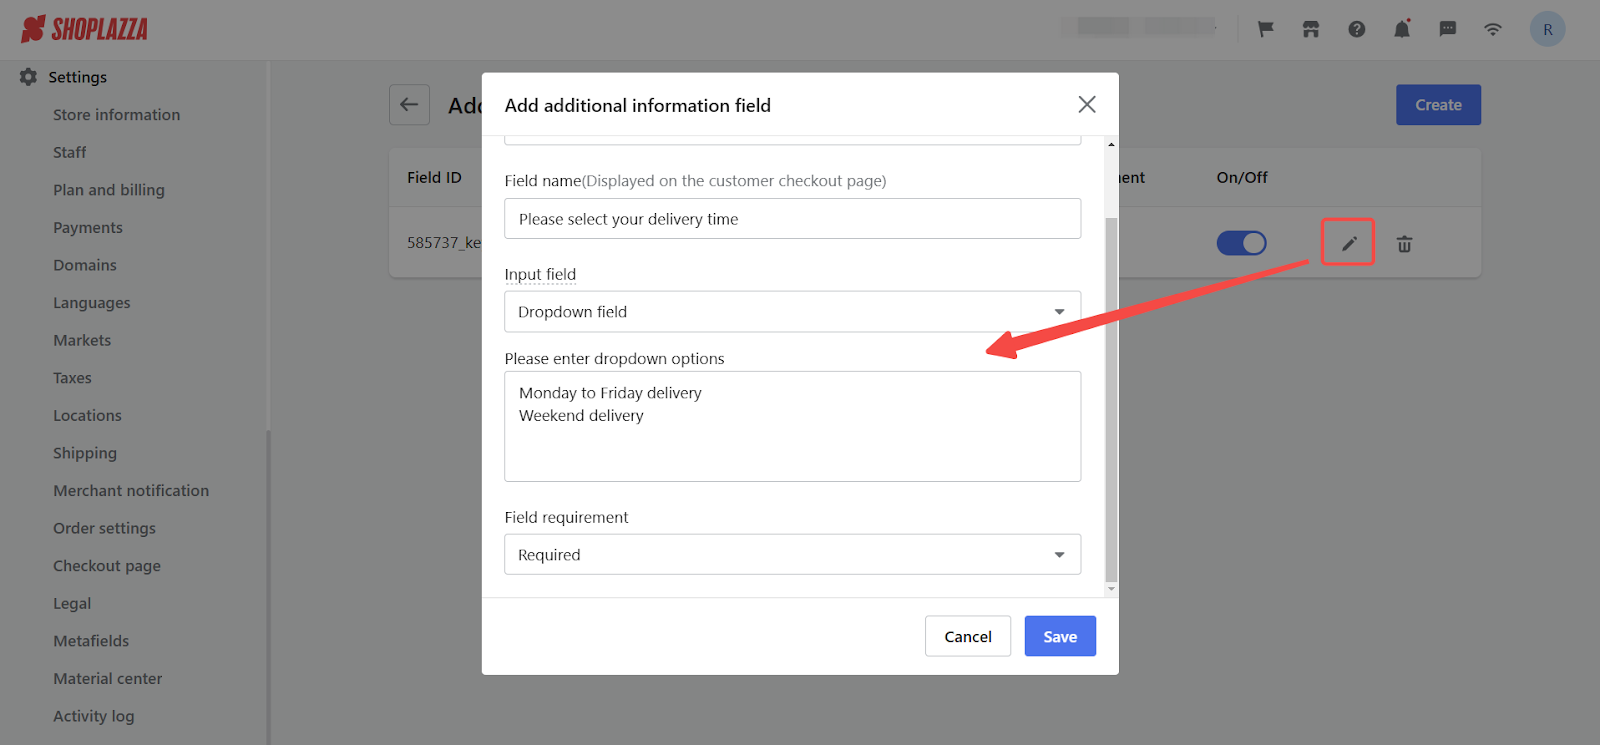
5. Provide additional information name: Enter a clear and concise name for the additional information field. This will be displayed to customers, so use a standardized name to avoid confusion.

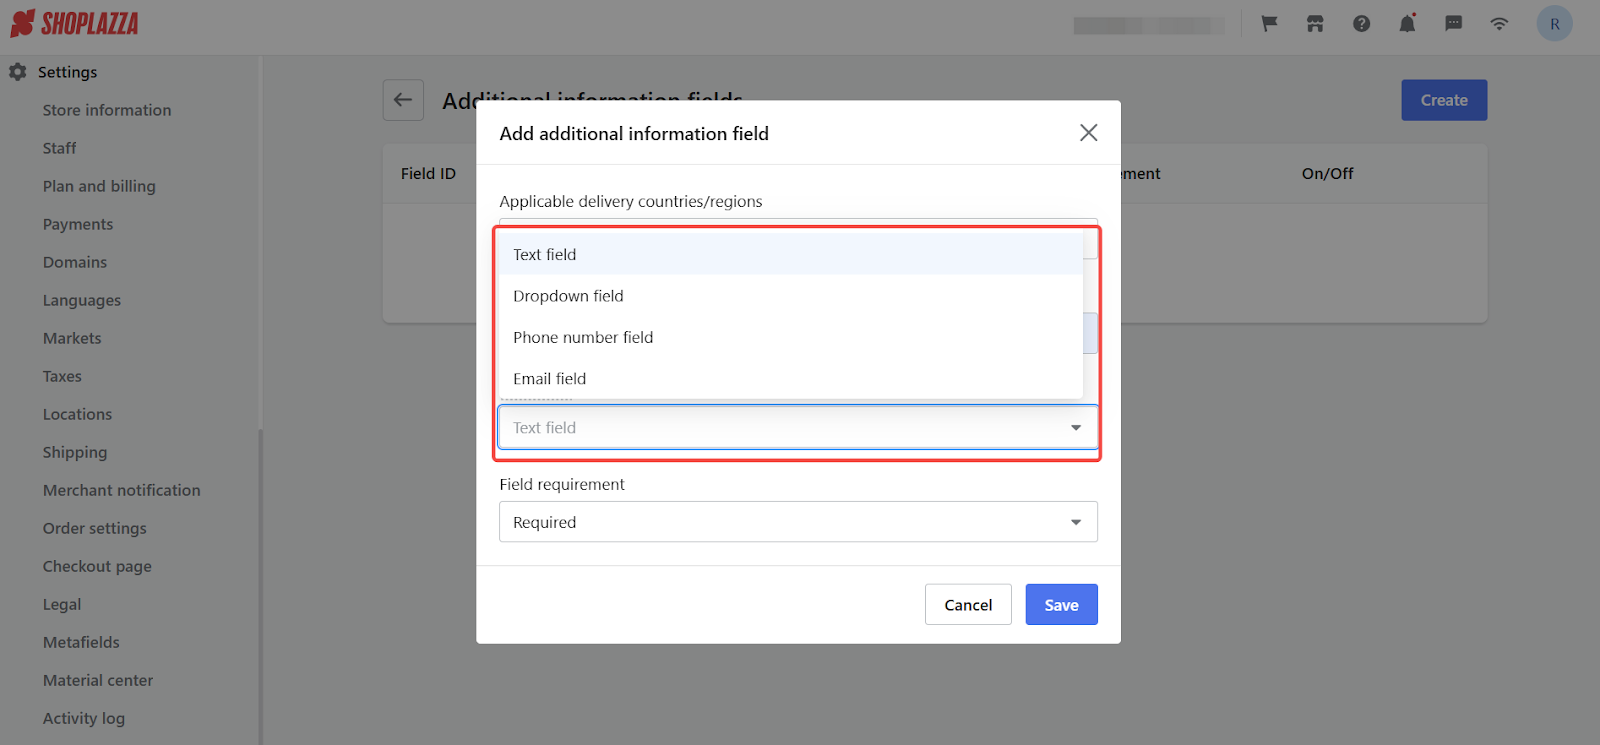
6. Select input type: There are four types of input boxes, and each has a different display style and validation rule:
- Text field: Customers enter information manually without validation.
- Dropdown field: Create a dropdown list with predefined options for customers to select from.
- Phone number field: Customers enter a phone number, including the area code, validated using phone number rules.
- Email field: Customers enter an email address validated using standard email format rules.
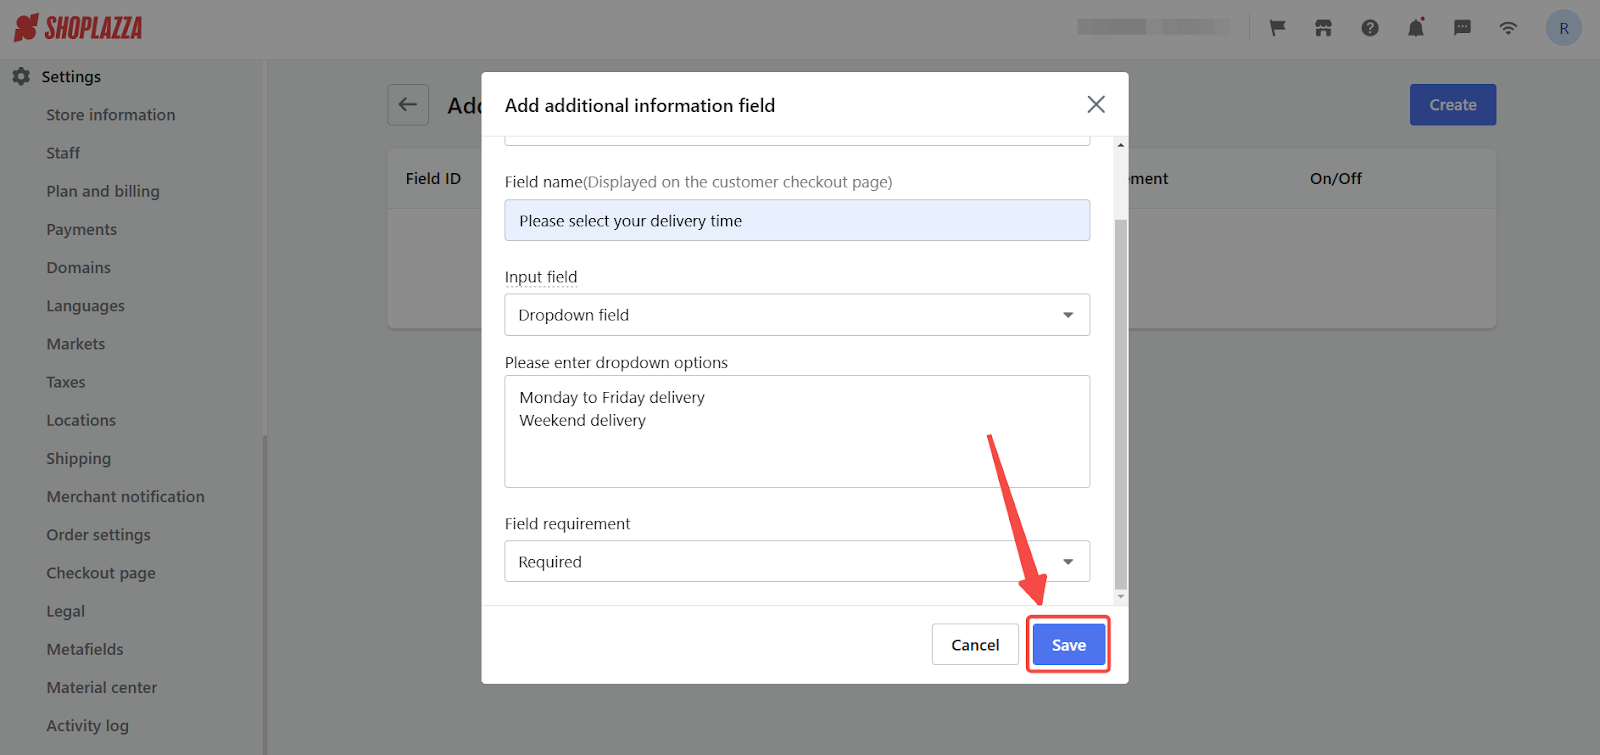
7. Set filling requirement: Choose whether the field is Required or Optional.
8. Save your changes: After completing the setup, click Save.
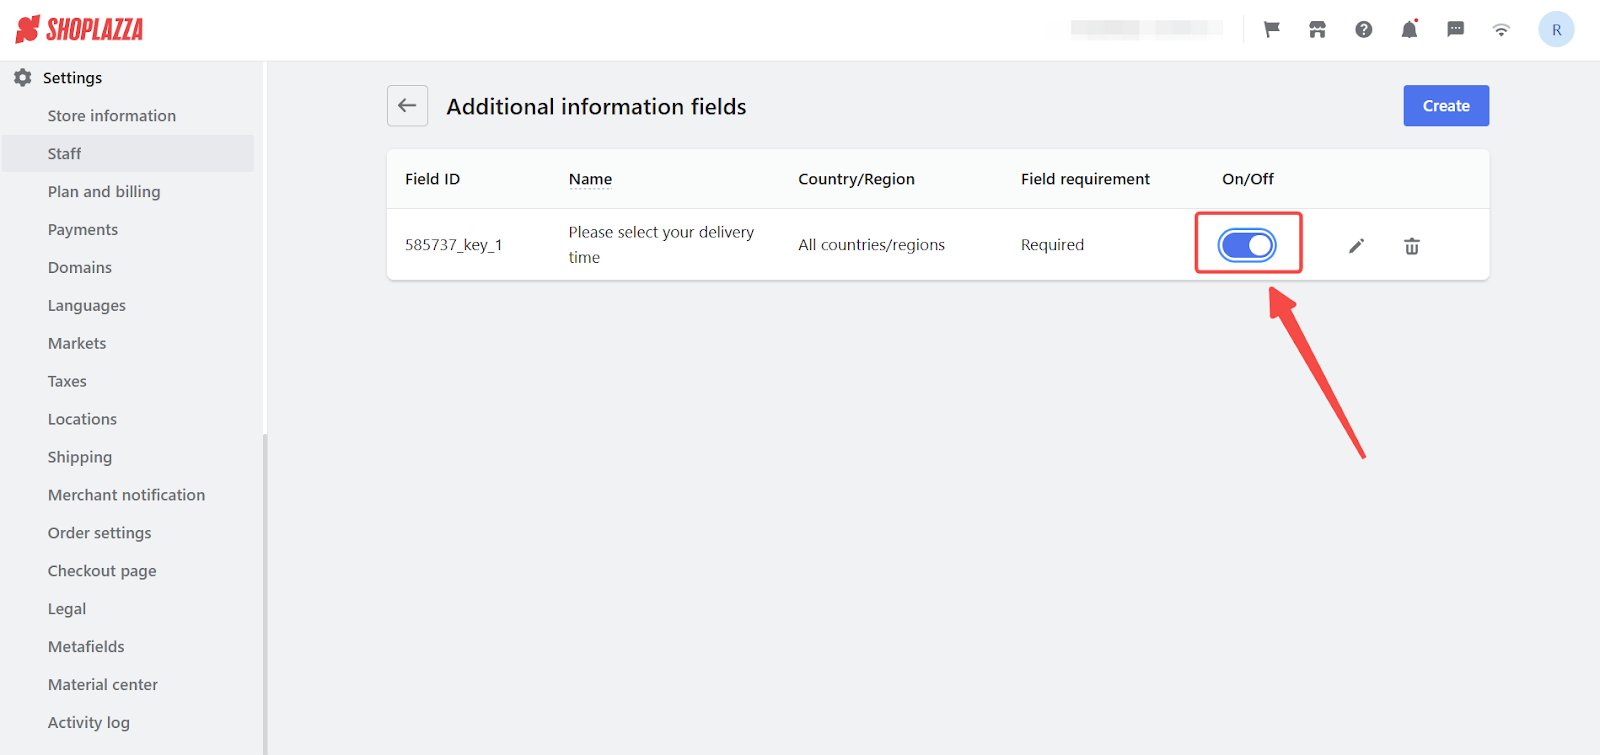
9. Enable the additional information: To activate the new settings, toggle the On/Off to the on position.
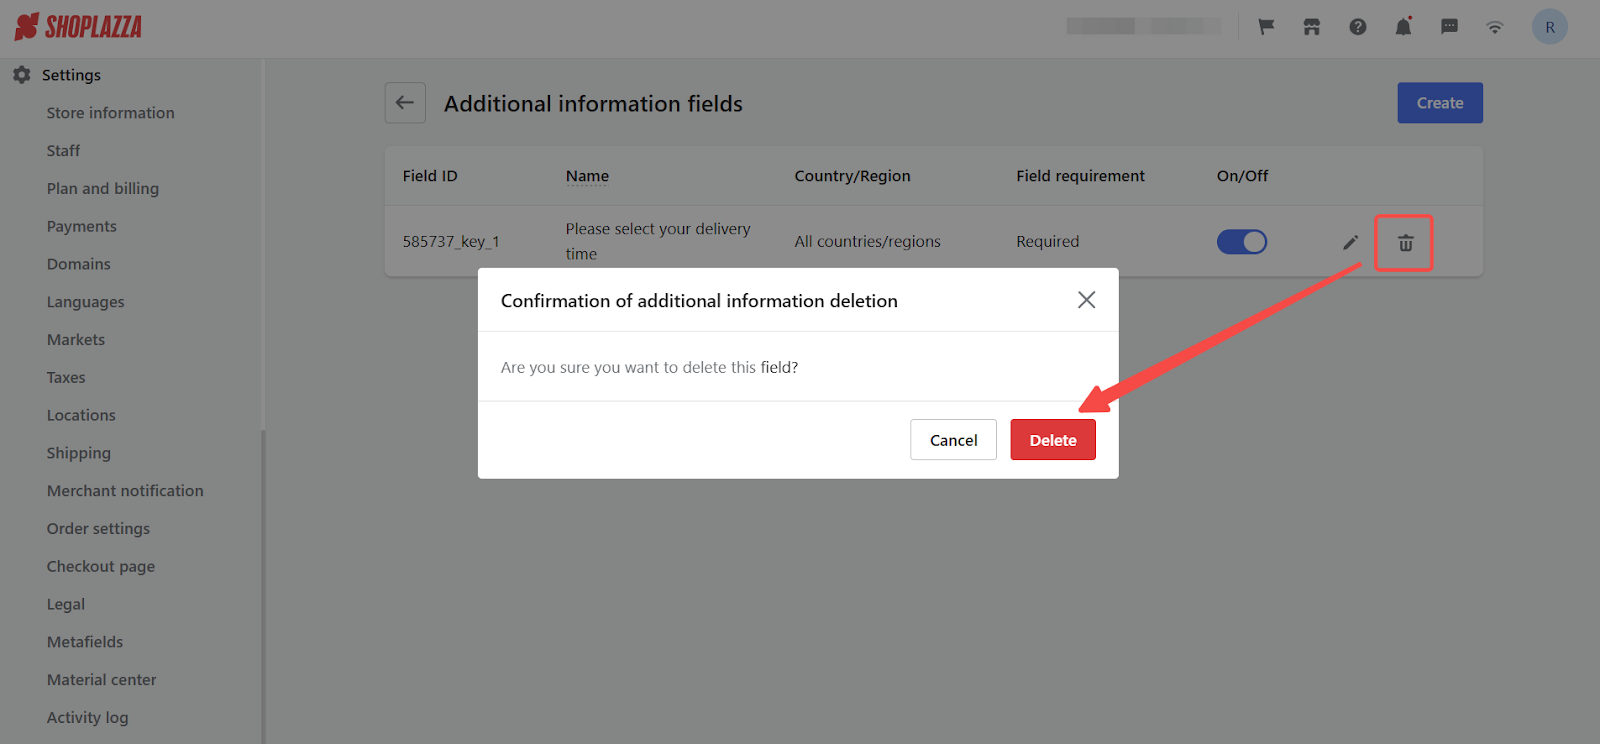
10. Manage additional information: Modify or delete existing configurations on the additional information list page as needed.
Checkout page examples
Here's how the additional information will appear on the customer checkout page, customer order details page, and admin order details page:
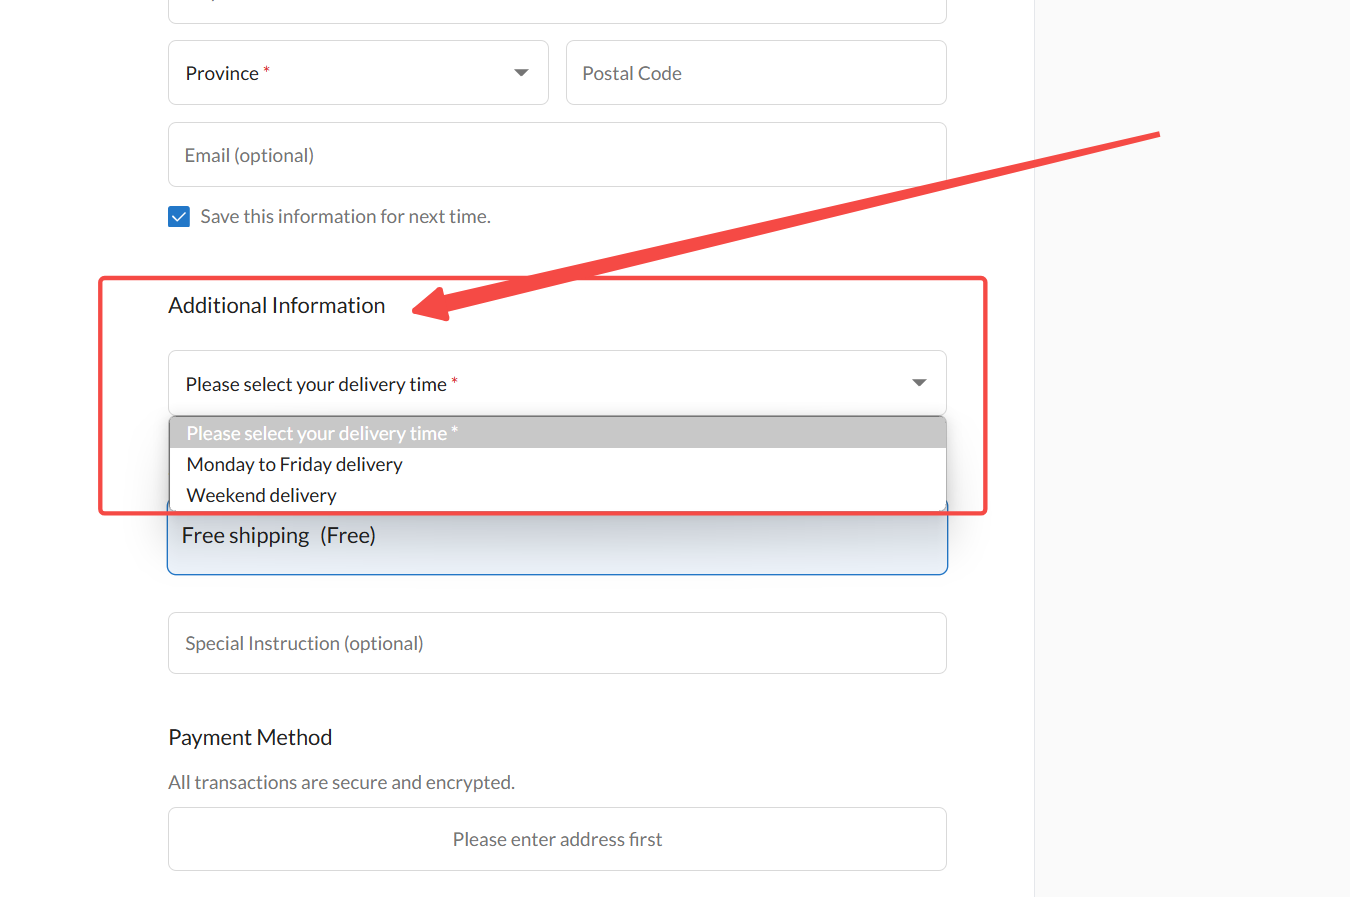
1. Customer checkout page: The additional information you configured will appear as a new field on your customer's checkout page. The appearance of the field will vary depending on the input type you selected. For example, if you choose a dropdown field, customers will see a dropdown menu with the options you predefined.
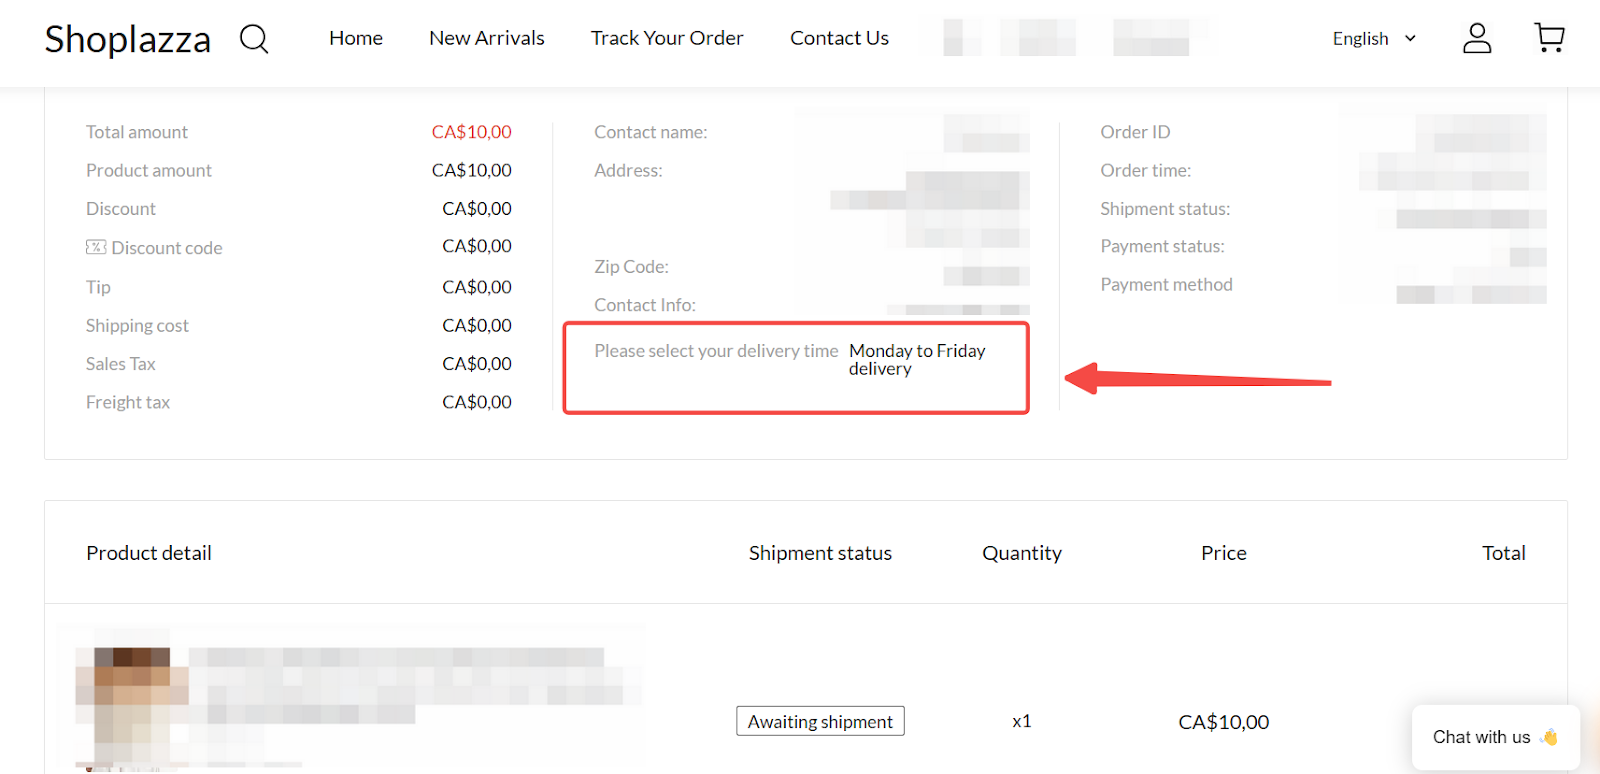
2. Customer order details page: After a customer places an order, the additional information they provide will be displayed on their order details page. This allows customers to review their submitted information and ensures transparency throughout the order fulfillment process.
3. Admin order details page: The additional information will also be visible on the admin order details page. This allows you to access and manage the information for each order easily. This can be helpful for customer service, order fulfillment, and record-keeping purposes.

Following these steps can effectively collect the necessary customer information during checkout. This leads to improved order delivery rates and a smoother checkout experience.


Comments
Please sign in to leave a comment.