
With OnePixel , managing your MediaGo Pixels becomes seamless. Simply input your Pixel ID to enable precise tracking and campaign optimization. This guide provides a detailed walkthrough for obtaining your MediaGo Pixel ID, setting up conversion events, and verifying your Pixel installation to maximize your advertising performance.
Obtaining your MediaGo Pixel ID
1. Access MediaGo admin: Log in to your MediaGo Advertising admin .
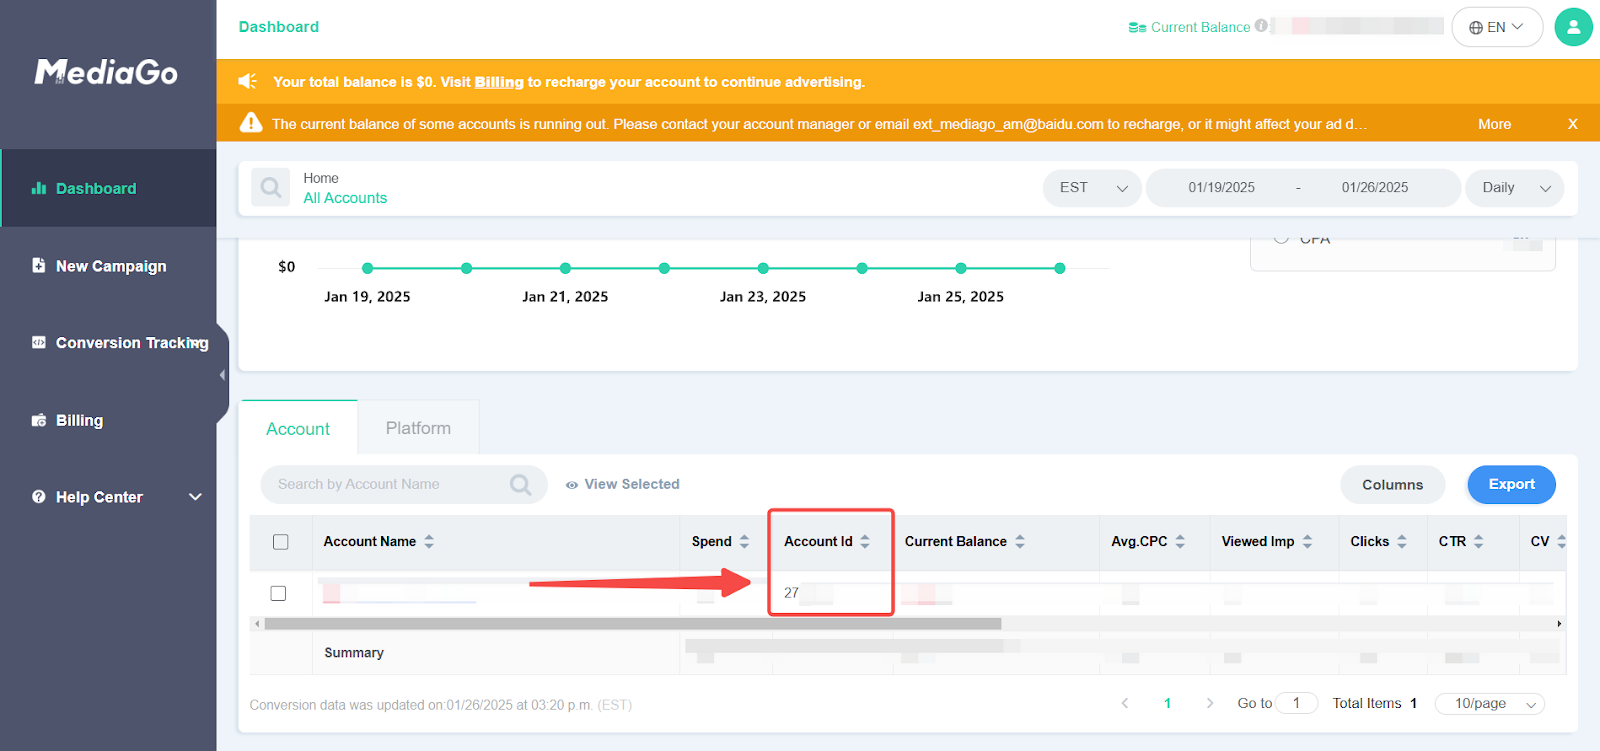
2. Locate Account ID: Navigate to the Dashboard and find your Account id. Copy the ID for later use.
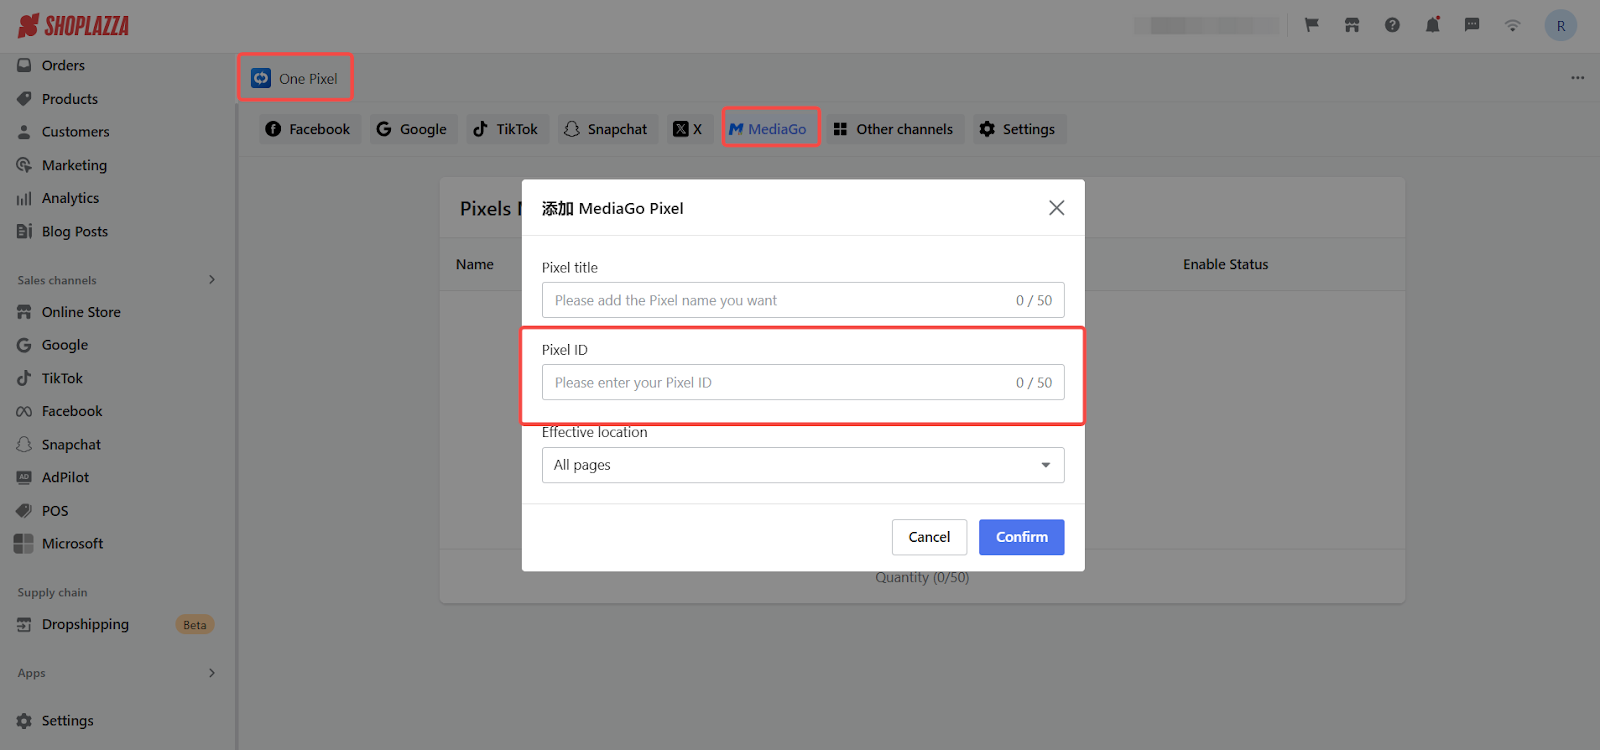
3. Input ID into OnePixel: Go to OnePixel app > MediaGo > Add, then paste the copied ID into the Pixel ID field.
Setting up conversion events
Track valuable customer actions and optimize campaigns by setting up conversion events:
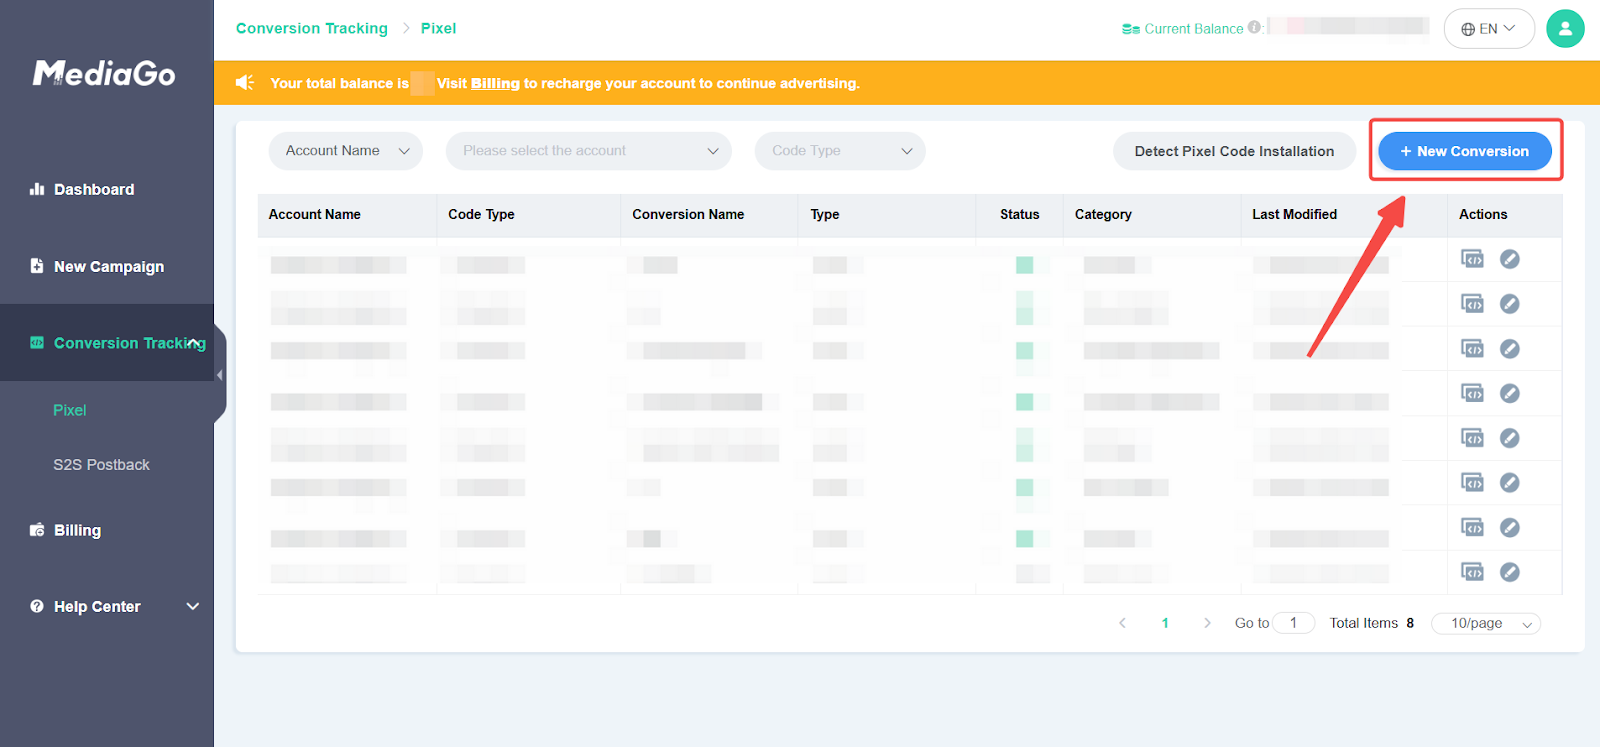
1. Navigate to conversion tracking: In the MediaGo Advertising Admin, go to Conversion Tracking > Pixel.
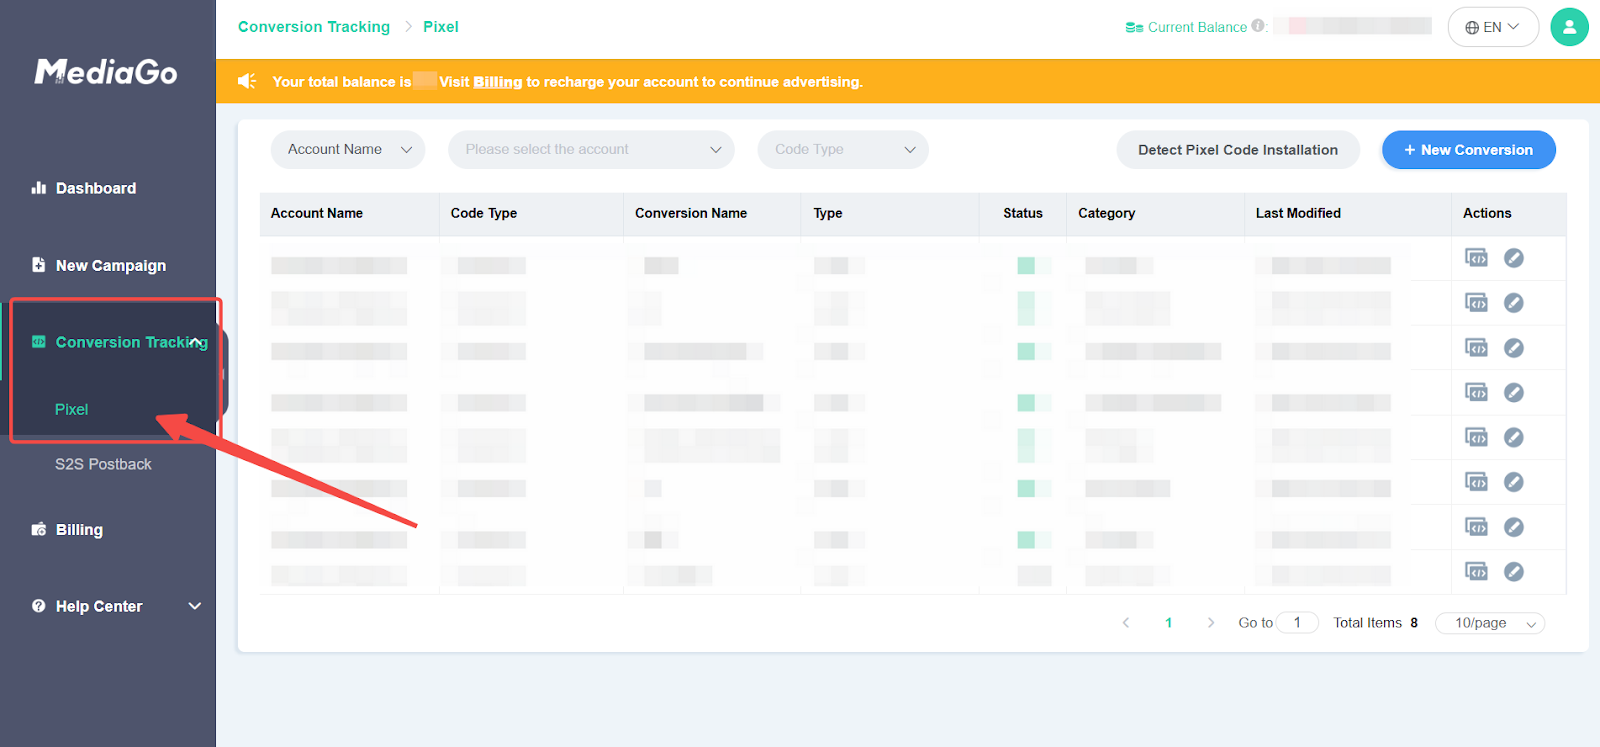
2. Create a conversion: Click New Conversion to begin.
3. Choose manual setup: Select Manually to set up your conversion.

4. Select account/company name:
- Select the Account name if your landing page is linked to one MediaGo account.
- Select the Company name if multiple accounts under the same company use the landing page.

5. Add Pixel initial code: No action is needed here.

6. Select event type: Choose Event as the type of conversion you want to track.
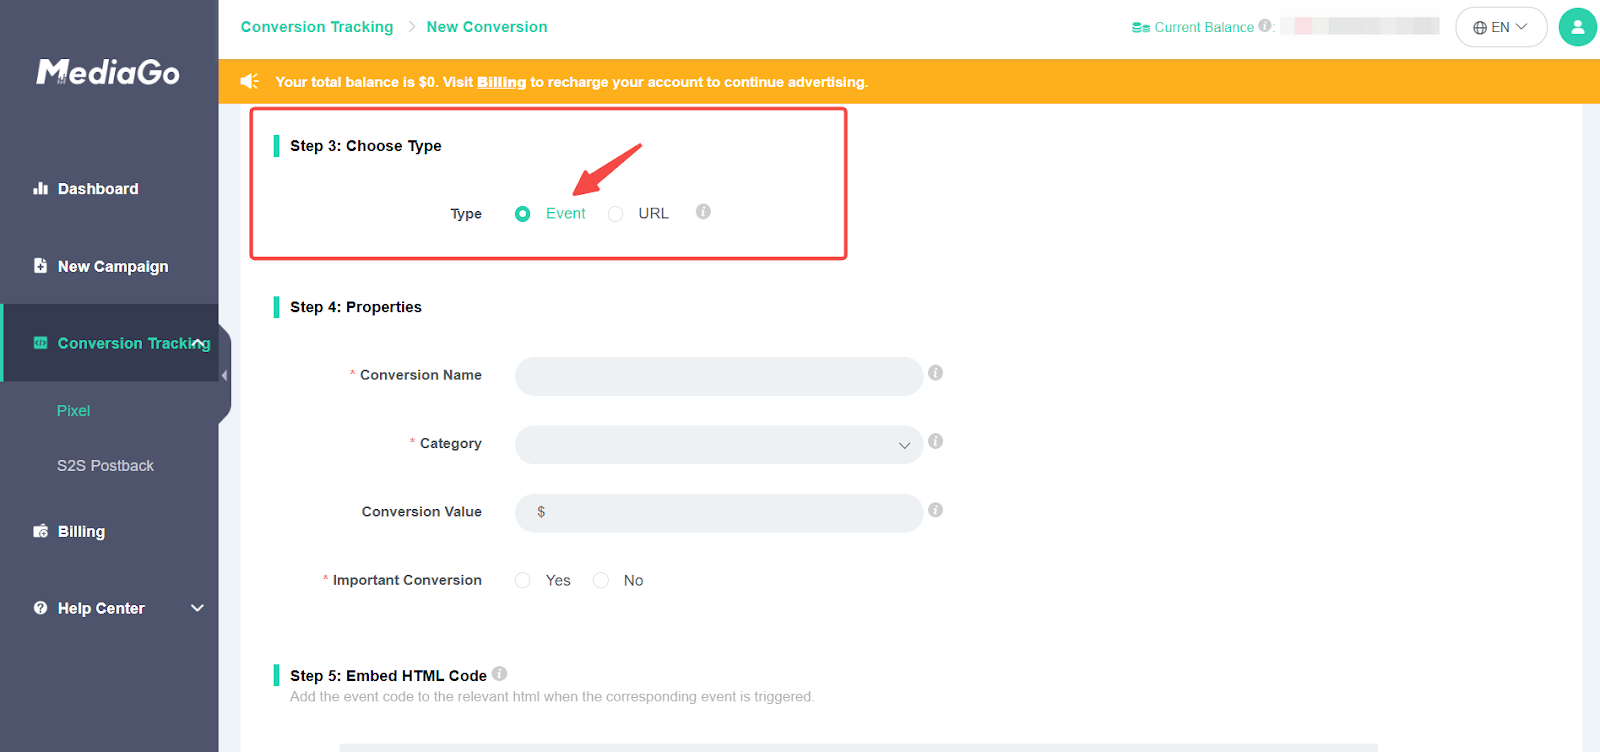
7. Define conversion properties:
- Conversion Name: Customize the name for better identification.
- Category: Choose the event category you want to track.
- Important Conversion: Highlight specific conversions as key metrics. These conversions will appear in the dashboard’s conversion column (e.g., CV, CVR, CPA). MediaGo algorithms (like Smartbid) will also optimize performance based on these key conversions.

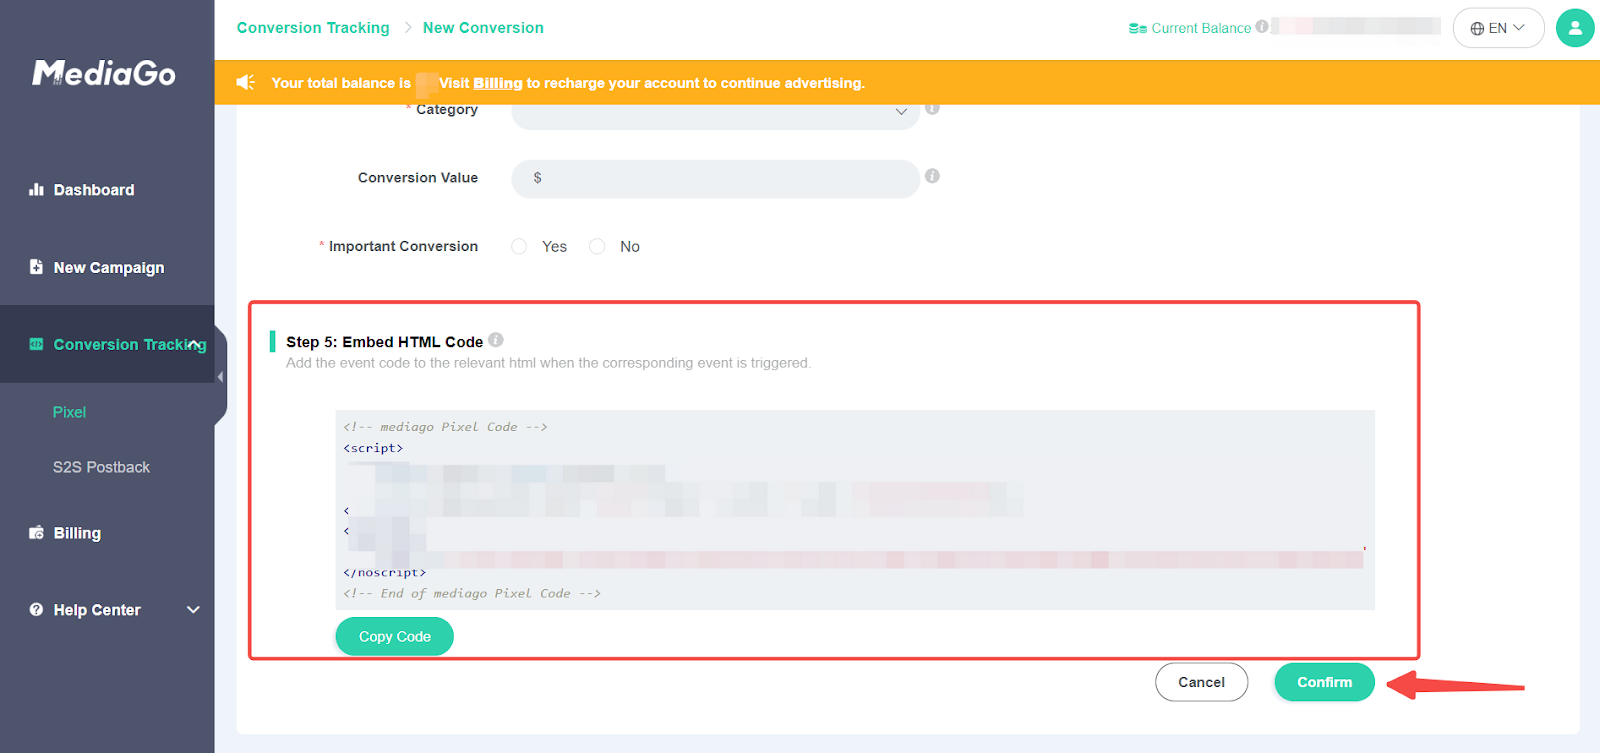
8. Save Changes: The HTML Code field does not require action. Click Save to finalize your setup.
Verifying your MediaGo pixel
MediaGo provides a way to verify your Pixel code installation:
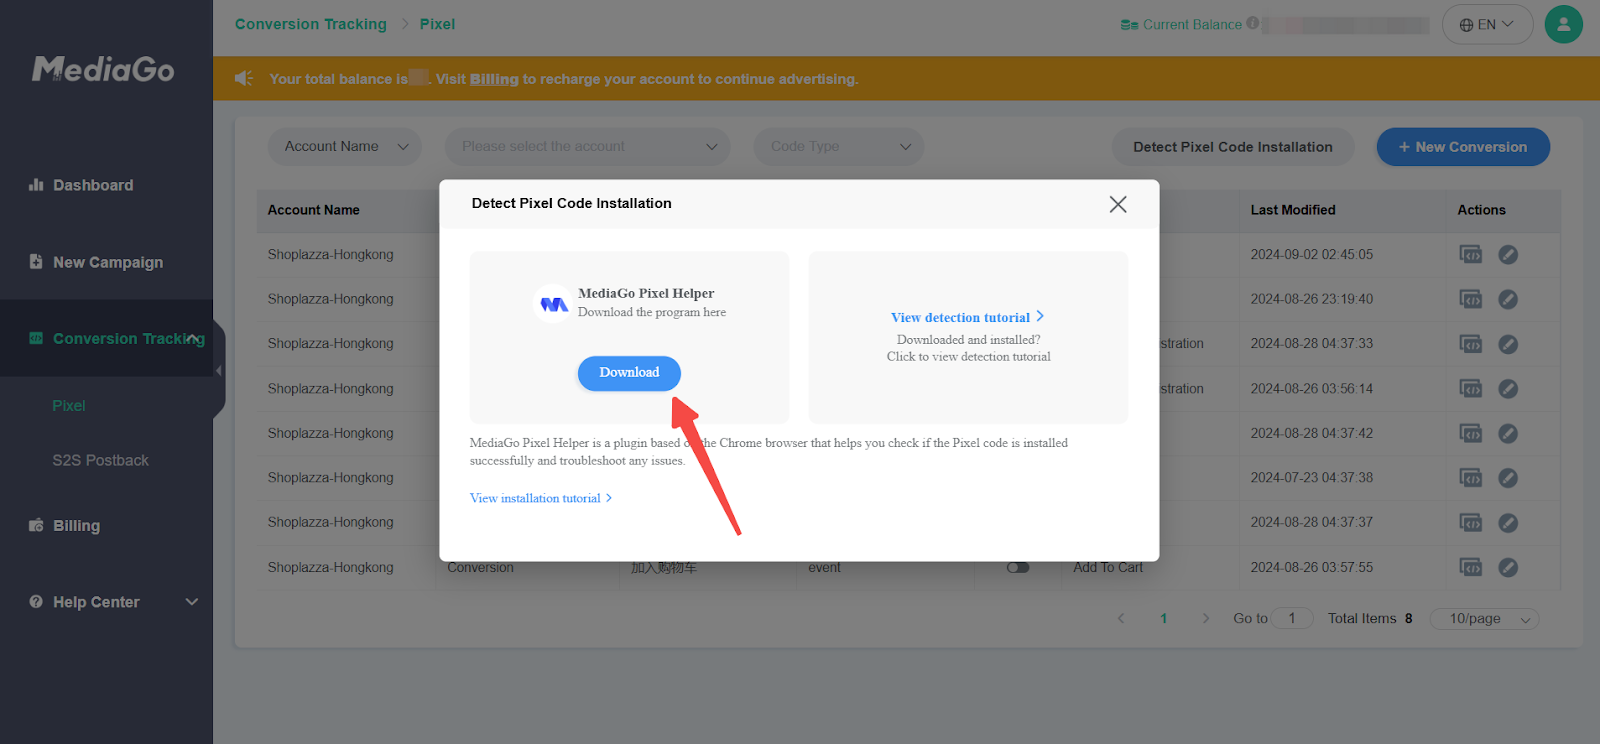
1. Access Pixel Code Installation Detection: Go to Conversion Tracking > Pixel > Detect Pixel Code Installation in the MediaGo admin.
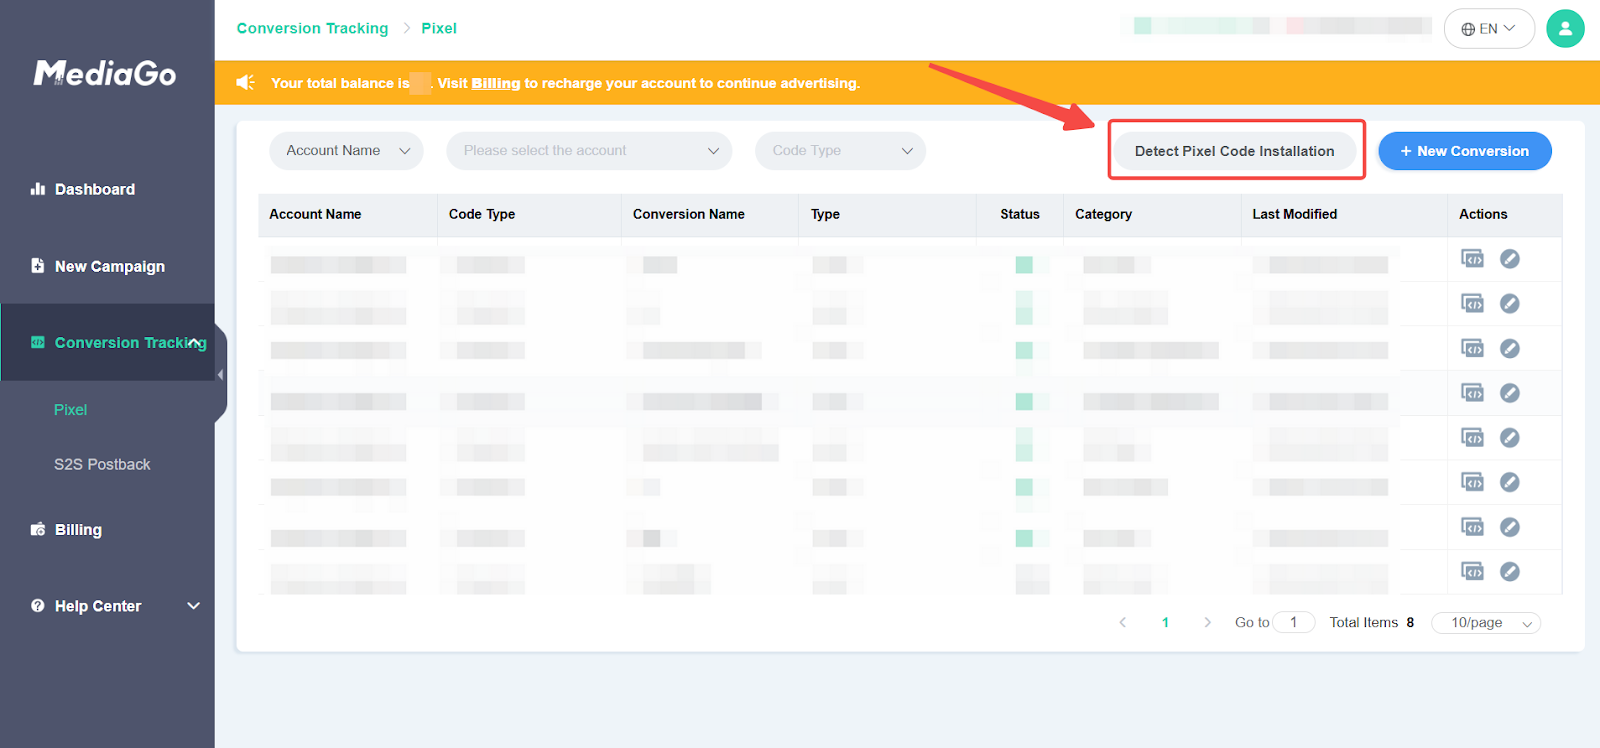
2. Download plugin: Click Download to get the Pixel code detection plugin.

Installing the MediaGo pixel helper plugin
Follow these steps to install the plugin:
1. Extract installation package: After downloading, extract the installation files to your computer.

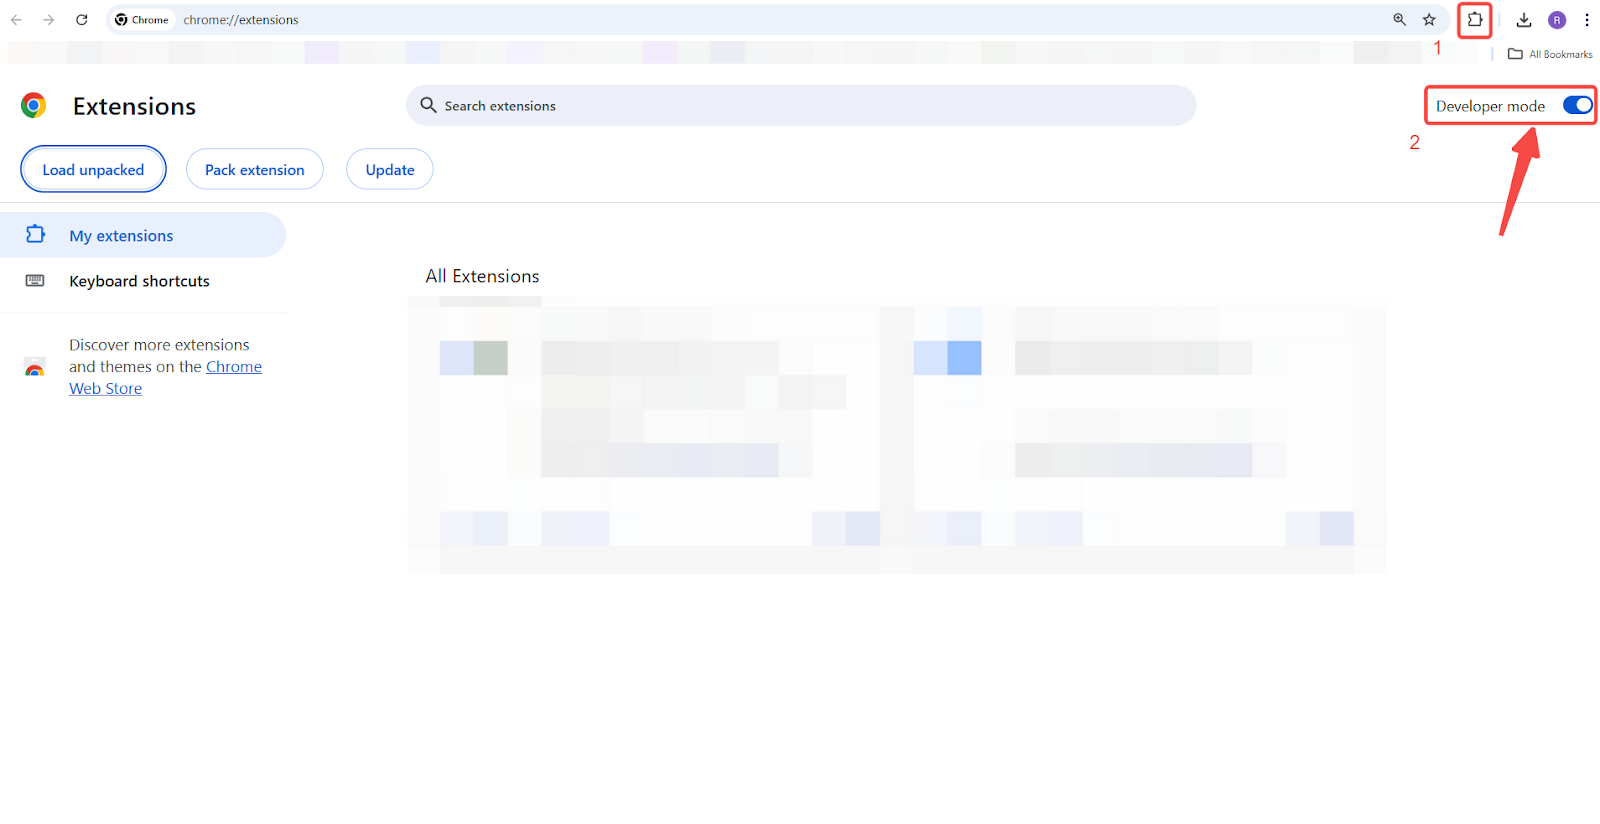
2. Enable developer mode: Open Chrome, navigate to Extensions > Manage extensions and turn on Developer mode.
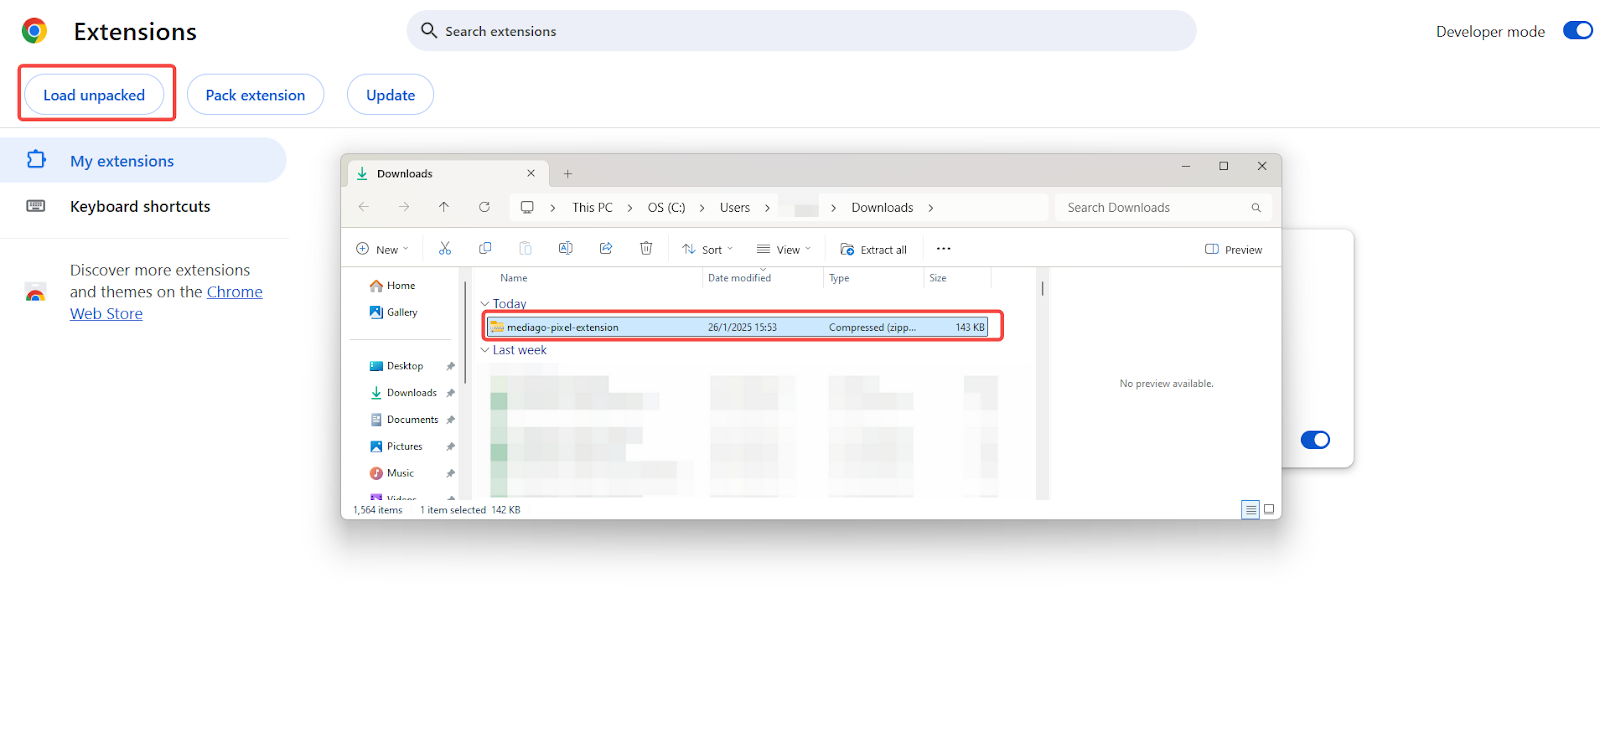
3. Load unpacked extension: Click Load unpacked and select the folder where you extracted the plugin.
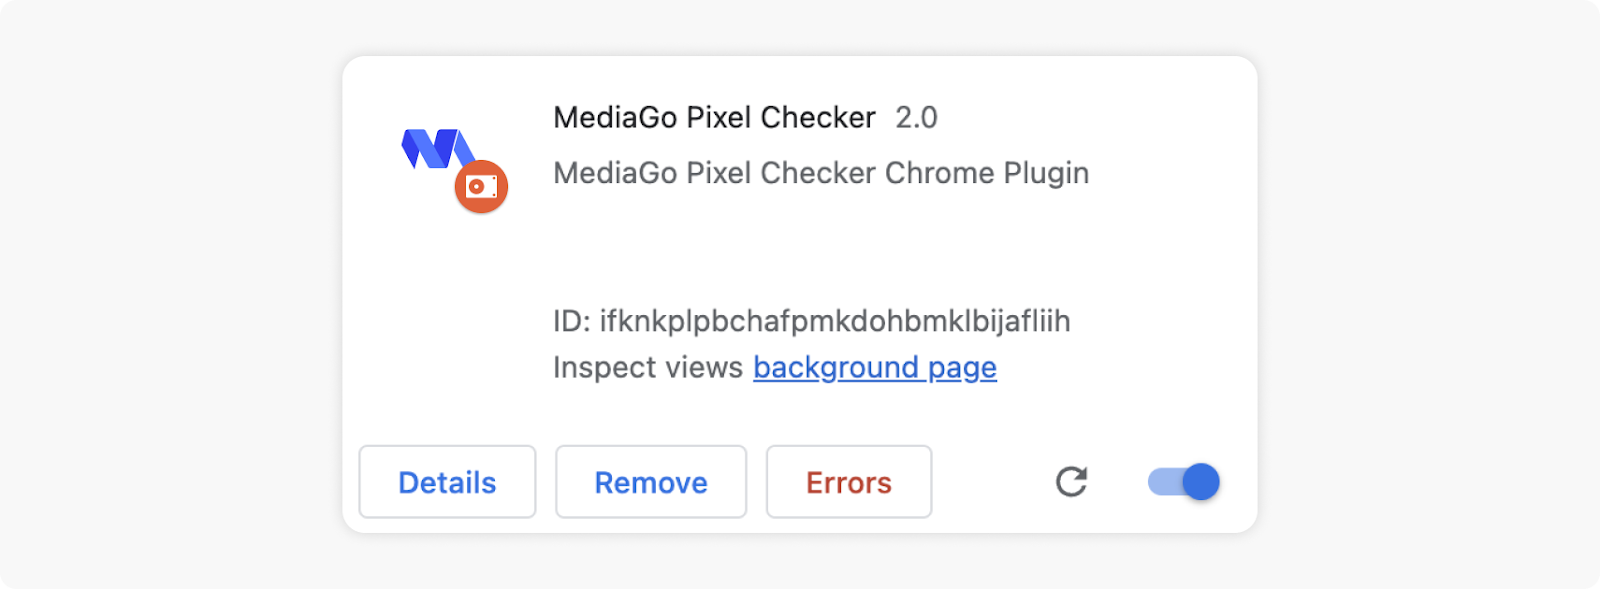
4. Verify successful installation: Once installed, a new icon will appear in your browser’s extensions panel.
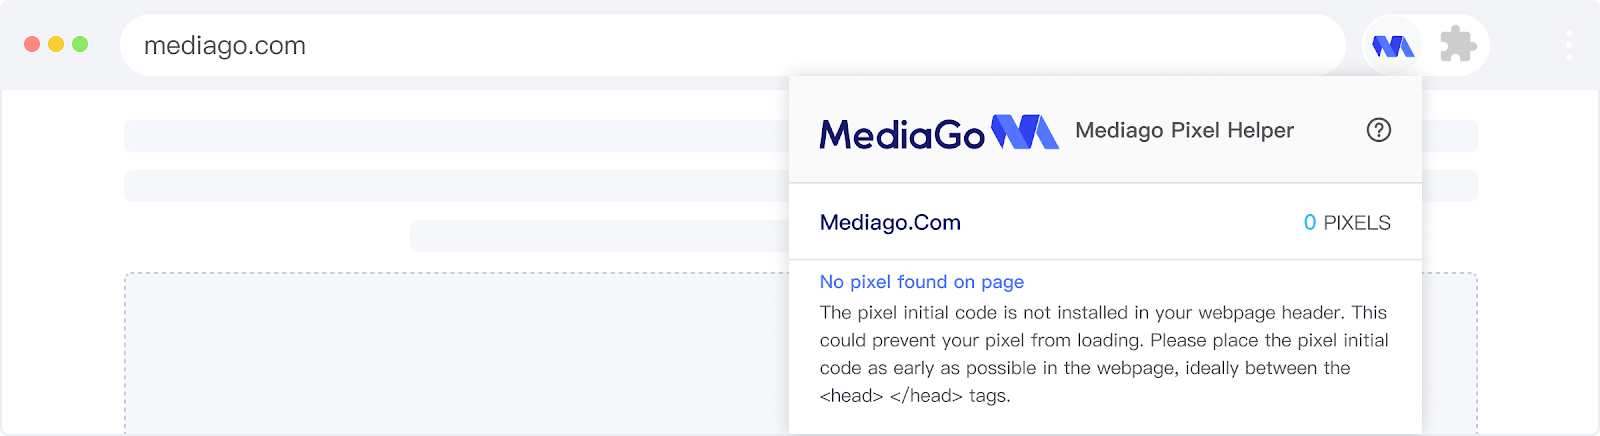
Using the MediaGo pixel helper
Use the plugin to check your Pixel installation:
1. Open Landing Page: Visit the landing page where you want to verify the Pixel installation.
2. Activate MediaGo Pixel Helper: Select MediaGo Pixel Helper from your Chrome extensions to start the detection process.
3. Refer to MediaGo Resources: For more guidance on Pixel setup, check out the MediaGo Pixel Help resources .
Integrating MediaGo Pixels with OnePixel makes tracking, analyzing, and optimizing your campaigns easy. By leveraging tools like the MediaGo Pixel Helper and conversion events, you can refine your strategies to achieve better results.


Comments
Please sign in to leave a comment.