
The "Banner grid" section in the Farida theme is a versatile tool that enhances user experience, improves information delivery, boosts user interaction, and elevates your brand image. This guide will help you understand how to configure the "Banner grid" section and provide detailed configuration examples.
Note
- The Farida theme also includes other configurable sections such as Slider, Scrolling Text, Featured Products, Rich Text, Collection List, Timeline, Three Banners, Customer Reviews, Image with Text, and Text with Icons. You can apply similar configuration techniques to these sections.
- Text color, font, and content are not included in the guidance; you can adjust them according to your preferences or use the default settings.
Adding the Banner grid section
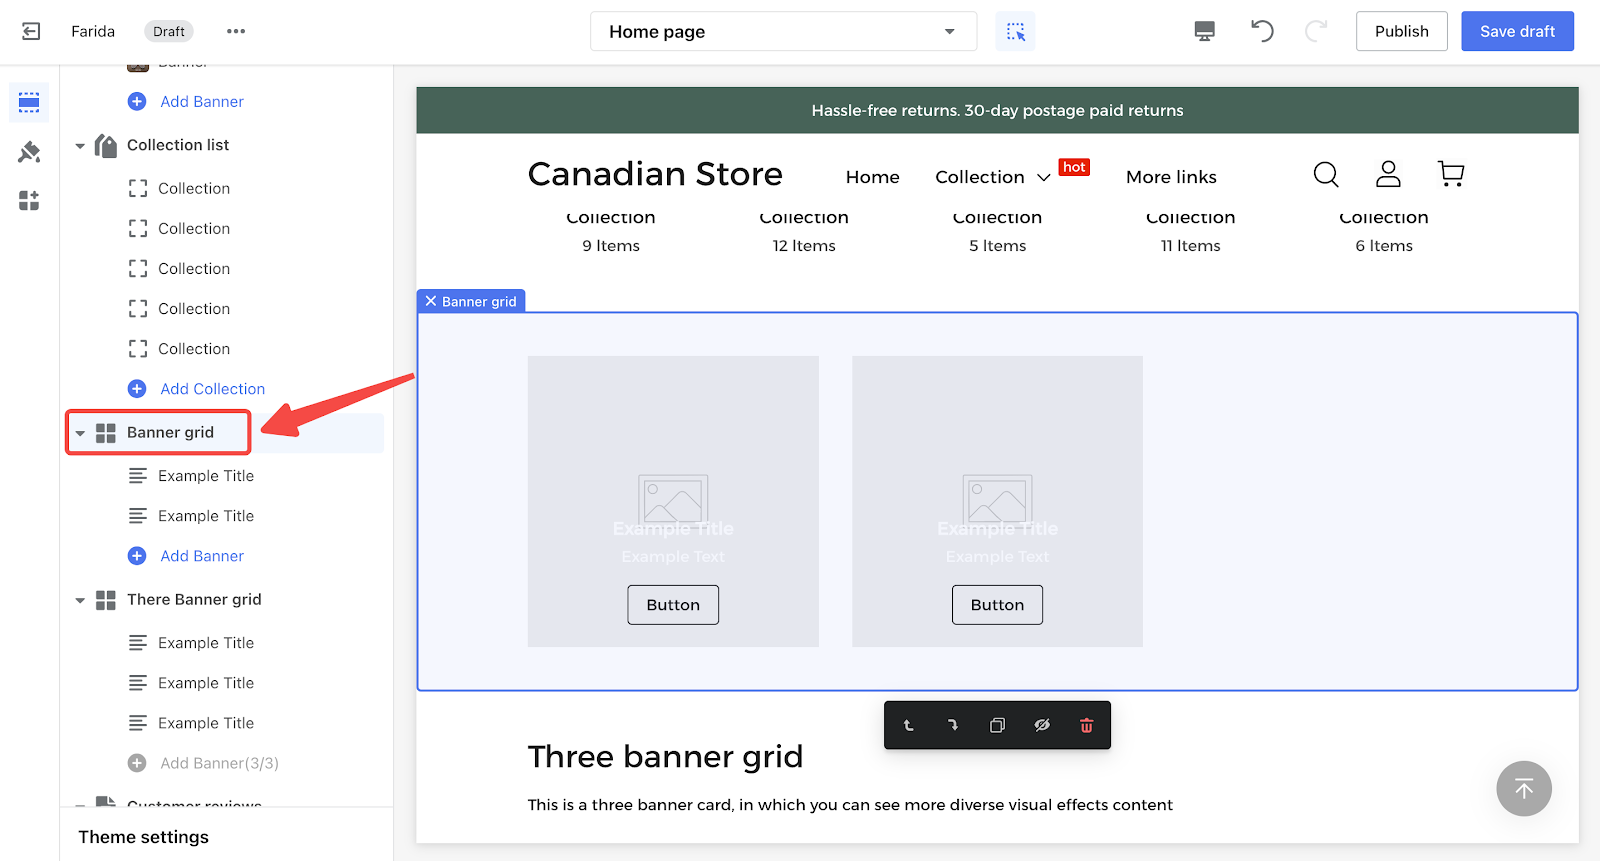
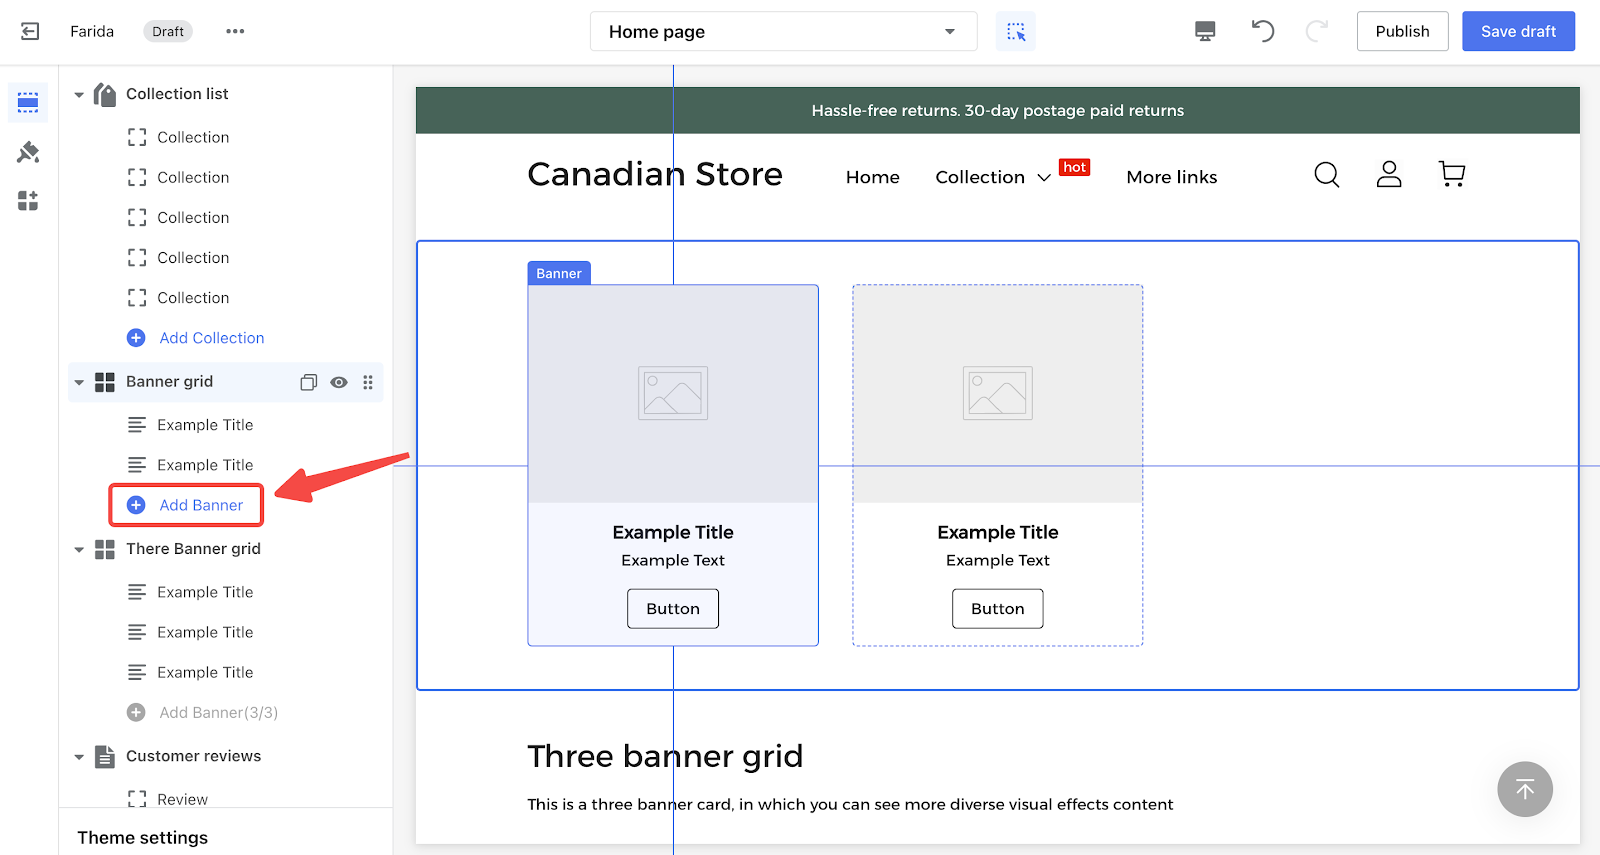
1. Add the Banner grid section: From your Shoplazza admin, go to Online > Theme > Farida > Customize. In the theme editor, click on the Add section then choose Banner grid. Once added, click on the Banner grid title to configure.
Example configurations using Banner grid sections
Border radius: The following examples set the image border radius to 0px by default. The border radius can be adjusted from 0px to 30px.

Overlay on image with bottom text
This example shows how to create a Banner grid with three columns, where the text overlays the image and is displayed at the bottom. This layout is great for emphasizing the images while still providing important information.
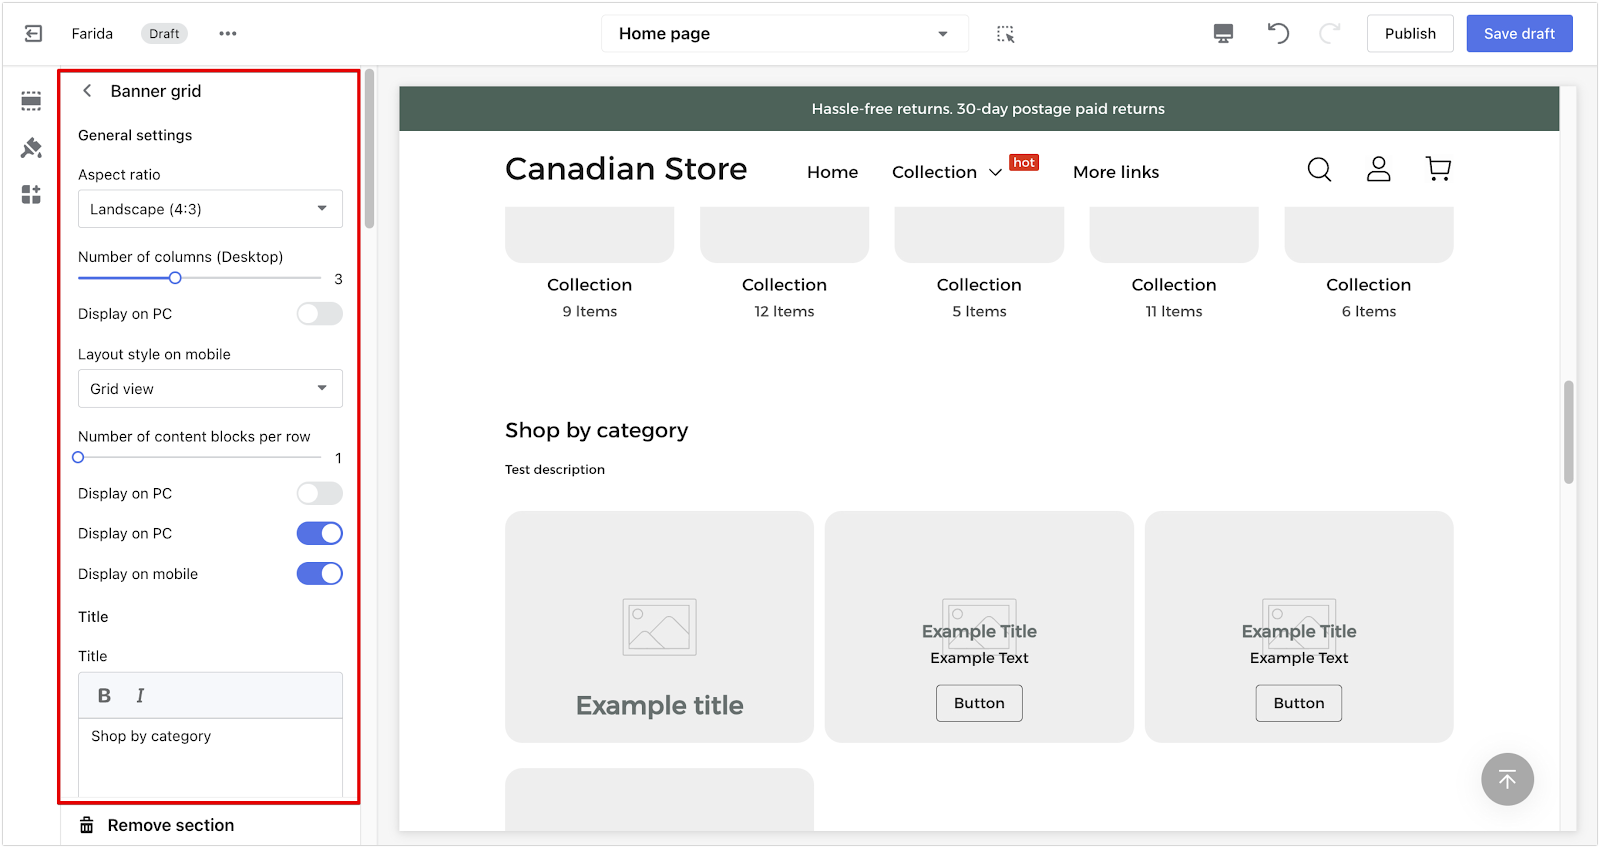
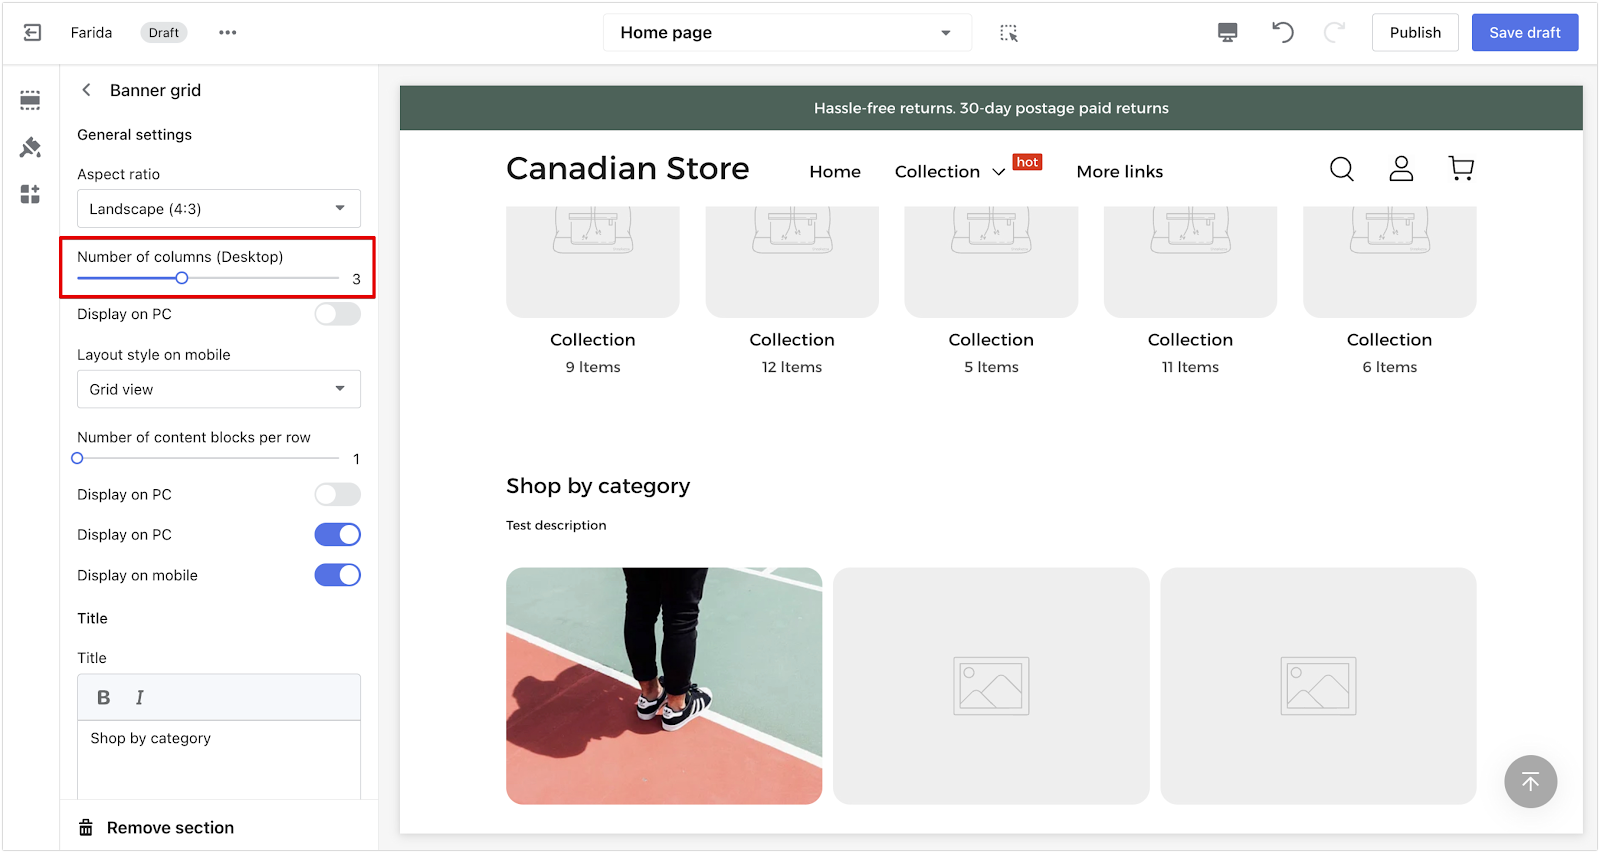
1. Section settings: Follow the settings for the Banner Grid below to use this example. All of these settings can be found in the settings panel by scrolling.
- Number of columns (Desktop): 3
- Content layout: Overlay on image
- Content display method: Always display text
- Content position: Bottom
- Show bottom shadow: Off
- Horizontal padding: 30px
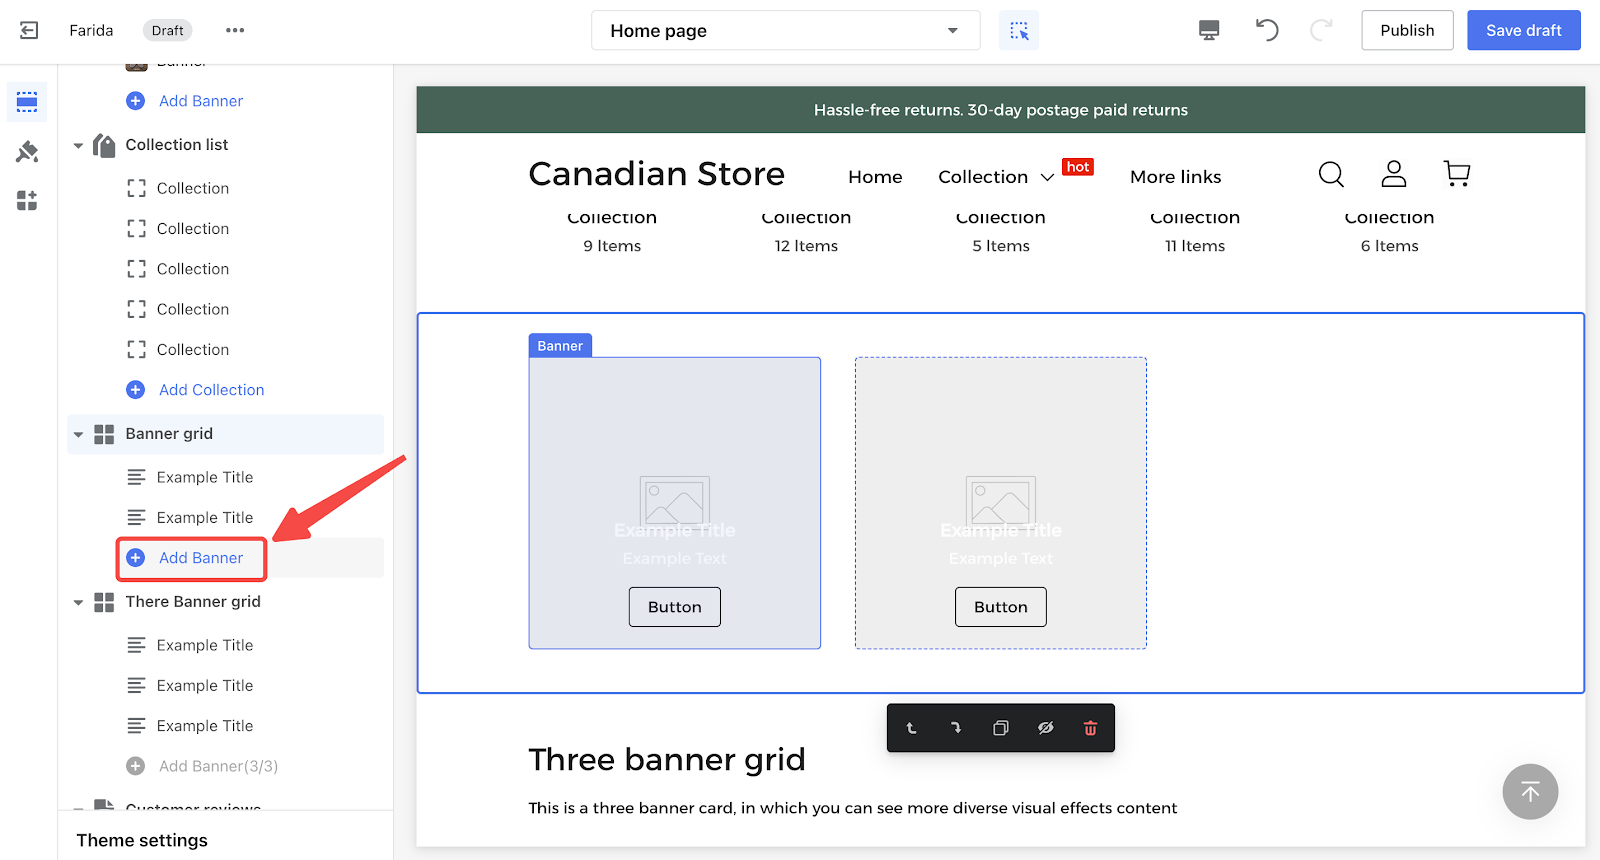
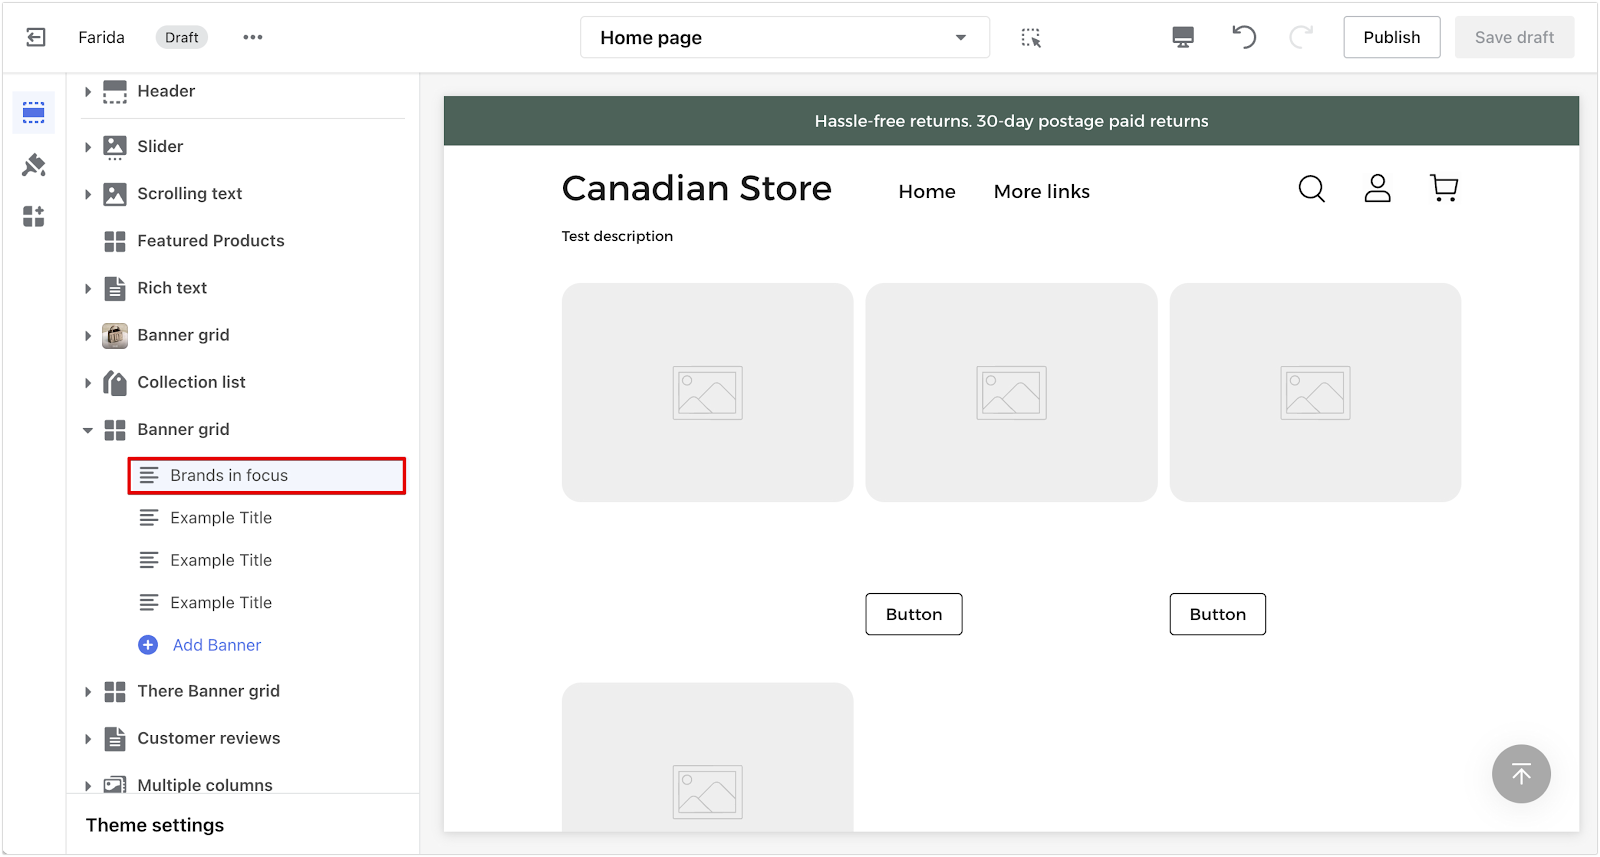
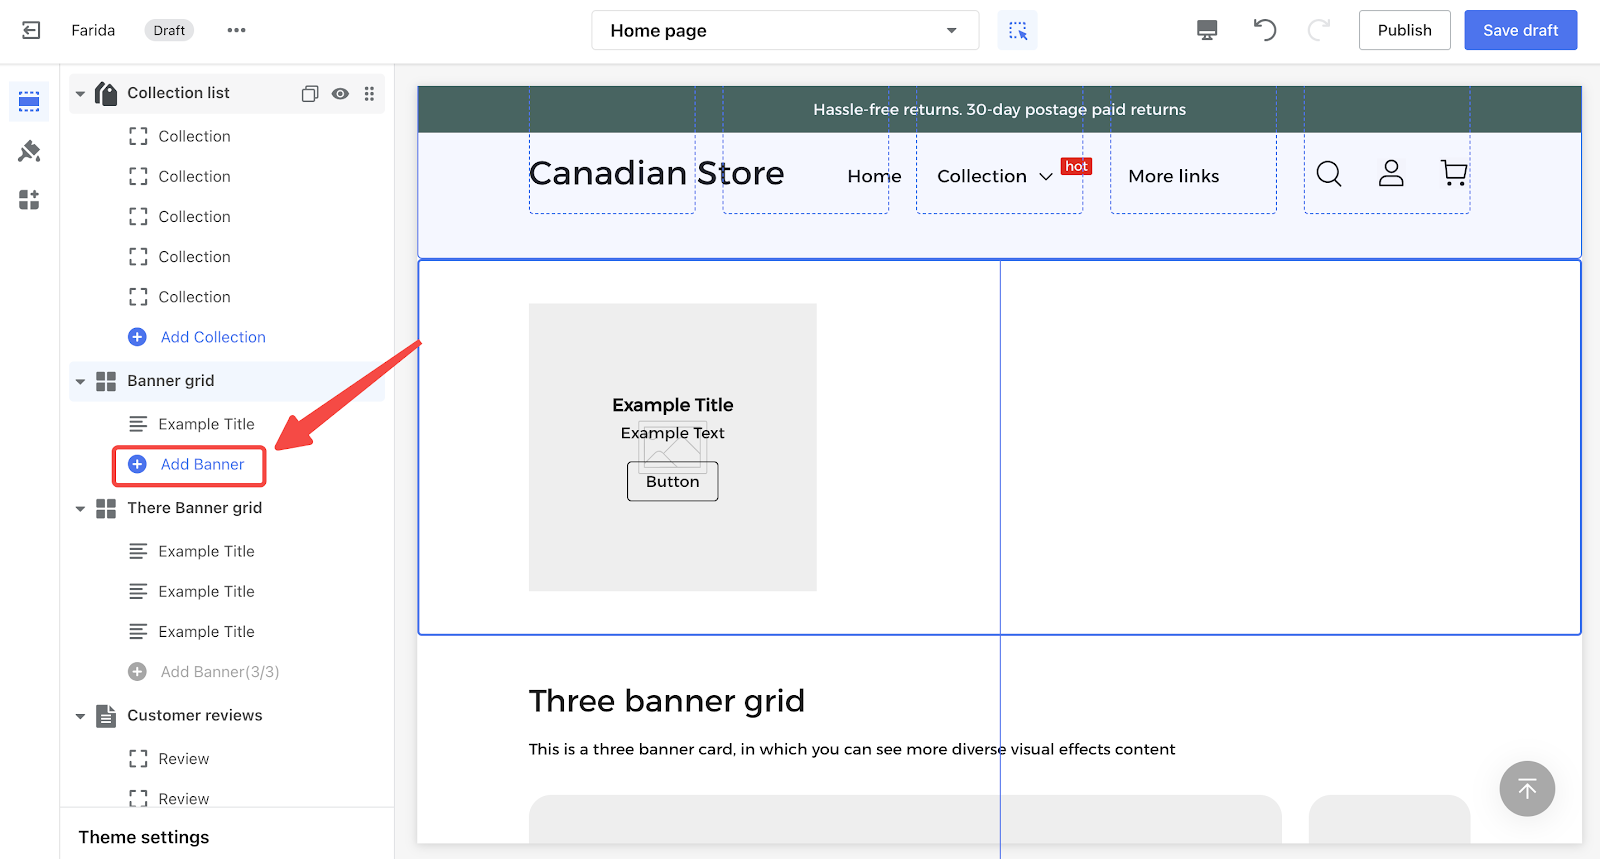
2. Add Banners: In the theme editor, click on Add Banner under Banner grid and add three banners.
3. Customize each banner: For consistency, these settings should be applied to each of the banners.
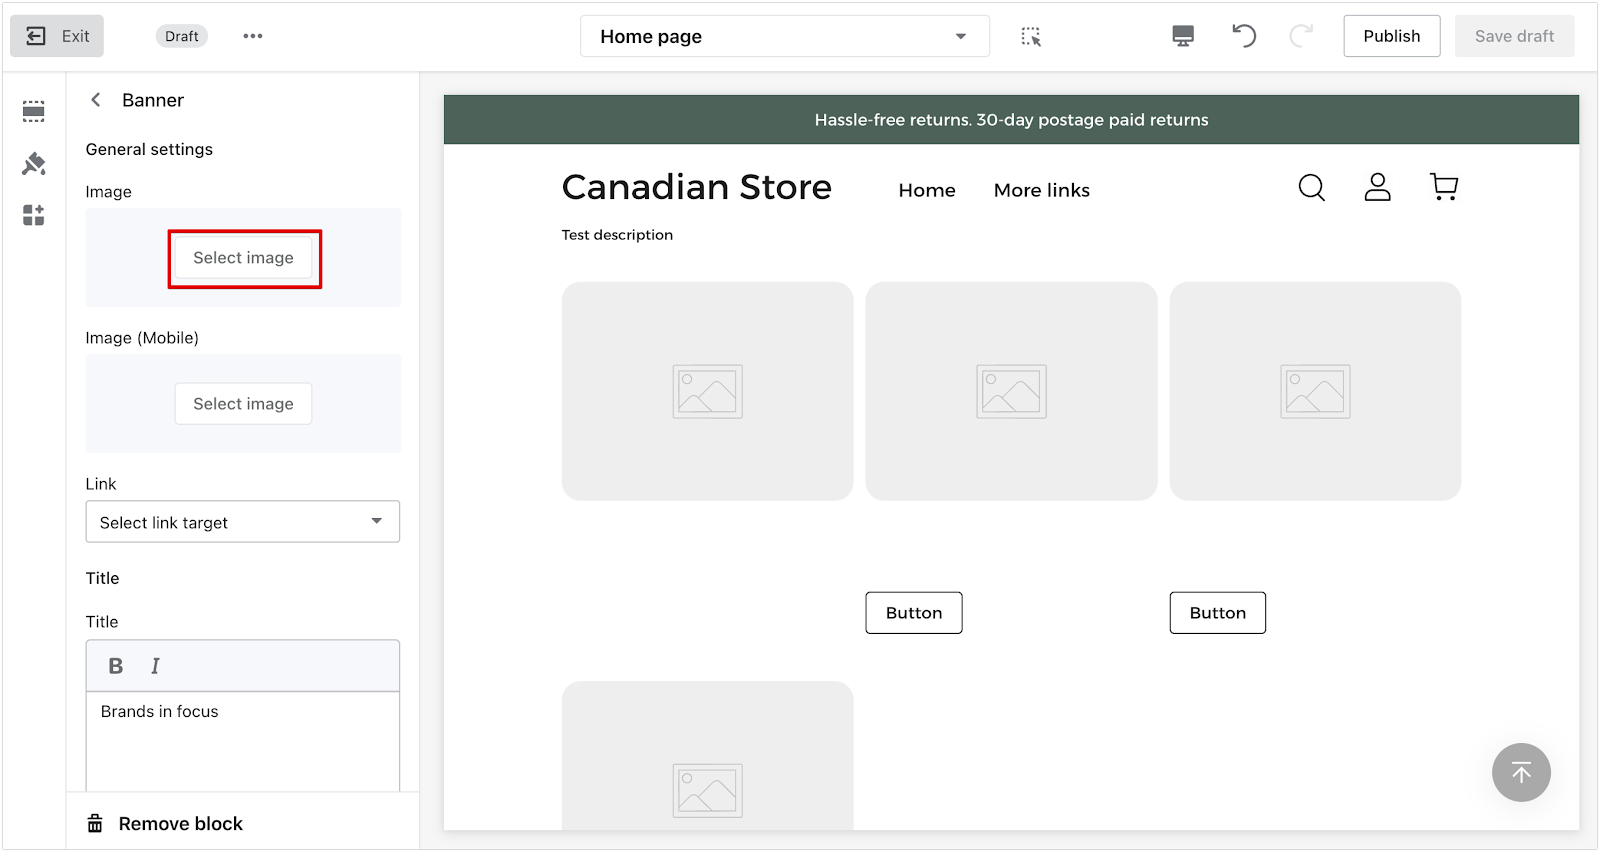
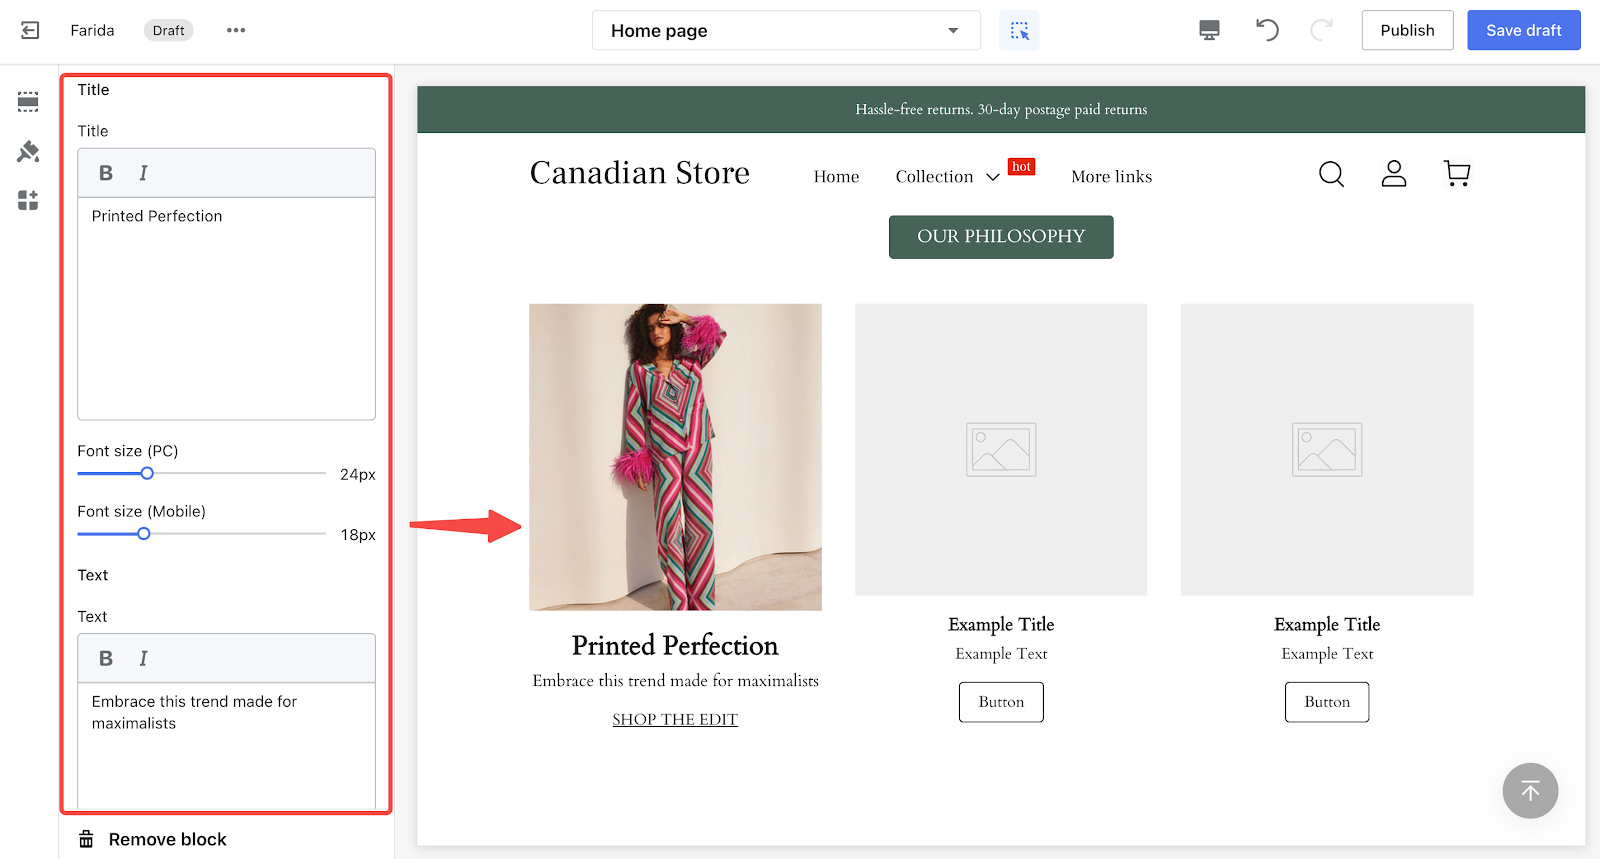
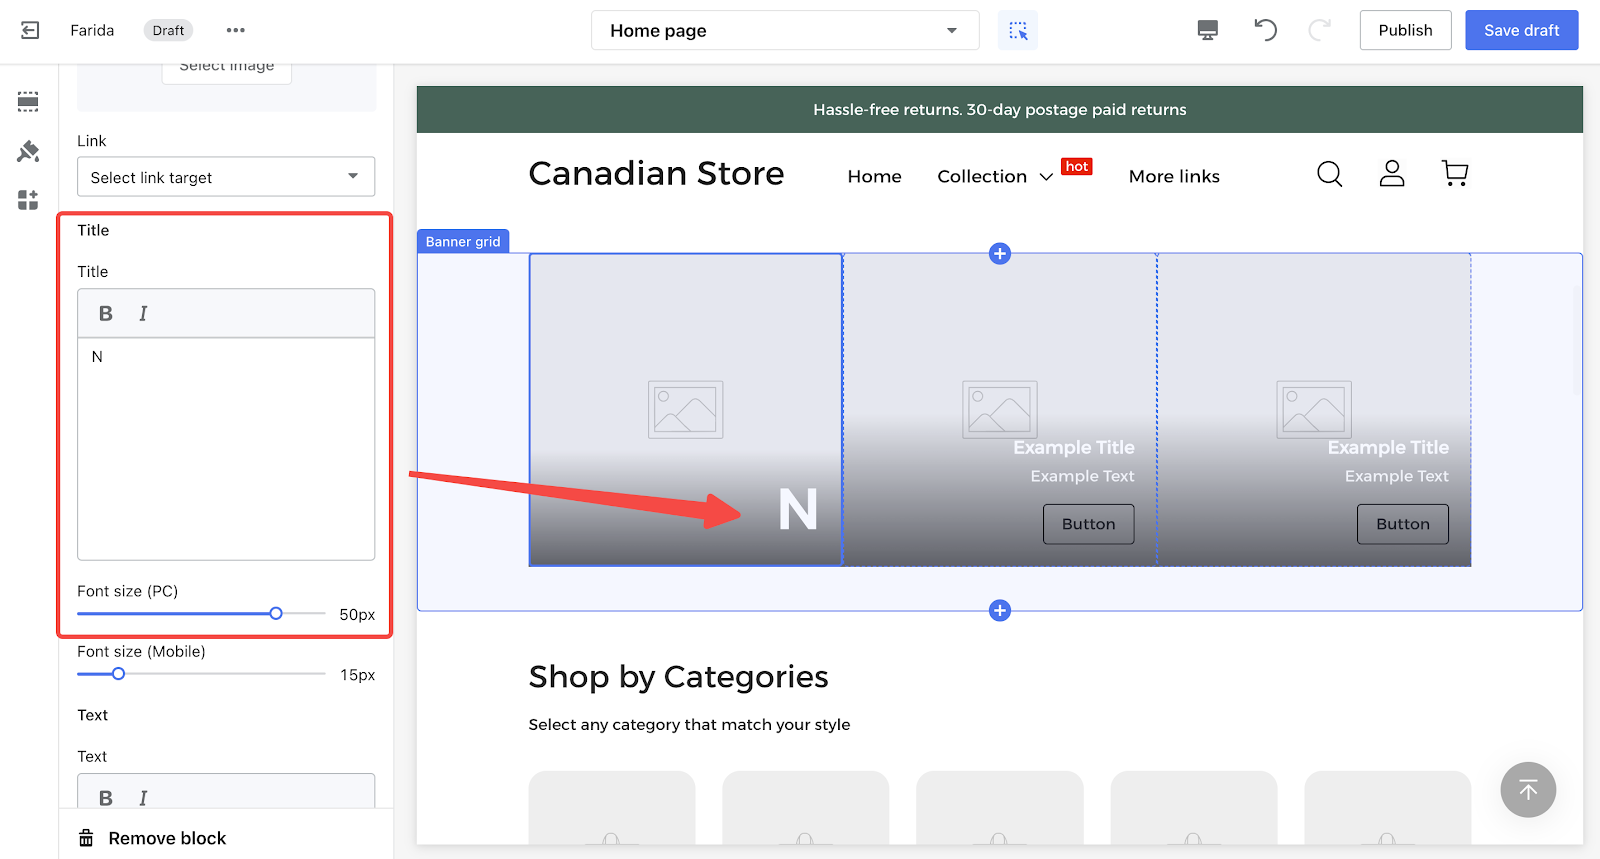
- Click on the title of the banner
- Import an image for each banner.
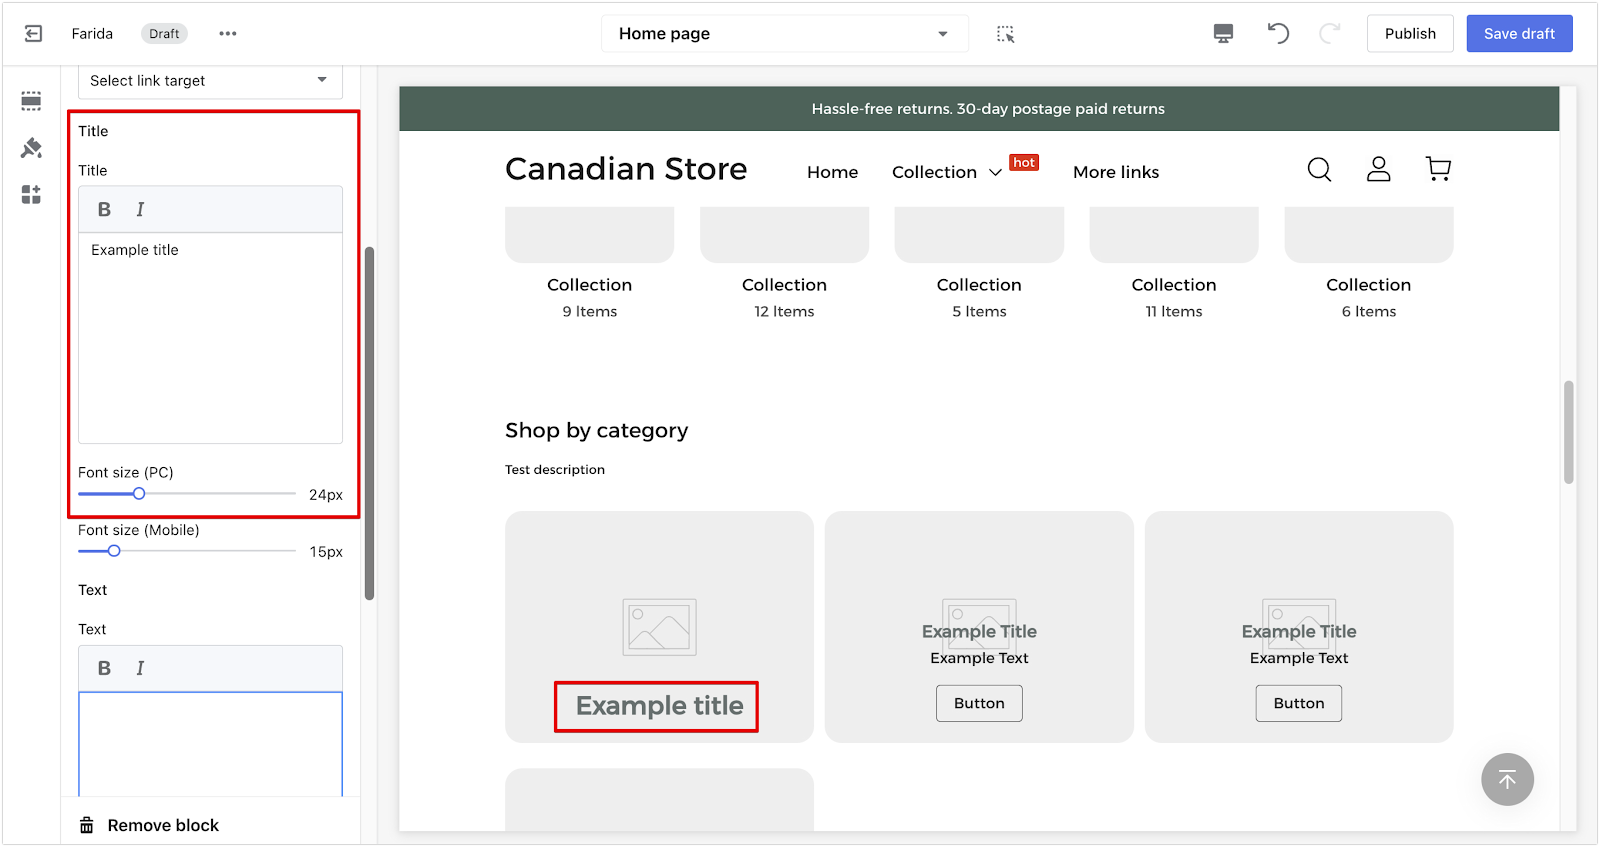
- Leave the text and button text fields empty and fill in the Title and select font size (PC): 24px.
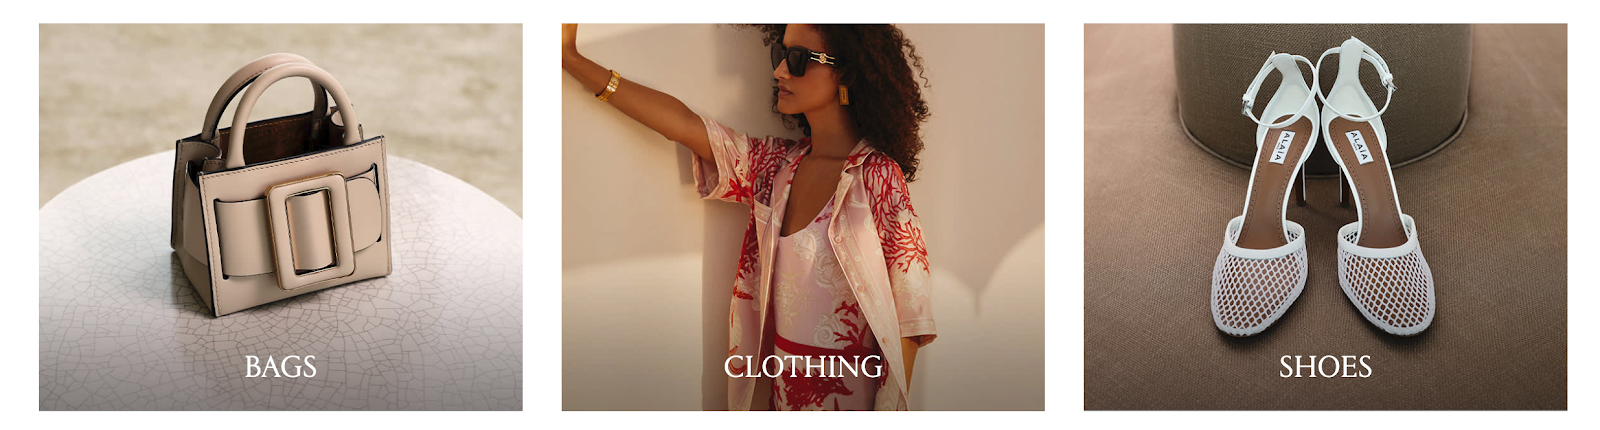
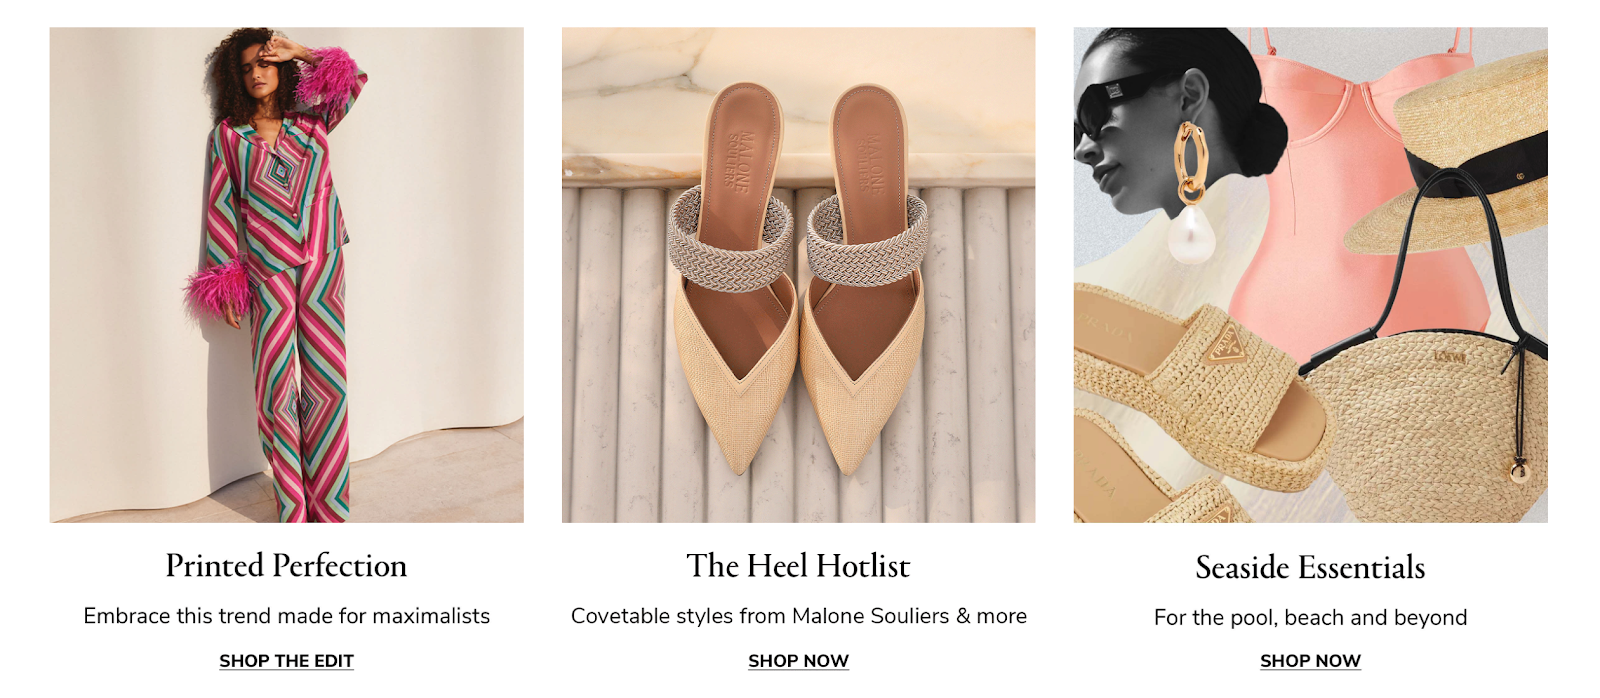
Below image with text centered
This example demonstrates how to position the text below the image with centered alignment, providing a balanced and clean look.
1. Section settings: Follow the settings for the Banner Grid below to use this example. All of these settings can be found in the settings panel by scrolling.
- Number of columns(Desktop): 3
- Content layout: Below the image
- Content alignment: Centered
- Content position: Bottom
- Horizontal padding: 30px
2. Add Banners: In the theme editor, click on Add Banner under Banner grid and add three banners.
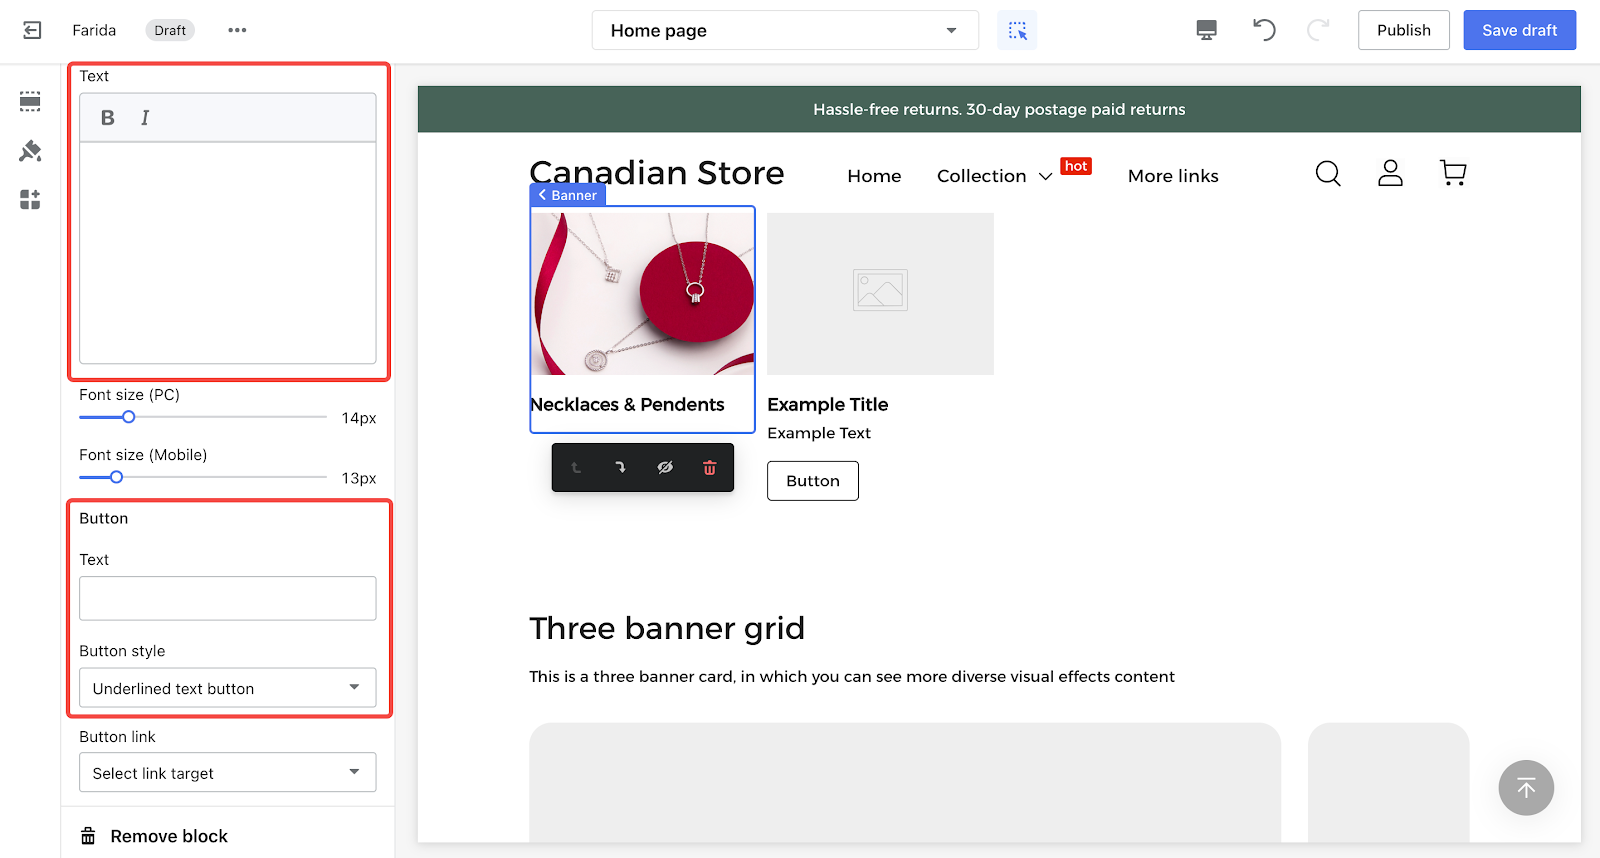
3. Customize each banner: For consistency, these settings should be applied to each of the banners.
- Import an image for each banner.
- Fill in the title and select font size (PC): 24px.
- Add descriptive text and set font size (PC): 14px.
- Add button text and choose button style to underline the text.
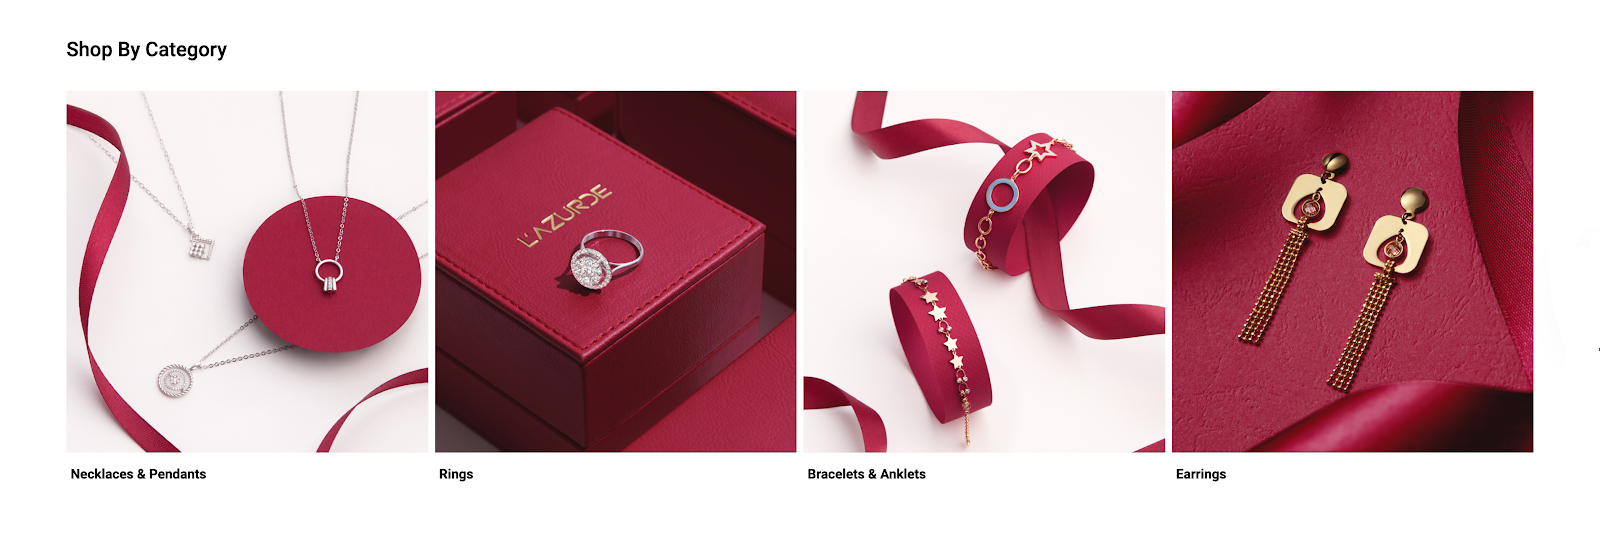
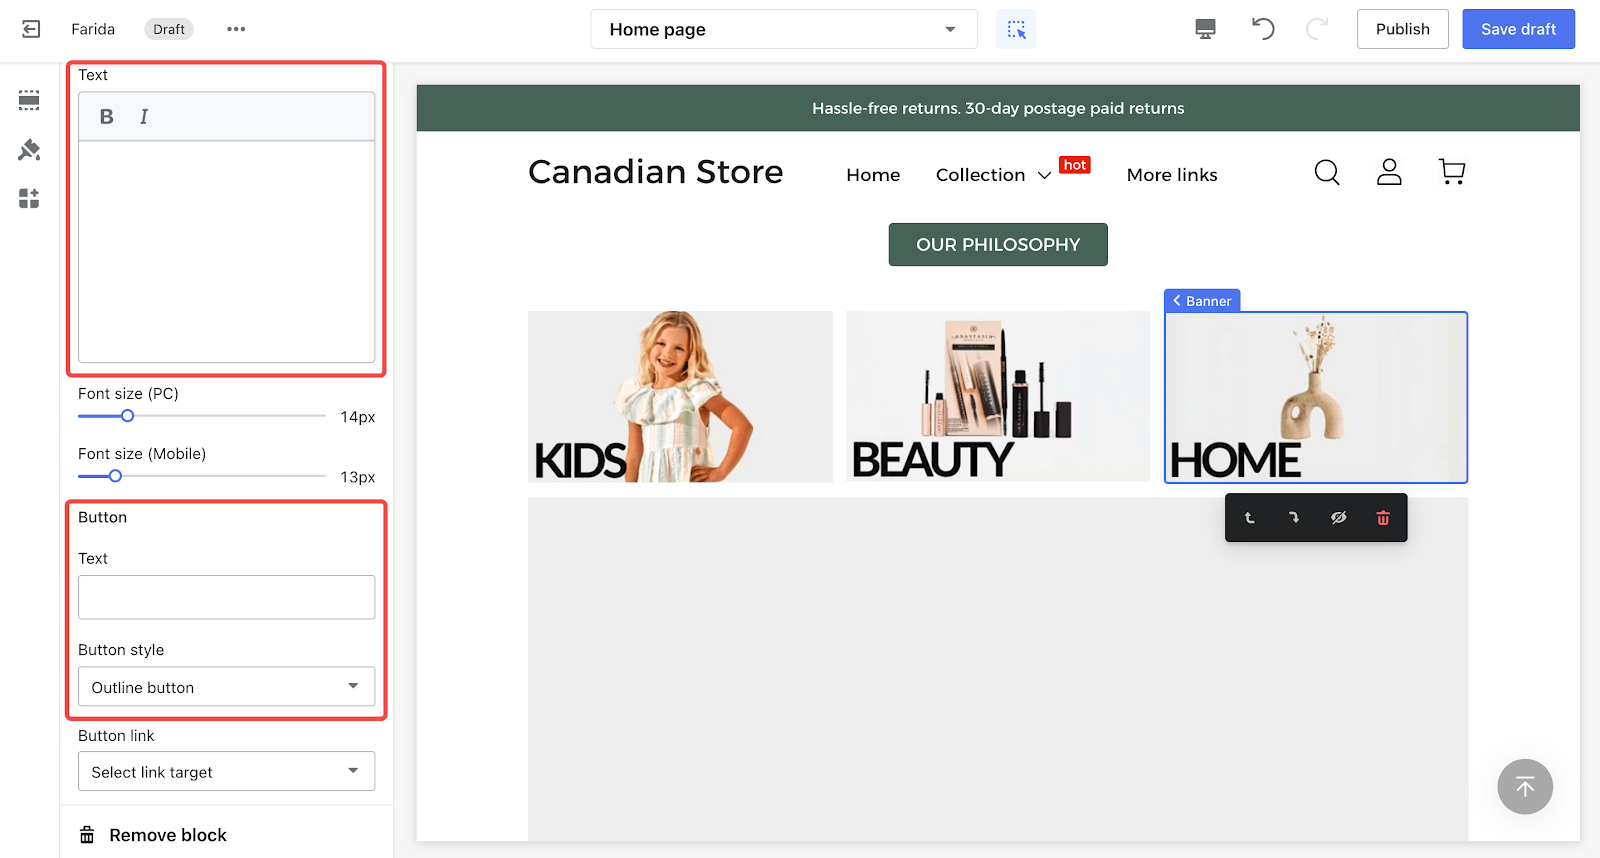
Customizable title with four columns
This example shows how to create a section with four columns and left-aligned text below the image. The title can be customized to suit your needs.
1. Section settings: Follow the settings for the Banner Grid below to use this example. All of these settings can be found in the settings panel by scrolling.
- Number of columns(Desktop): 4
- Title settings, font size (PC): 20px
- Title alignment: Left aligned
- Content layout: Below the image
- Content alignment: Left aligned
- Horizontal padding: 10px

2. Add Banners: In the theme editor, click on Add Banner under Banner grid and add four banners.
3. Customize each banner: For consistency, these settings should be applied to each of the banners.
- Import an image for each banner.
- Leave the text and button text fields empty.
- Fill in the title and select font size (PC): 16px.
Overlay on image with button and text centered
This example shows how to create a Banner grid with text centered on the image and button shadow turned off, making the text more prominent.

1. Section settings: Follow the settings for the Banner Grid below to use this example. All of these settings can be found in the settings panel by scrolling.
- Number of columns(Desktop): 3
- Content layout: Overlay on image
- Content position: Center
- Show bottom shadow: Off
- Horizontal padding: 35px
2. Add Banners: In the theme editor, click on Add Banner under Banner grid and add three banners.
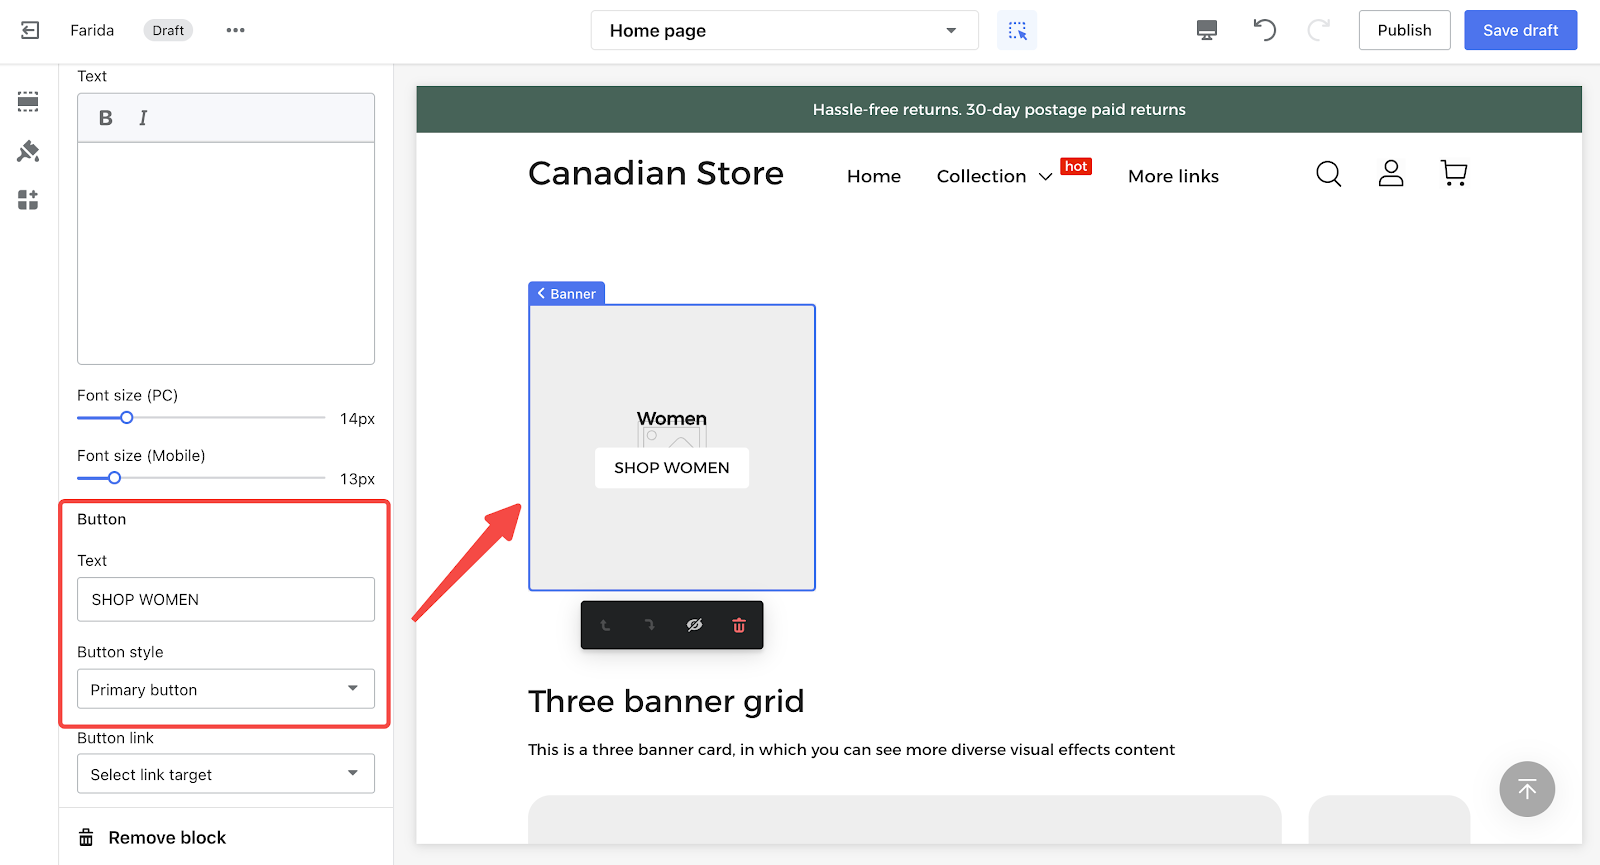
3. Customize each banner: For consistency, these settings should be applied to each of the banners.
- Import an image for each banner.
- Fill in the title and select font size (PC): 60px.
- Choose the Primary button for the button style and fill in the button text.
Bottom left text on image with five banners
This example demonstrates how to configure a Banner grid with five banners and bottom-left text alignment, ideal for highlighting multiple items.

1. Section settings: Follow the settings for the Banner Grid below to use this example. All of these settings can be found in the settings panel by scrolling.
- Number of columns(Desktop): 3
- Display on PC: On
- Content layout: Overlay on image
- Content position: Bottom left
- Show bottom shadow: Off
- Vertical padding: 12px
- Horizontal padding: 12px
2. Add Banners: In the theme editor, click on Add Banner under Banner grid and add five banners.

3. Customize each banner: For consistency, these settings should be applied to each of the banners.
- Import an image for each banner.
- Leave text and button text empty.
- Fill in the title and select font size (PC): 42px.
Overlay on image with bottom right text
This example showcases a Banner grid with three columns and text positioned at the bottom right, providing a stylish and modern look.

1. Section settings: Follow the settings for the Banner Grid below to use this example. All of these settings can be found in the settings panel by scrolling.
- Number of columns(Desktop): 3
- Content layout: Overlay on image
- Content position: Bottom right
- Show bottom shadow: On
- Horizontal padding: 0px
2. Add Banners: In the theme editor, click on Add Banner under Banner grid and add three banners.
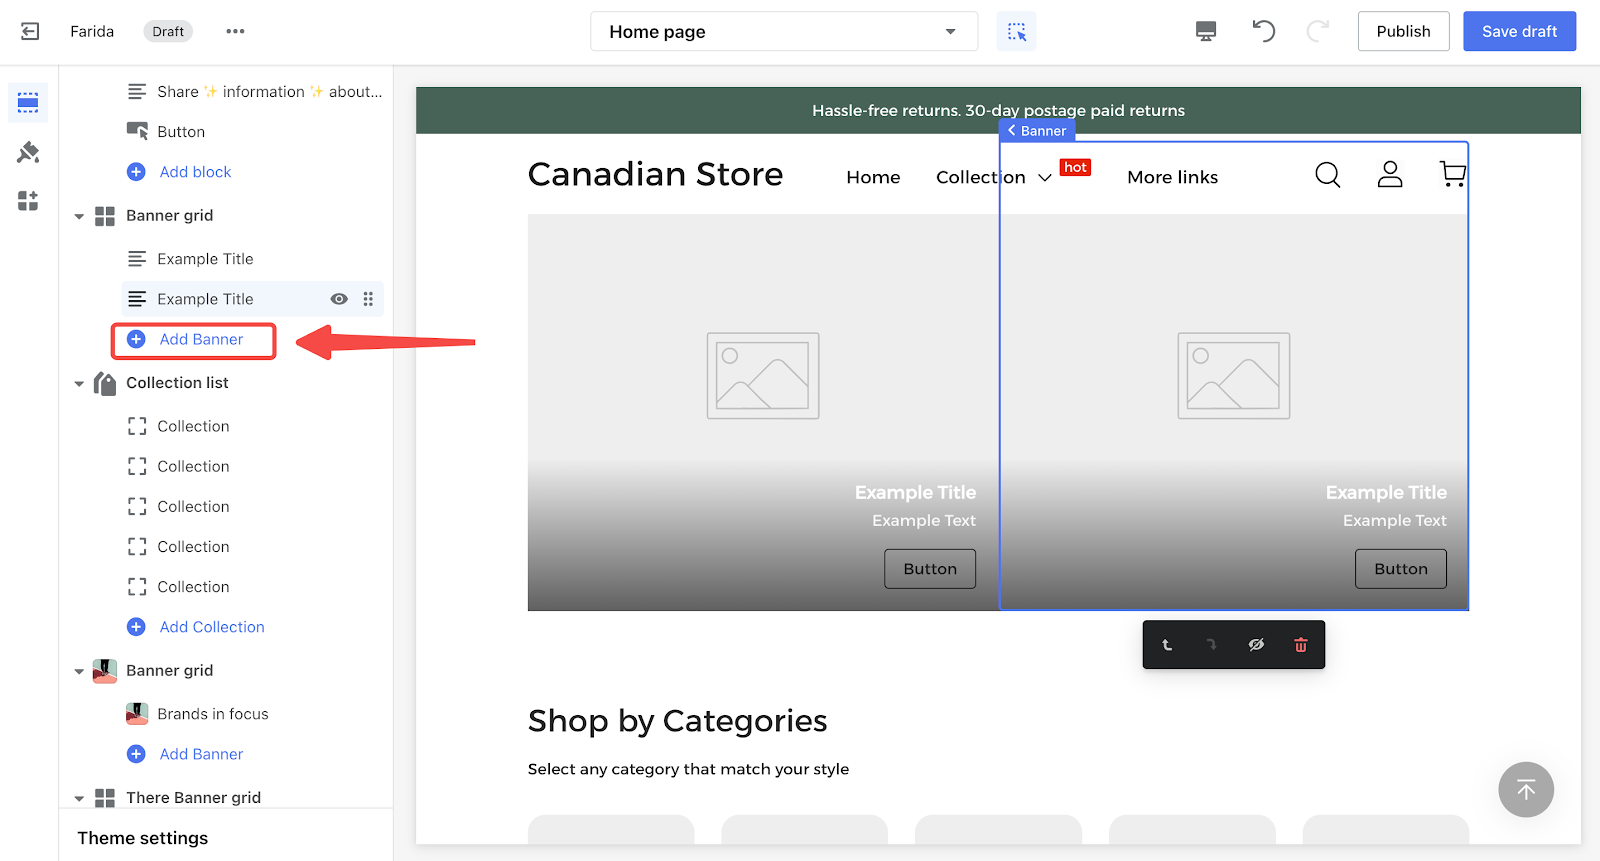
3. Customize each banner: For consistency, these settings should be applied to each of the banners.
- Import an image for each banner.
- Leave text and button text empty.
- Fill in the title and select font size (PC): 50px.
By following these steps, you can effectively configure the Banner grid section in the Farida theme to suit your needs and enhance your online store's appearance and functionality.


Comments
Please sign in to leave a comment.