
Including images in your website's footer can add a visual touch that complements your brand. You can add logos, contact details, copyright statements, and payment icons to build trust and improve the overall style of your site. This enhances customer recognition and creates transparency. Currently, only the Geek, Impress, Christmas, and Boost themes support adding images to the footer. Follow the steps below to configure images for these themes.
Geek, Impress, and Christmas themes
For the Geek, Impress, and Christmas themes, to add images to your footer, you’ll need to first add the subscription card. This section allows you to include images and links to enhance your footer.
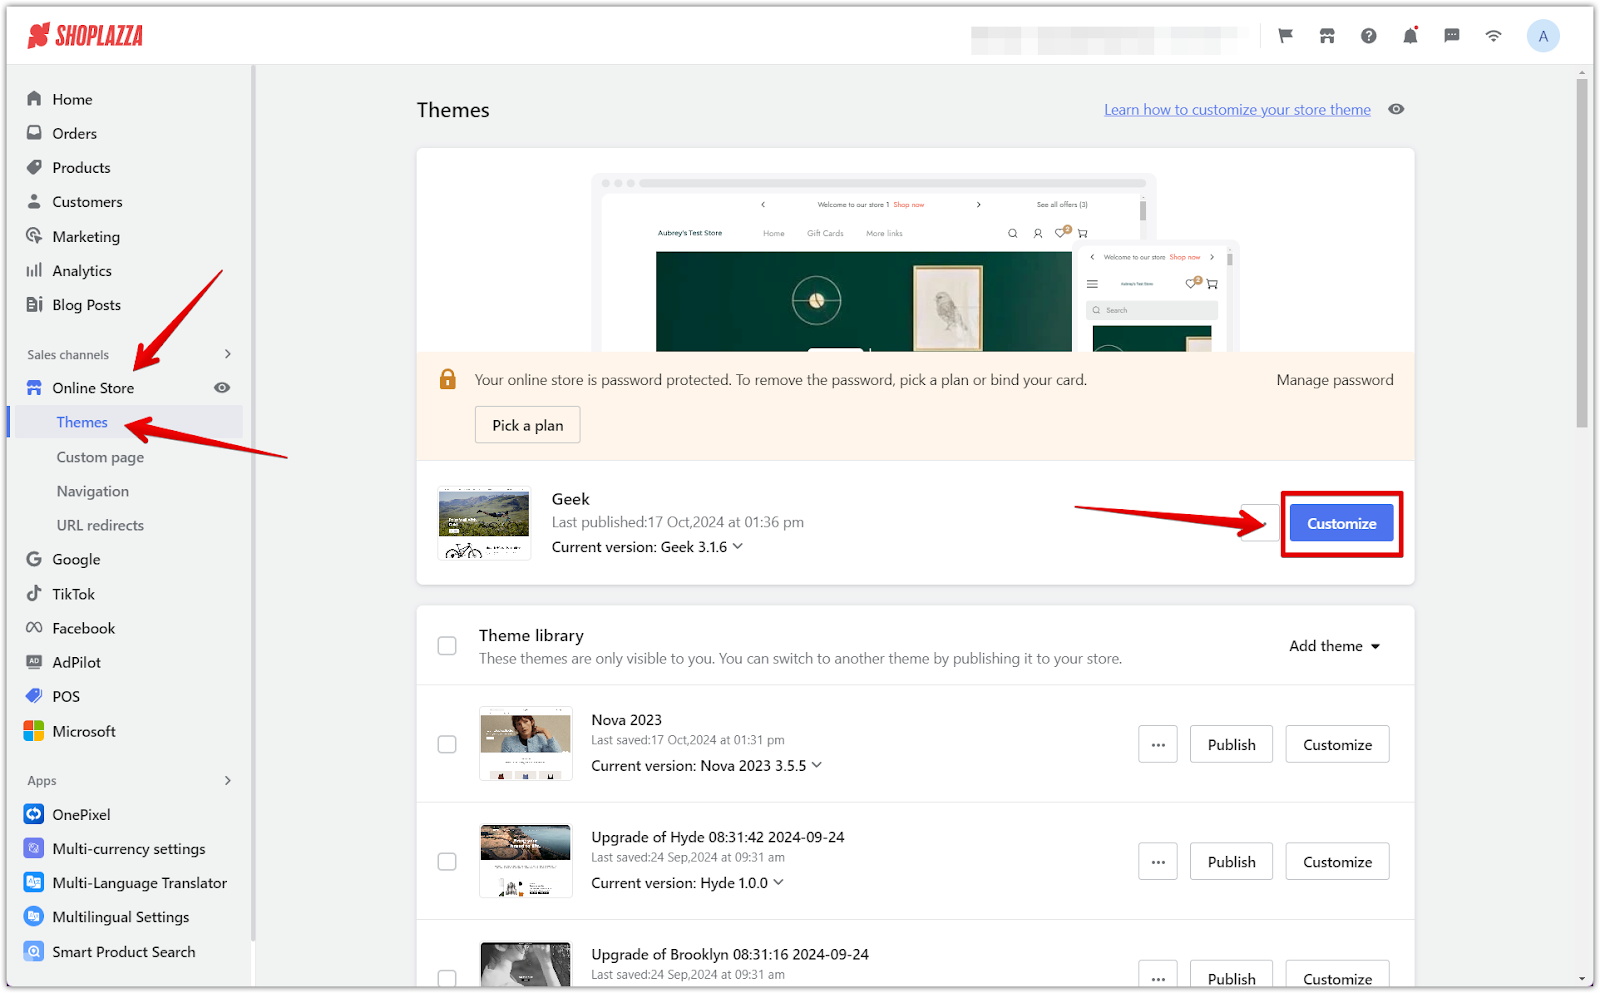
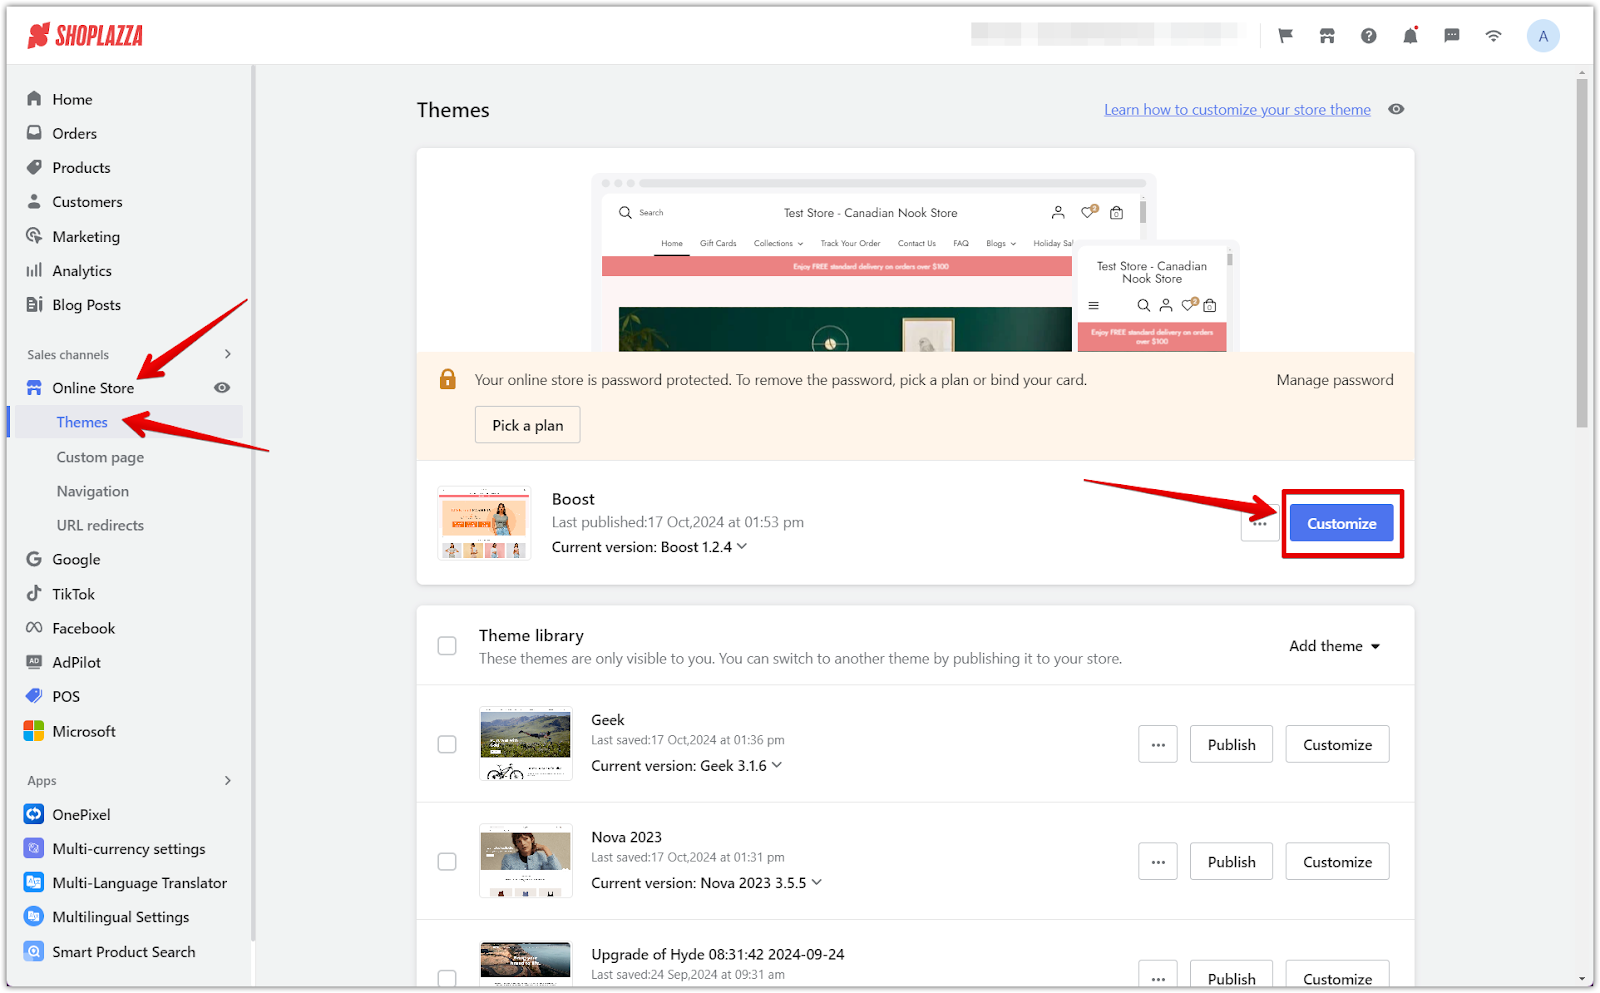
1. Customize your theme: Navigate to your Shoplazza admin > Online store > Themes > Customize.
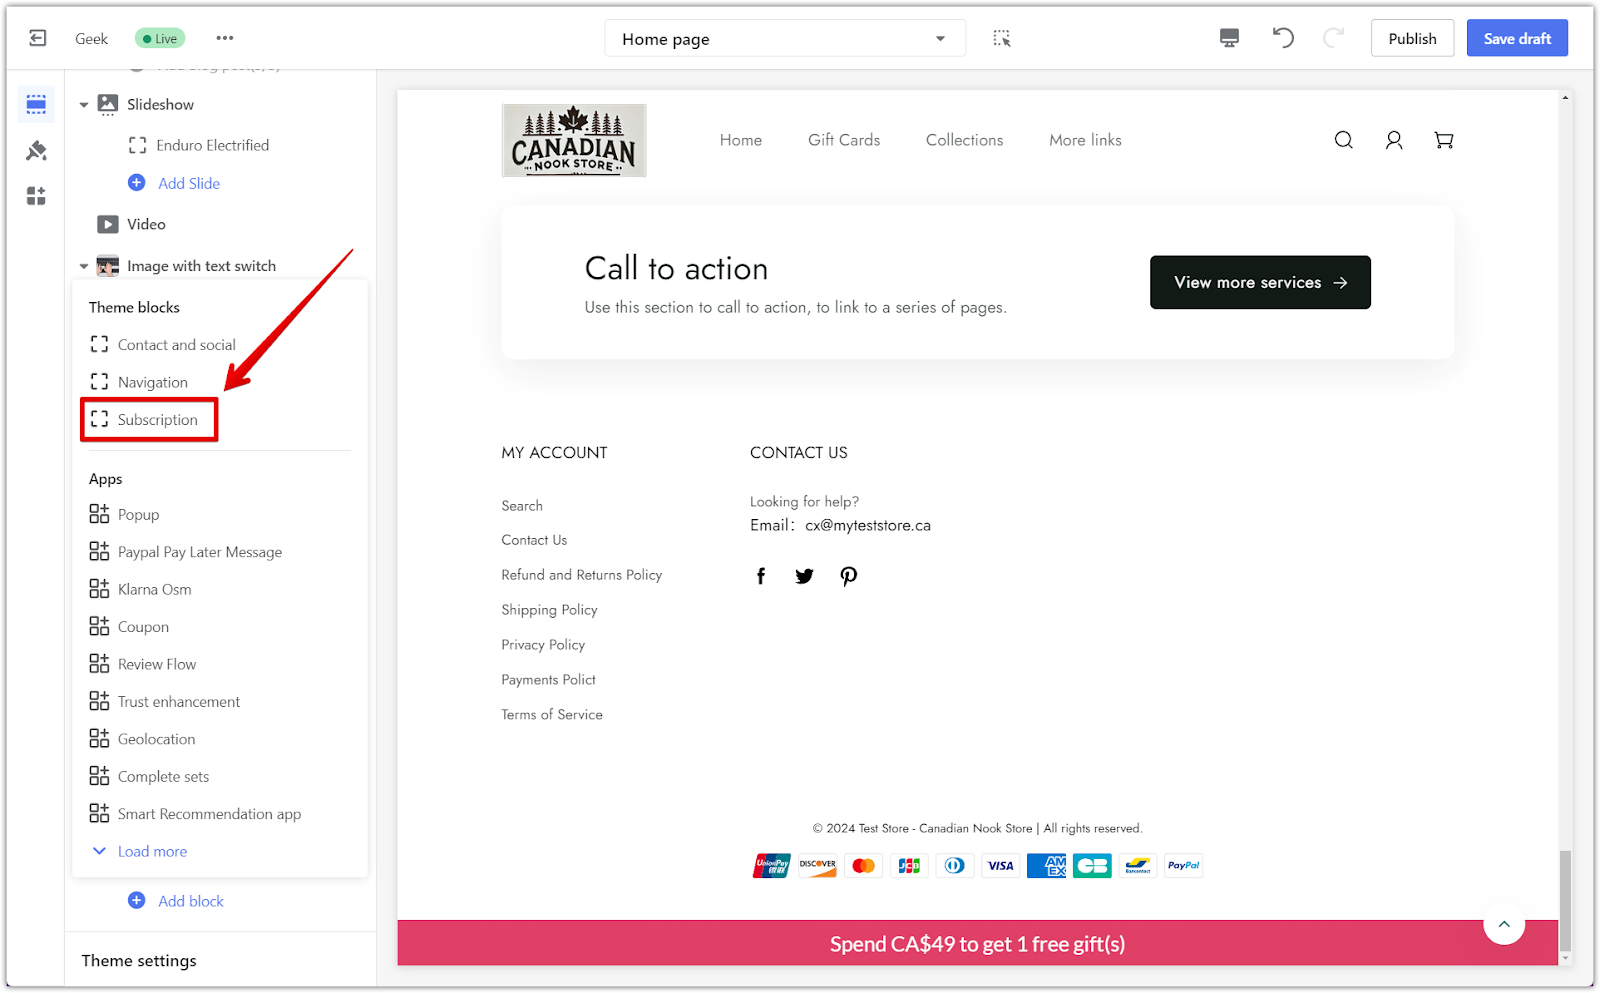
2. Access the footer: Scroll down to the footer section, click the drop-down arrow, and select Add block at the bottom of the card list.

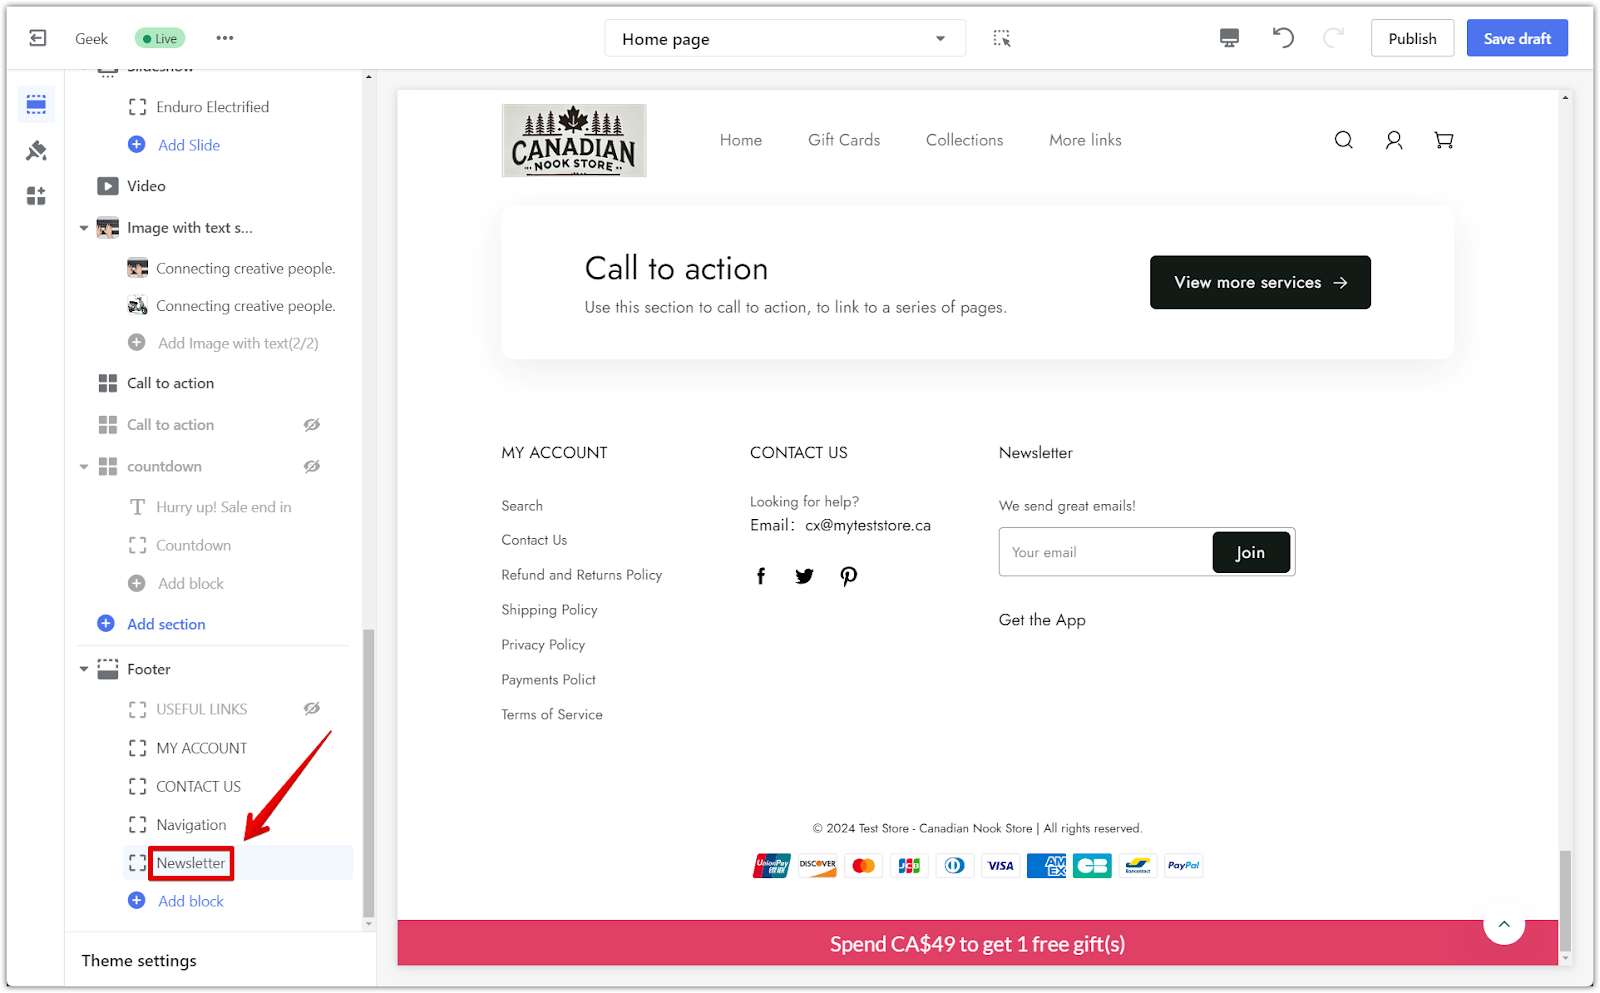
3. Add the subscription card: Select the subscription section (which will show as Newsletter by default after adding it). You can change this title in the card settings.
4. Open the newsletter settings: Click on the Newsletter card to access the card settings.
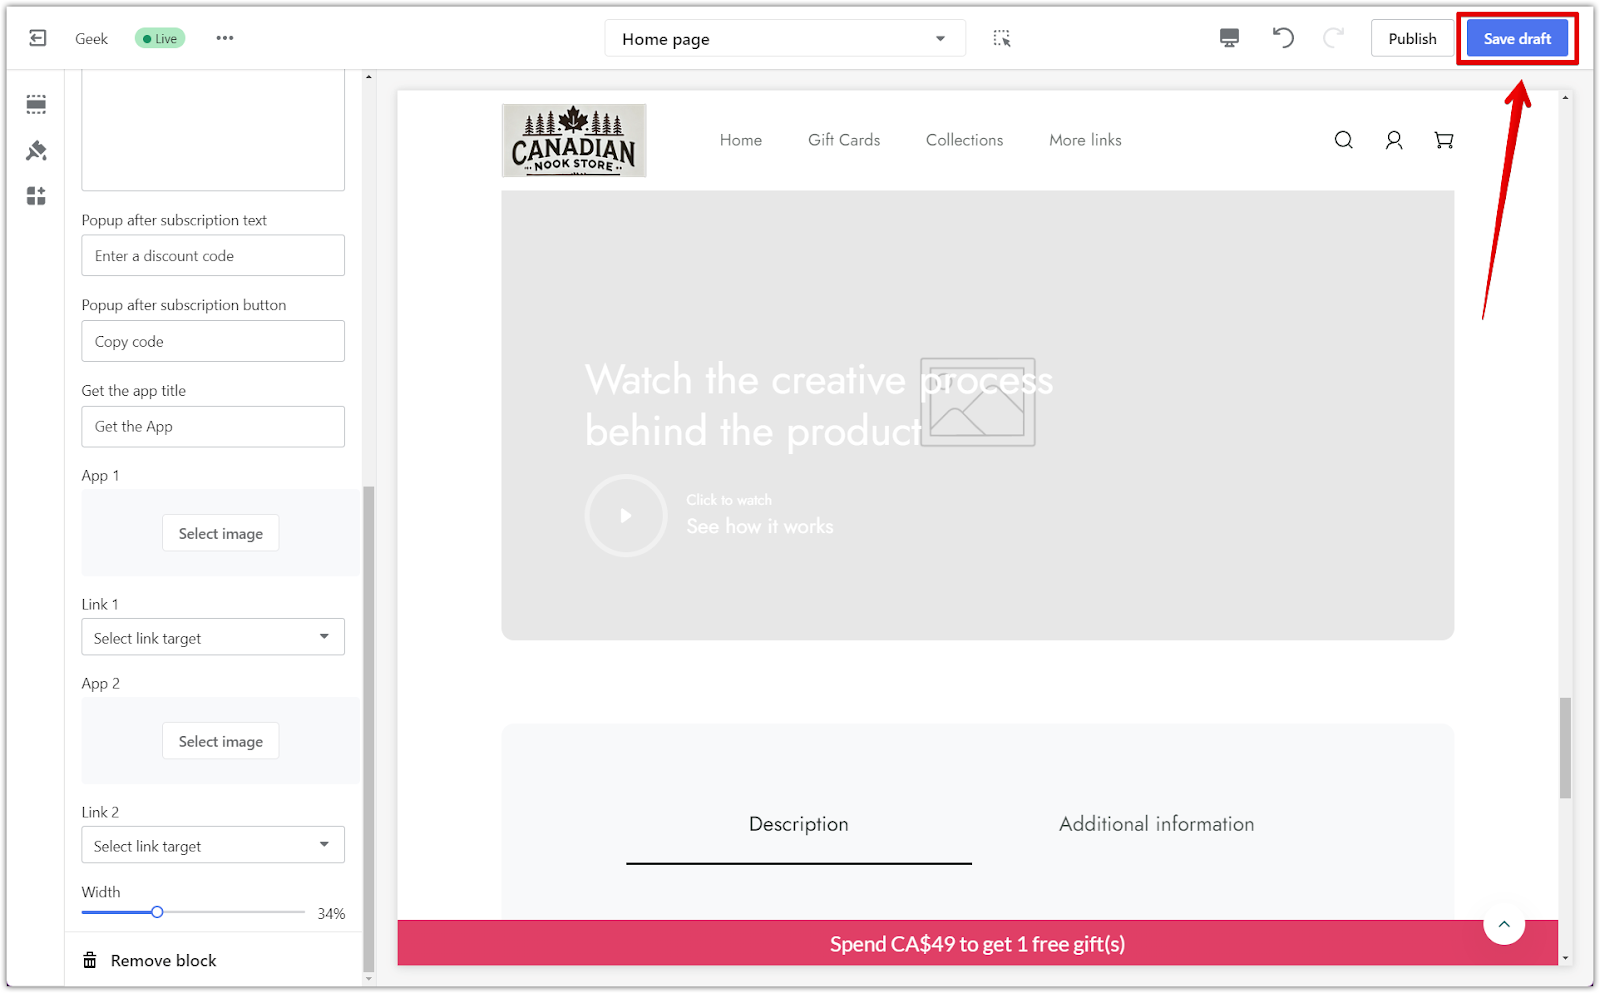
5. Adjusting newsletter settings: In the settings, add images and links where needed within the settings.
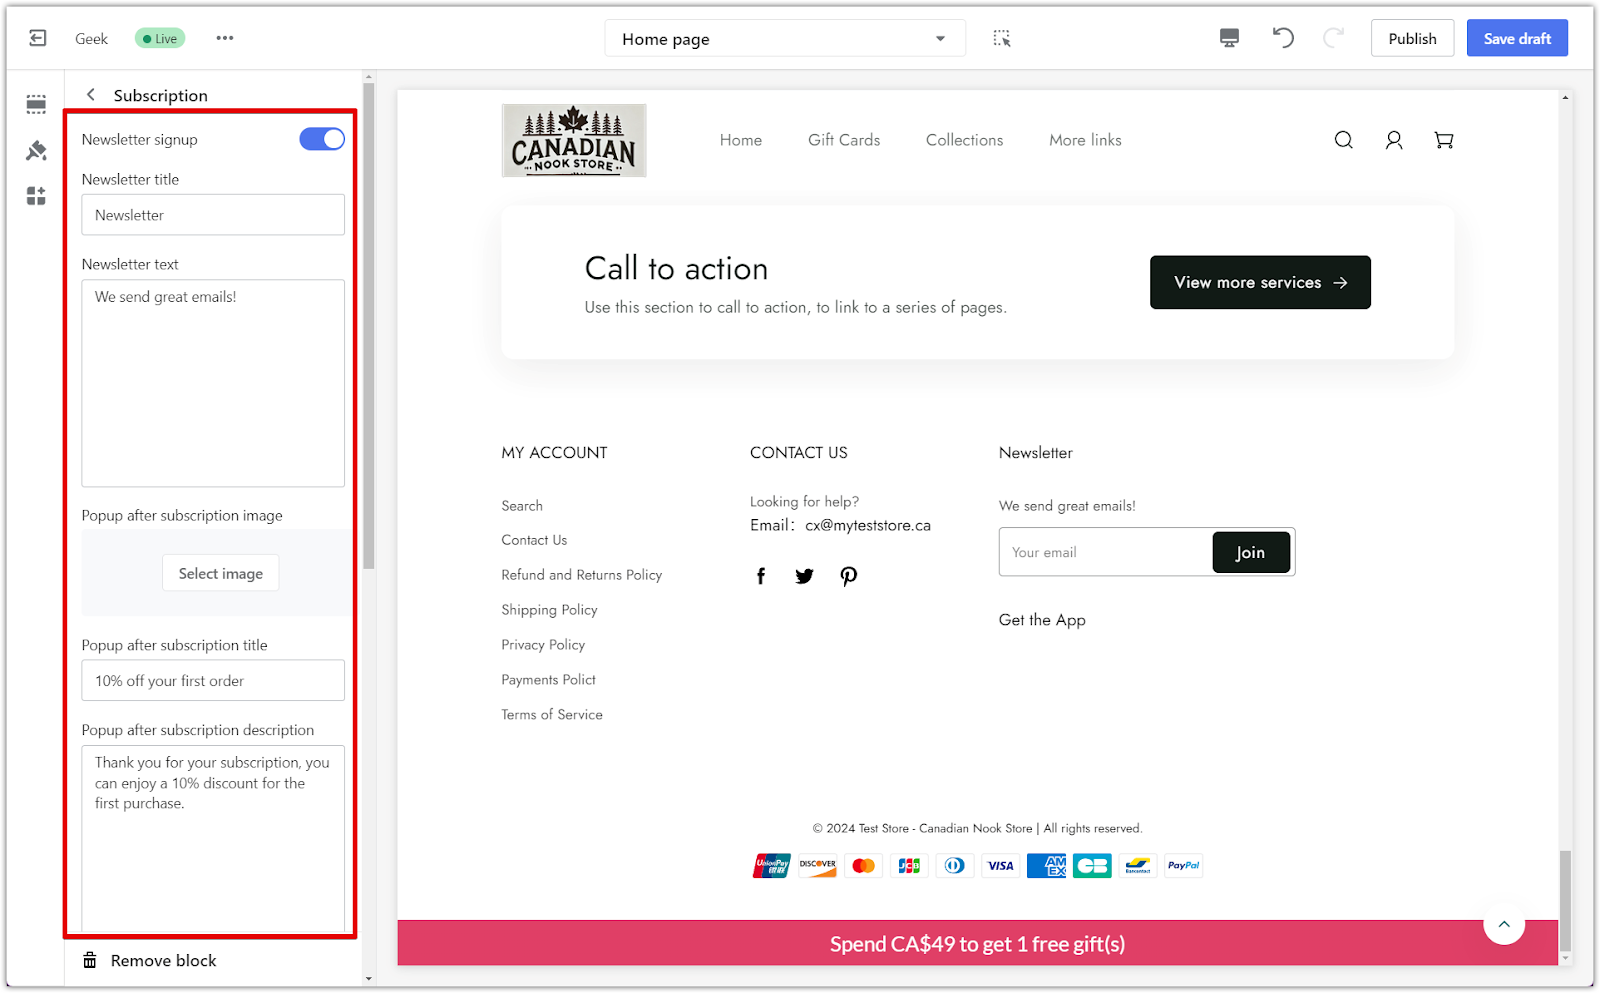
6. Saving changes: Click Save Draft or Publish to apply the changes.
Boost theme
For the Boost theme, the process focuses on adding images to the payment icons section, which can enhance the customer experience by visually representing available payment methods.
1. Customize your theme: Log in to your Shoplazza admin and go to Online store > Themes > Customize.
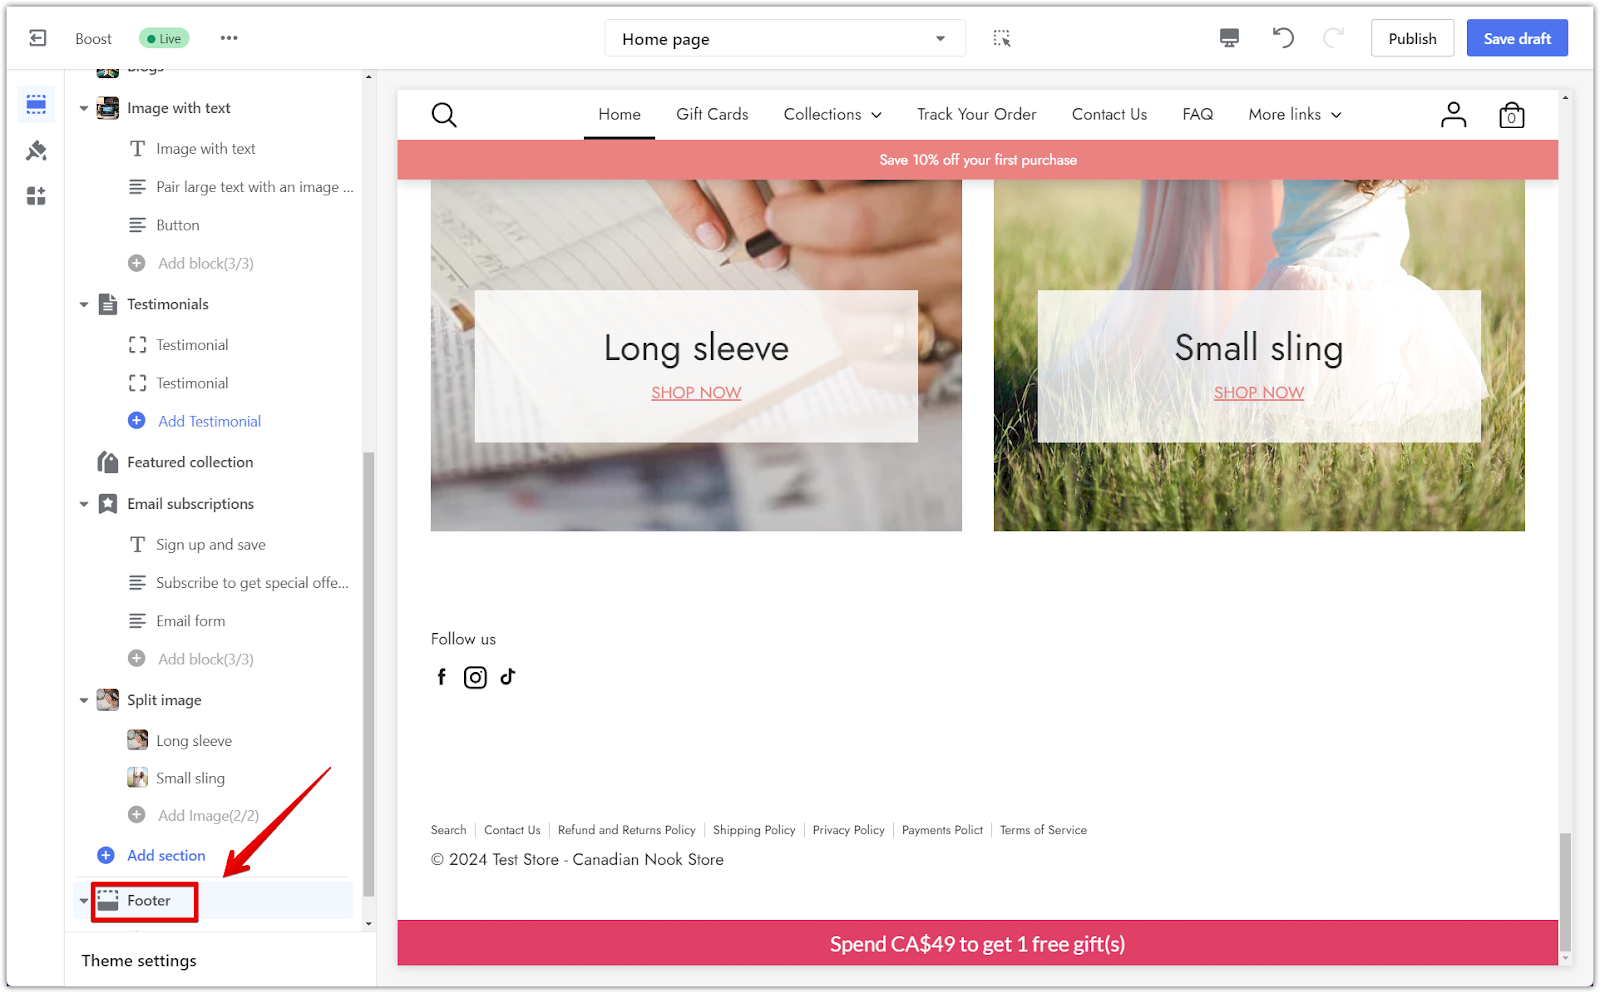
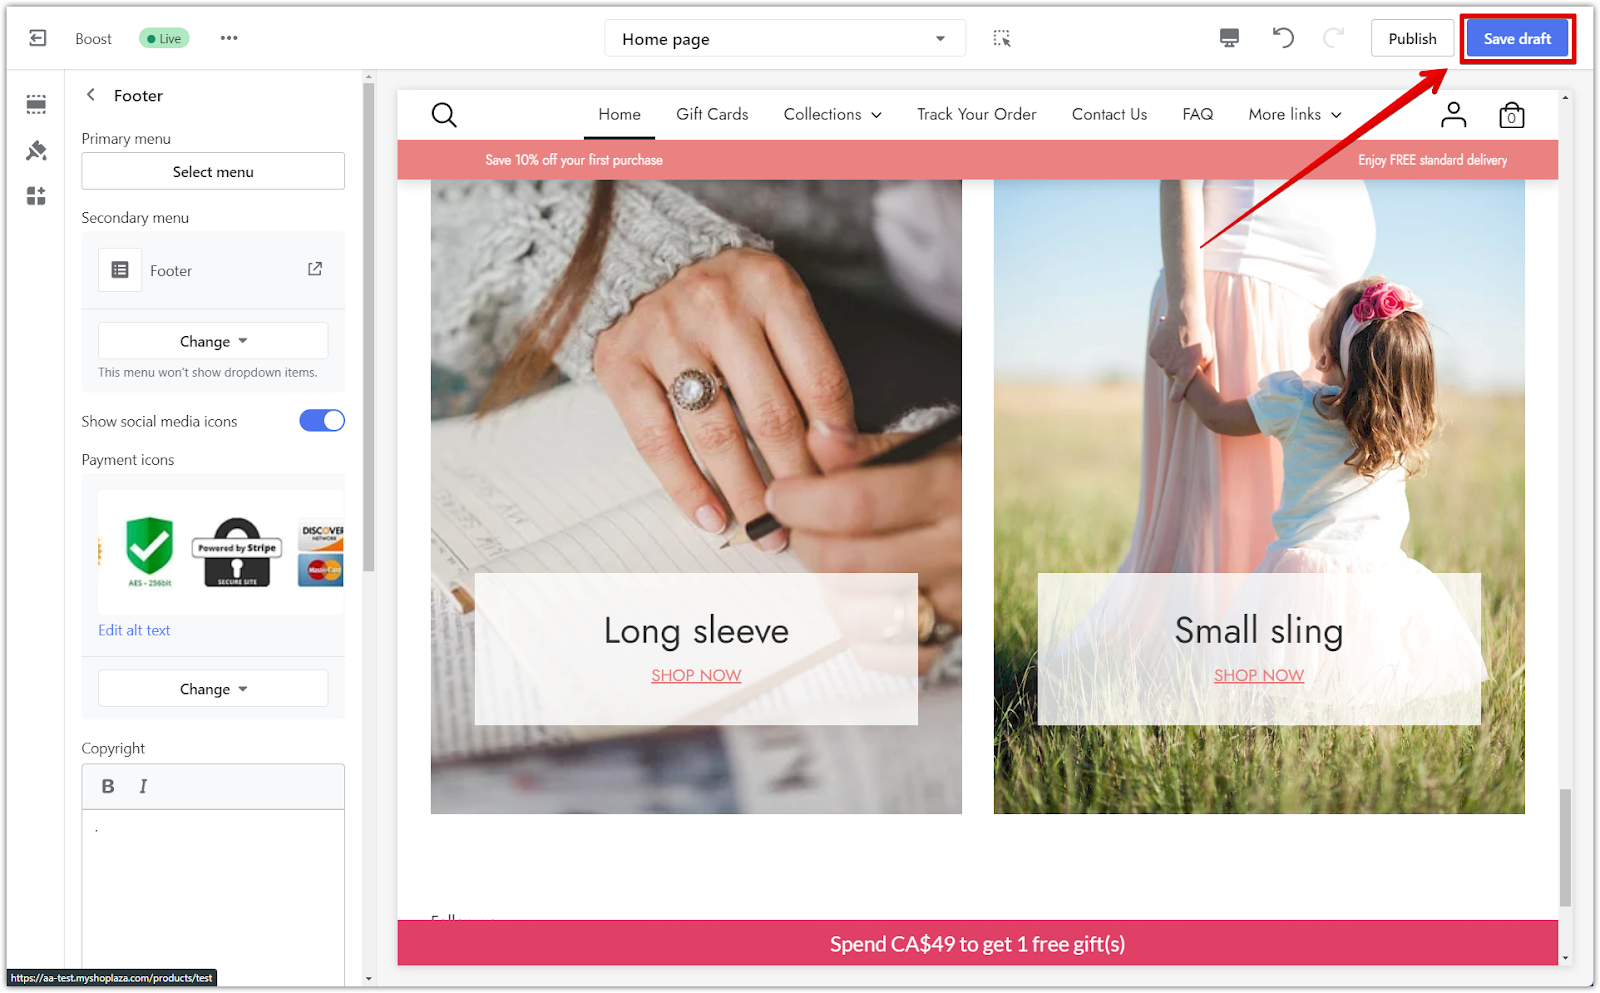
2. Find the footer section: Scroll to the bottom and click on the Footer title.
3. Selecting payment images: Add images to the payment icon section to enhance your customers' shopping experience.
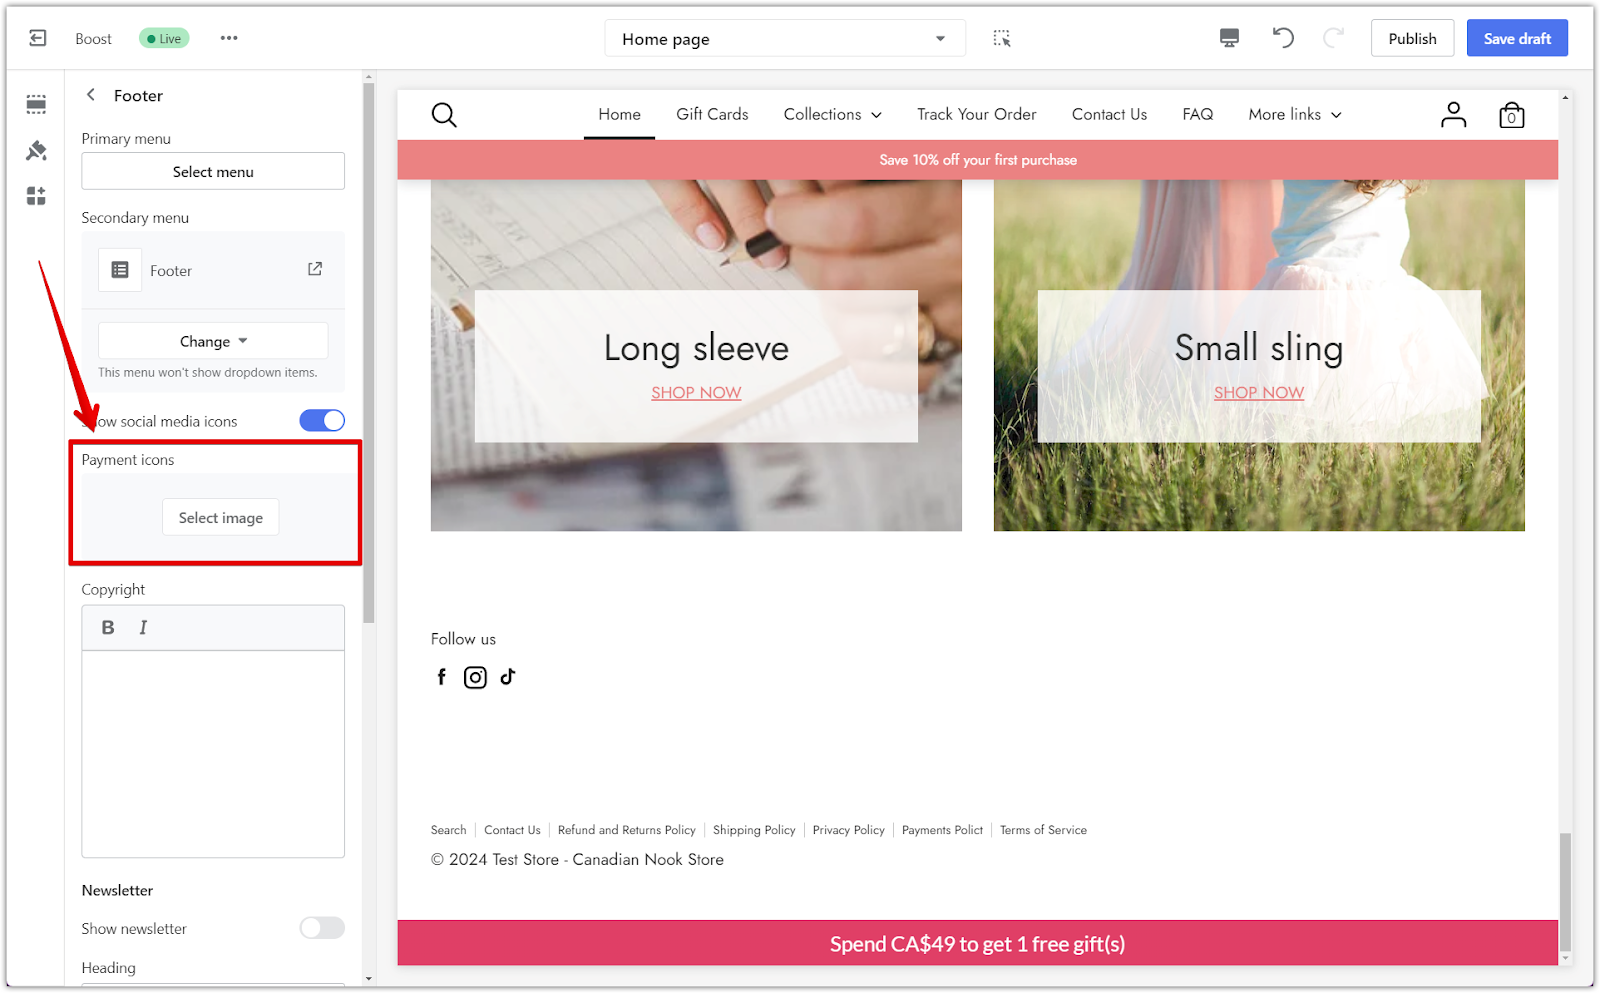
4. Save changes: Click Save Draft or Publish to complete the setup.
By following these steps, you can seamlessly add images to your website's footer, improving its visual appeal and customer engagement.


Comments
Please sign in to leave a comment.