
The footer menu, located at the bottom of each page, serves as an important navigation tool linking to key pages like refund policies and contact information. By adding titles and links to the footer menu, customers can easily access important information with just a click. This guide demonstrates how to configure the footer menu using the Nova2023 theme as an example, enhancing user experience and building customer trust.
Accessing the footer section
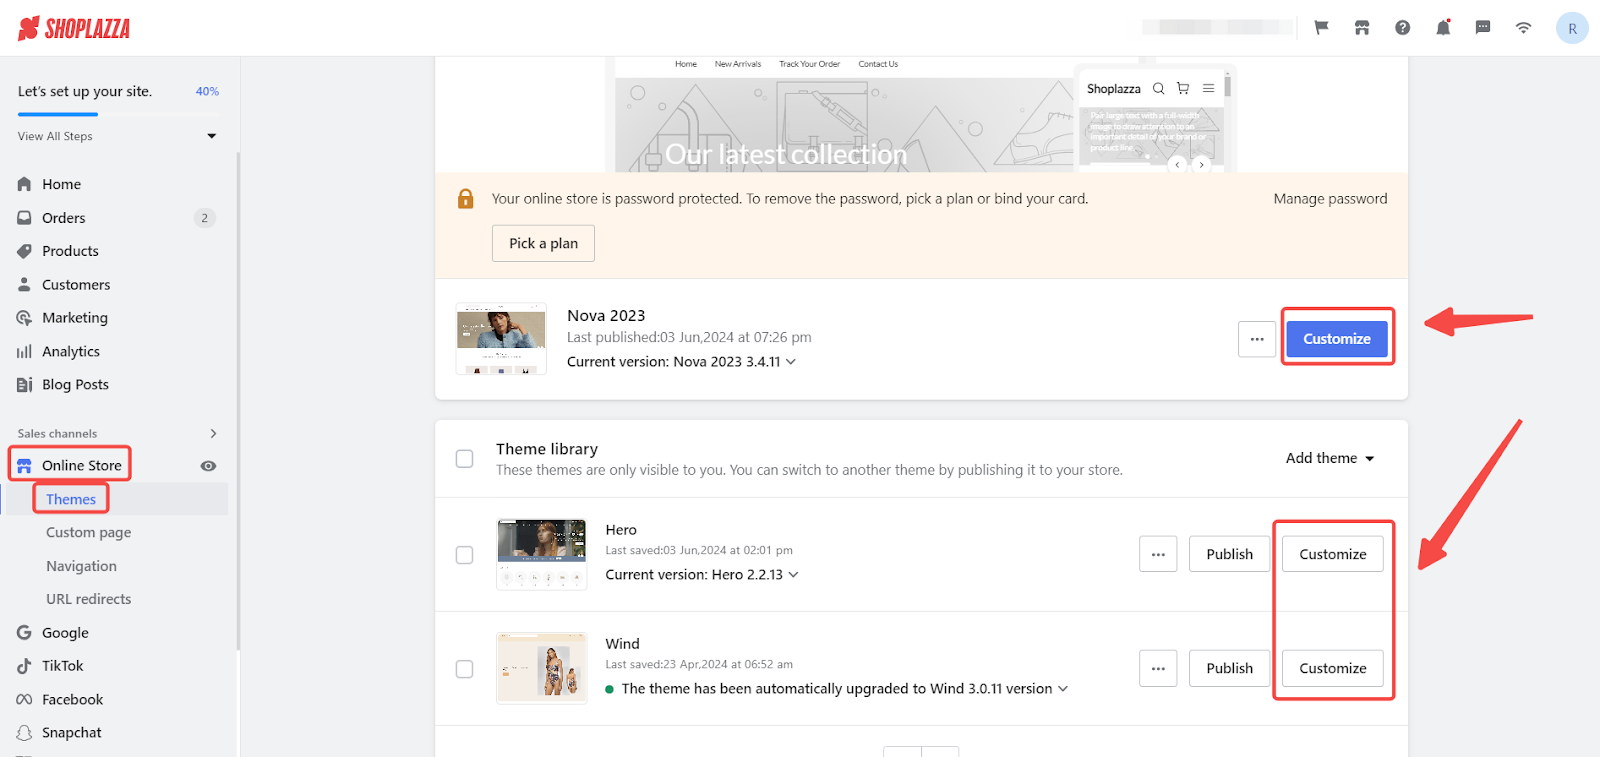
1. Login to your Shoplazza admin: Navigate to Online Store > Themes. On the theme list page, find the theme you want to customize and click the Customize button to enter the theme editor.
Setting basic footer options
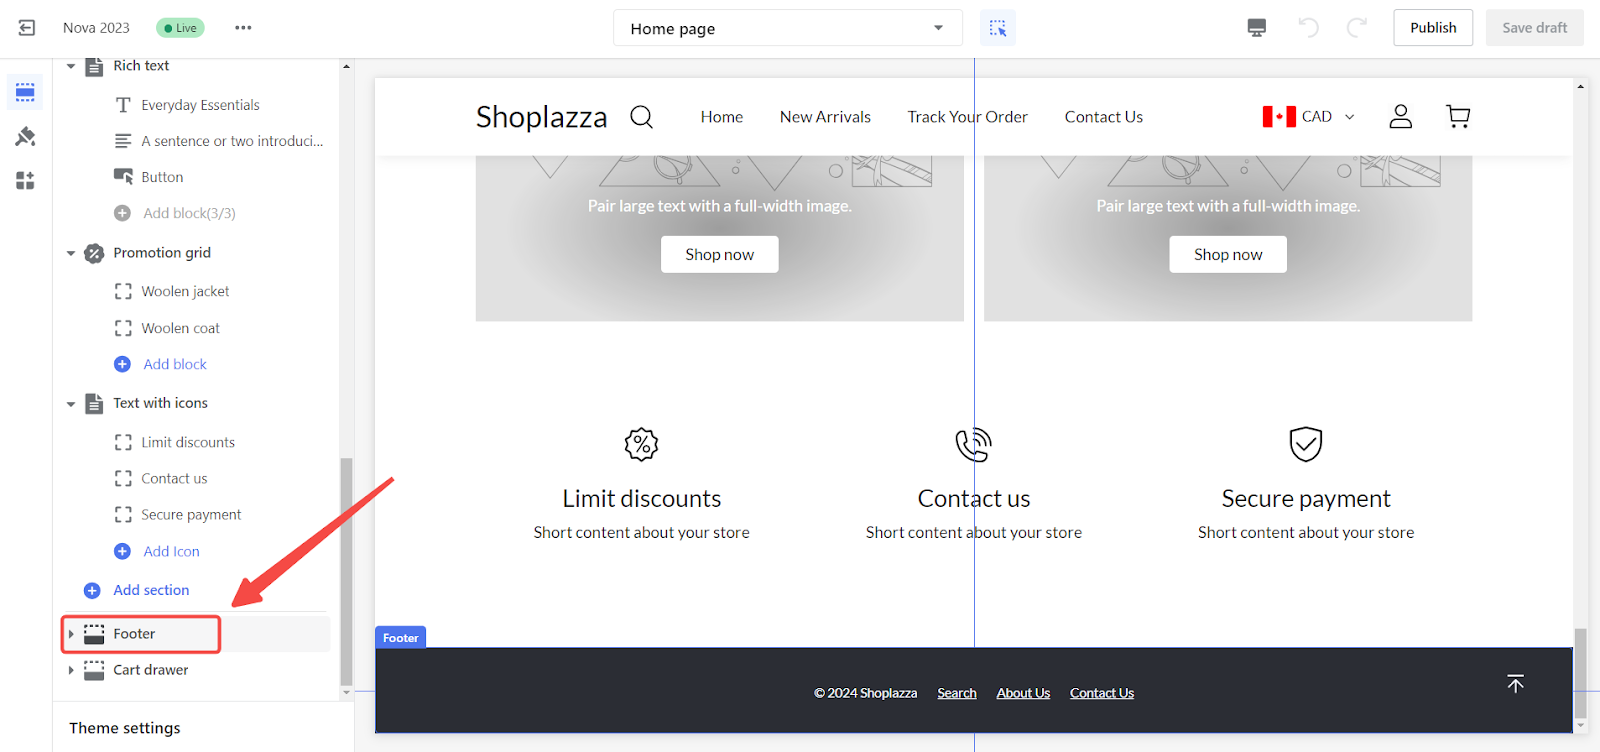
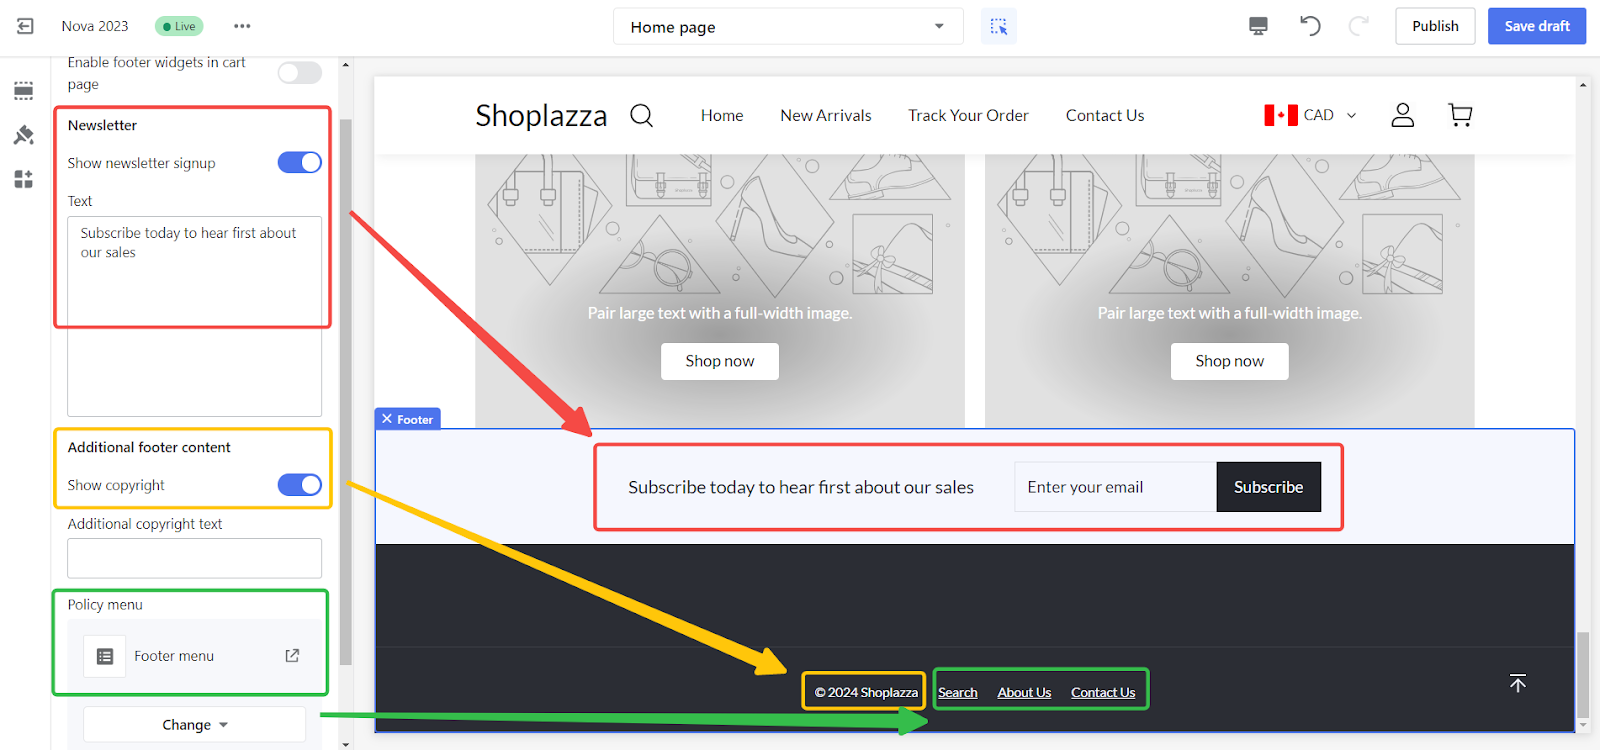
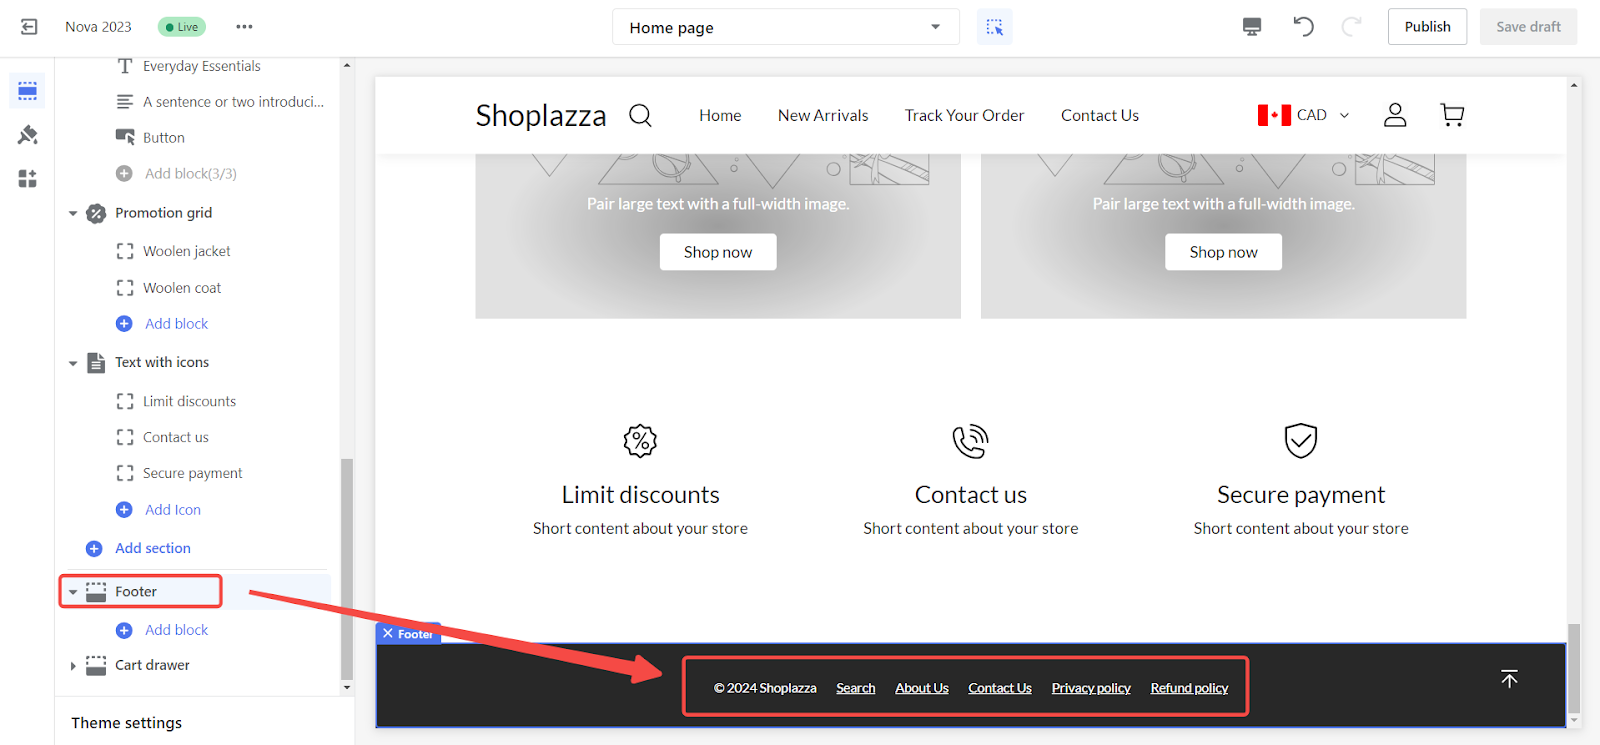
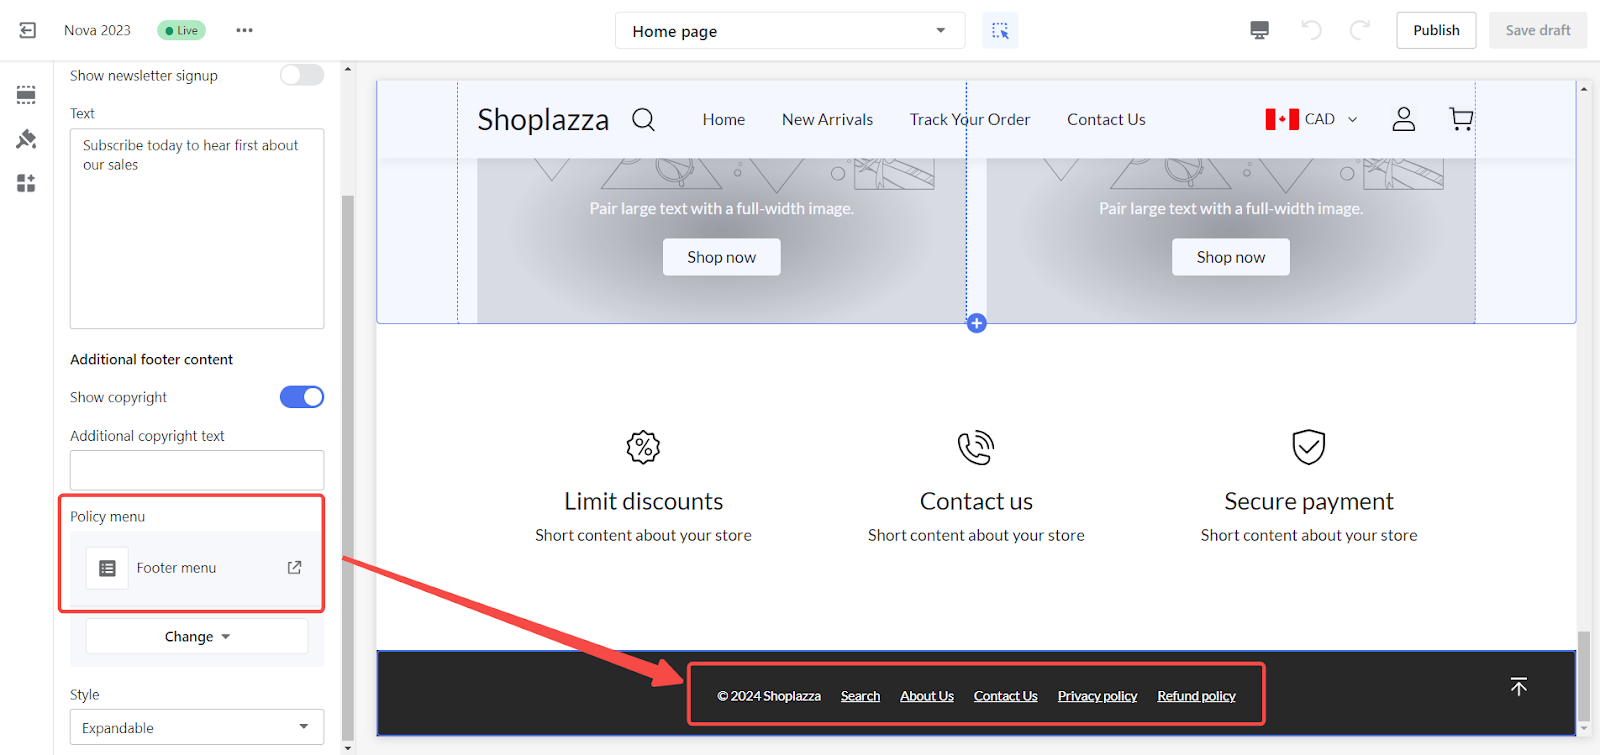
Enable footer features: Click on the footer section and enable options such as email subscription, copyright information, and the privacy policy menu based on your needs.
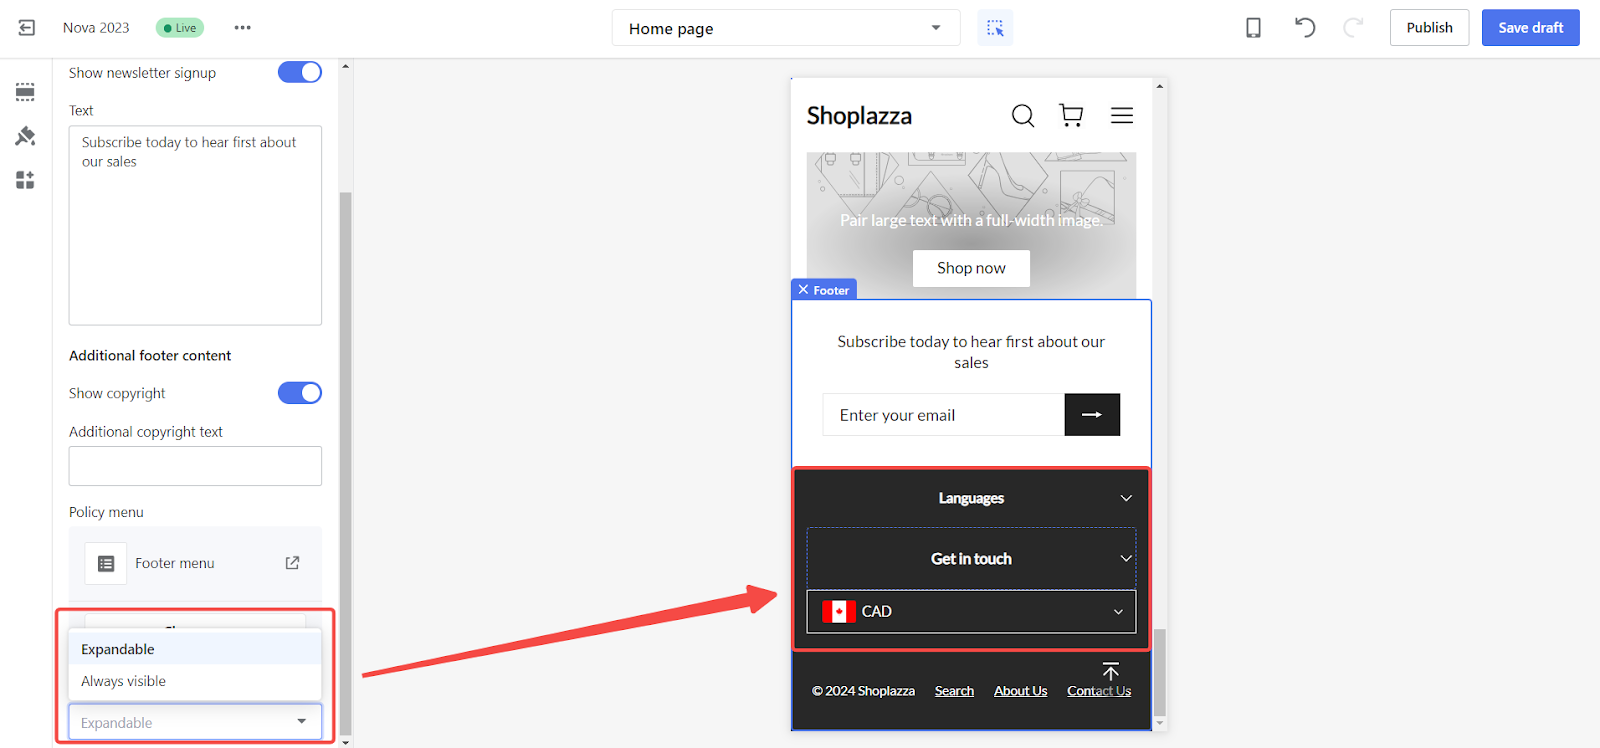
2. Adjust layout for mobile devices: Configure the page layout to ensure the footer menu fits small screens or mobile devices. Choose between Expandable or Always Visible display styles.
Adding content to the footer
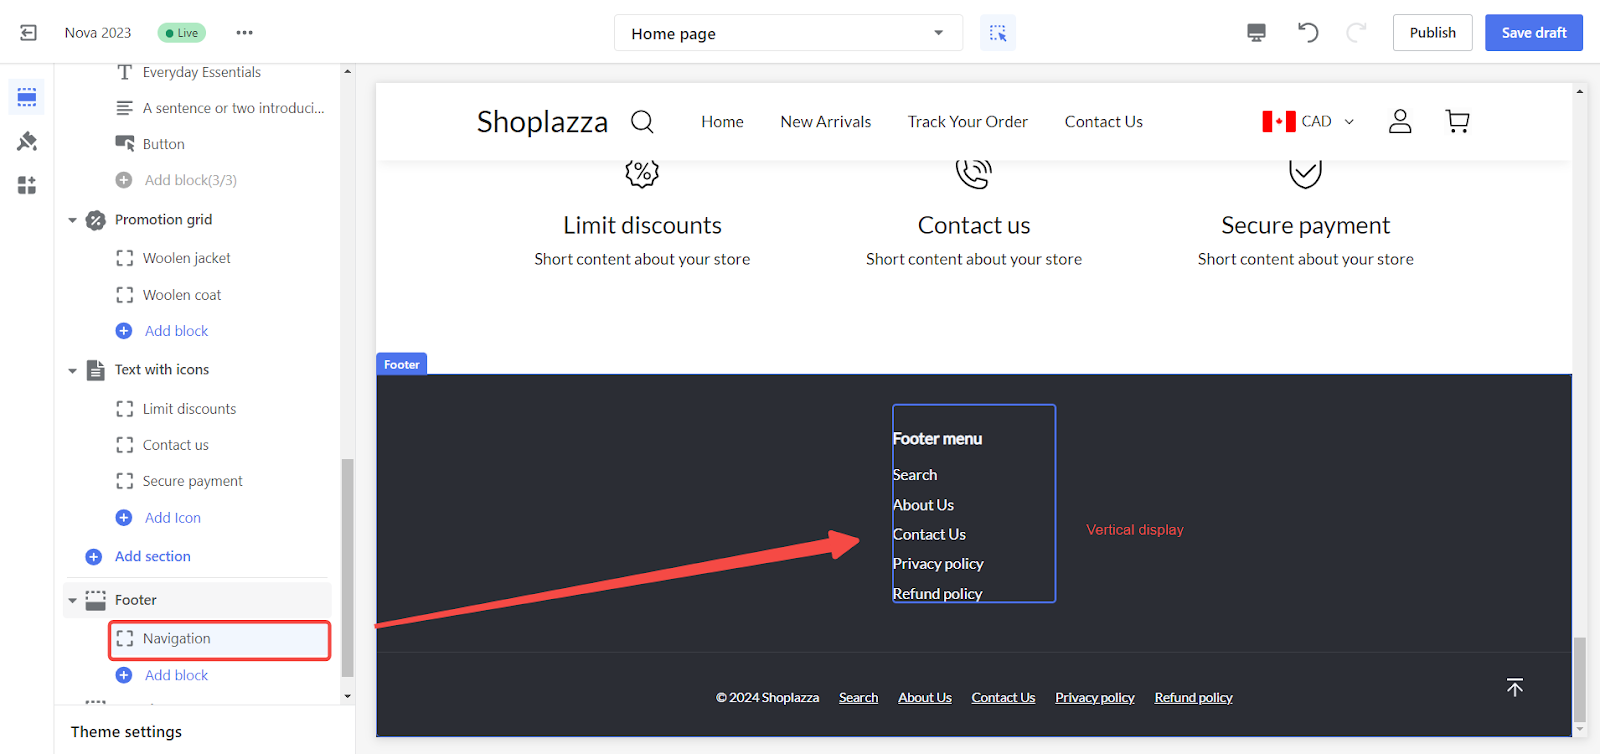
1. Create footer menu: Click on Footer to display the footer menu horizontally.
2. Add navigation links: Click on Footer > Add block and select Navigation. Choose the menu and edit the menu title. (Menus added through this section will be displayed vertically.)
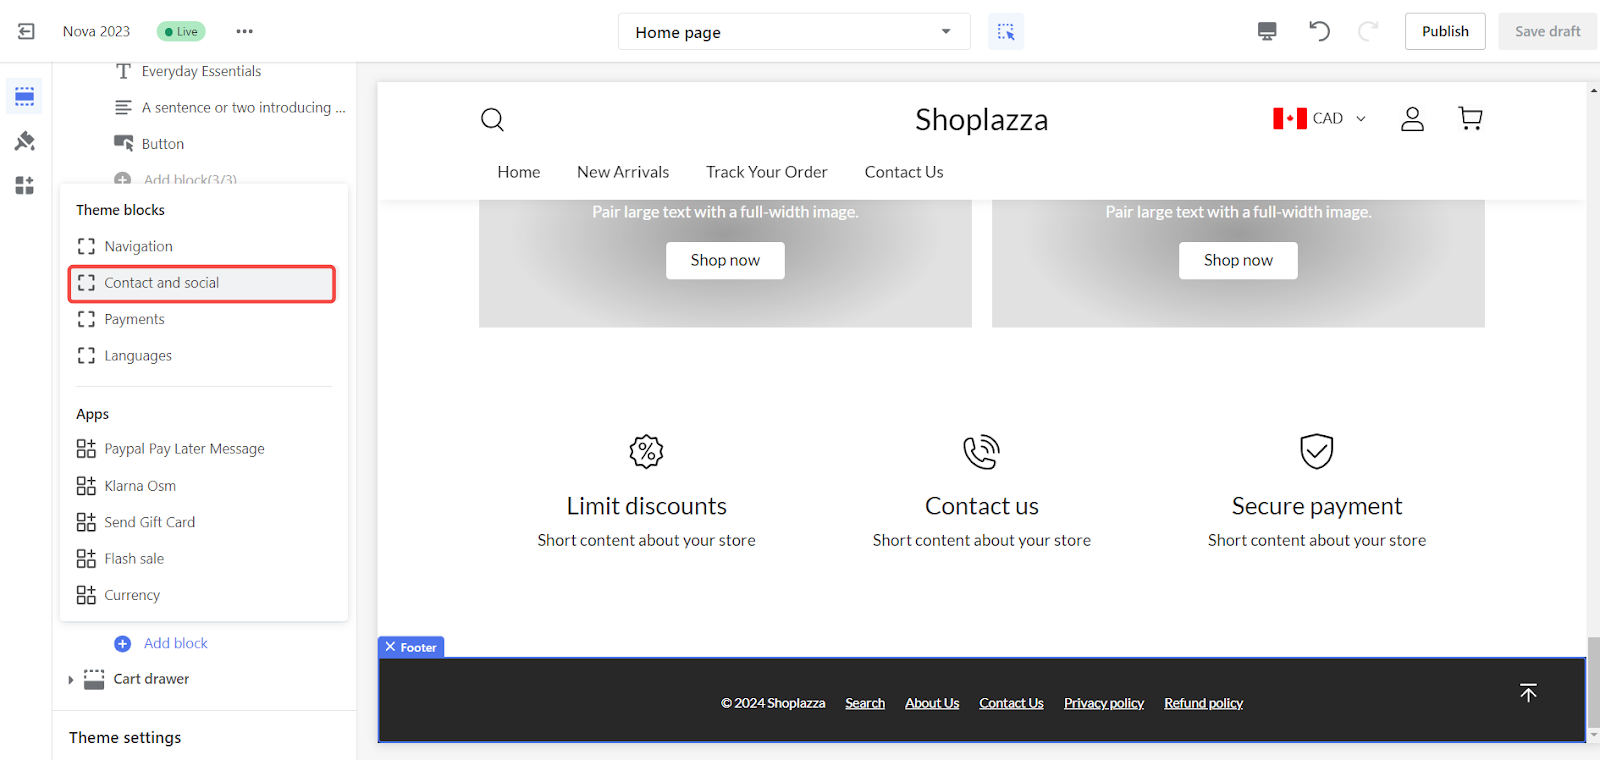
3. Add contact and social media information: Click on Footer > Add block and select Contact and social. Click on Contact and social title to add contact details and social media links. Customize the title and add phone numbers as needed.
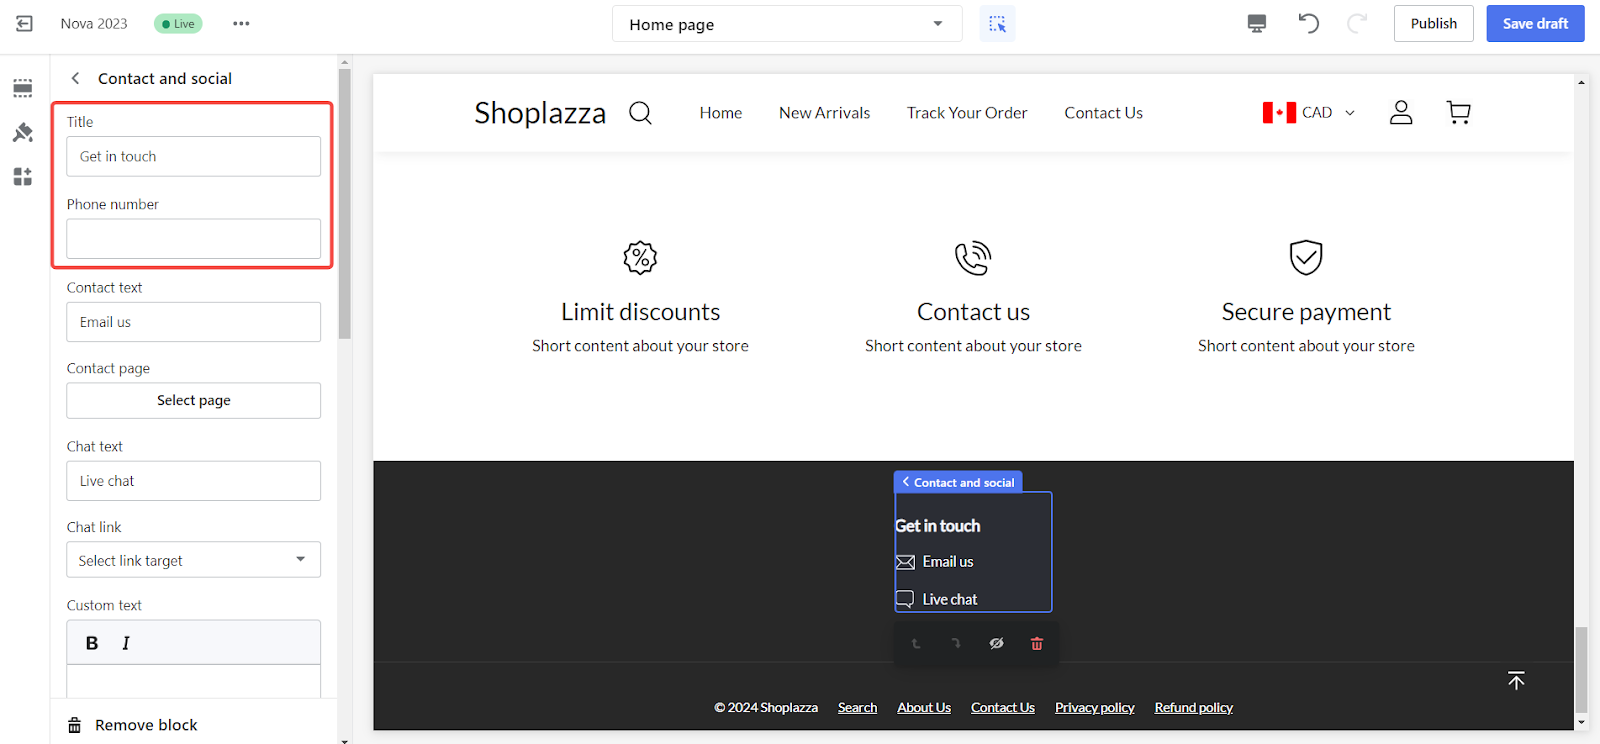
Note
Contact information is optional, but having multiple types of contact information can increase your store's credibility and build consumer trust.
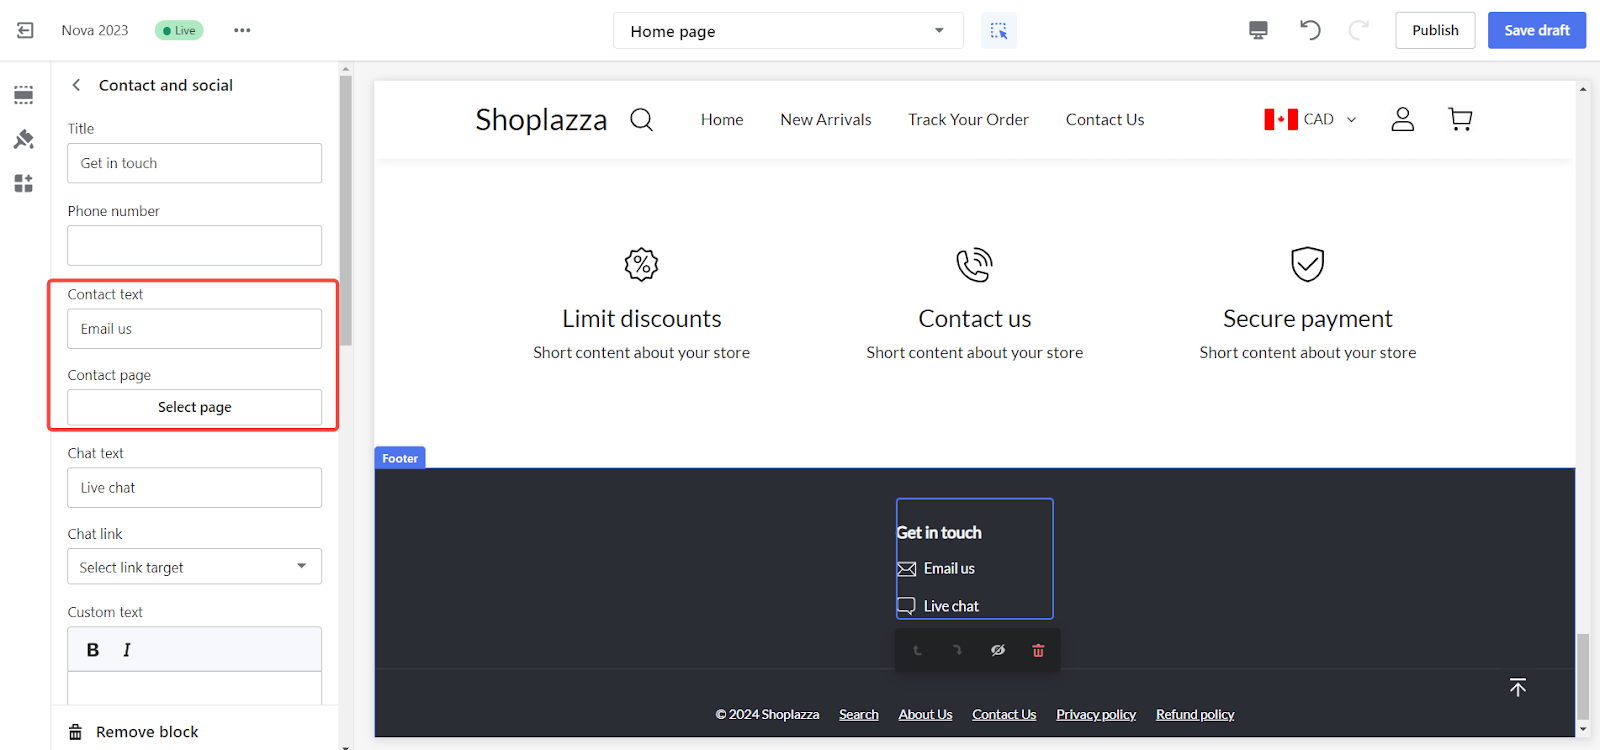
4. Add contact text: Link the contact text to the appropriate page for easy navigation.
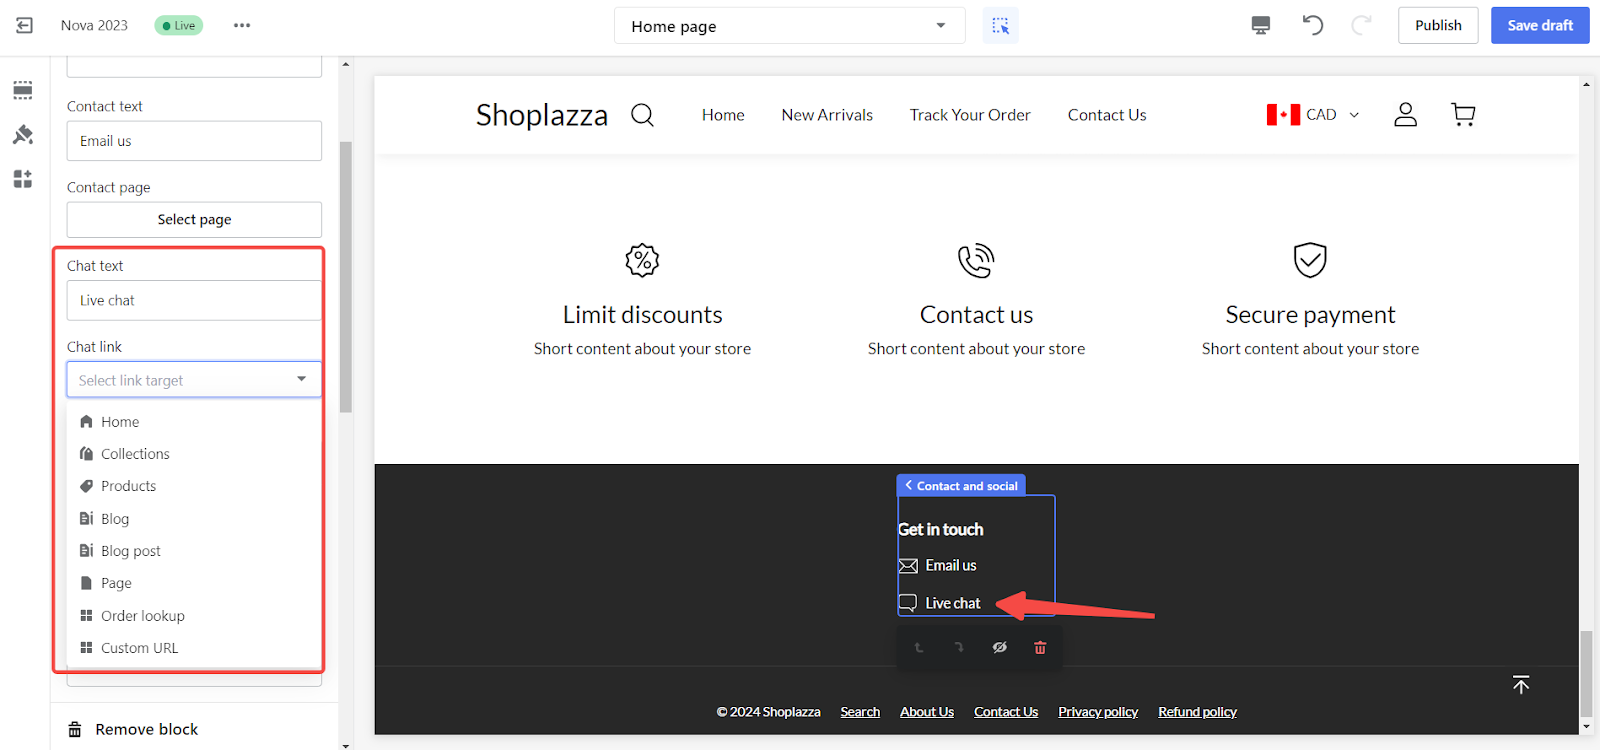
5. Add chat link: If offering online chat services, redirect links to custom web pages.
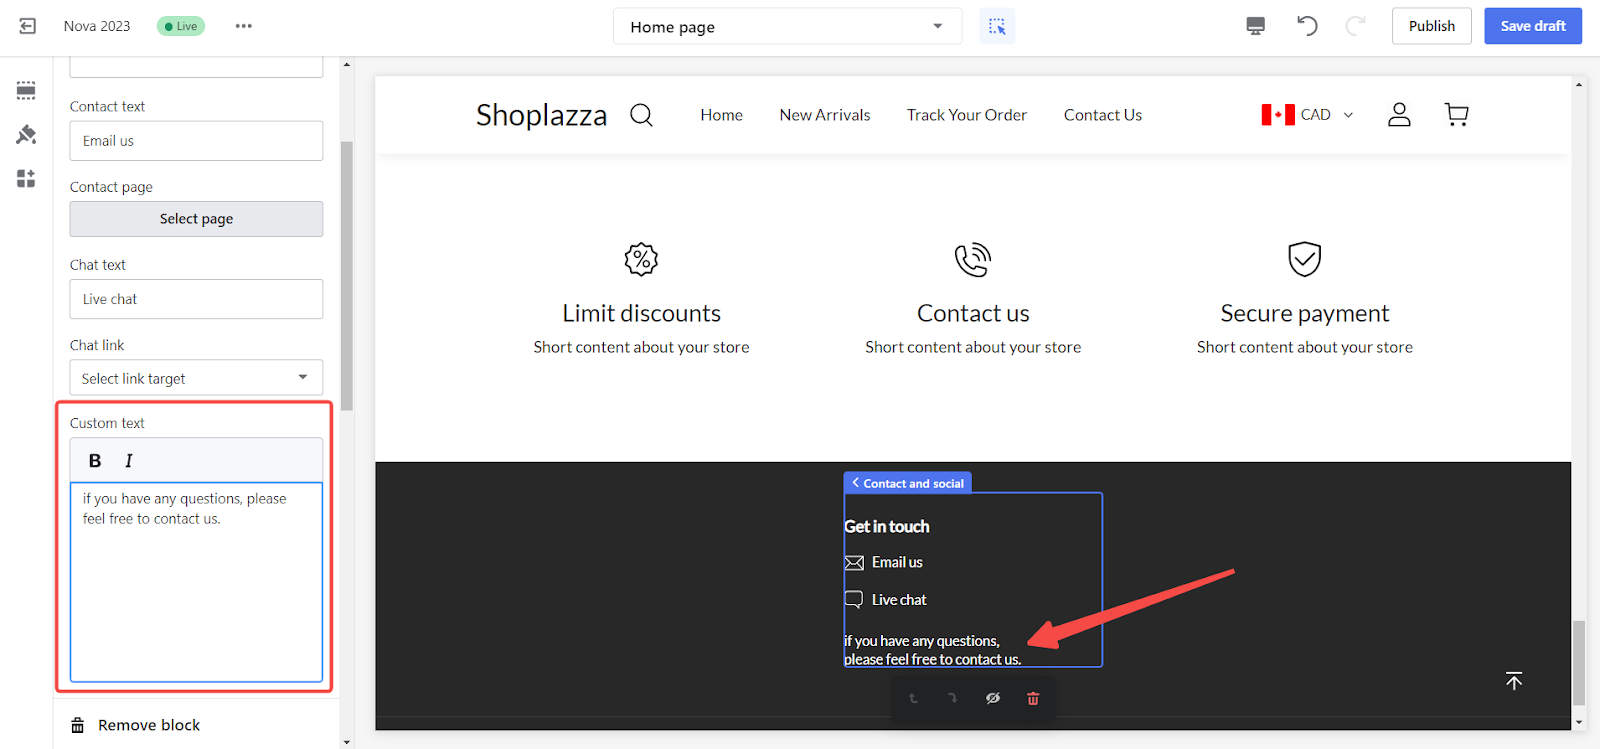
6. Add custom text: Enter other relevant store information in the custom text.
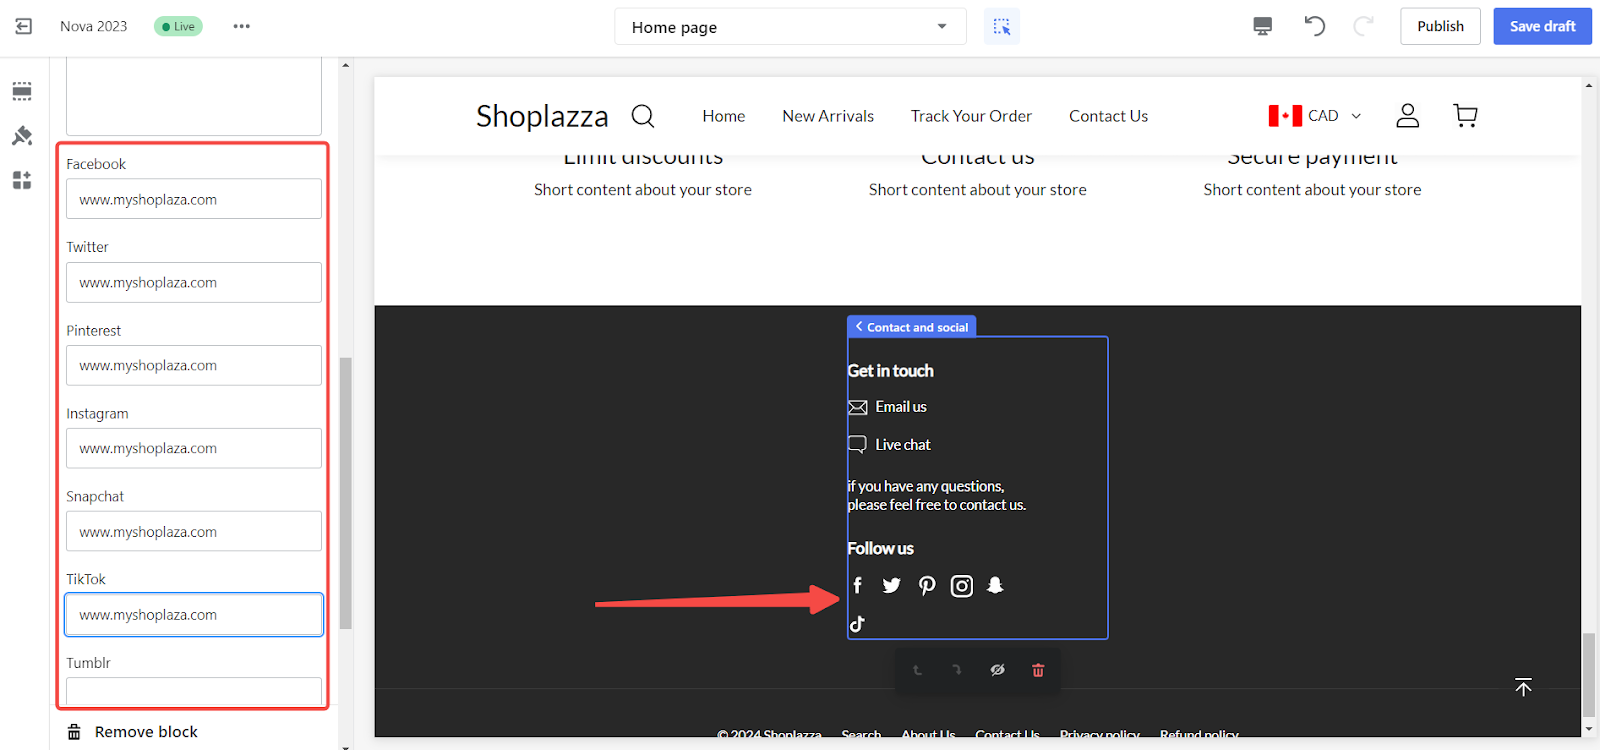
7. Add social media links: Add multiple social media links, displayed as icons.
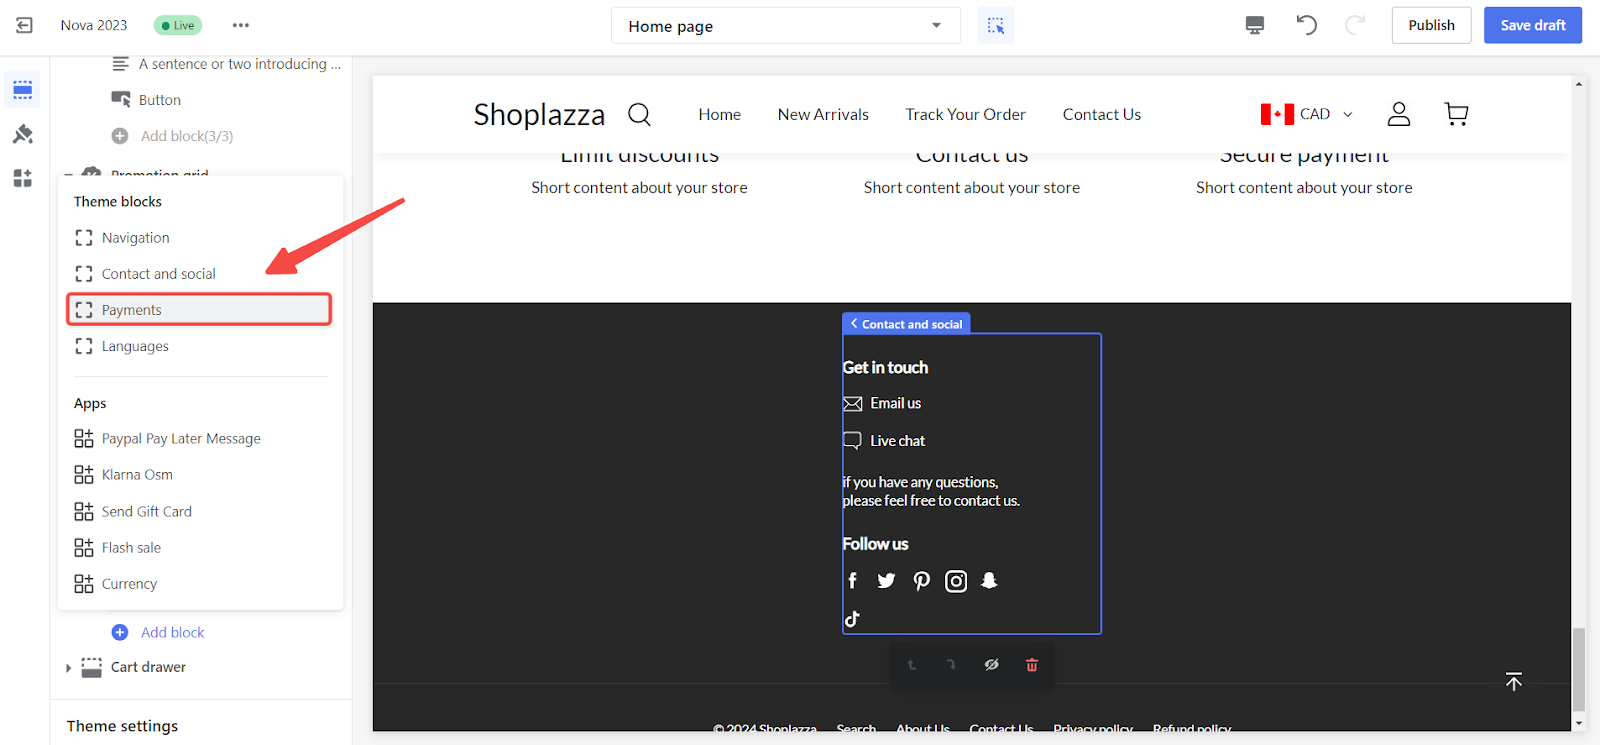
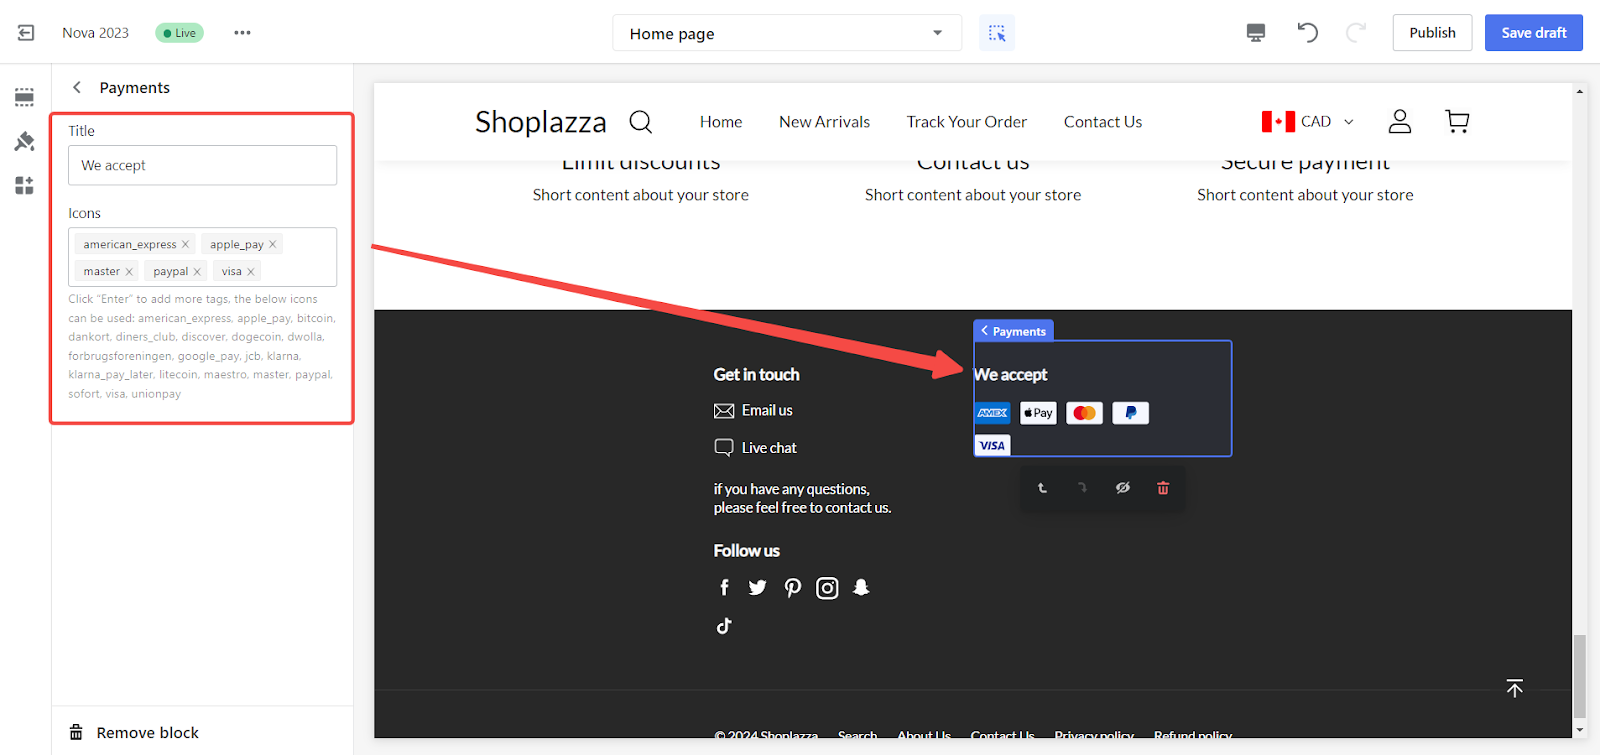
8. Add Payment Methods: Display the payment methods available in your store. Customize the payment information title and select from various payment icons. For example, enter PayPal and press Enter to add the PayPal icon.
Note
Only icons from the supported list can be added.
By following these steps, you will complete the configuration of your store's footer, ensuring easy navigation and an improved user experience.


Comments
Please sign in to leave a comment.