
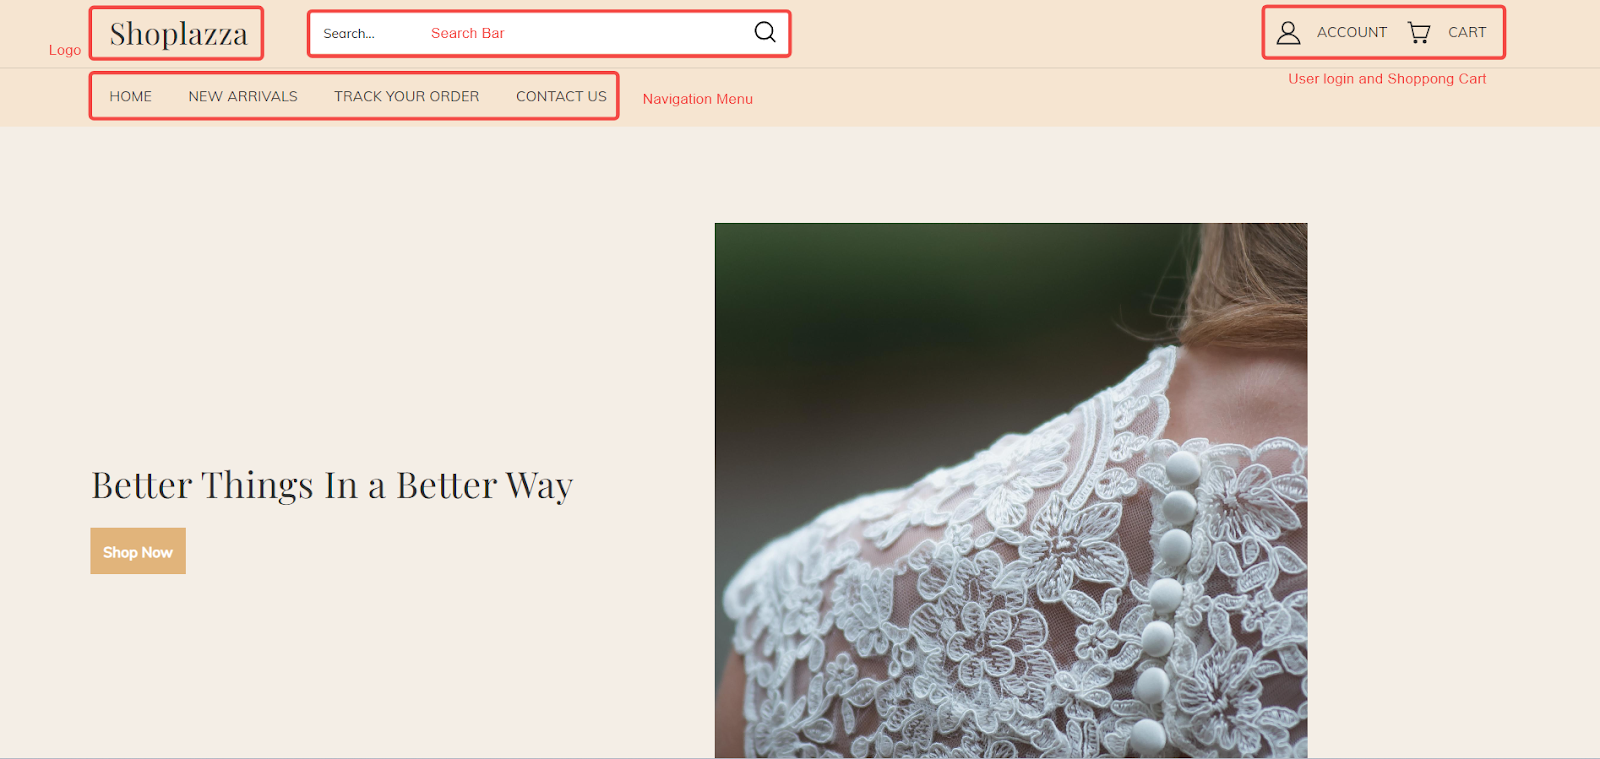
The header of your store is not just a place to display your brand information; it’s an essential component that includes navigation, search, and user account access. A well-optimized header can significantly enhance user experience and satisfaction by helping users quickly find what they need. Investing time and resources in designing an effective header can greatly improve your brand image and sales performance.
Creating the navigation menu
The navigation menu is a core component for enhancing user experience and displaying store content. A clear and straightforward navigation menu helps customers quickly find the pages they want to visit. Think of the navigation menu as a map of your website: the clearer the guide, the easier it is for customers to find what they're looking for. Click here to learn more about Navigation.
Changing the top navigation menu
The default header menu for the storefront displays the top navigation menu. To display other configured menus, you can switch to a different menu in the theme editor.
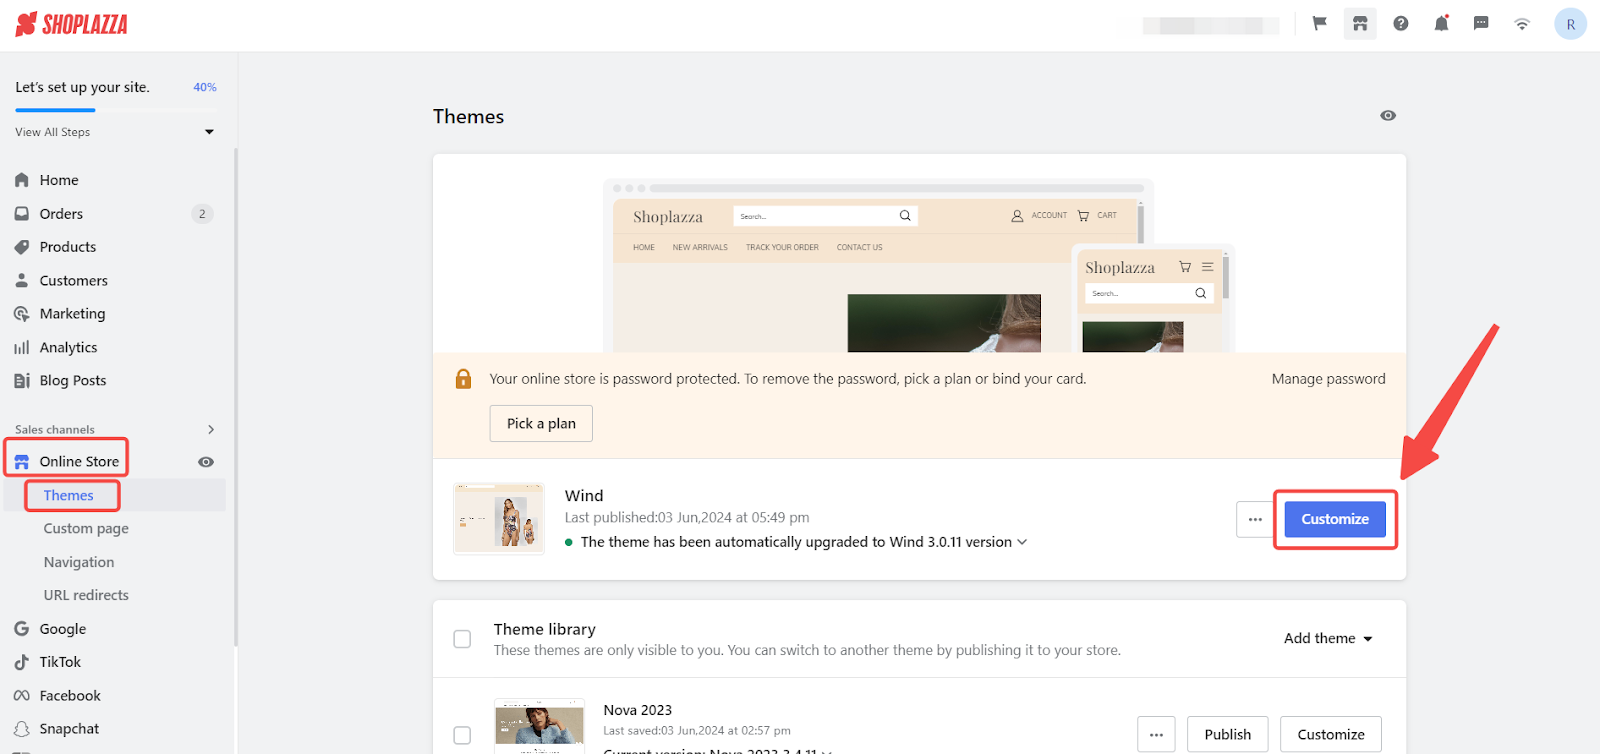
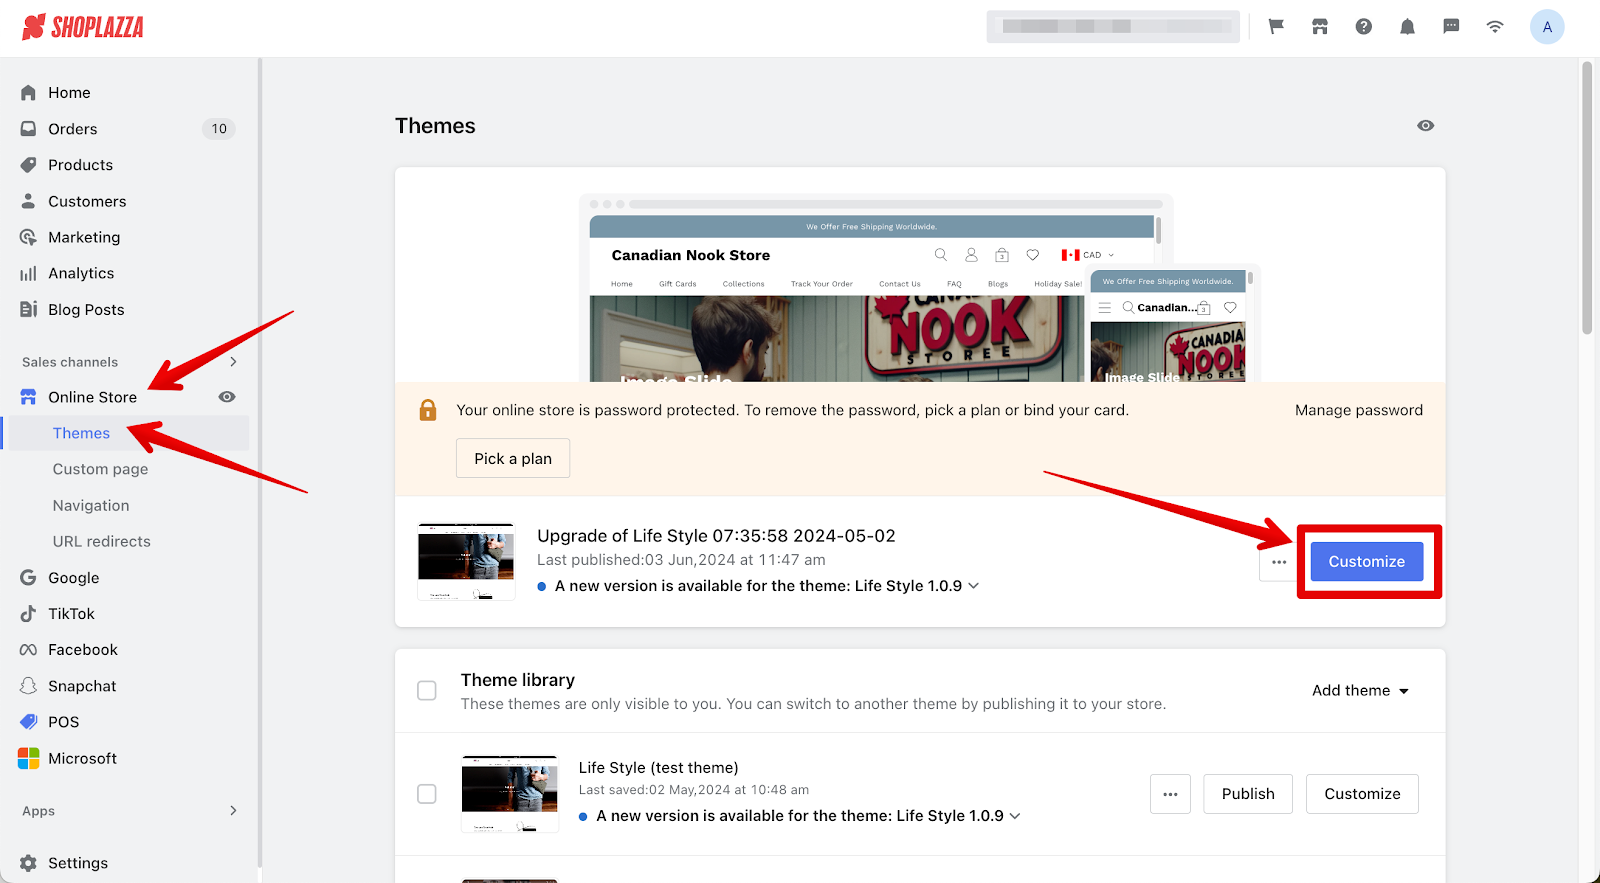
1. Login to your Shoplazza admin: Navigate to Online Store > Theme > Customize.
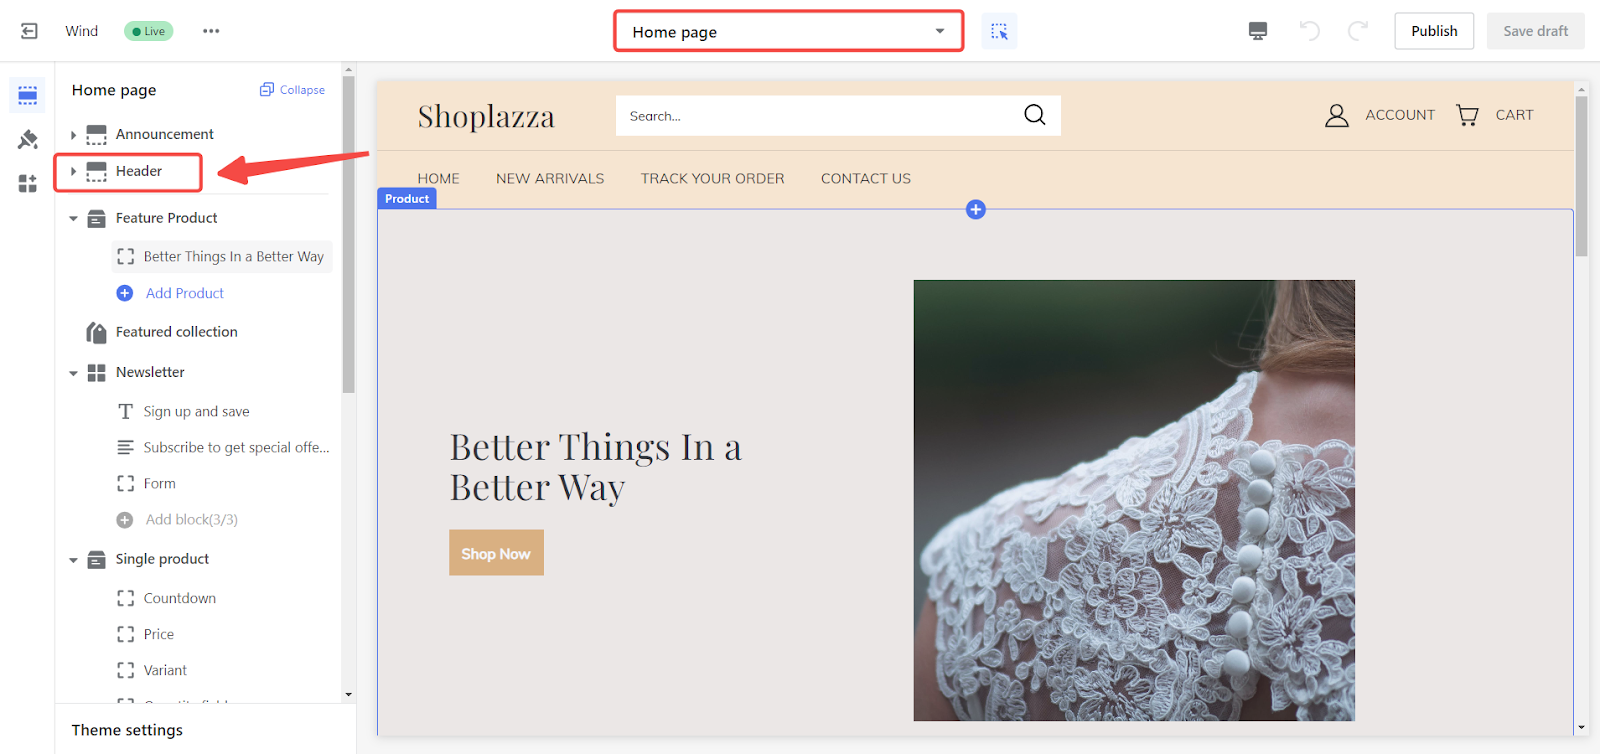
2. Access the header editor: Enter the theme editor, click on Header to open the header editor.
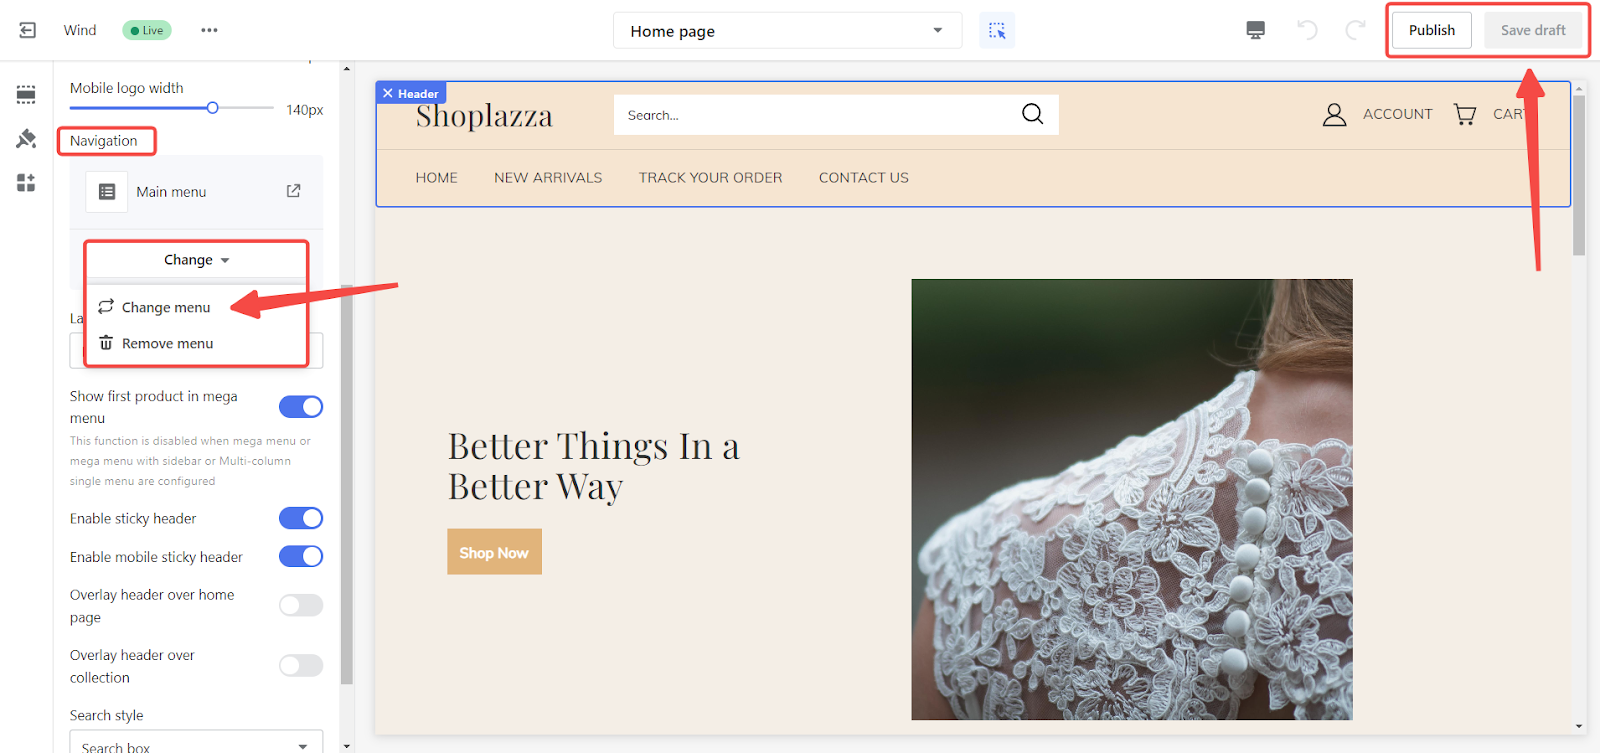
3. Change the navigation menu: In the navigation section, click Change > Change menu. Select the menu you want to switch to, then click Publish or Save draft to complete the setup.
Customizing your brand name (Brand logo)
1. Text Logo: If your brand doesn't have a specific logo, you can directly input your brand name in Settings > Store information > Store Name. The brand name will be displayed on the front end as shown below.

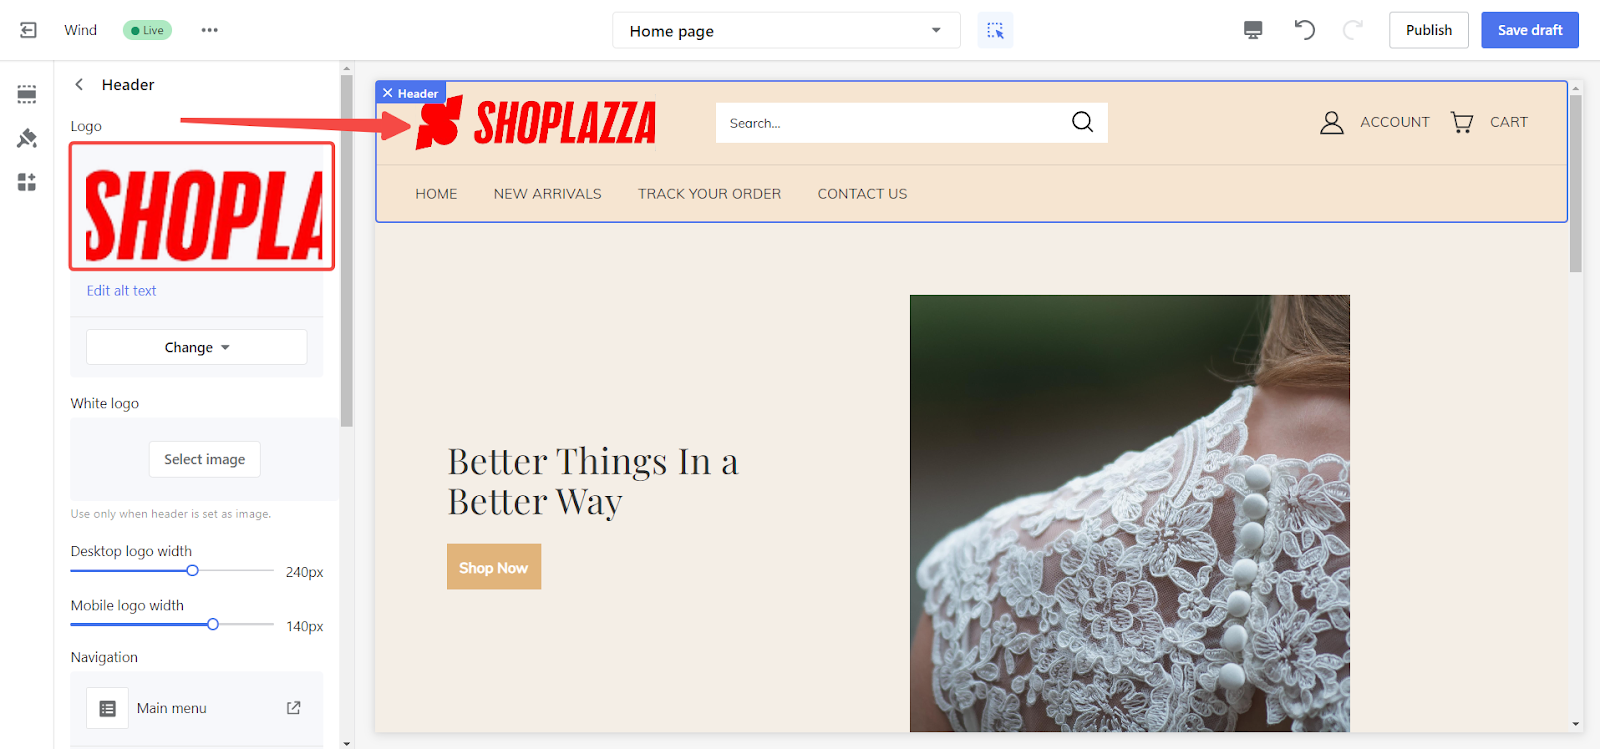
2. Image Logo: For brands with a defined logo, upload the logo image by navigate to Online Store > Theme > Customize. Access the header editor by selecting Header, then upload your logo image and configure the width. Once completed, click Publish.

Configuring search style
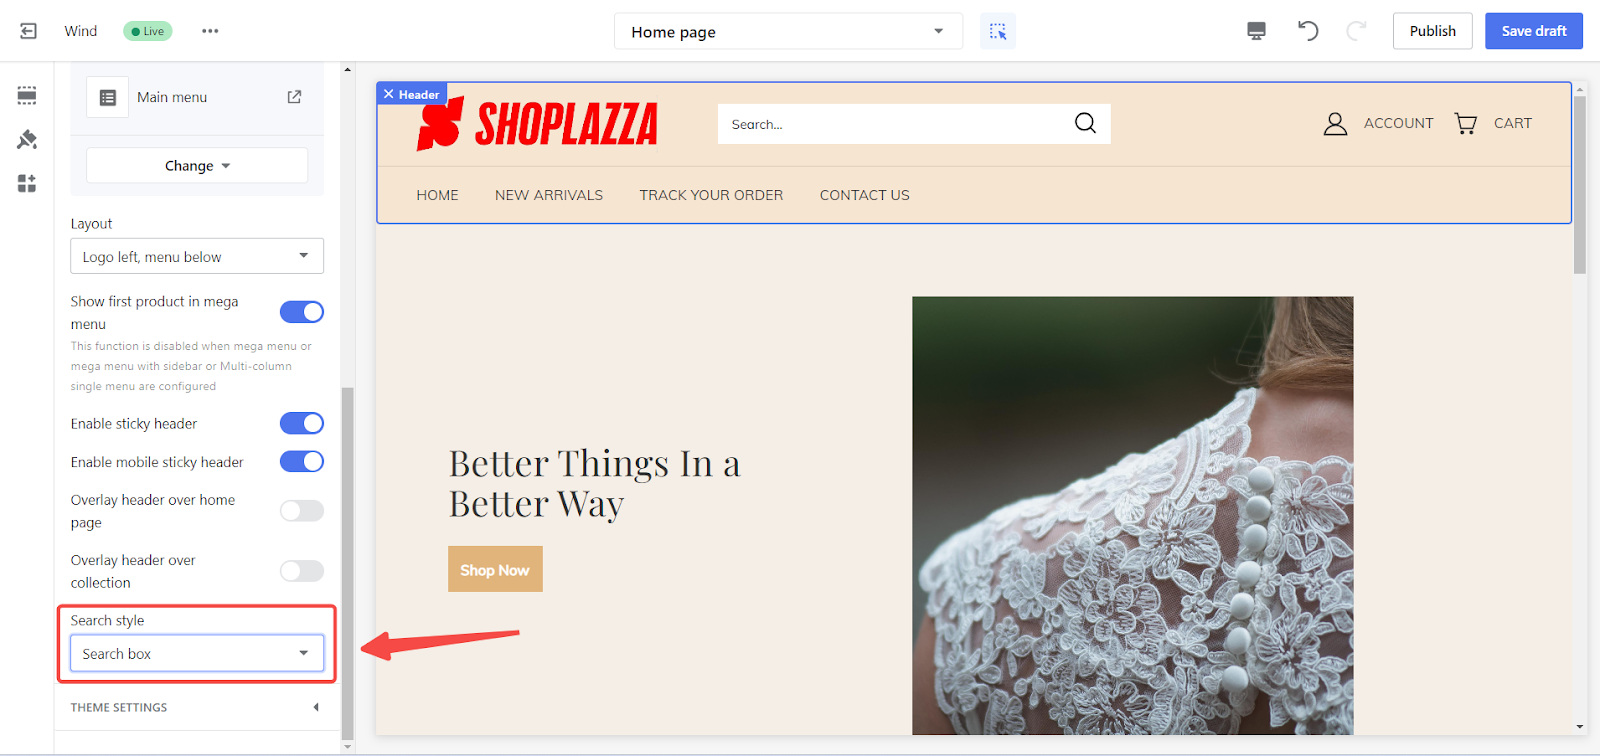
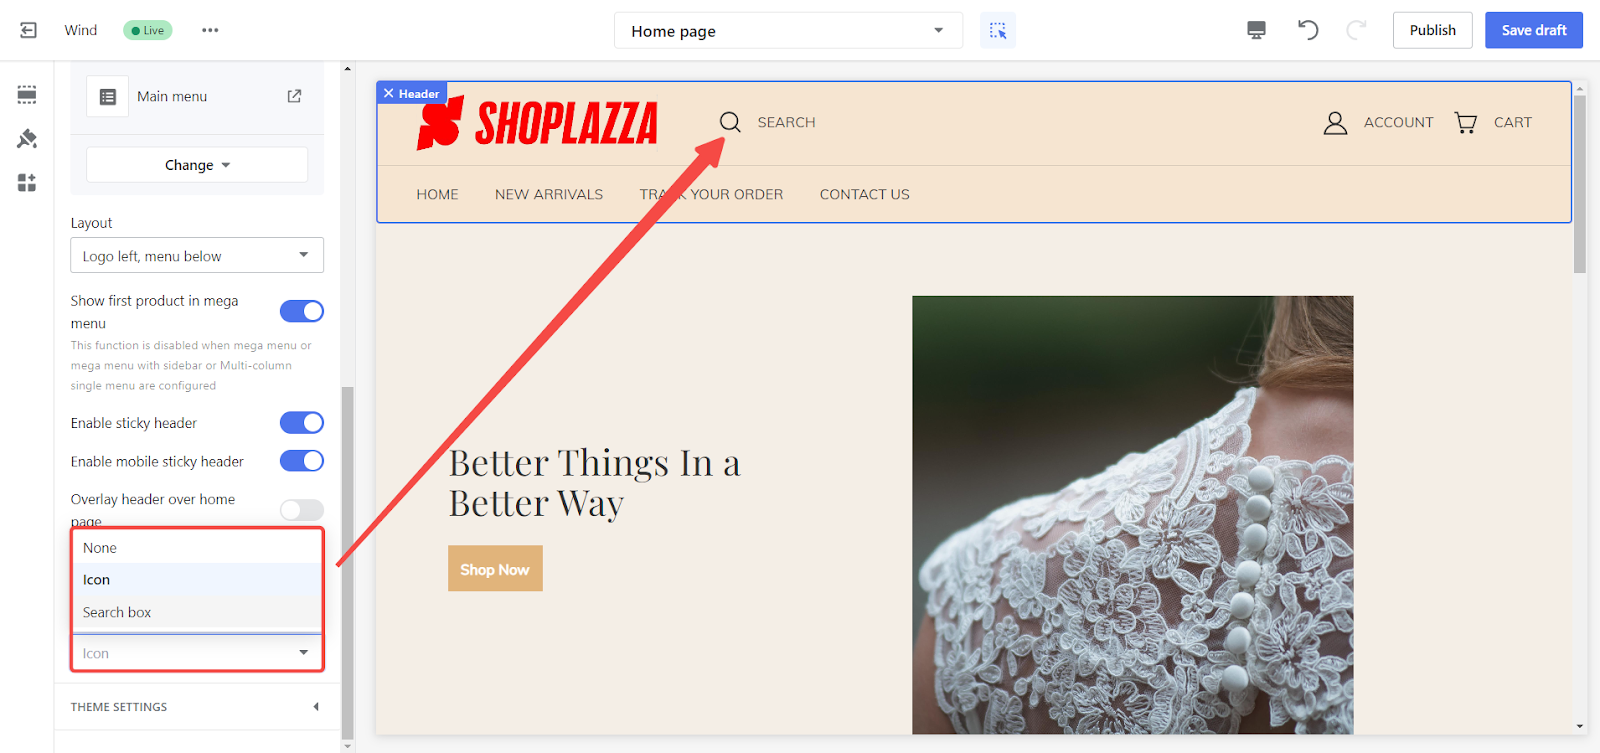
1. Set the search style: To configure the search style, navigate to Online Store > Themes > Customize. Access the header editor by selecting Header, then find the Search style dropdown menu and select the desired style.
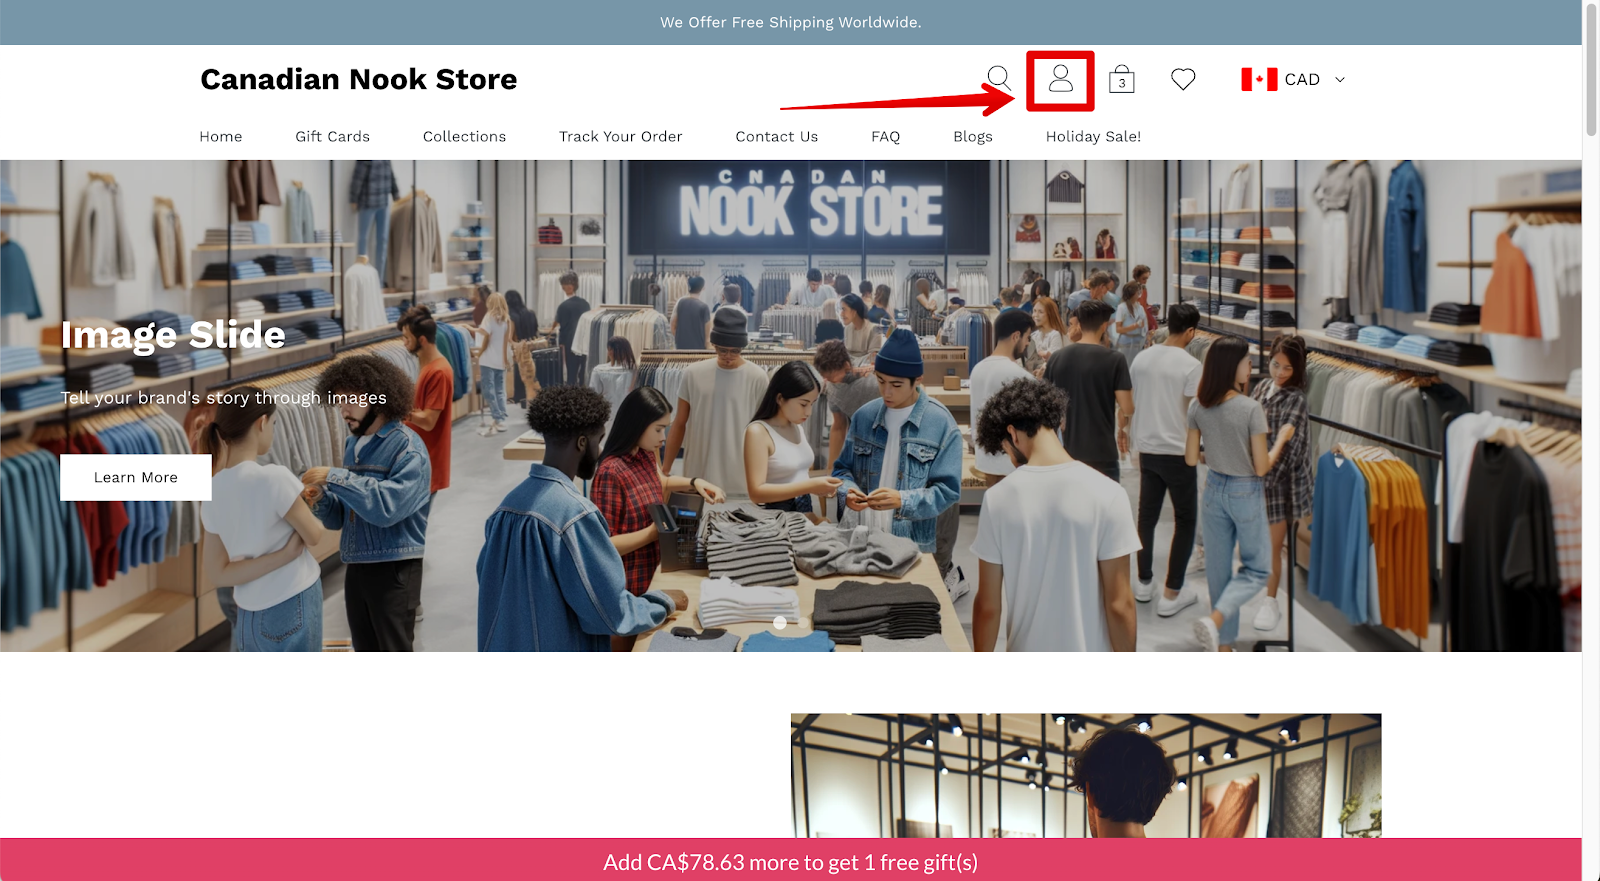
Understanding the user login icon
1. User center: The user login icon is seamlessly integrated into your theme, requiring no manual configuration.
Managing the user login icon
By default, the user login icon is activated and seamlessly integrated into the theme, requiring no manual configuration. To hide the user login icon:
1. Access theme editor: Navigate to Online Store > Themes. Select the target theme and click Customize.
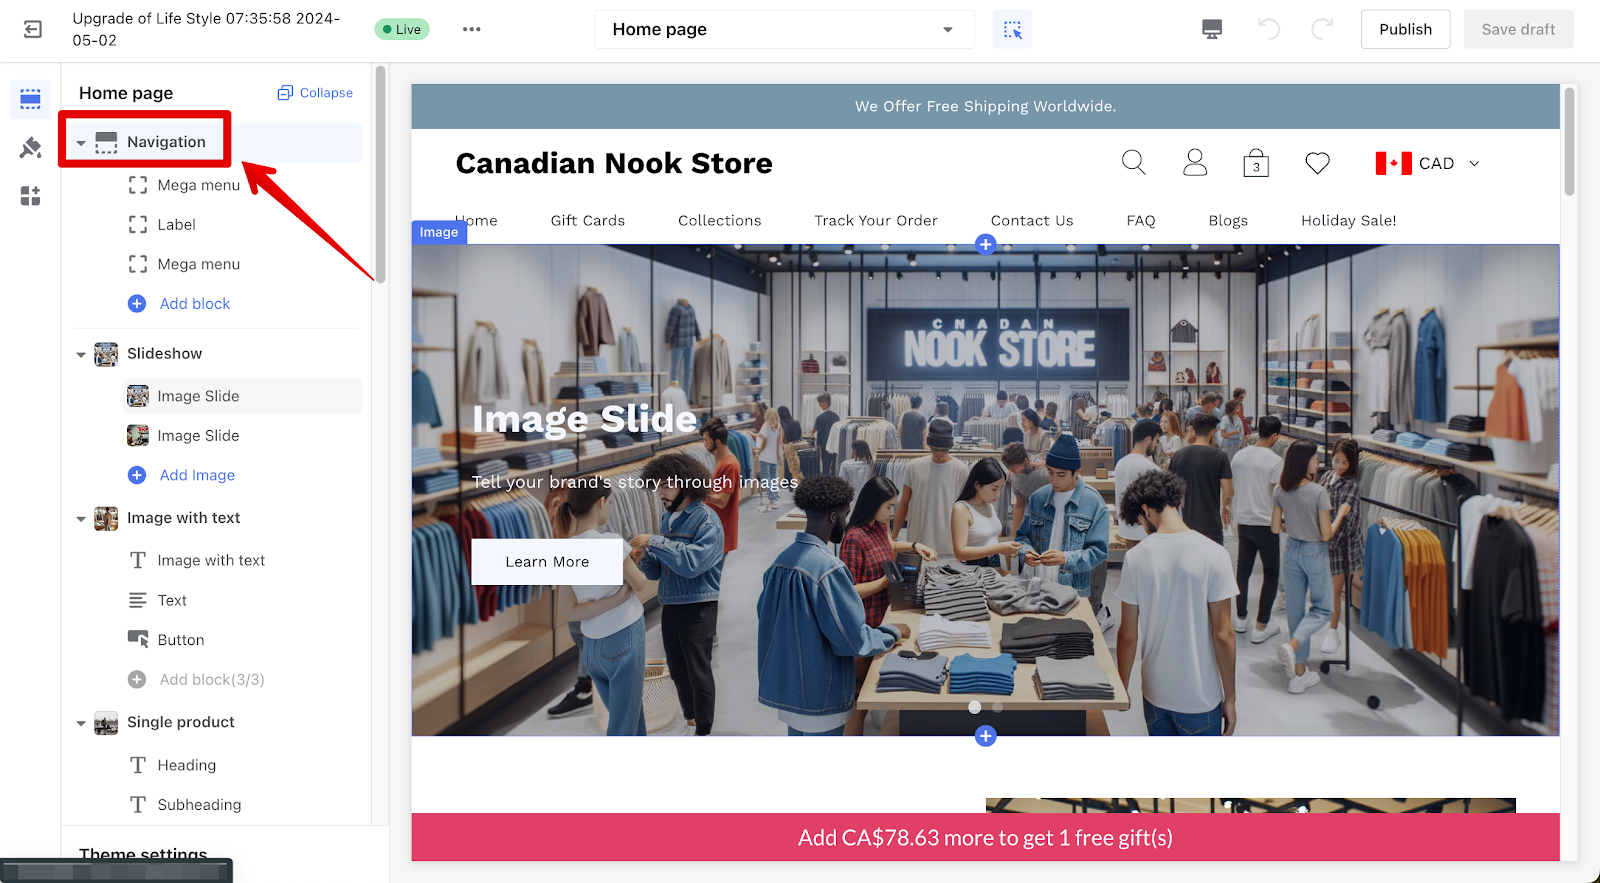
2. Enter section configuration: Go to the Navigation section by clicking on the title.
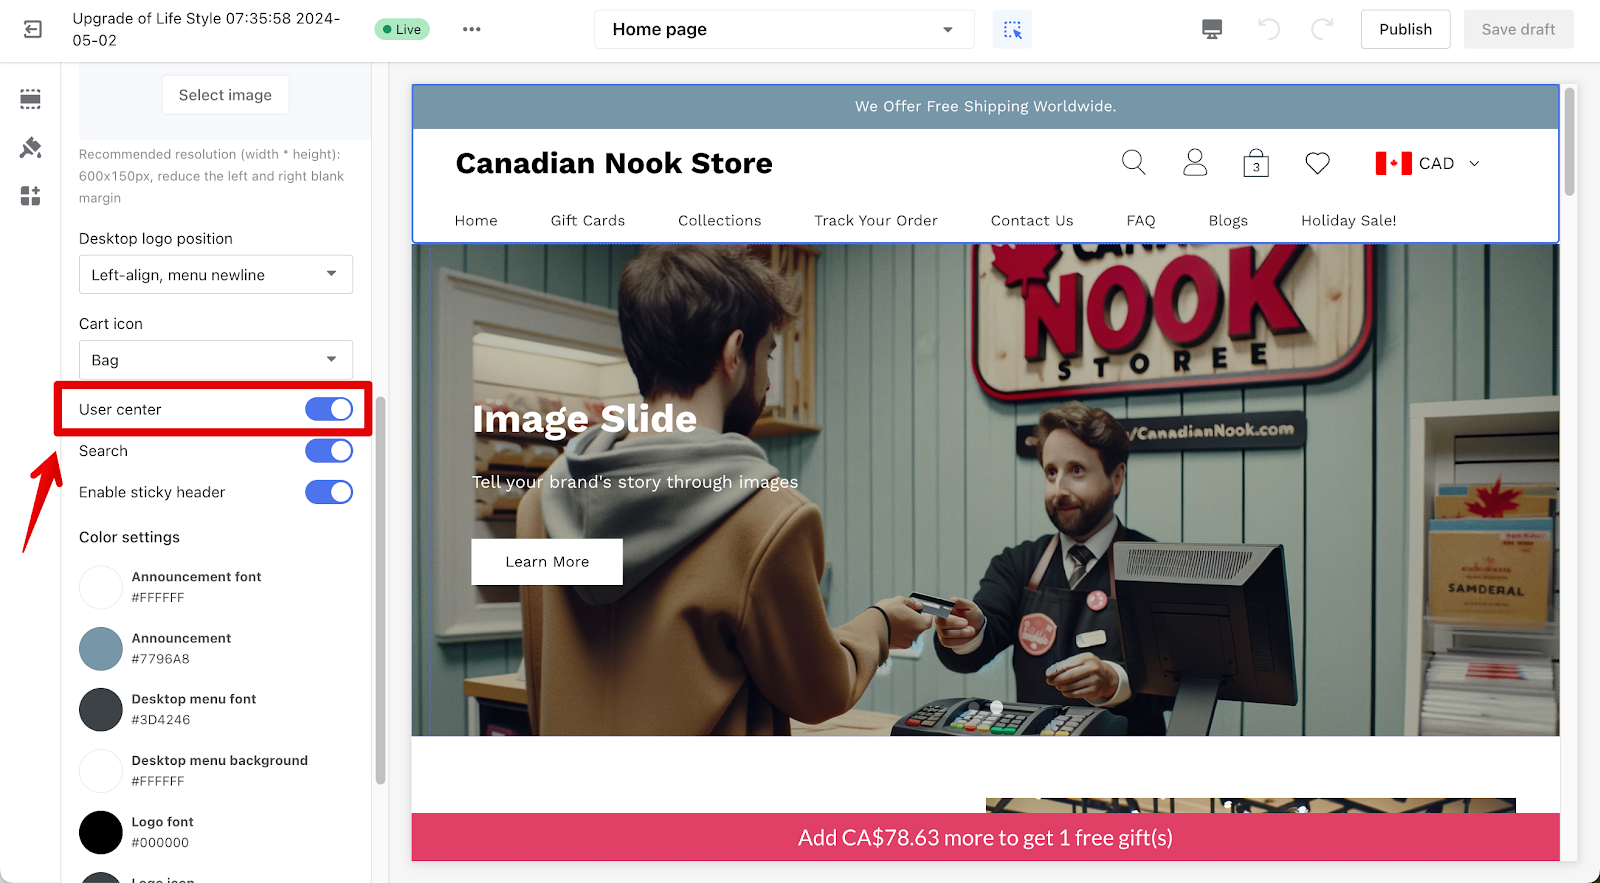
3. Disable the user center: Scroll down and disable User center.
Setting up the shopping cart icon
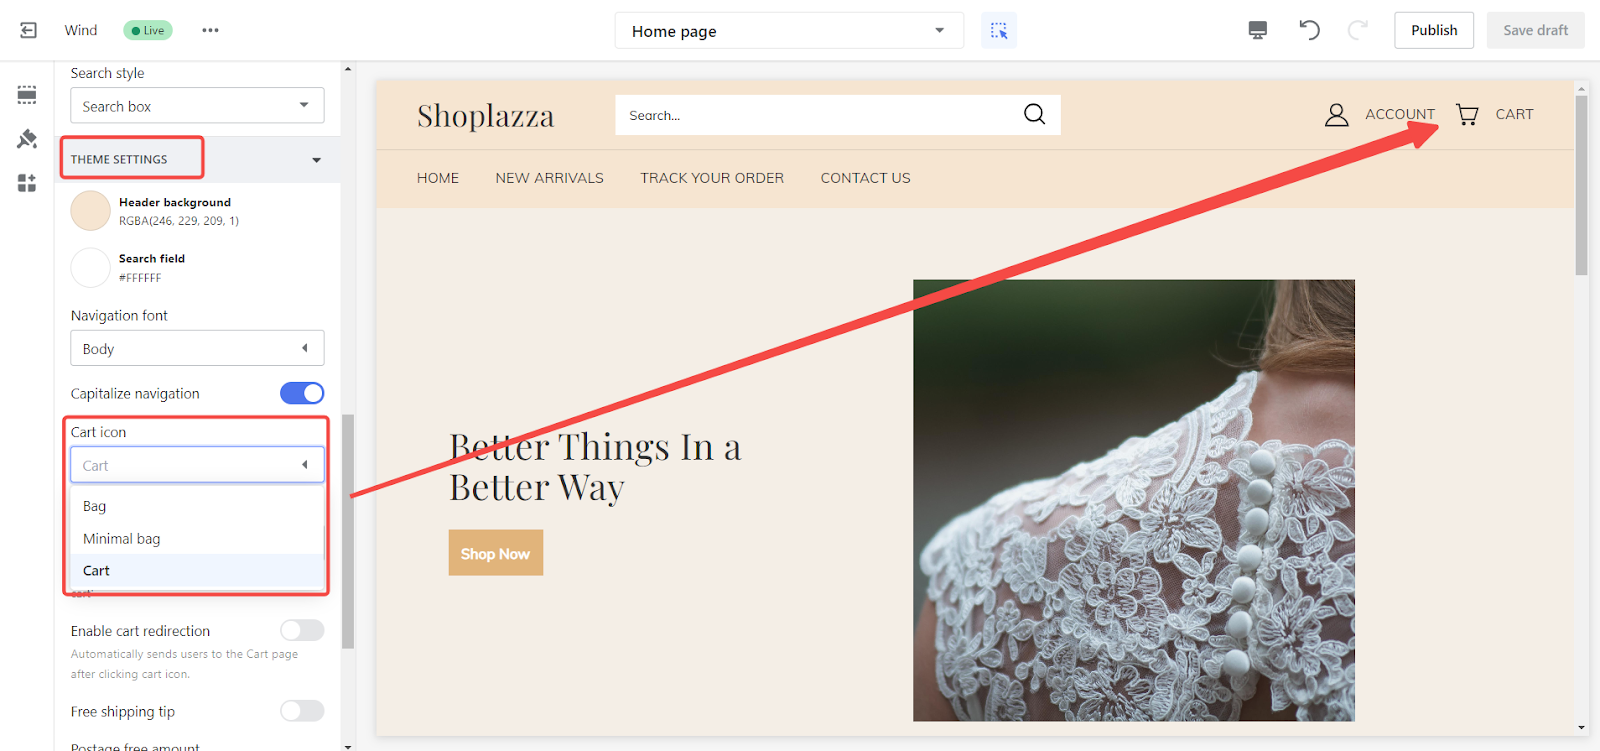
1. Customize shopping cart icon: To personalize the shopping cart icon, navigate to Online Store > Theme > Customize. Access the header editor by clicking on Header, then find the Theme Settings dropdown menu, locate the Cart Icon, and select the desired icon.
By carefully setting up your store's header, you can ensure it aligns with your brand and provides an excellent user experience, making it easier for customers to navigate and engage with your store.


Comments
Please sign in to leave a comment.