
AfterShip Returns Center is a powerful tool designed to streamline your returns management process, ensuring a seamless and satisfying post-purchase experience for your customers. By simplifying returns, you can build stronger brand loyalty and even turn returns into new sales opportunities. This guide will walk you through the installation and configuration of the AfterShip Returns Center app, providing a detailed overview of its features to help you get the most out of this essential tool.
Installing the AfterShip Returns Center app
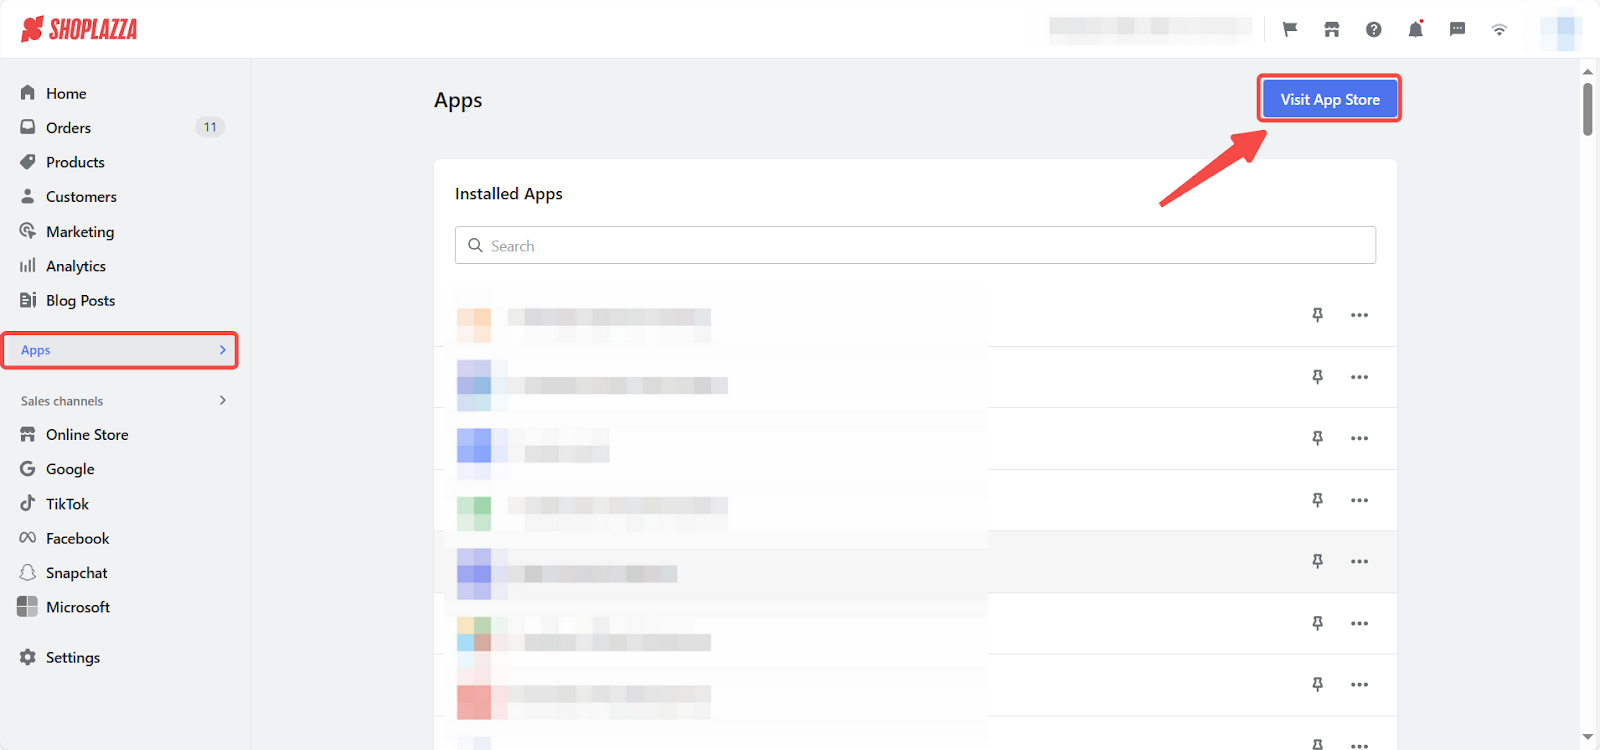
1. Access the App Store: From your Shoplazza admin > Apps, click Visit App Store.
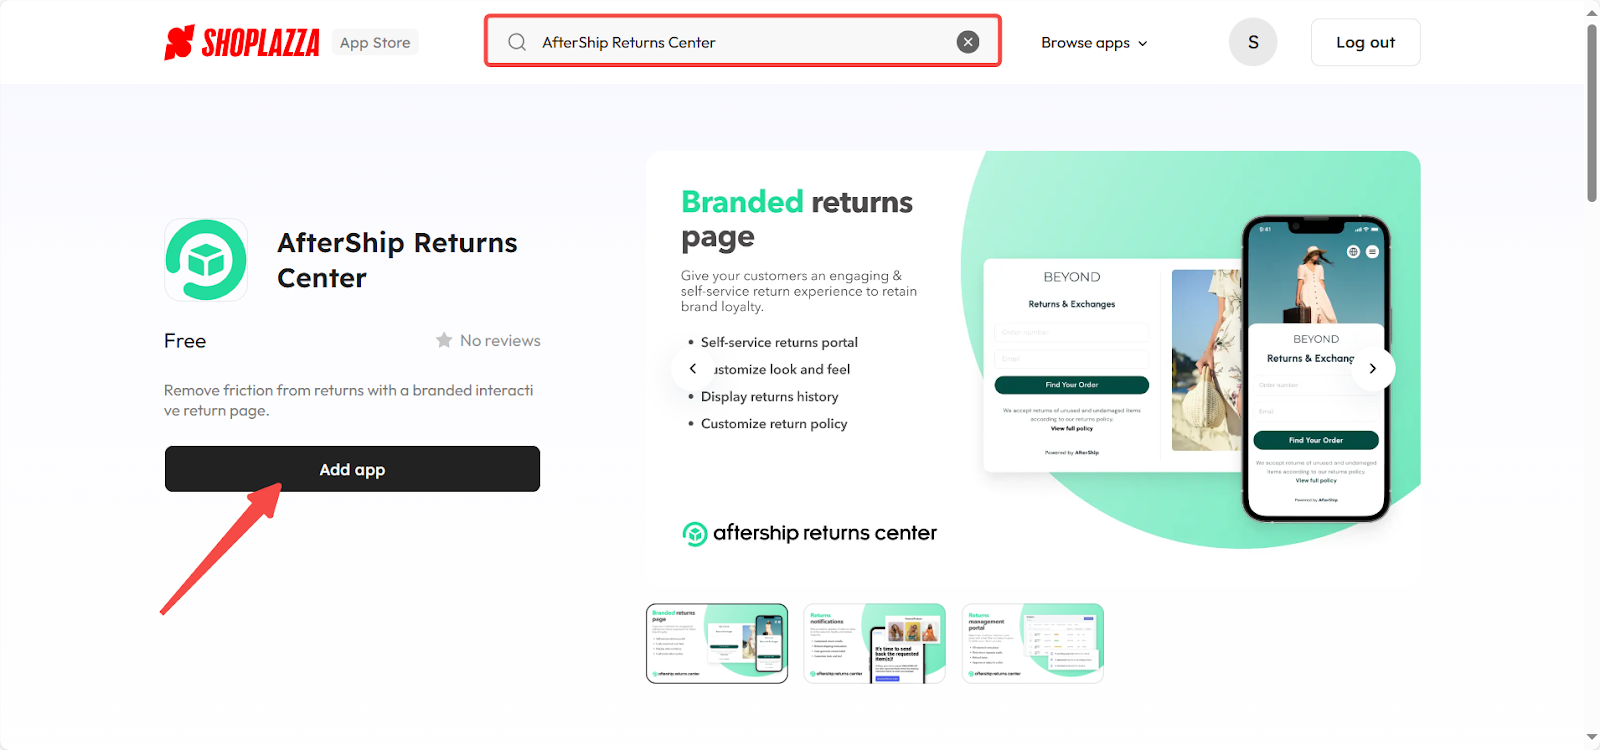
2. Find the app: Enter the app name AfterShip Returns Center in the search box and click on Add app.
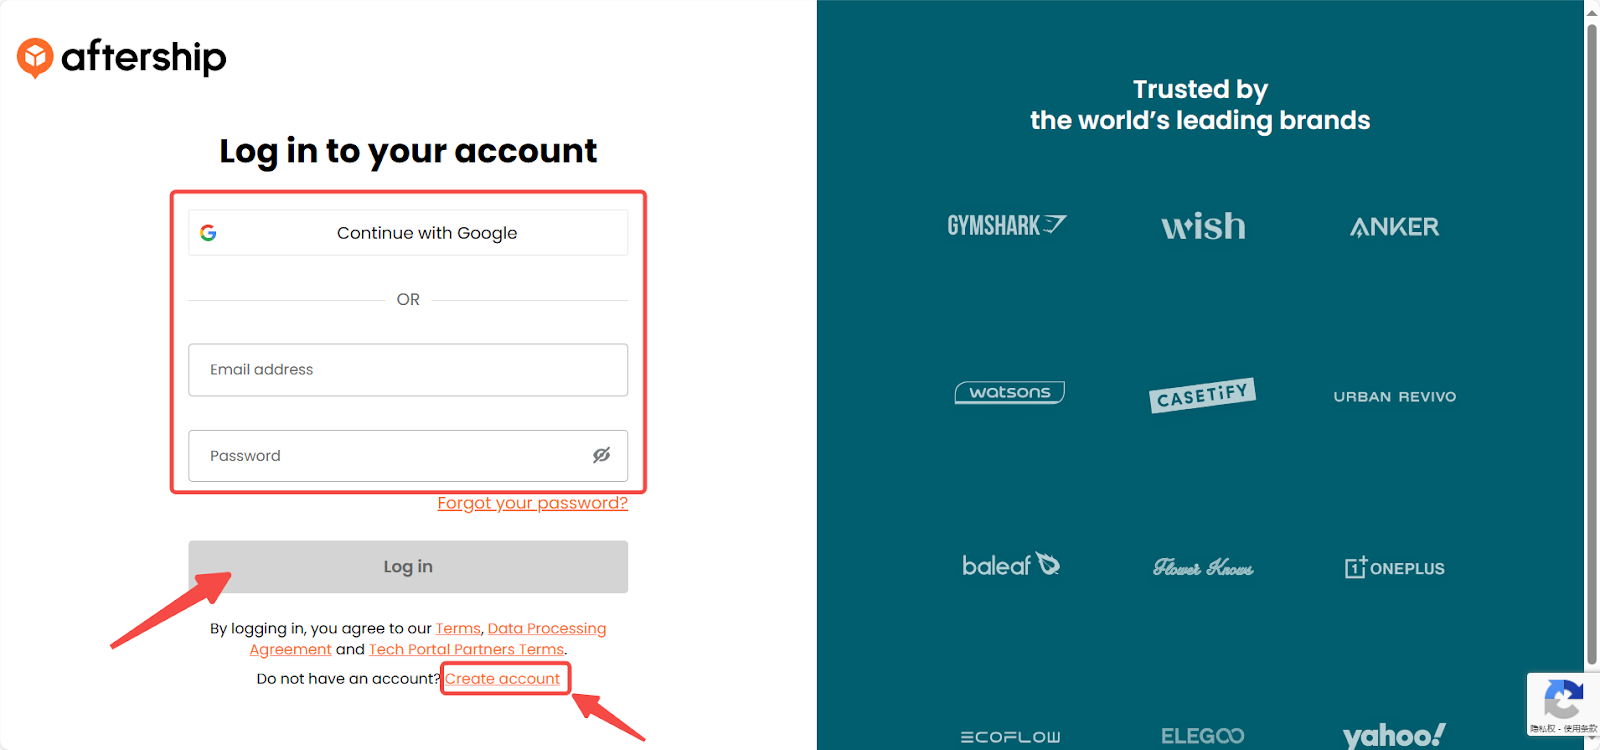
3. Complete log in: You'll be directed to the Aftership website after clicking Add app. There, fill in the required information and click Log in. If you don't have an account, please click Create account to register.
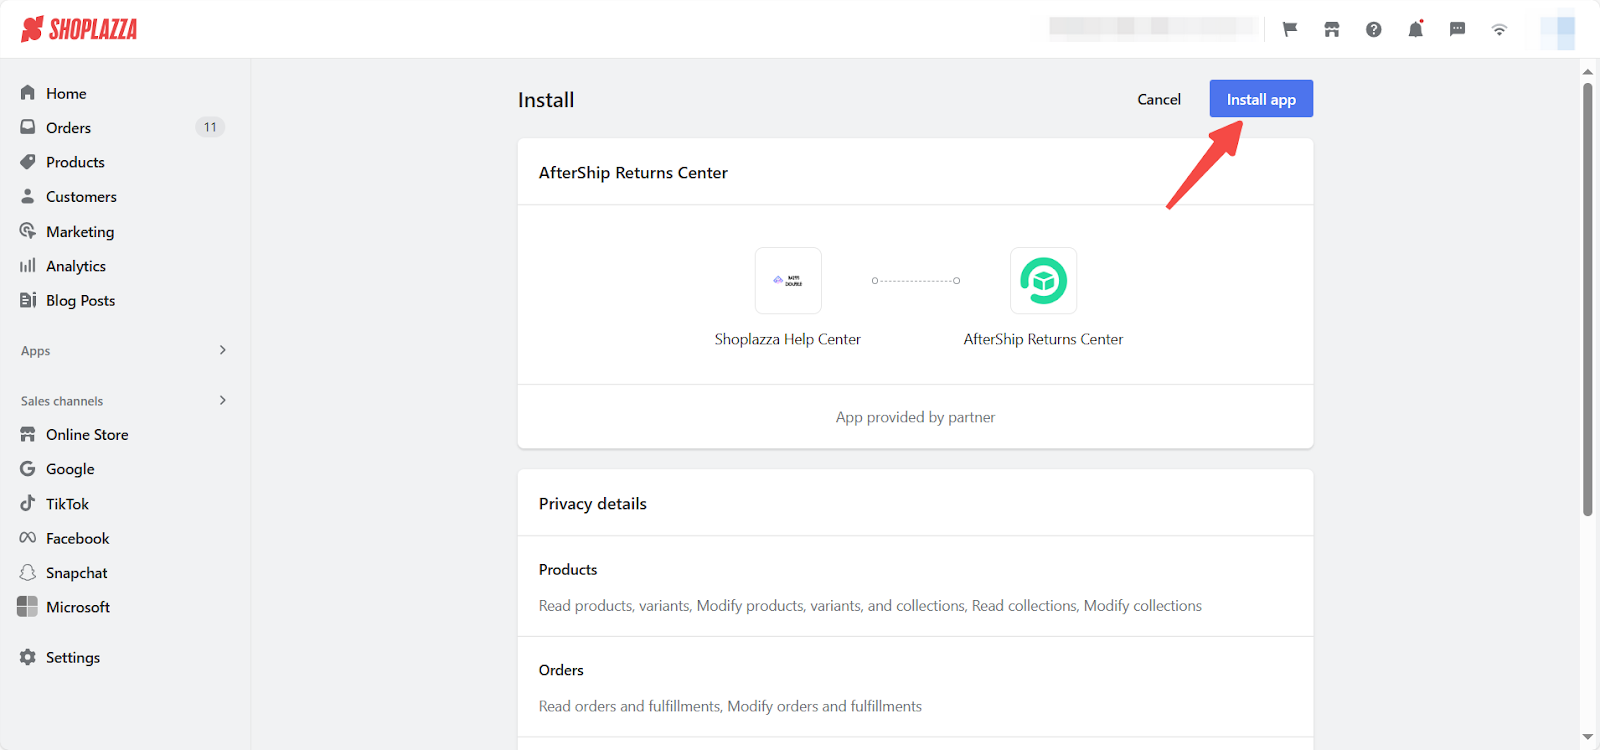
4. Install the app: Once registered and logged in, the system will redirect you to the Shoplazza admin, here click on Install app button.
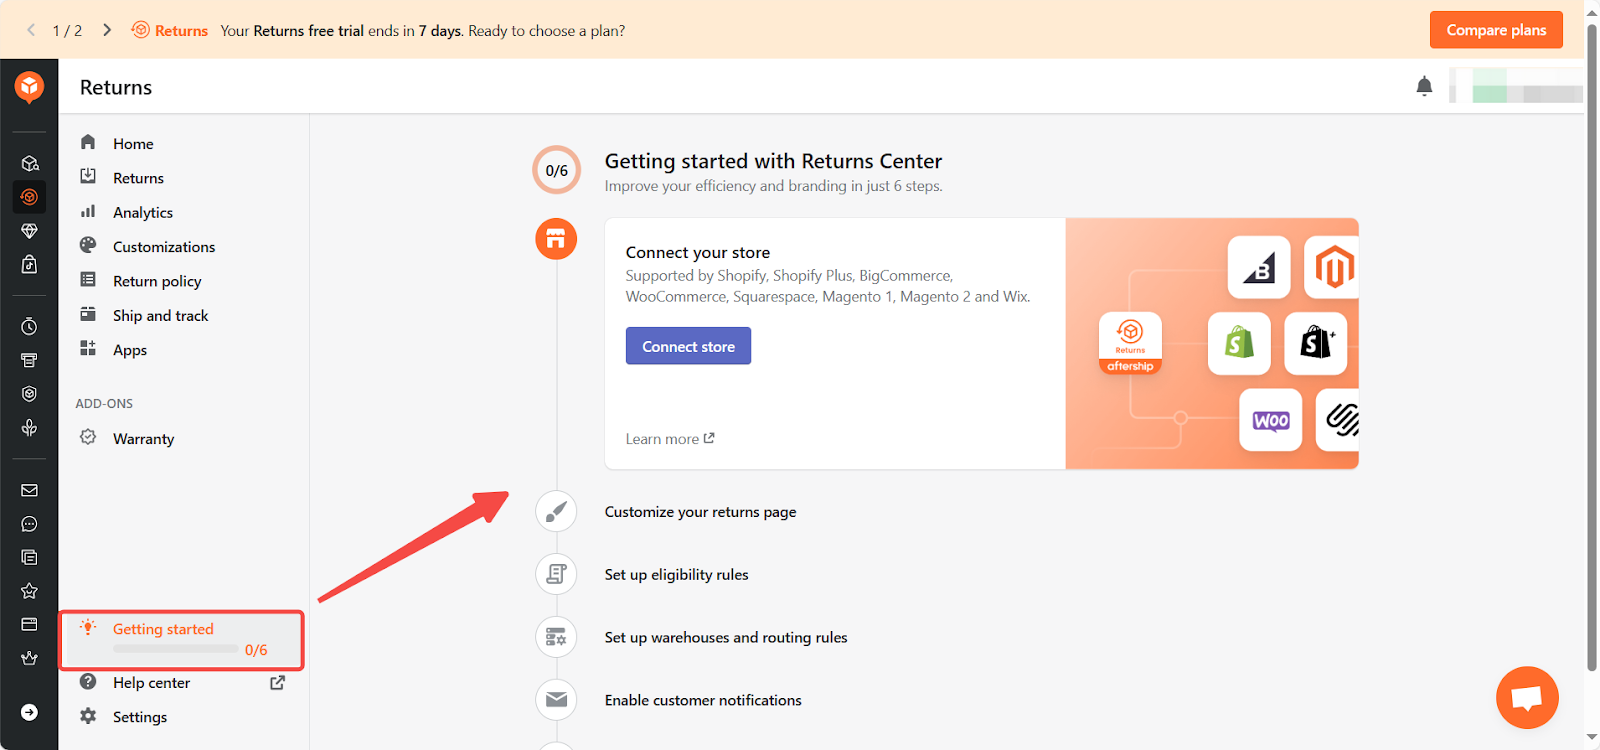
Getting started guide
If using the AfterShip Returns Center app for the first time, click Getting started on the navigation bar to access the tutorial guide and complete the initial setup.
Understanding the admin dashboard
The AfterShip Returns Center dashboard provides a comprehensive view of your return activities. It includes sections for Home, Returns, Analytics, Customizations, Return Policy, and Ship and Track, allowing you to manage returns, analyze key metrics, customize the returns page, set policies, and track shipments. These features streamline the returns process, ensuring a smooth experience for you and your customers.
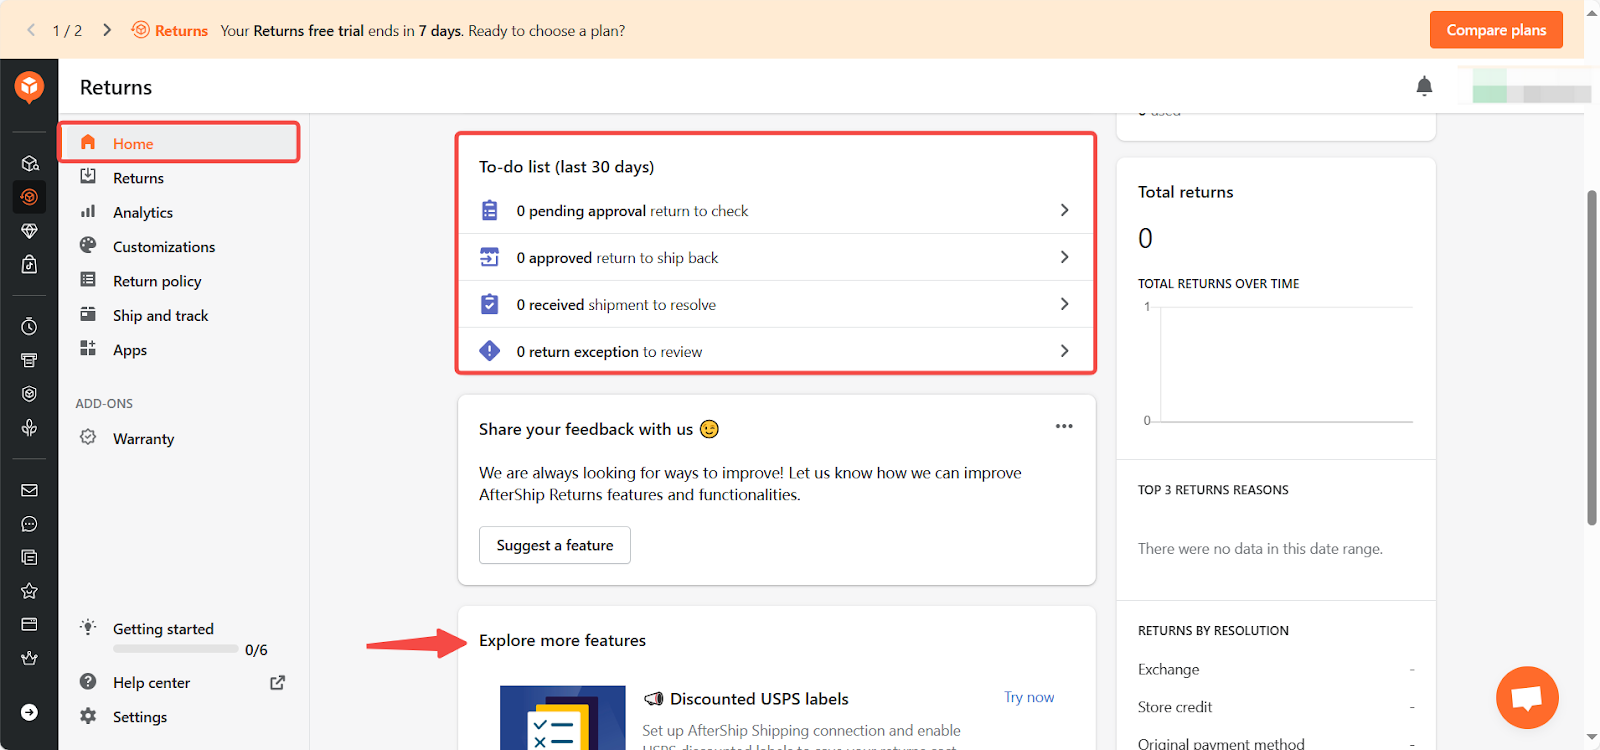
Home
Click Home to view a summary of order returns from the last 30 days. The home page provides a to-do list with pending approvals, approved returns, received shipments, and return exceptions, allowing you to manage your returns efficiently. Additionally, explore more features in other sections for a comprehensive understanding of your returns data.
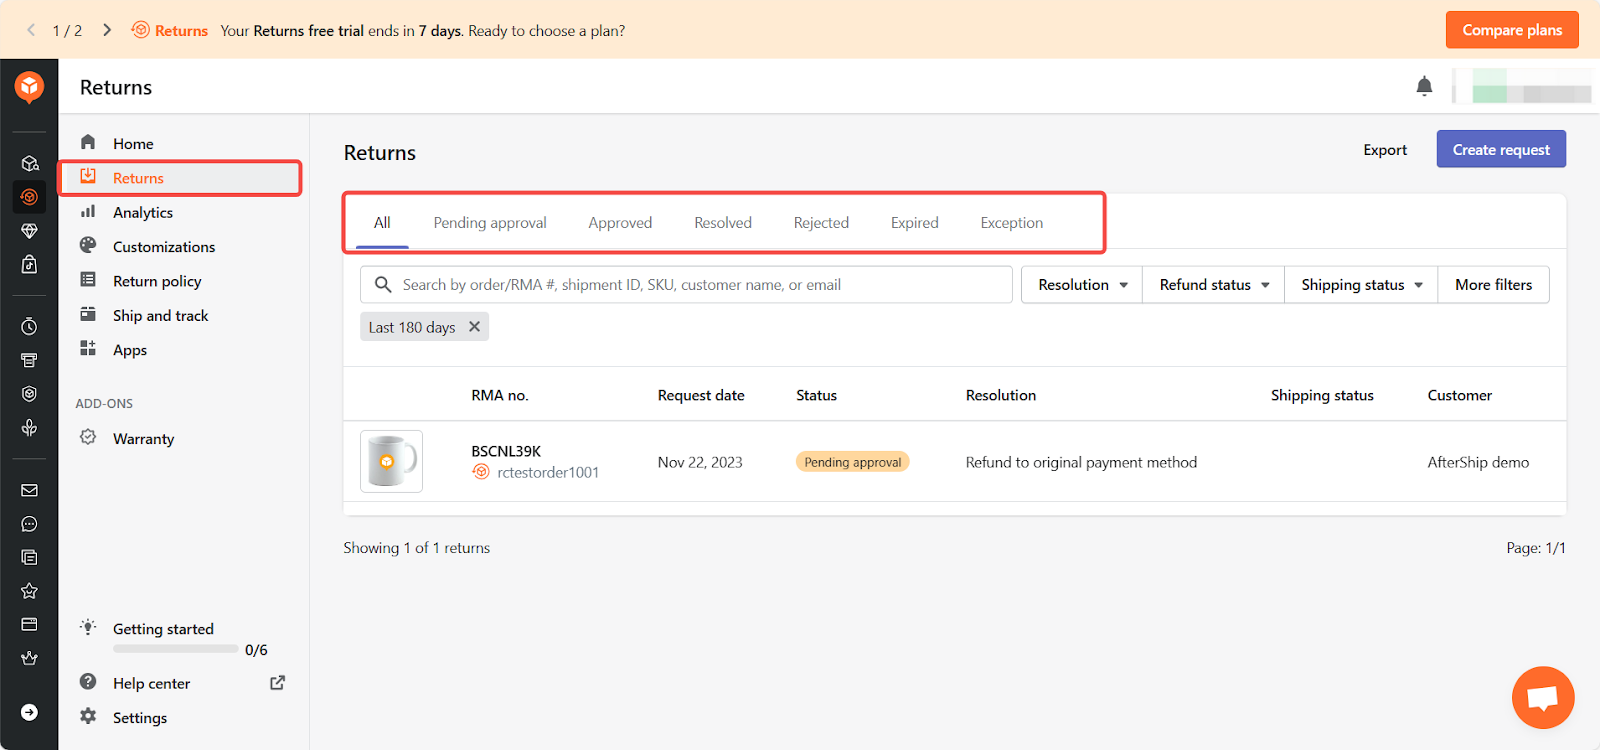
Returns
In the Returns section, view detailed information about return orders based on your filtered criteria. Use the tabs to navigate between different statuses such as pending approval, approved, resolved, rejected, expired, and exceptions to efficiently manage and track the status of each return.
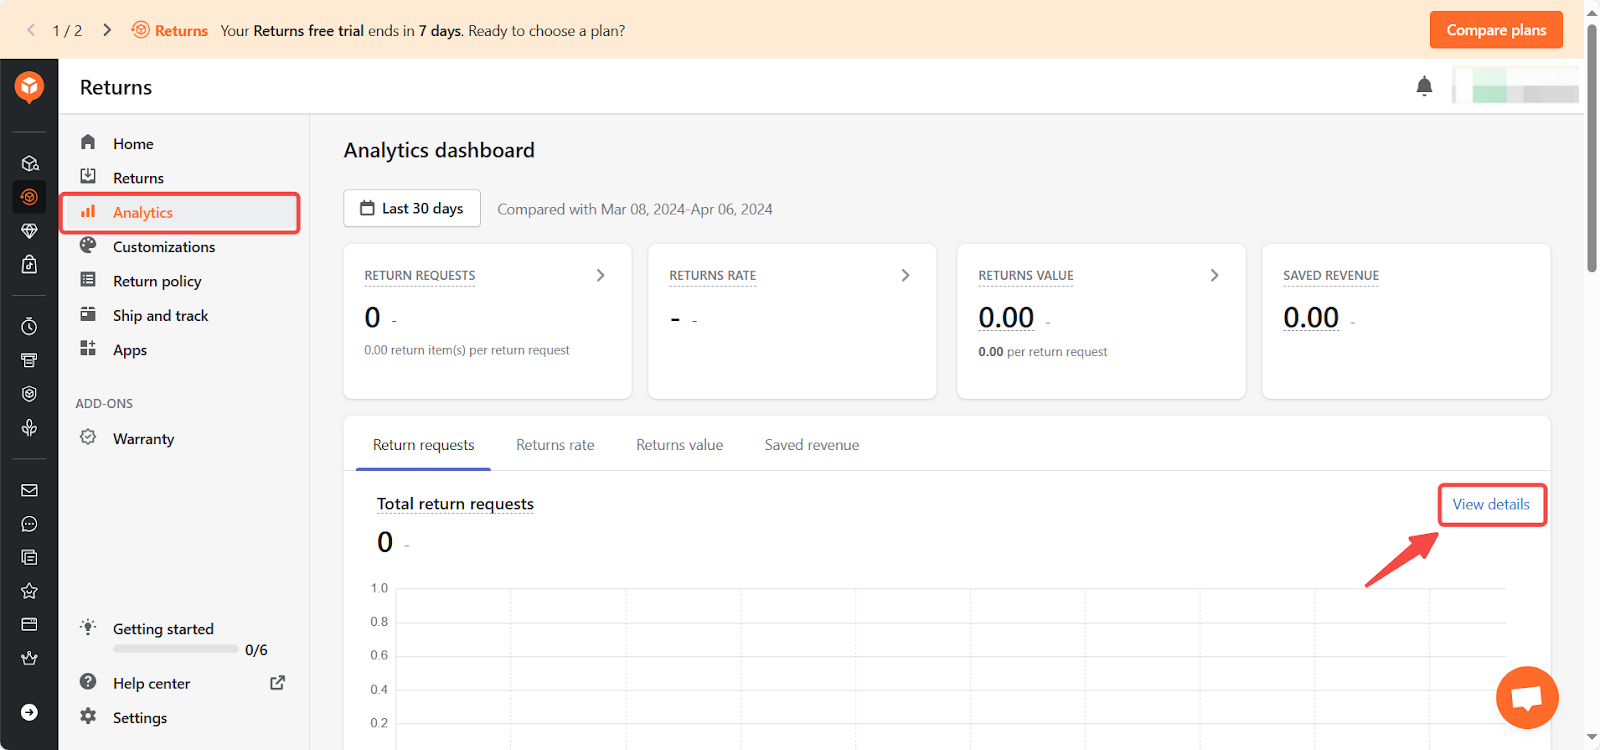
Analytics
On the Analytics dashboard, analyze key data such as return requests, return rate, return value, and saved revenue. Use this comprehensive data to optimize and analyze the return performance of your store, ensuring more efficient management of return processes.
Customizations
Enhance your returns center by customizing the returns page and setting up notifications to provide a seamless and branded experience for your customers.
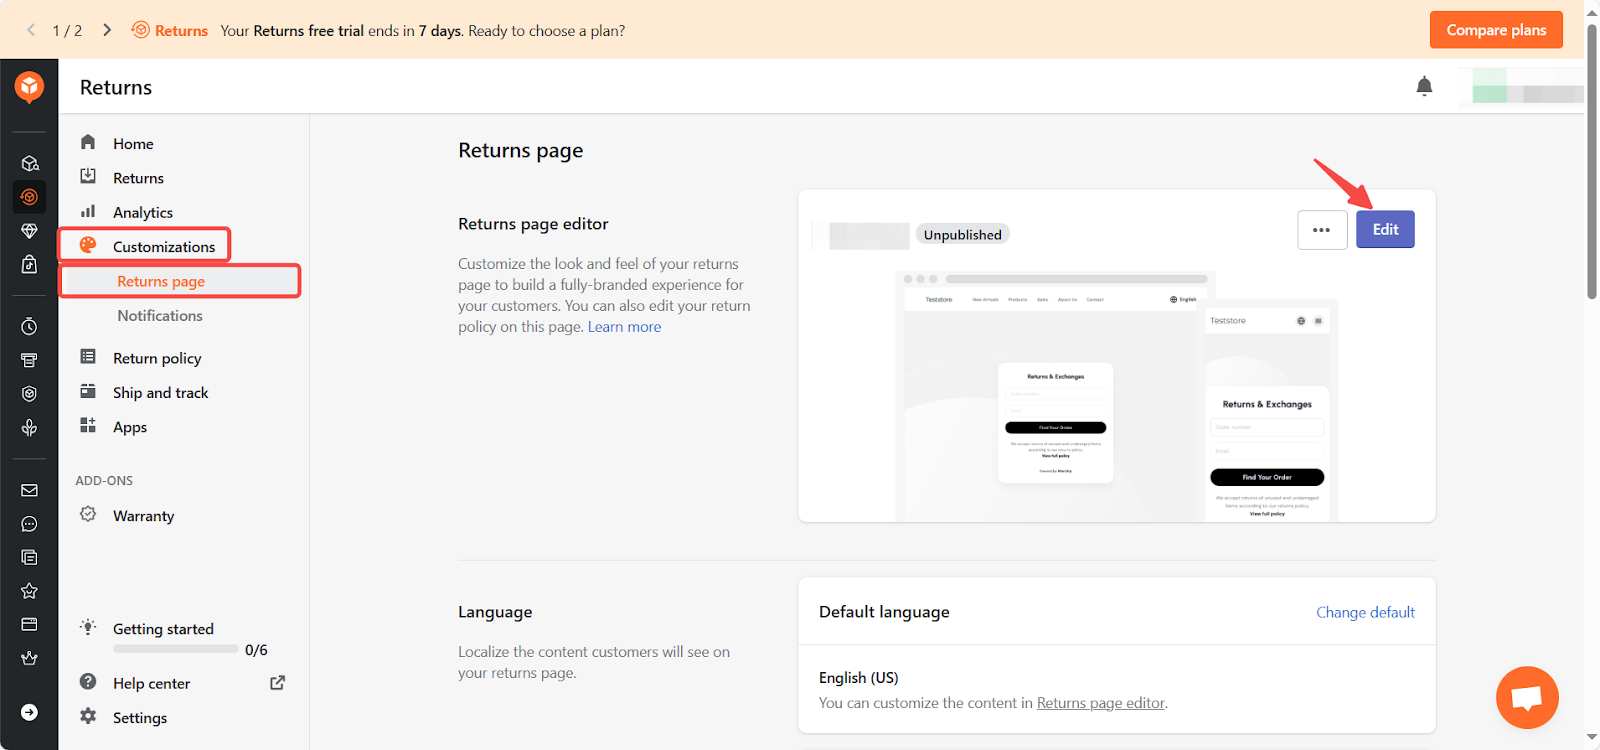
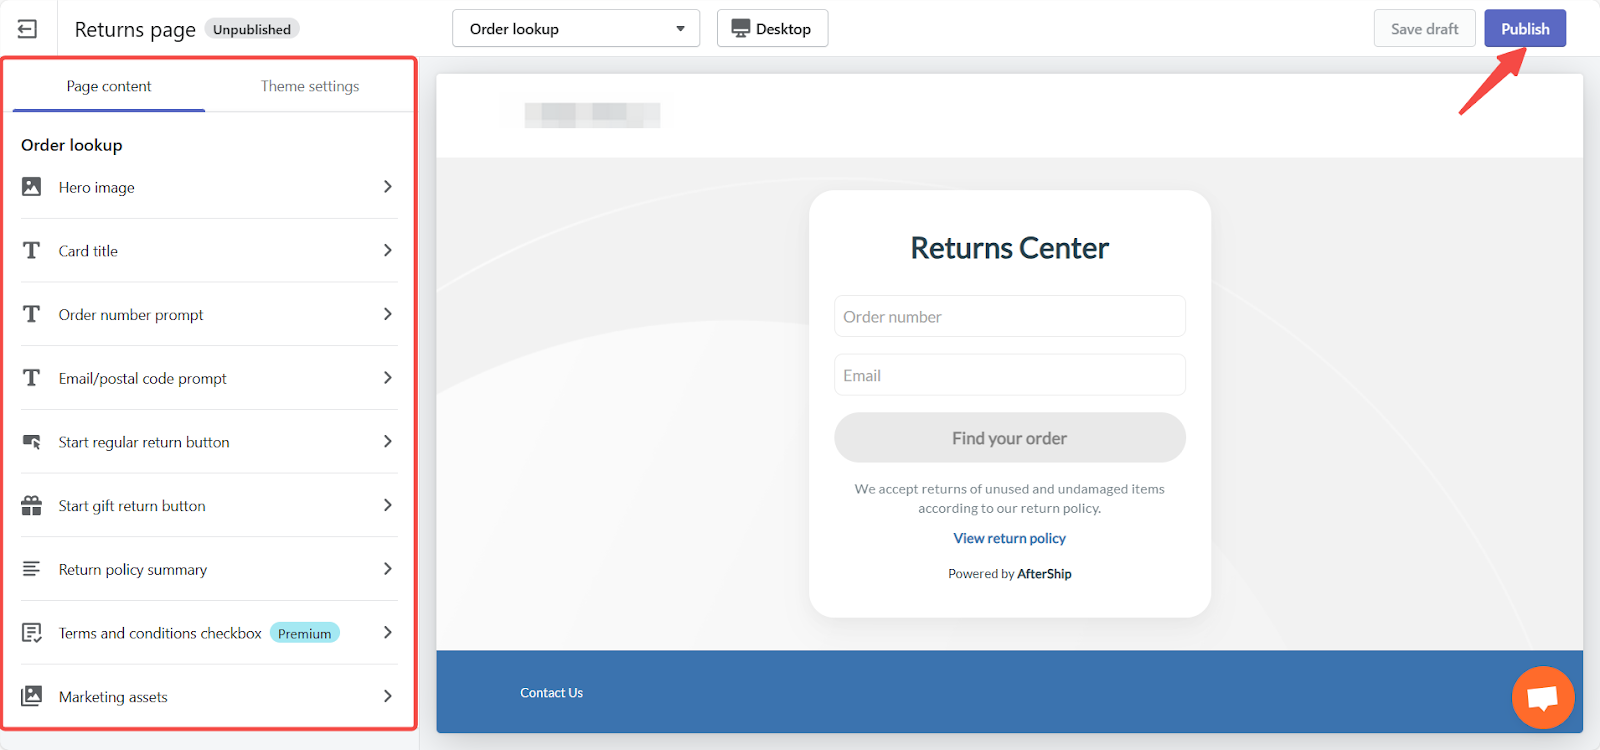
1. Returns page: Click Customizations > Returns page. To create a fully-branded experience for your customers, click Edit to customize the look and feel of your returns page. Adjust page content and theme settings as needed, then click Publish to save your changes.
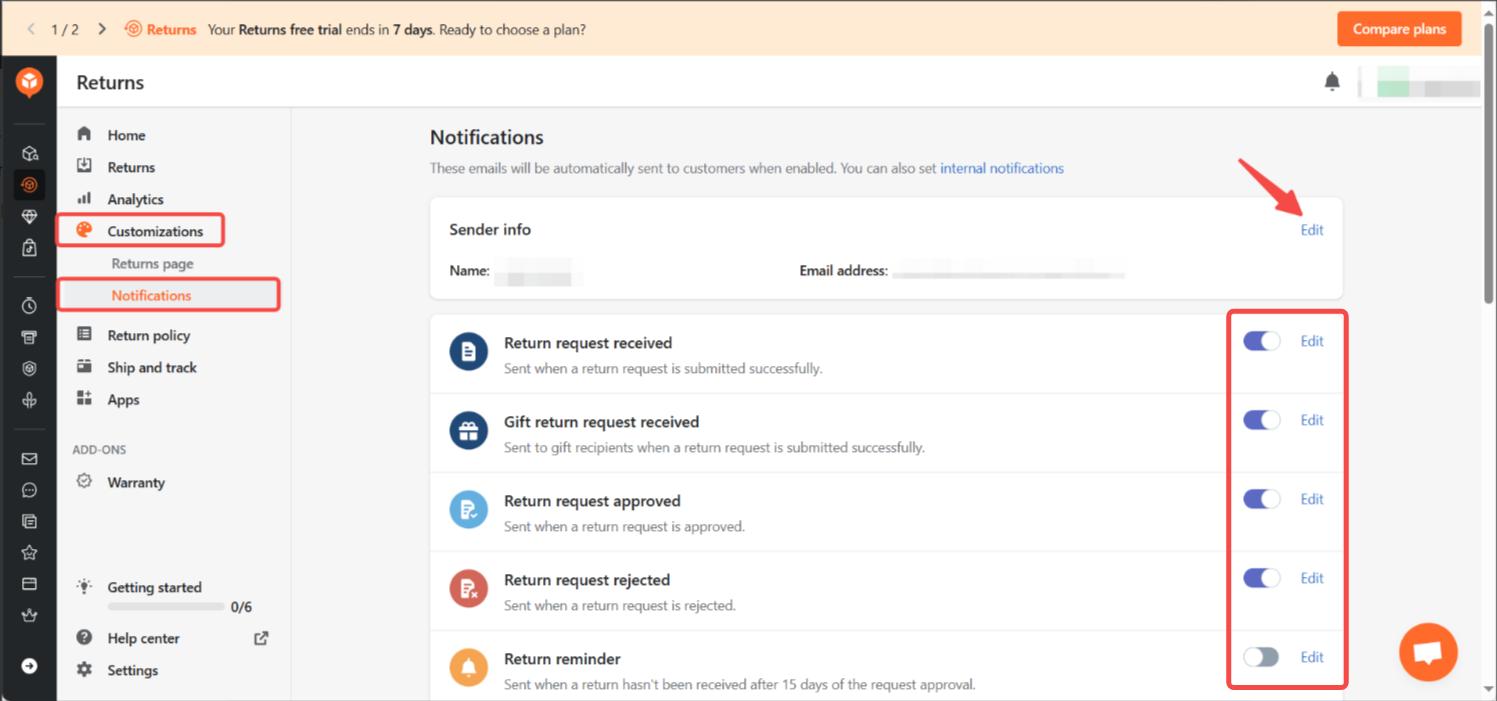
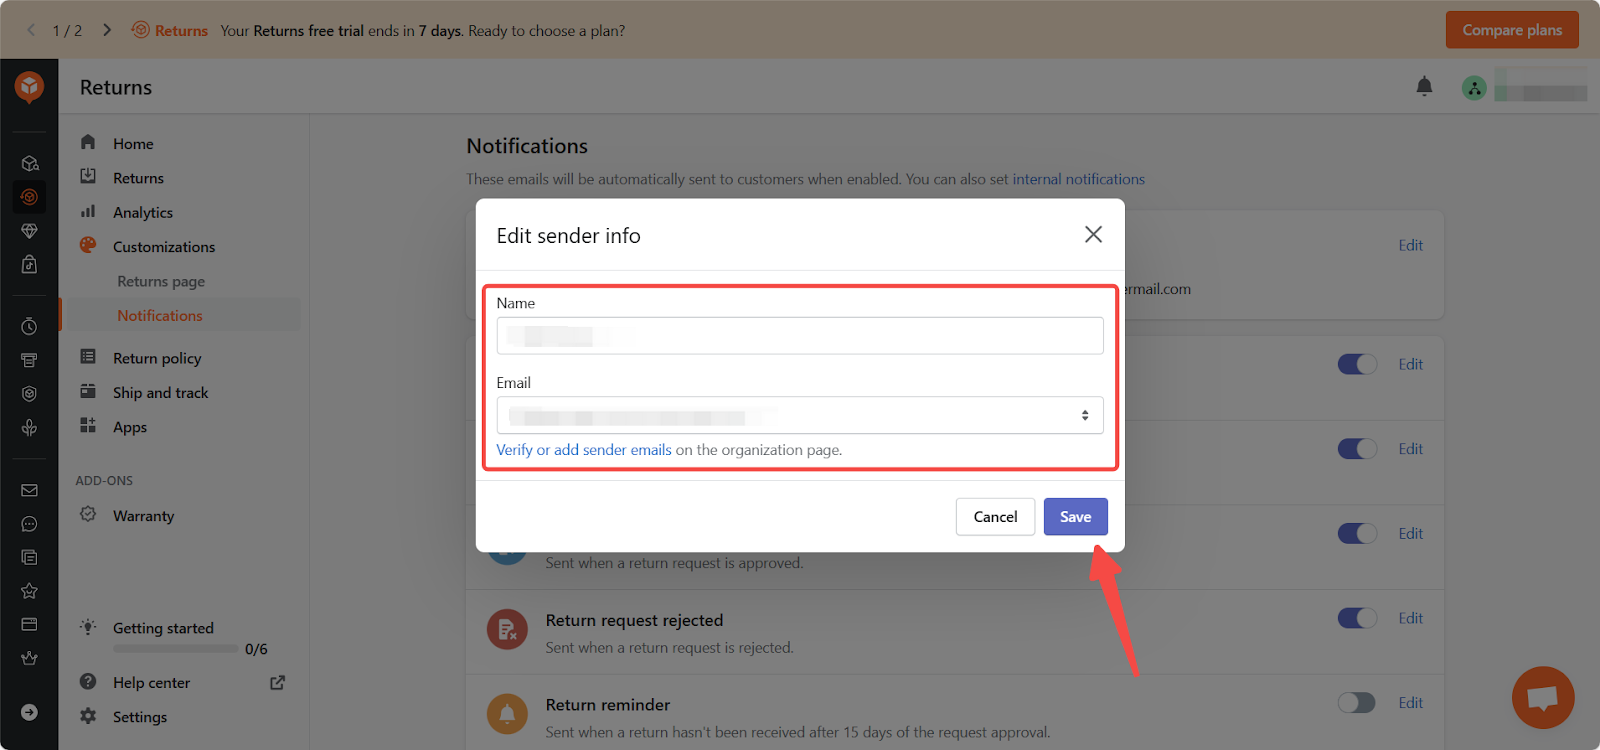
2. Notifications: In the Customizations > Notifications section, set up various email notifications to be sent automatically to customers. Toggle the Enable button for the desired notifications and click Edit to customize the email content. To modify sender information, click Edit, fill in the required details in the pop-up, and save.
Return policy
In the Return Policy section, you can configure the following settings to manage your store’s return process effectively:
1. Order lookup: Enable customers to search for their orders by email and postal code. Click the returns page editor to update the email/postal code prompt. Set up the return window to alert customers and prevent return requests outside the allowed period.
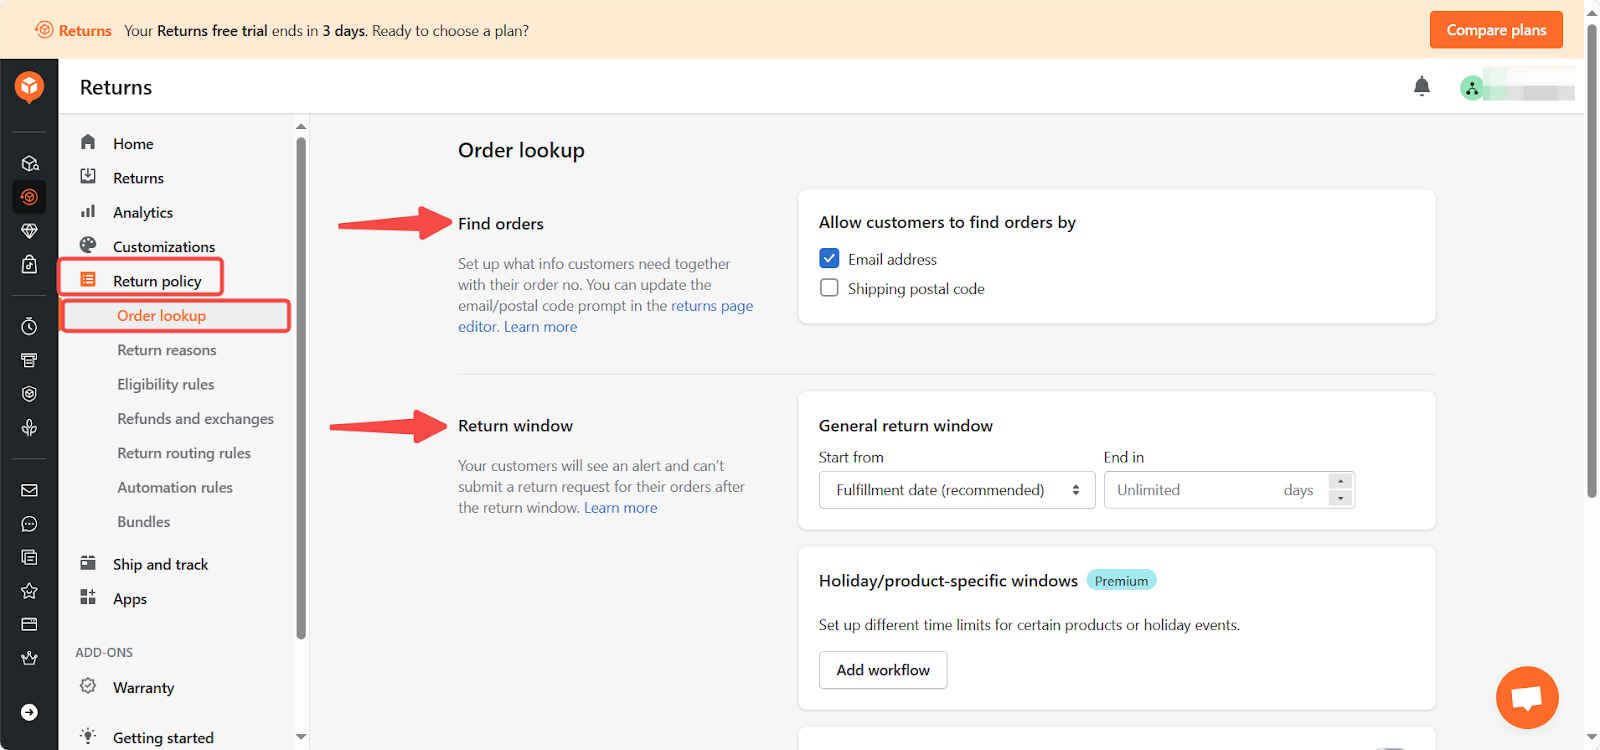
Note
For more specific settings on order lookup and return window , click the links to learn more.
2. Return reasons: Understanding why customers return items is invaluable for your business. This feedback helps you make informed decisions and demonstrates that you value customer input. Set up return reasons and categorize them in the Return Reasons section to gather this important information.
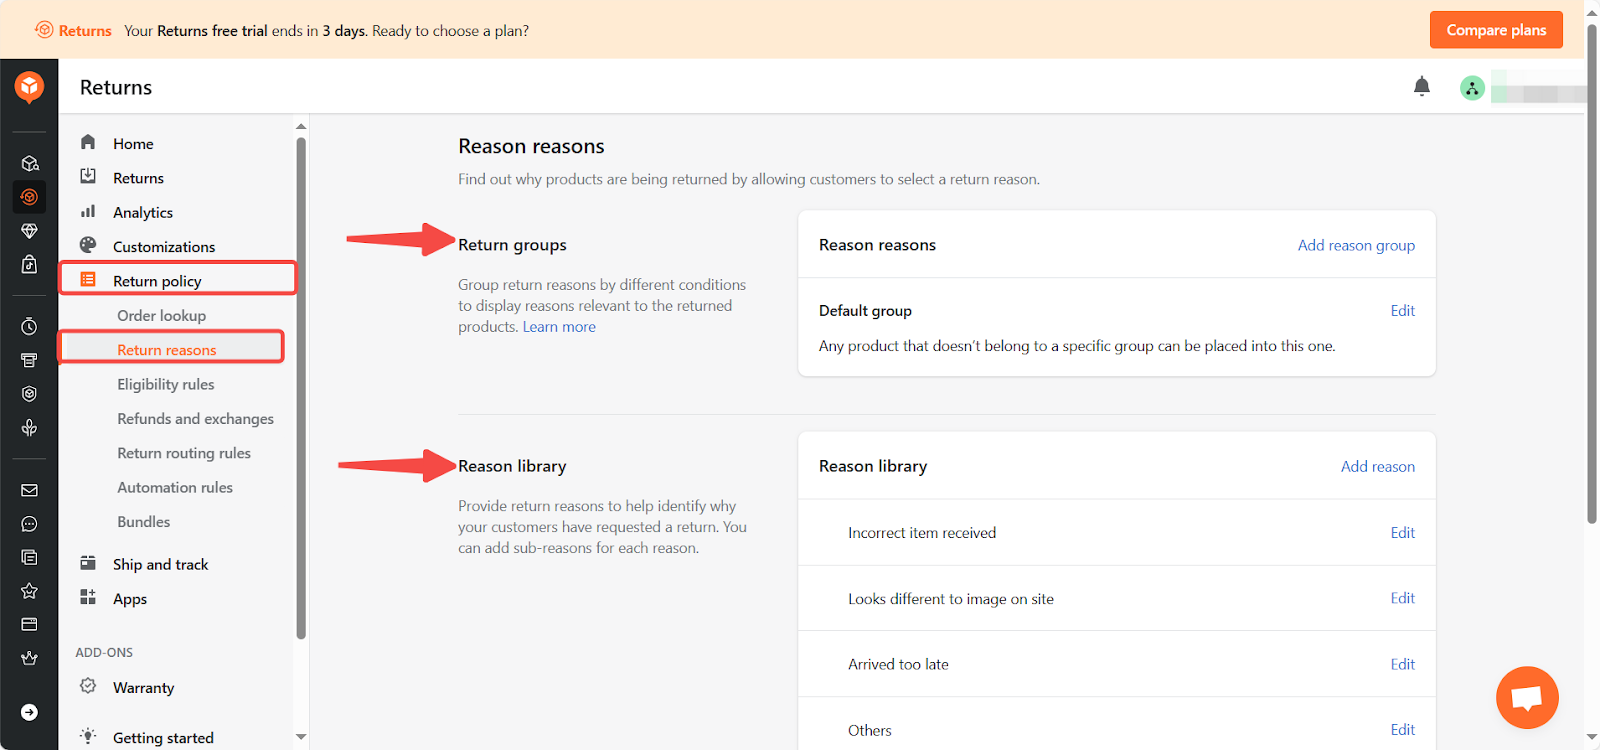
Note
For more details on setting up return reasons, click here .
3. Eligibility rules: Save time by dealing only with eligible returns by setting which products and customers can make a return request. Four setting methods are provided:
- Blocklist and allowlist: Set rules to prevent return requests by customer or product type, or make an exception that will override all other eligibility rules.
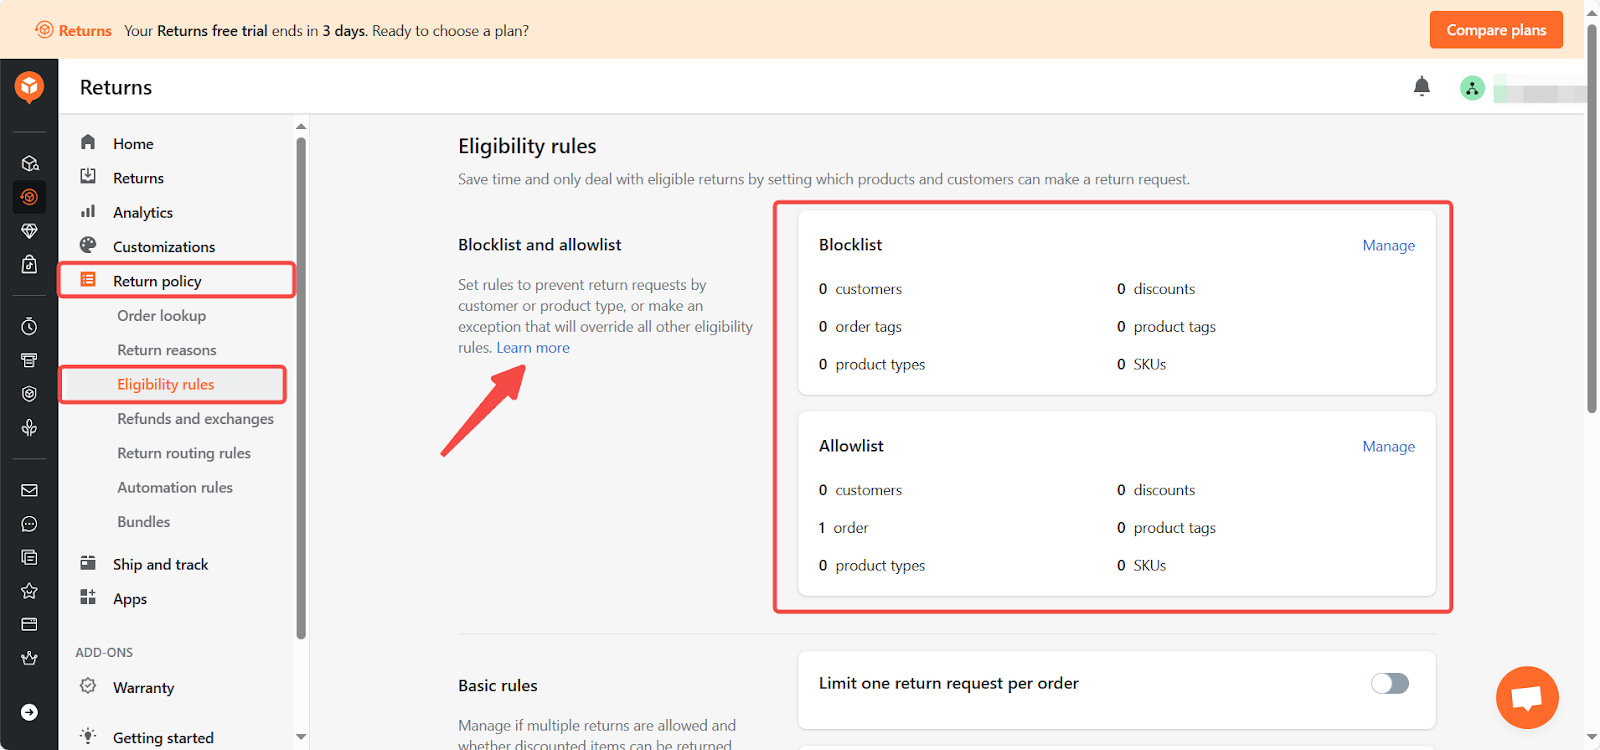
Note
For more details on settings on Blocklist and Allowlist, click here .
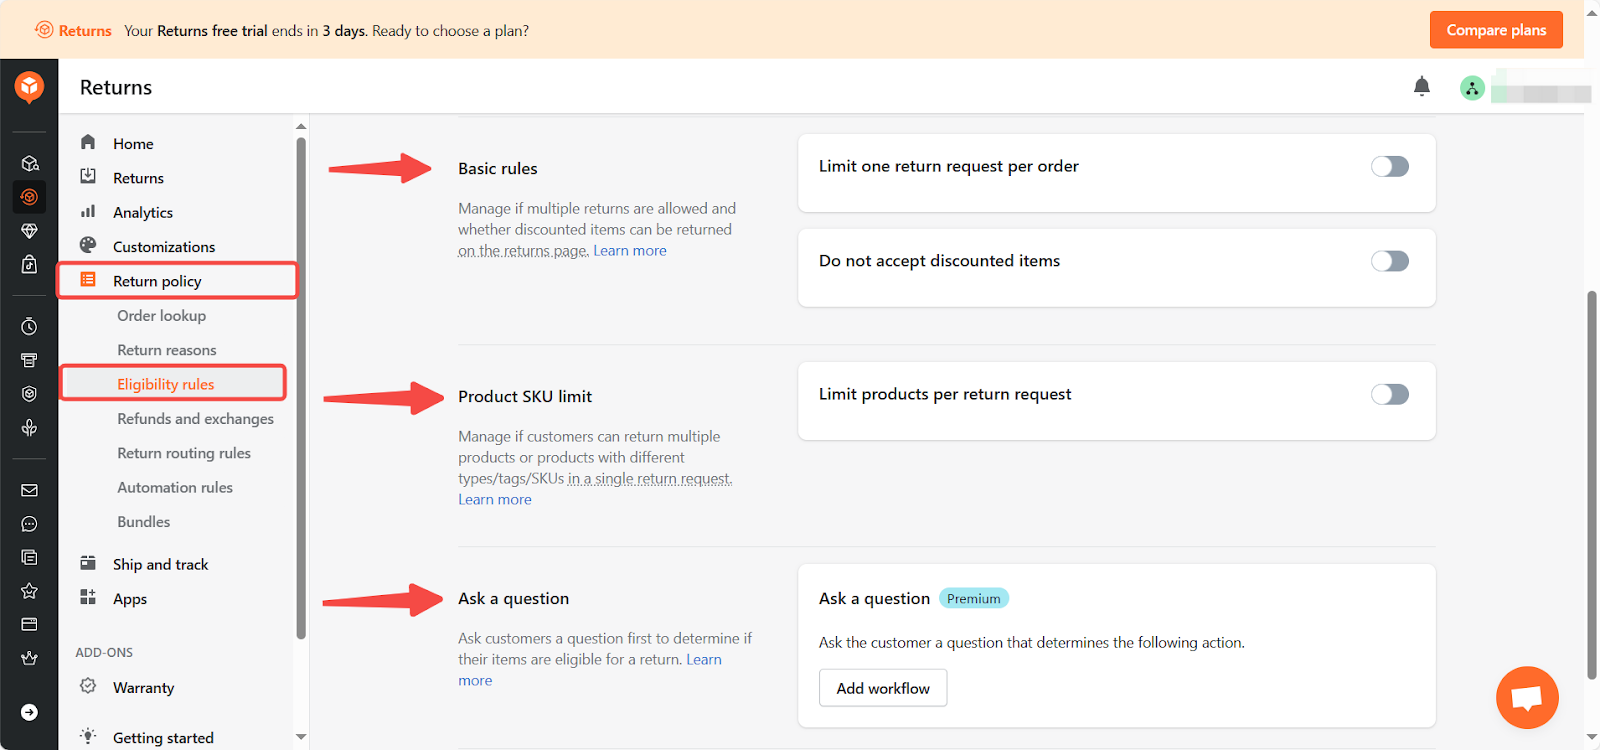
- Basic rules: Manage if multiple returns are allowed and whether discounted items can be returned on the returns page.
- Product SKU limit: Manage if customers can return multiple products or products with different types/tags/SKUs in a single return request.
- Ask a question: Ask customers a question first to determine if their items are eligible for a return.
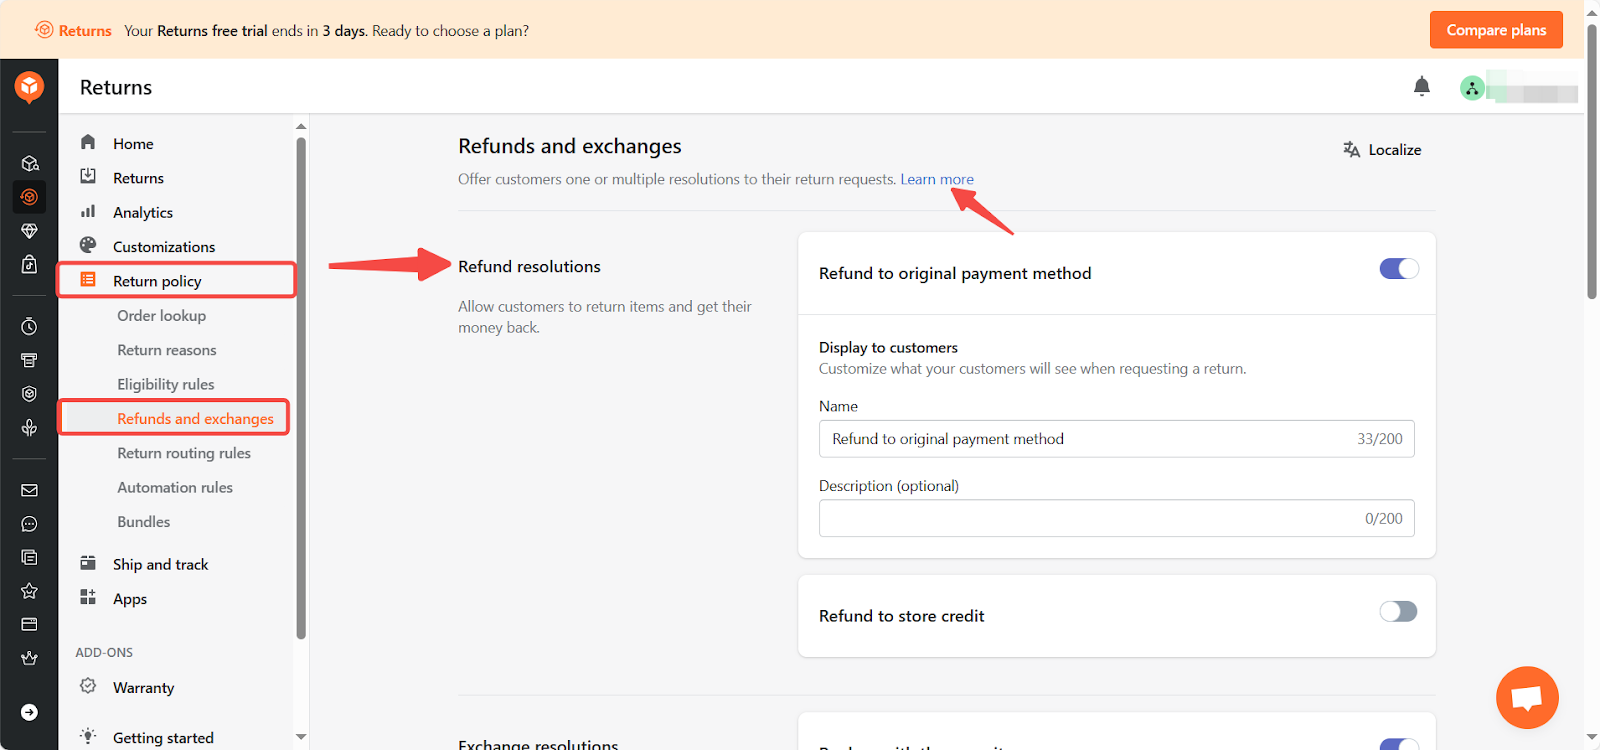
4. Refunds and exchanges: Offer customers one or multiple resolutions to their return requests. Three setting methods are provided:
- Refund resolutions: Allow customers to return items and get their money back.
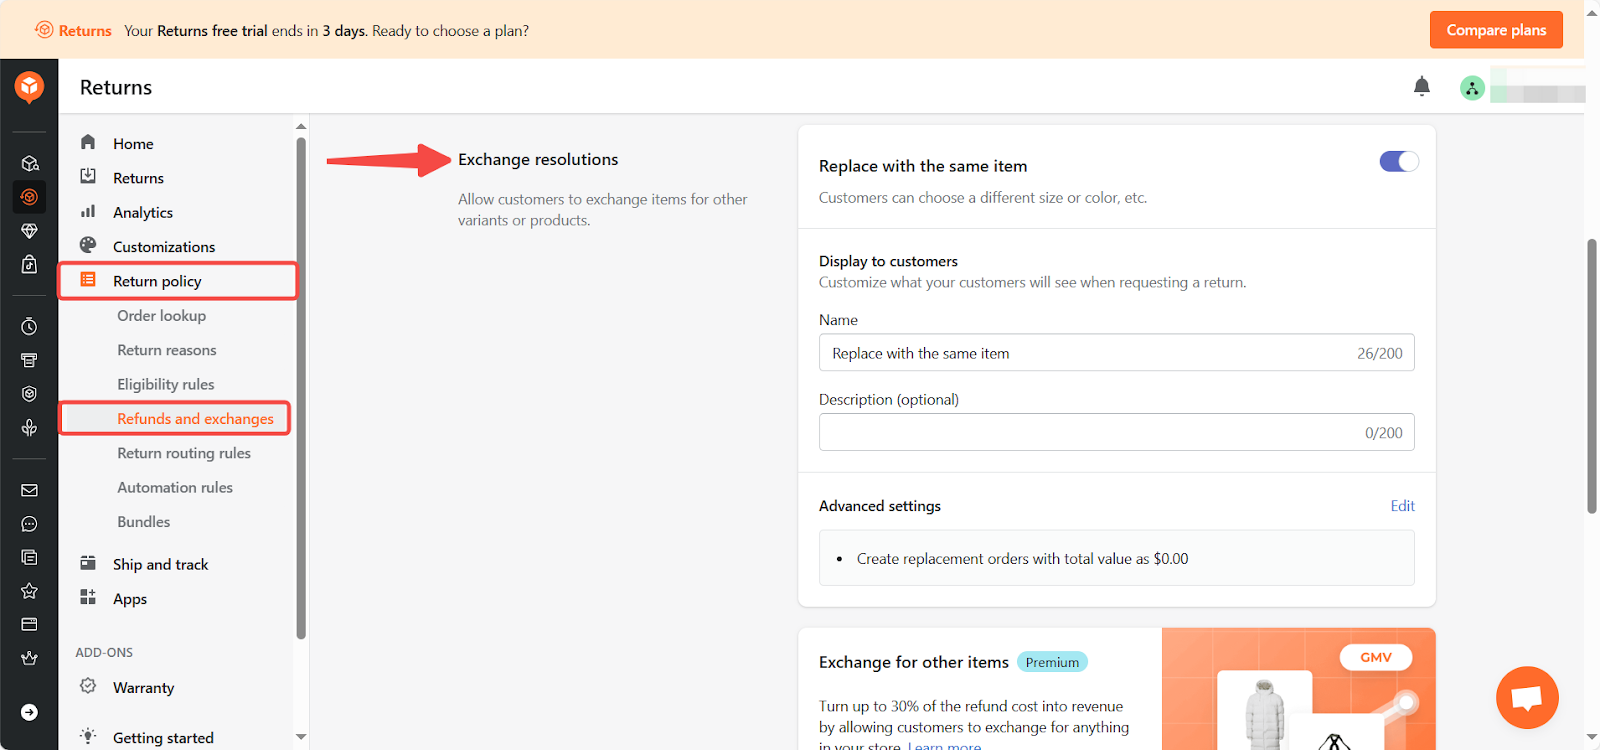
- Exchange resolutions: Allow customers to exchange items for other variants or products.
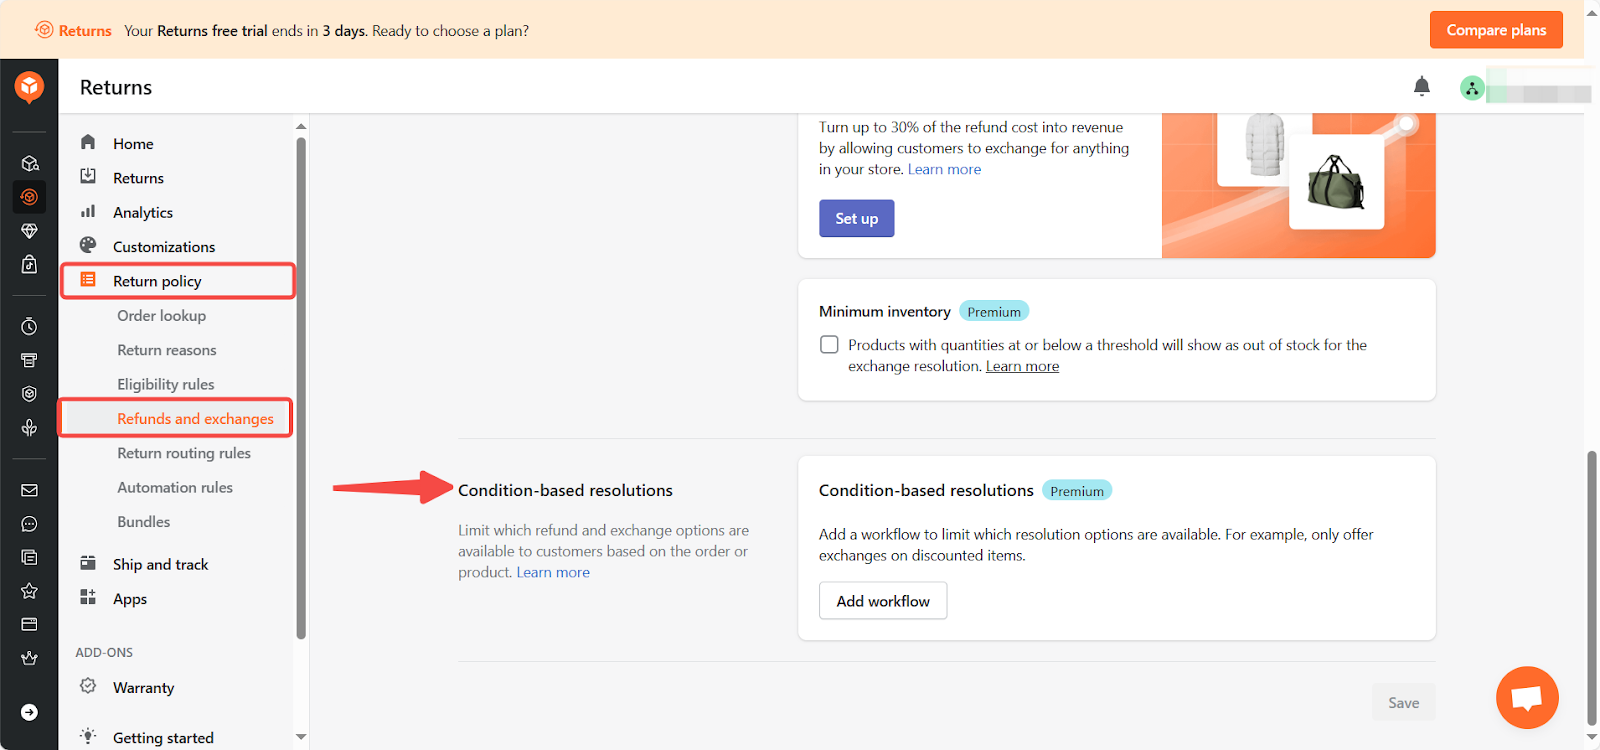
- Condition-based resolutions: Limit which refund and exchange options are available to customers based on the order or product.
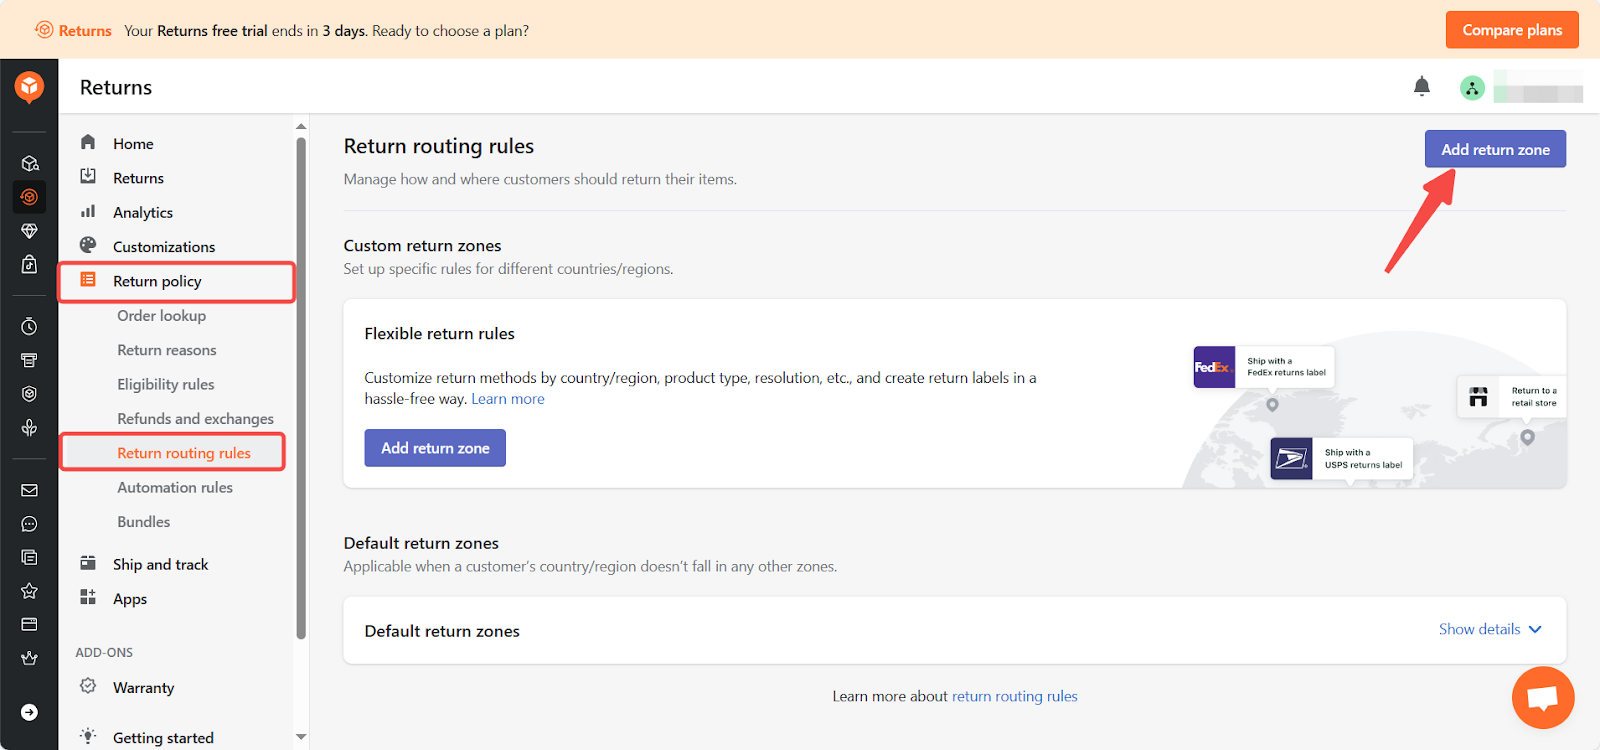
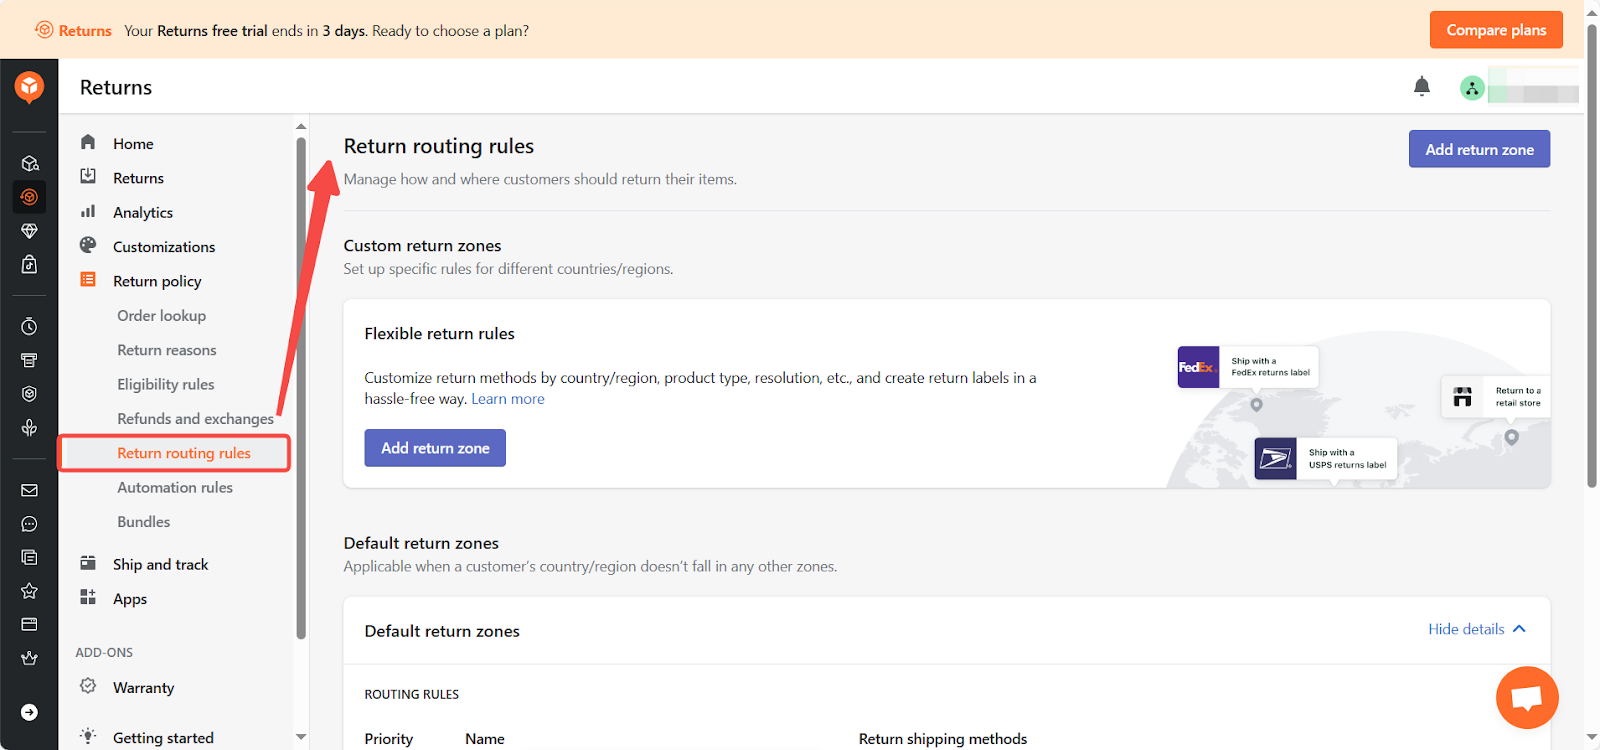
5. Return routing rules: Manage how and where your customers should return their items in this section. Click Add return zone to set up specific rules for different countries/regions.
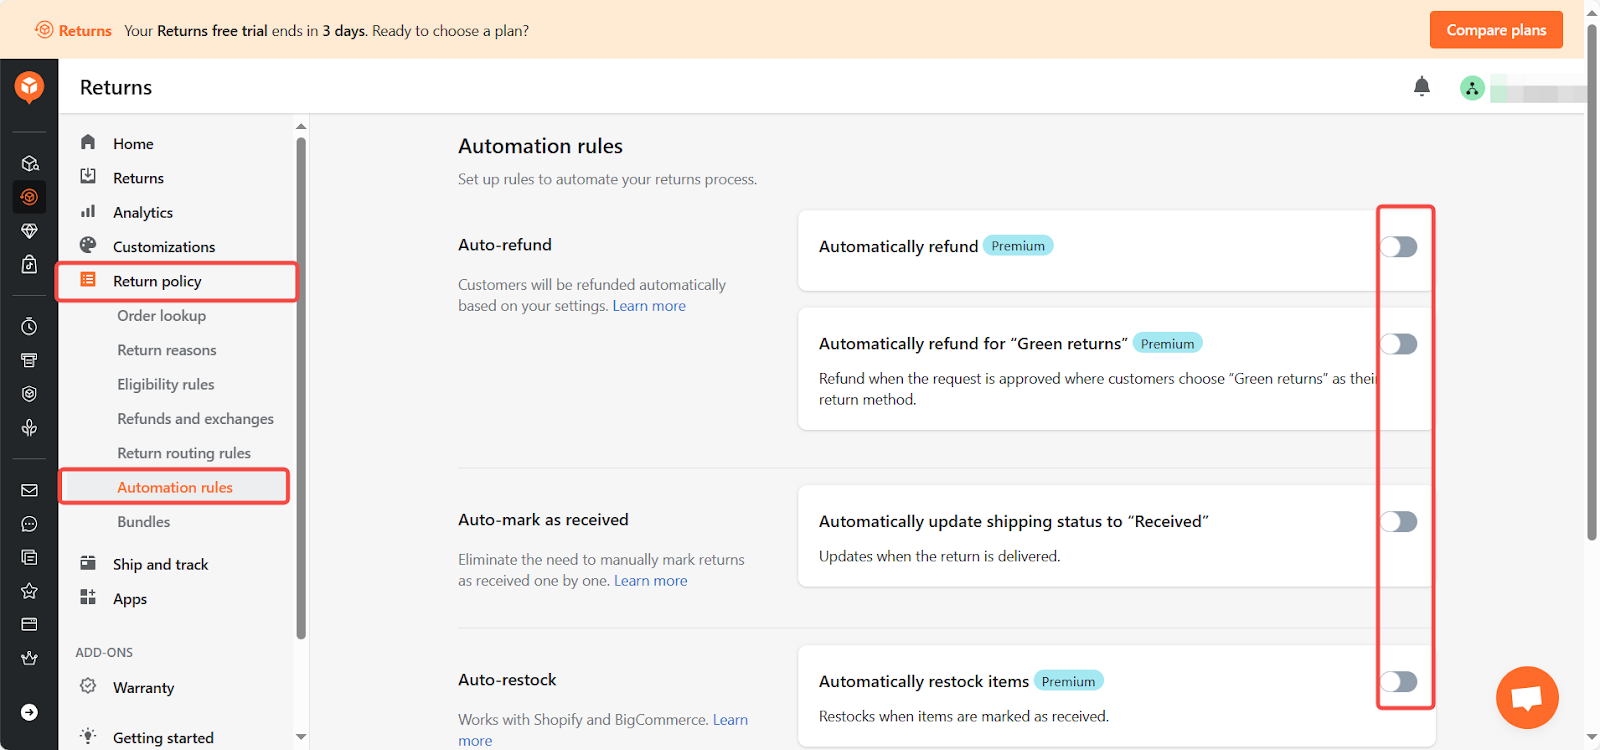
6. Automation rules: Set up rules to automate your returns process. Choose whether to enable these features according to your actual needs.
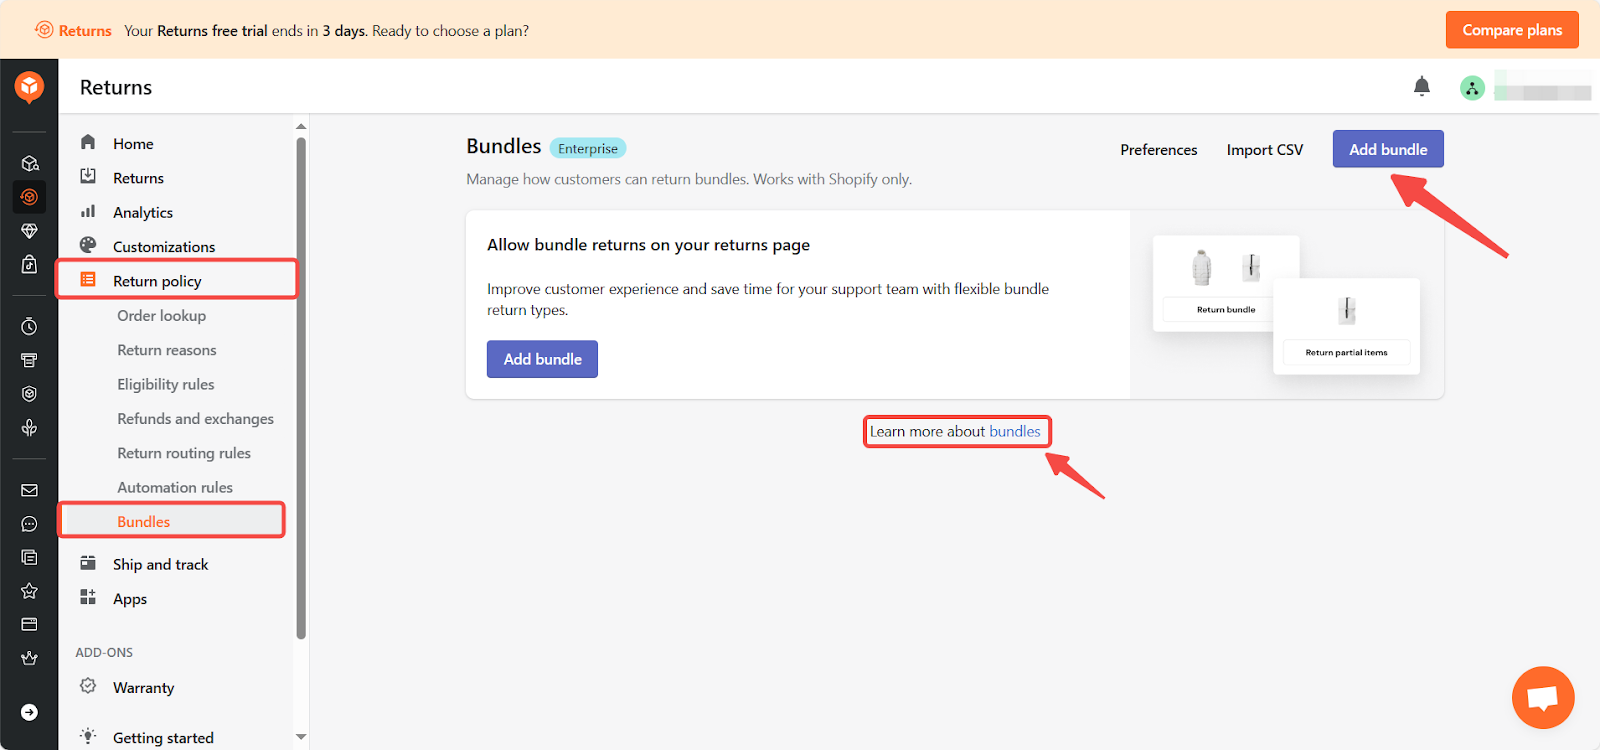
7. Bundles: To improve your customer experience and save time for your support team with flexible bundle return types, click Add bundle to create. For more details, click Learn more about bundles.
Ship and track
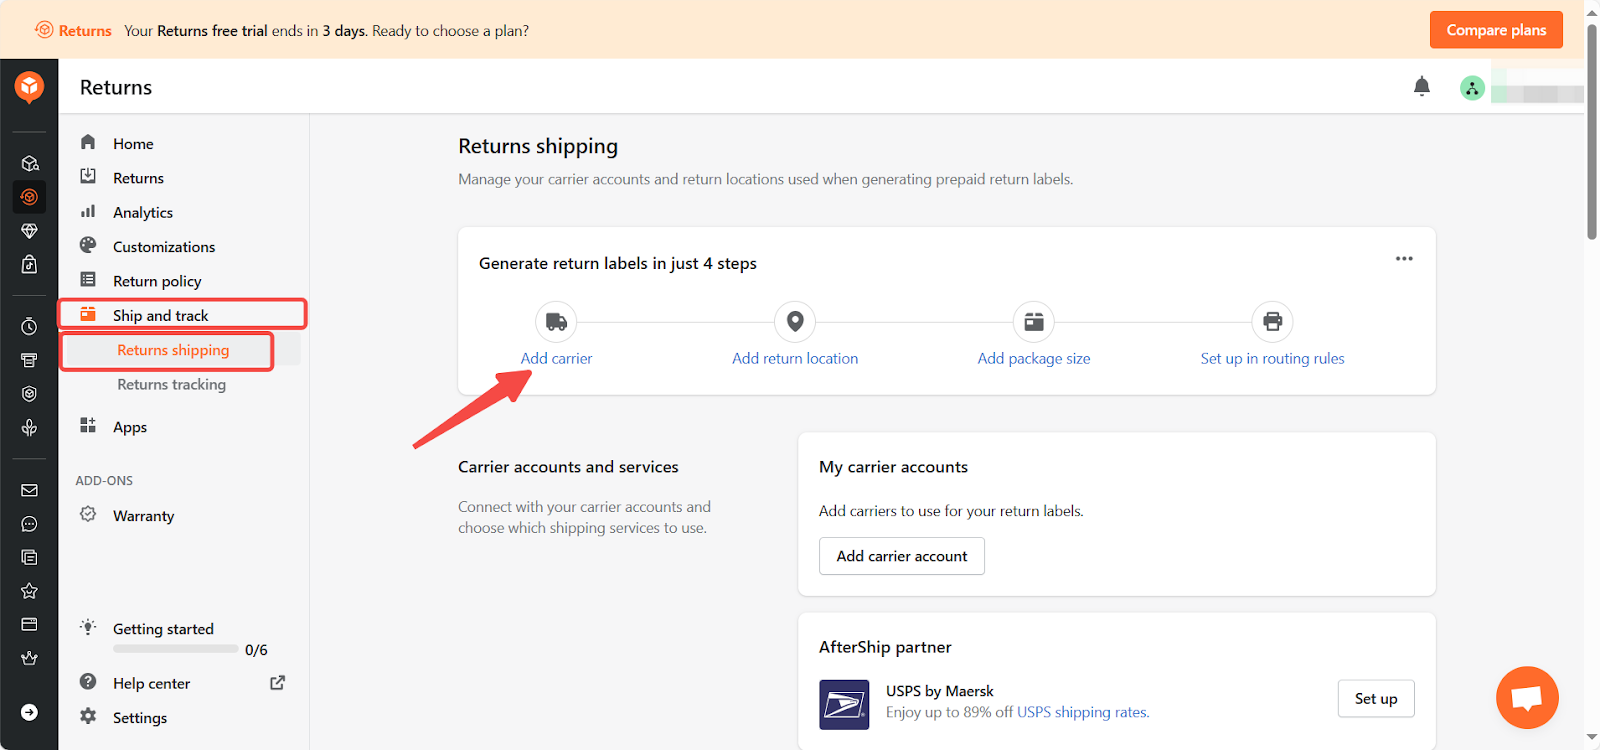
Streamline your return process by efficiently managing shipping and tracking. This section guides you through generating return labels, adding return locations, setting package sizes, and configuring return zones.
1. Manage returns shipping and tracking: Go to the Returns Center admin, click Ship and track to manage the returns shipping and tracking.
-
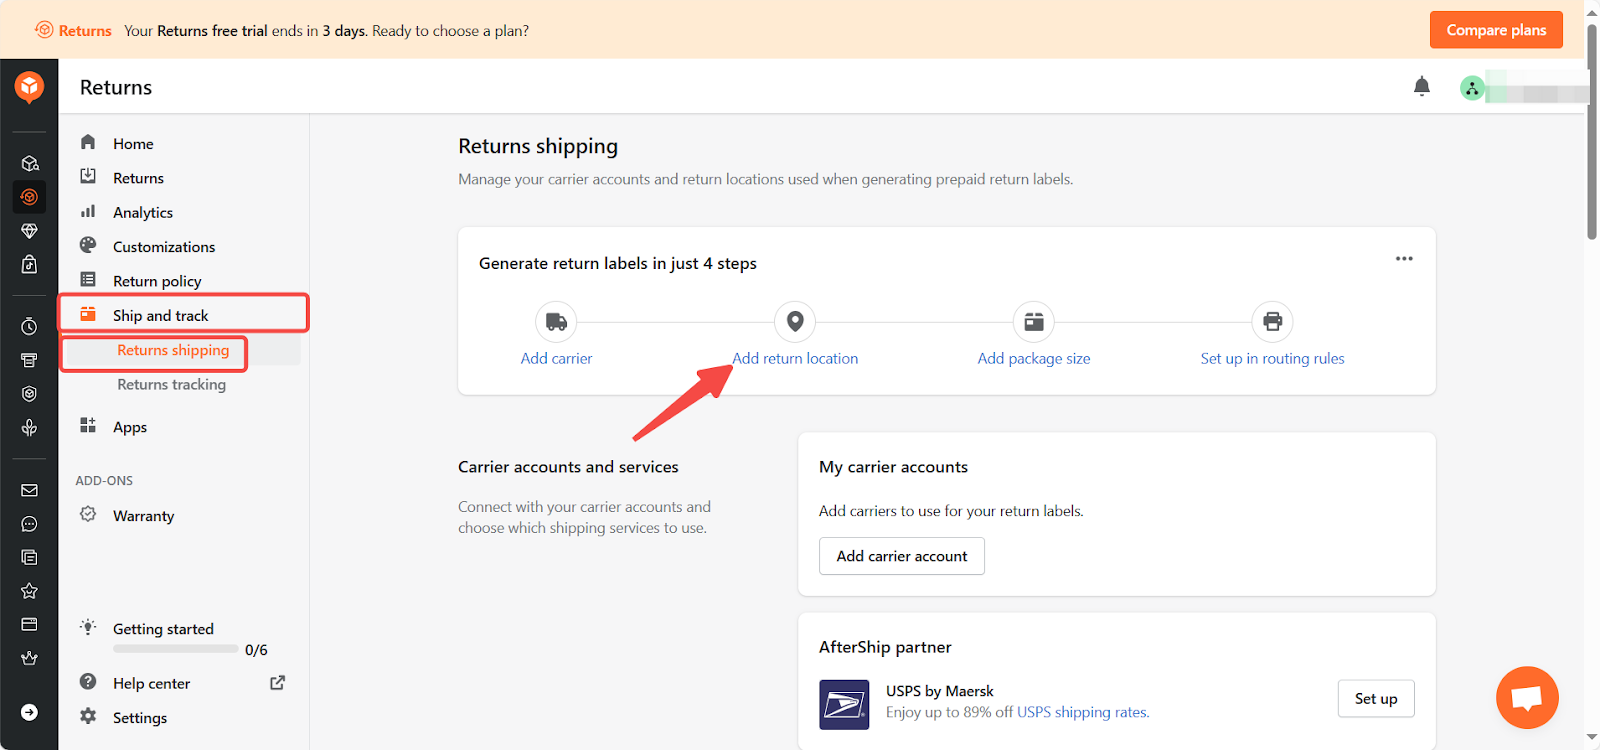
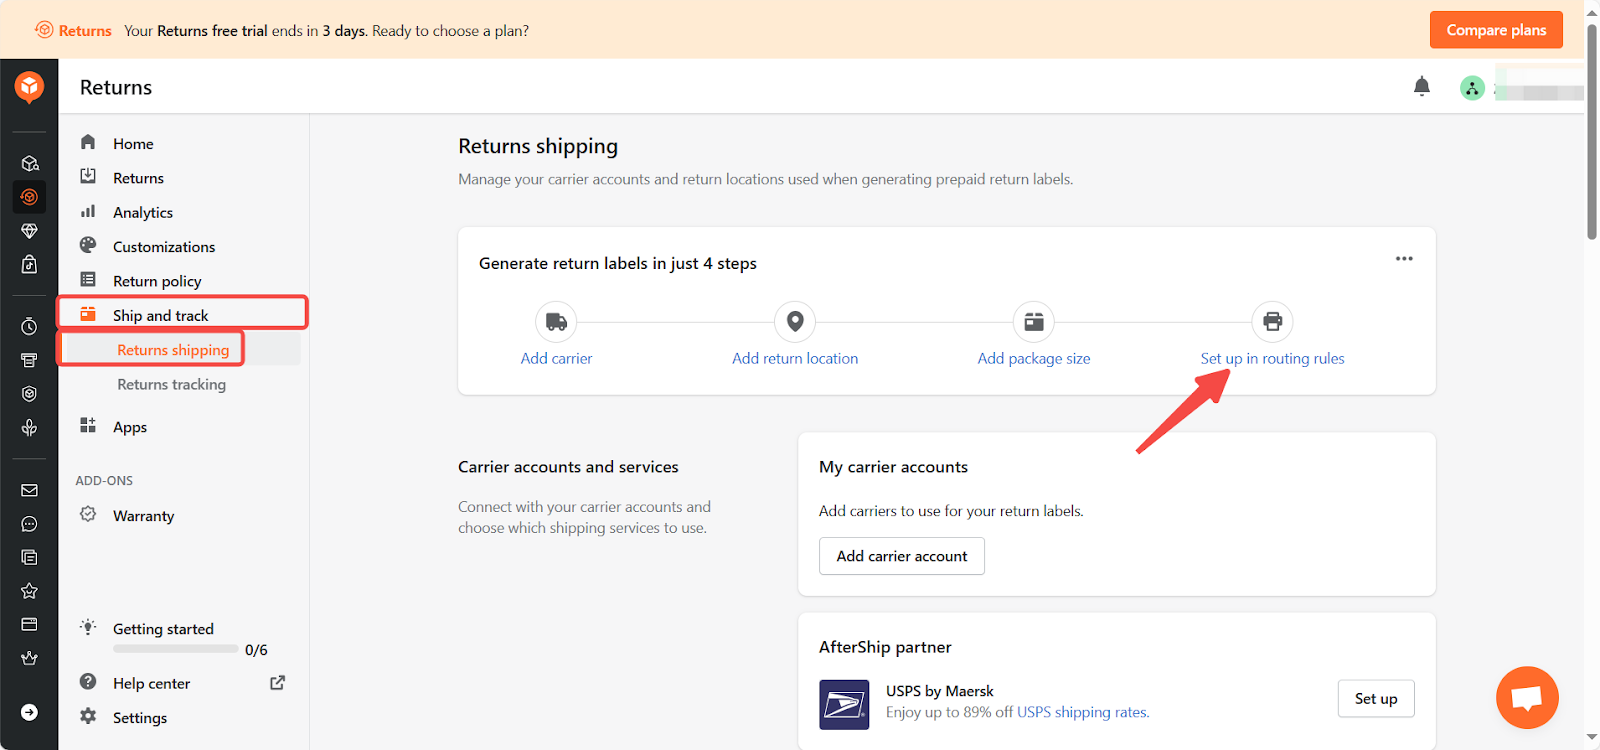
Generate return labels: In the Returns shipping section, follow these 4 steps to create labels for return orders.
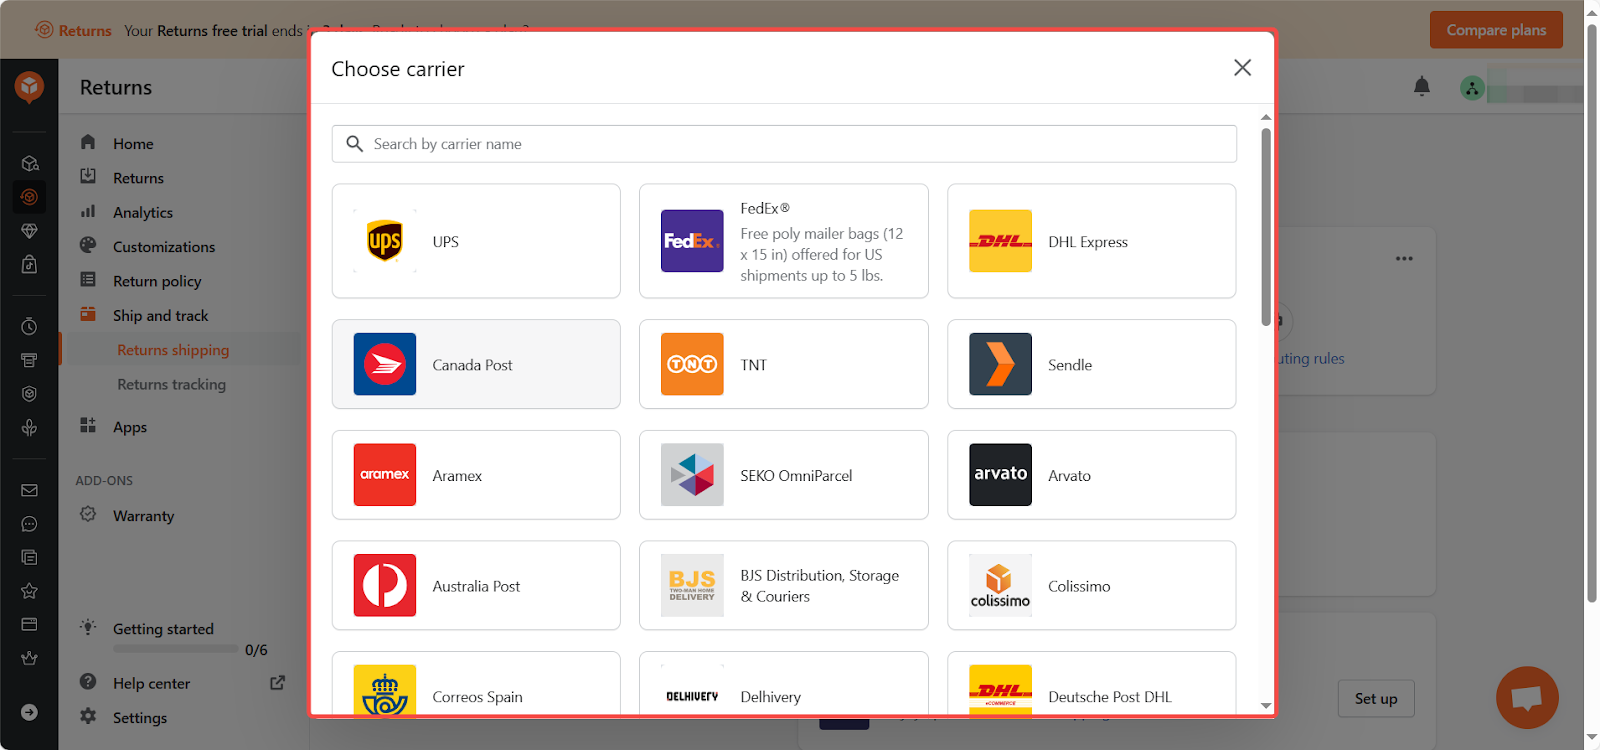
- Step 1 - Choose carrier: Click Add carrier and select one in the pop-up.
-
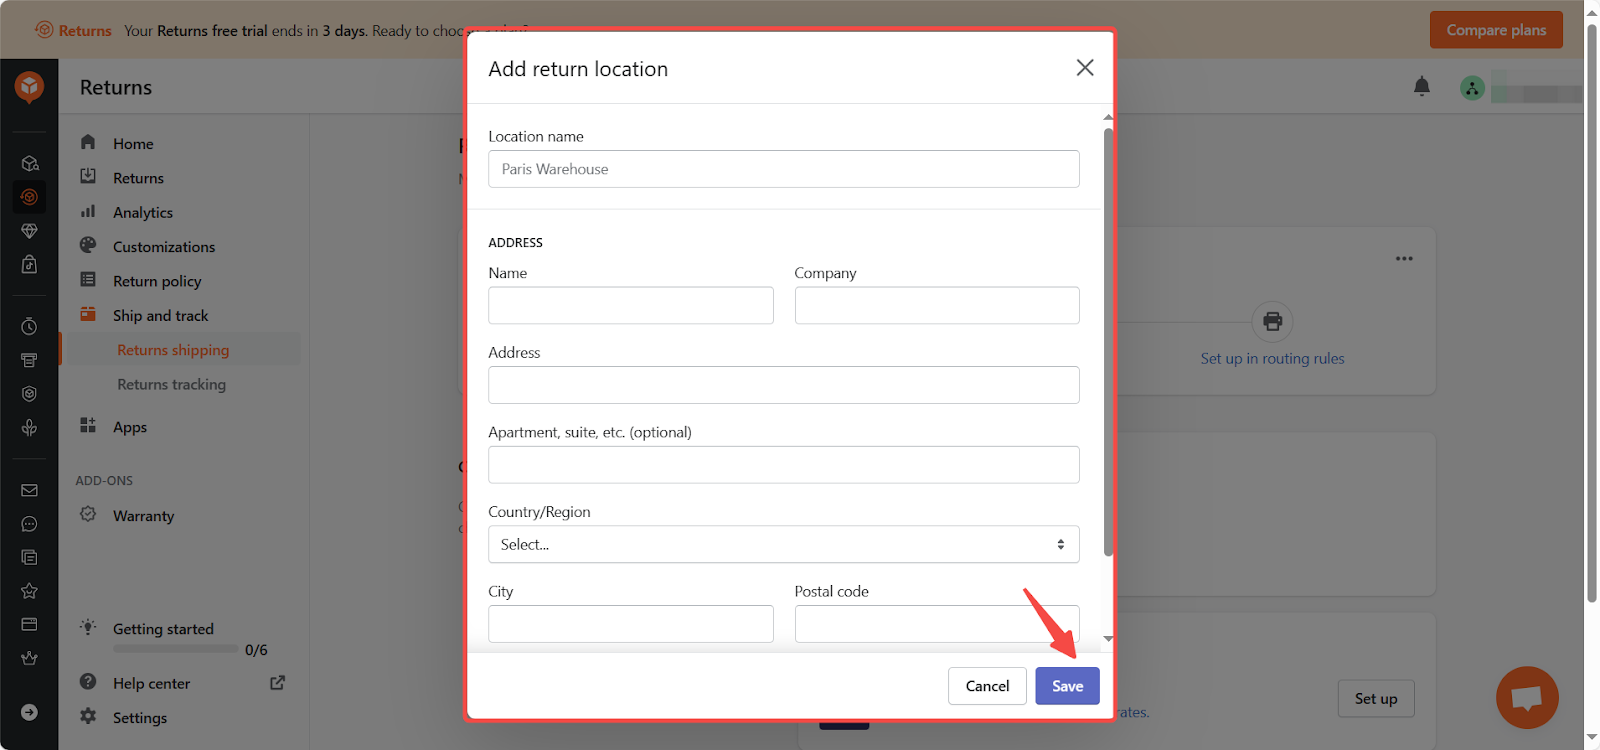
- Step 2 - Add return location: Click Add return location, fill in the required information in the pop-up, and click Save.
-
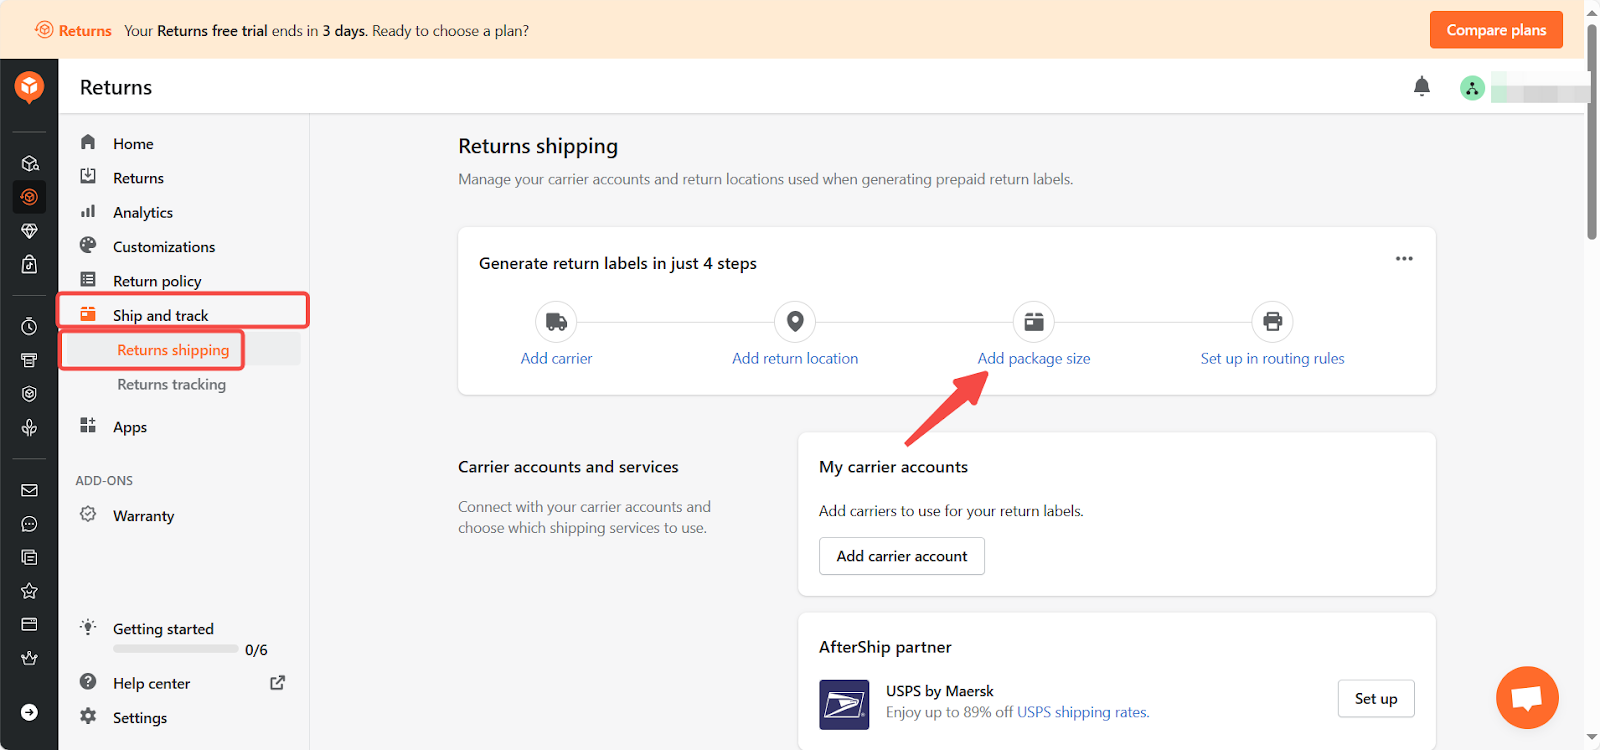
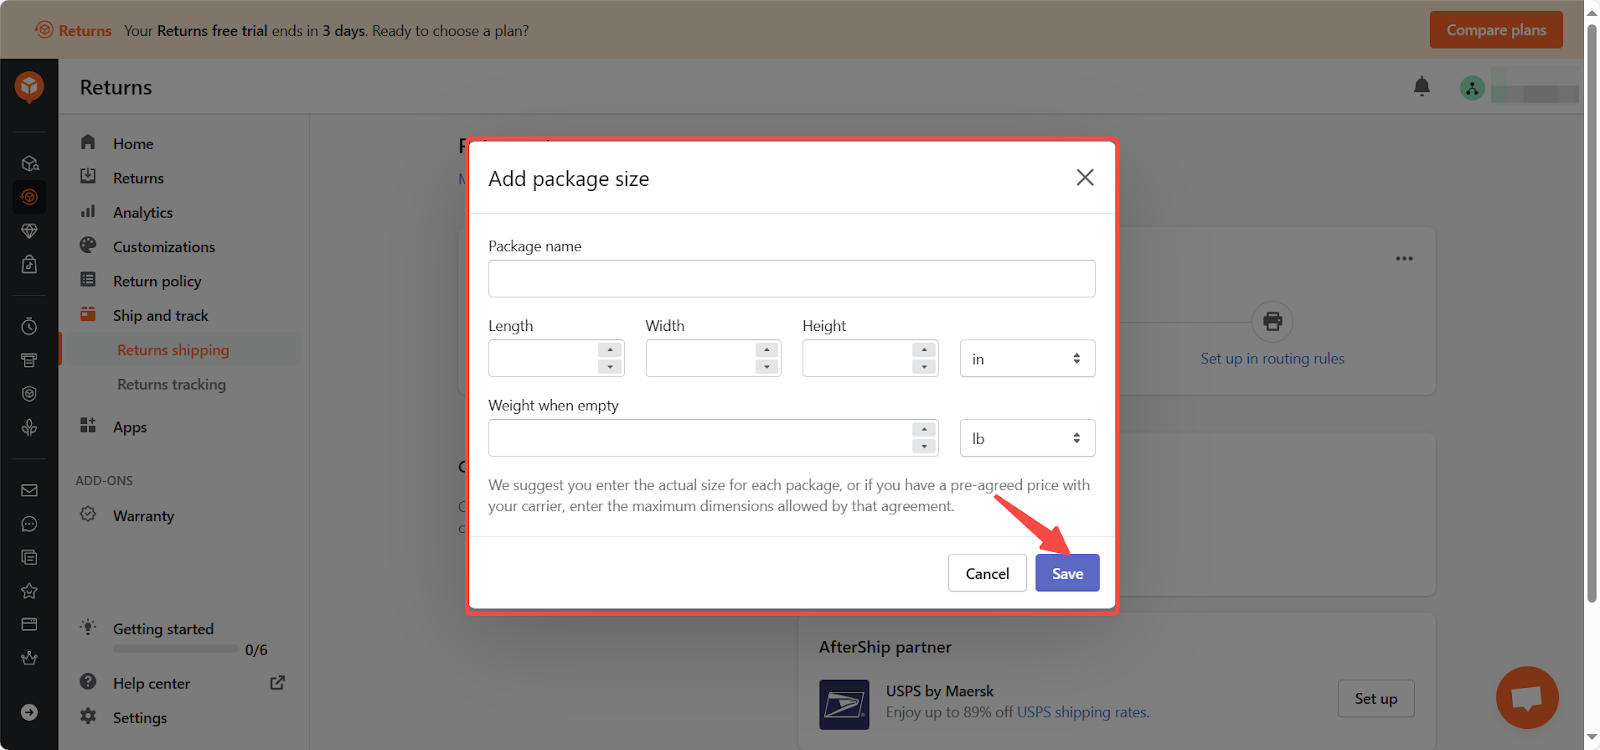
- Step 3 - Add package size: Click Add package size, fill in the package details in the pop-up, and click Save.
-
- Step 4 - Set up return zones: Click Set up in routing rules, and you’ll be redirected to the Return routing rules page. Here, set up zones.
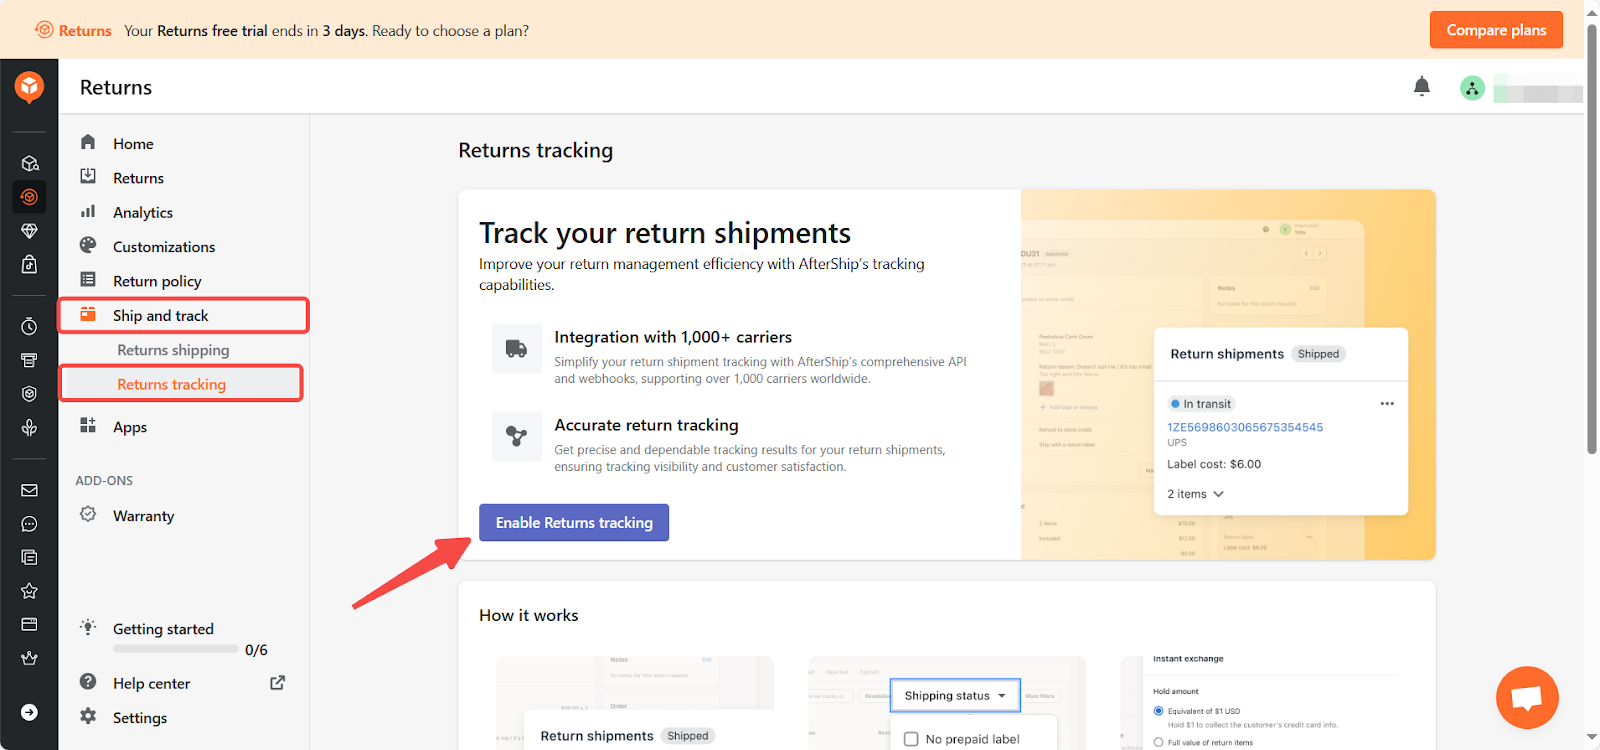
2. Returns tracking: In the Returns tracking section, click Enable Returns tracking to improve your return management efficiency. For more detailed settings click How it works.
Contacting Aftership Support
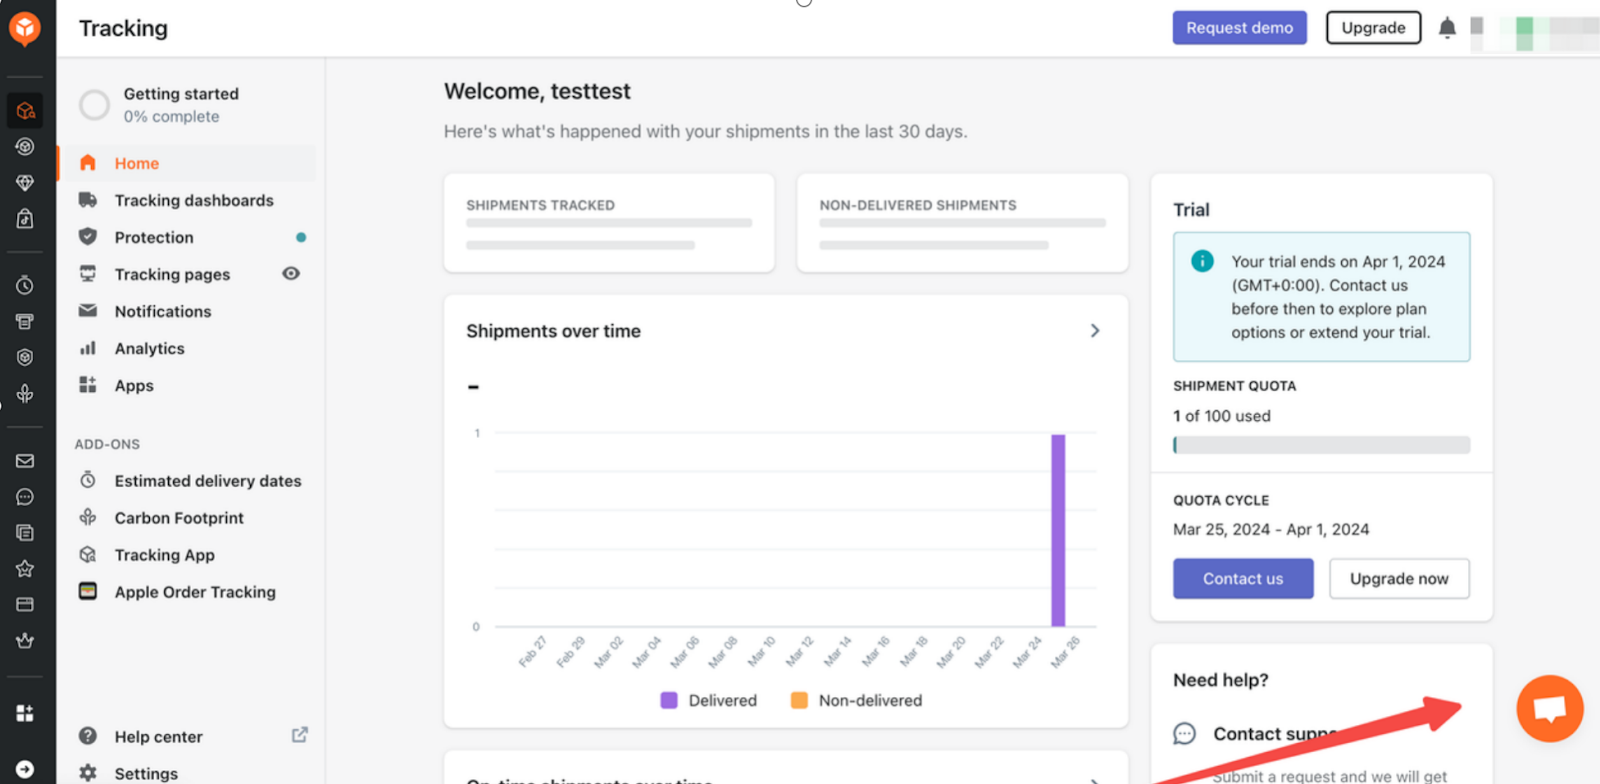
If you encounter any issues, visit the AfterShip Help Center for assistance. For immediate support, click on the live chat window in the lower right corner of any page to consult with AfterShip customer support.
This article has provided a comprehensive guide on installing and configuring the AfterShip Returns Center app, along with detailed insights into its main functional sections. By following these steps, you can streamline your return management process, enhance customer satisfaction, and foster greater store loyalty. Implementing these practices not only improves the post-purchase experience for your customers but also helps turn returns into opportunities for additional sales, contributing to the overall success of your business.


Comments
Please sign in to leave a comment.