
Expanding your online store's reach is a significant step in today's digital marketplace. The Microsoft app for Shoplazza offers a seamless integration that allows you to synchronize your product catalog with the Microsoft Merchant Center, leverage free Product Listings, create targeted shopping campaigns, and track their performance. This guide provides a straightforward approach to installing the Microsoft app, setting up advertising, managing campaigns, and reviewing product performance, all designed to enhance your eCommerce experience and growth.
Installing the Microsoft App
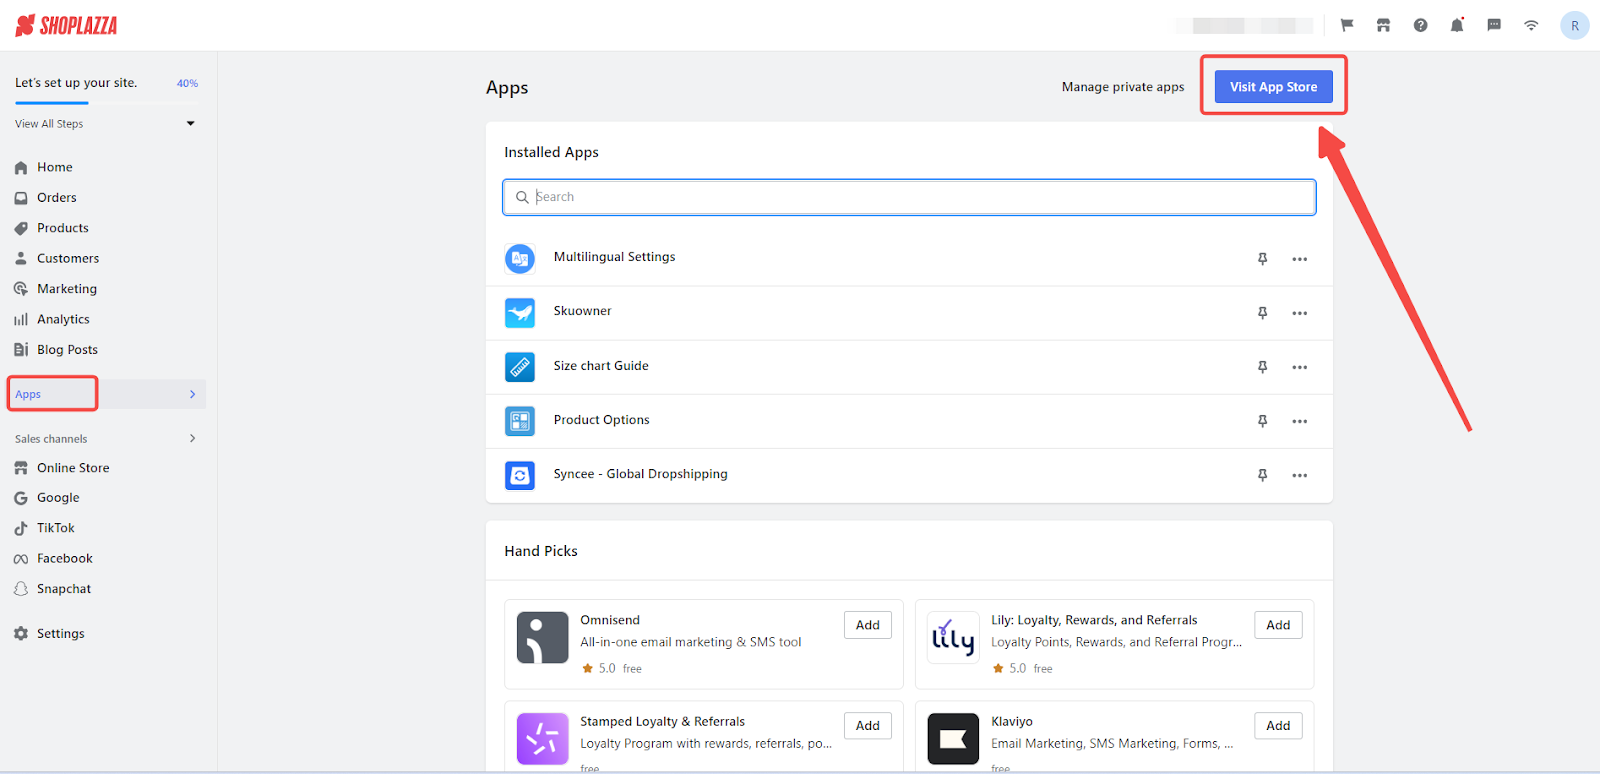
1. From your Shoplazza Admin > Apps, click Visit App Store.
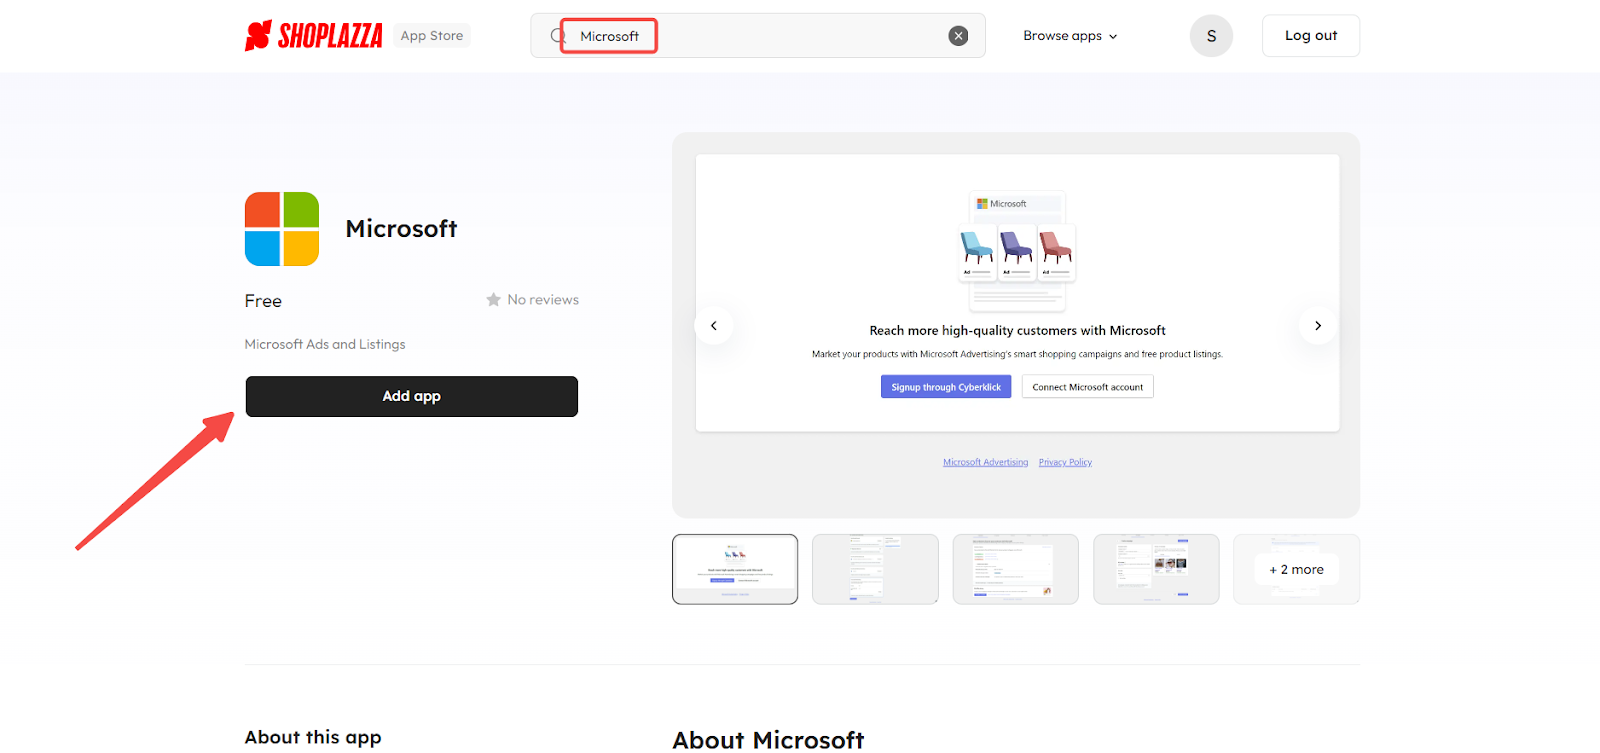
2. Search for Microsoft in the search box and click Add app to add it to your store.
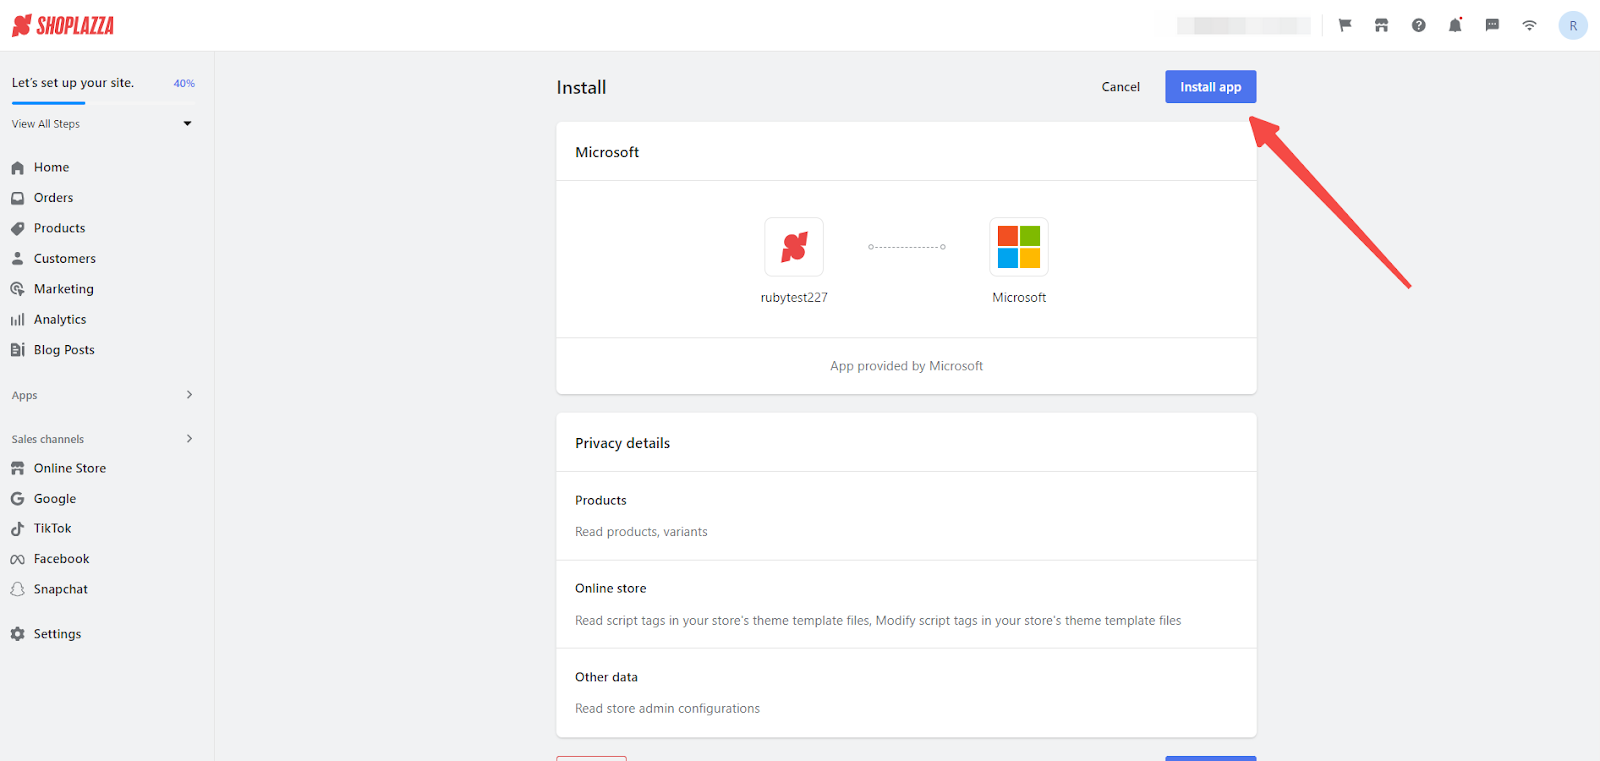
3. Click Install app to complete the app installation.
Microsoft advertising setup
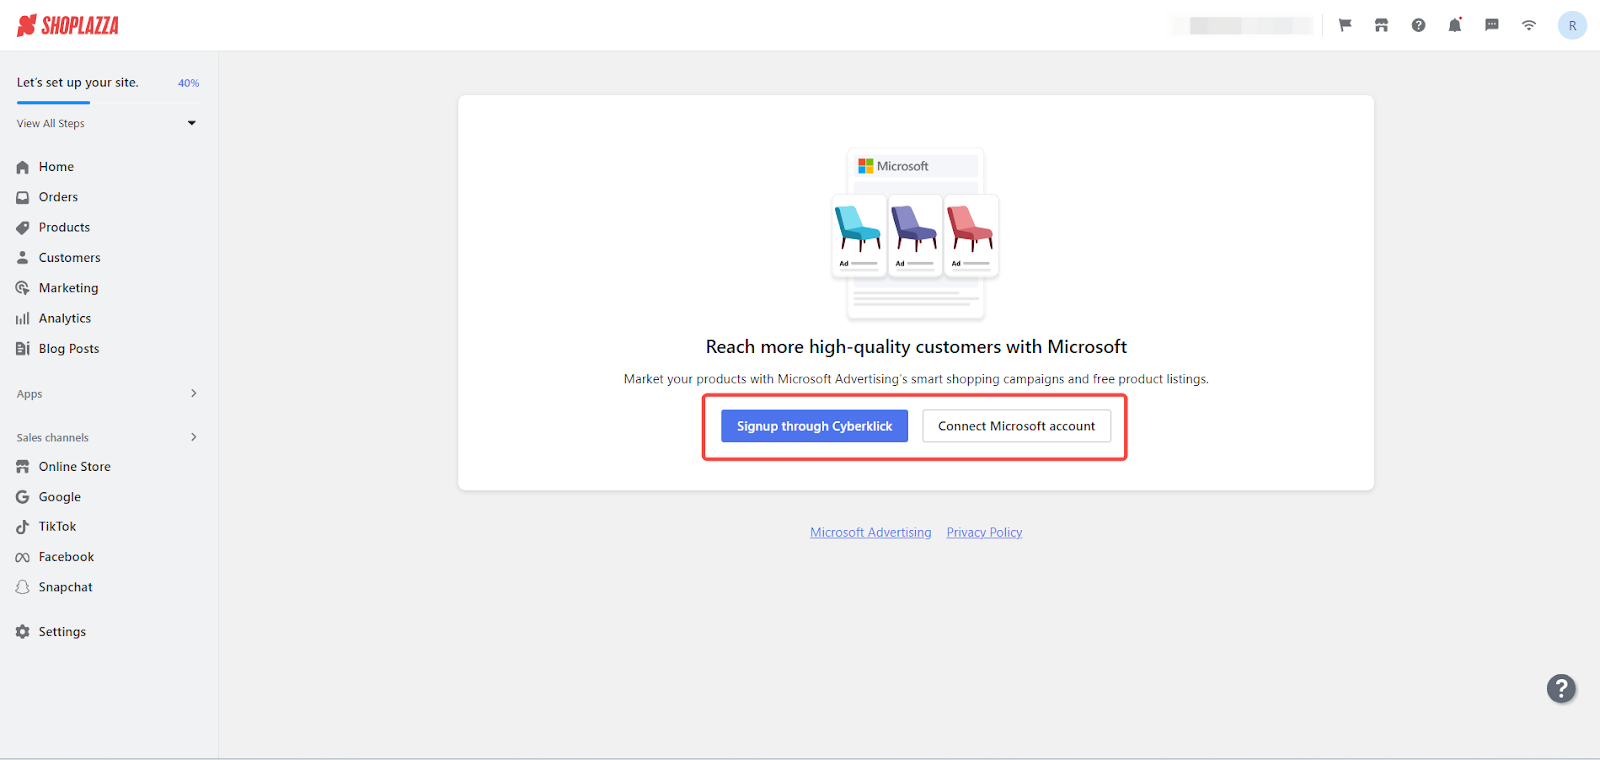
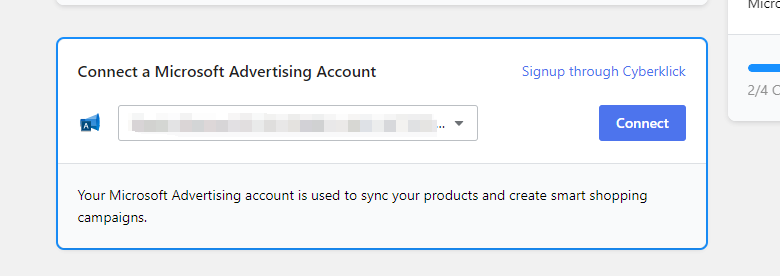
1. Account Login or Creation: Log in with your existing Microsoft account by clicking Connect Microsoft account. If you don’t have an account, click Signup through Cyberklick to create one.
2. Checklist review: Ensure your settings align with the checklist provided.

3. Connecting your advertising account: Select your Microsoft advertising accounts to connect or click Signup through Cyberklick to create a new one.
4. Connecting to a Microsoft Merchant Center Store:
- For new users: If you don't have a Microsoft Merchant Center store or if none of your existing store's destination URLs match your Shoplazza store's domain, select Create new. Fill in the required information and then click Create .
- For existing multiple store owners: If you have more than one Microsoft Center store, select one you would like and click Connect .


5. Completing the advertising setup: Click Complete setup to finalize.

Overview Page Insights
- Product status : View detailed information about your products, including their current status as released, pending review, or failed.
- Products sync details: Stay informed with real-time updates. When you update inventory and prices, the information is refreshed within a few minutes, ensuring you always have the latest data at your fingertips.

Campaign creation and management
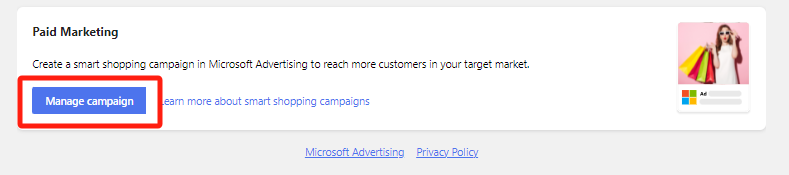
1. Starting a new campaign: To begin a new campaign, first click Manage Campaign . Then, switch to the Campaign tab and click on Create your first campaign.

2. Enter Campaign Details: Fill in the information like your Campaign name , Campaign Budget, Bid strategy along with the duration.

Reviewing Campaign Performance
Performance Metrics: Analyze the effectiveness of your campaigns by examining metrics such as clicks, impressions, costs, conversions, and conversion values within a timeframe.

Modifying Campaigns
Campaign Adjustments: Go to the Manage campaign section , then click More options to update and refine any of your existing campaigns.

Product Review and Management
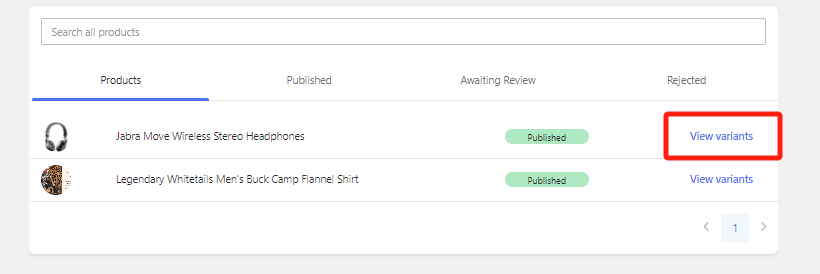
1. Status overview: Stay informed about the status of each product, whether it's published, awaiting review, or has been rejected.

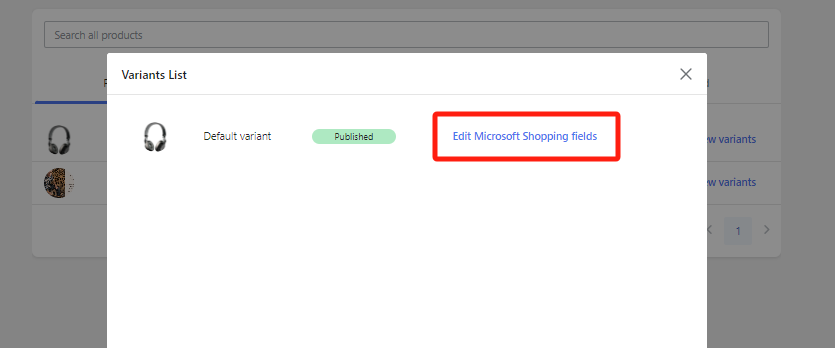
2. Variant management: Inspect and edit the specifics of product variants as needed.
3. Categorization updates: Modify product categorization to align with the Microsoft Merchant Center's requirements.

Settings Management
Settings Review and Modification: Make adjustments to your settings for improved performance and efficiency. Click Disconnect to remove your existing Microsoft account. Click Manage to update your product feed settings.

Help Center
Getting Assistance: For additional support or to troubleshoot common issues, utilize the help services provided.

Integrating Microsoft with Shoplazza is a key step in advancing your eCommerce strategy. This guide helps ensure a smooth setup, enabling effective use of Microsoft's tools to improve your online visibility and sales.


Comments
Please sign in to leave a comment.