
Updating your theme language controls the storefront content your customers see, such as button labels, menus, and messages. This does not affect your Shoplazza admin interface or system settings.
Changing the theme language
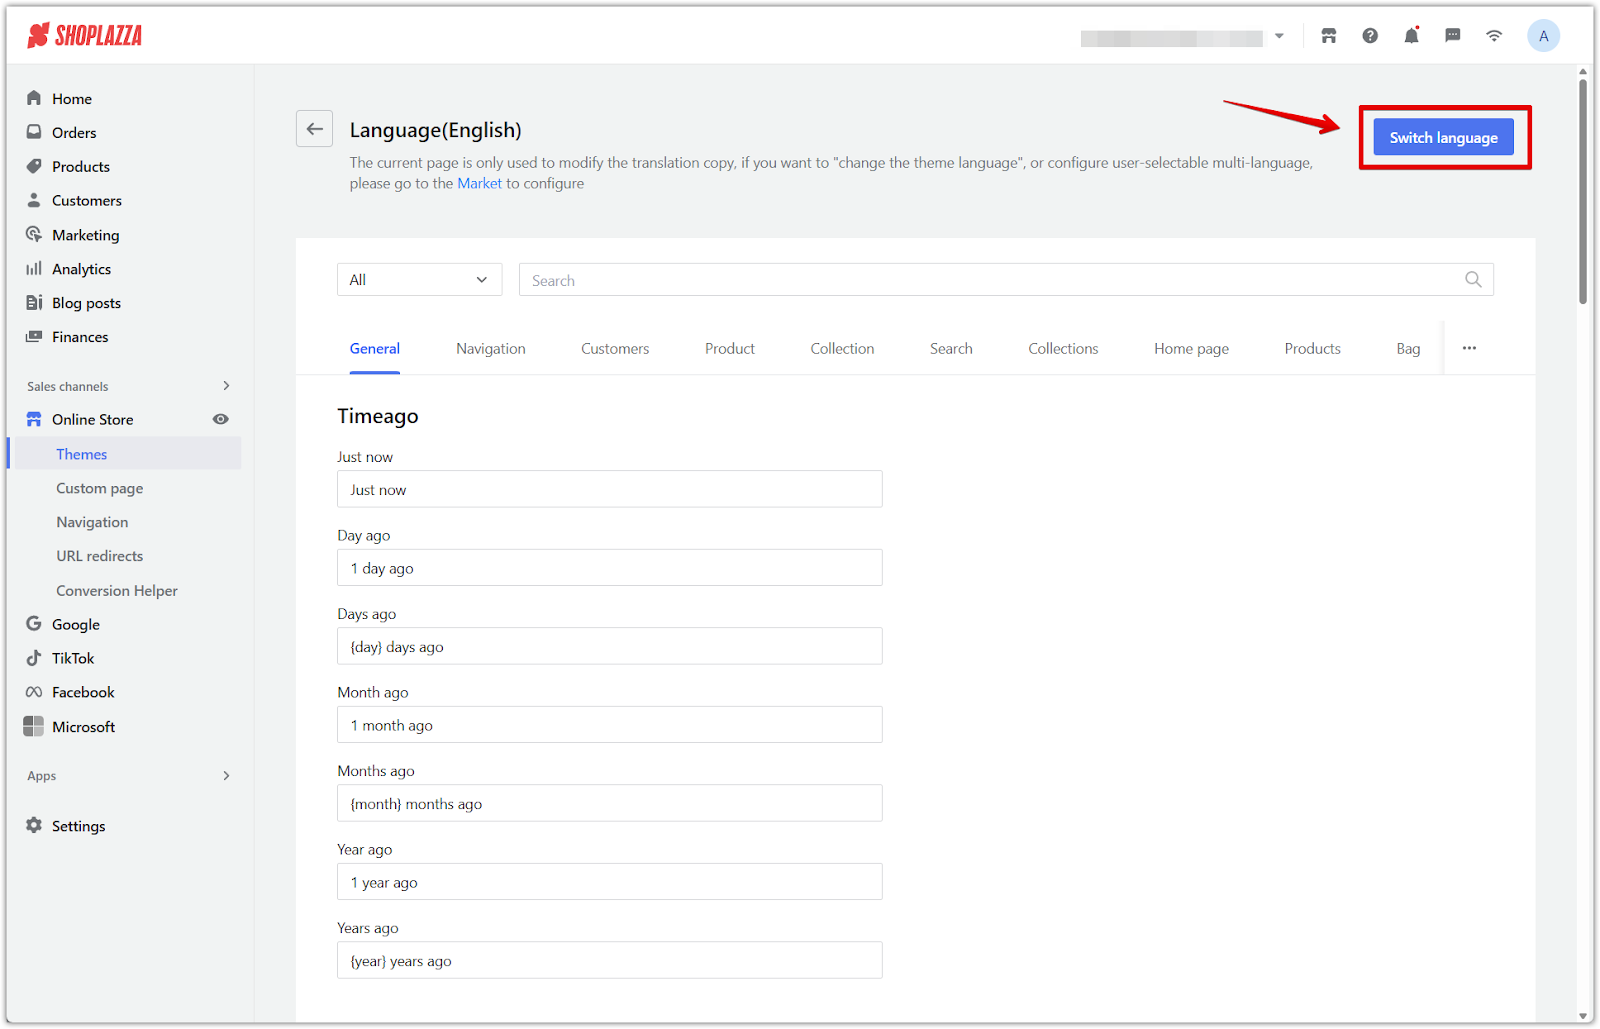
1. Go to the language editor: Navigate to your Shoplazza admin > Online Store > Themes, click the more options icon next to your theme, and select Edit languages.

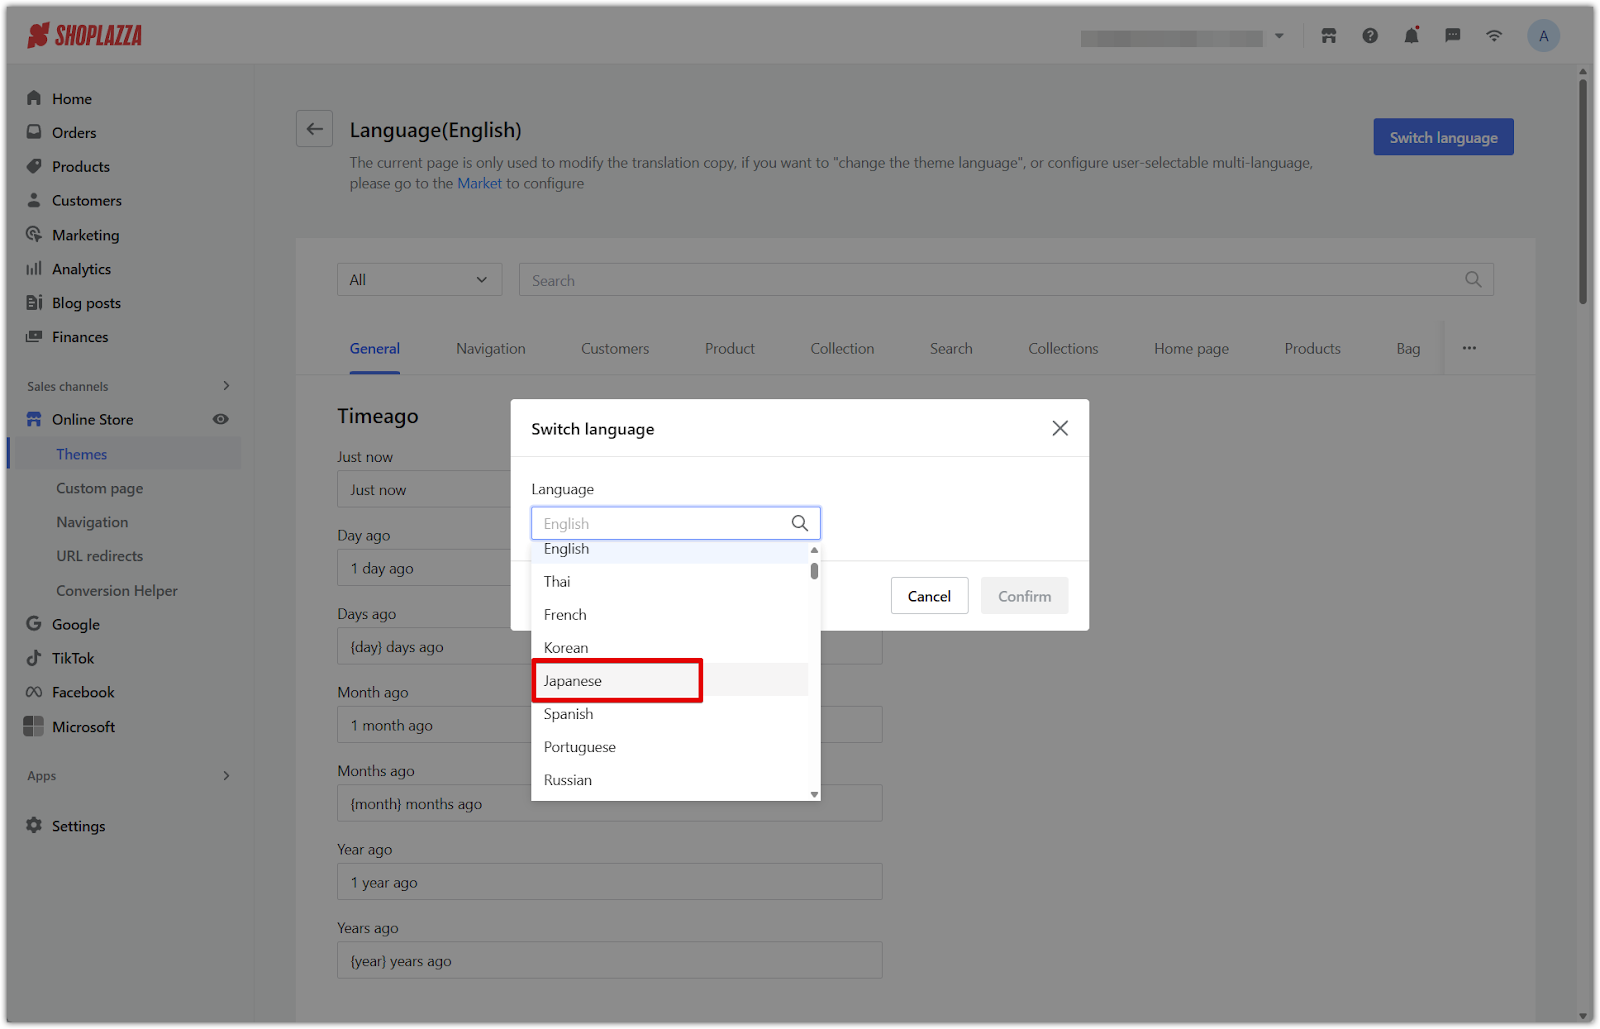
2. Switch to a new language: Click Switch language in the top-right corner, choose your preferred language, then click Confirm.
When to change the theme language
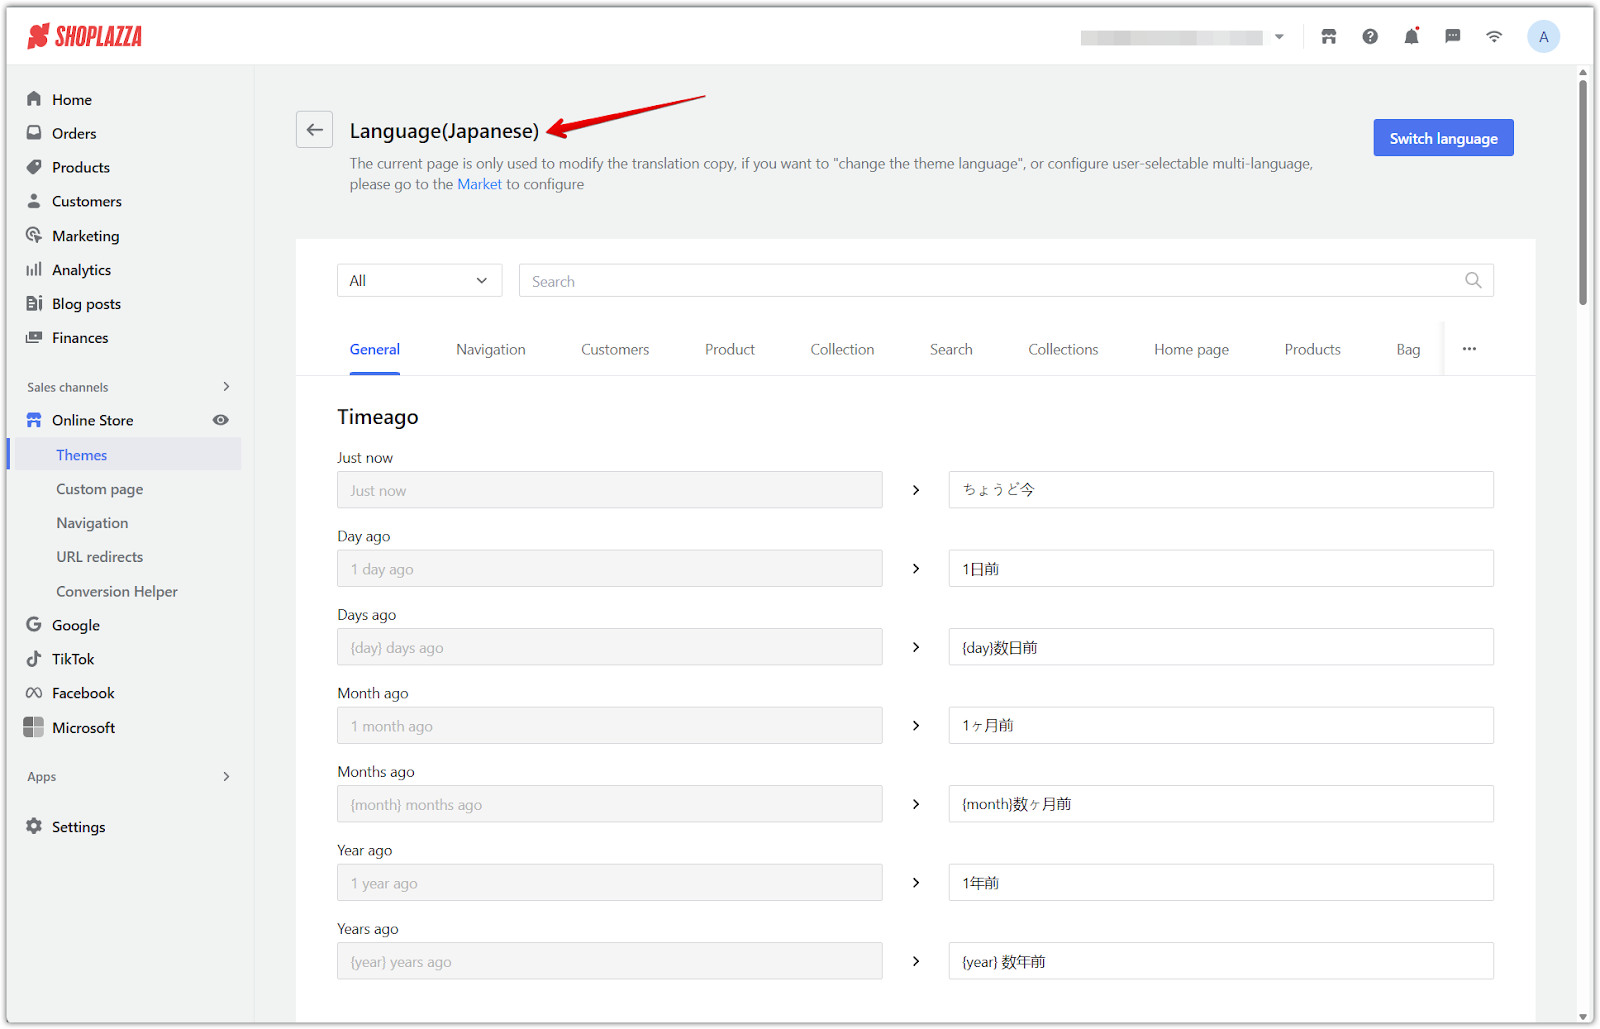
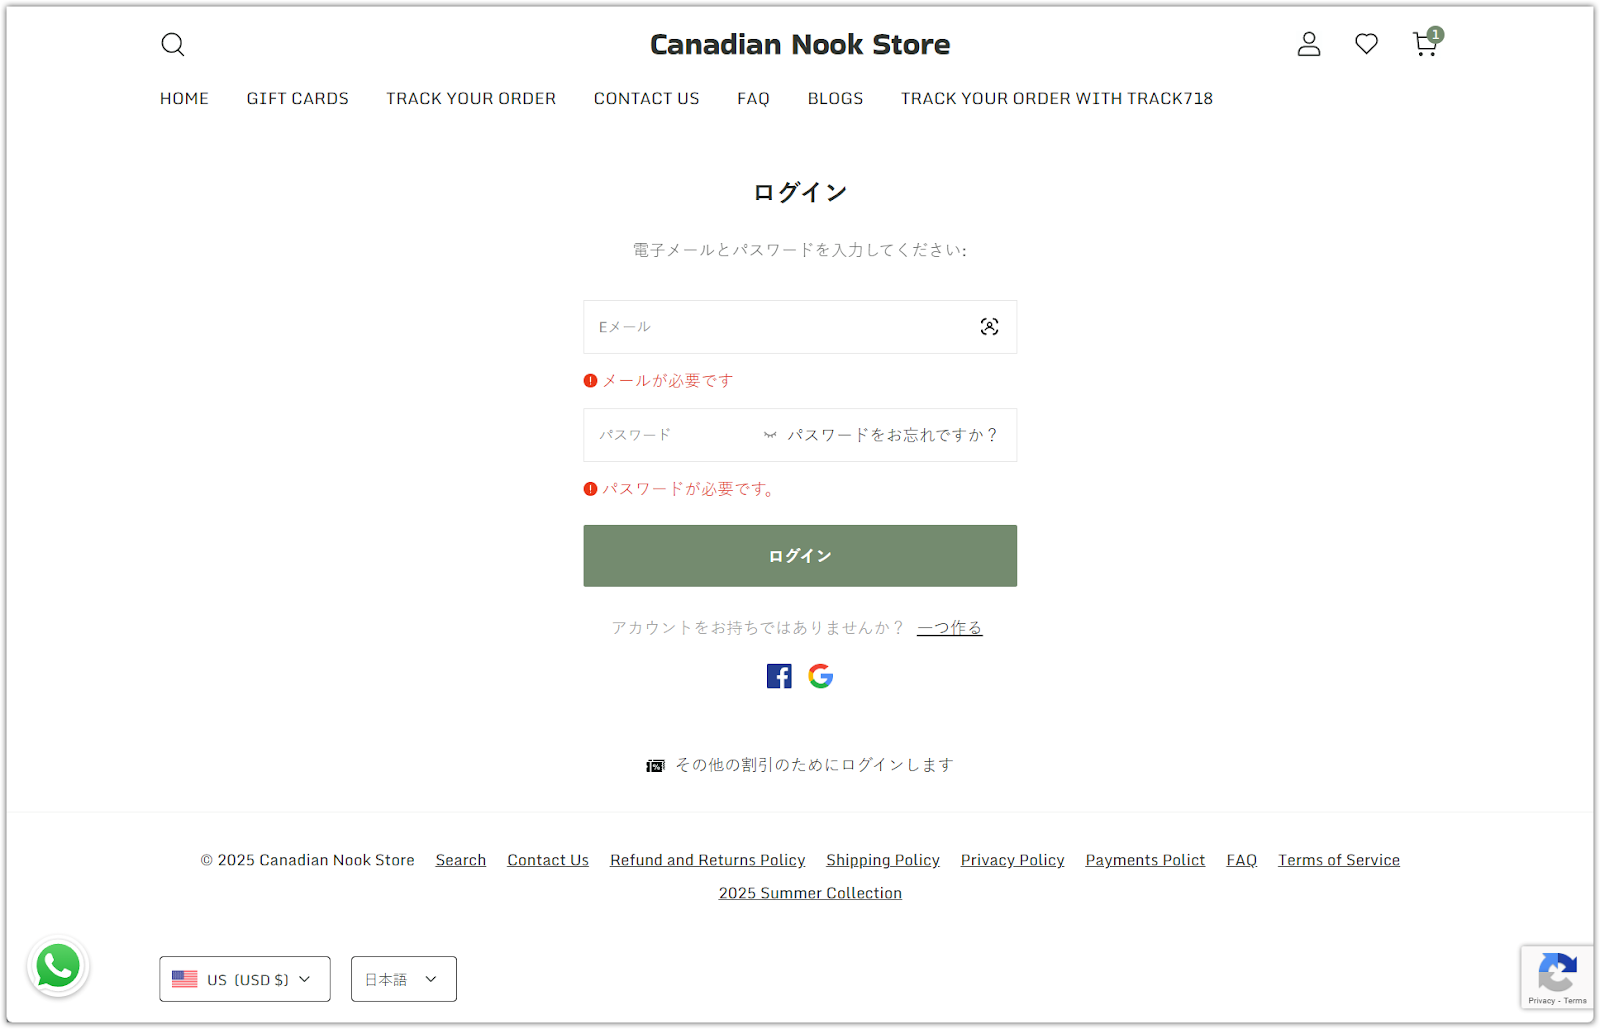
Your theme language controls the storefront text that customers see when visiting your store. Only change the theme language if your primary market uses a language other than English. For example, if your store is based in Japan and your customers primarily speak Japanese, switch the theme language to Japanese.
Note
The language editor displays terms based on your primary market’s default language. If it differs from your theme language, you may see untranslated or mismatched content.
To avoid confusion when editing theme content, ensure your theme language and the primary market’s default language match.
Adding a language to your primary market
Your storefront will not reflect the theme language update until you add the same language to your primary market. This ensures that the theme language and the default language for your main audience are aligned. Once this is done, your storefront will use the new theme language by default.
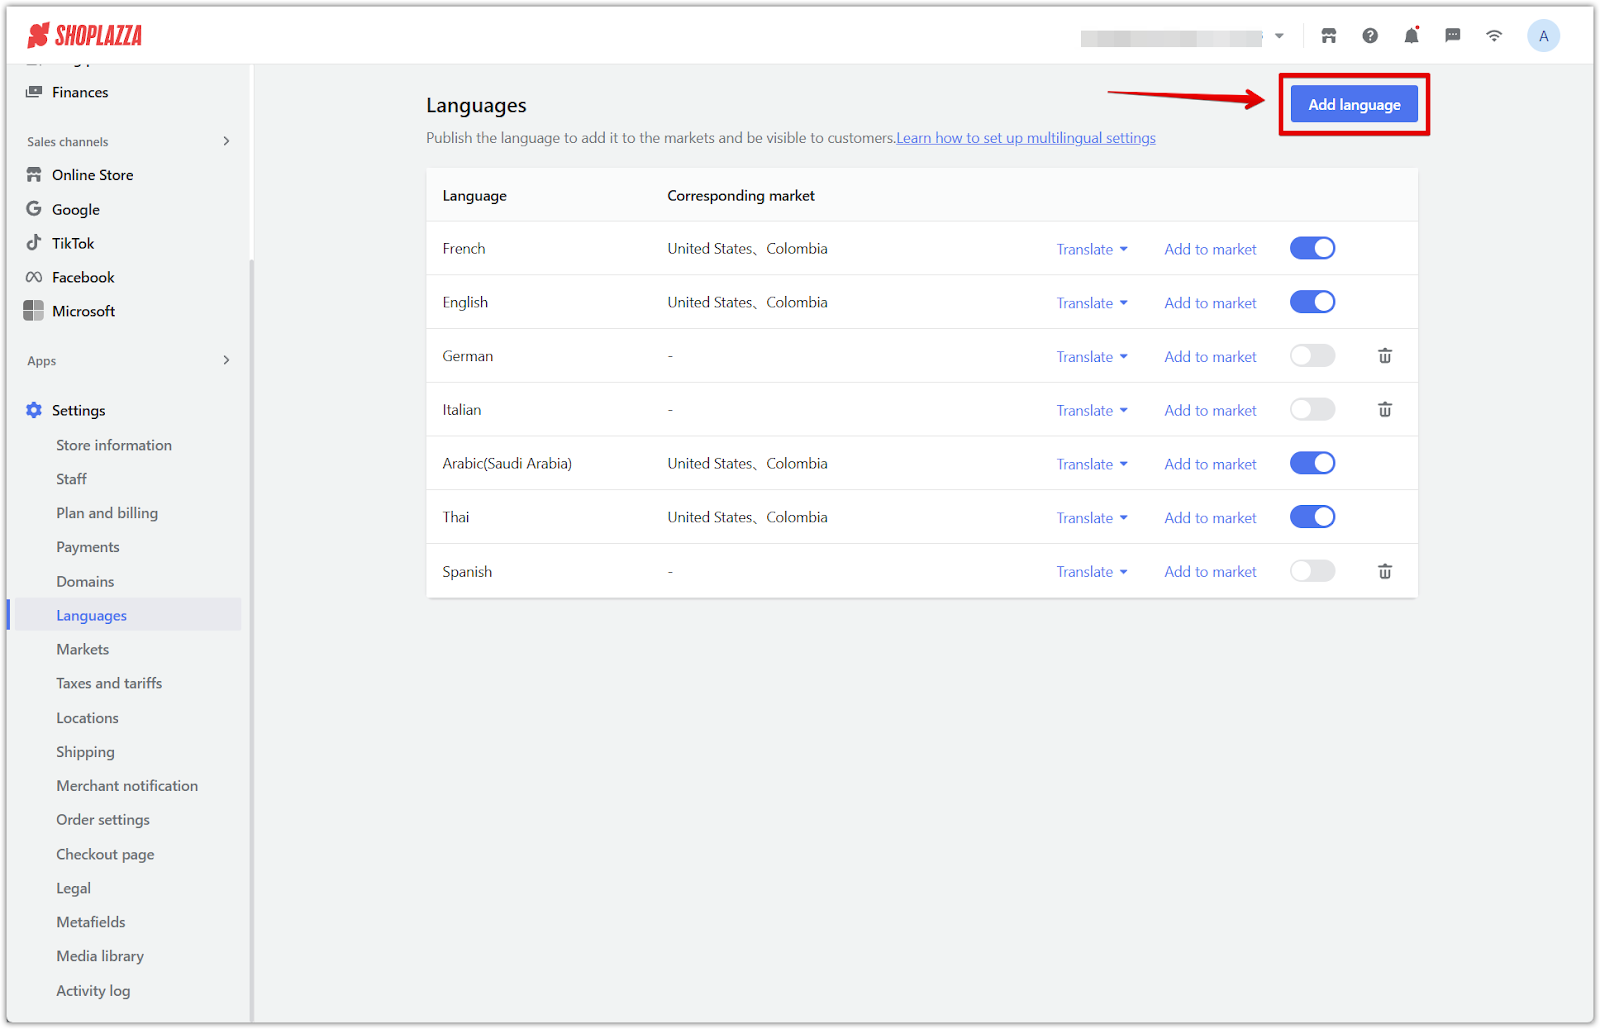
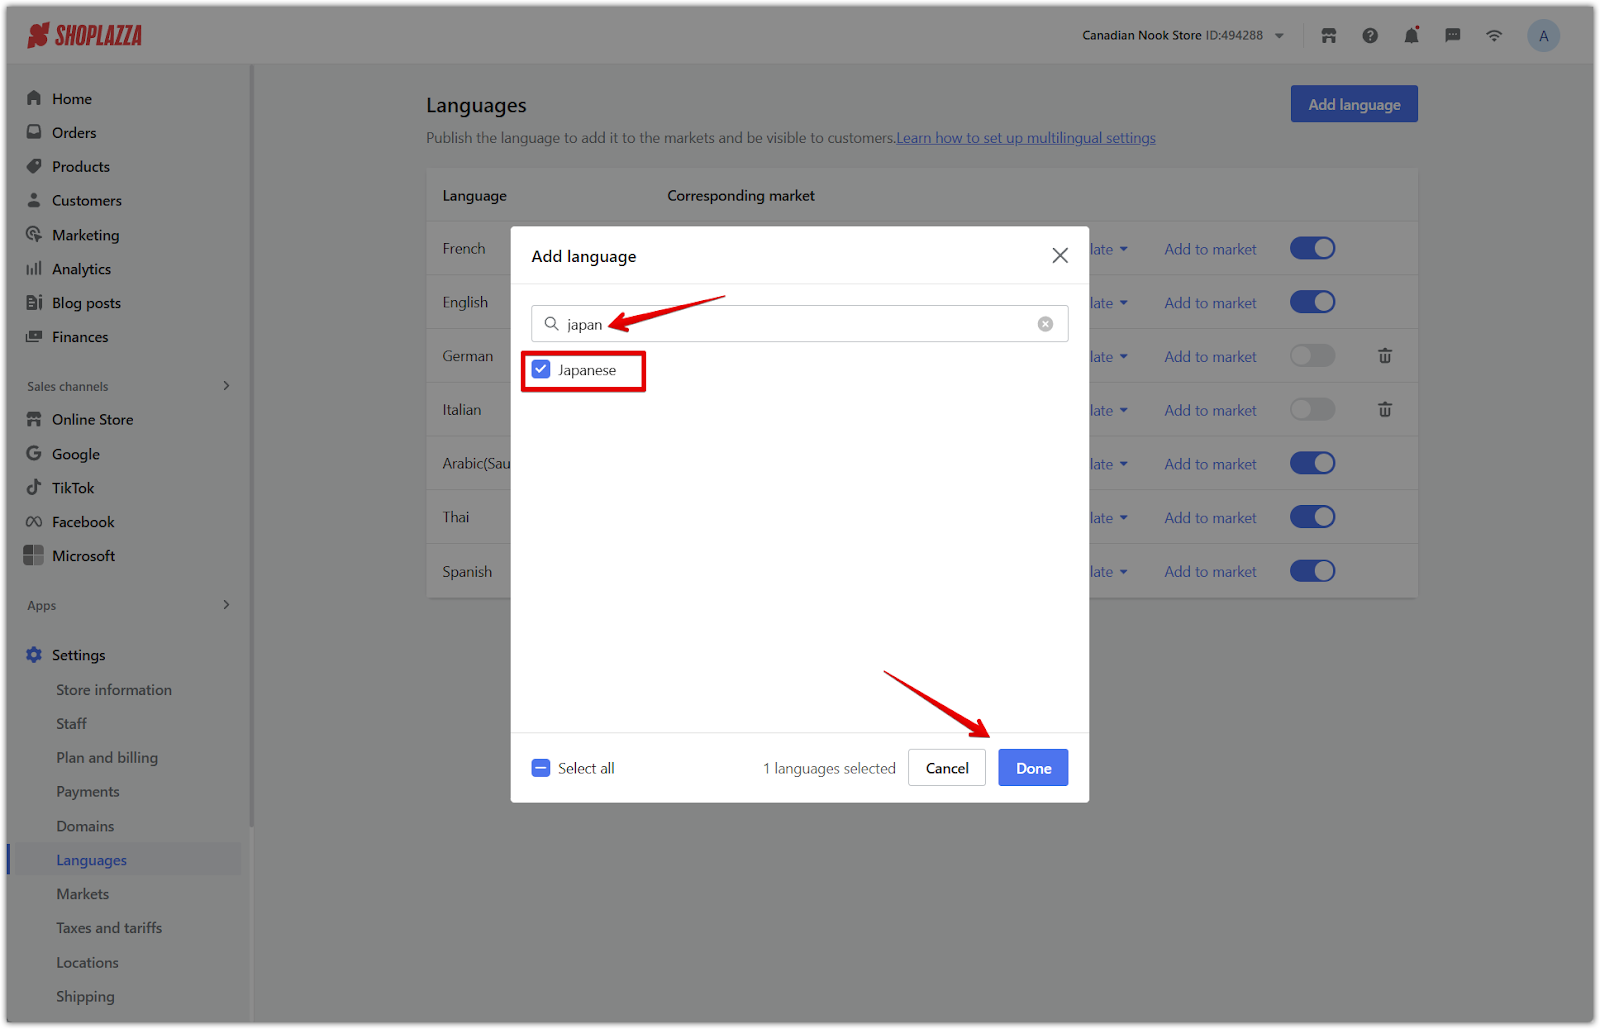
1. Go to your Shoplazza admin > Settings > Languages: Click Add language, choose the same language you selected in your theme, then click Done.
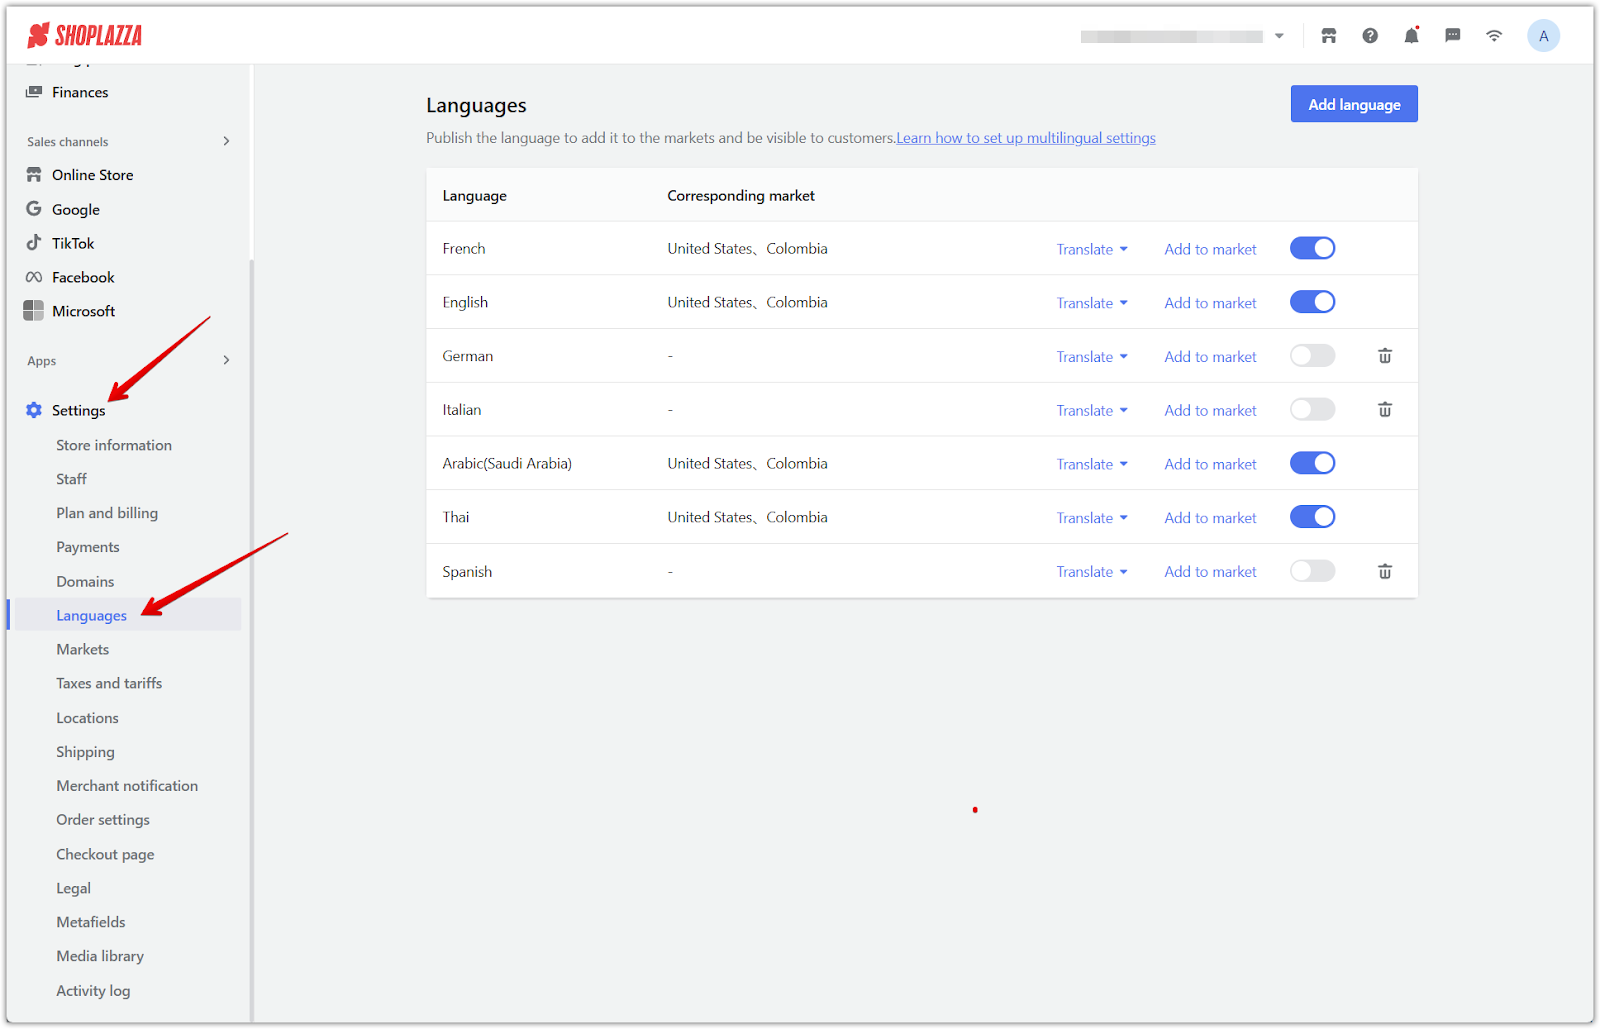
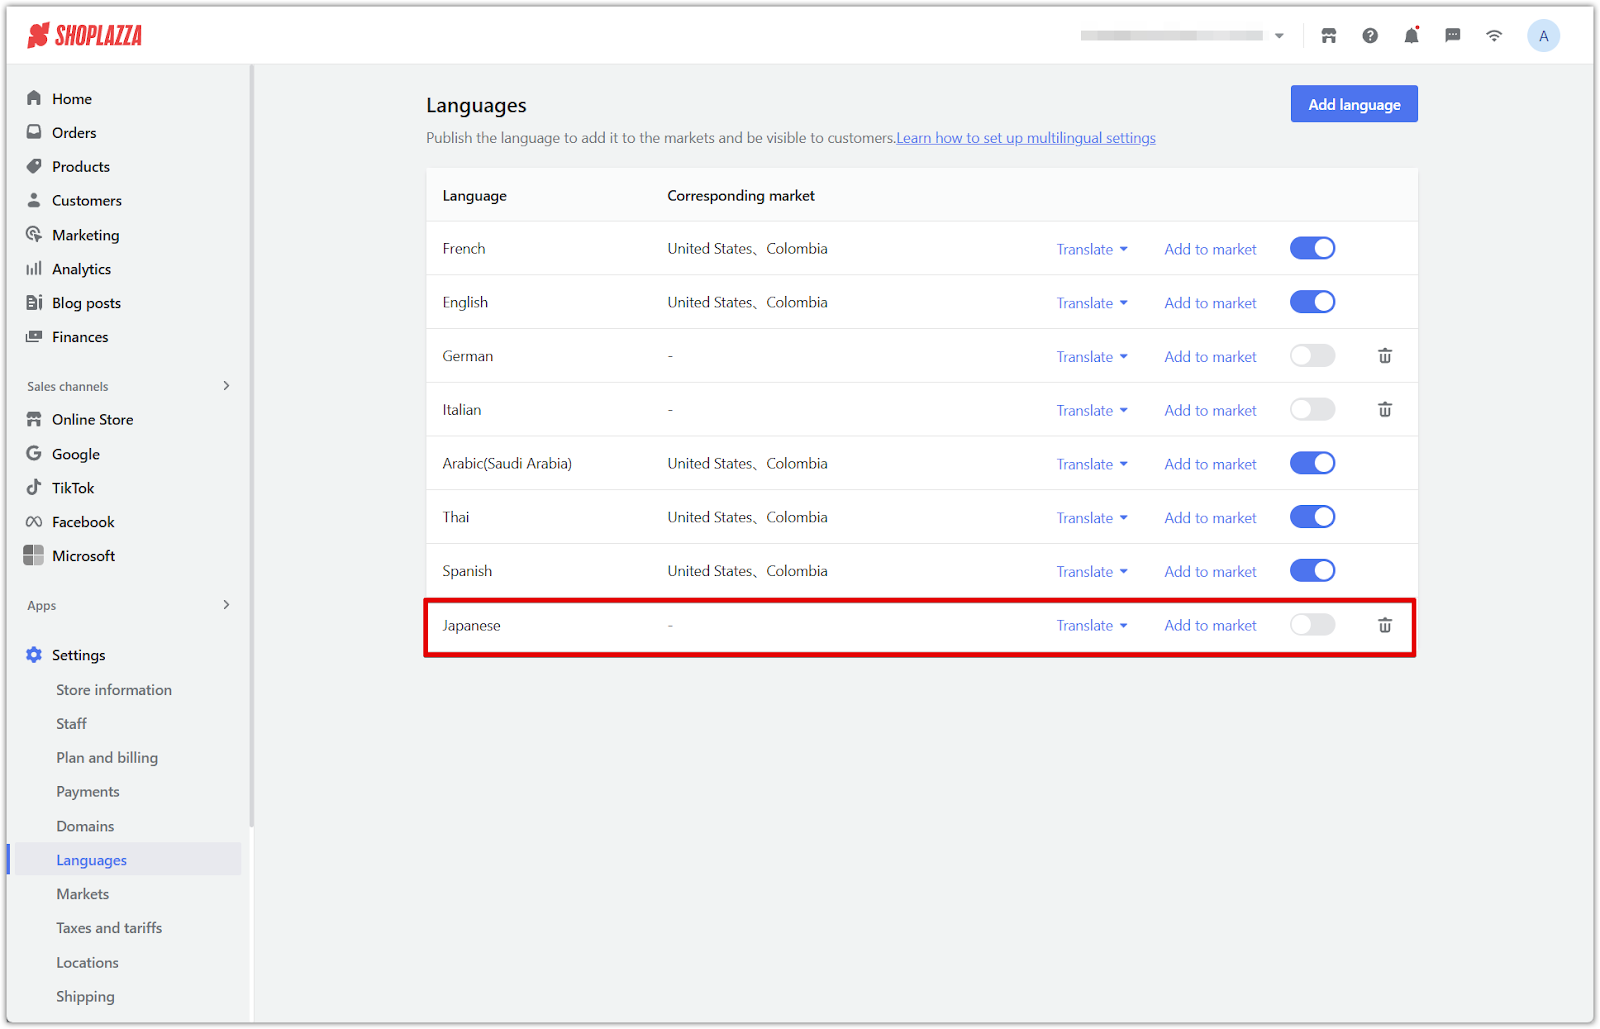
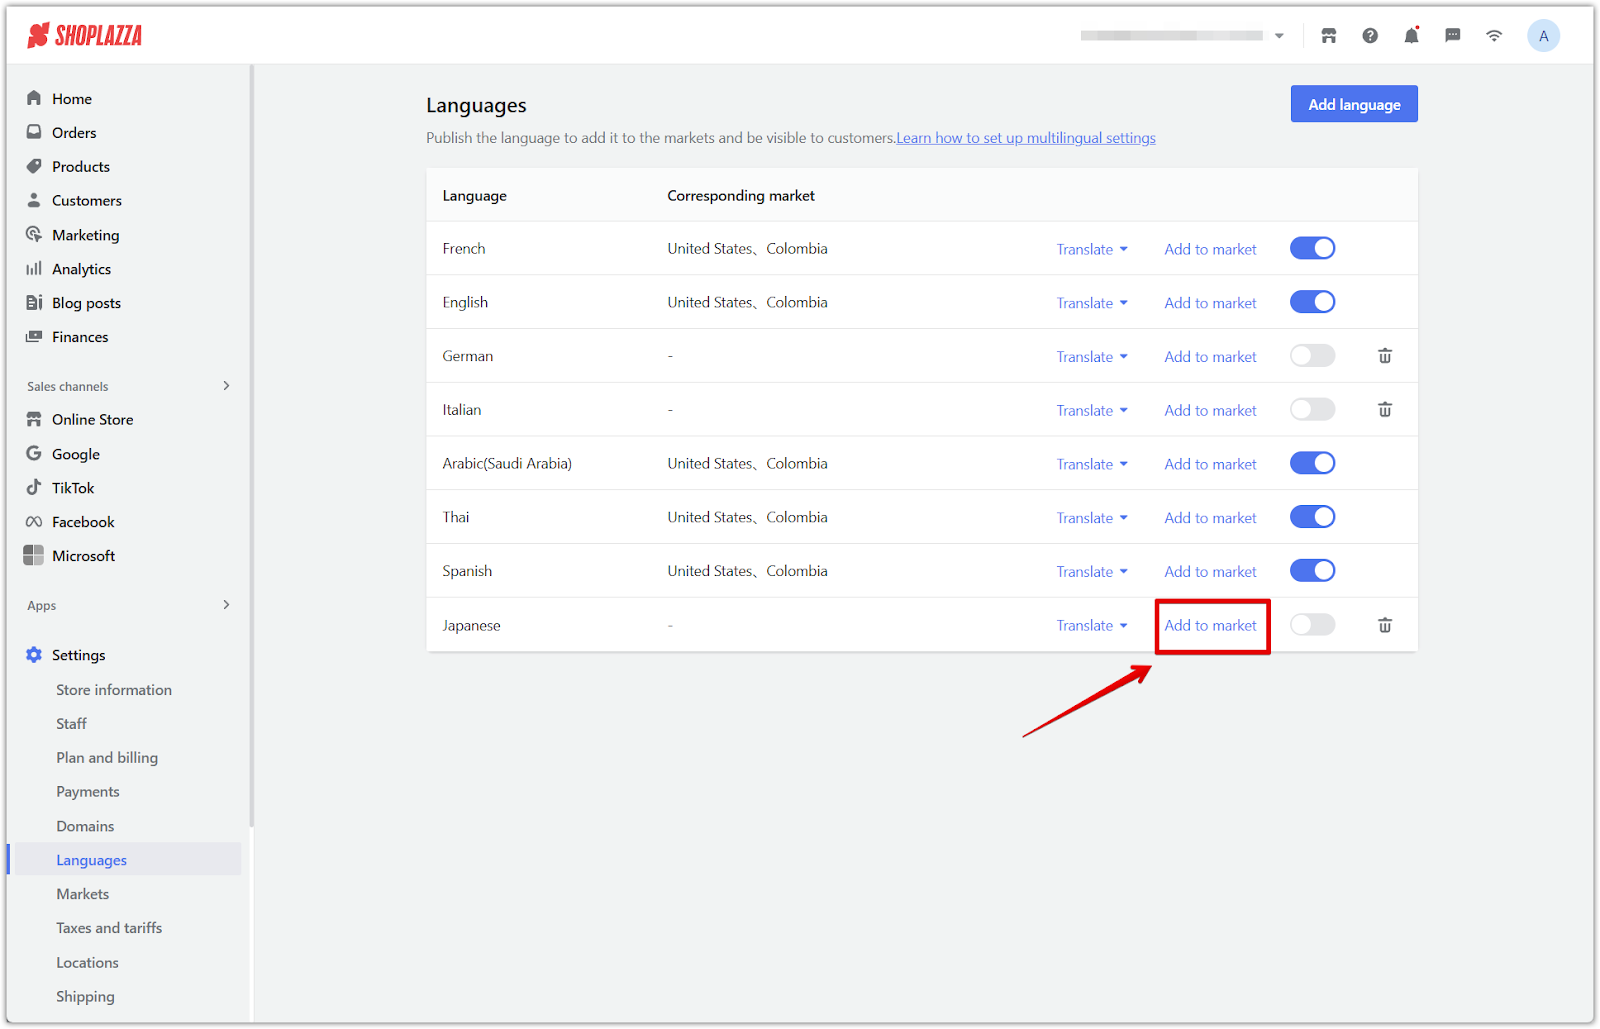
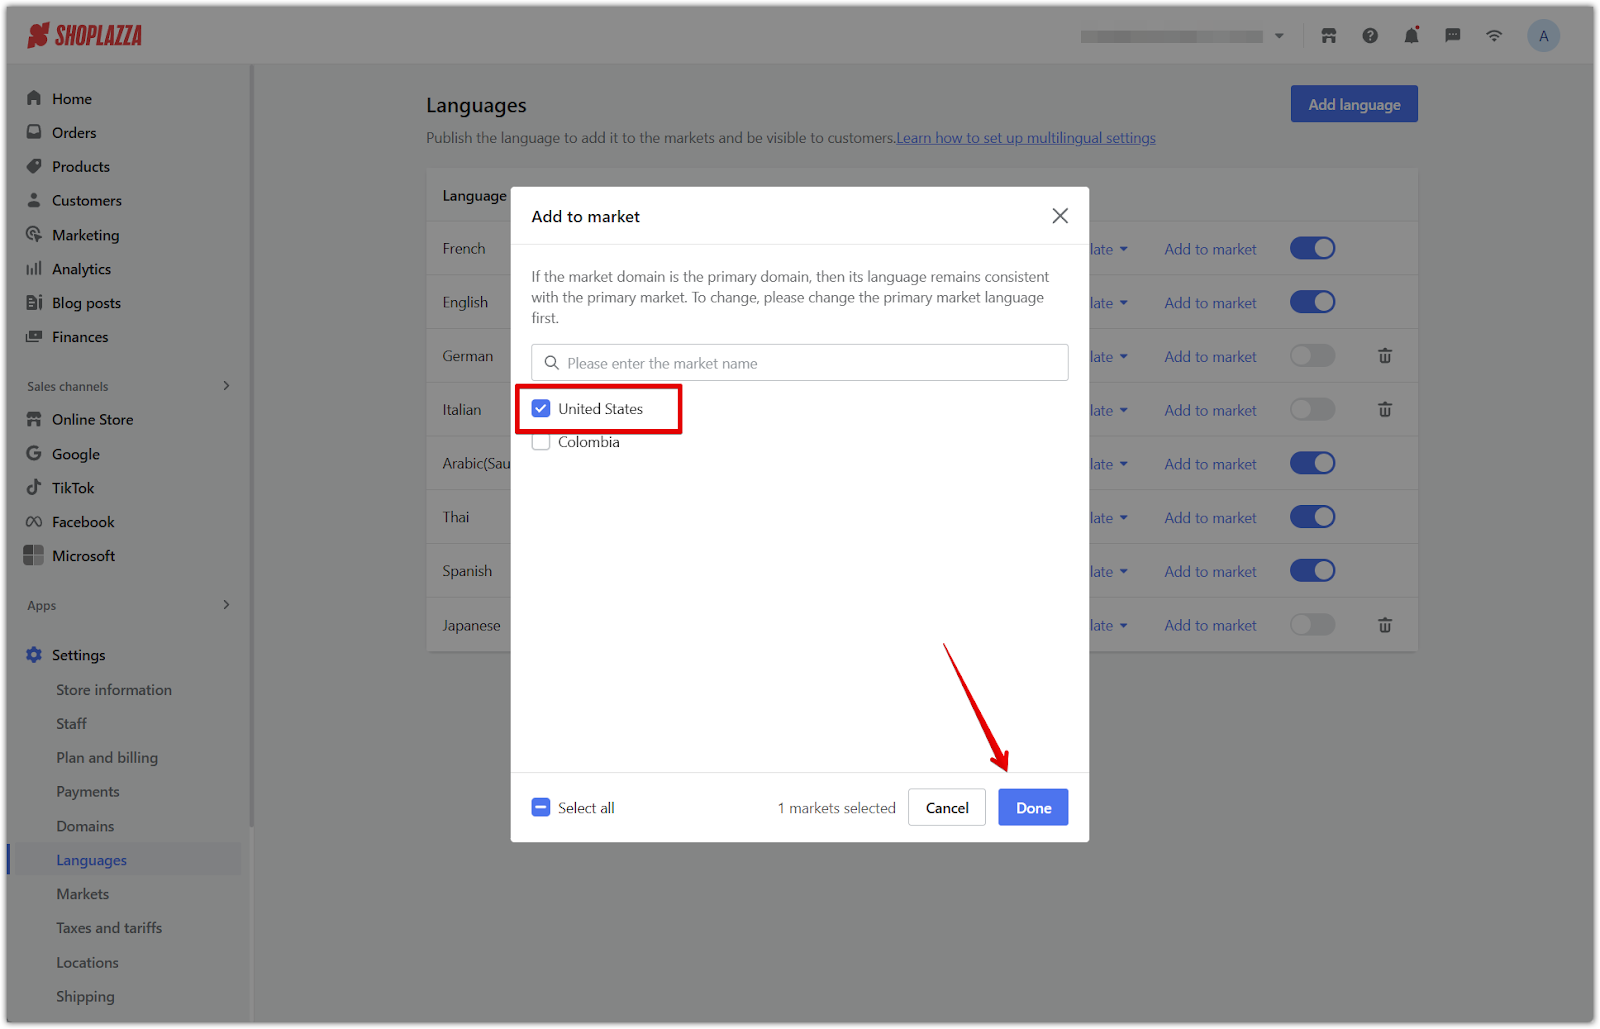
2. Assign the language to your primary market: Click Add to market next to the new language, select your primary market, and click Done.
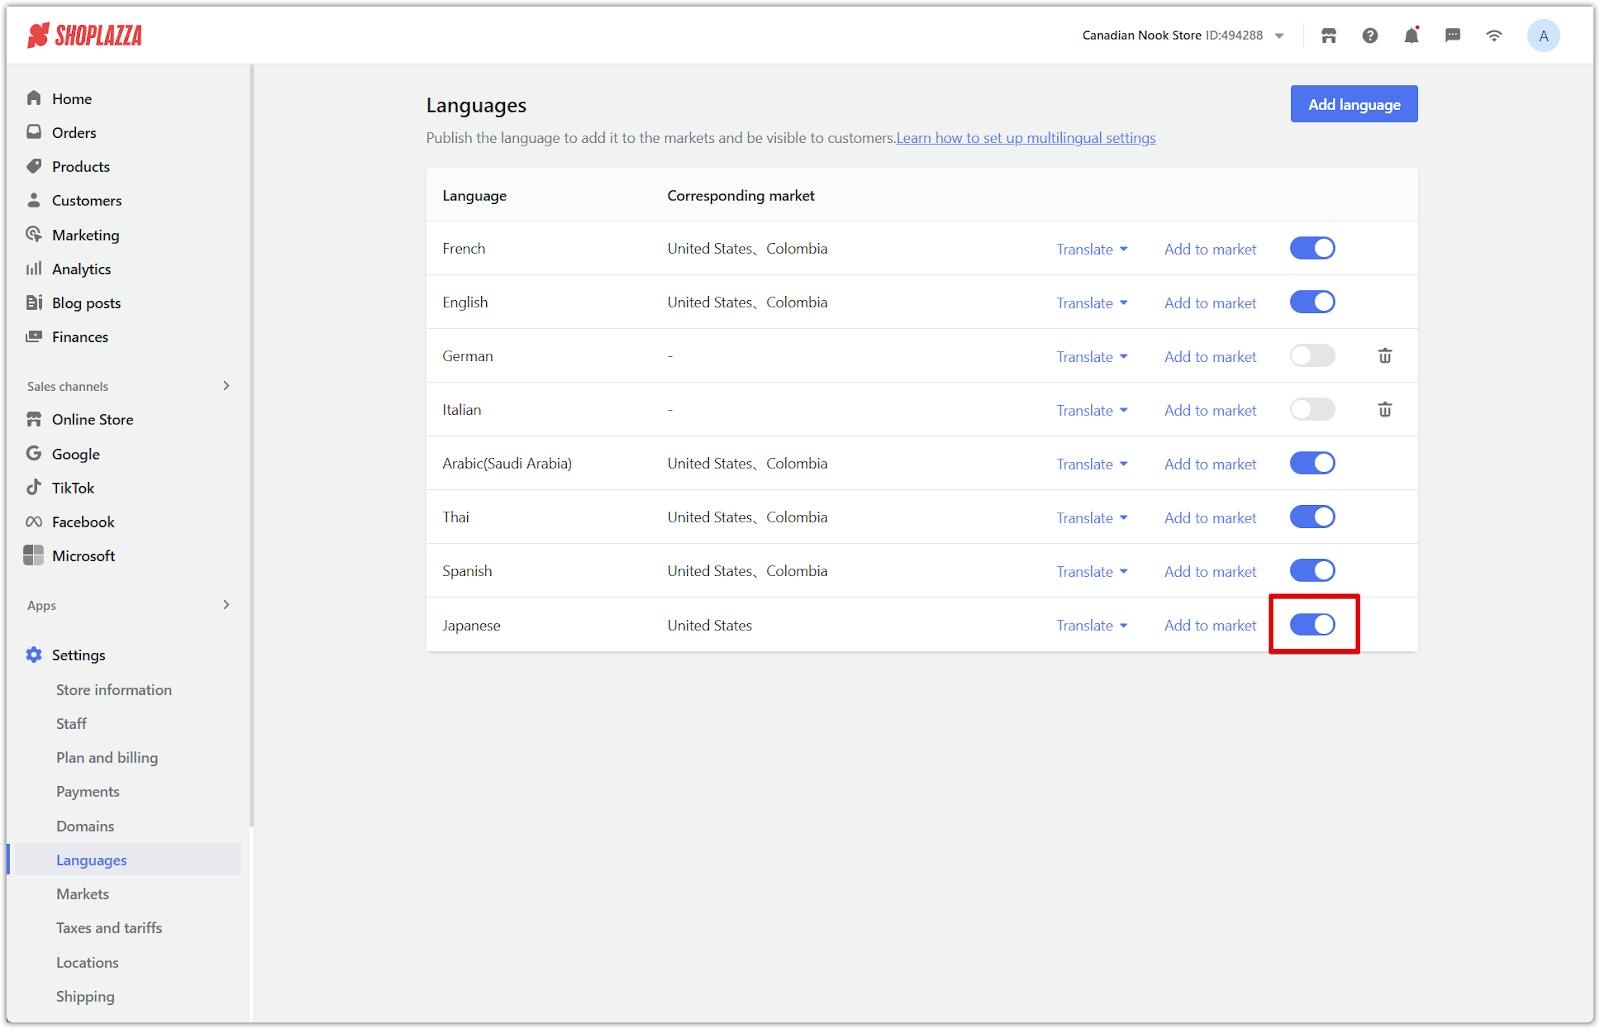
3. Enable the language: Turn on the toggle next to the language so it becomes active in that market.
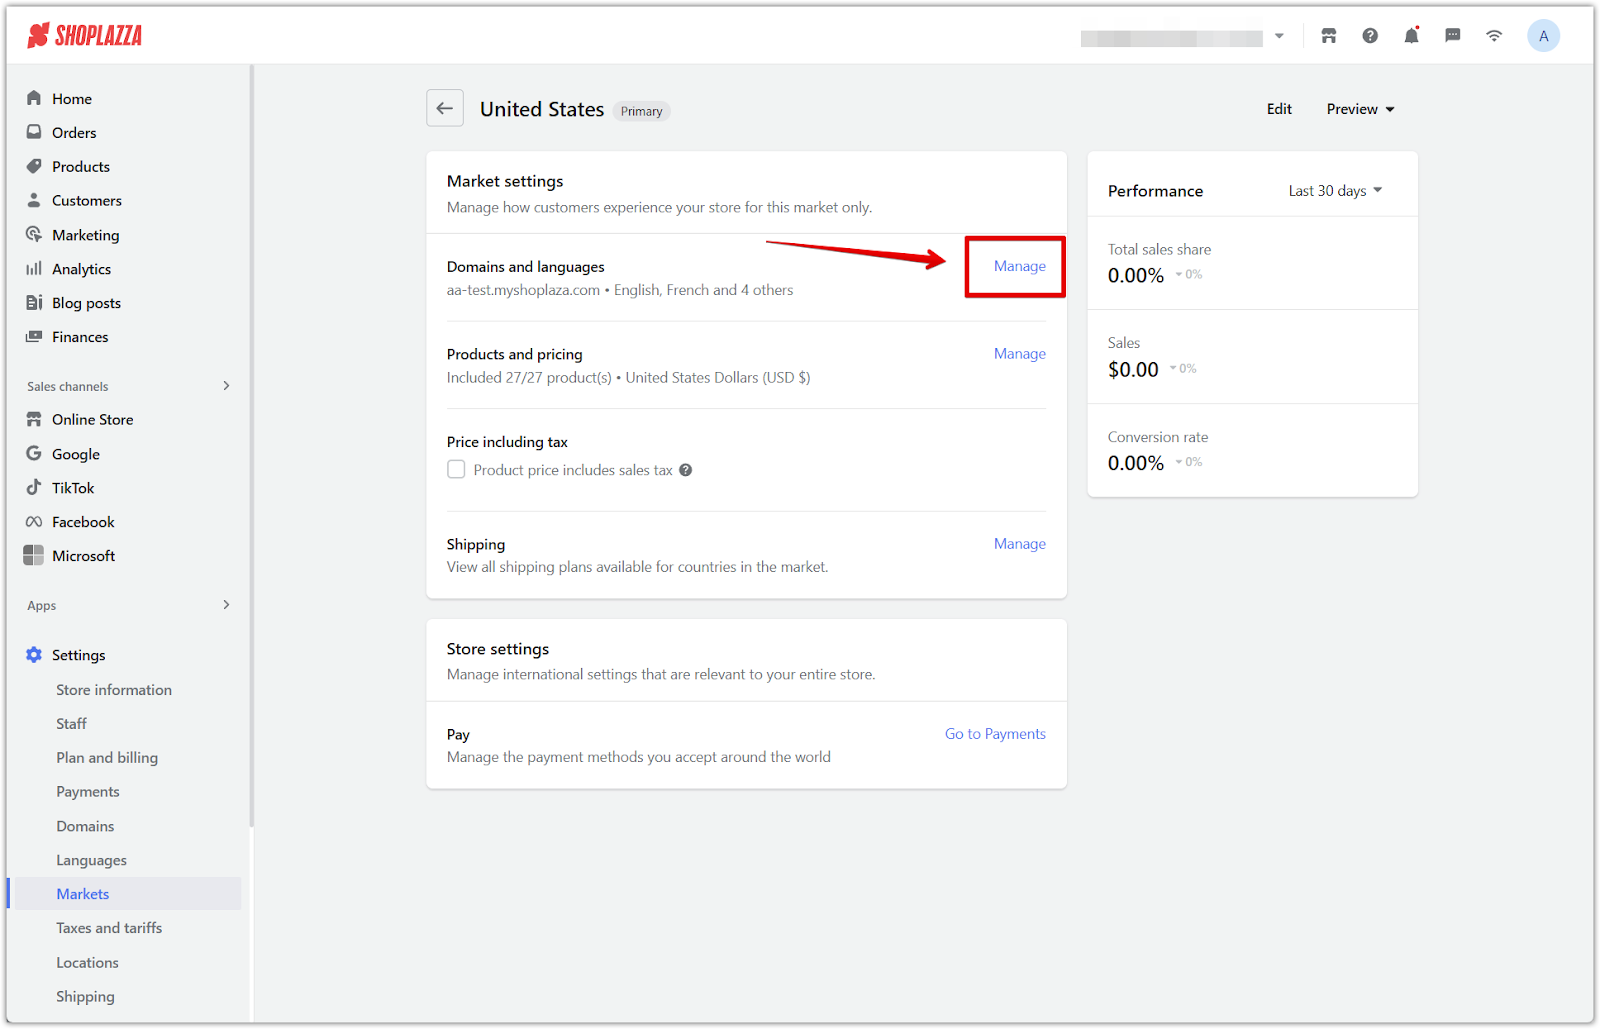
4. Set the language as default for the market: Go to Settings > Markets > [Primary Market] > Manage, click Manage next to Domains and languages, then click Set as default next to the new language.

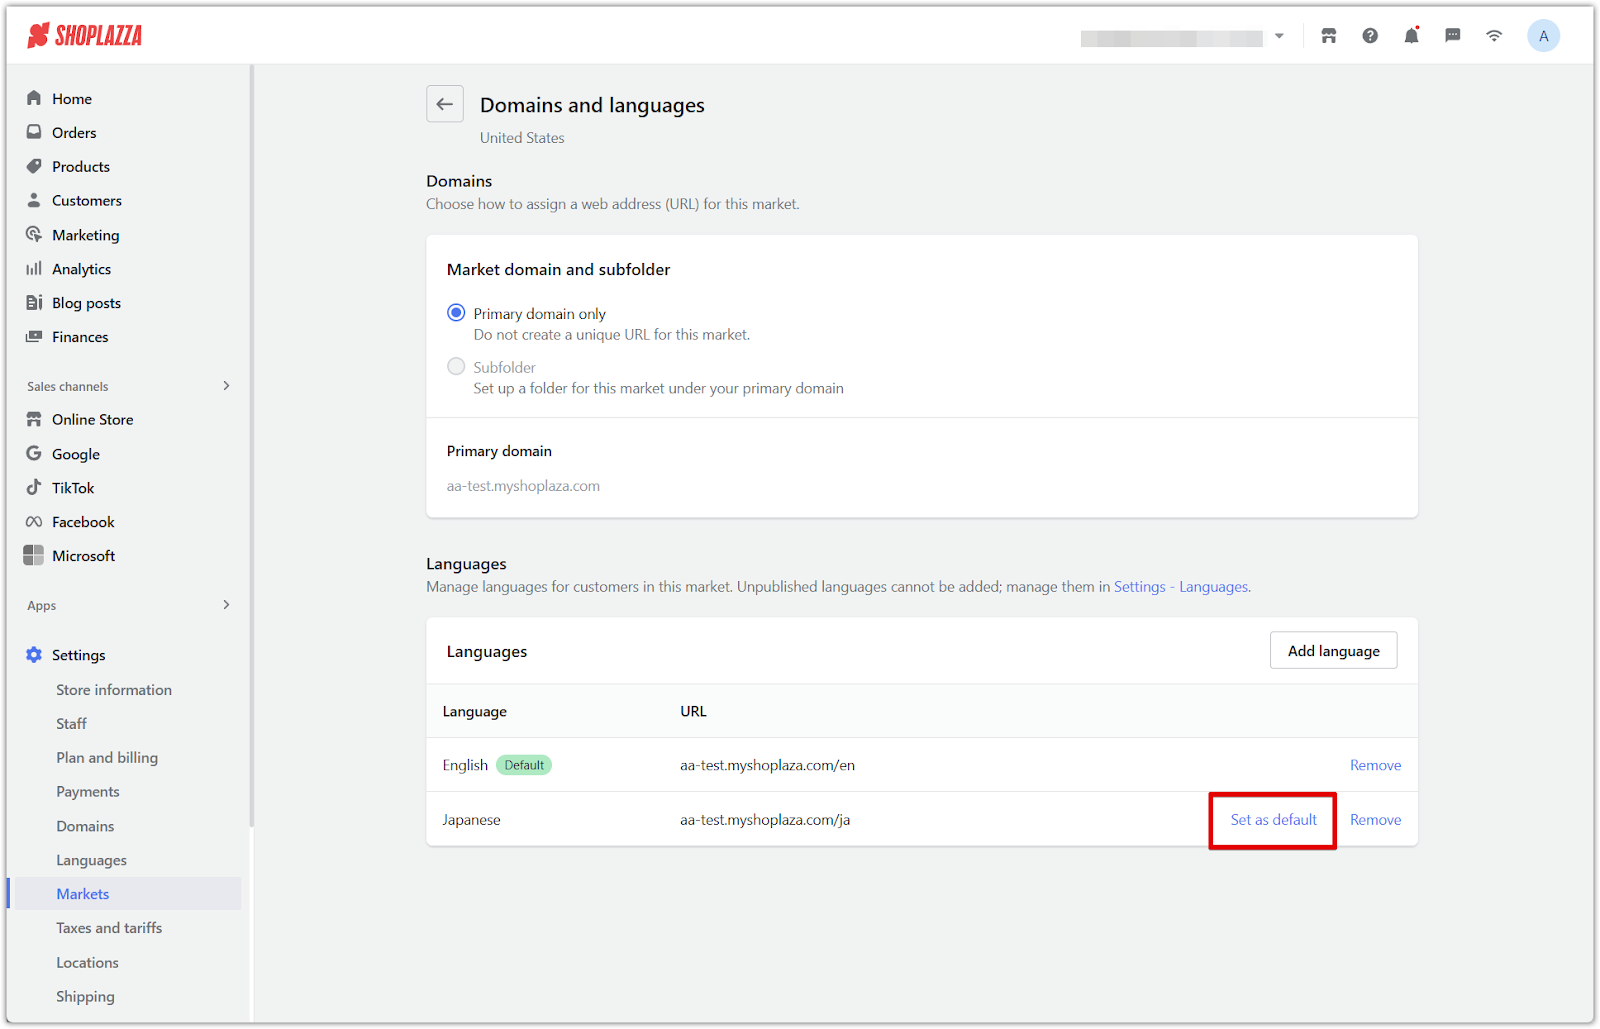
5. Verify storefront: Once this is done, your storefront will use the new theme language by default.
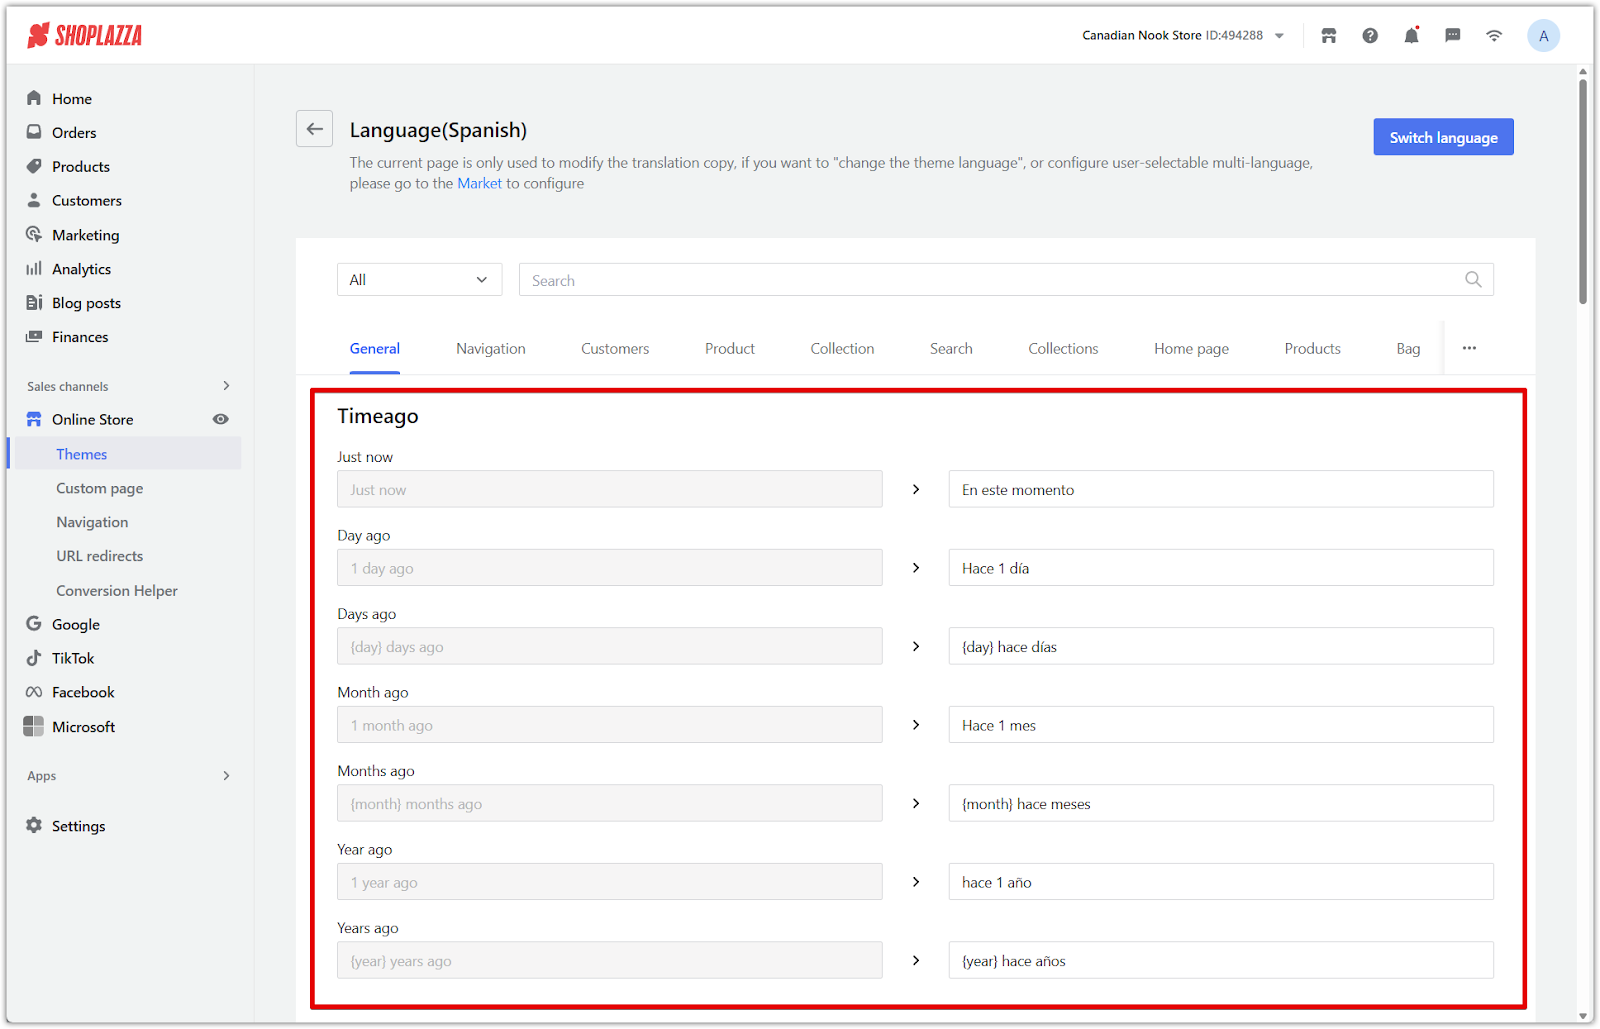
Customizing individual translations
After switching the theme language, you can fine-tune translations to better reflect your brand tone and voice. The editing experience will vary depending on the selected language.
1. When the theme language is English: You're not translating text, but you can still edit system terms to align with your brand. For example, you might change “Add to cart” to “Add to bag” or “Continue shopping” to “Keep browsing.”

2. When the theme language is a non-English language: You’ll see the original English text on the left and a translation field on the right. You can adjust the translated version to improve clarity, tone, or consistency with your store’s voice.
Note
If your store’s primary market uses a non-English language, start by editing the English version first. Any updates you make will appear as the reference text when switching to a different theme language.
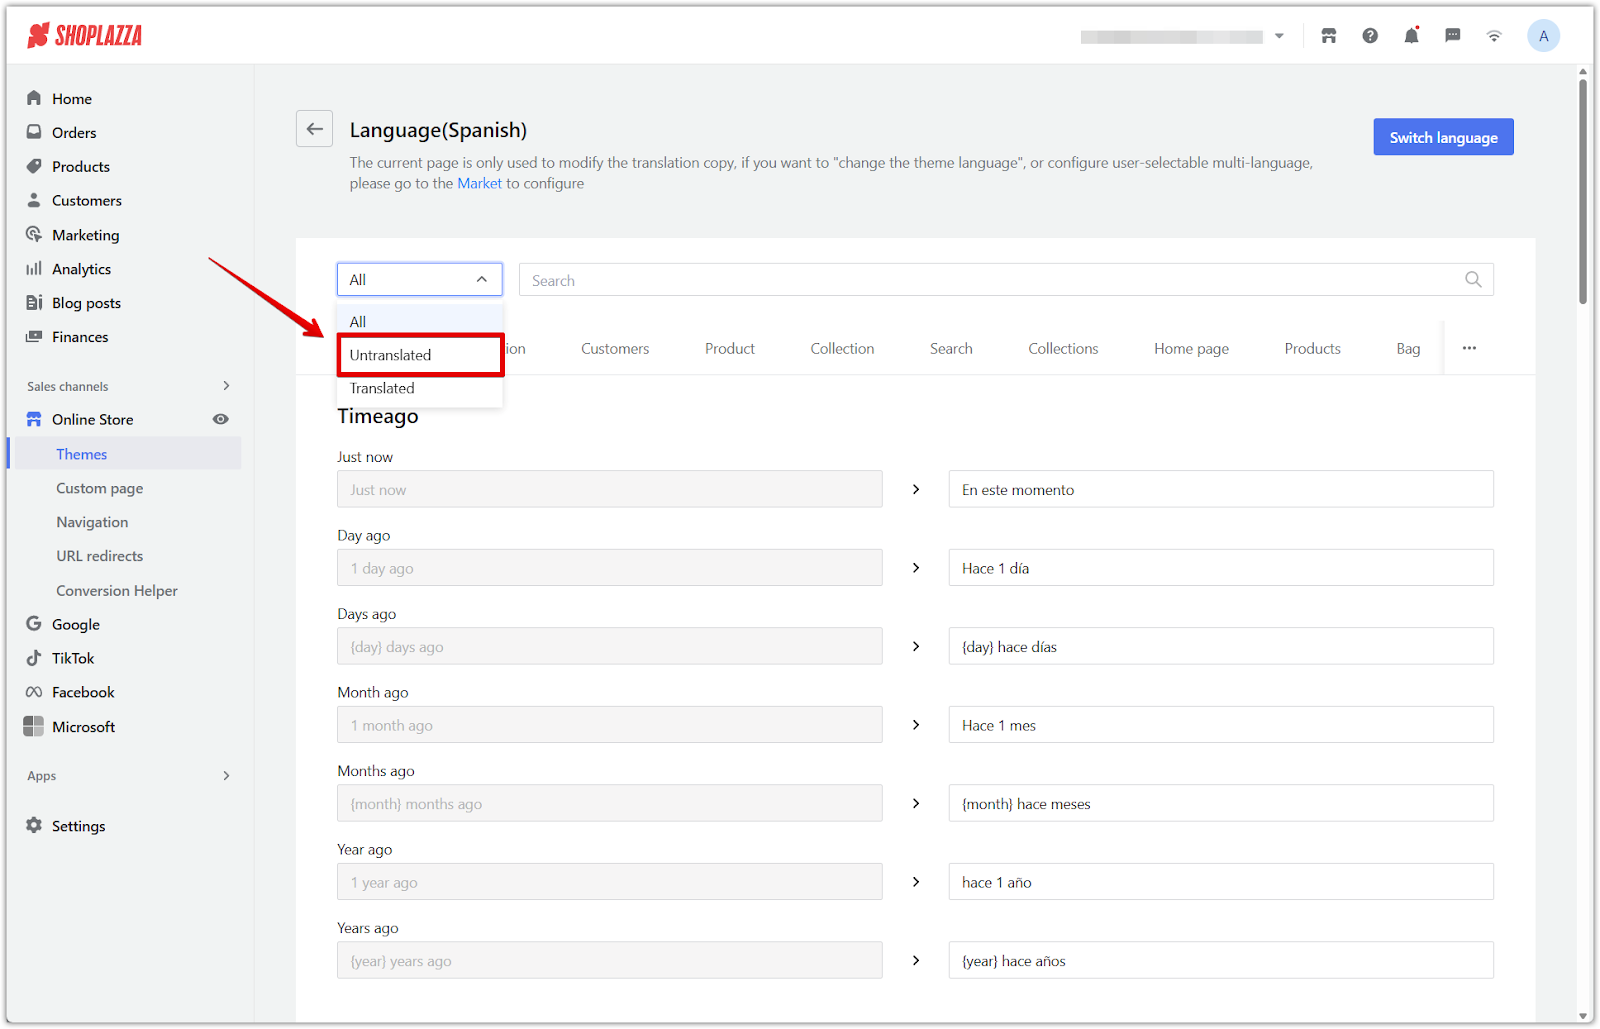
3. Filter for untranslated content: Use the filter menu > Untranslated texts to review content that still needs customizing.
Aligning your theme language with your primary market helps ensure that your storefront feels clear, consistent, and localized. Whether you're updating a few terms or offering a different language entirely, these steps support a more tailored and on-brand experience for your customers.


Comments
Please sign in to leave a comment.