
Adding a gallery section to your online store boosts visual appeal and user engagement. It provides an effective way to showcase products and enrich product displays. It creates an immersive browsing experience, drawing customers in and encouraging them to explore your offerings. The galleries, embedded with images and linked to various media types, offer customers a comprehensive and engaging way to learn more about your products.
Adding a gallery section
Start by adding a gallery section to your store's theme. This foundational element will serve as the base for showcasing your products in an engaging and visually appealing manner.
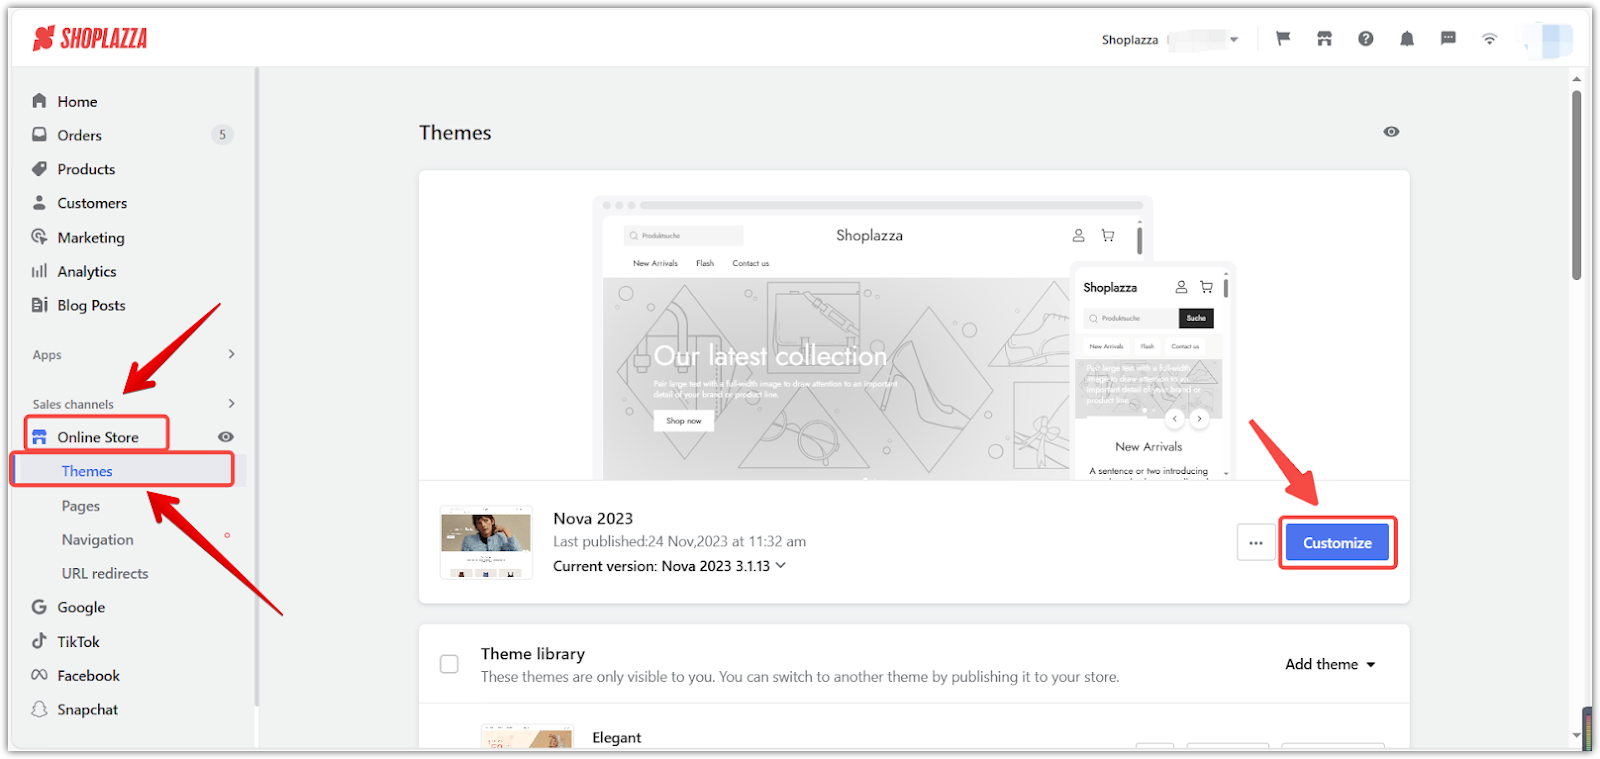
1. Access the theme editor: From your Shoplazza Admin, go to Online Store, then Themes. Click Customize next to the desired theme.
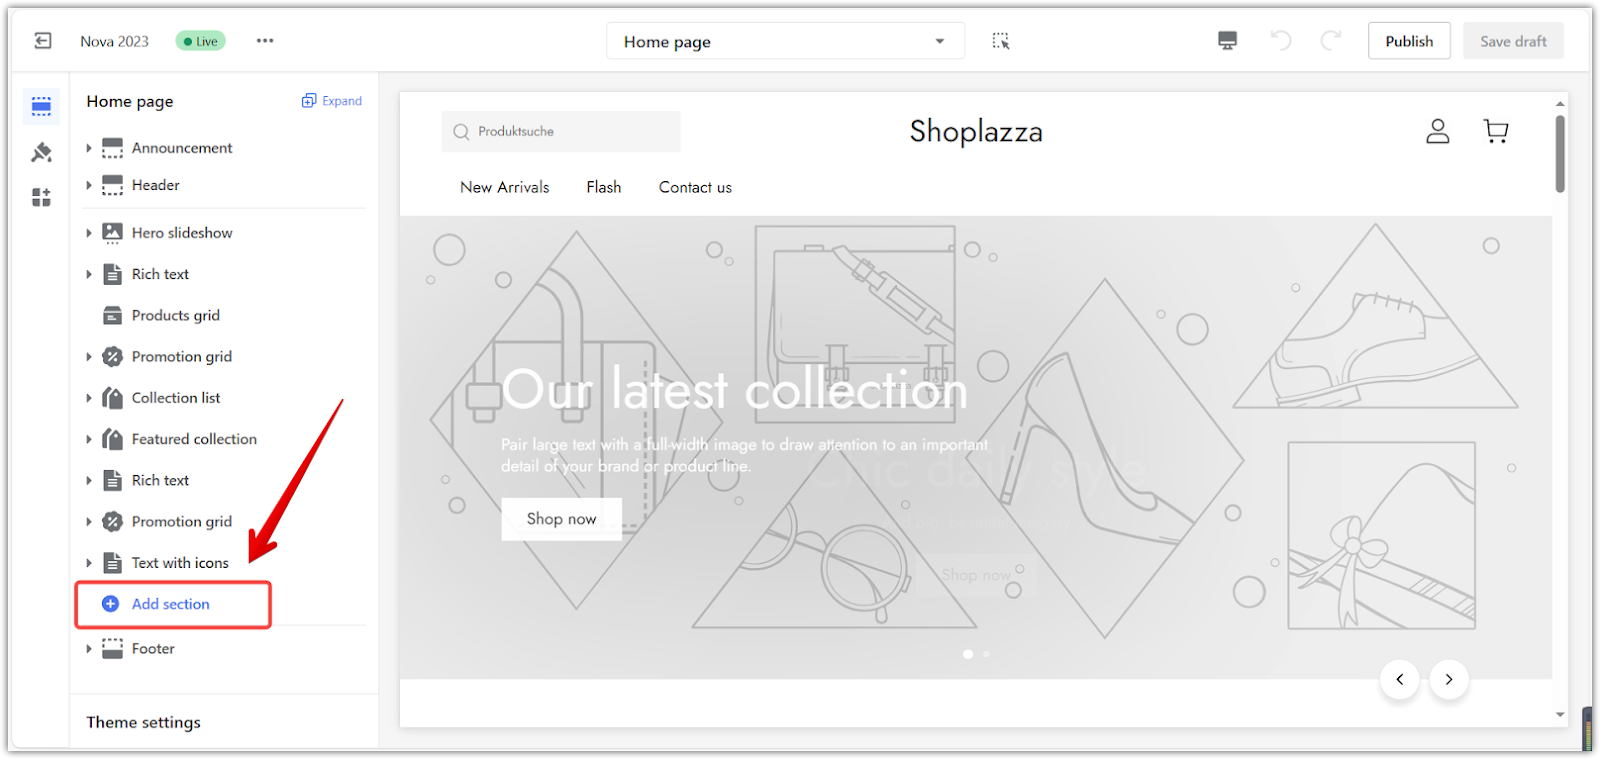
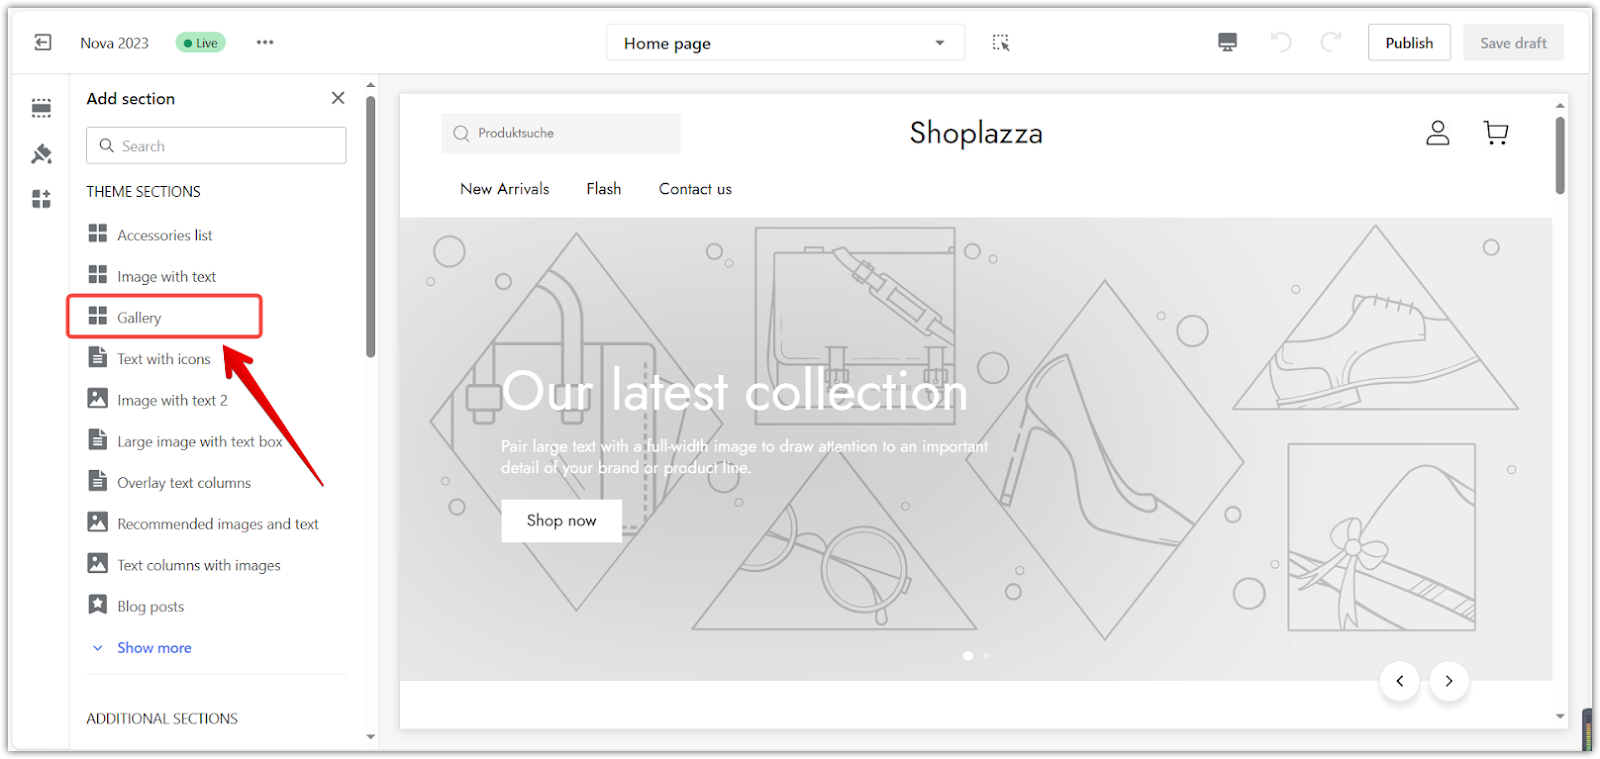
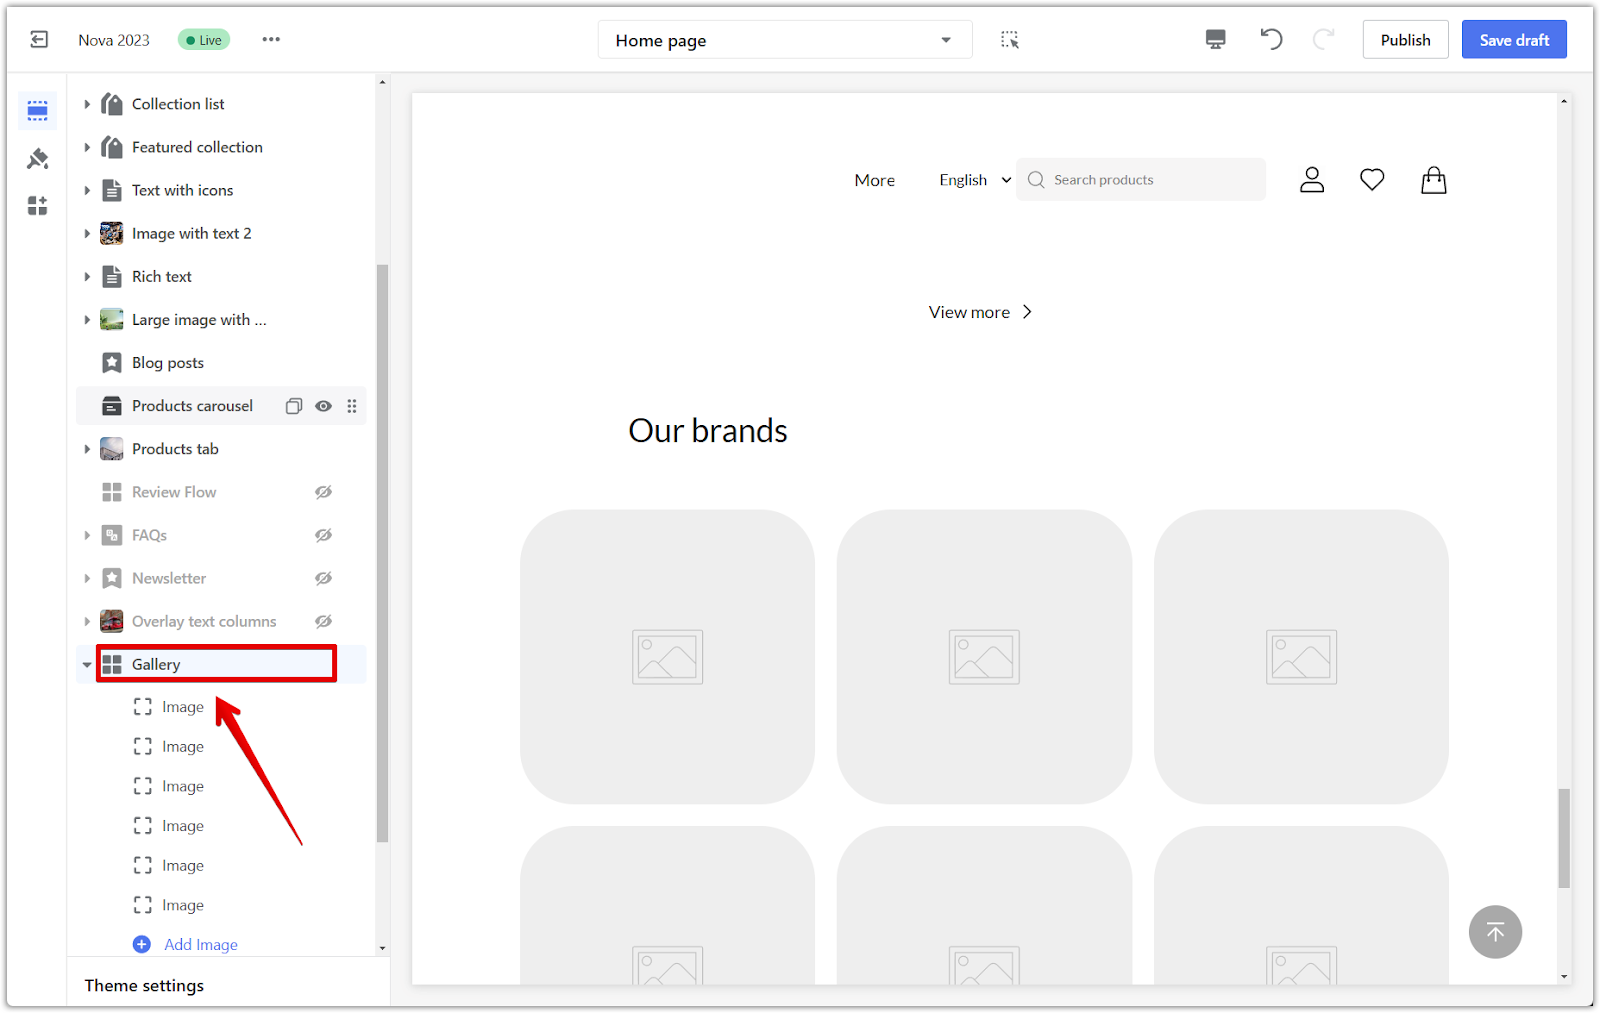
2. Add the section: In the theme editor, scroll down and click Add section to see the available sections. Under Theme sections, find and click Gallery to add it to your theme.
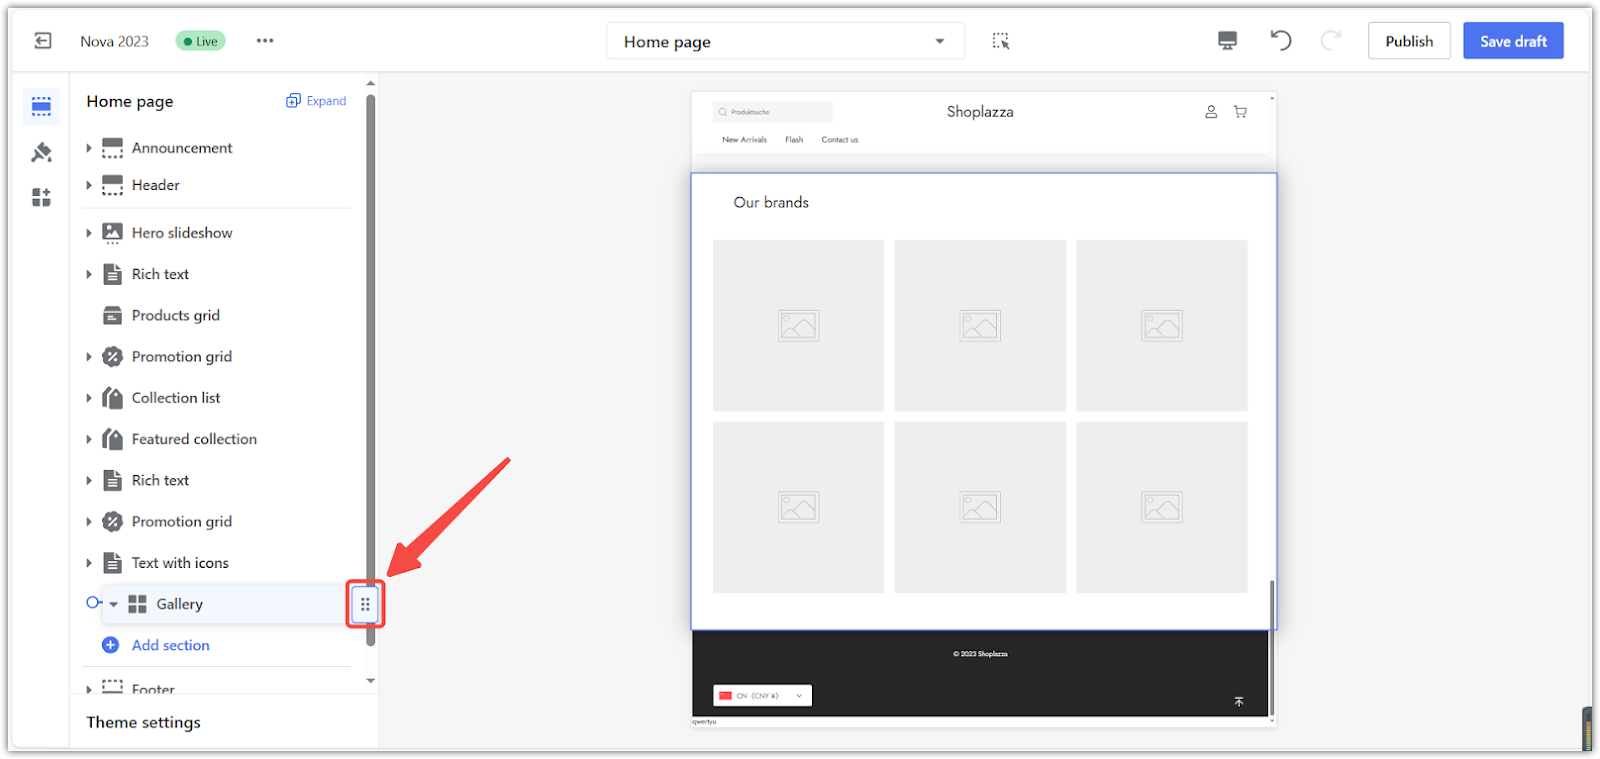
3. Reposition the section: Click and drag the drop icon to rearrange the sections as needed.
Customizing the section style
With these customization tools, you can personalize your gallery and make it truly your own. They allow you to fine-tune its appearance and create a visually appealing customer experience.
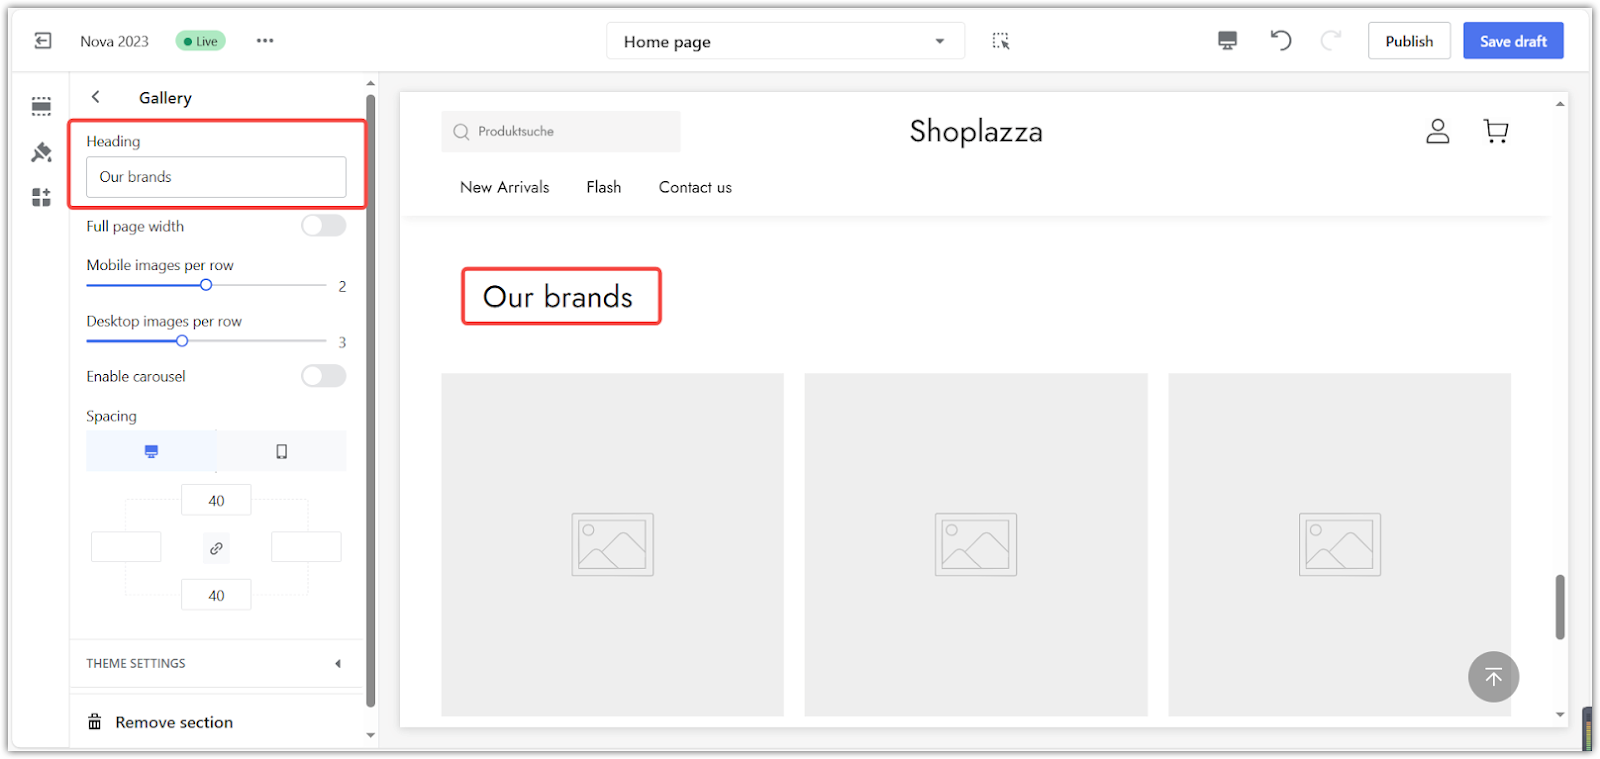
1. Access the customization options: Click on the section title to open the customization options. This will allow you to personalize the gallery's appearance and create a visually appealing customer experience.
2. Heading: Update the heading text to match your store's style.
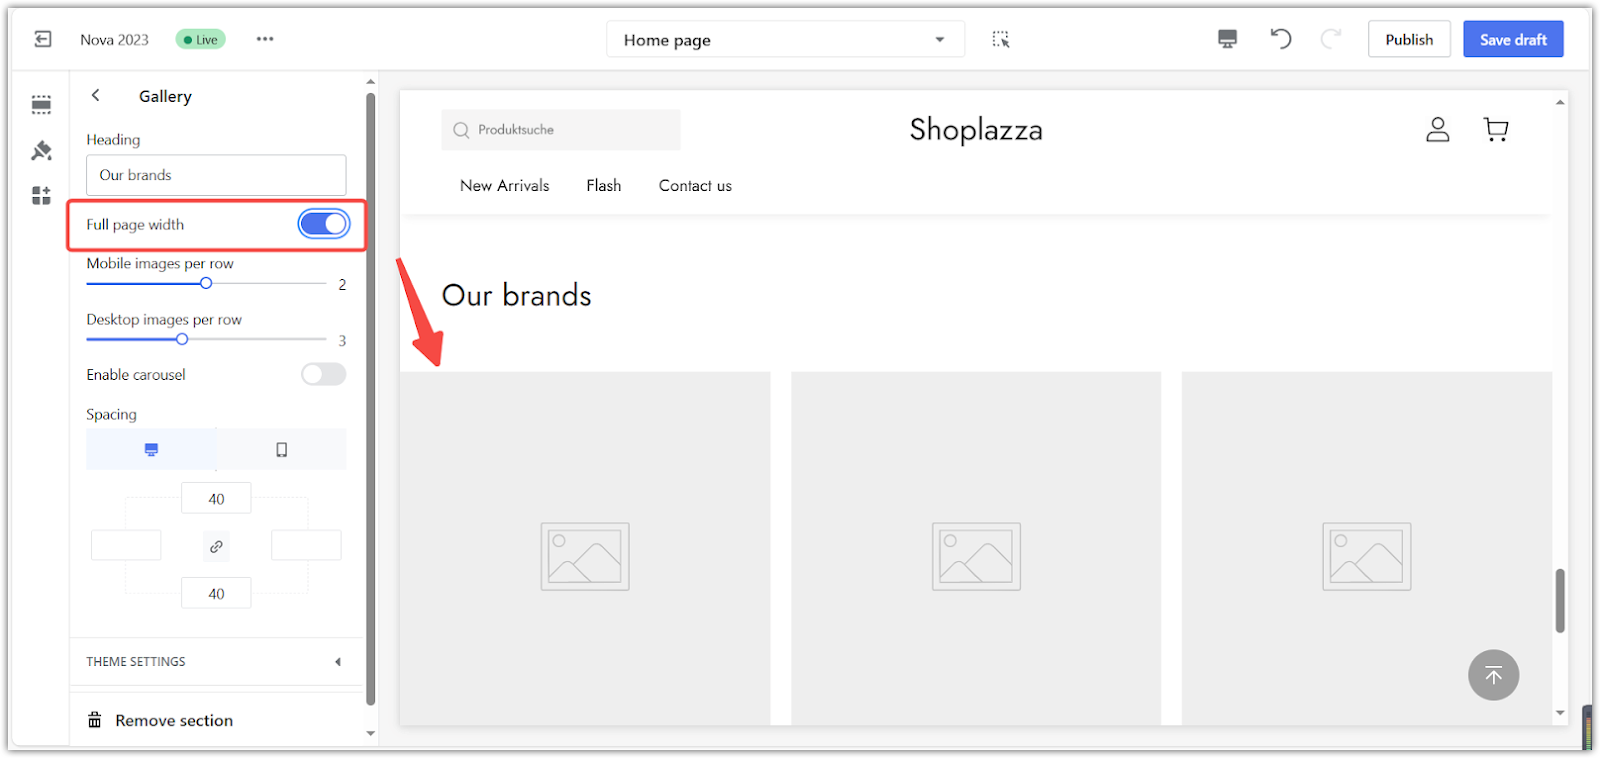
3. Full page width: Make your images stretch across the whole page for a more immersive look.
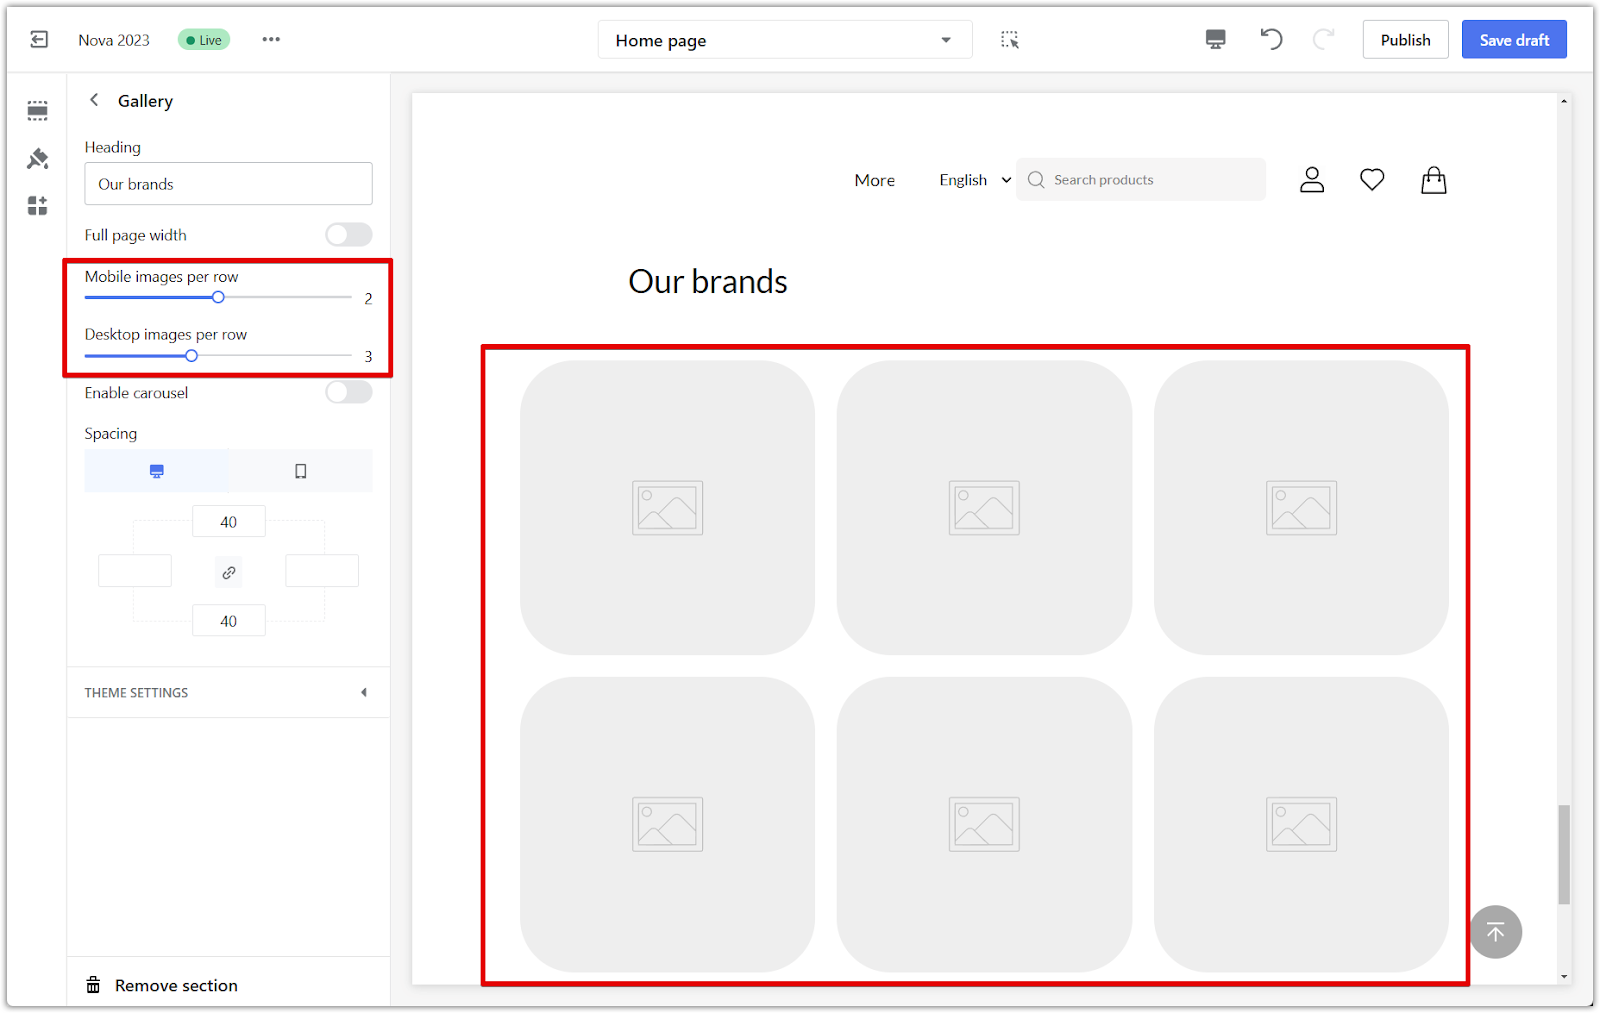
4. Images per row: Decide how many images you want to show on each row, both on mobile and desktop.
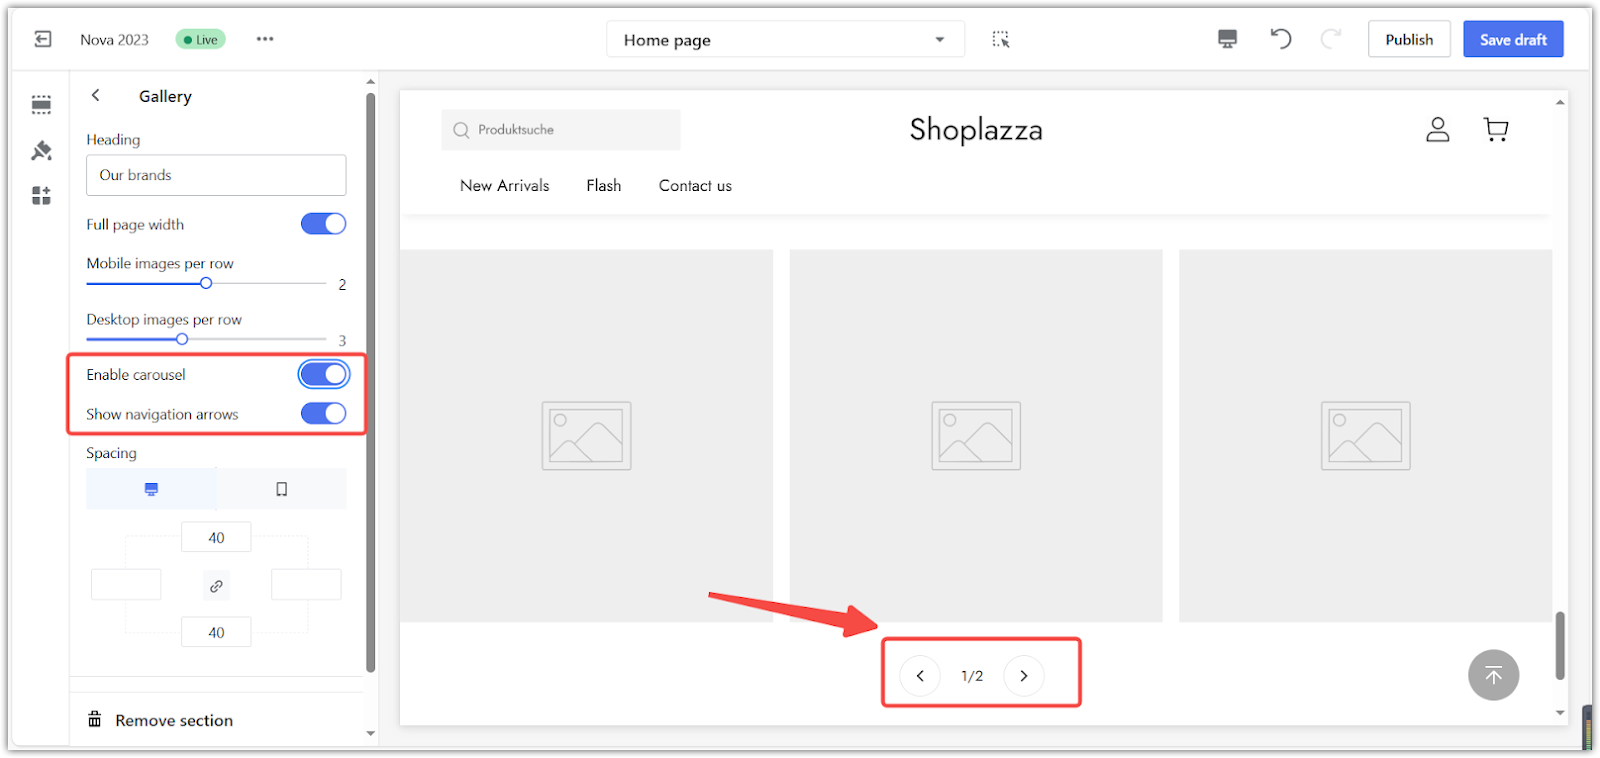
5. Carousel and navigation arrows: Use the carousel to neatly organize many images and add arrows for easy browsing.
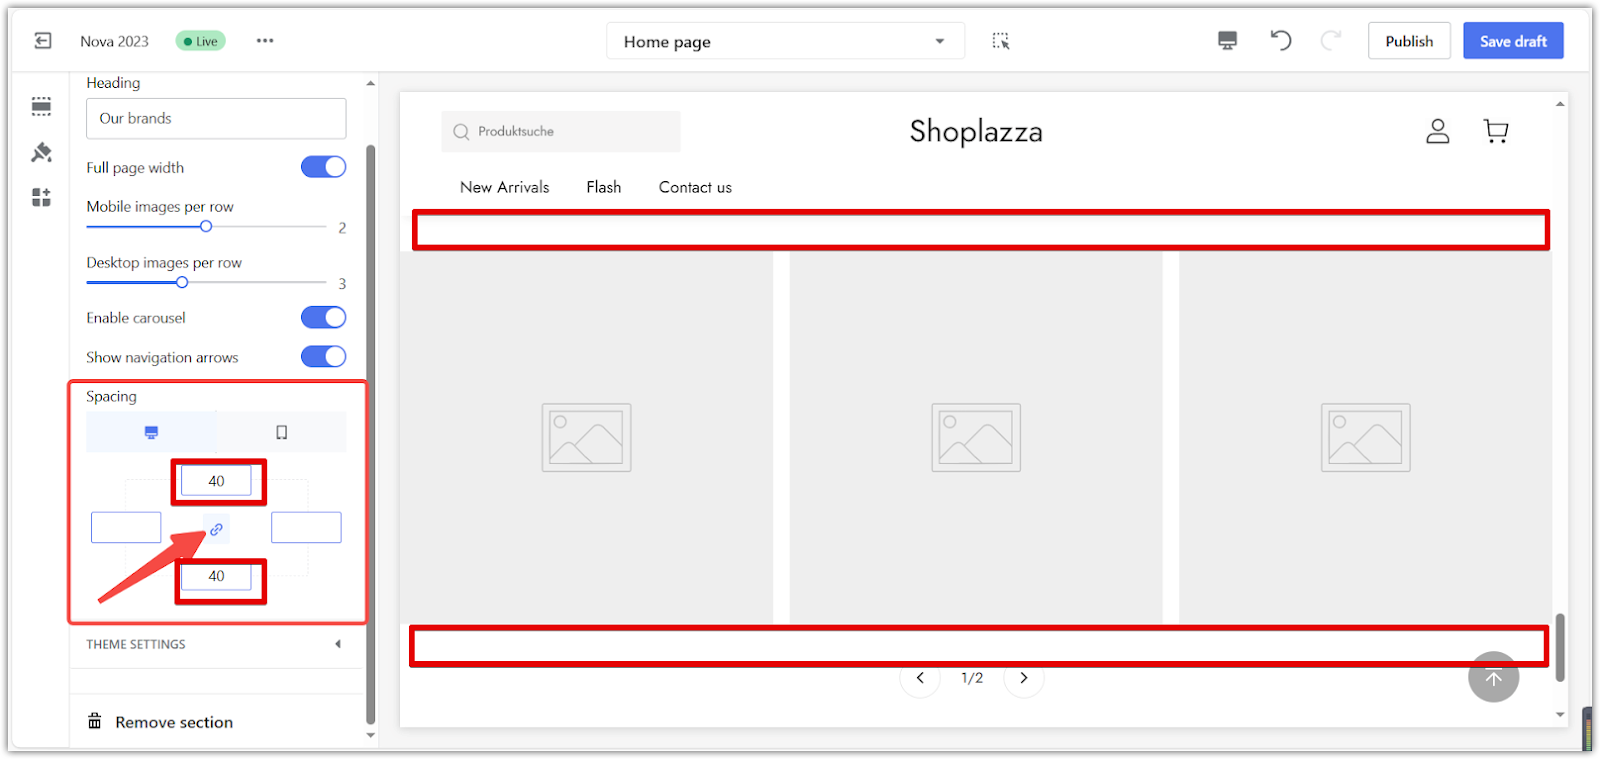
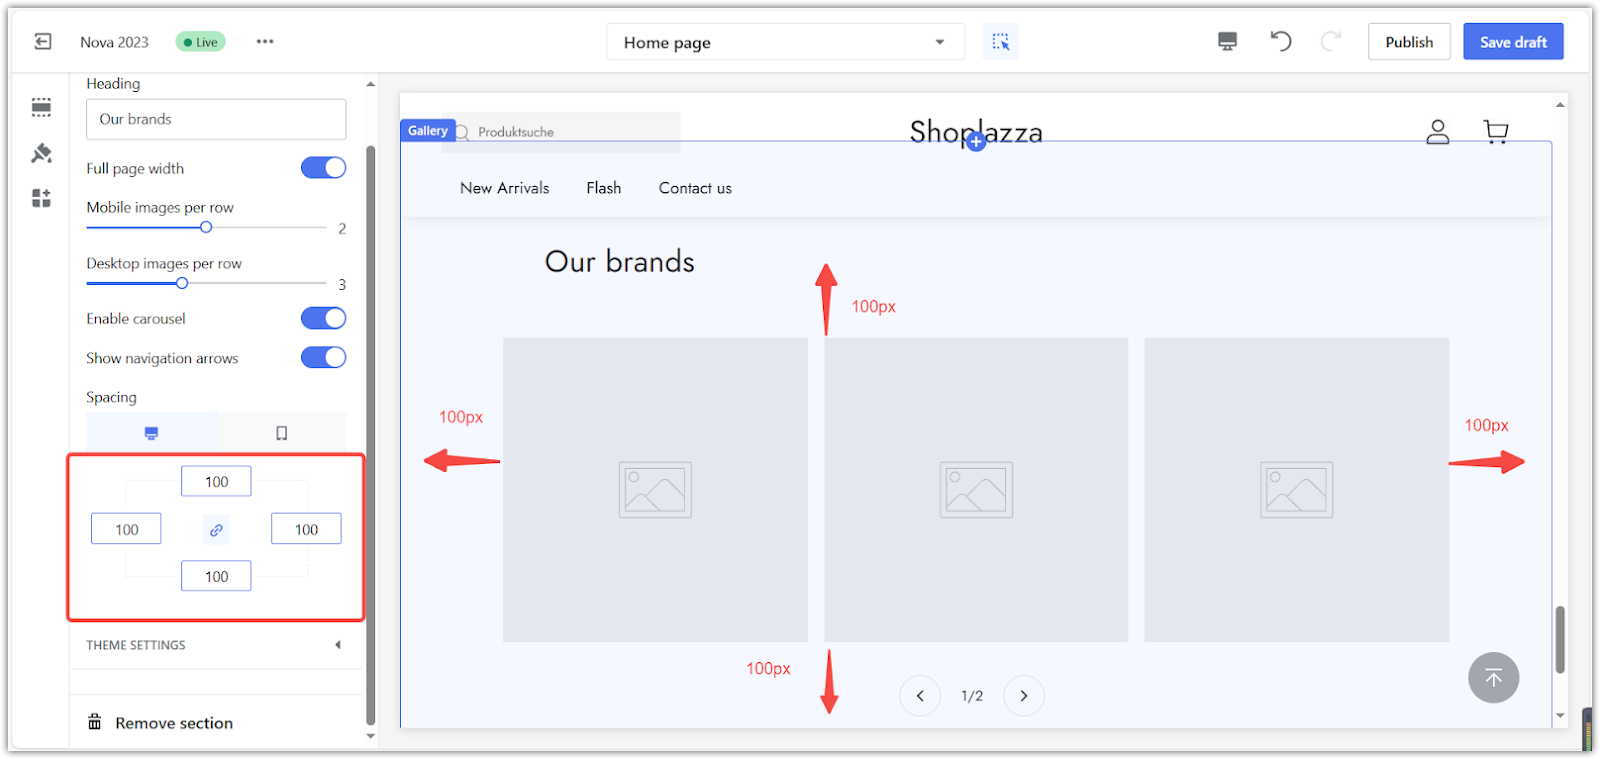
6. Section padding: Add space around your gallery to allow it to breathe and improve its visual balance.
Customizing individual blocks
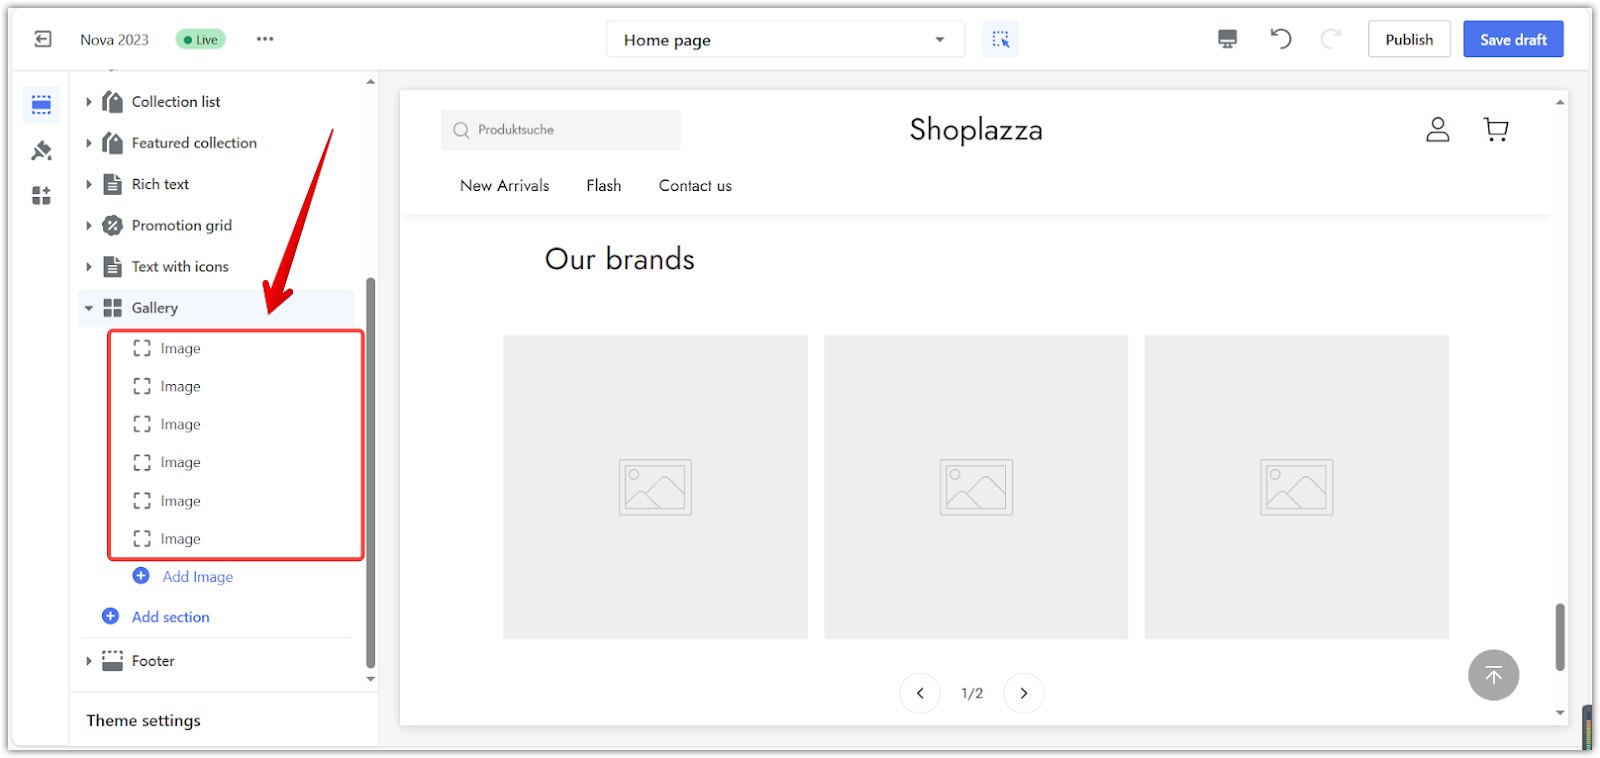
Each gallery section includes six default blocks for adding images.
1. Choose block: Customize each block to showcase specific products or highlight key features, providing customers with a rich and informative browsing experience.
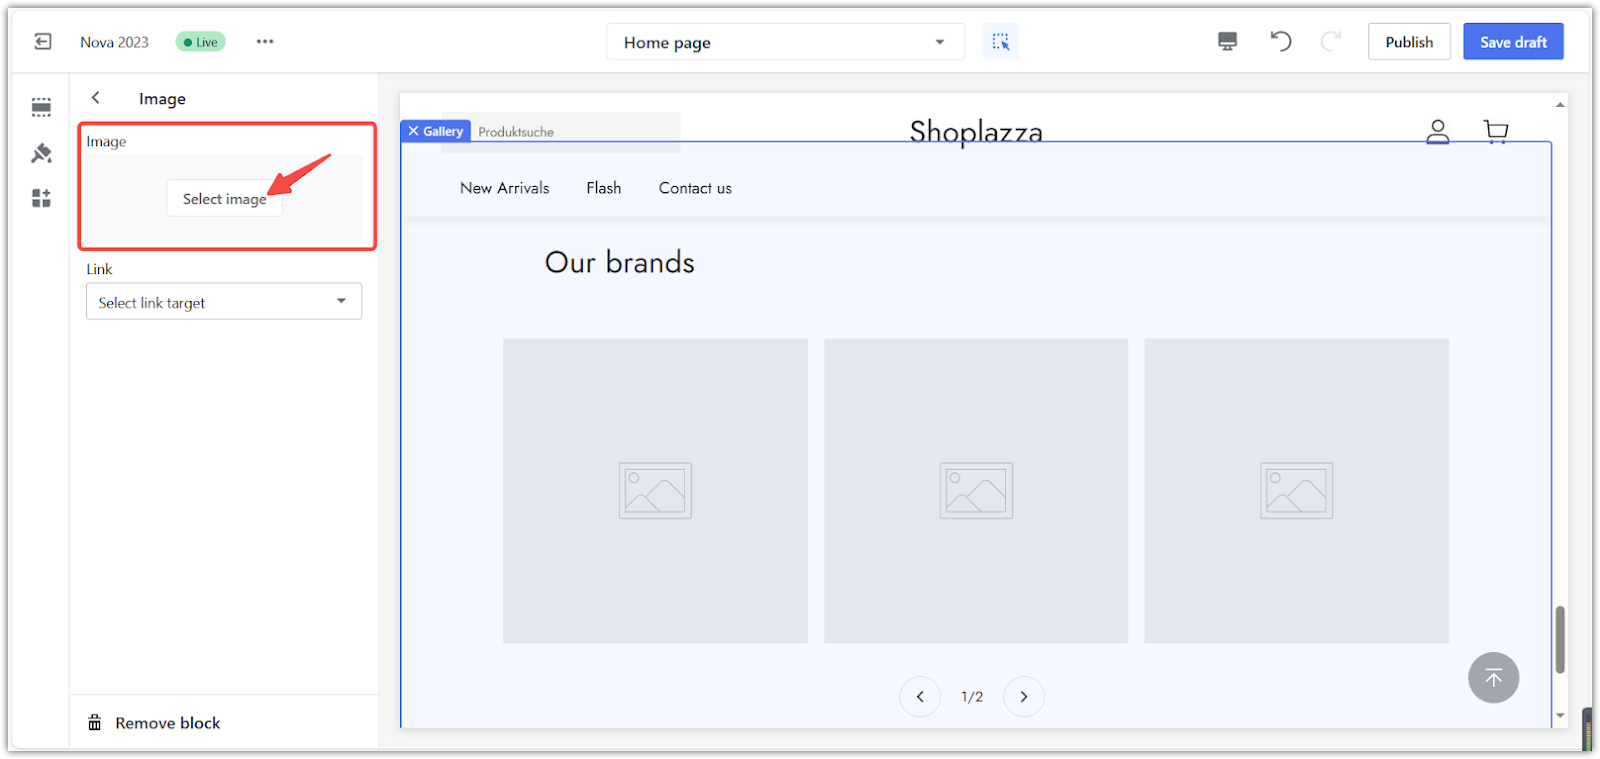
2. Add images: You can add an image to the gallery by selecting Select image. You can upload a new image or choose from previously uploaded ones.
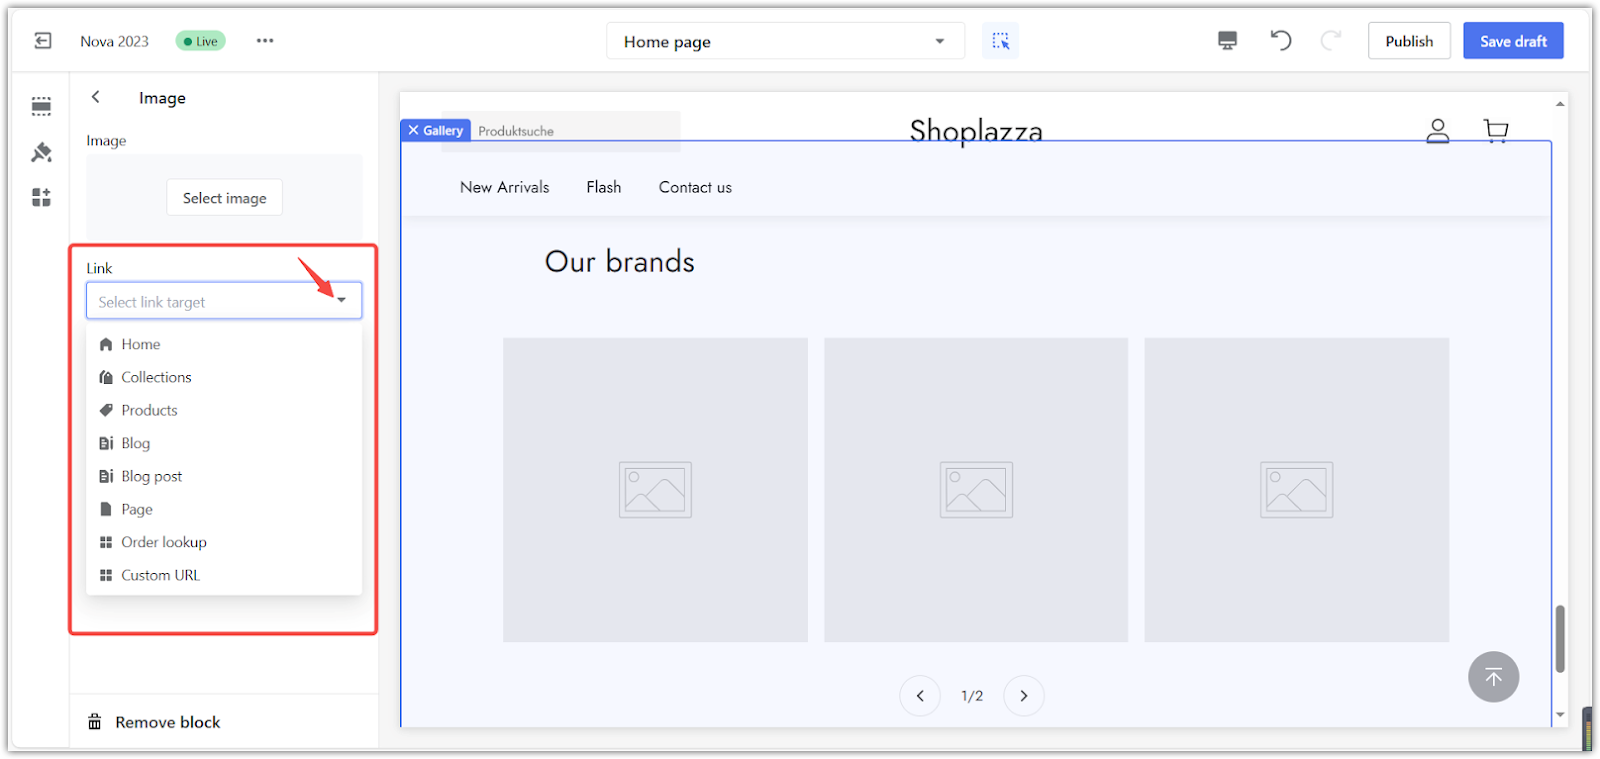
3. Assign target links: Under the Link section, click Select link target to redirect customers to other pages (e.g., Home, Collections, Products) when they click on the image.
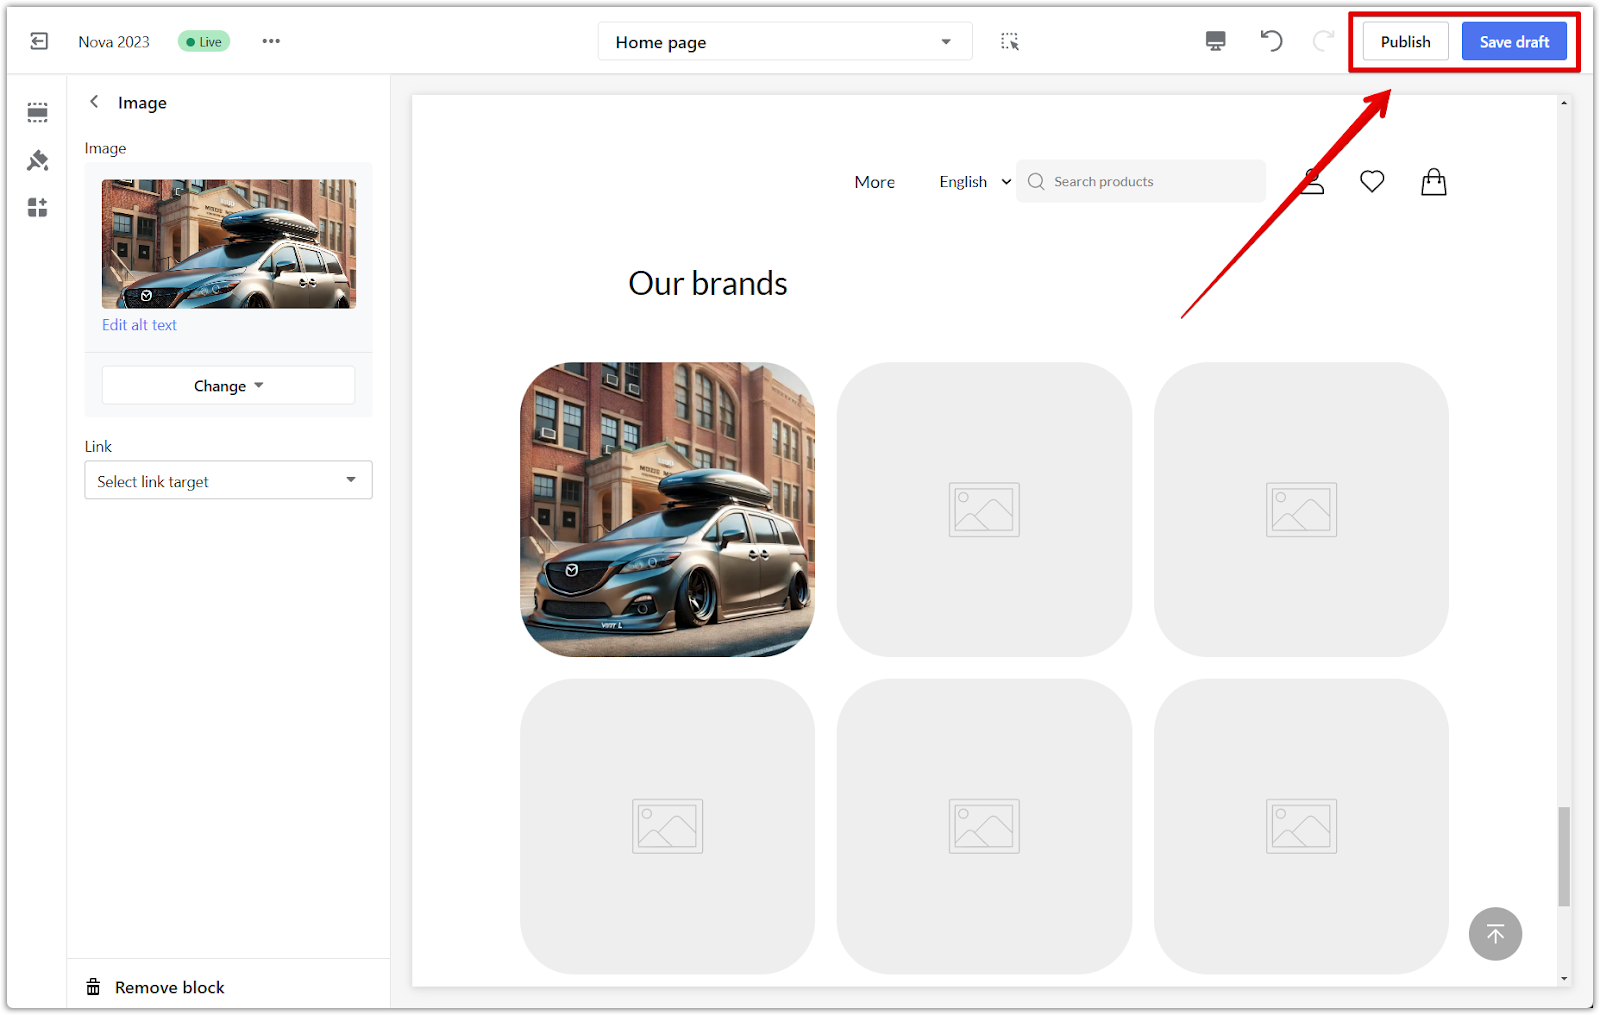
4. Save your work: Click Save draft to save your progress or Publish to make the gallery section live.
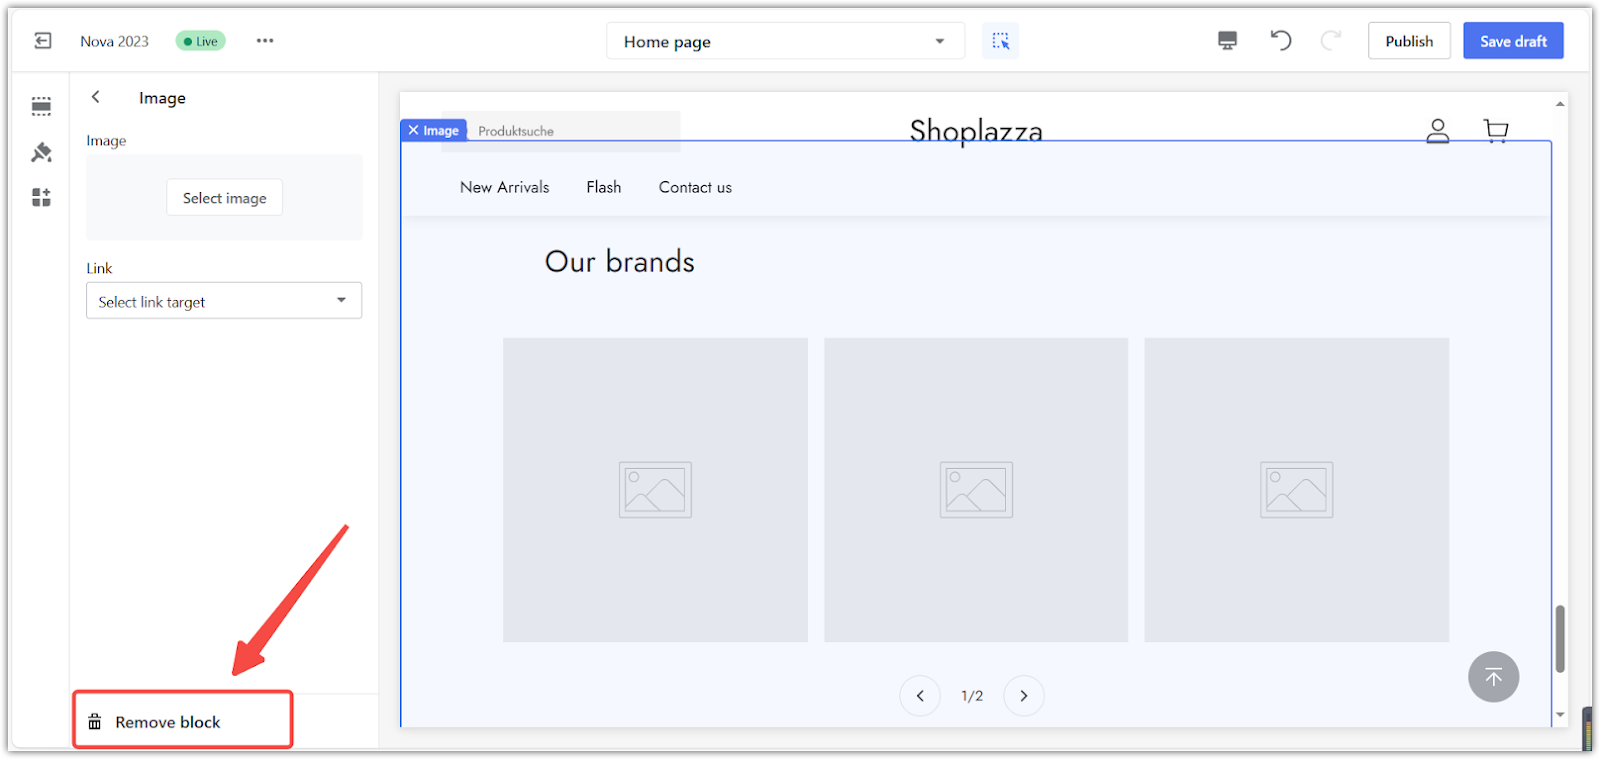
5. Remove a block: Delete an entry by clicking Remove block within an image block.
Adding a gallery section enriches your product displays and provides customers with an engaging way to explore your offerings. With customizable headings, full page width options, adjustable image rows, carousels, and padding controls, you have the tools to create a truly unique and visually appealing gallery that showcases your products.


Comments
Please sign in to leave a comment.