
The OnePixel app integrates multiple media channel Pixels into one platform, making it easier to manage and optimize your ad performance. Currently, OnePixel supports eight channels: Facebook, Google, TikTok, Snapchat, Pinterest, Kwai, Bing, and Twitter. This article will walk you through the steps to add Google conversion tracking to your Shoplazza store.
Establishing a Google Ads Pixel ID
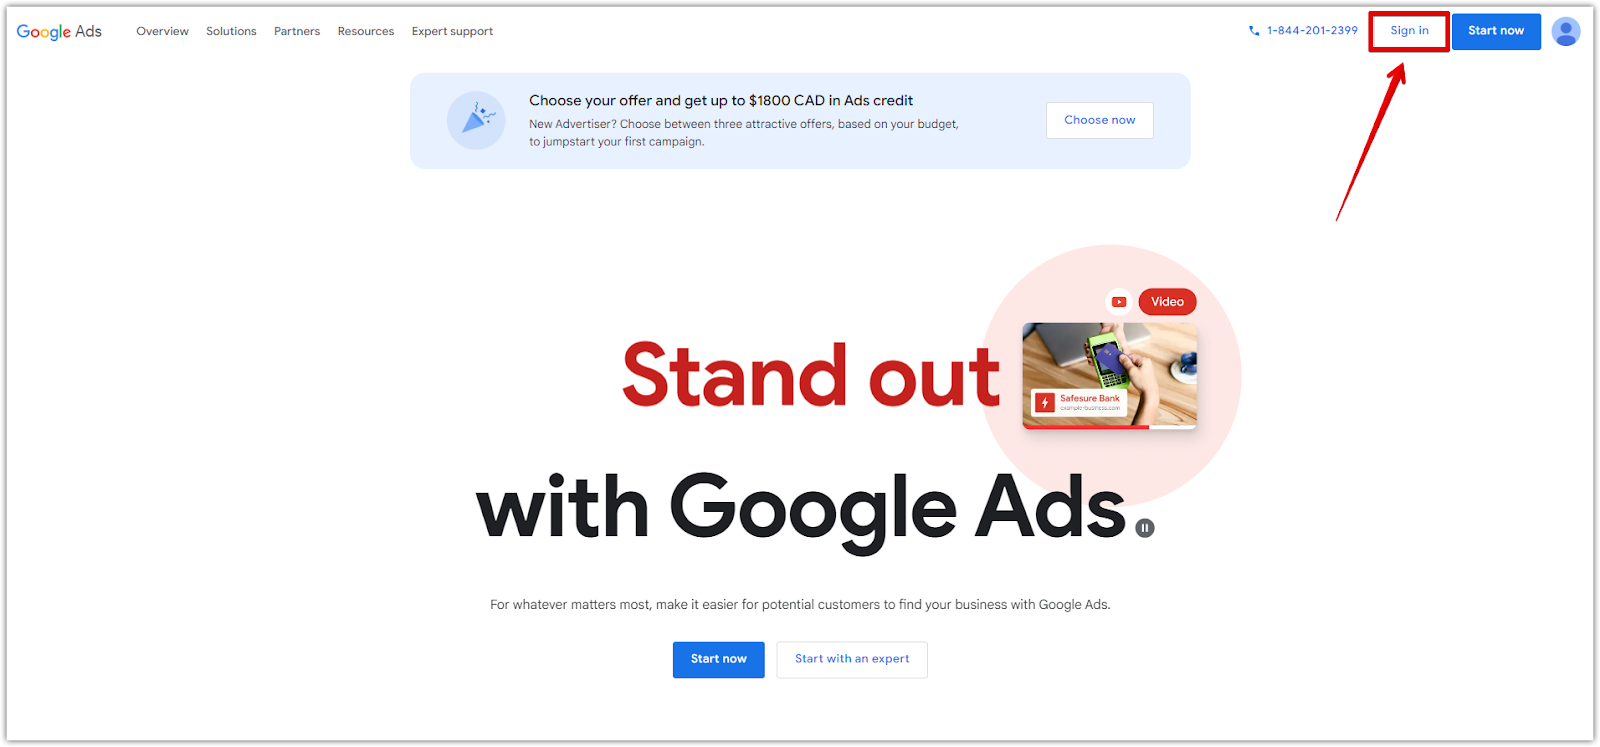
1. Log in to your Google Ads account: Start by logging into your Google Ads account to access your dashboard.
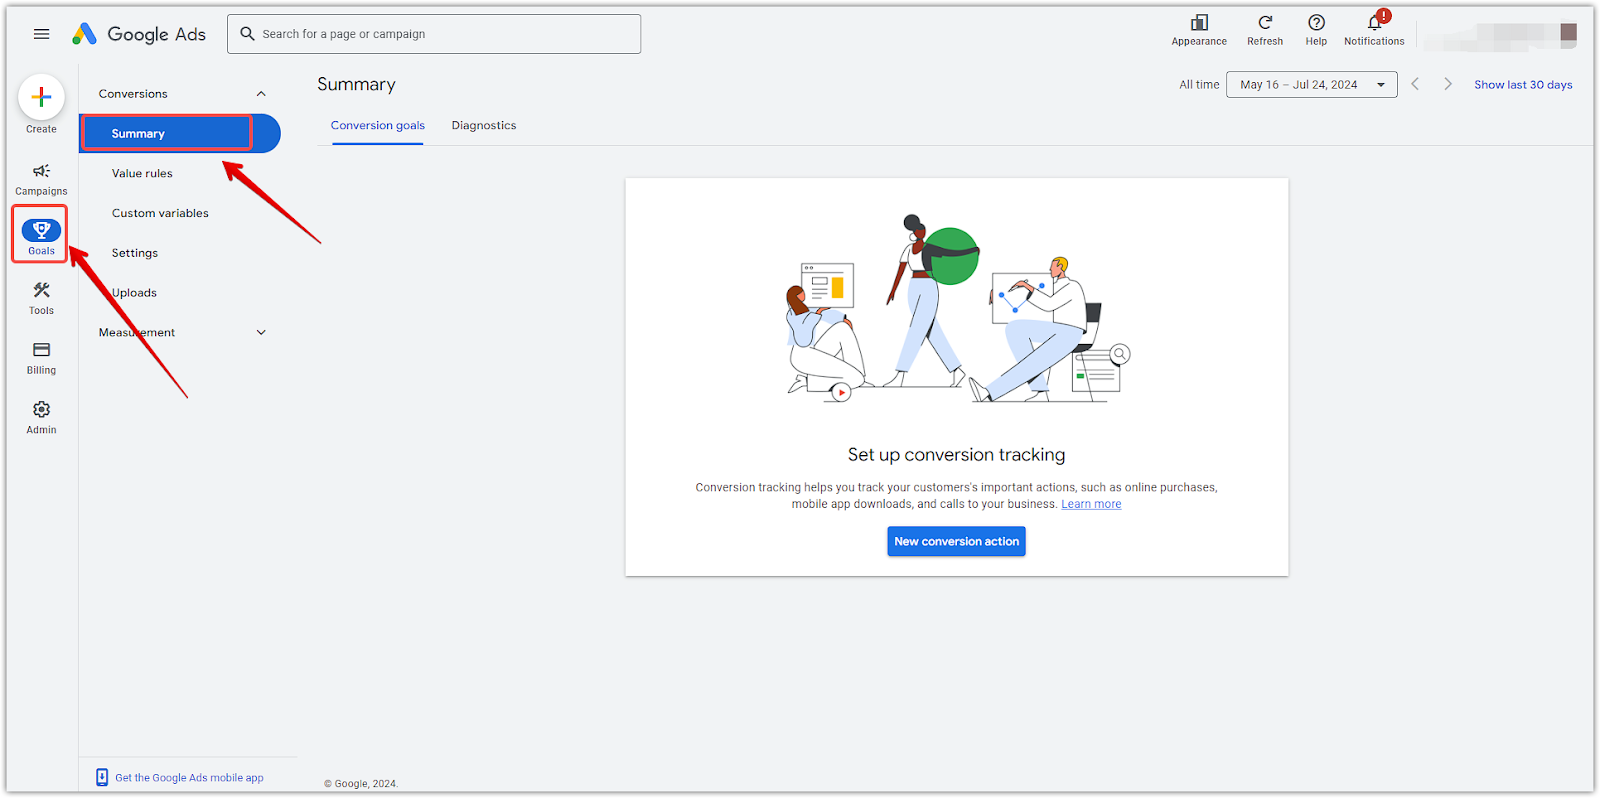
2. Navigate to goals summary: In the Google Ads dashboard, click on Goals > Summary in the left sidebar to access and manage your conversion goals.
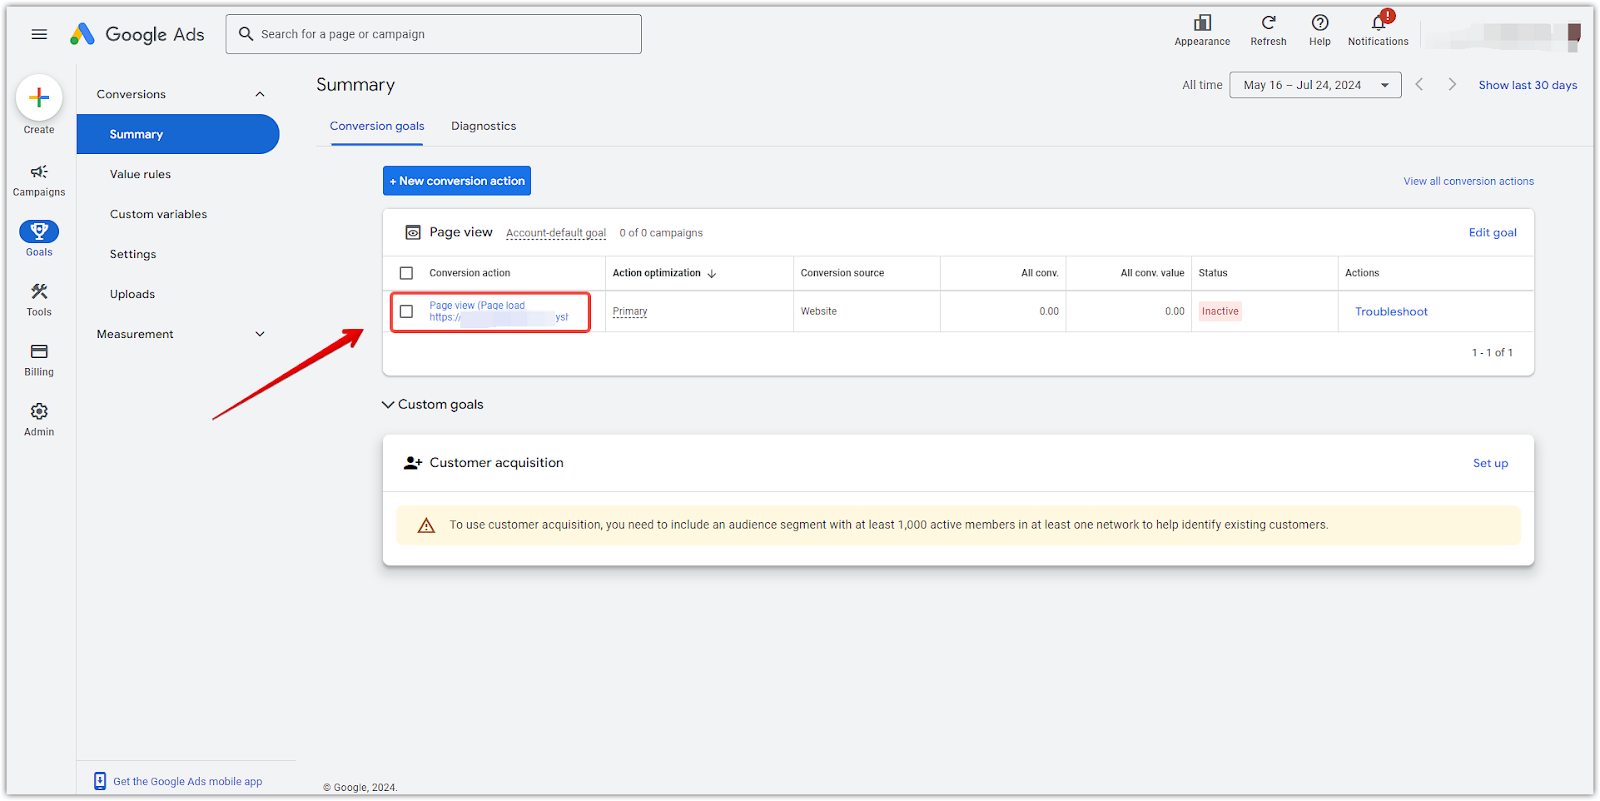
3. Select and choose a conversion metric: Under Conversion goals, select the specific conversion tracking metric you want to install on your website.
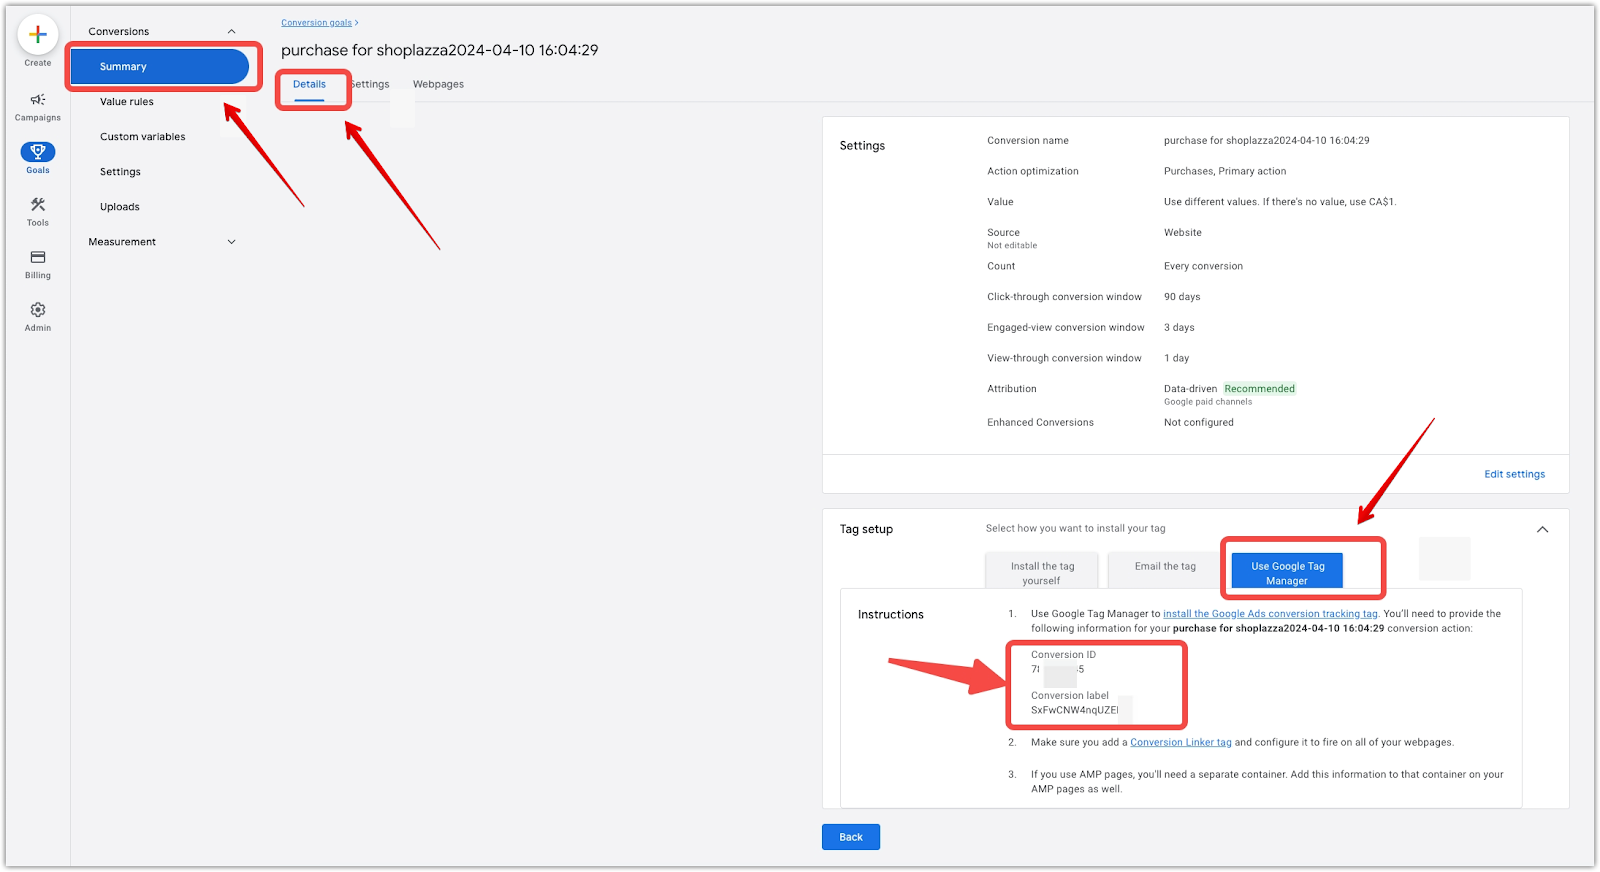
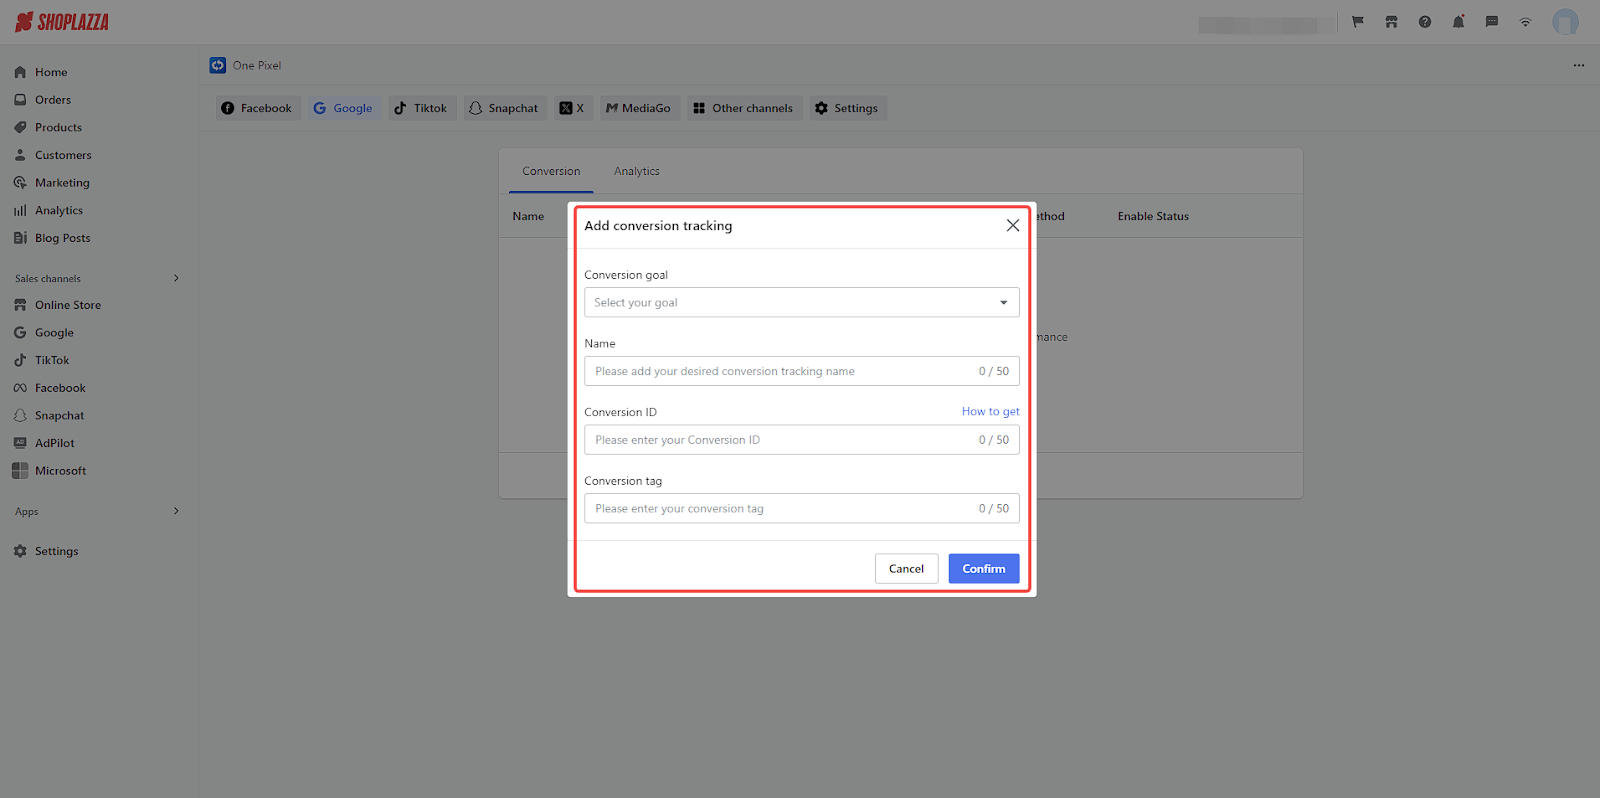
4. Copy your Conversion ID and Label: In the Summary, click on Details for the selected metric. Under the instructions, copy the Conversion ID and Conversion Label.
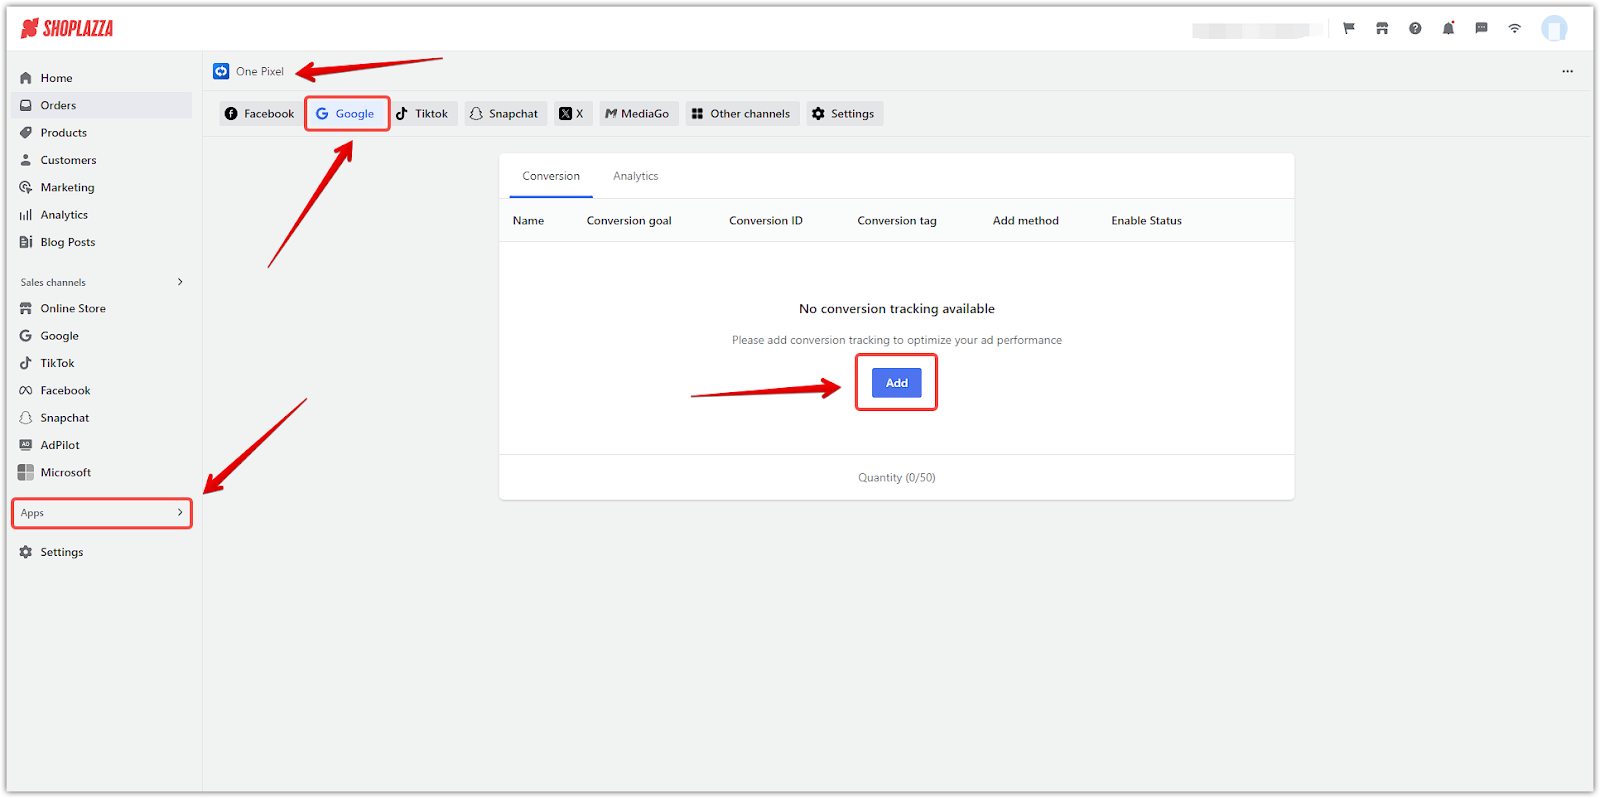
5. Add Google Conversion tracking in Shoplazza: In your Shoplazza admin, go to Apps > OnePixel > Google and click Add. Paste the Conversion ID and Label into the designated fields and click Confirm to save the settings.
By following these steps, you’ll successfully integrate Google conversion tracking into your Shoplazza store. This integration helps you gather critical data on how well your ads are converting, giving you the insights needed to refine your advertising strategies across multiple channels and improve overall performance.


Comments
Please sign in to leave a comment.