
Enhance the visual appeal of your store and build trust with your customers by adding a virtual Instagram section. This feature allows you to craft simulated Instagram posts, complete with personalized text and images, emulating the look and feel of an active Instagram feed directly within your store's layout. This infuses your store's design with a fresh, social media-inspired aesthetic, fosters customer engagement, and piques interest through creatively crafted, simulated posts. By showcasing this type of social proof, even in a simulated way, you can enhance your brand's credibility and encourage potential customers to feel more confident in choosing your store. It's an excellent option for those who aim to project a dynamic social media presence without utilizing actual Instagram content.
Install the Instagram Show app to seamlessly integrate your real Instagram feed, packed with shoppable posts.
Adding an Instagram section
This guide outlines the process of adding a section to your online store that mirrors an Instagram feed, using customizable posts and images.
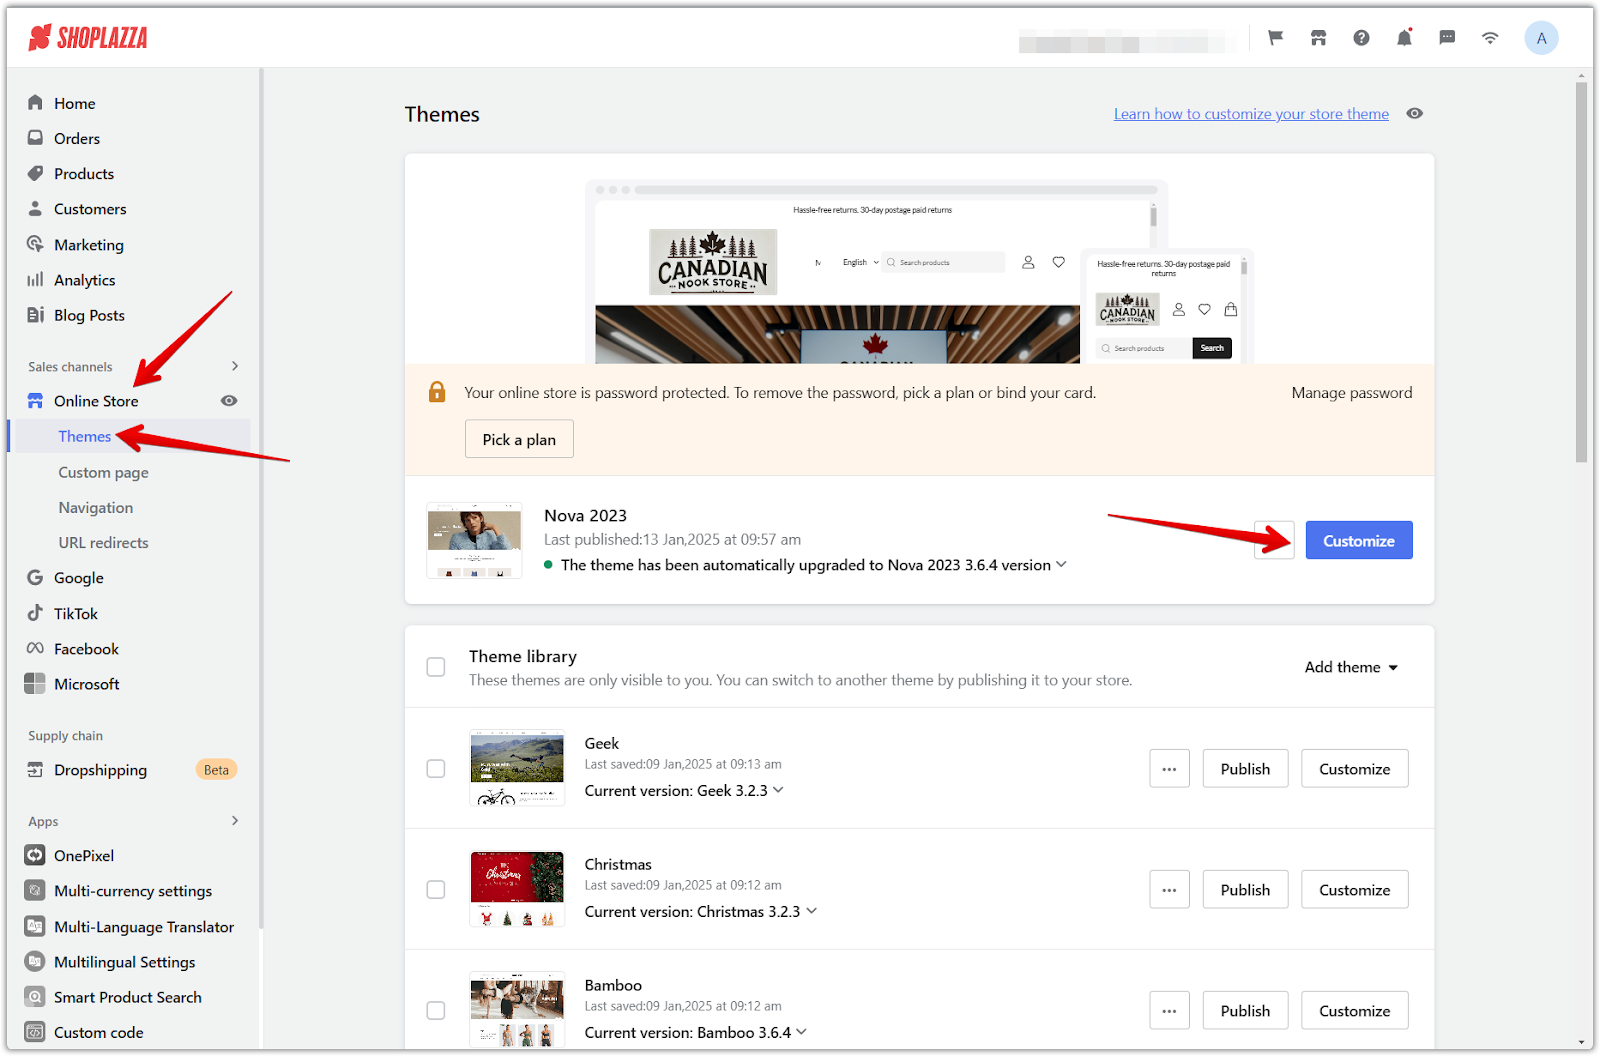
1. Access the theme editor: From your Shoplazza Admin, go to Online Store > Themes. Click Customize next to your desired theme.
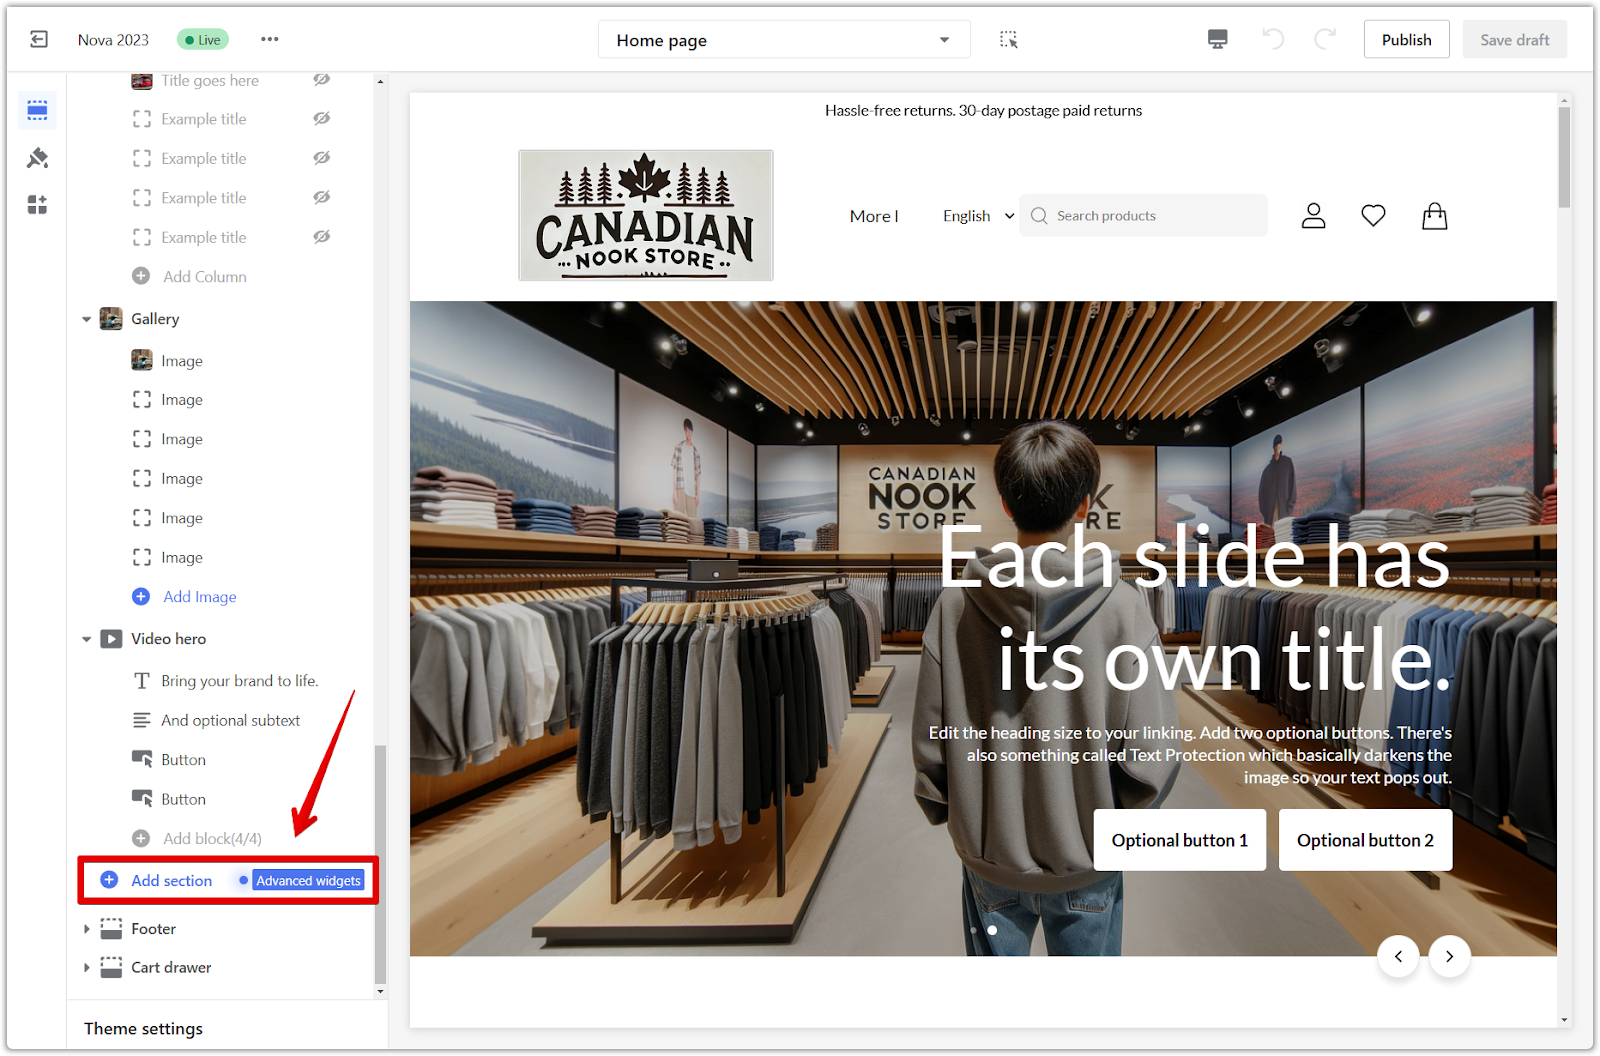
2. Add a section: Scroll down and click Add section to view the available sections.
3. View more sections: Click Show more to explore additional sections.

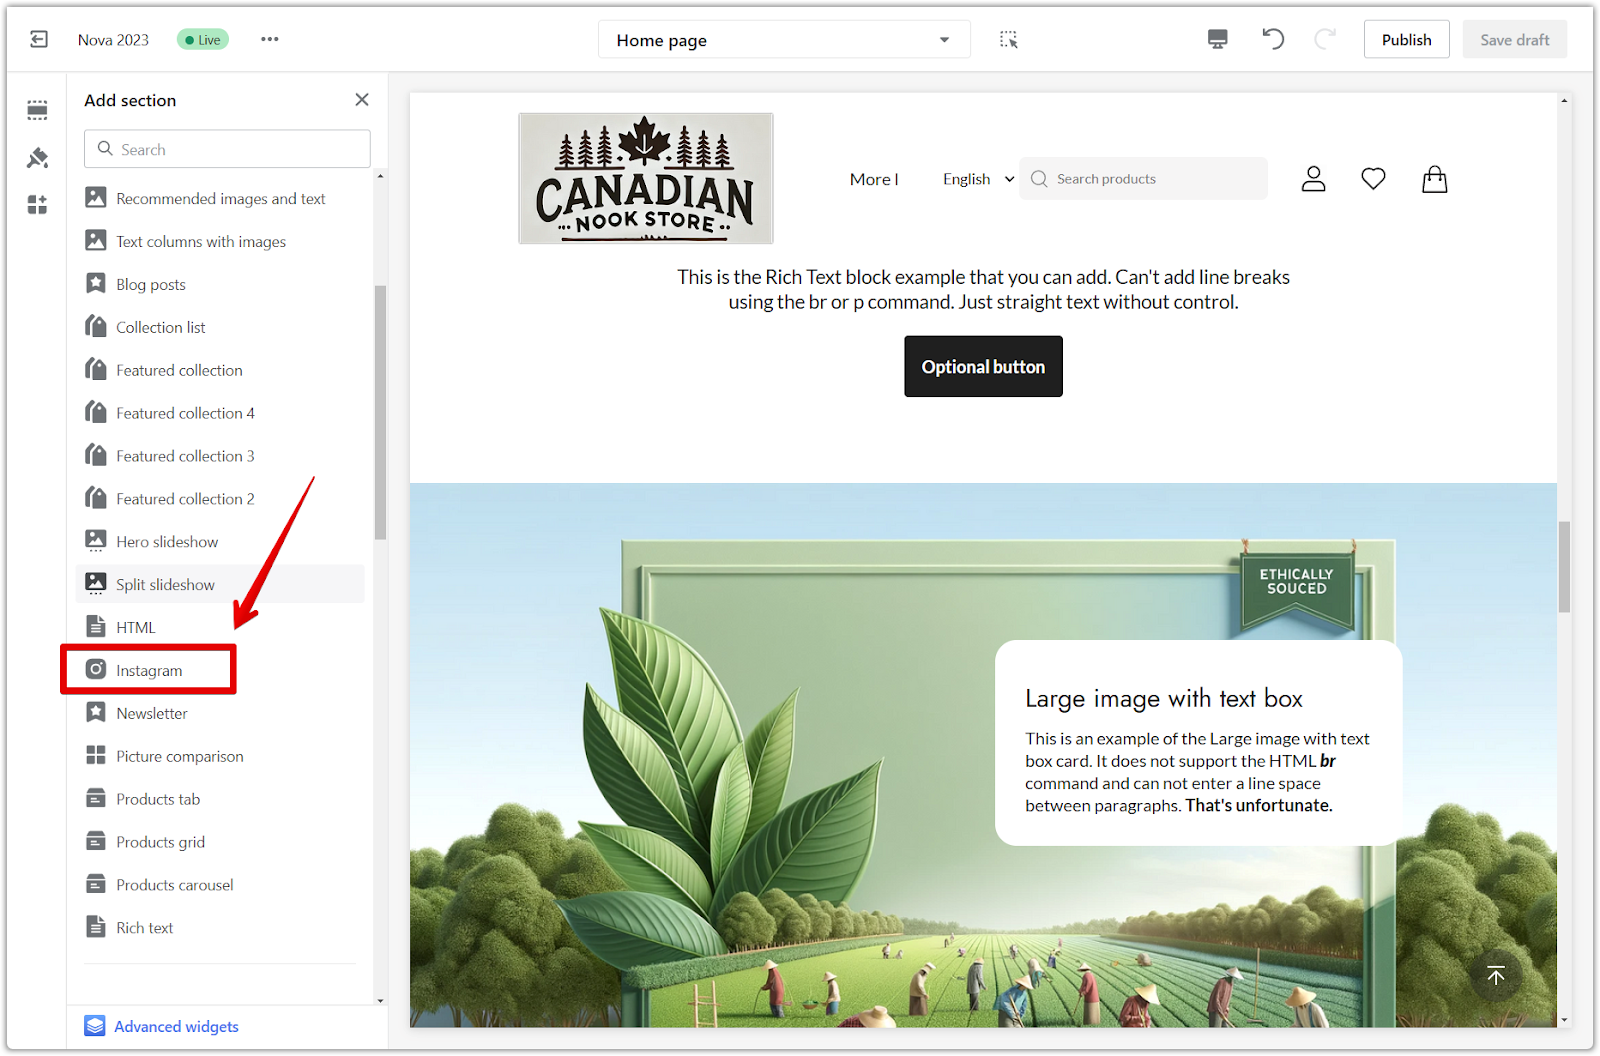
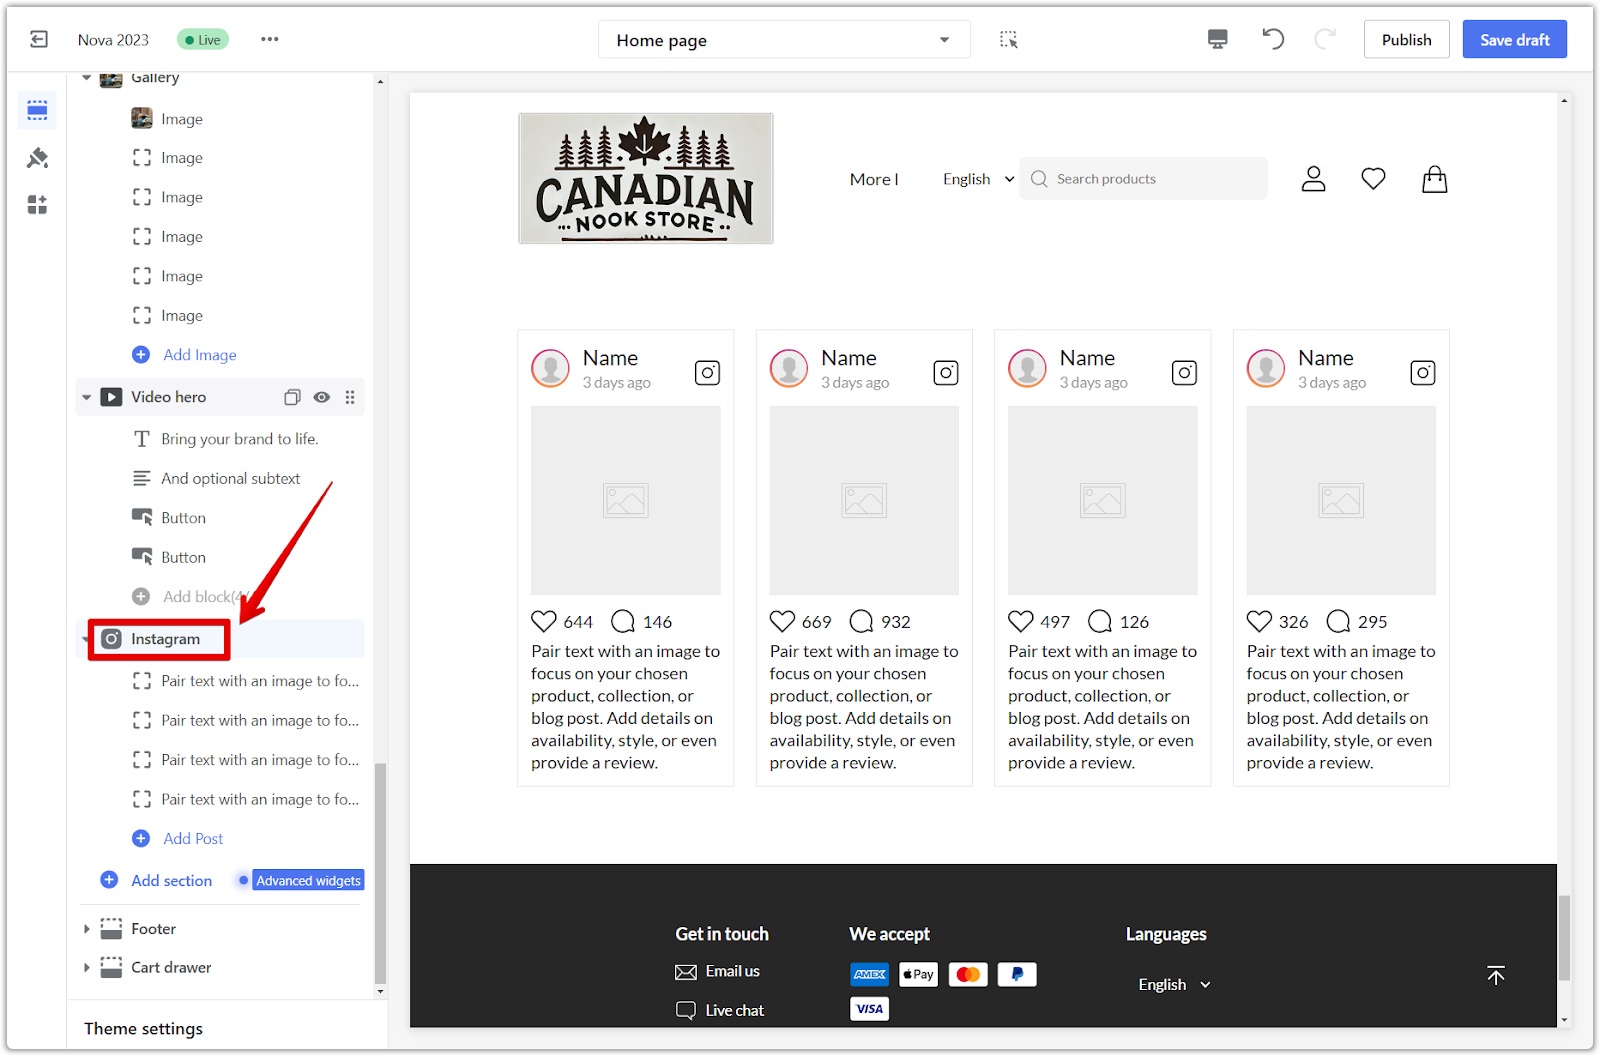
4. Select the Instagram section: Under Theme Sections, select Instagram, and configure your settings.
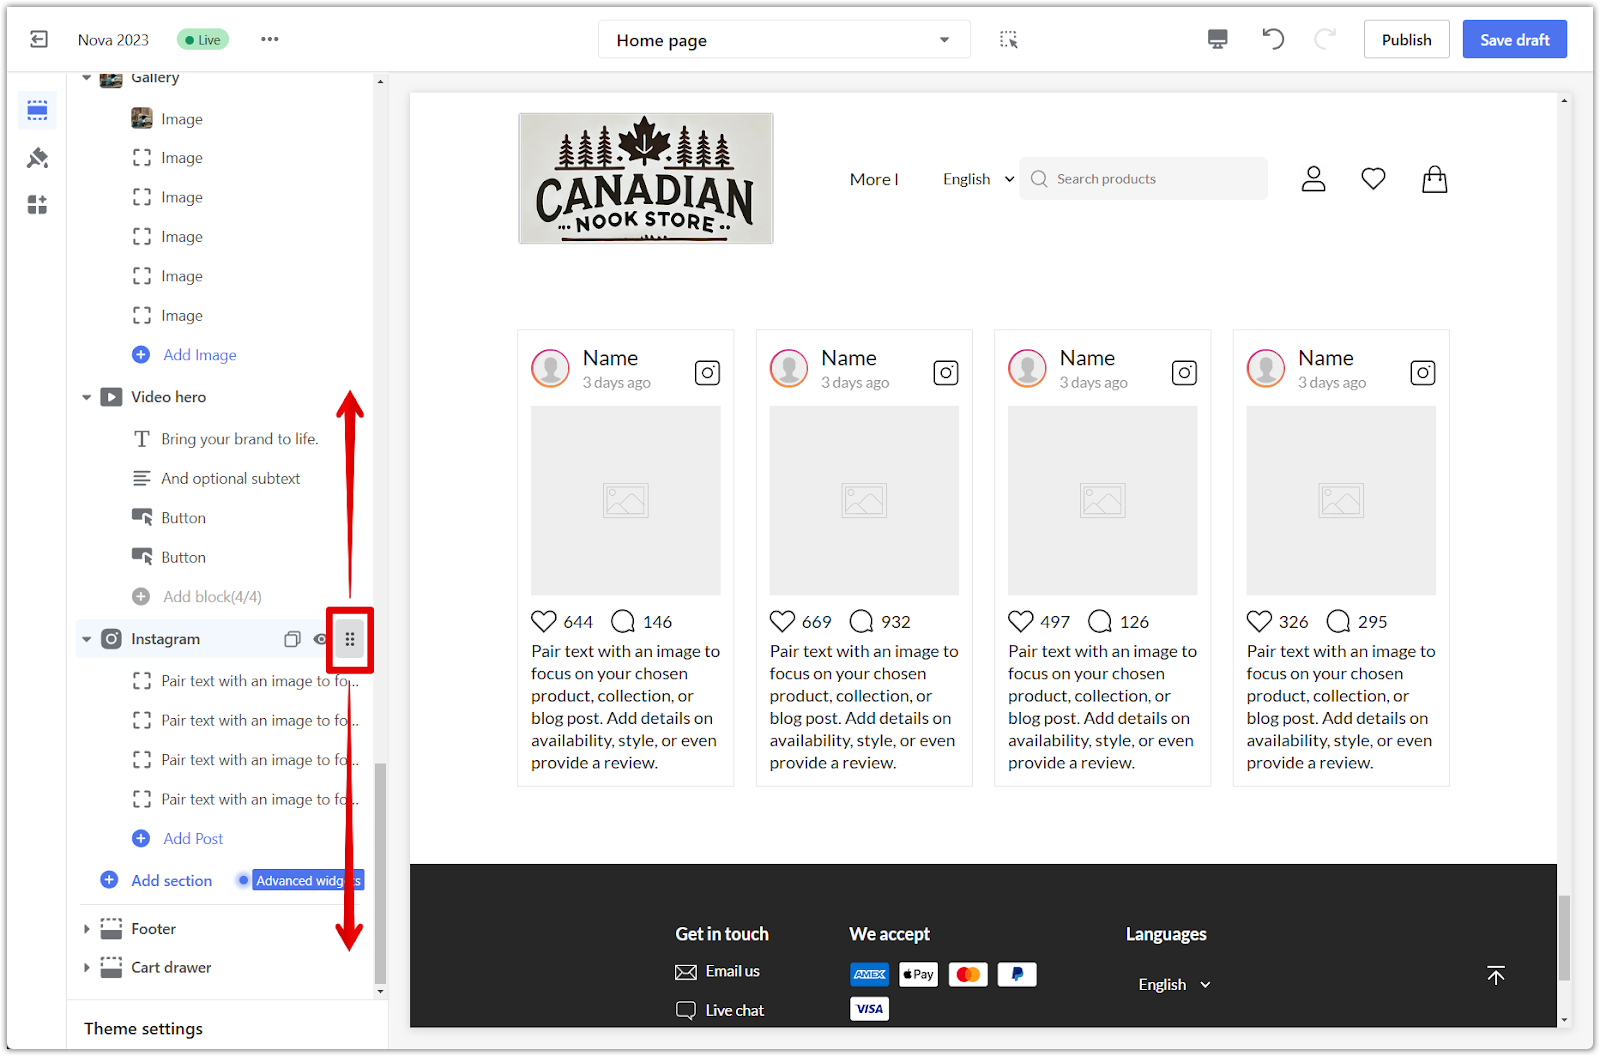
5. Reorder sections: Click and drag the drop icon to rearrange the sections as needed.
Customizing the section
This section provides options to customize the overall look of your virtual Instagram feed.
1. Configure section: Click on the section title to configure the Instagram section.
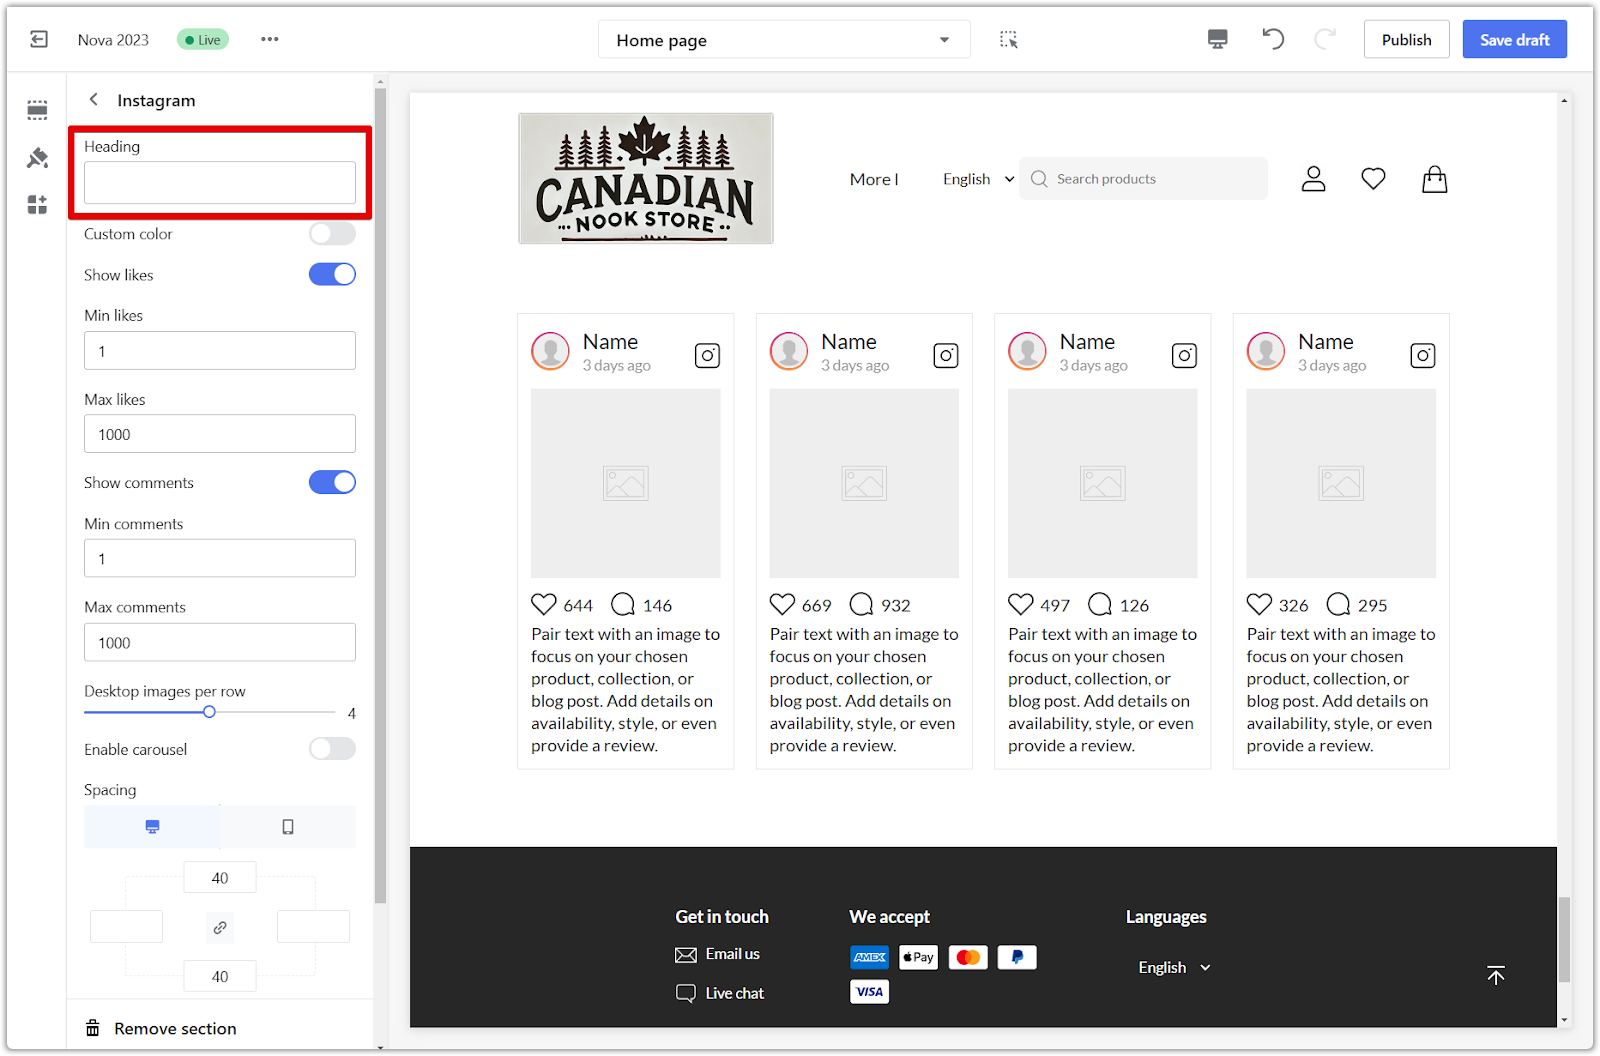
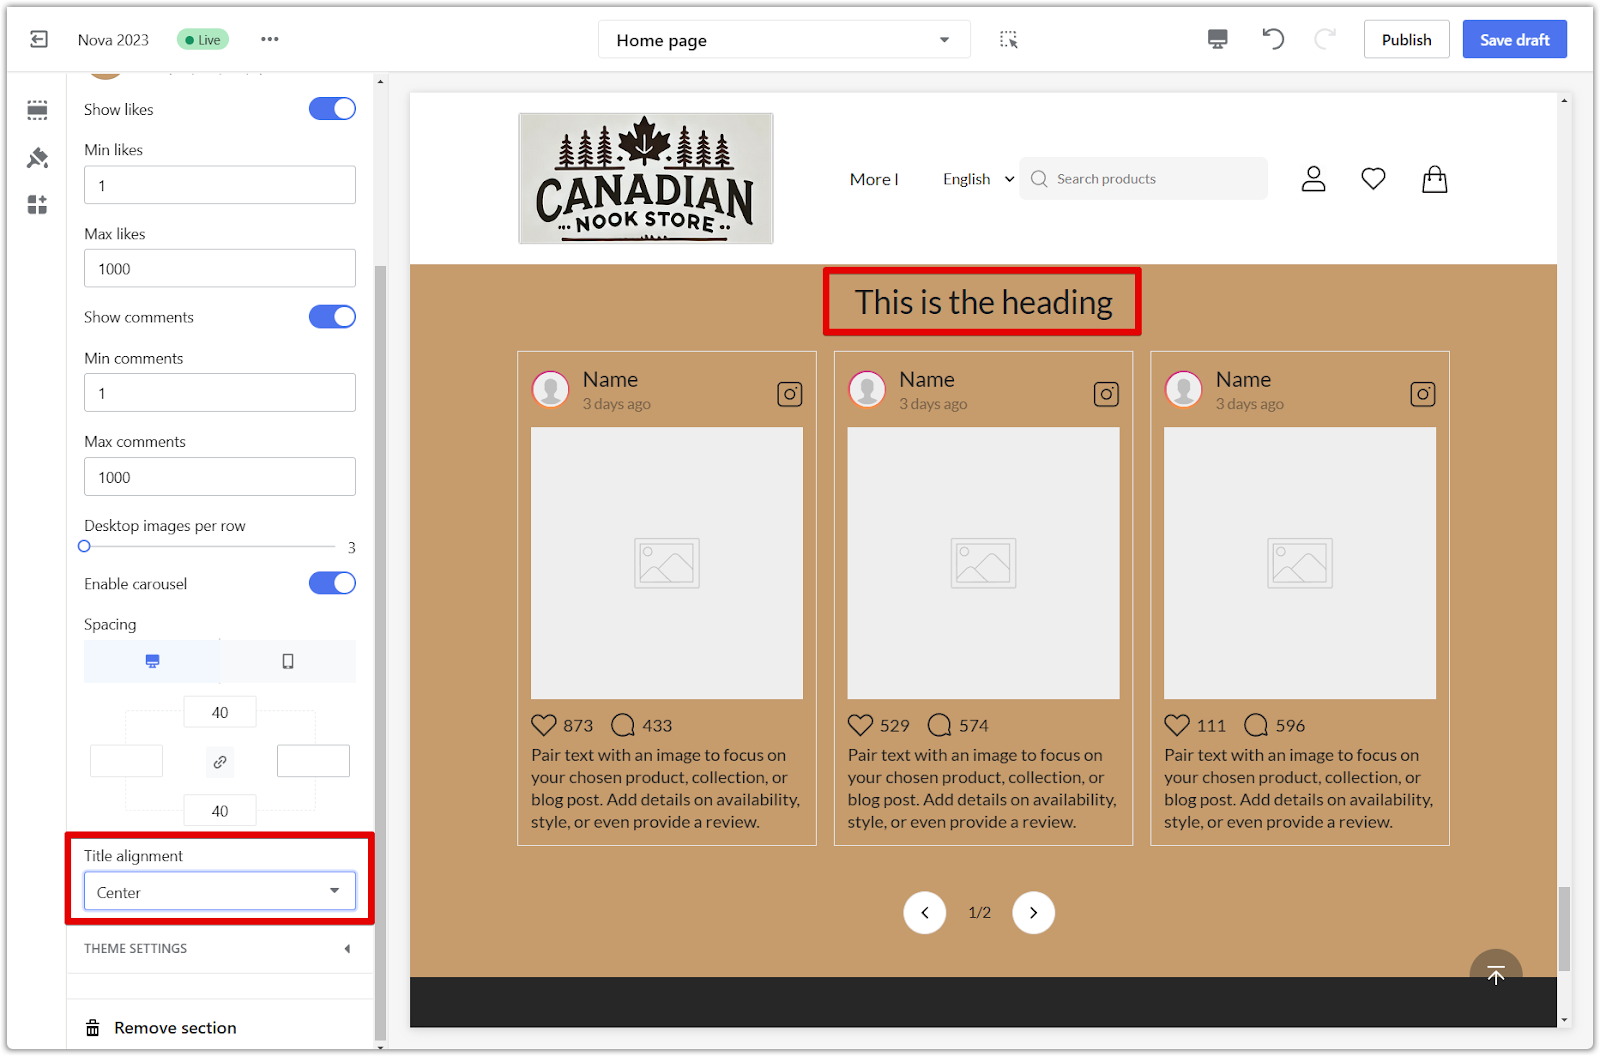
2. Heading: Set the title that will appear above your virtual Instagram posts.
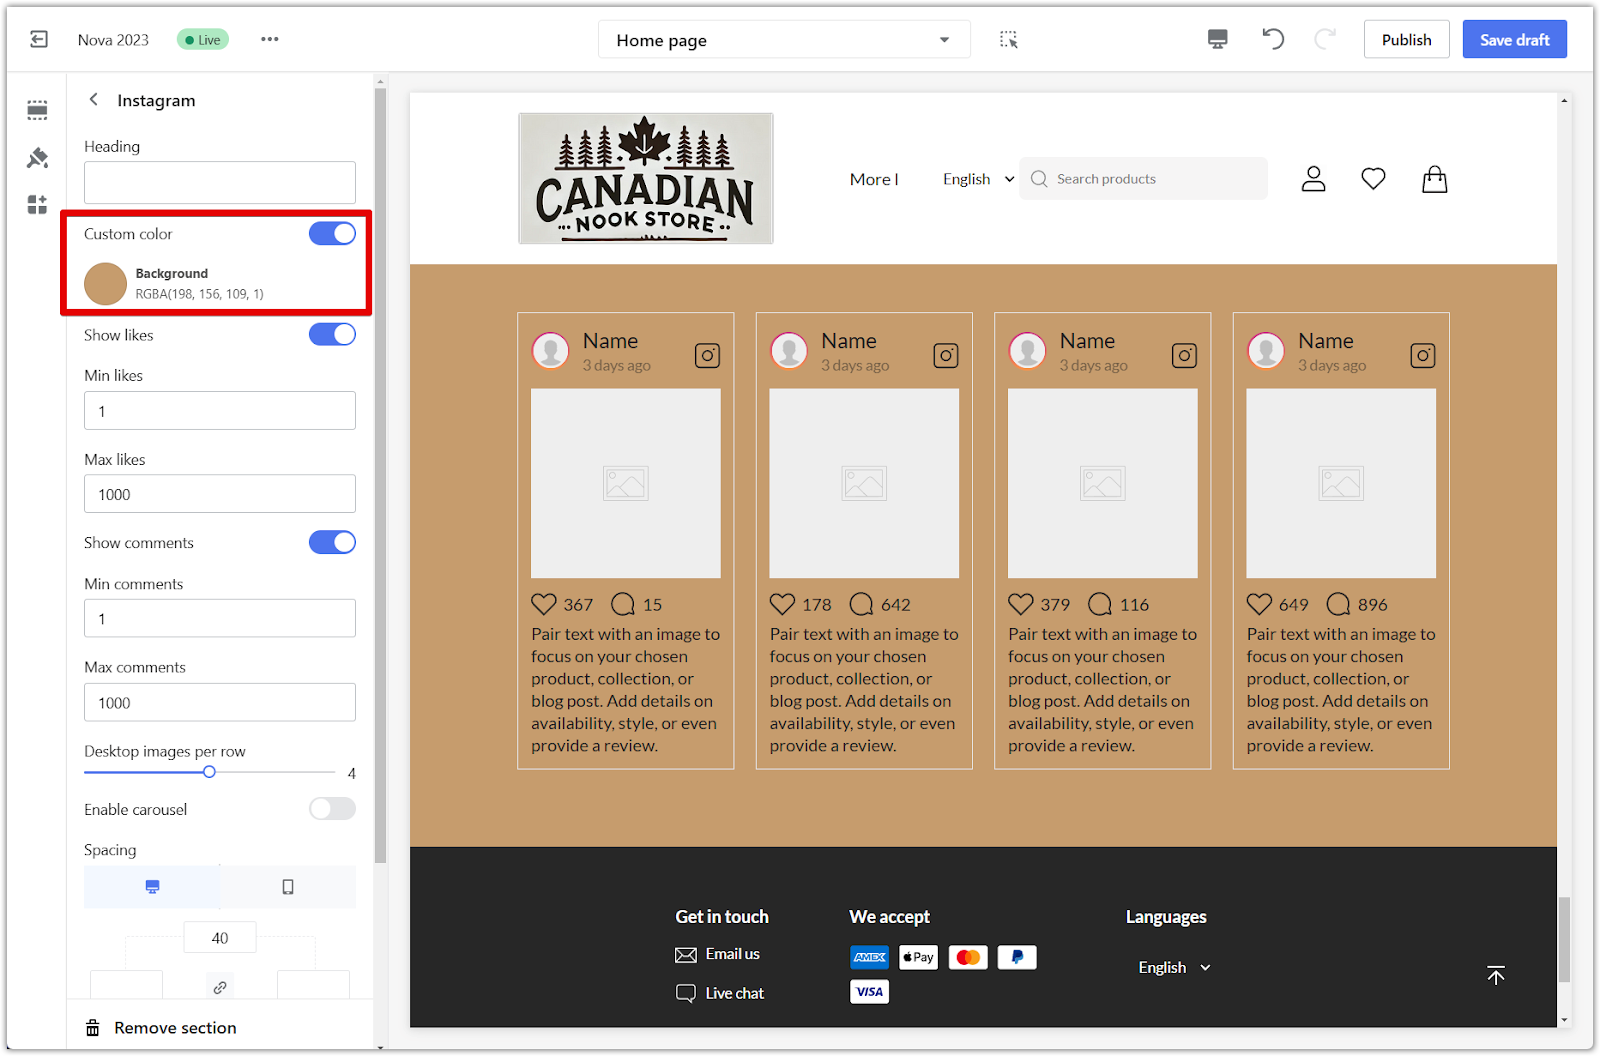
3. Custom color: Choose a color that effectively complements your store's design and highlights the Instagram section.
4. Show likes: Display a range of simulated "likes" on each post to enhance the sense of social proof. Set the minimum and maximum number of likes to appear.
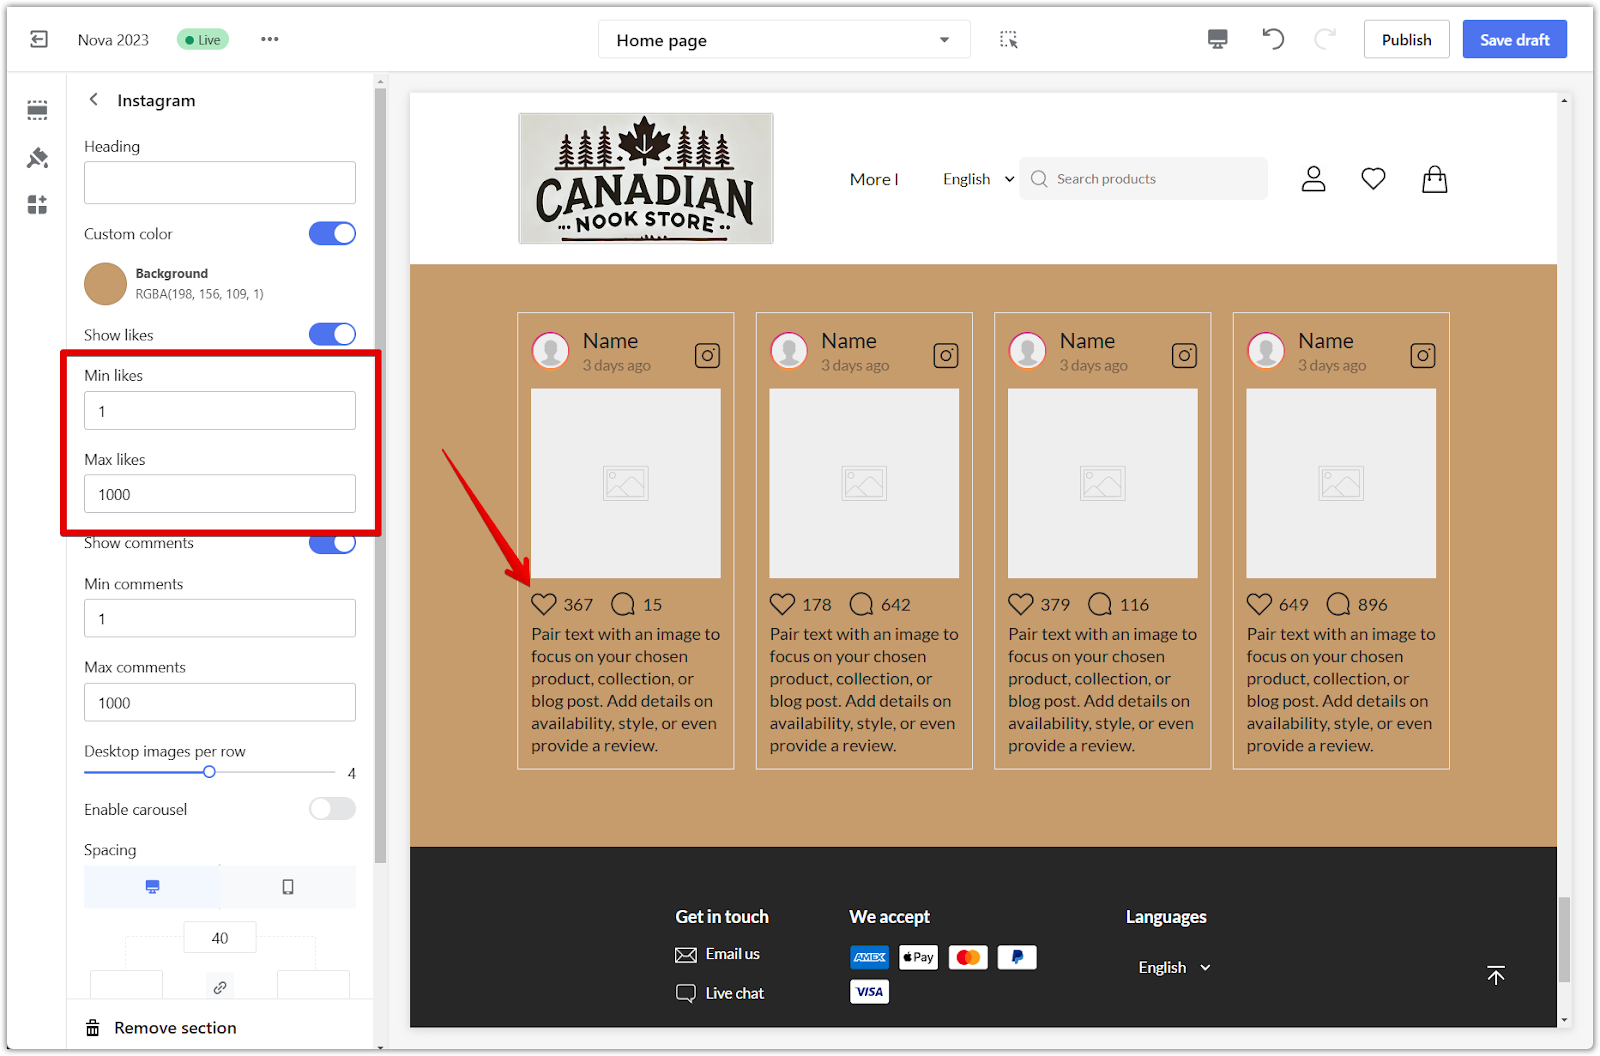
Note
The displayed 'likes' are randomly generated, not actual data. For a genuine representation of your Instagram activity, install the Instagram Show app via your Shoplazza Admin > Apps.
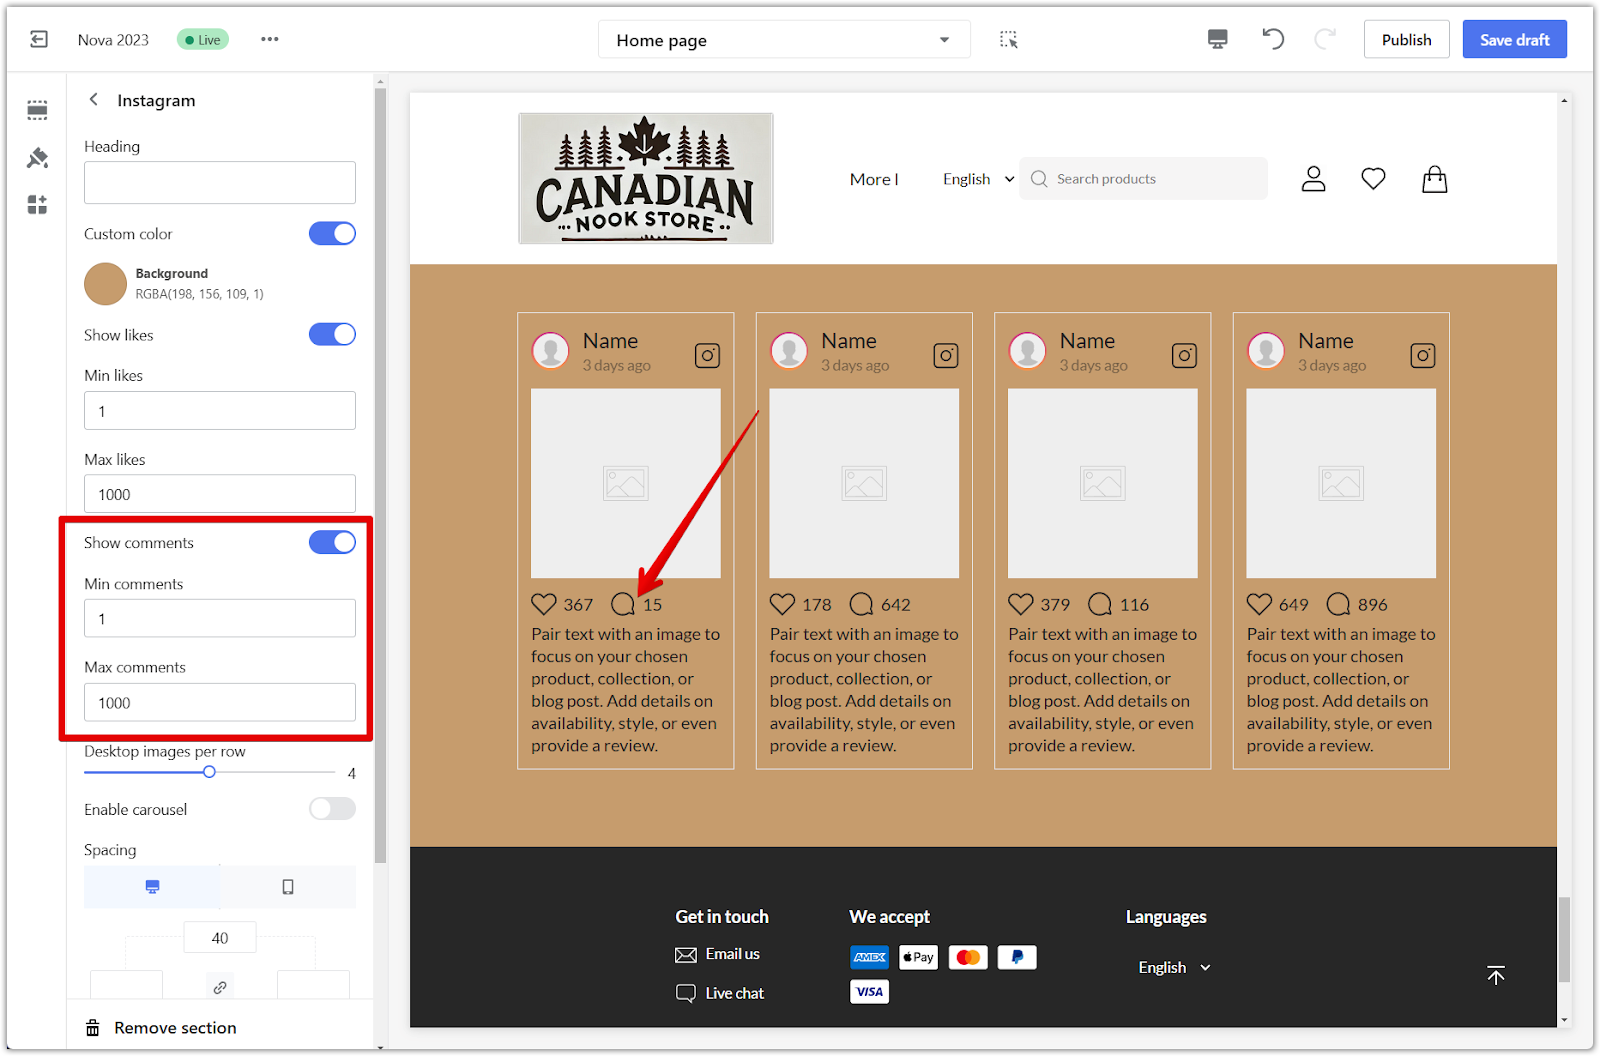
5. Show comments: Present a range of simulated comments on each post, further reinforcing social proof. Set the minimum and maximum number of comments to appear.
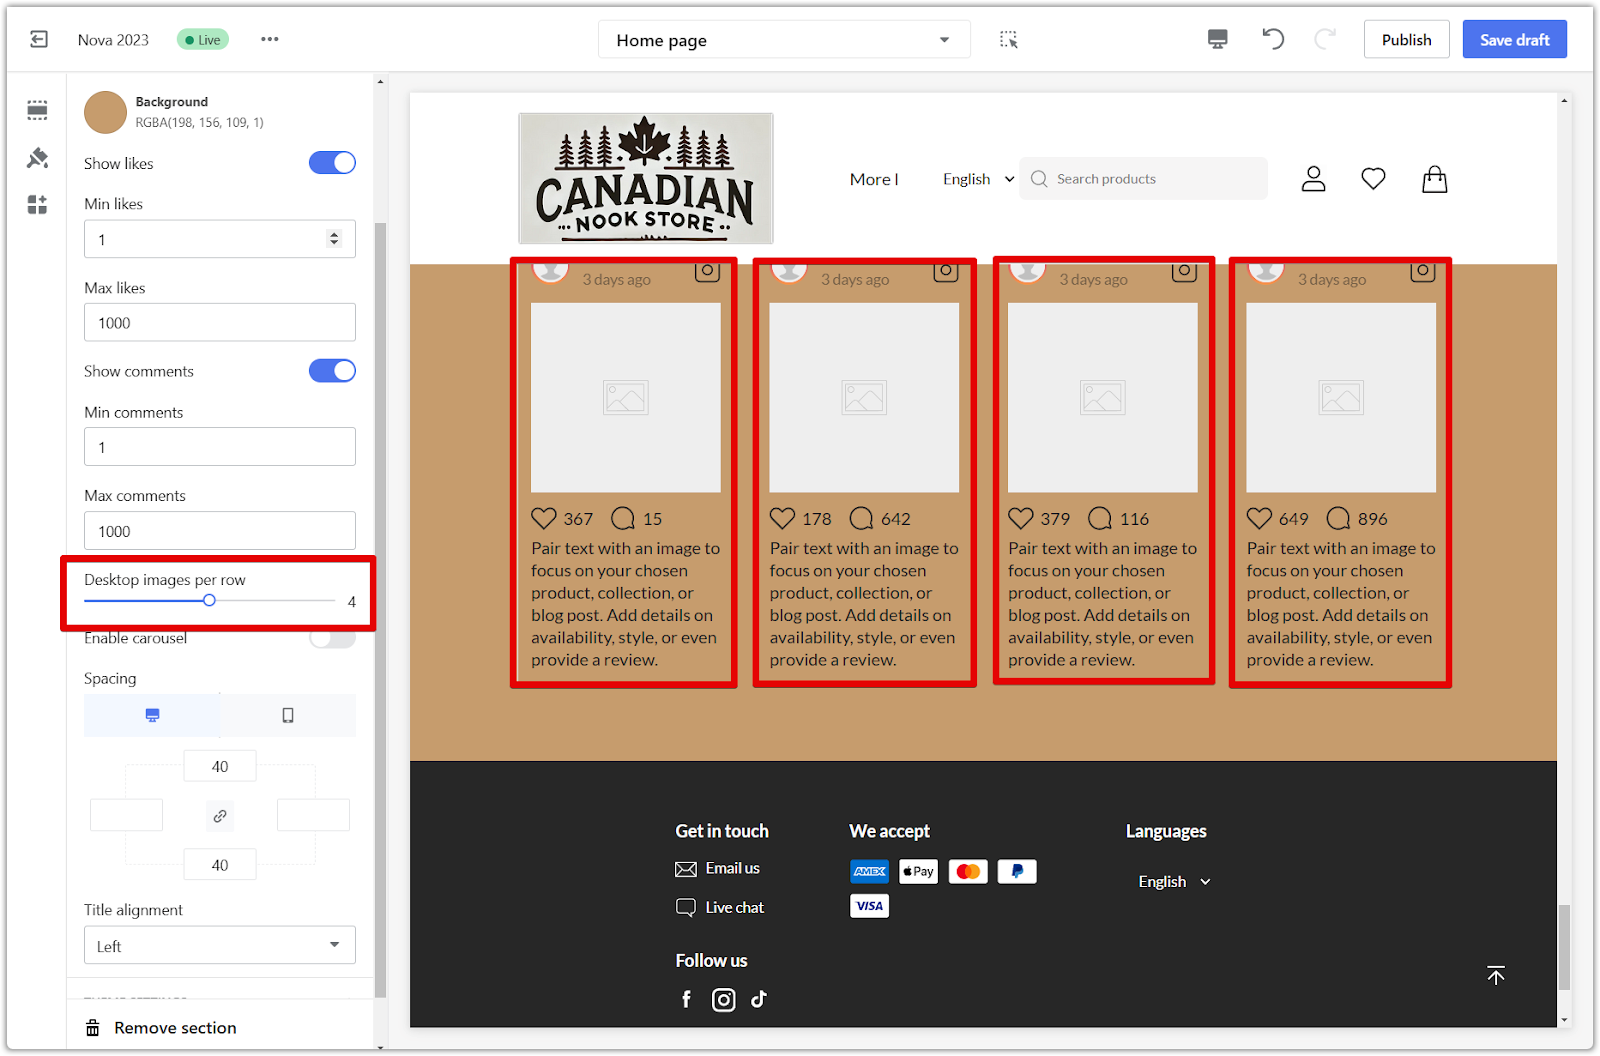
6. Desktop images per row: Determine the number of virtual Instagram posts to display per row on desktop devices, optimizing the visual layout.
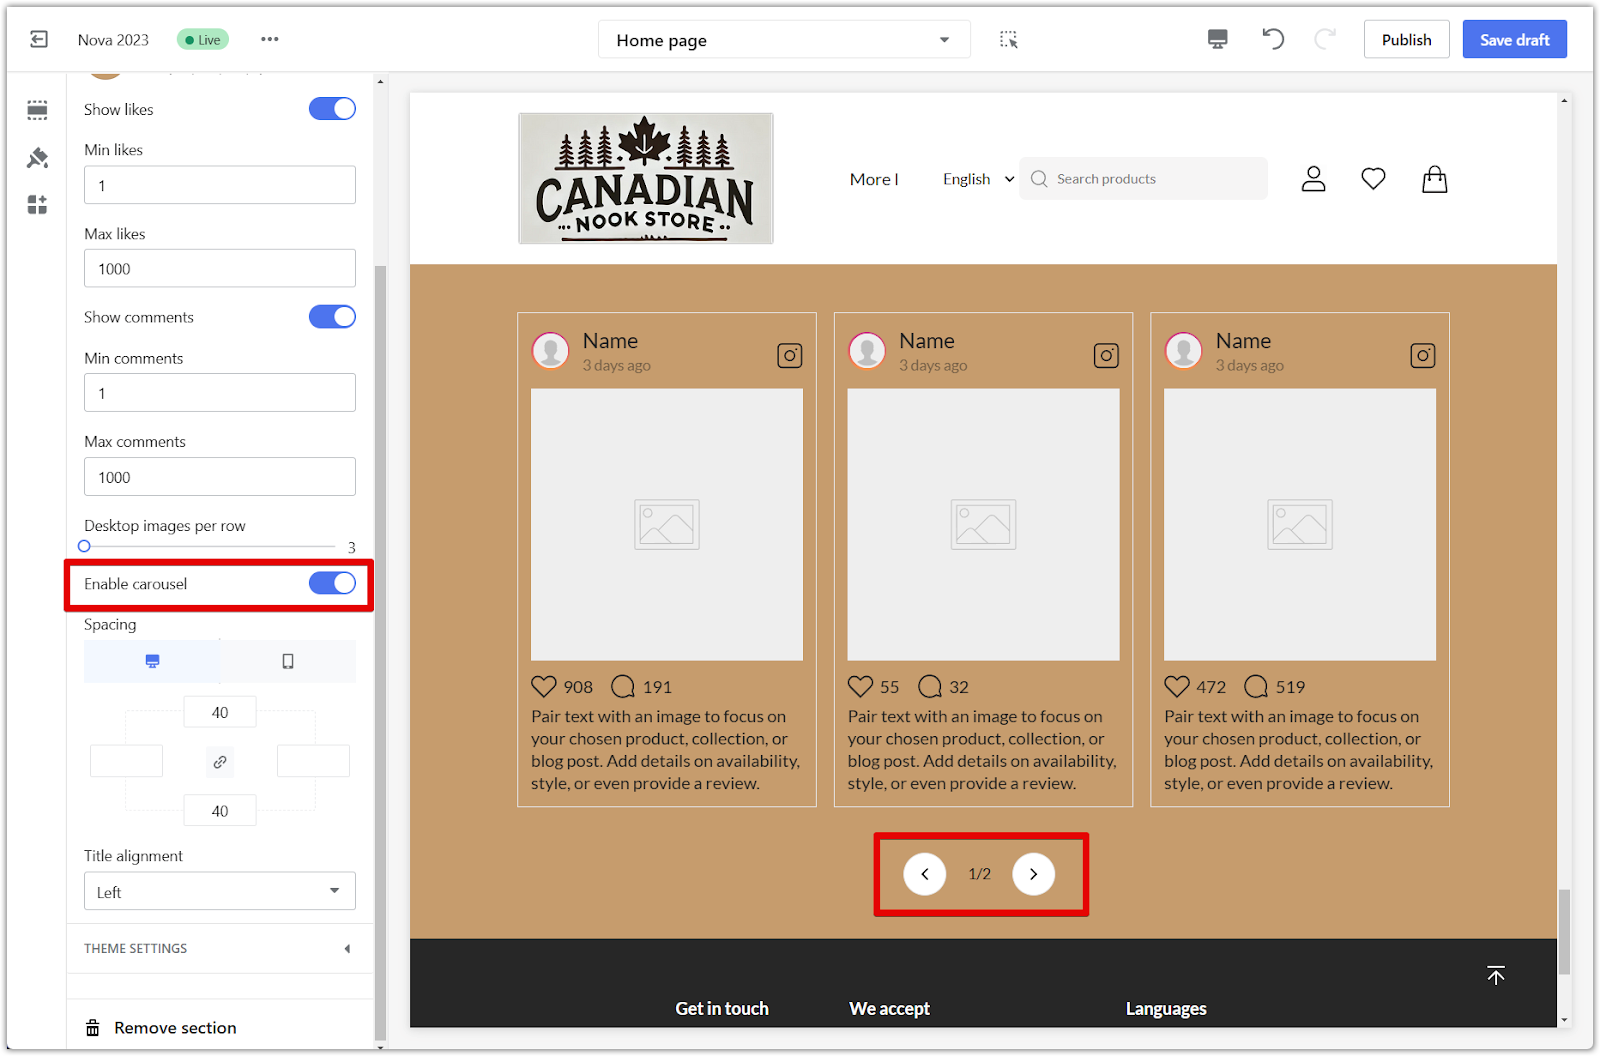
7. Enable carousel: The carousel feature allows you to showcase your virtual Instagram posts in an engaging slideshow format. Remember that this requires a minimum of four posts.
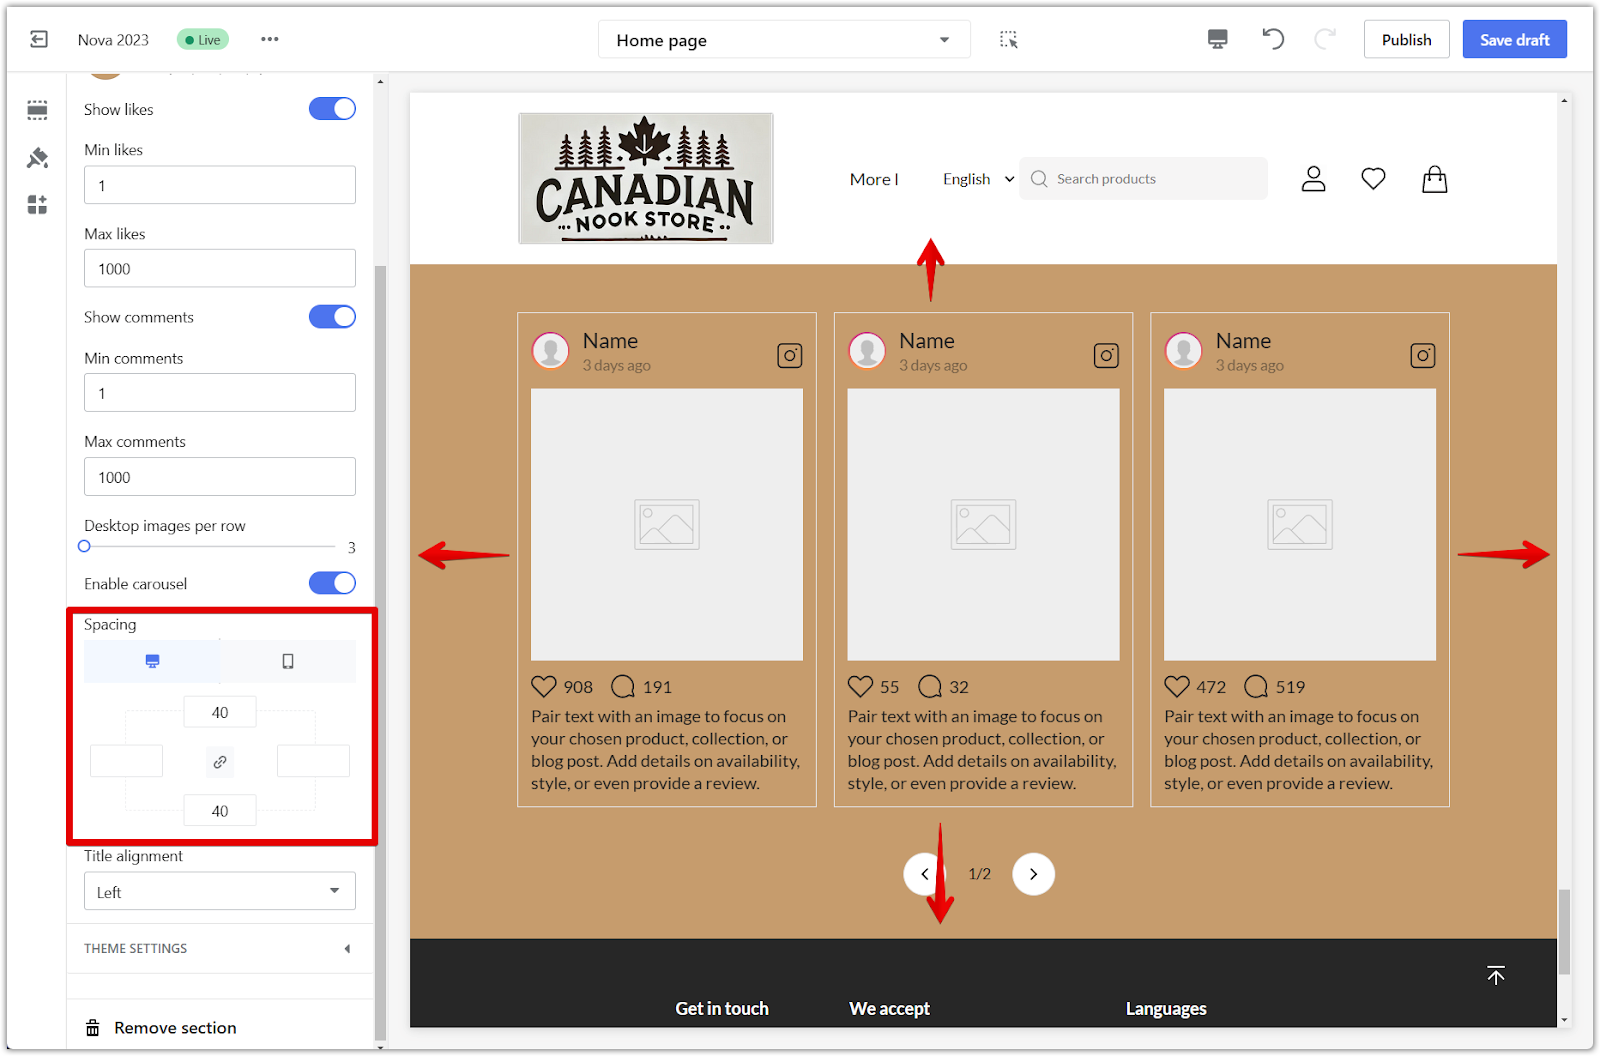
8. Spacing: Use the padding editor to fine-tune the spacing around your virtual Instagram section. Activate the linkage icon and type a number (measured in pixels) in any of the 4 columns to add padding, or manually adjust each input by disabling the linkage icon. Refer to the provided example to illustrate how to increase the negative spaces on each side.
9. Title alignment: Control the positioning of the section title by selecting left, center, or right alignment.
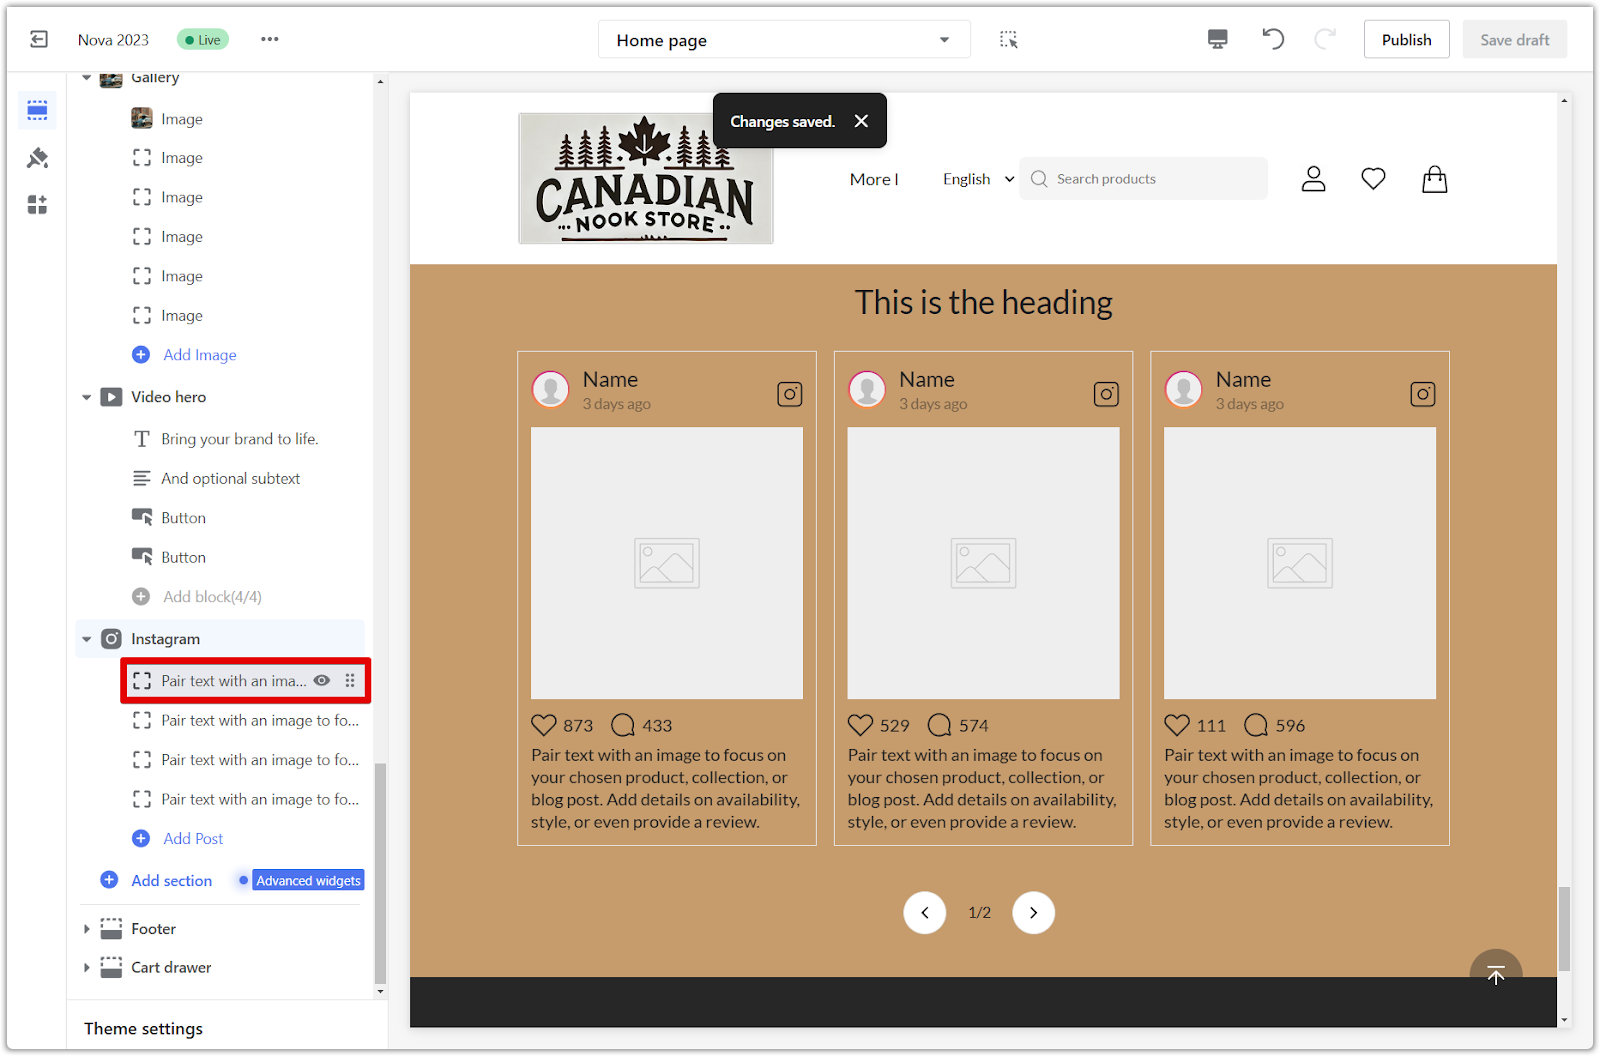
Customizing the blocks
Personalize each post's content to make your virtual Instagram feed truly unique.
1. Personalizing posts: Tailor each post block with your chosen content.
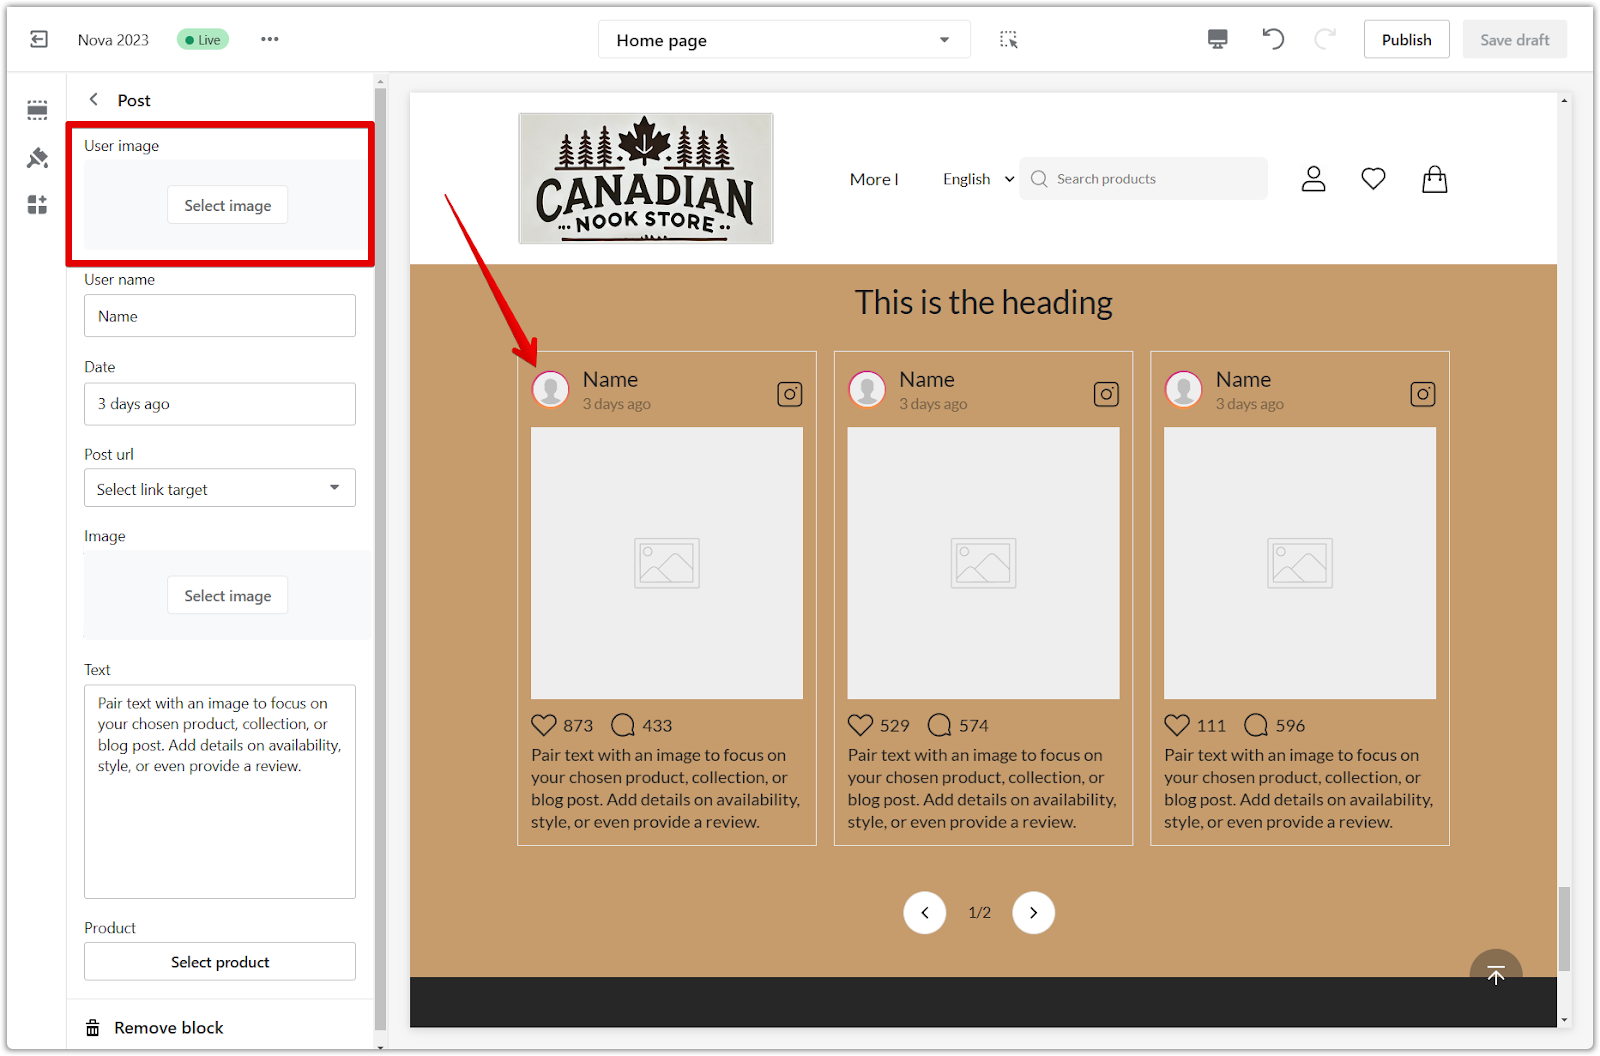
2. User image: Select an image from your library as the user's profile picture.
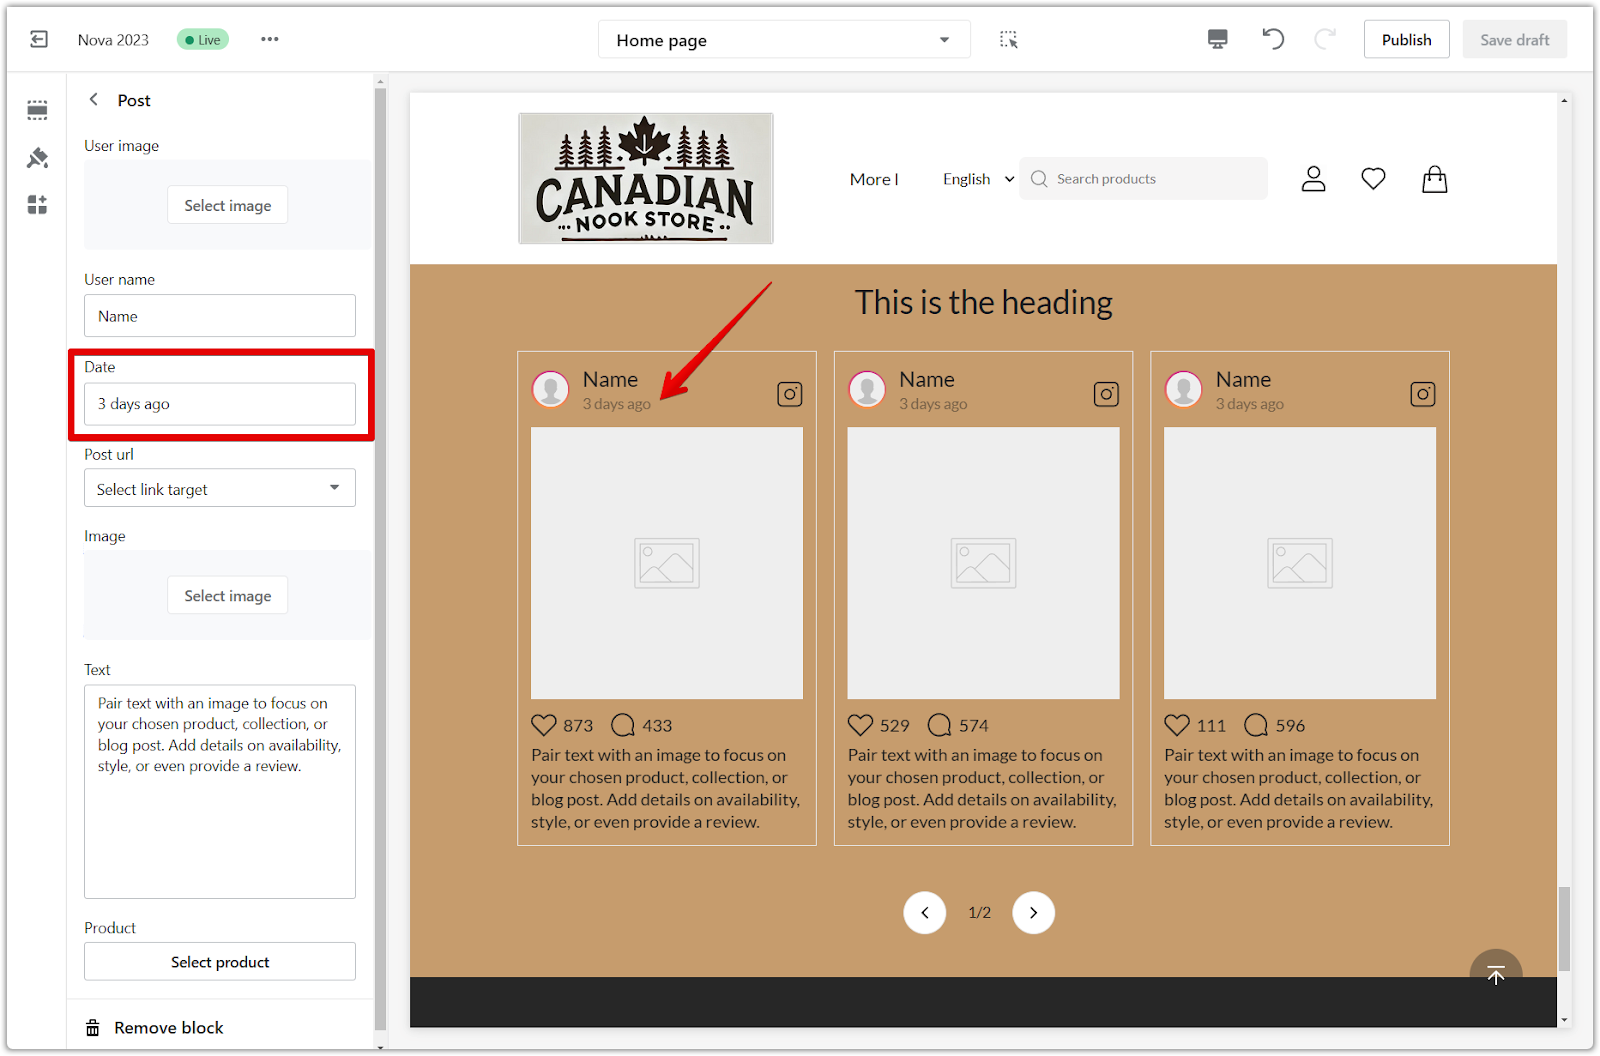
3. User name: Assign a fictional username to the post.

4. Date: Set a fictional timestamp for the post.
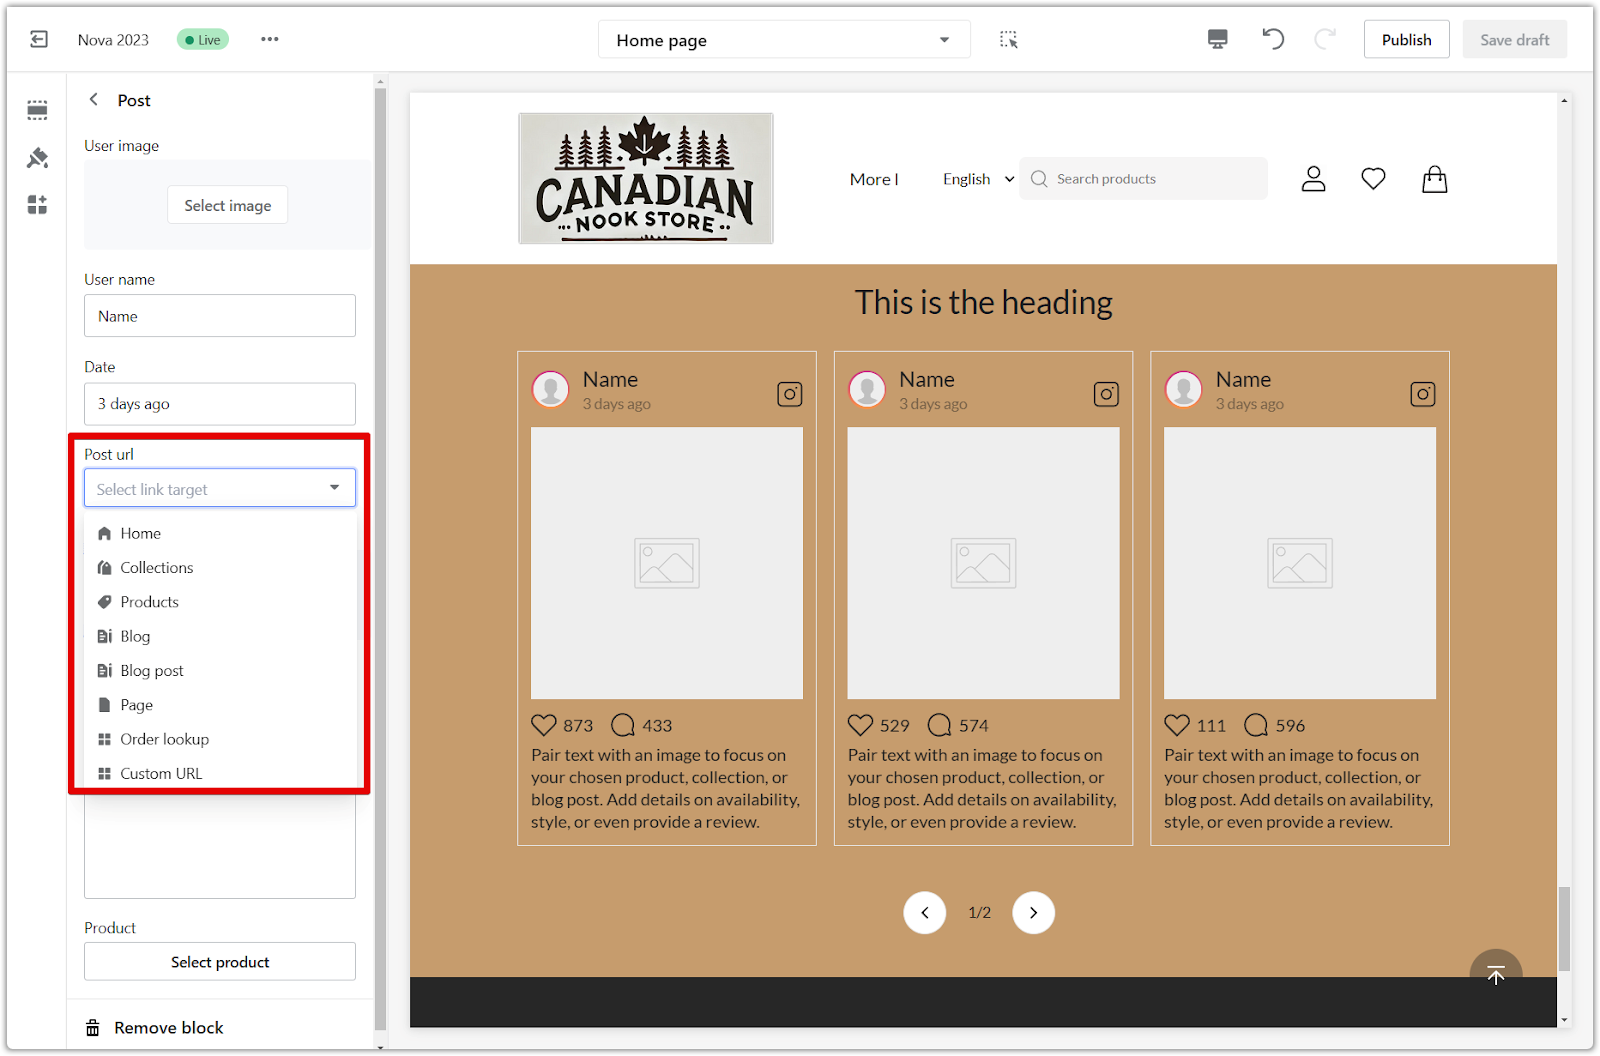
5. Post URL: Link the post to a specific URL, providing a clickable link for users. Select the appropriate link target.
6. Image: Choose an image from your library or from free image sources to display within the post.

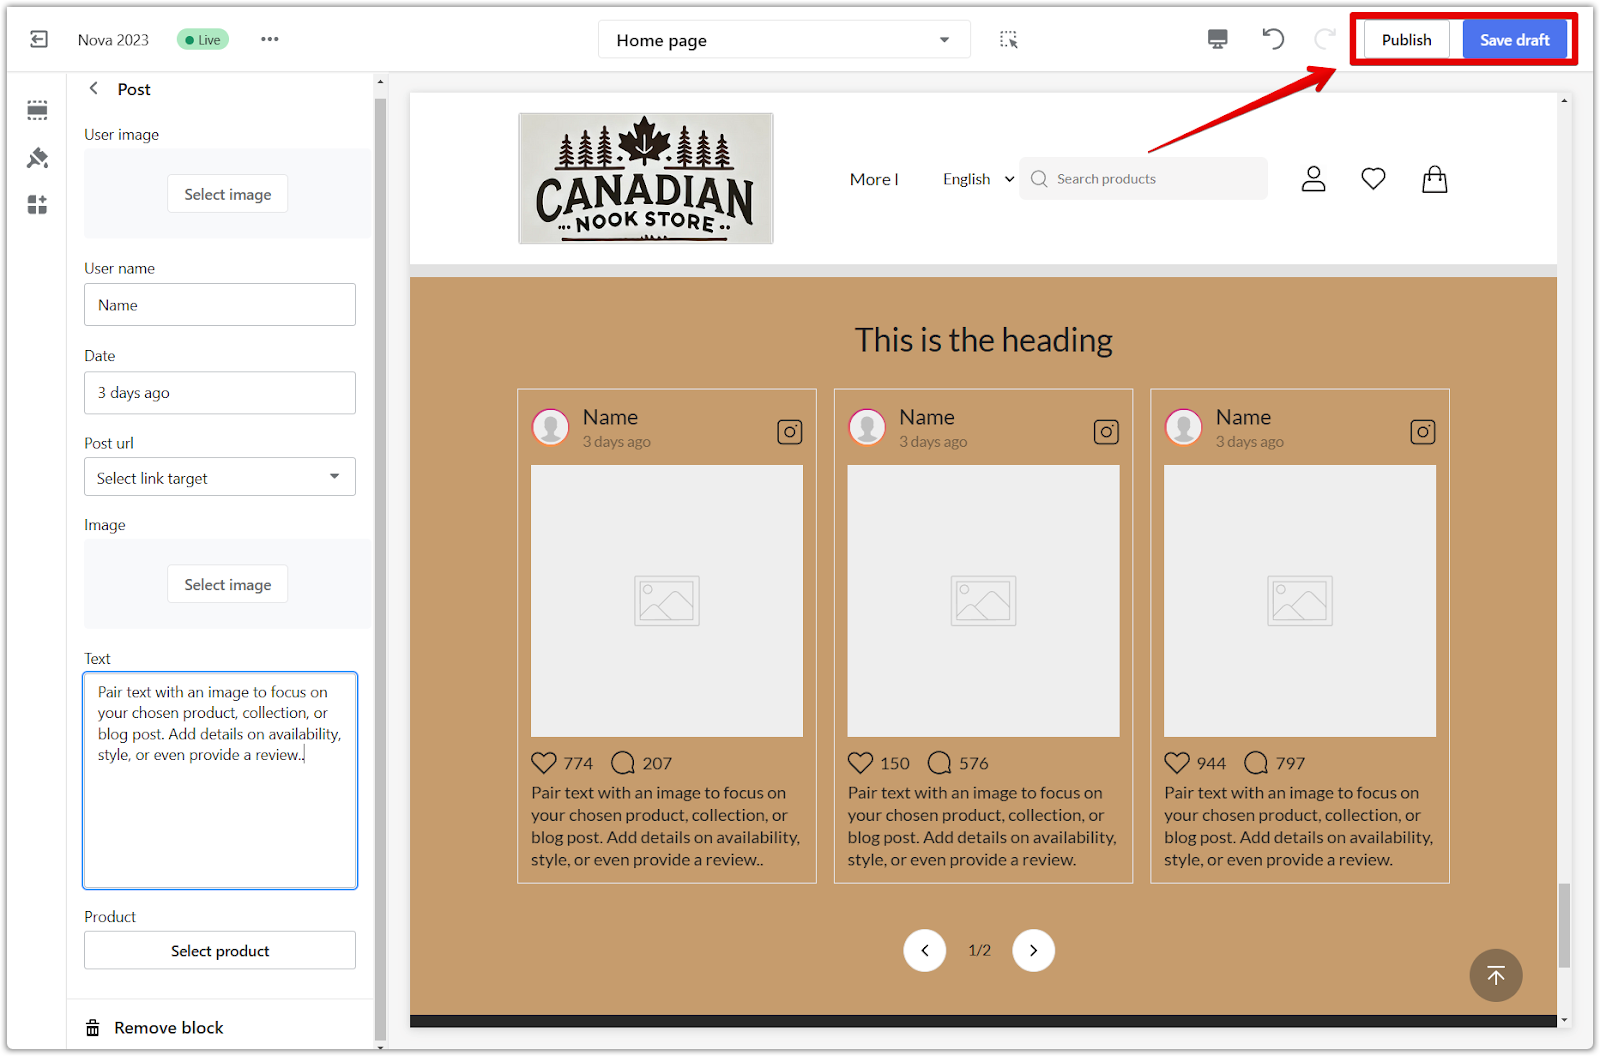
7. Text: Craft engaging descriptions to accompany the image, creating compelling content for the virtual post.

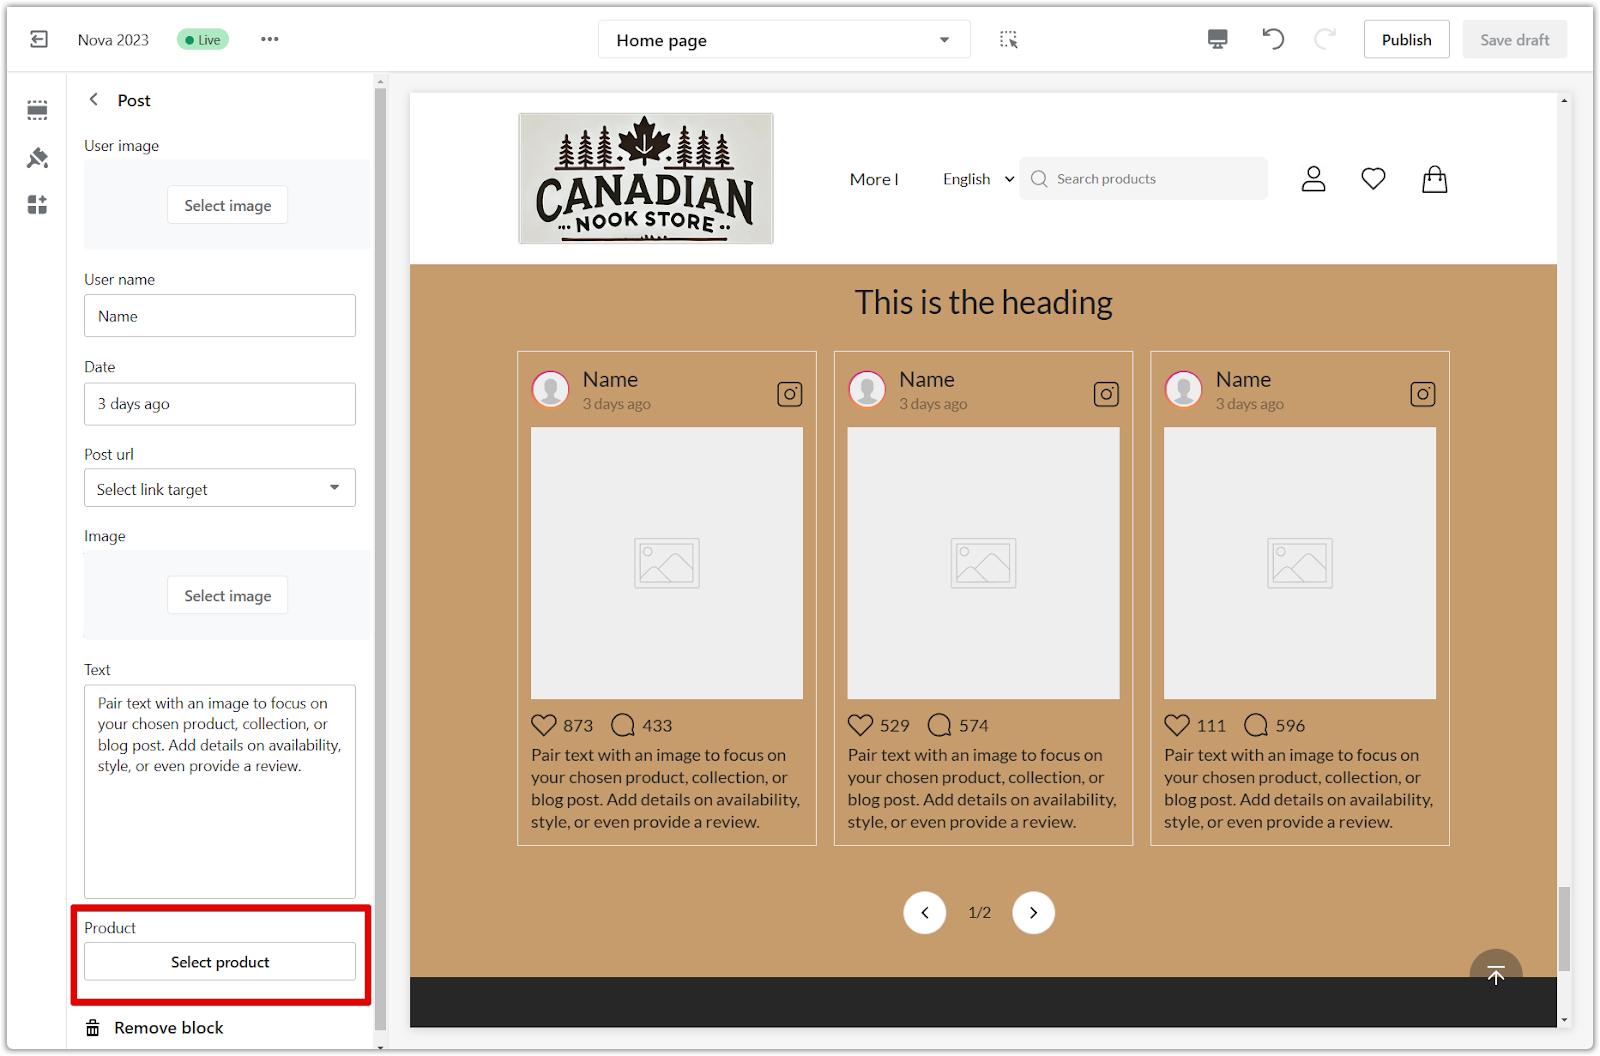
8. Product: Link a product directly to the post to enhance its functionality and encourage direct shopping.
9. Save your progress: Click Publish to make your changes live on your store, or click Save draft to save your changes without publishing.
Adding a virtual Instagram section to your store theme provides a unique and engaging avenue for connecting with your audience. This feature enables you to showcase simulated content creatively, enriching the shopping journey and adding a contemporary flair to your online presence.


Comments
Please sign in to leave a comment.